When I received the Xxtreme it came with firmware v1.1.7 however the iSAW website listed an update to v2.0.4although the link turned out to be broken. This led to a frustrating week of emails and delays that ended when I was sent a zipped file containing firmware version v2.0.9b. I transferred the file to the SD card, booted the camera, waited a short time and the update was complete.
The iSAW website has been updated to include firmware v2.0.4 (not yet v2.0.9b) and the link works. The release notes spell out that the changes in the software are only relevant if you are using the Wi-Fi remote control or iOS/Android control software.
While I was waiting for the firmware update I took a look at some of the other iSAW national websites to see whether I might track down the elusive v2.0 firmware outside the UK. I failed in that effort but while I was looking around I noted that each of the sites looked different to each other. In the course of my travels I came across a piece of software called iSaw Manager v1.3 on an iSaw site in the Far East.
The utility wasn't listed on the UK site at that time but has now made an appearance here. iSAW Manager allows you to browse the media files on the camera, play them back, mark beginning and end points and then cut the section you mark from the video as a copied file.
My concern here is that iSAW's support behind the scenes feels a bit patchy, as though the resources are stretched rather thin.
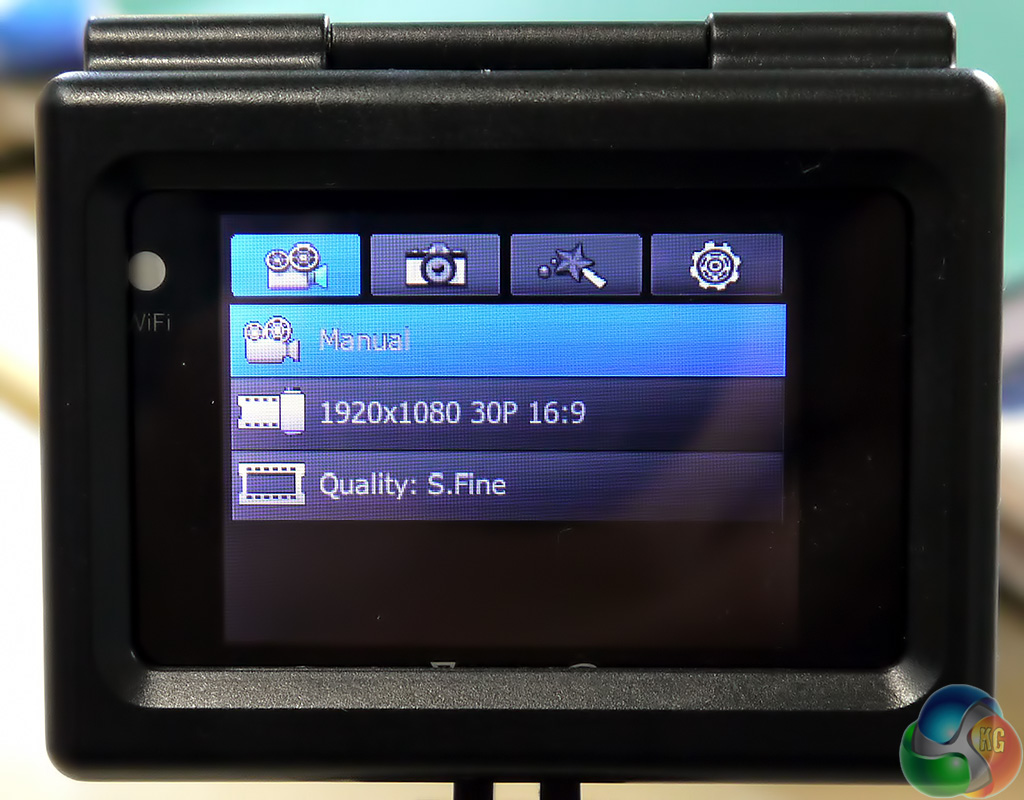
The first tab on the set-up men is video options. This is straightforward enough and allows you to choose between Full HD 1080p at 60fps or 30fps, 1600×1200 at 60fps or 30fps, HD 720p at 120fps, 60fps or 30fps and WVGA 480p at 240fps.
Recording at 480P and 240fps or 720P and 120fps gives slow motion playback however the audio is disabled.
During my testing I found that recording 720P at 30fps chewed up Micro SD storage at a rate of 1.2MB per second which meant an 8GB card lasted nearly two hours.
Increasing image quality to 1080p at 60fps increased the rate to 2.2MB per second and demolished an 8GB card in one hour.

Still photos settings give three options for the resolution of photos based on their aspect ratio. You can choose between 8.5MP and 3:2, 12MP and 4:3 and 7.2MP at 16:9.

Above JPEG images from the camera – 12MP (top left), 8.5MP (top right) and 7.2 MP (lower left).
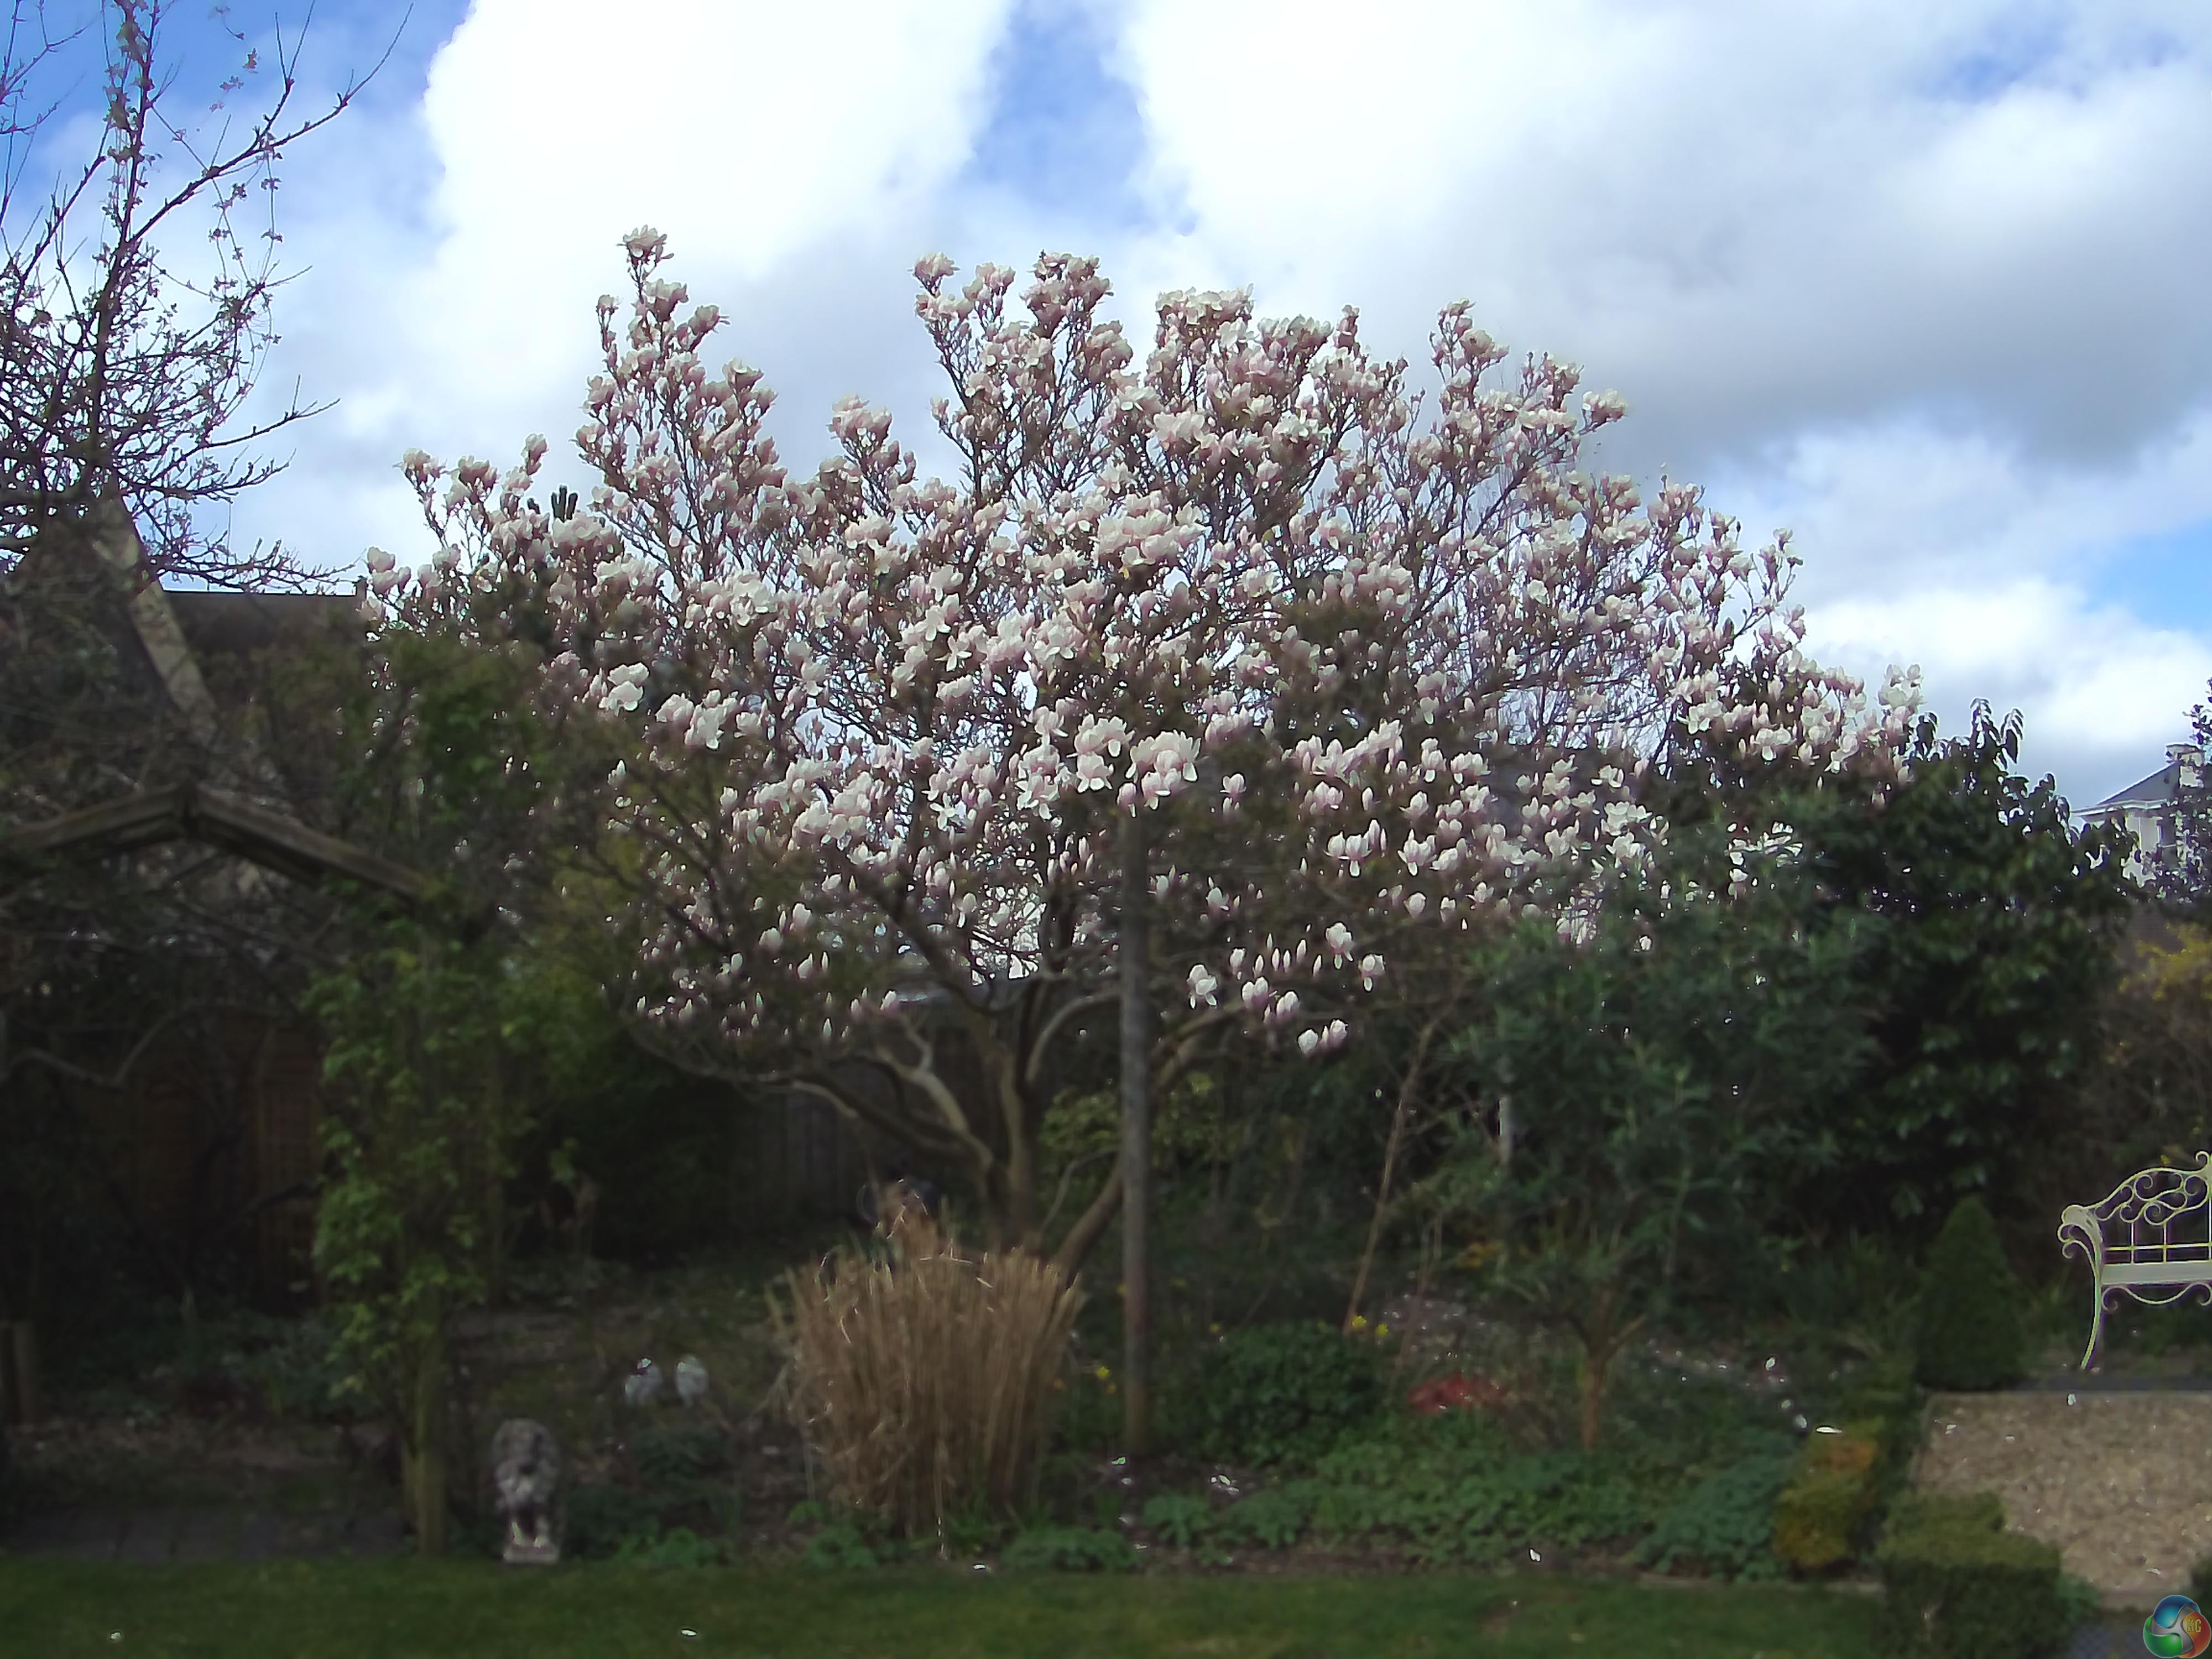
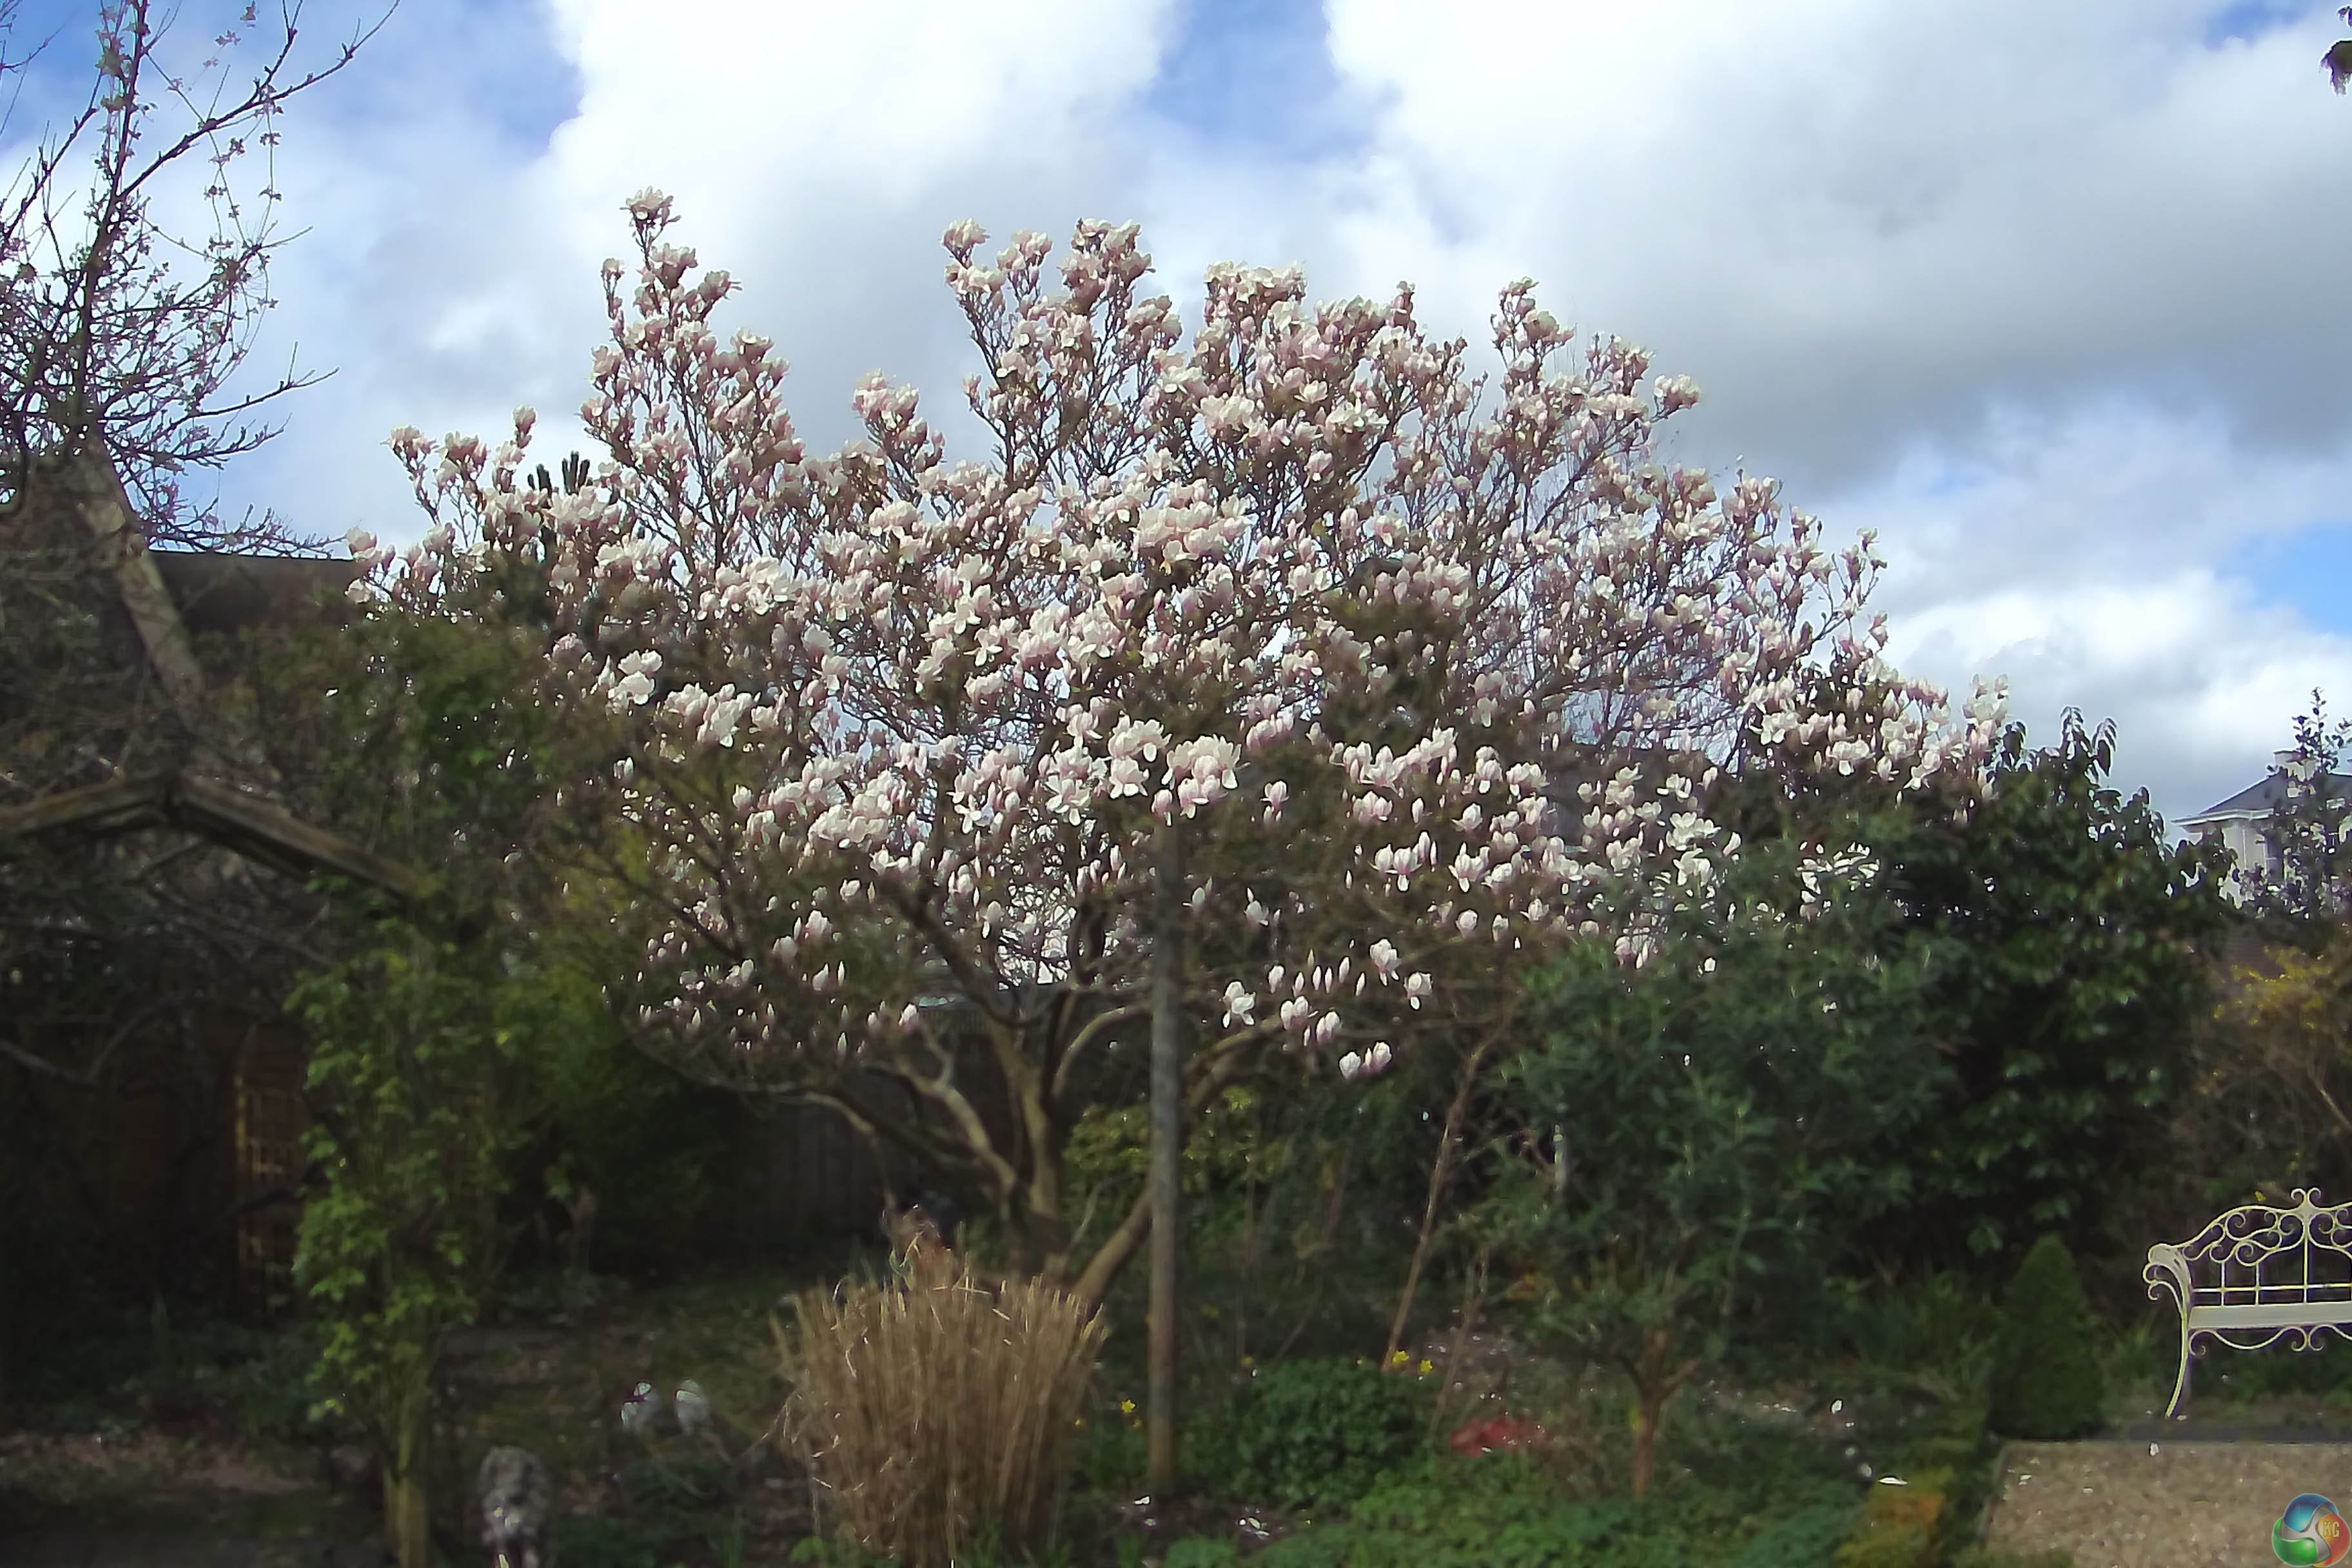
There is a noticeable difference between the three settings and while I was expecting the camera to be a bit of a joke I was actually rather impressed by the photos that it took.
The photos modes are very interesting. You can elect to use manual to simply point and click or you can set the timer to either 5s or 10s. I enjoyed the time lapse mode where the camera takes a series of photos every 0.5, 1, 3, 5,10, 30 or 60 seconds until you tell it to stop, or the SD card is full or the battery is flat.
The final mode is burst which didn't do anything interesting for me.
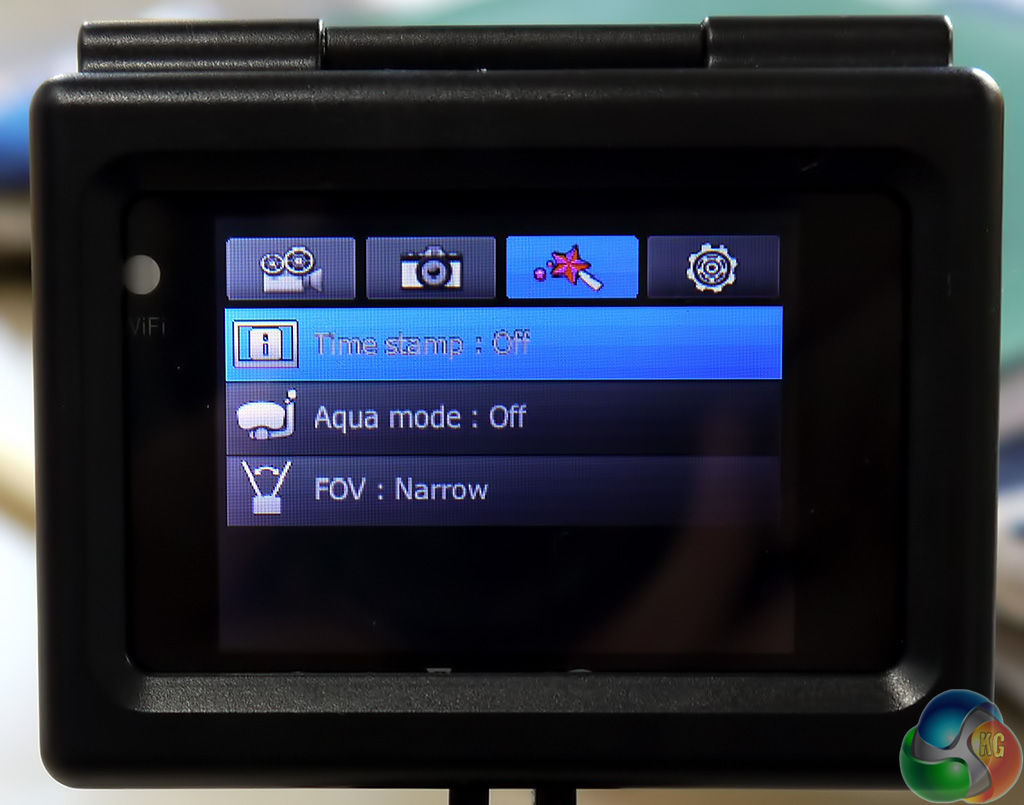
The third menu option covers the exotic stuff. Aqua mode is used for underwater footage to make the colours more vivid and intense. I don't dive but happily iSAW has used YouTube to demonstrate the point here.
FOV (Field of View) is set by default to wide and you can also choose medium or narrow. Here are three video clips to show the dramatic differences between these modes.
[yframe url='http://www.youtube.com/watch?v=qX6Nh1QNh1I'] [yframe url='http://www.youtube.com/watch?v=HSskWYc3LV4′] [yframe url='http://www.youtube.com/watch?v=_7EpRRMM3Ks']The two high speed recording modes that I previously mentioned at 720p and 480p set the FOV to wide as well as disabling audio. The native viewing angle is 152 degrees so presumably the camera uses software to adjust to medium and narrow and cannot manage this task at 100fps and 200fps.
The resulting video looks good but the fish eye makes it appear a little strange
[yframe url='http://www.youtube.com/watch?v=hFvHEUAPTWM']
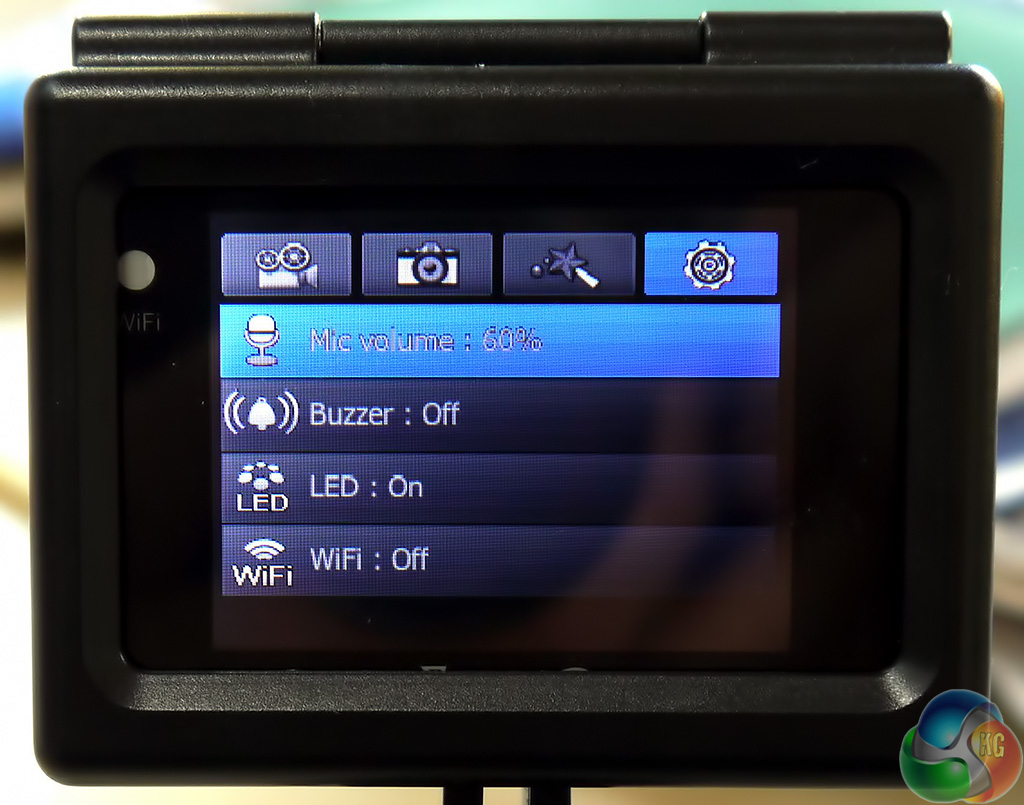
The fourth column of menu settings contains an array of odds and ends and I hate to think how much hassle it would be navigating the changes without the use of the 2-inch LCD screen. The first option is microphone volume and the settings here are Off, 30 percent, 60 percent and 100 percent with a default of 60 percent.