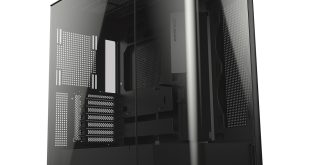
At the time of writing, this chassis is available online for £73. While that doesn't make it a complete bargain, given the advertised feature set it is clearly aimed at giving value – and it is very close to the Aerocool Dead Silence in terms of size and performance, so let's get stuck in with our build to see whether the price tag is justified.
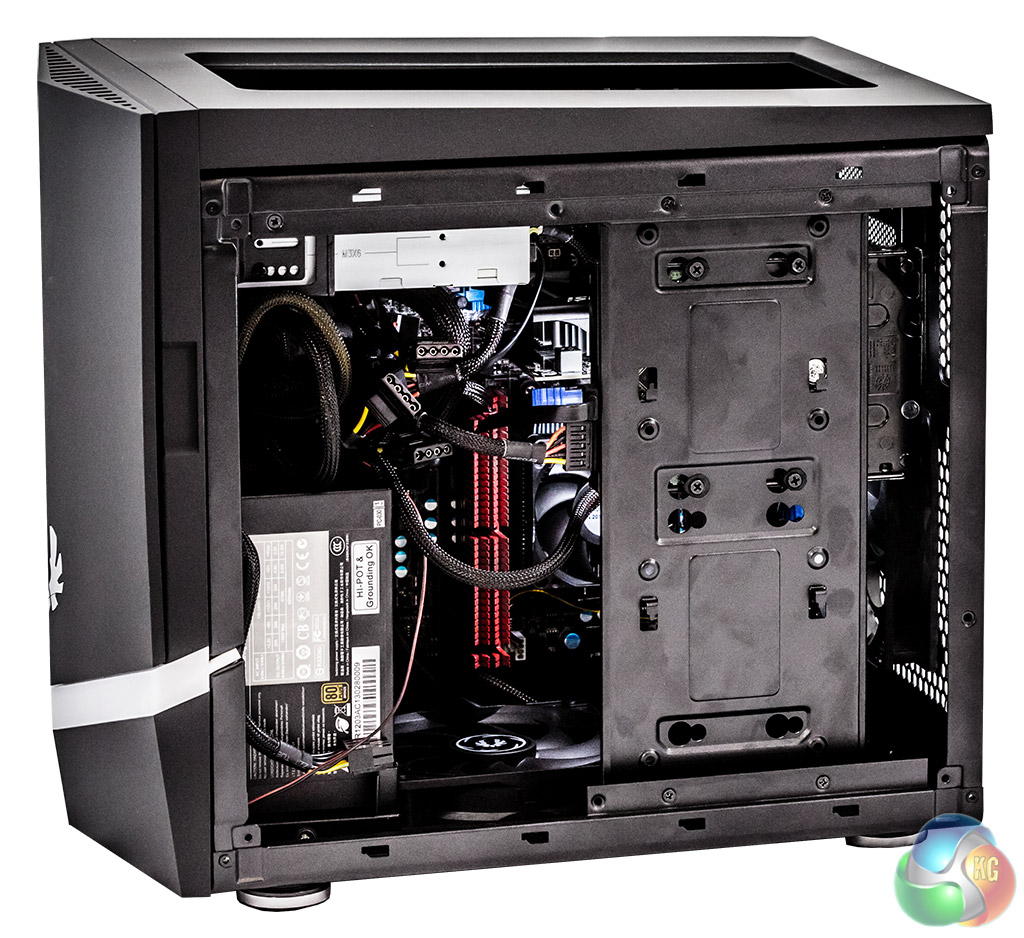
In terms of specification, we built an AMD 6800k system into this chassis on a Gigabyte mainboard. This is a typical system set up for someone who needs a basic gaming rig without spending too much money.
We then added an affordable MSI Radeon R7 250 graphics card, the kind of upgrade you might fit later – allowing you to experiment with Dual graphics for around £58 or a cooler 2GB version for £68.
We fitted a single optical and hard drive to complete the build, but there is plenty of room for further expansion.
Compared to a pure budget chassis like the BitFenix Comrade, this case offers plenty of decent routing options and none of the drive bays are obstructed.
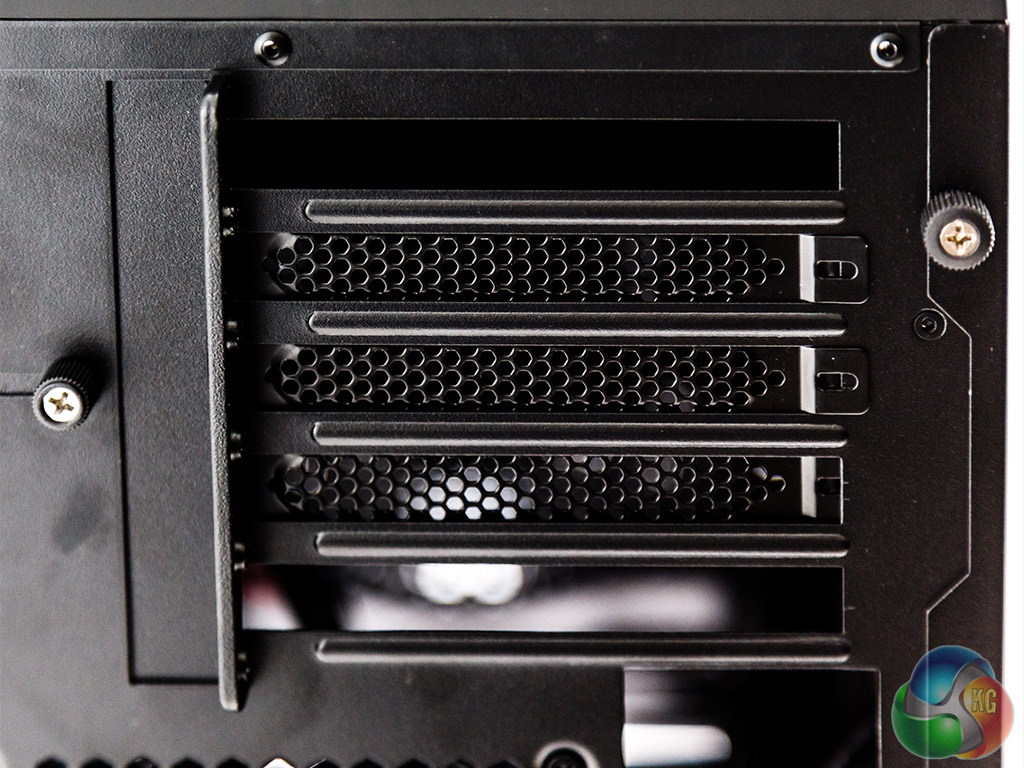
Technically, it can accommodate full length graphic cards (e.g. Radeon R9 290) and a radiator up to 240mm, which should be enough for most Micro ATX builders. If you go with water cooling on your CPU using a 240mm radiator, then you'll only be able to fit the one graphics card. SLi or CrossFire will require an air-cooled CPU.
BitFenix has trademarked the term FlexiCage for its hard drive system, which is designed to make it very simple to add up to five 3.5″ standard hard disk drives or mount up to eight 2.5″ Solid State Drives.
Installing the power supply was easy enough, vertically at the front, given that the chassis has a built-in power supply extension to the rear. With a chassis like this, we cannot stress too much that a modular power supply is the only way to go. One golden rule here is that you MUST connect the internal chassis power cord extension before you start to secure the power supply.

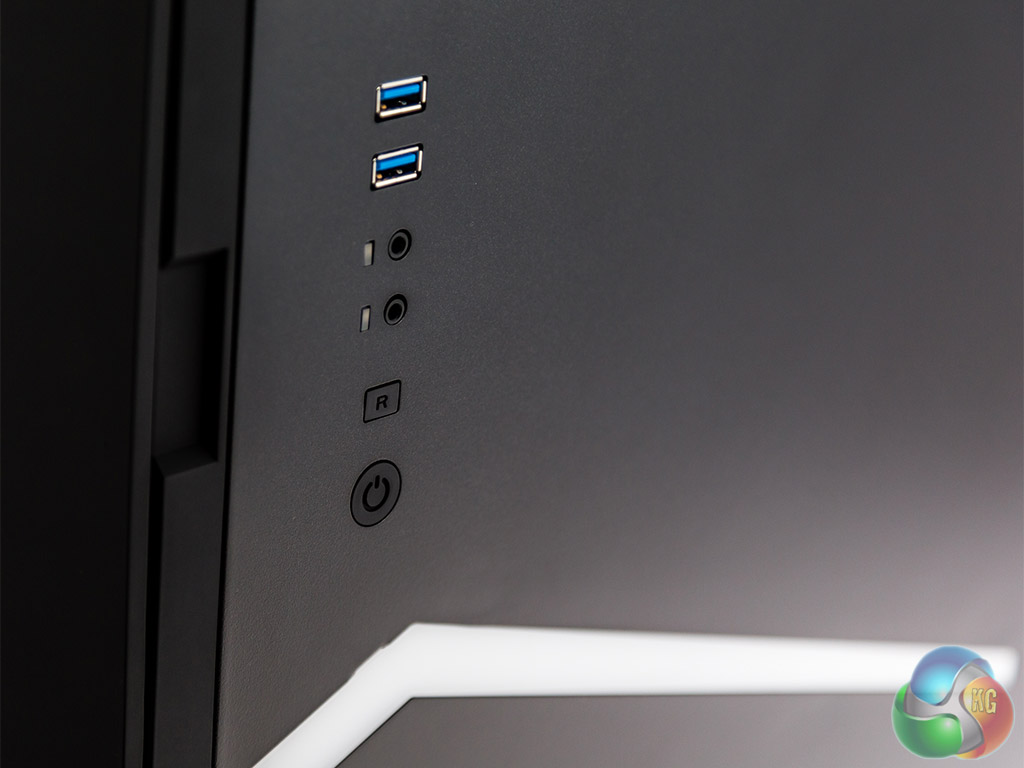
With some chassis, opening the size door after you've completed the build can leave you feeling like a bomb disposal expert. The wires that typically connect to the side panel for 2x USB 3.0, mic, headphones and power, can be tight enough to make you nervous. Not too bad here. BitFenix has done a reasonable job of choosing the right cable lengths – much better all over than the recently reviewed BitFenix Comrade. Now THAT was tight.
However, assembling the system components in the wrong order will be quickly rewarded with frustration.

Overall, it is easy enough to get to grips with this chassis for a self-build or on the production line by the time you've had a second go at assembly.