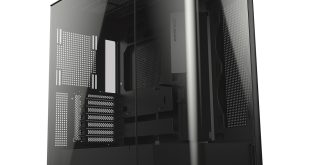
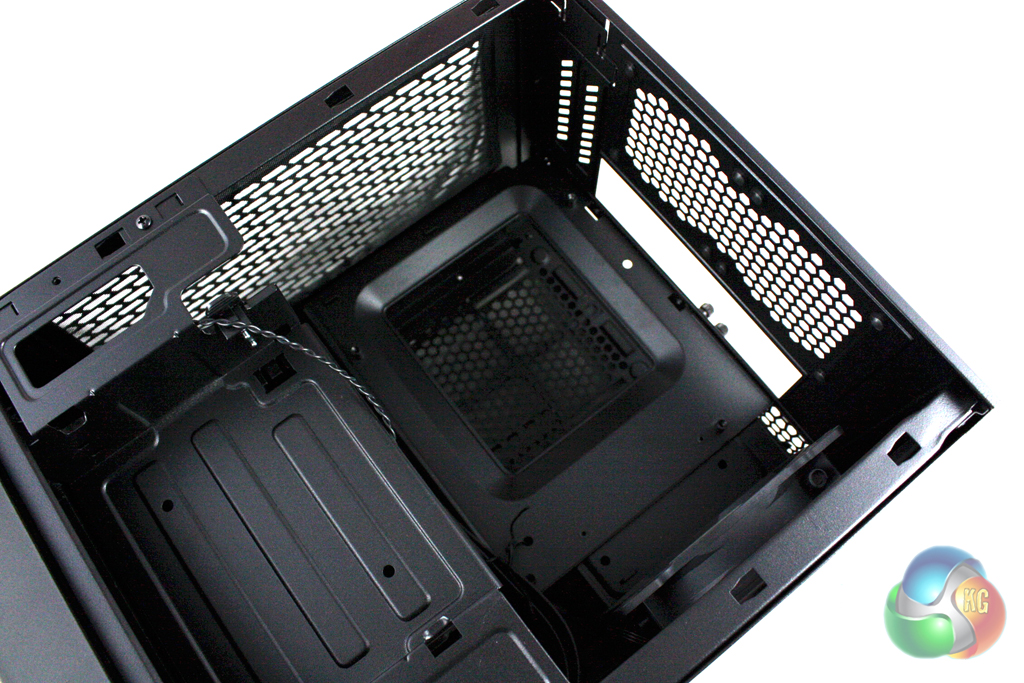
Accessing the inside of the Corsair Obsidian 250D requires us to remove both the left and right side panels as well as the roof of the case. The inside of the case is painted entirely in black, which will complement most component choices nicely.
The internal layout of the Obsidian 250D is arguably more practical than that of the Bitfenix Prodigy. It allows for the installation of longer power supplies and, although there aren’t as many, the drive bays are more conveniently located.
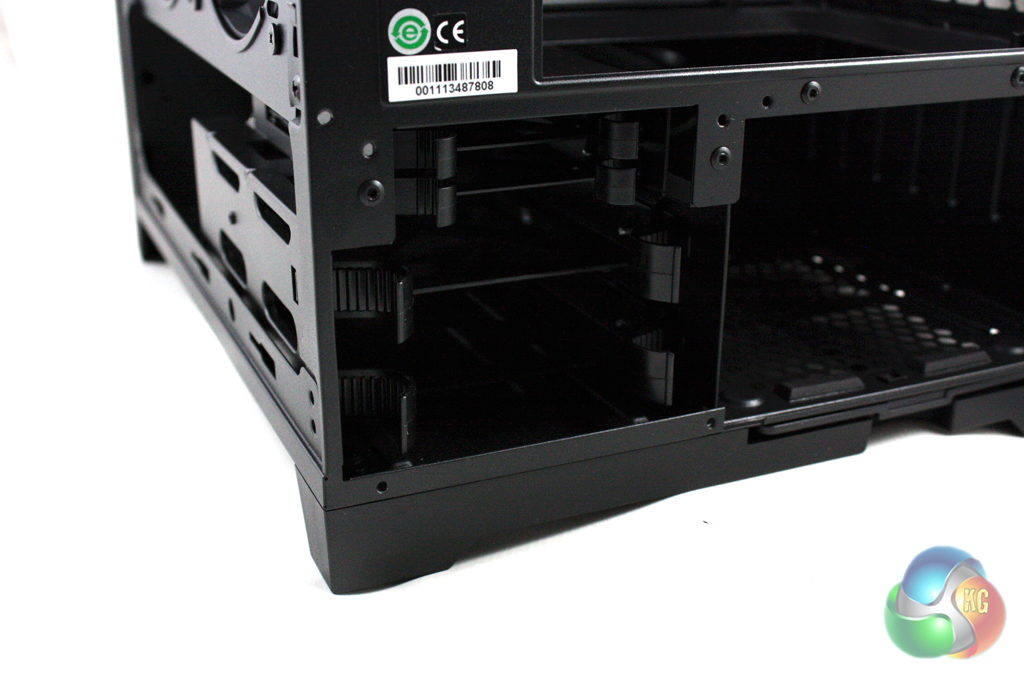
There are four drive bays in total, two which support 3.5” units and two which support 2.5” units. These should fulfill the storage needs of the vast majority of users, apart perhaps for those who are looking to build a home server.
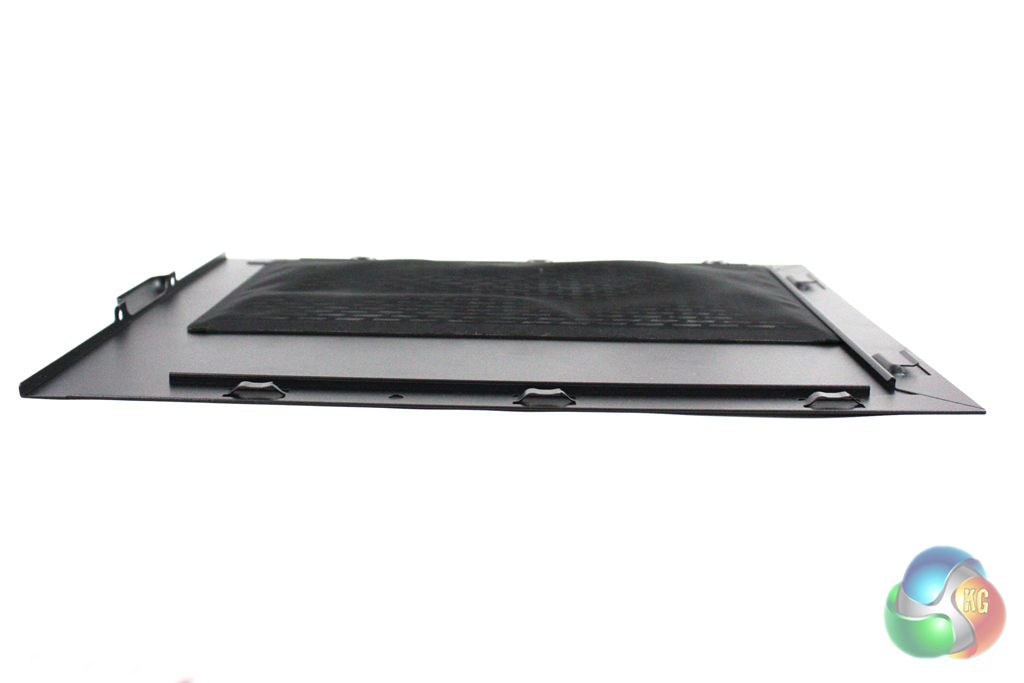
The side panels of the system feature magnetic dust filters which can be removed extremely easy for cleaning. Unfortunately, these aren’t completely flat and we found that one of them actually interfered with the fan blades in our test system, forcing us to remove it altogether.
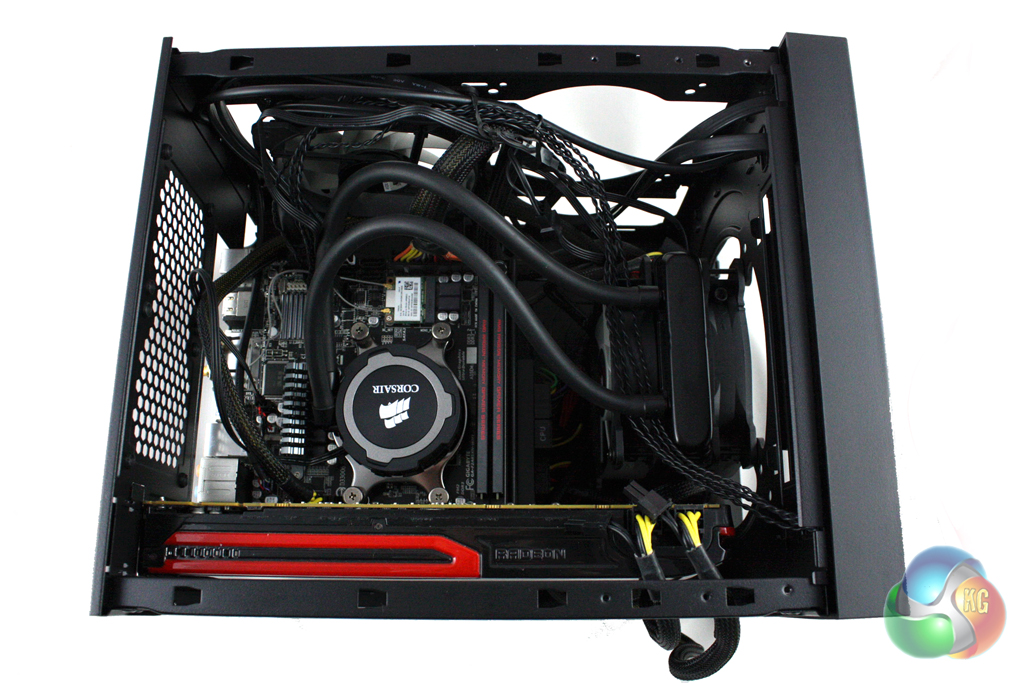
Installing a system into the Corsair Obsidian 250D is a little more challenging than a conventional case, particularly when it comes to cable routing.
We would recommend that you consider where you’re going to route all of the cables before installing any of the components, as it will save you time in the long run.
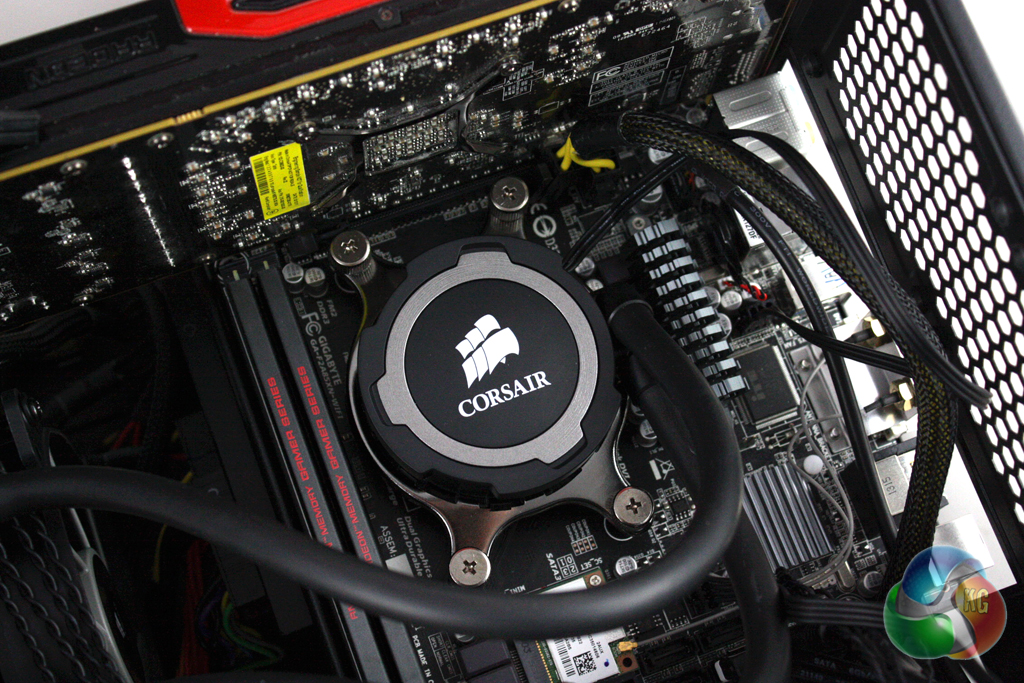
First of all, we installed the motherboard into the case, along with our Corsair H75 water cooling unit. As the Corsair H75 makes use of a push-pull fan configuration, it is too thick to install in the side of the case. Consequently, we were forced to install it in the front of the system. We chose to direct its fans so that the cooler exhausts out of the front of the system, and reconfigured the side fan to suck cool air into the system.
Installing a power supply into the case is a fairly simple process. First we must attach a bracket to the power supply and slide it into the back of the case. Then the cables can be routed into position throughout the case.

Finally, we installed the graphics card in the system which is fairly simple, requiring two thumbscrews only.