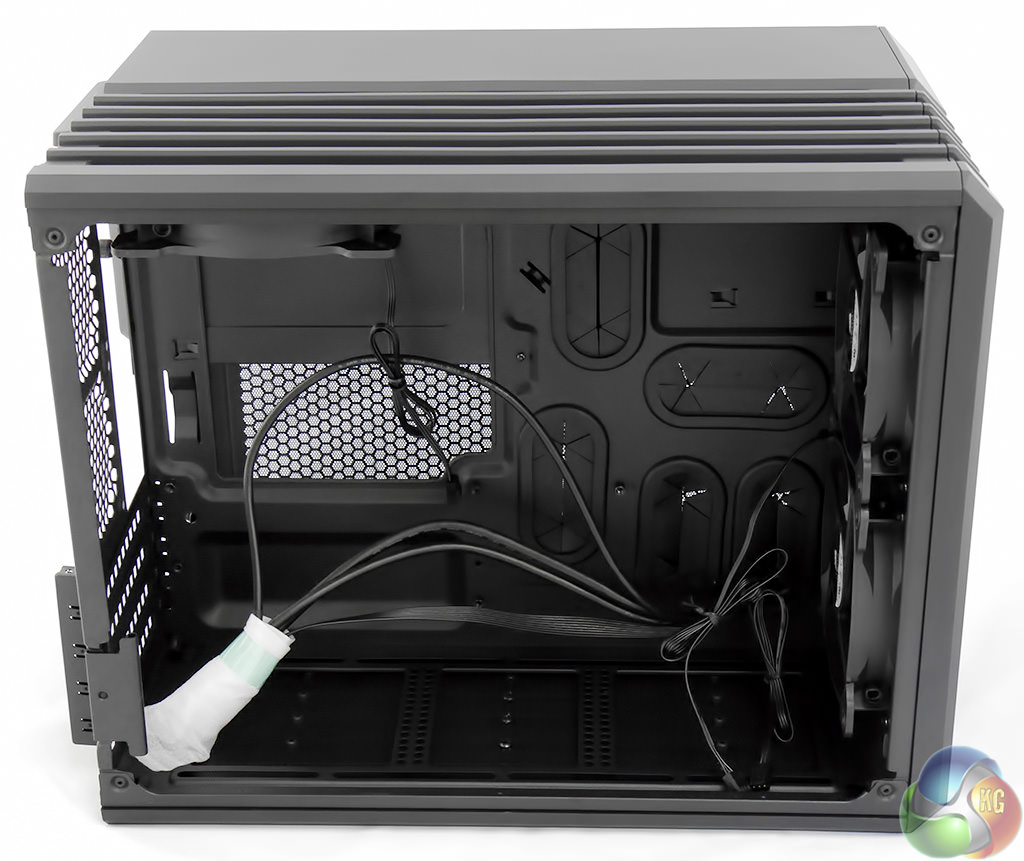
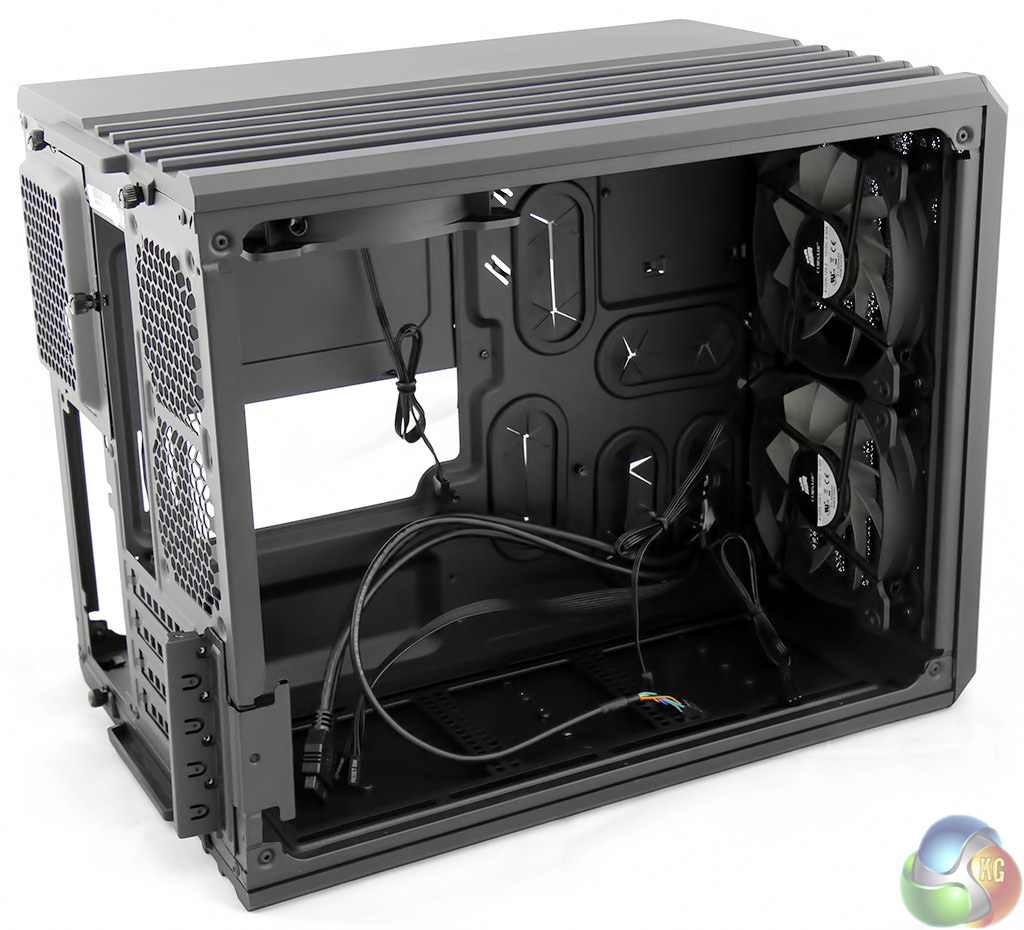
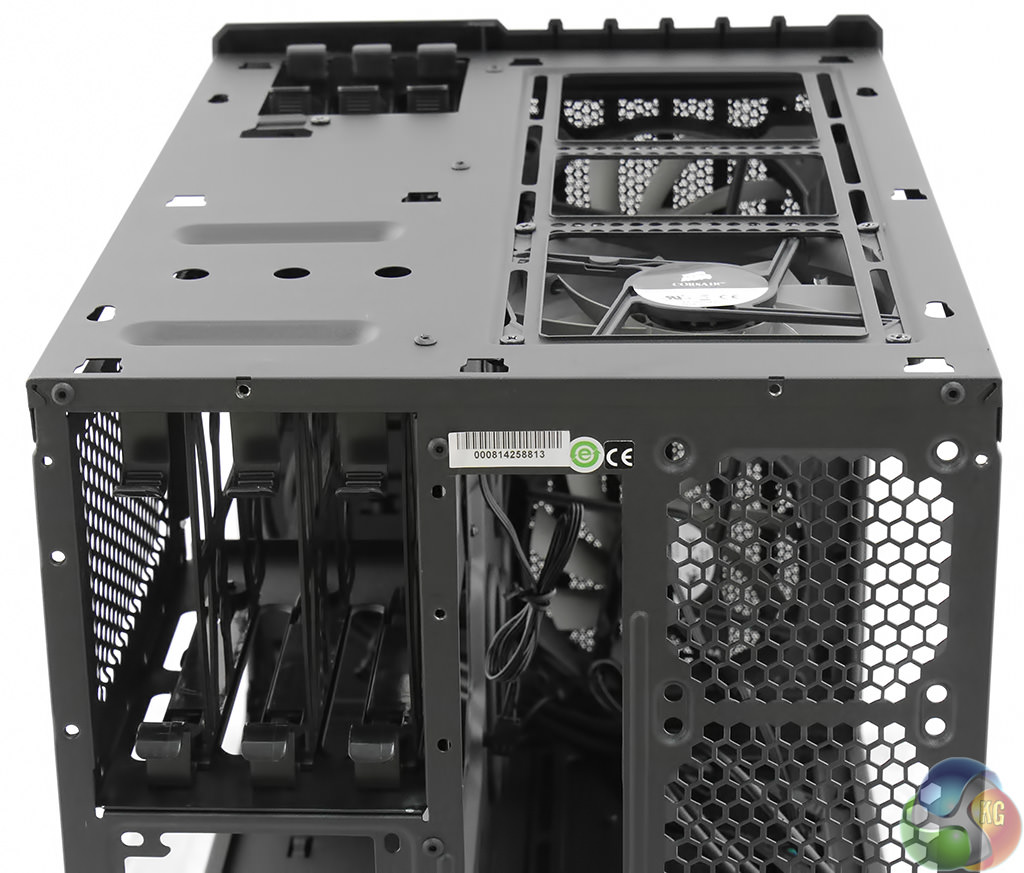
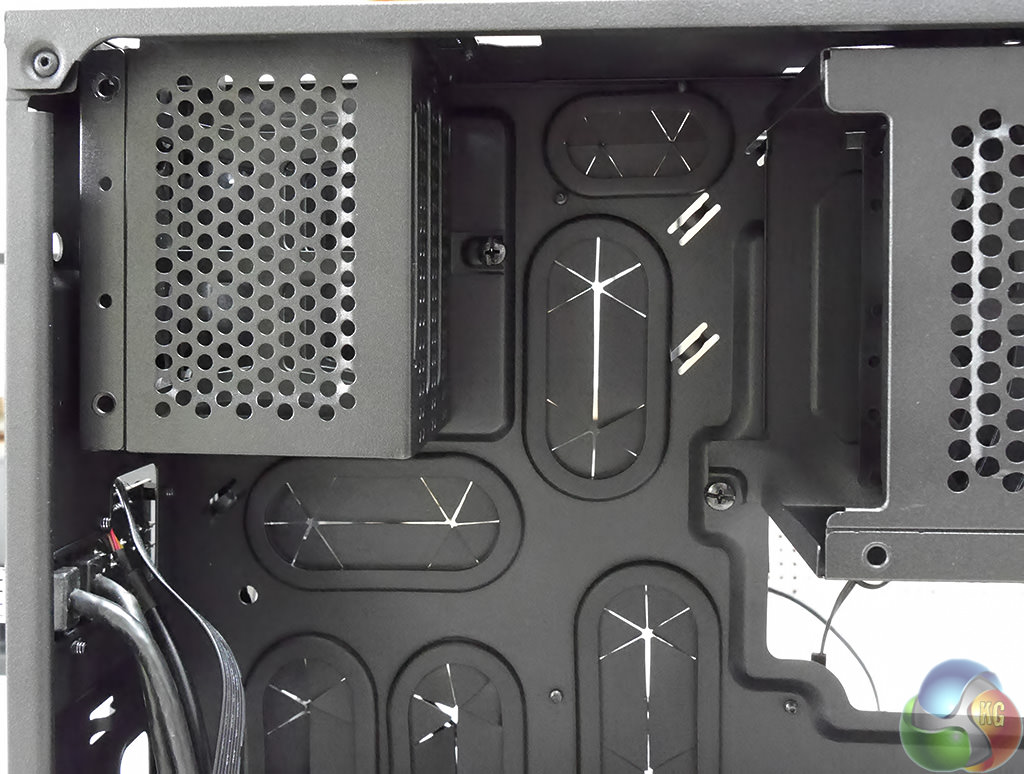
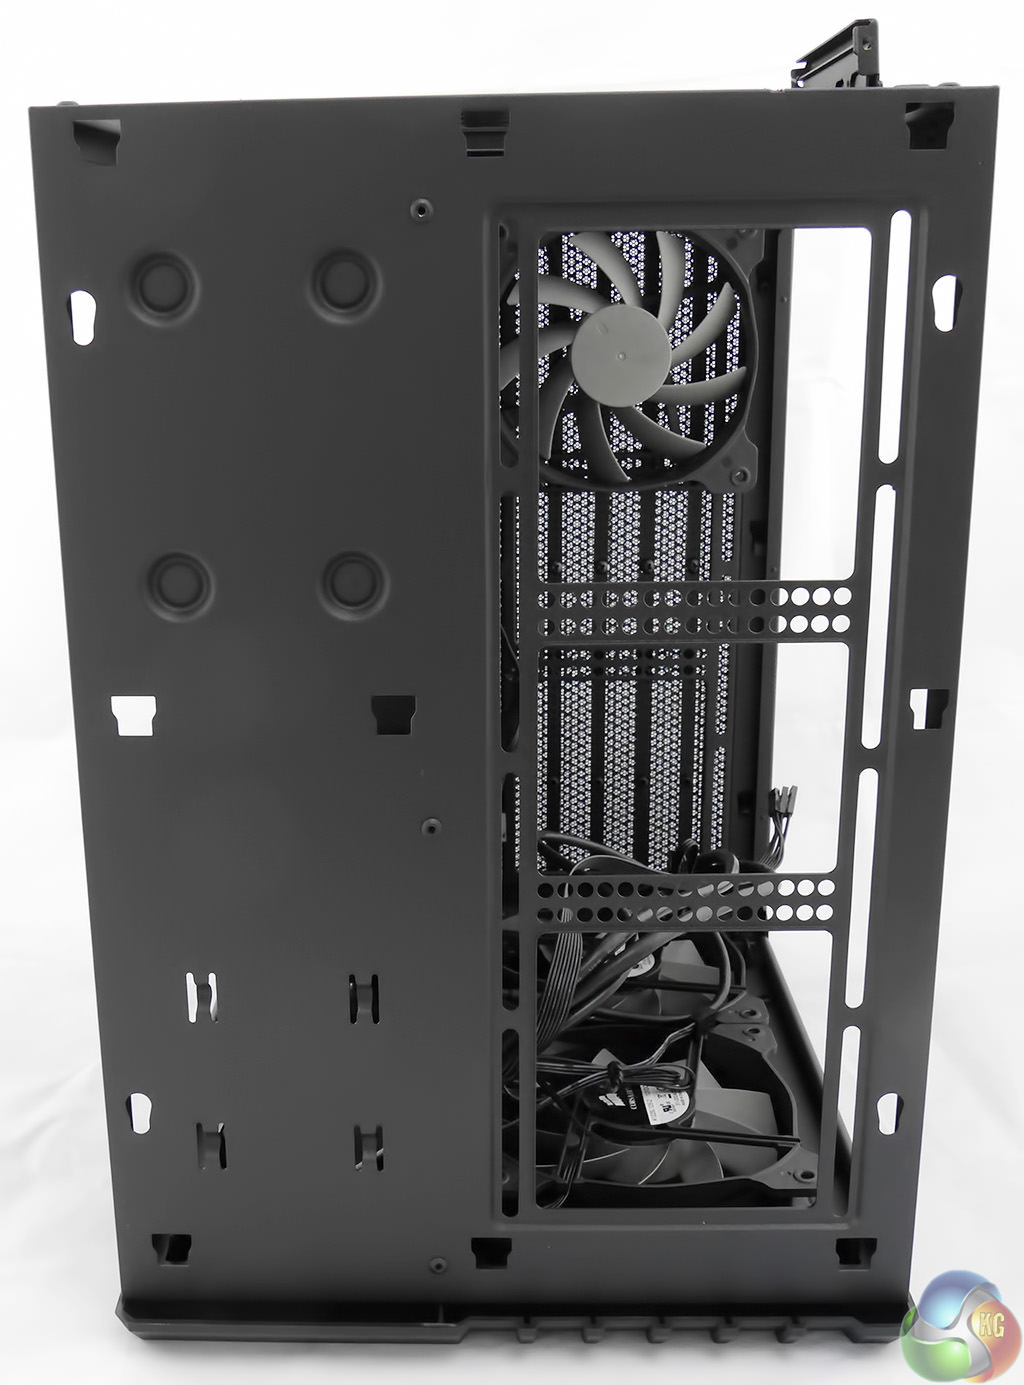
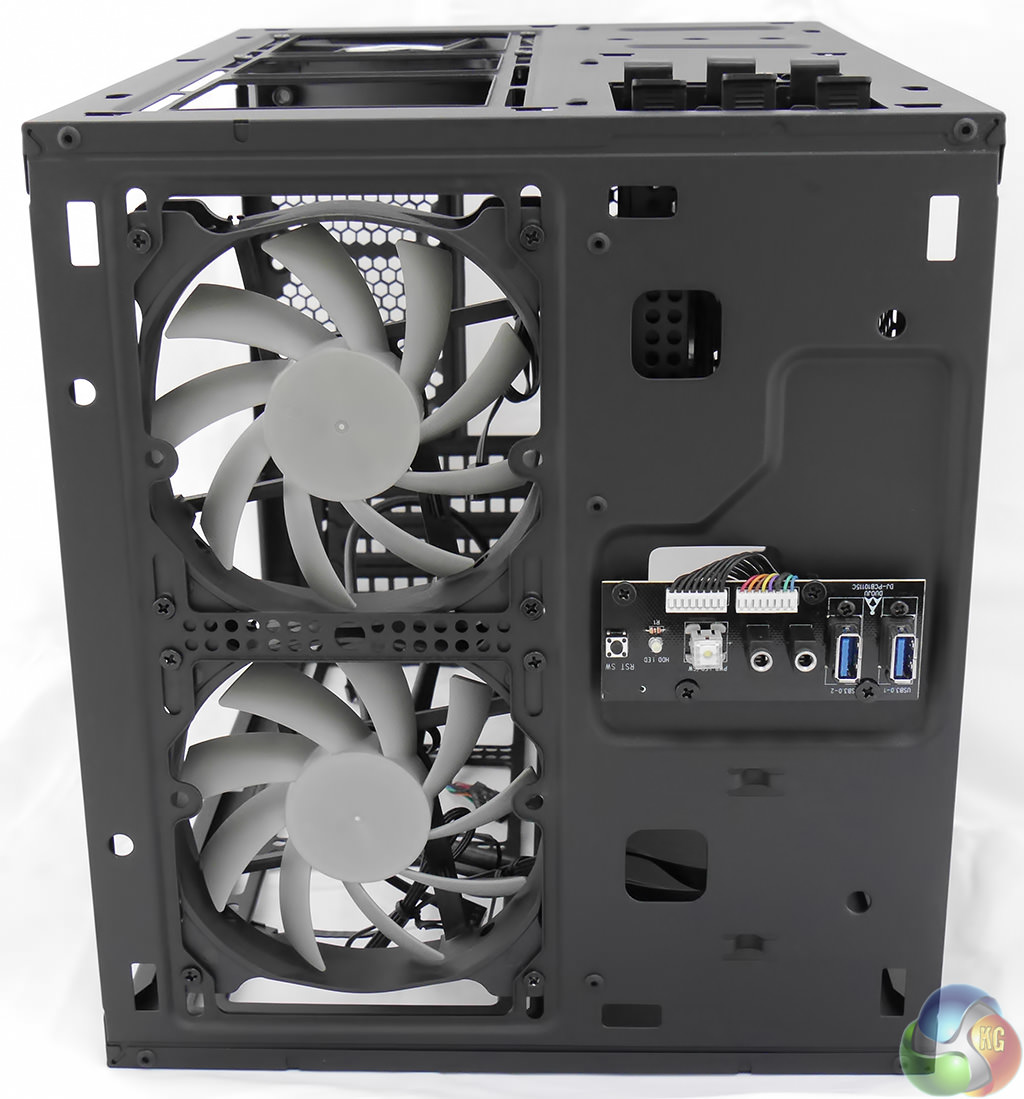
Undo two thumbscrews, remove the left hand side cover and voilà we have the main chamber in the case. This is where the motherboard, CPU, RAM and graphics cards go, however there are no drive bays or a housing for the power supply so the space is amazingly open and free from obstructions. Corsair supplies two 120mm fans at the front of the case and one 120mm fan at the rear of the roof. There is no fan controller.
If you choose to use a Mini-ITX motherboard then you have the option of installing a water cooling system in the floor of the case. Micro-ATX aficionados install their radiator at the front of the case, which means you'll have to ditch one or both of the fans that come as standard at the front of the Air 240.
If you go for a full 240mm radiator you are likely to hit a significant snag which is that the Air 240 will not have enough clearance to accommodate a full length 12-inch graphics card. We're only talking about the need for an extra 5mm or 10mm of space to make everything lovely but as things stand you need to consider the components you will use with a degree of care.
The four expansion slots use a tool-free system with a metal clip that holds the blanking plates and graphics card(s) in place. Be warned, the clip snaps into place and can easily attack a fingertip. Go on, ask me how I know.

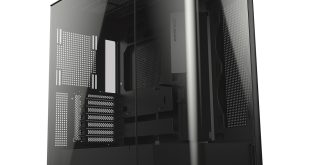
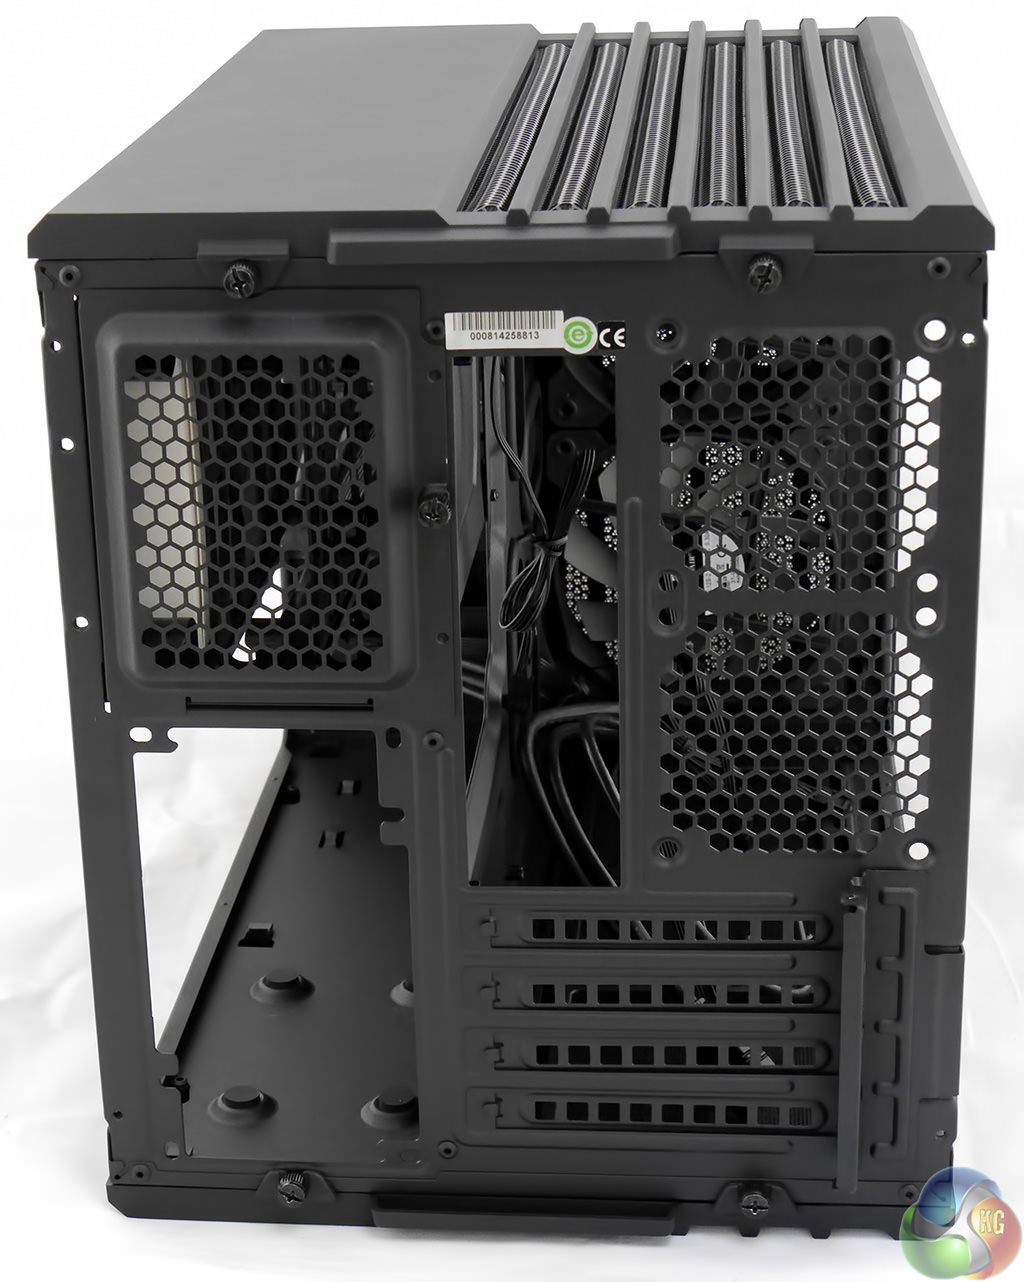
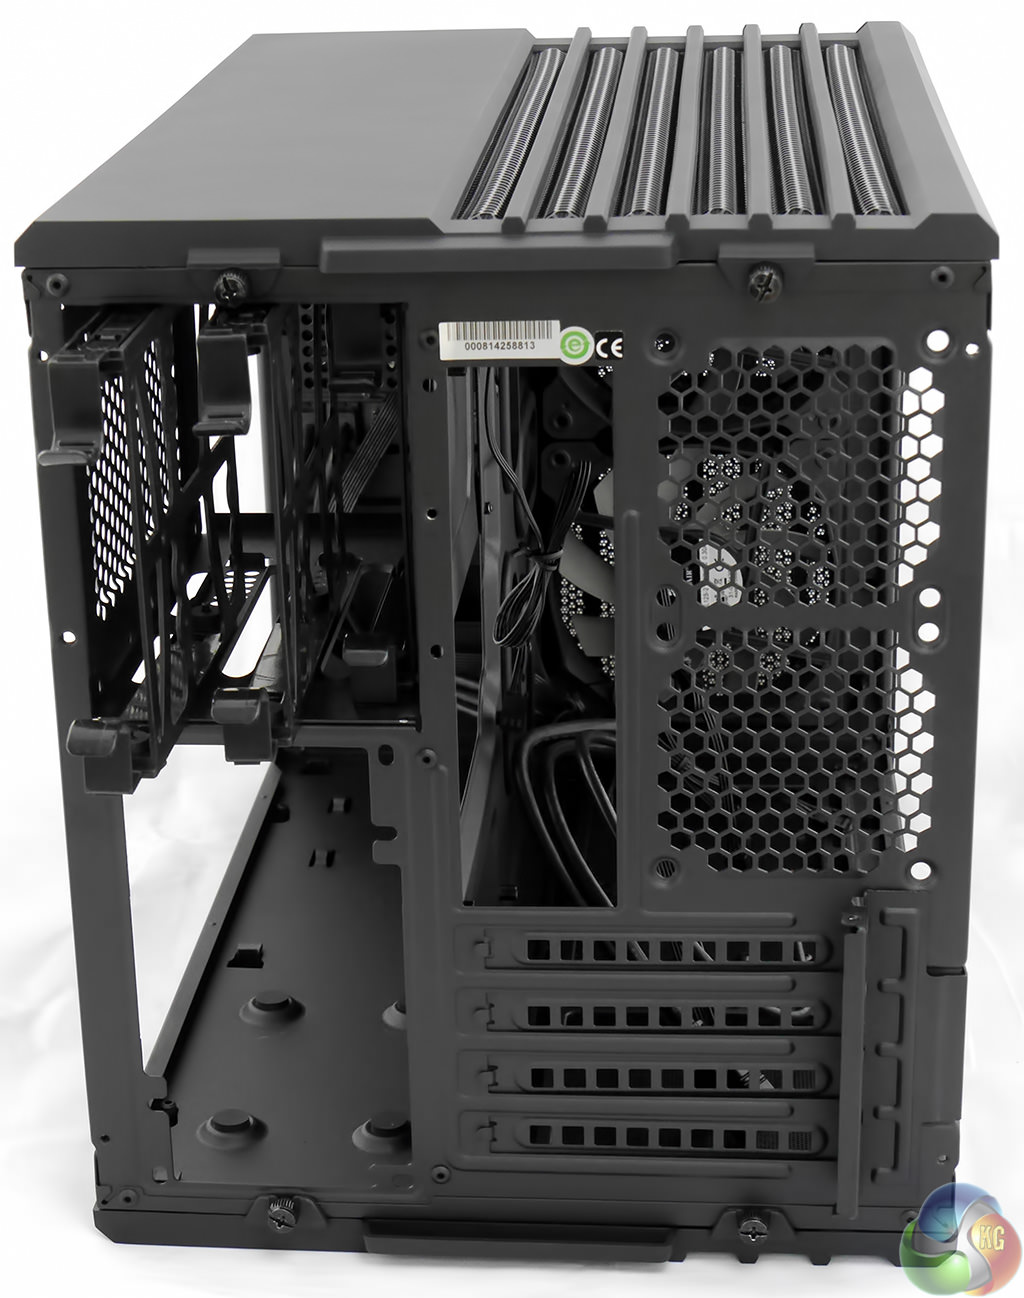
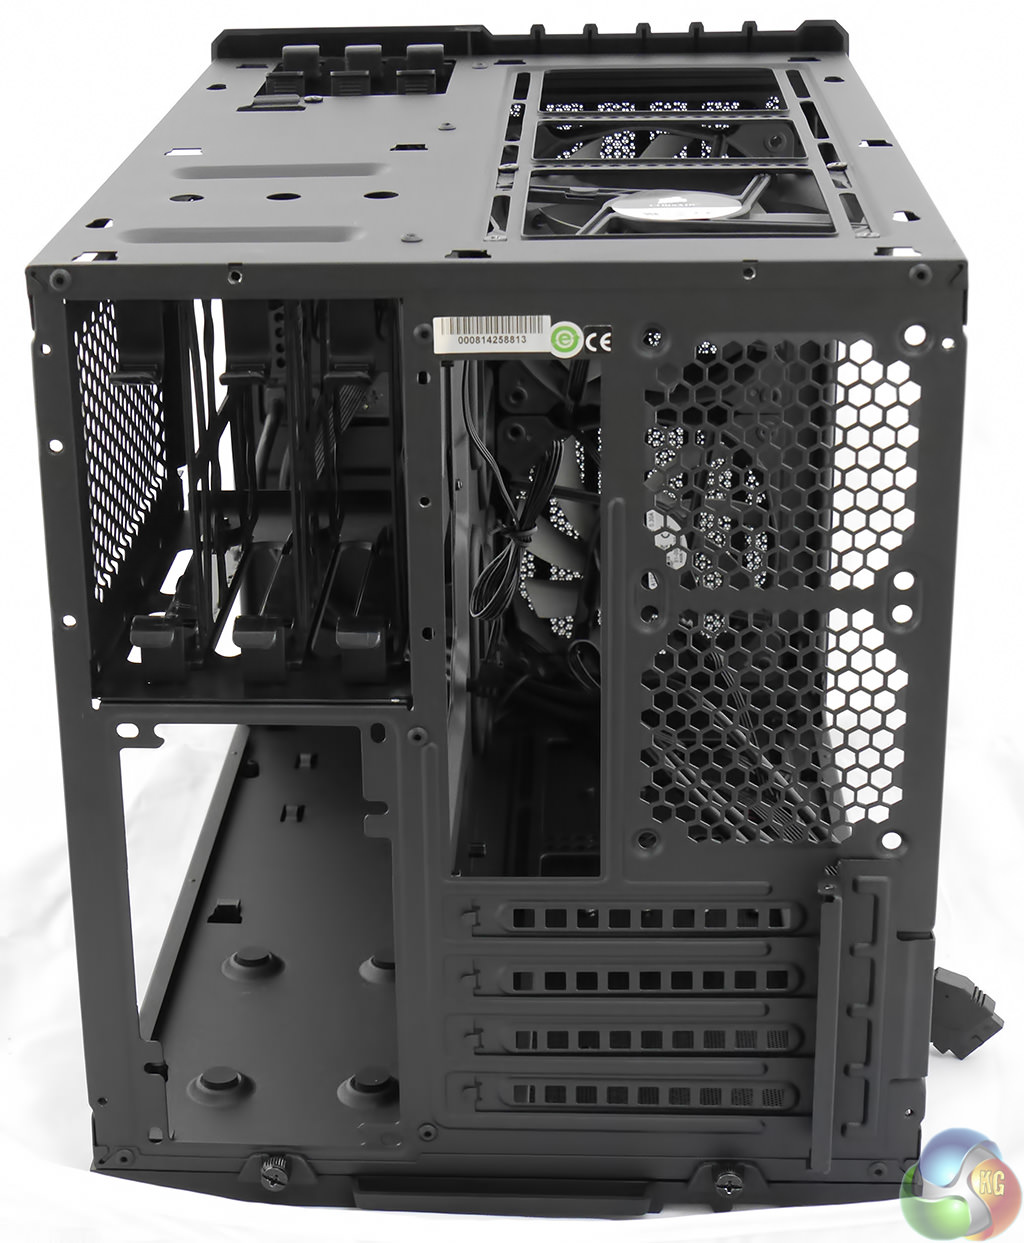
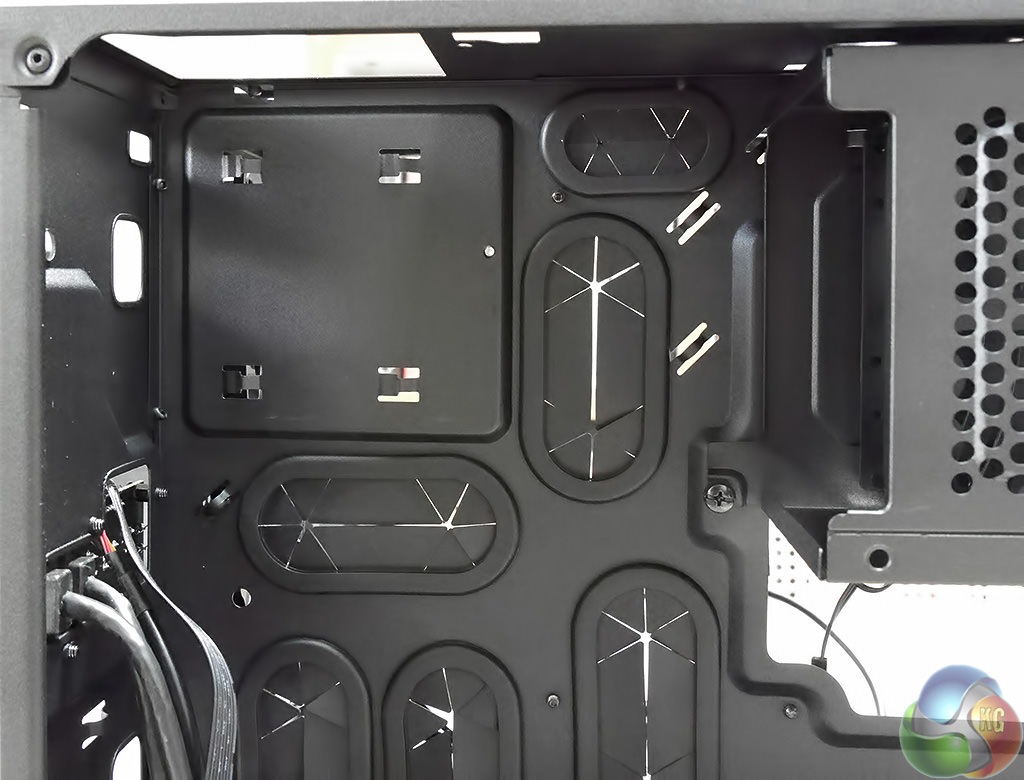
This is the side of the Air 240 that sets the duo of Corsair Air cases apart from most other cases on the market. Generally speaking you get about 25mm of clearance behind the motherboard where you can tuck away the wiring and perhaps house a Solid State Drive.
With Air 240 you get 100mm of clearance between the motherboard tray and right hand side panel which is enough space to accommodate the power supply, three 3.5-inch drives and three 2.5-inch drives.
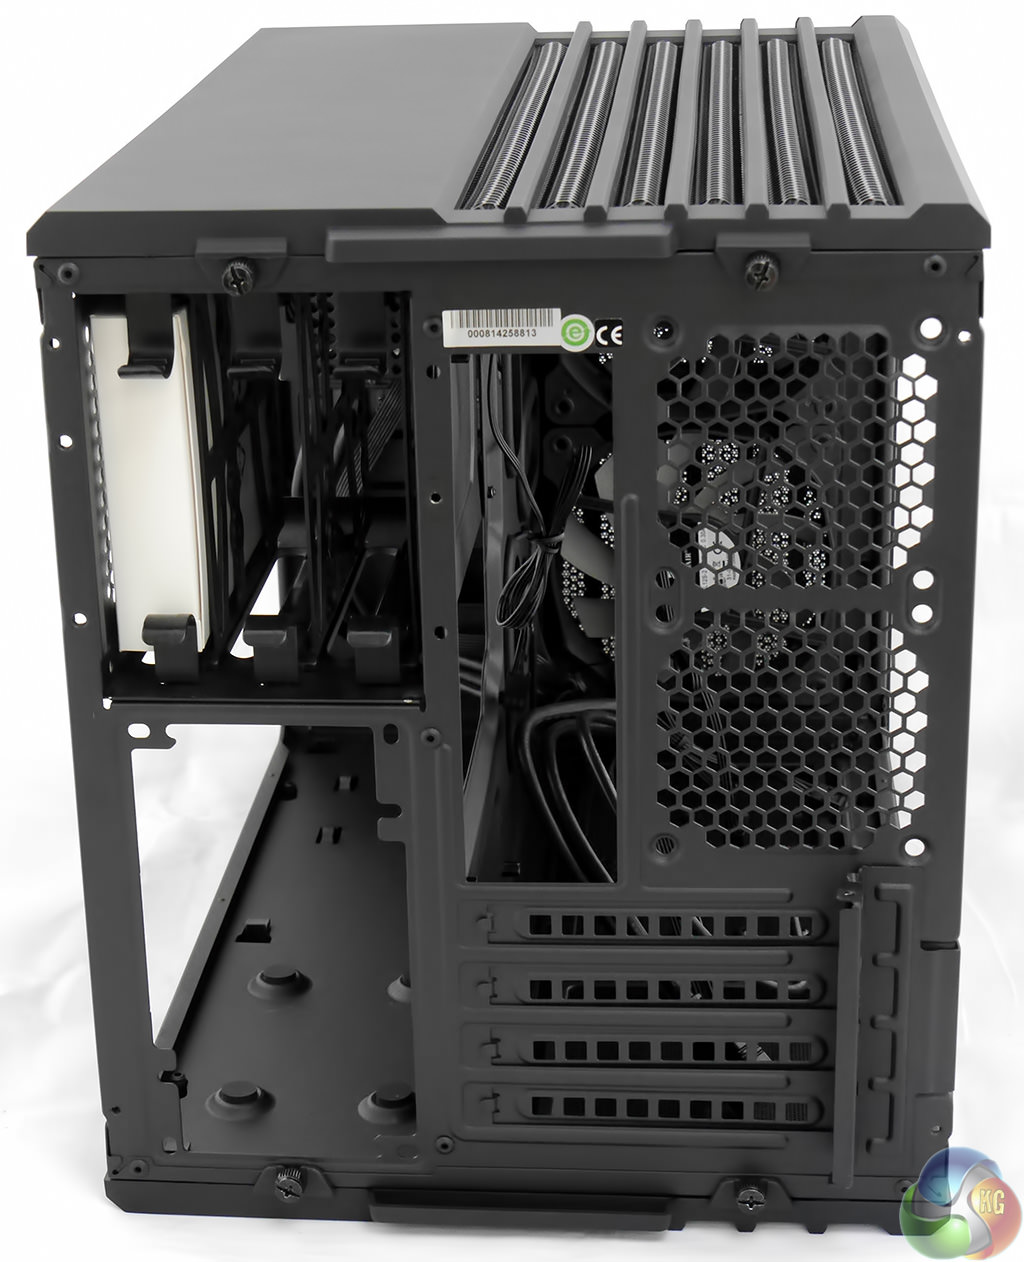
Let's take a closer look at the drive bays starting with a reminder that you don't get any 5.25-inch optical drive bays. EVGA has a neat solution to the thorny problem of optical drives in its small form factor Hadron Air and Hydro cases with a slimline bay for a slot loading drive that fits across the case behind the front panel. This means that you insert DVDs in the side of the case which is unusual but effective.
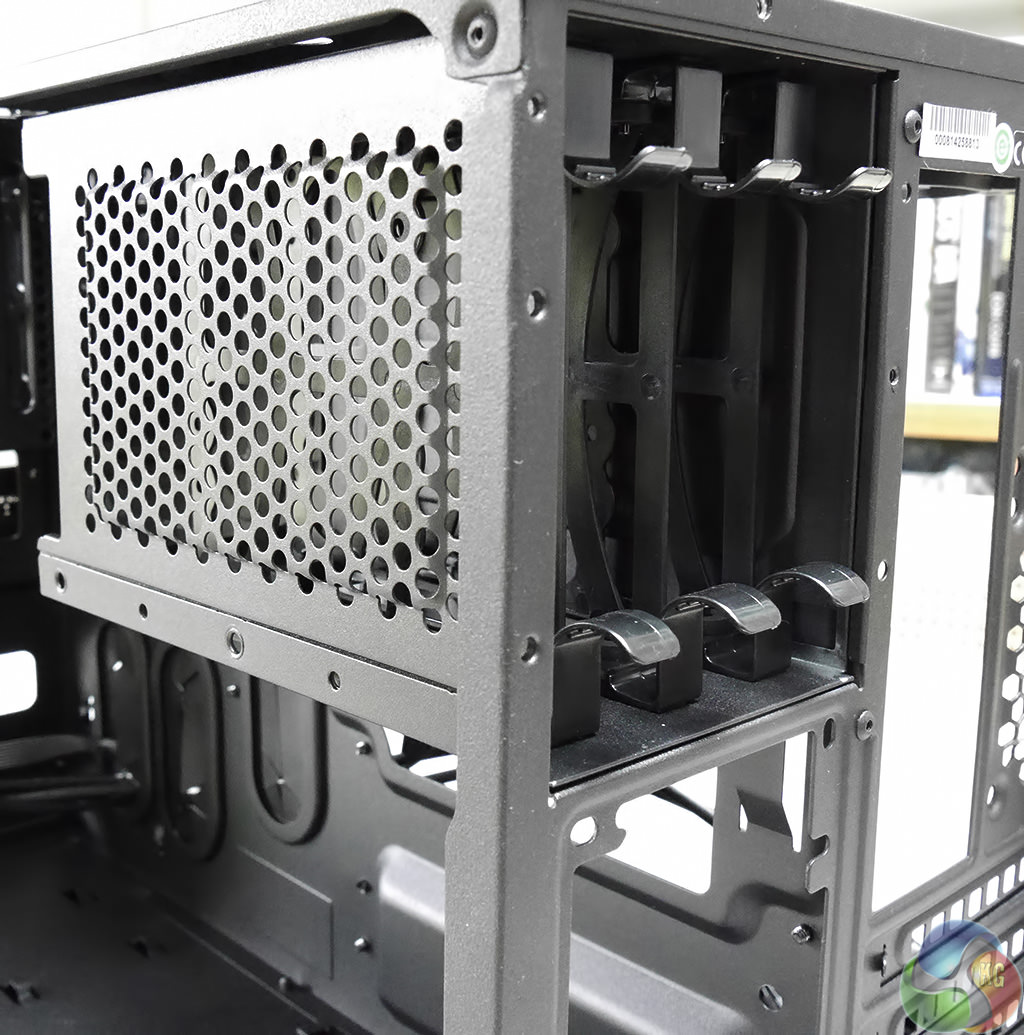
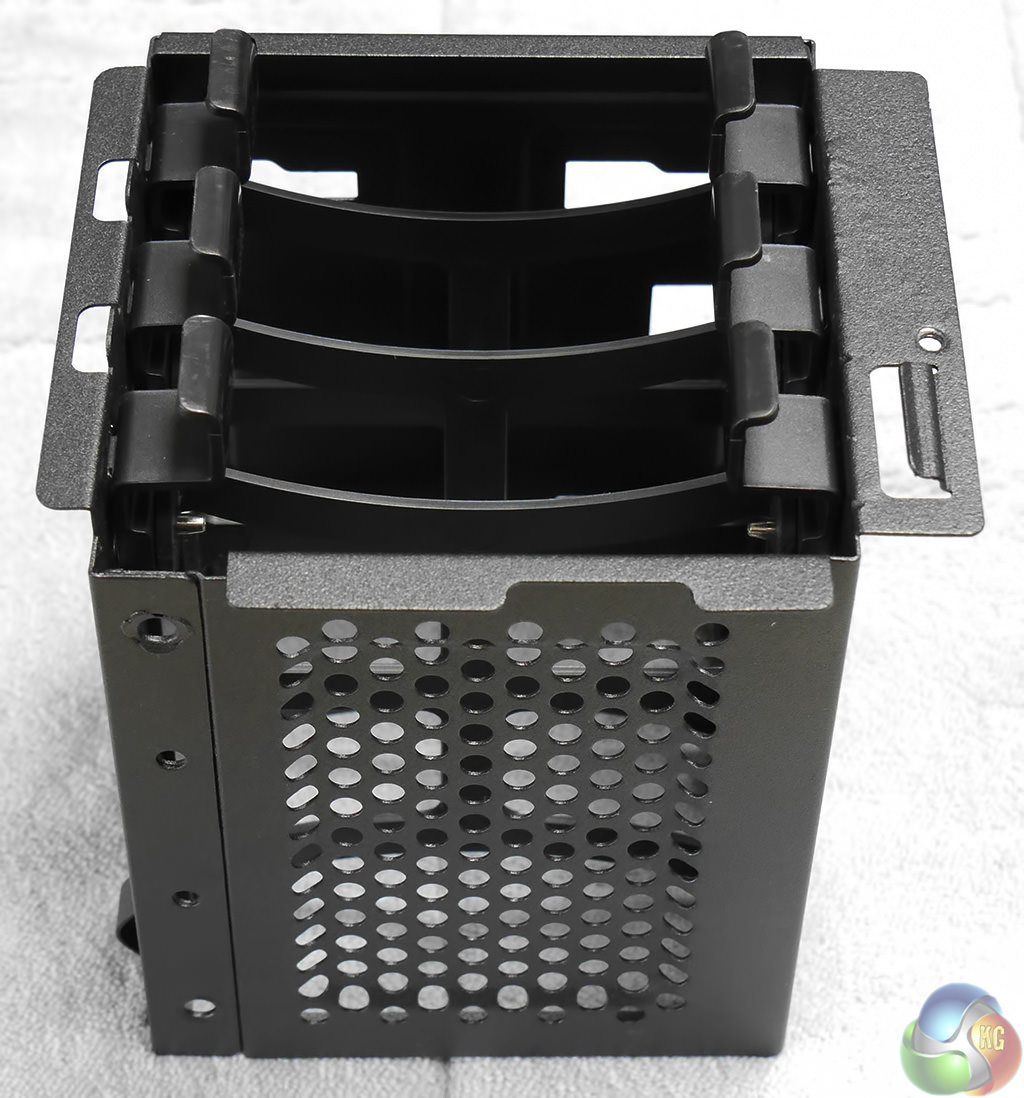
As mentioned before, with the Air 240 the 3.5-inch drives slide in from the rear of the case. The drive caddy can be removed once you have undone a thumbscrew. There is a good chance you will need to remove the drive caddy during your PC build as it obscures access to the back of the motherboard however you cannot simply omit the 3.5-inch drive caddy as that would leave a large hole at the back of your PC.
The three drives trays slide in and out of the caddy and flex into position around a 3.5-inch hard drive. If you choose you could screw a 2.5-inch hard drive or Solid State Drive into one of these trays however it makes more sense to use the dedicated 2.5-inch trays at the front of the Air 240.
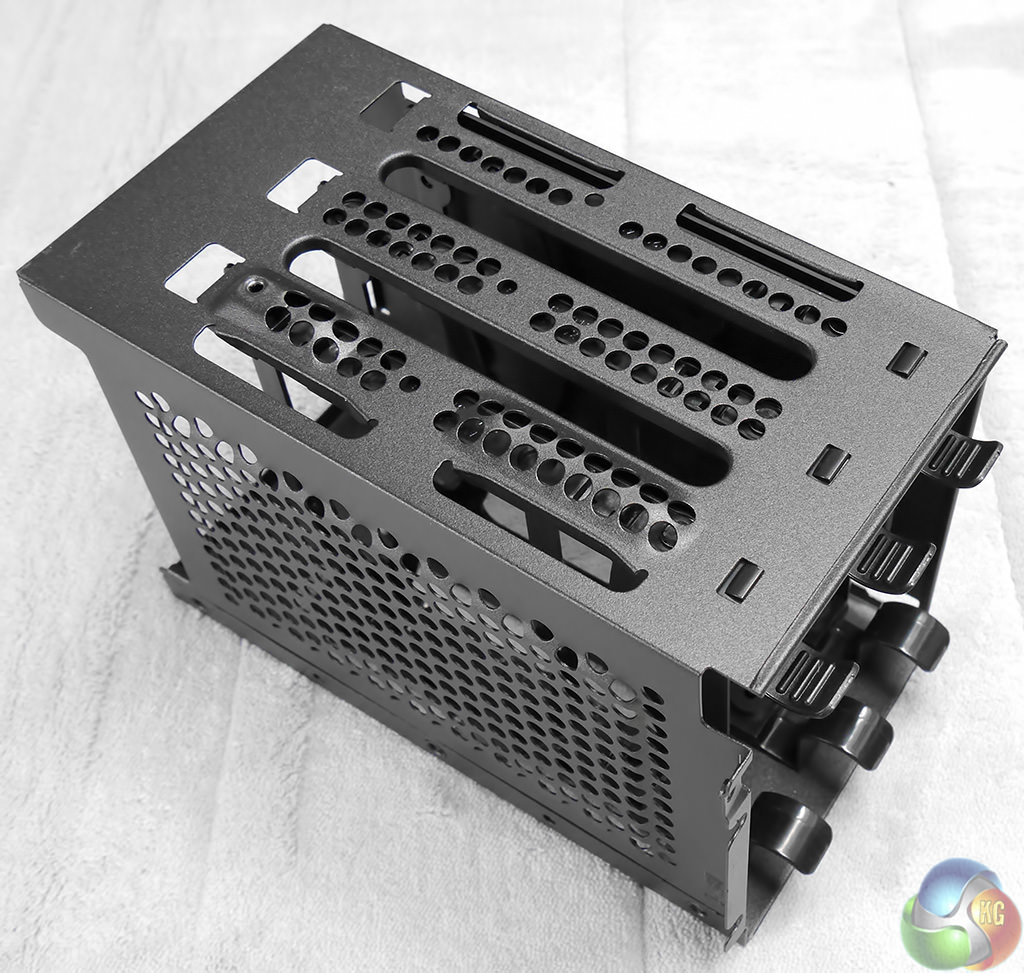
The unusual layout of the Air 240 means that you first remove two thumbscrews and then pull off the top cover of the chassis. This reveals the 2.5-inch drive caddy with its trays pointing upwards.

In this photo I have laid the Air 240 on its side so you are looking at the top of the chassis with the 2.5-inch drive trays partially removed.
There is no obvious need to remove the 2.5-inch drive caddy but if you choose to do so you first have to undo a thumbscrew on the backside of the motherboard tray and then find a small screw that is located under the top cover. It's not difficult to do, but neither is it especially obvious.
Removing the bottom cover is also a simple matter of undoing two thumbscrews and sliding the cover away.
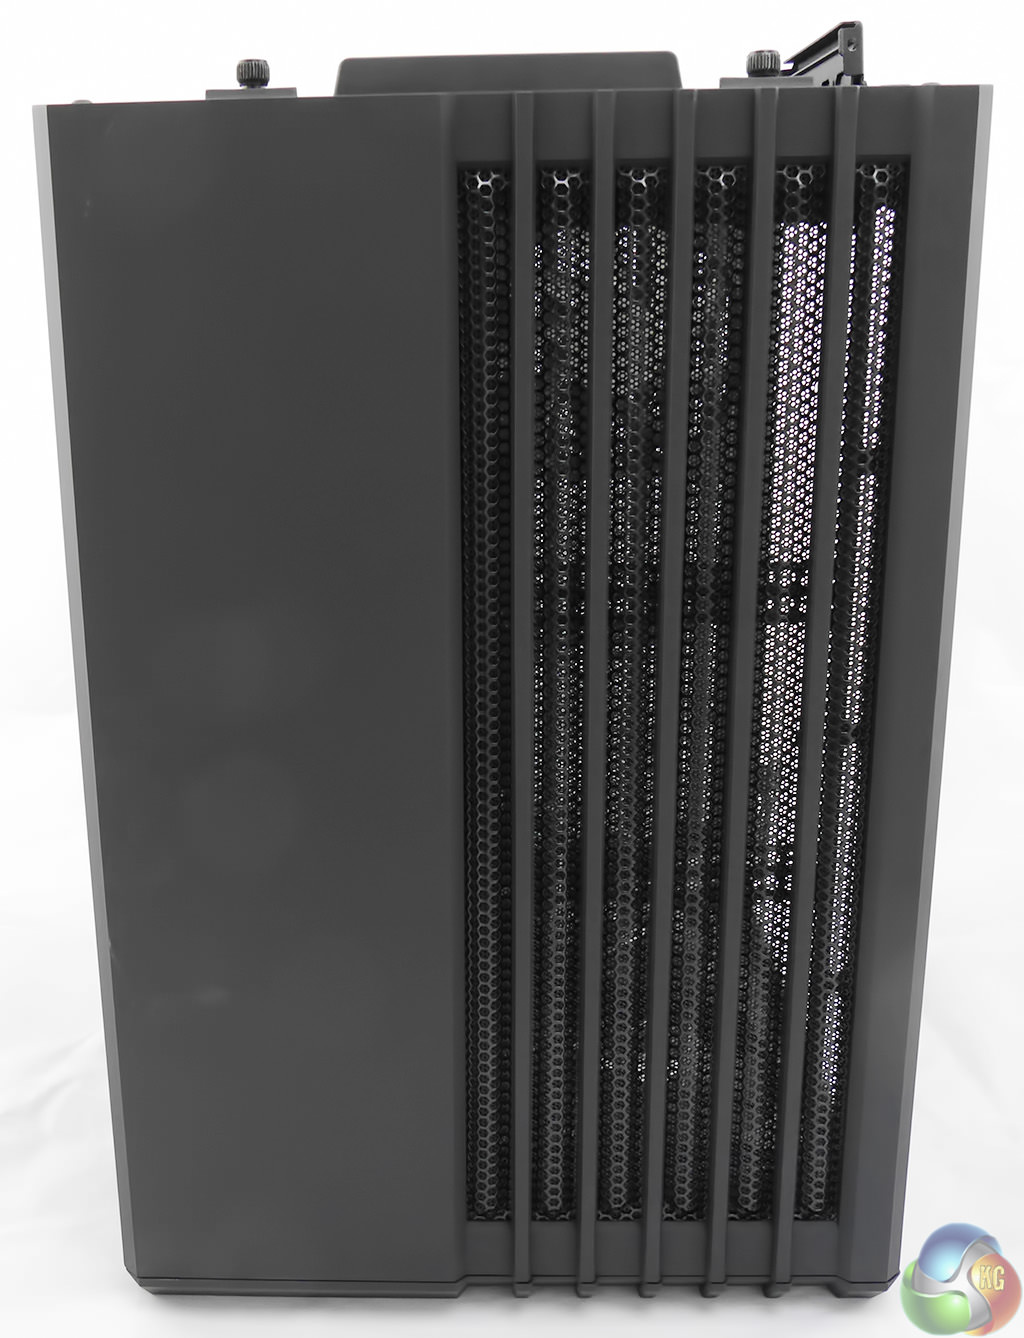
In all likelihood you will want to remove the front cover to gain access to the front fans and perhaps to install a water cooling system. With the two side panels and the top panel removed you unlatch four clips and the front cover pulls away.
At this stage in the game the Air 240 is minus its side, top, bottom and front panels and has been stripped to a bare skeleton. The build quality feels a bit flimsy however the Air 240 is so small that the various panels make it nice and rigid without any noticeable flex.
One thing I did notice is that the Air 240 is surprisingly tricky to pick up and move around as there are no obvious hand holds.