Here I will walk you through the installation process. It is worth noting we test using a Z97 motherboard – socket LGA 1150. The process below reflects that.
The first thing to do is prepare the backplate: the four screws need to positioned in the central mounting position, labelled ‘115x'. Once you have done that, the screws can be locked in place with small plastic clips.
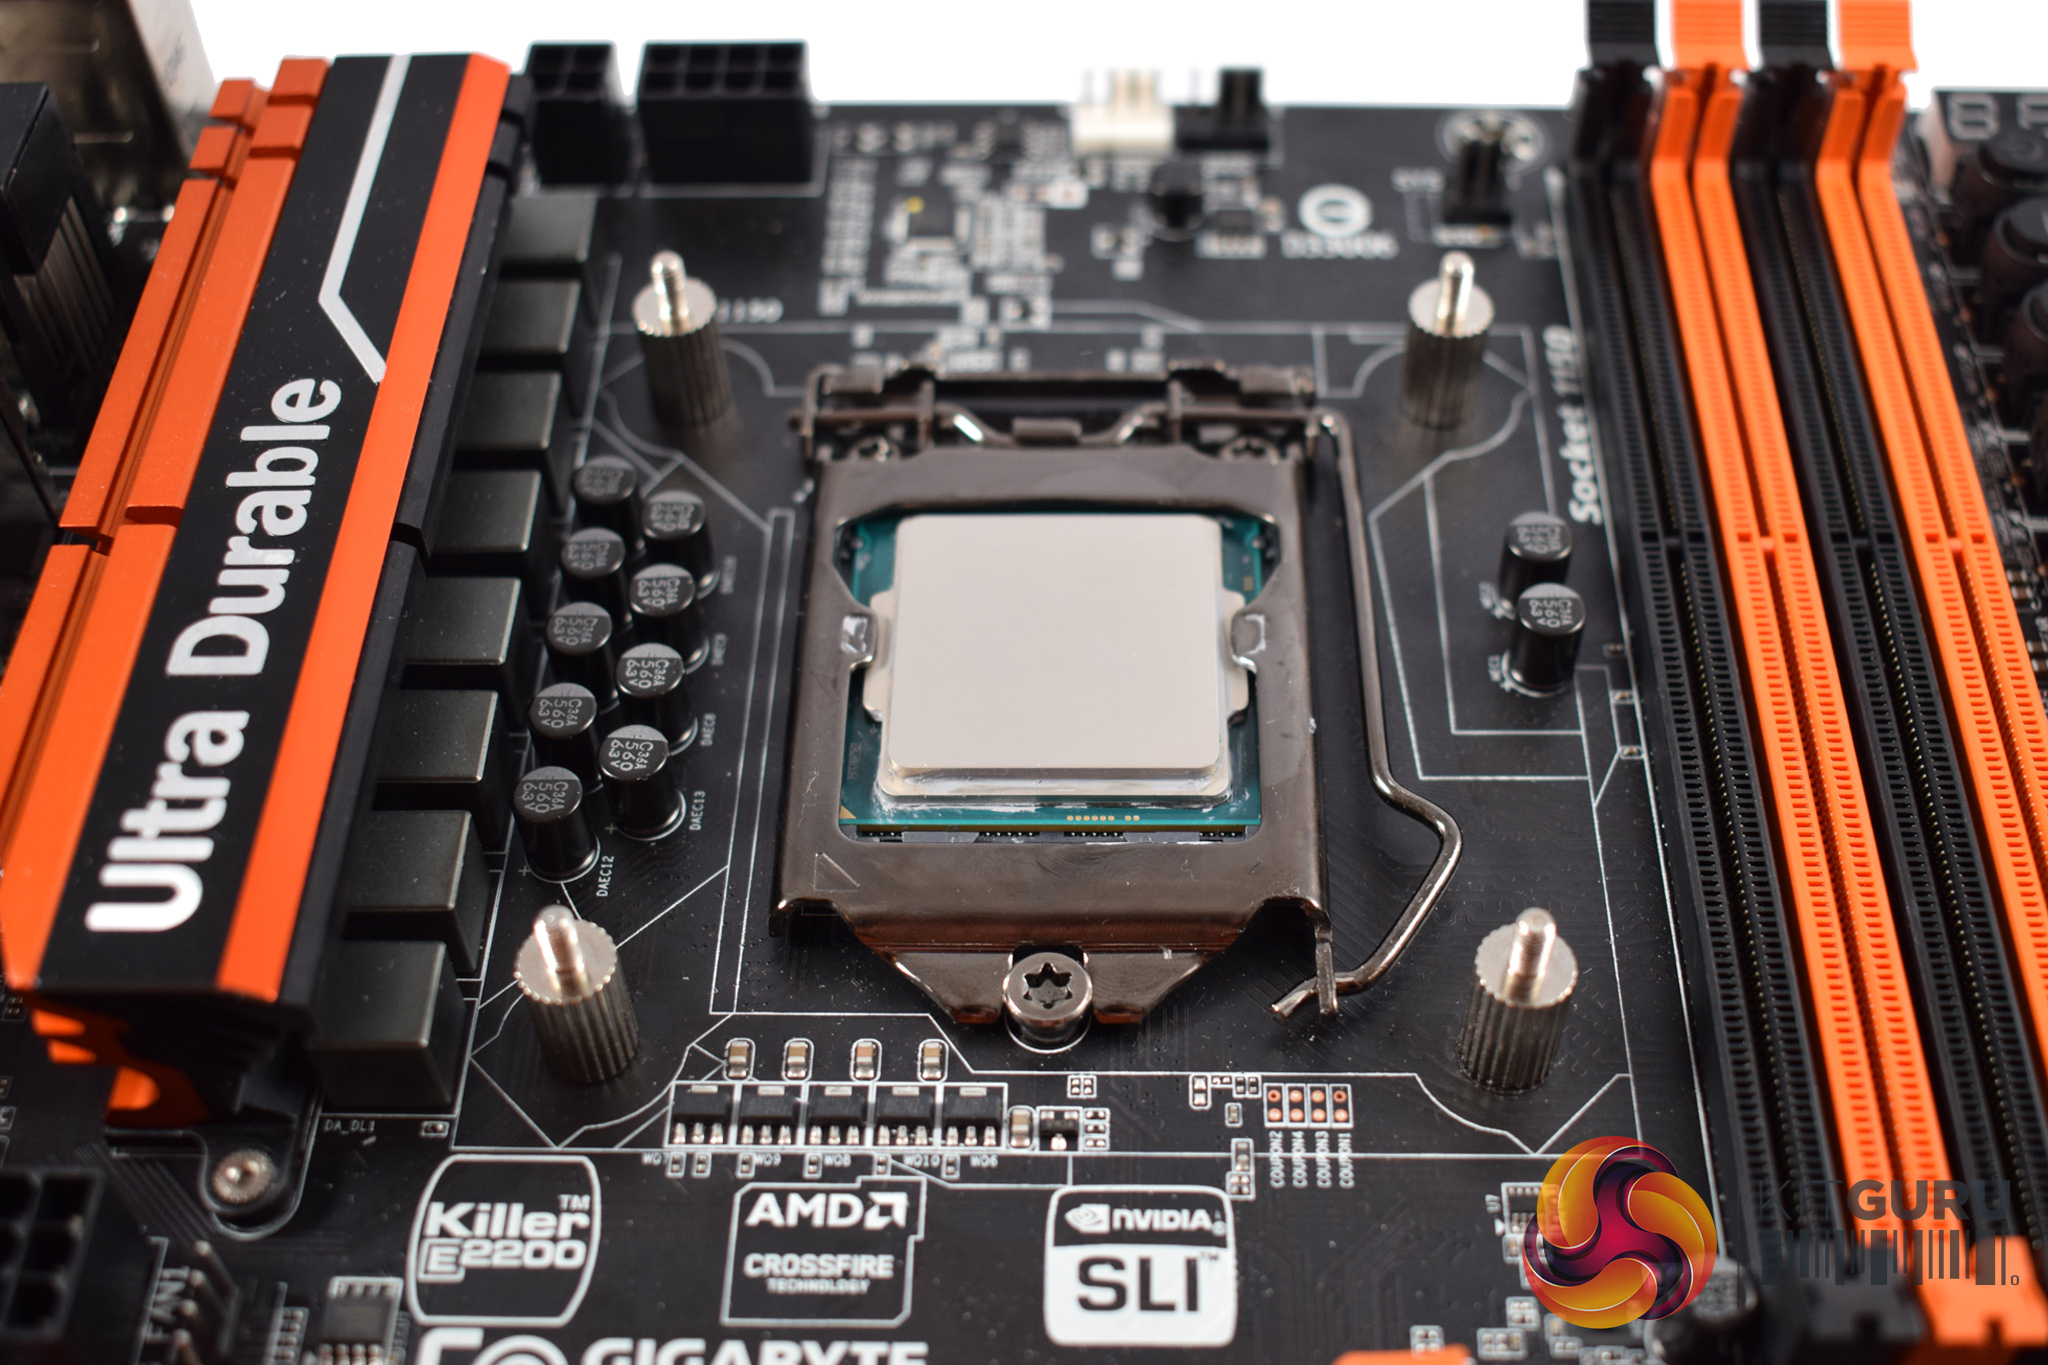
After feeding the backplate through the motherboard's socket holes, screw four standoffs to the backplate screws, as above.
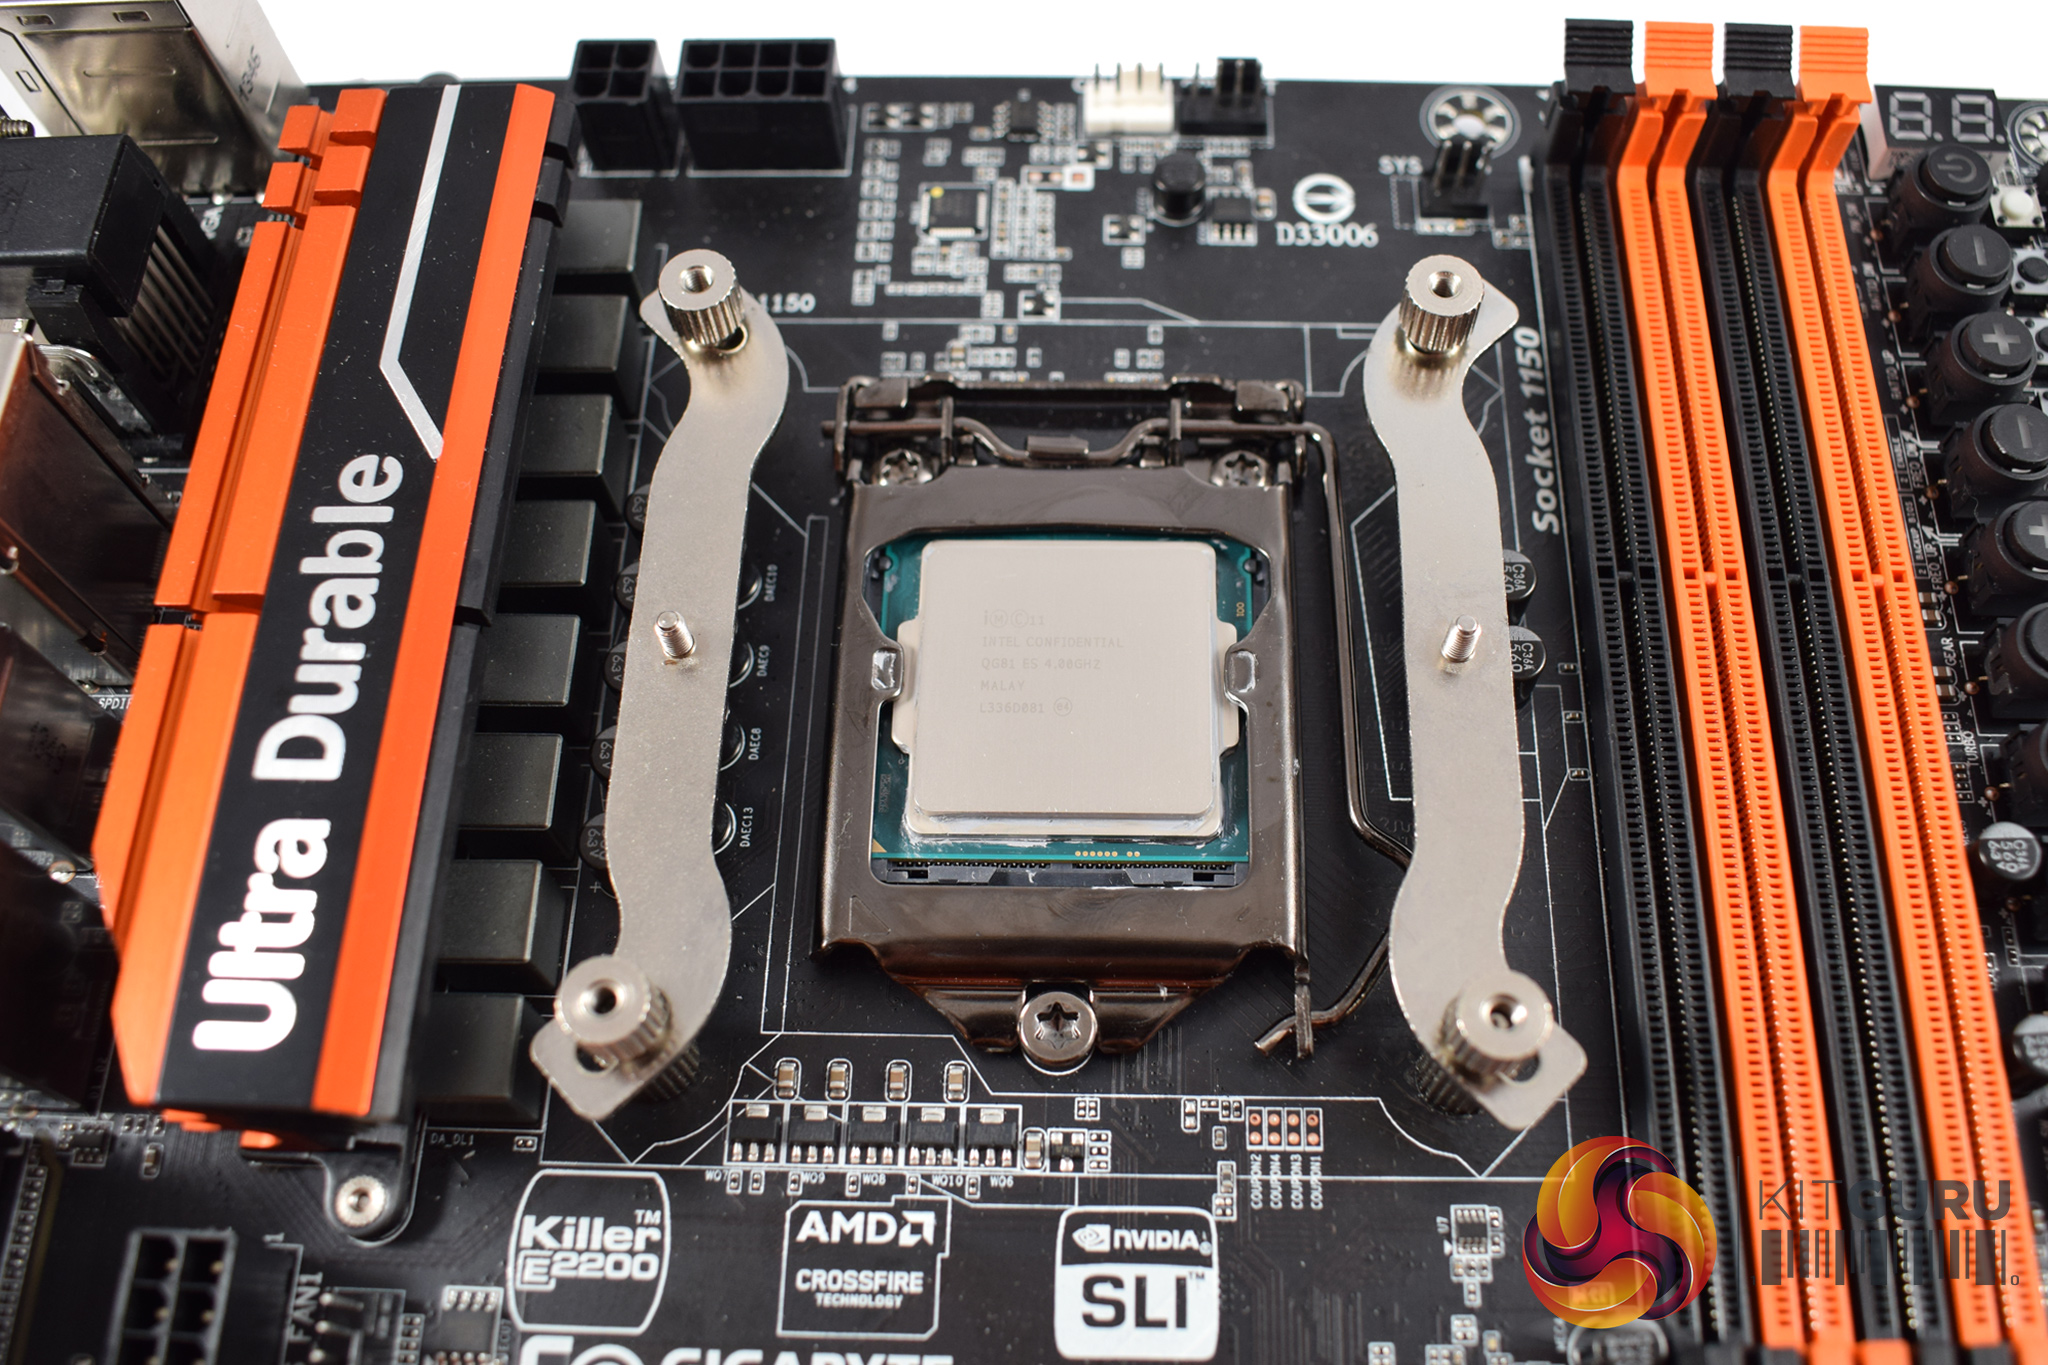
Next, the Intel-compatible rails should be placed on-top of the standoffs.
Once they are in place, secure them with four thumbscrews.
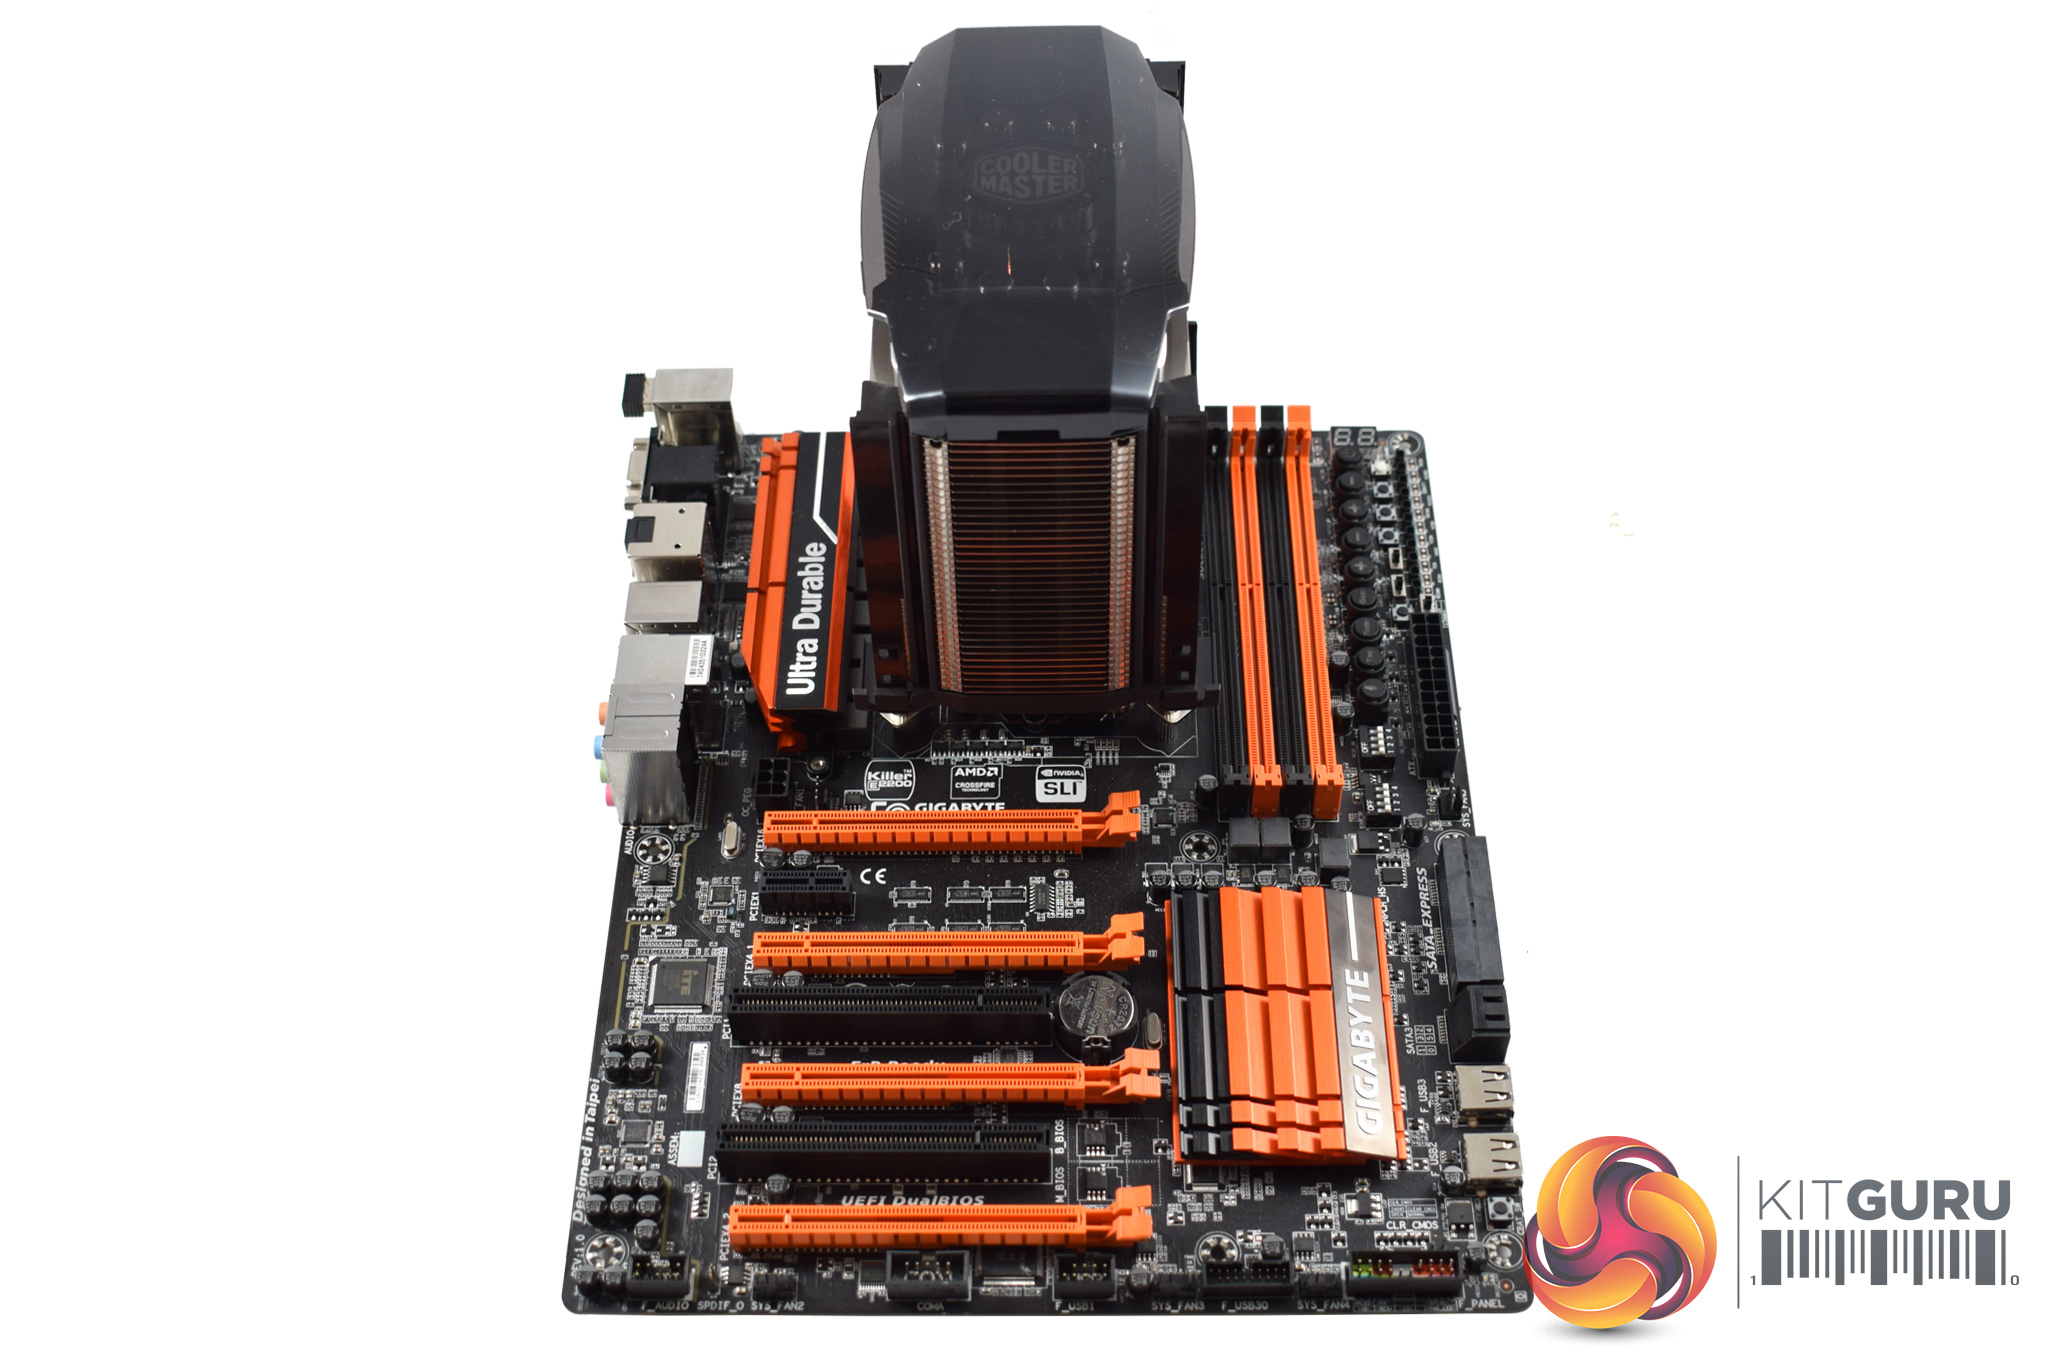
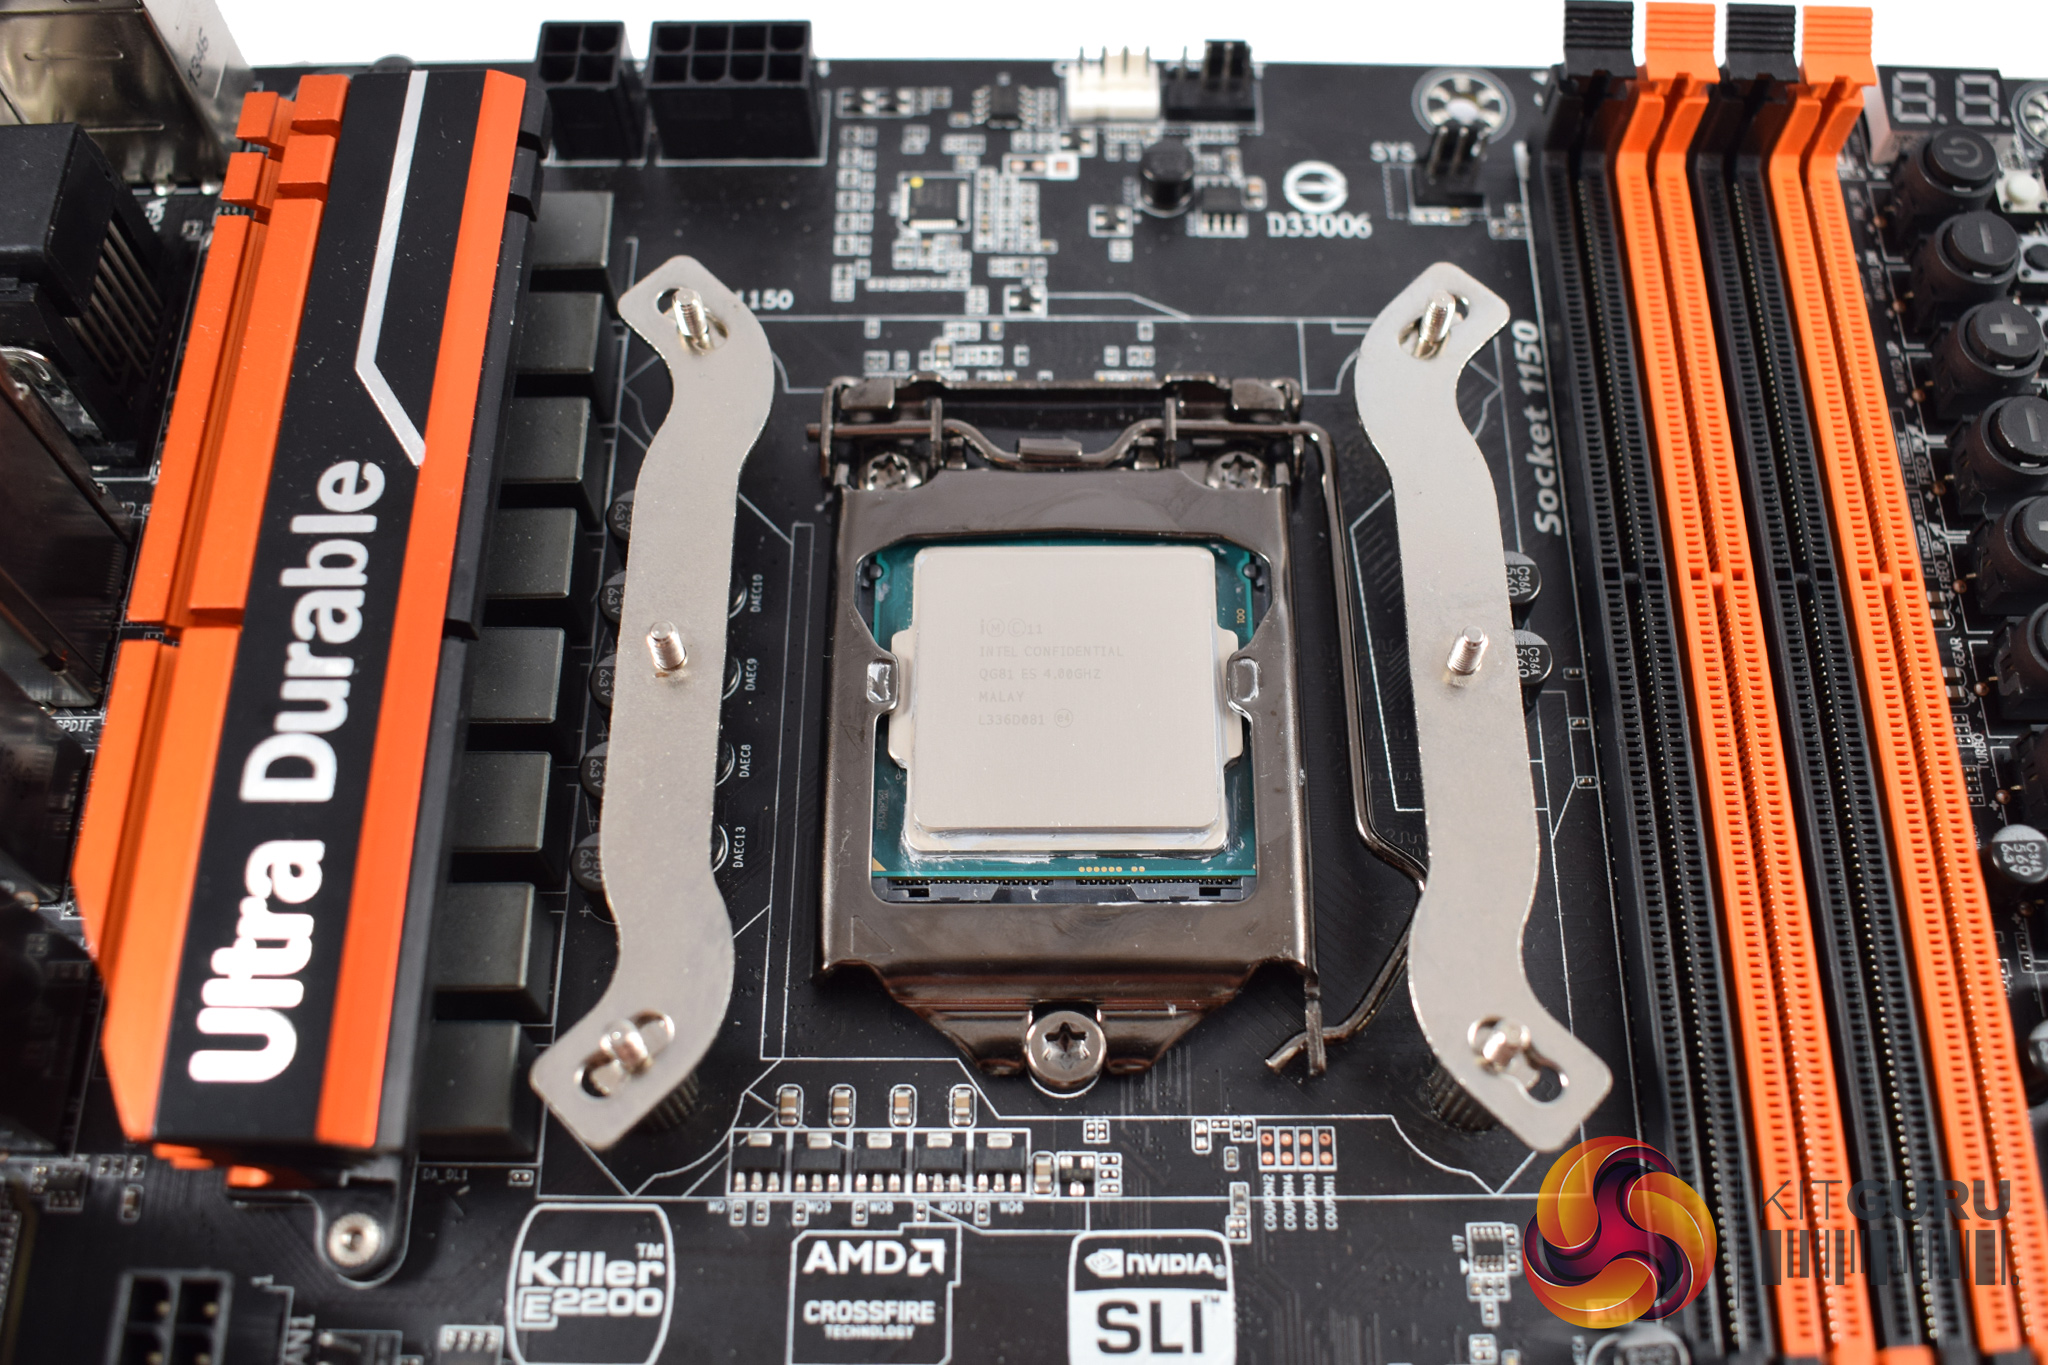
That leaves us ready to mount the cooler – but make sure the fans are removed before you try and install the heatsink.
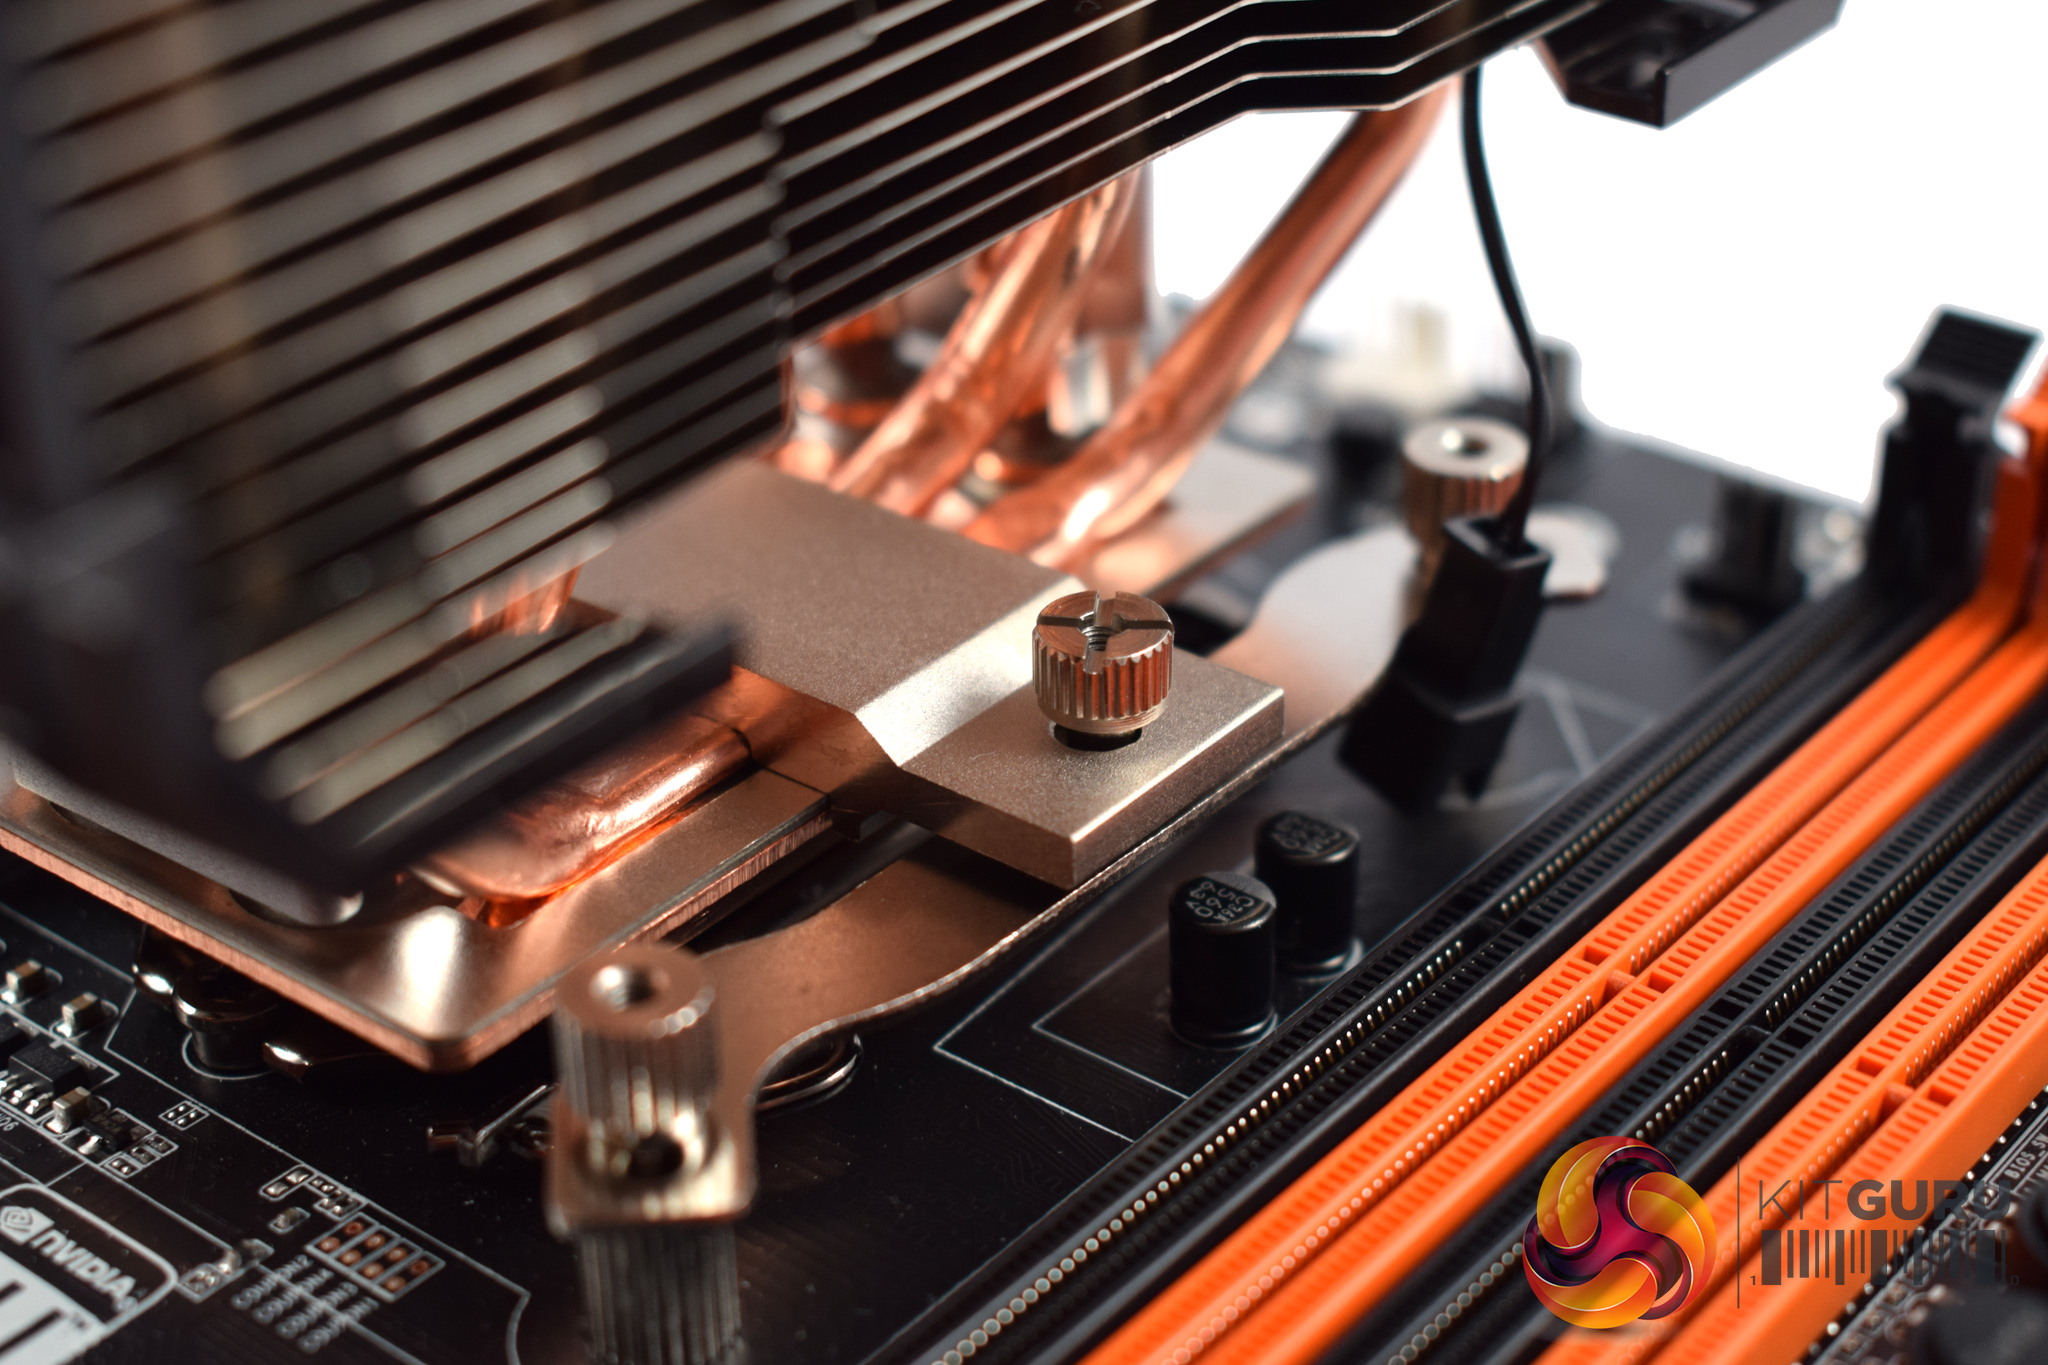
The Maker 8 has a pre-installed mounting bracket which aligns with the two screws that protrude from the mounting rails. Once the cooler is mounted, the heatsink can be secured to the rails using another two thumbscrews.
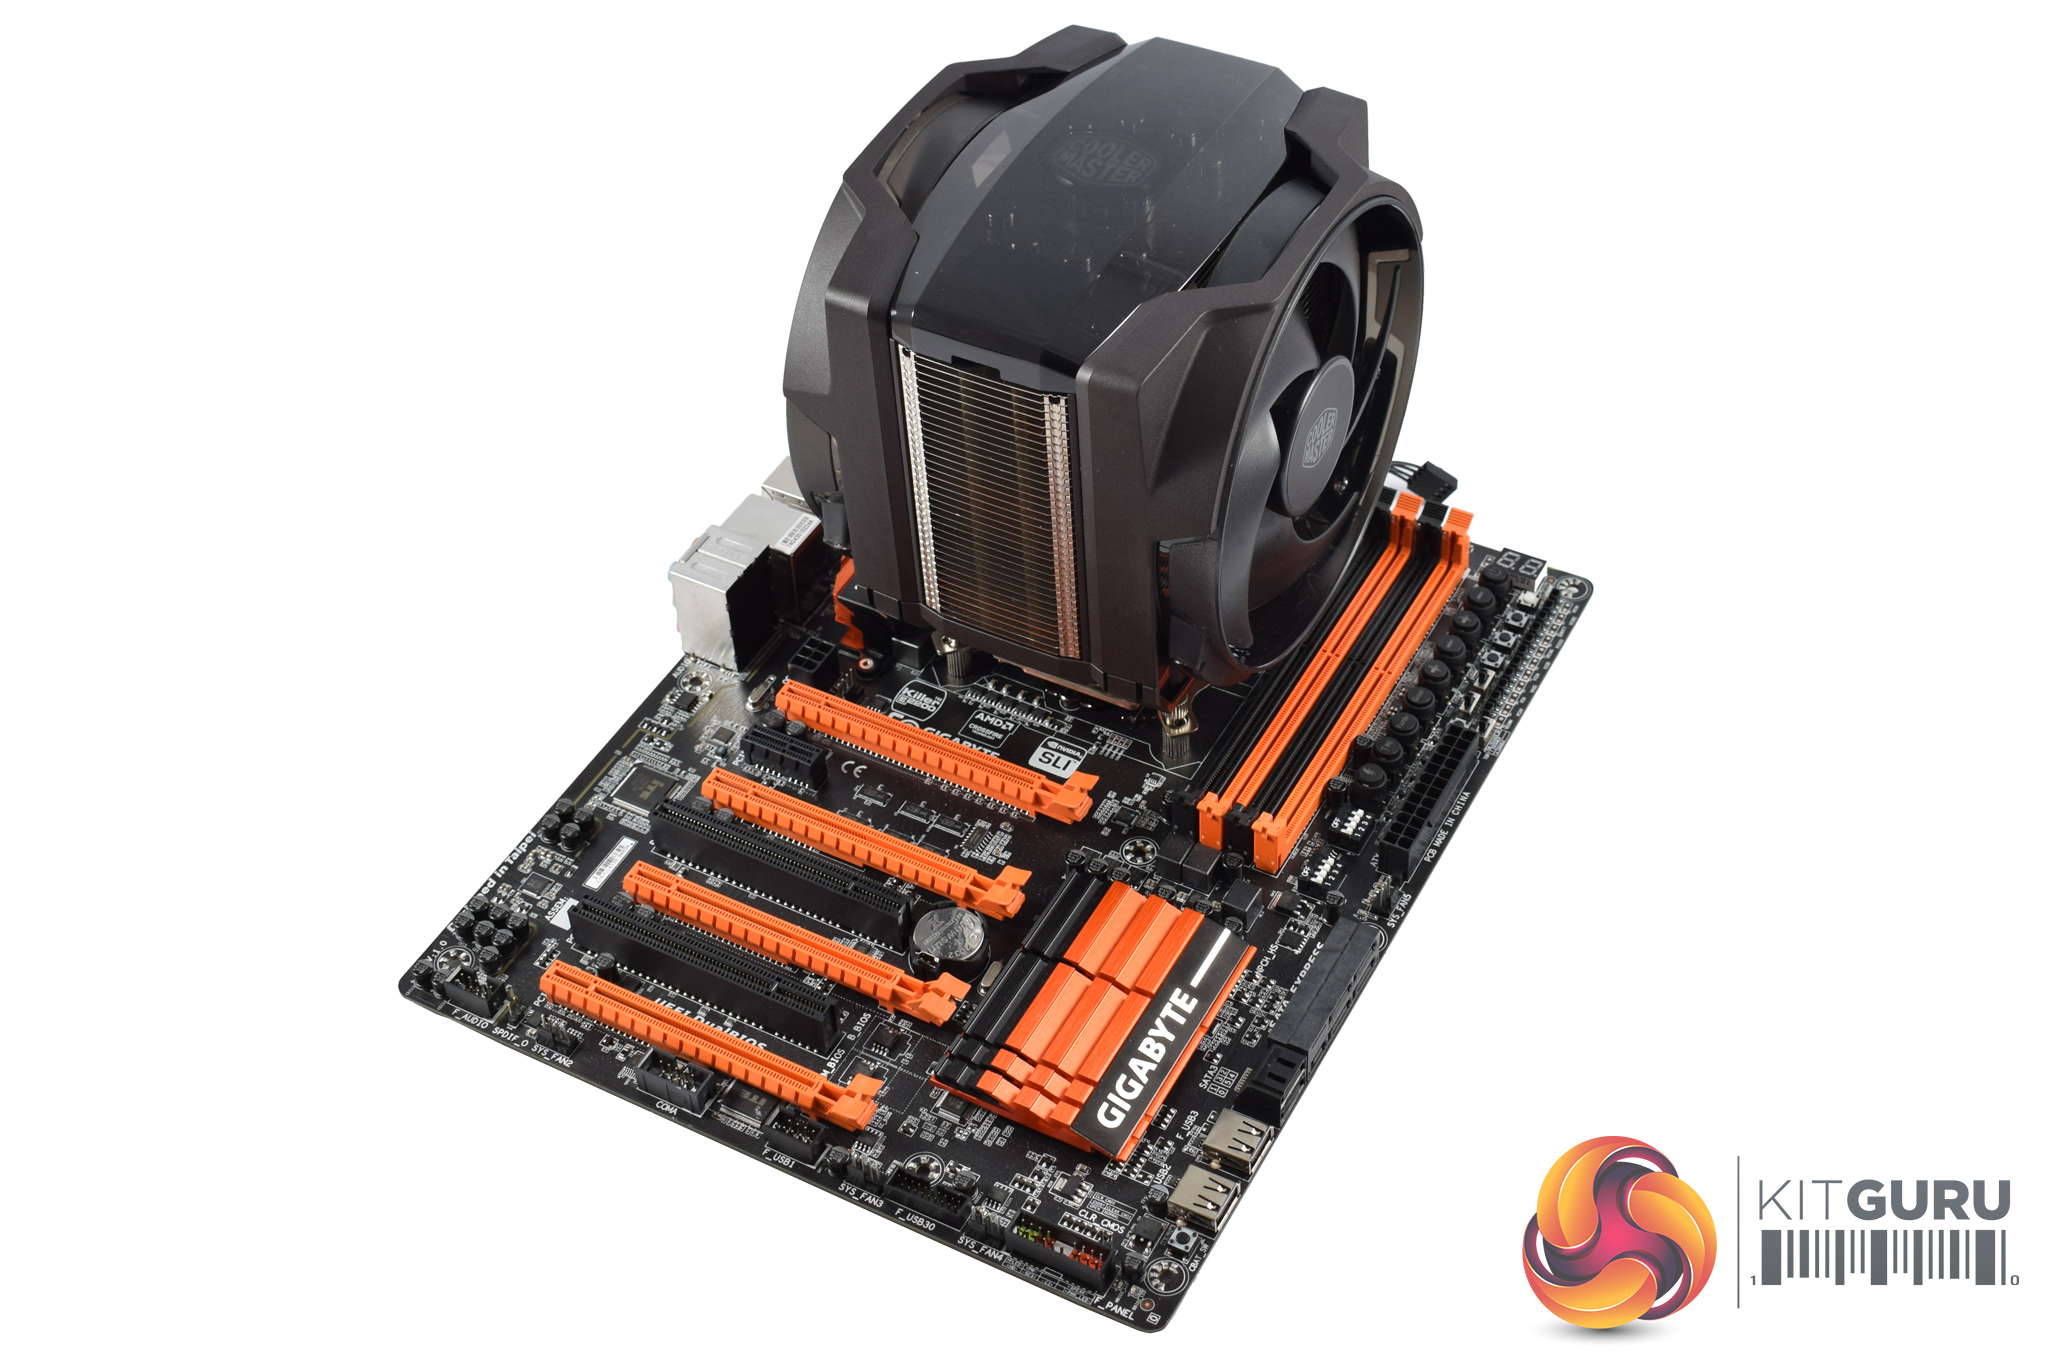
After that, the fans just need to be clipped back into place, and installation is done.
It is a simple and straightforward process and I encountered no issues. For such a big cooler, having such an easy installation method is definitely top work from Cooler Master.
Be sure to check out our sponsors store EKWB here