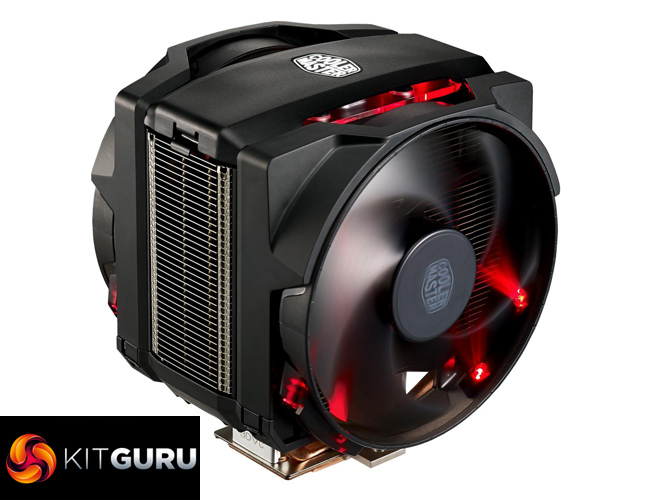
Cooler Master have earned a strong reputation in the CPU cooling sector, and not just because of the Hyper 212 EVO. Today we are looking at a monster, double-140mm fan behemoth – the MasterAir Maker 8. It uses 3DVC (3D Vapour Chamber) technology and utilises a whopping 8 heatpipes. Is this the pinnacle of high-end air cooling?
The Cooler Master MasterAir Maker 8 is a huge air cooler, and it has a price-tag to match at £99.95 here in the UK. It will be interesting to see how it stacks up against the competition at this price.
Read on for our full review where we look at the features, installation process and performance before giving our final verdict.
Specification
- Dimensions (LxWxH): 135 x 145 x 172 mm
- Heat Sink Dimensions (LxWxH): 78 x 144.5 x 160.5 mm
- Heat Sink Material: 3D Vapour Chamber Base / 8 Heat Pipes / Aluminium Fins
- Heat Sink Weight: 758g
- Heat Pipe Dimensions: 6 mm
- Fan Dimensions: 140 x 25 mm x 2pcs
- Fan Speed: 600 – 1,800 RPM ± 10%
- Fan Air Flow: 19.8 – 66 CFM ± 10%
- Fan Air Pressure: 0.24 – 2.2 mmH2
- Fan Life Expectancy: 160,000 hrs
- Noise Level: 8~24 dBA
- Bearing Type: Loop Dynamic Bearing
- Connector: 4-Pin
- Rated Voltage: 12 VDC
- Rated Current: 0.15 A
- Power Consumption: 1.8 W
- Fan Weight: 130 g
- Weight: 1350 g
- CPU Socket: Intel® LGA 2011-v3 / 2011 / 1366 / 1156 / 1155 / 1151 / 1150 / 775 / AMD FM2+ / FM2 / FM1 / AM3+ / AM3 / AM2+ (AM4 supported with additional bracket)

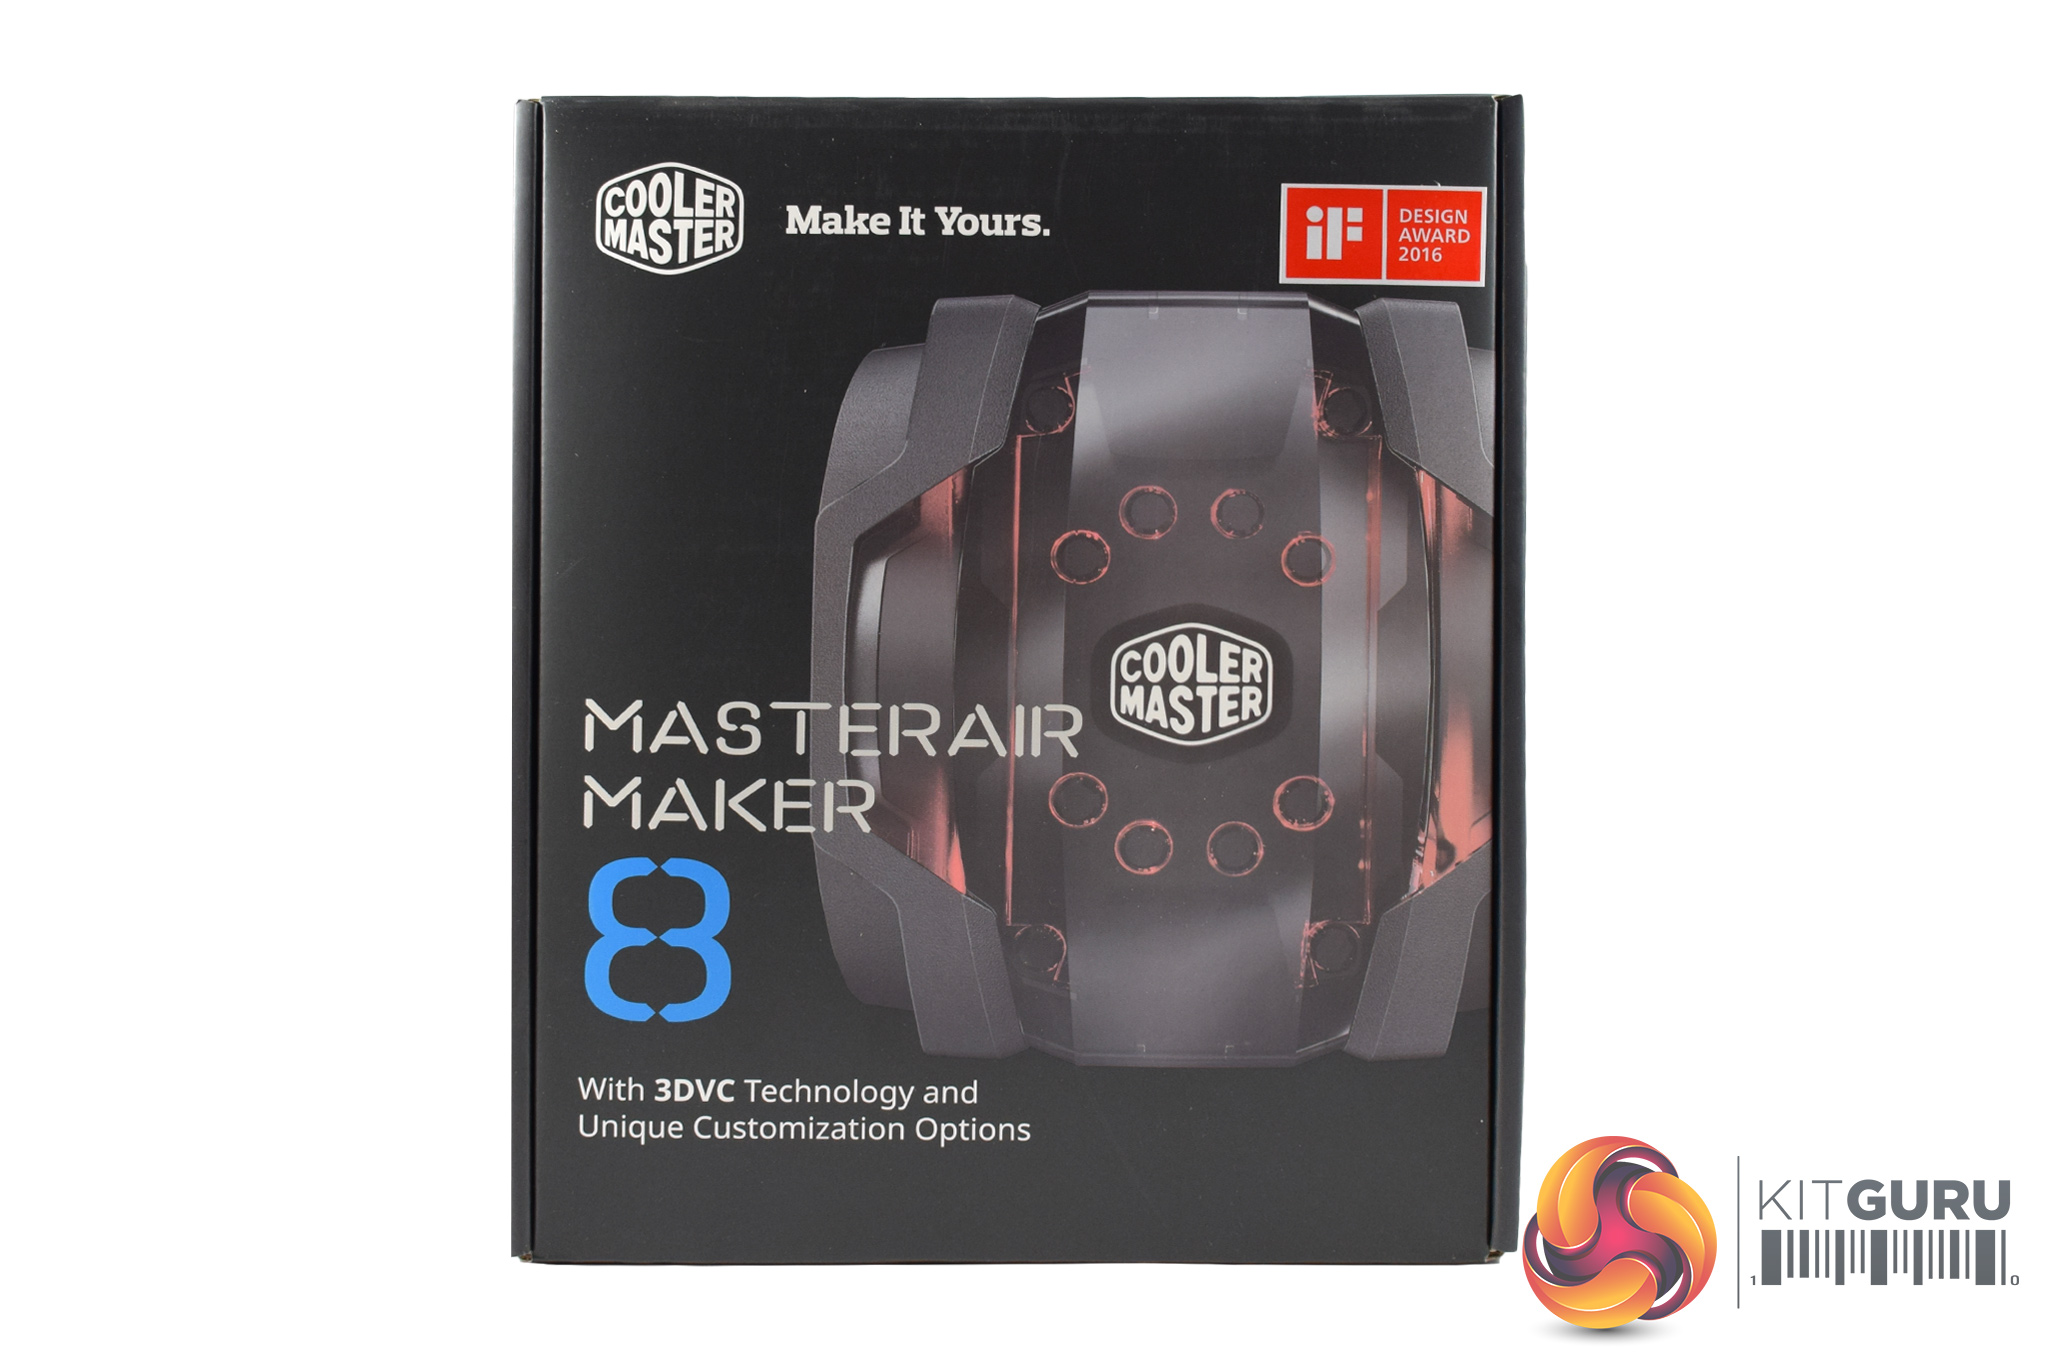
The Cooler Master MasterAir Maker 8 ships in a black box, while a top-down photo of the cooler itself is visible from the front.
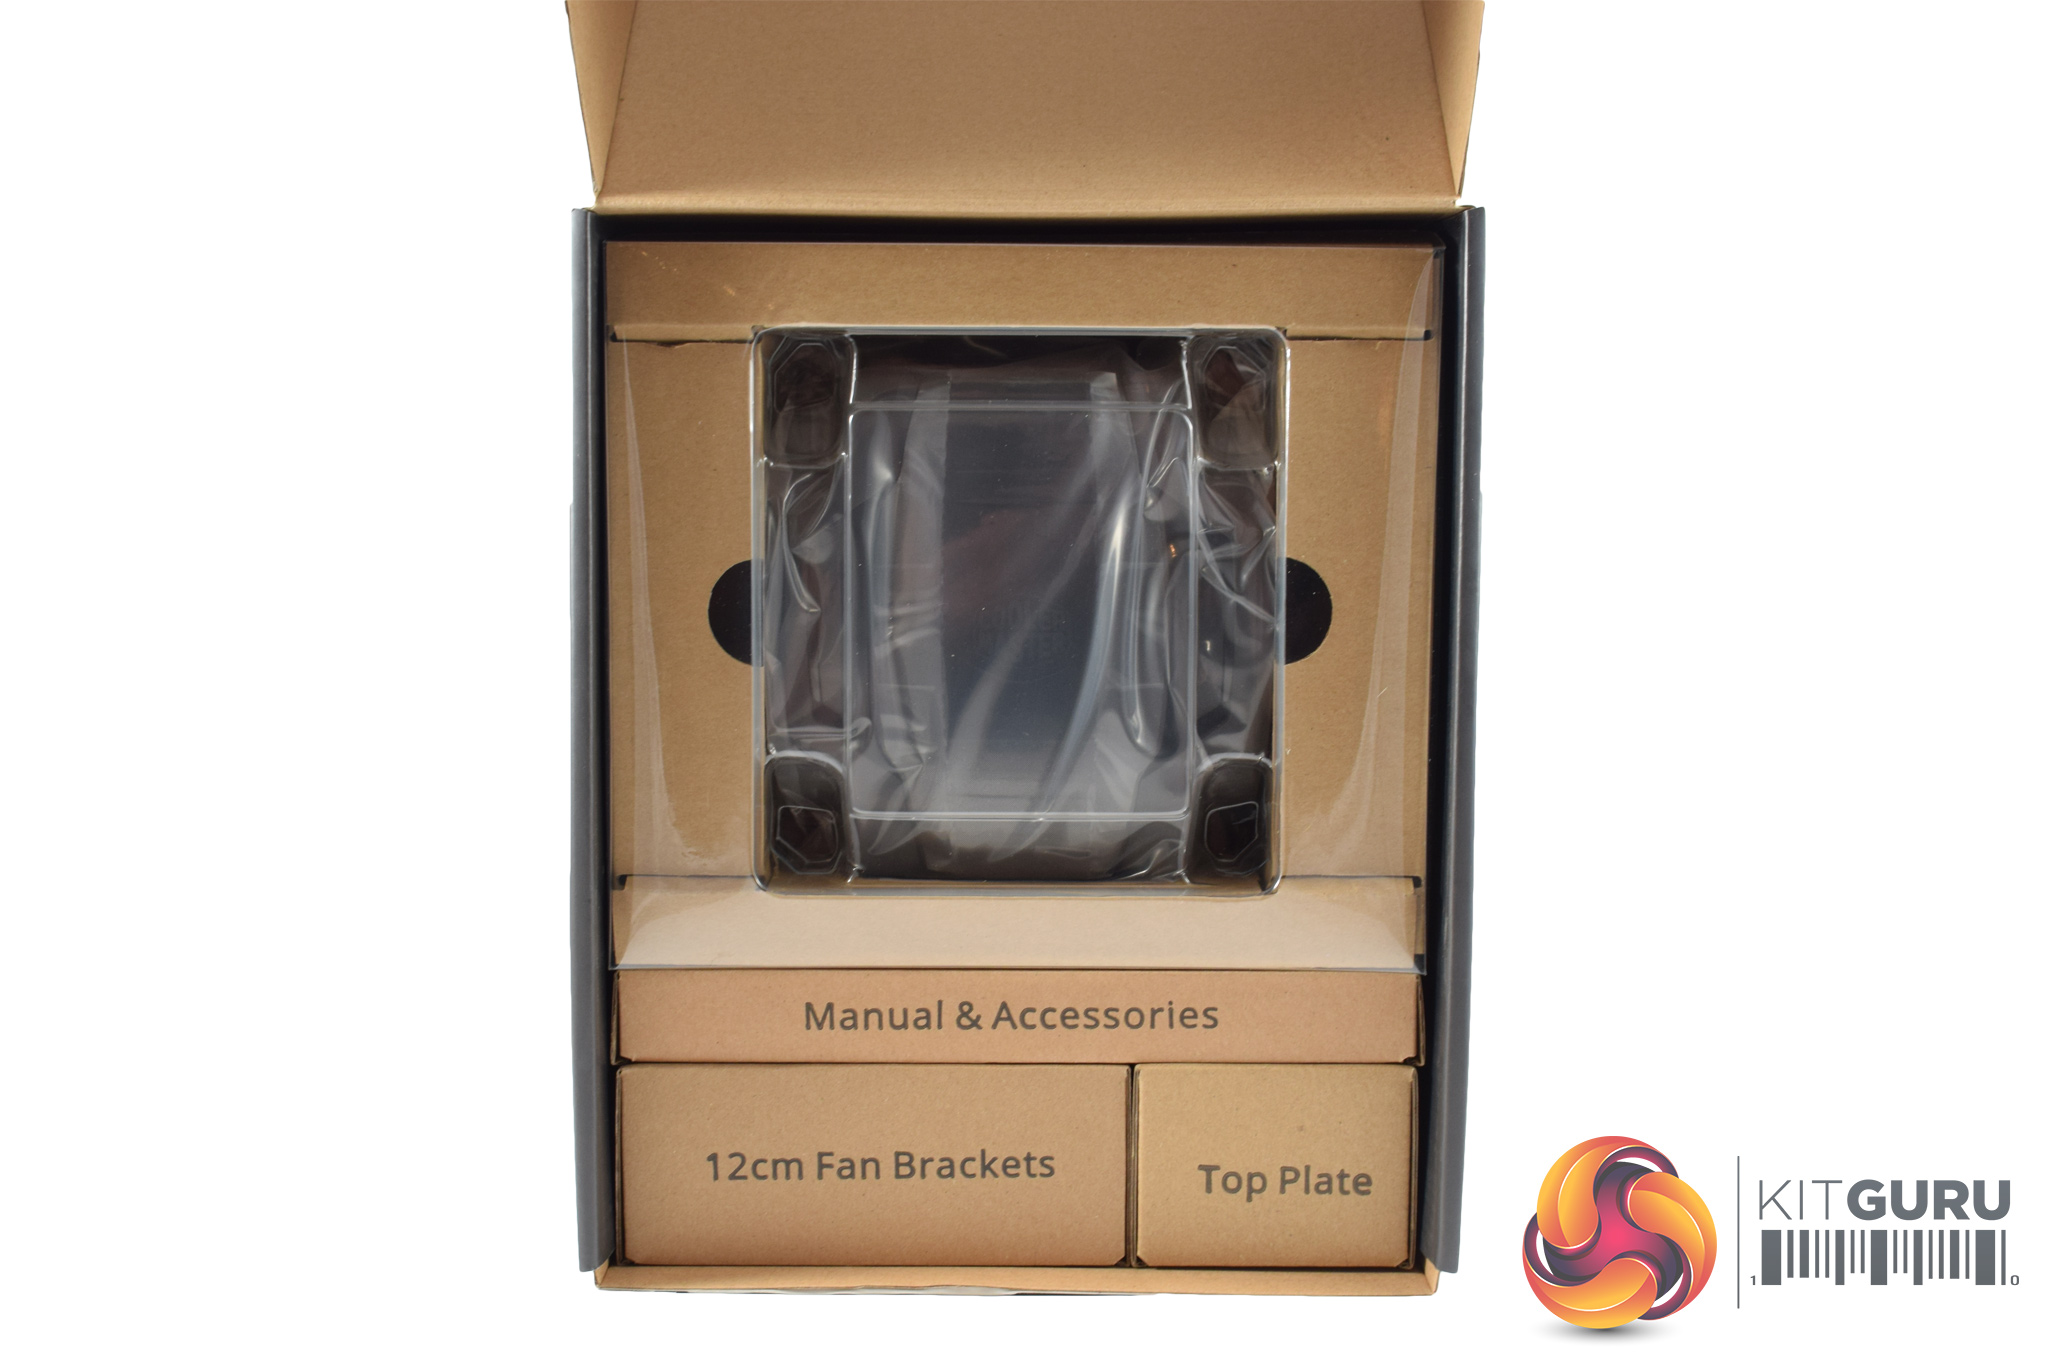
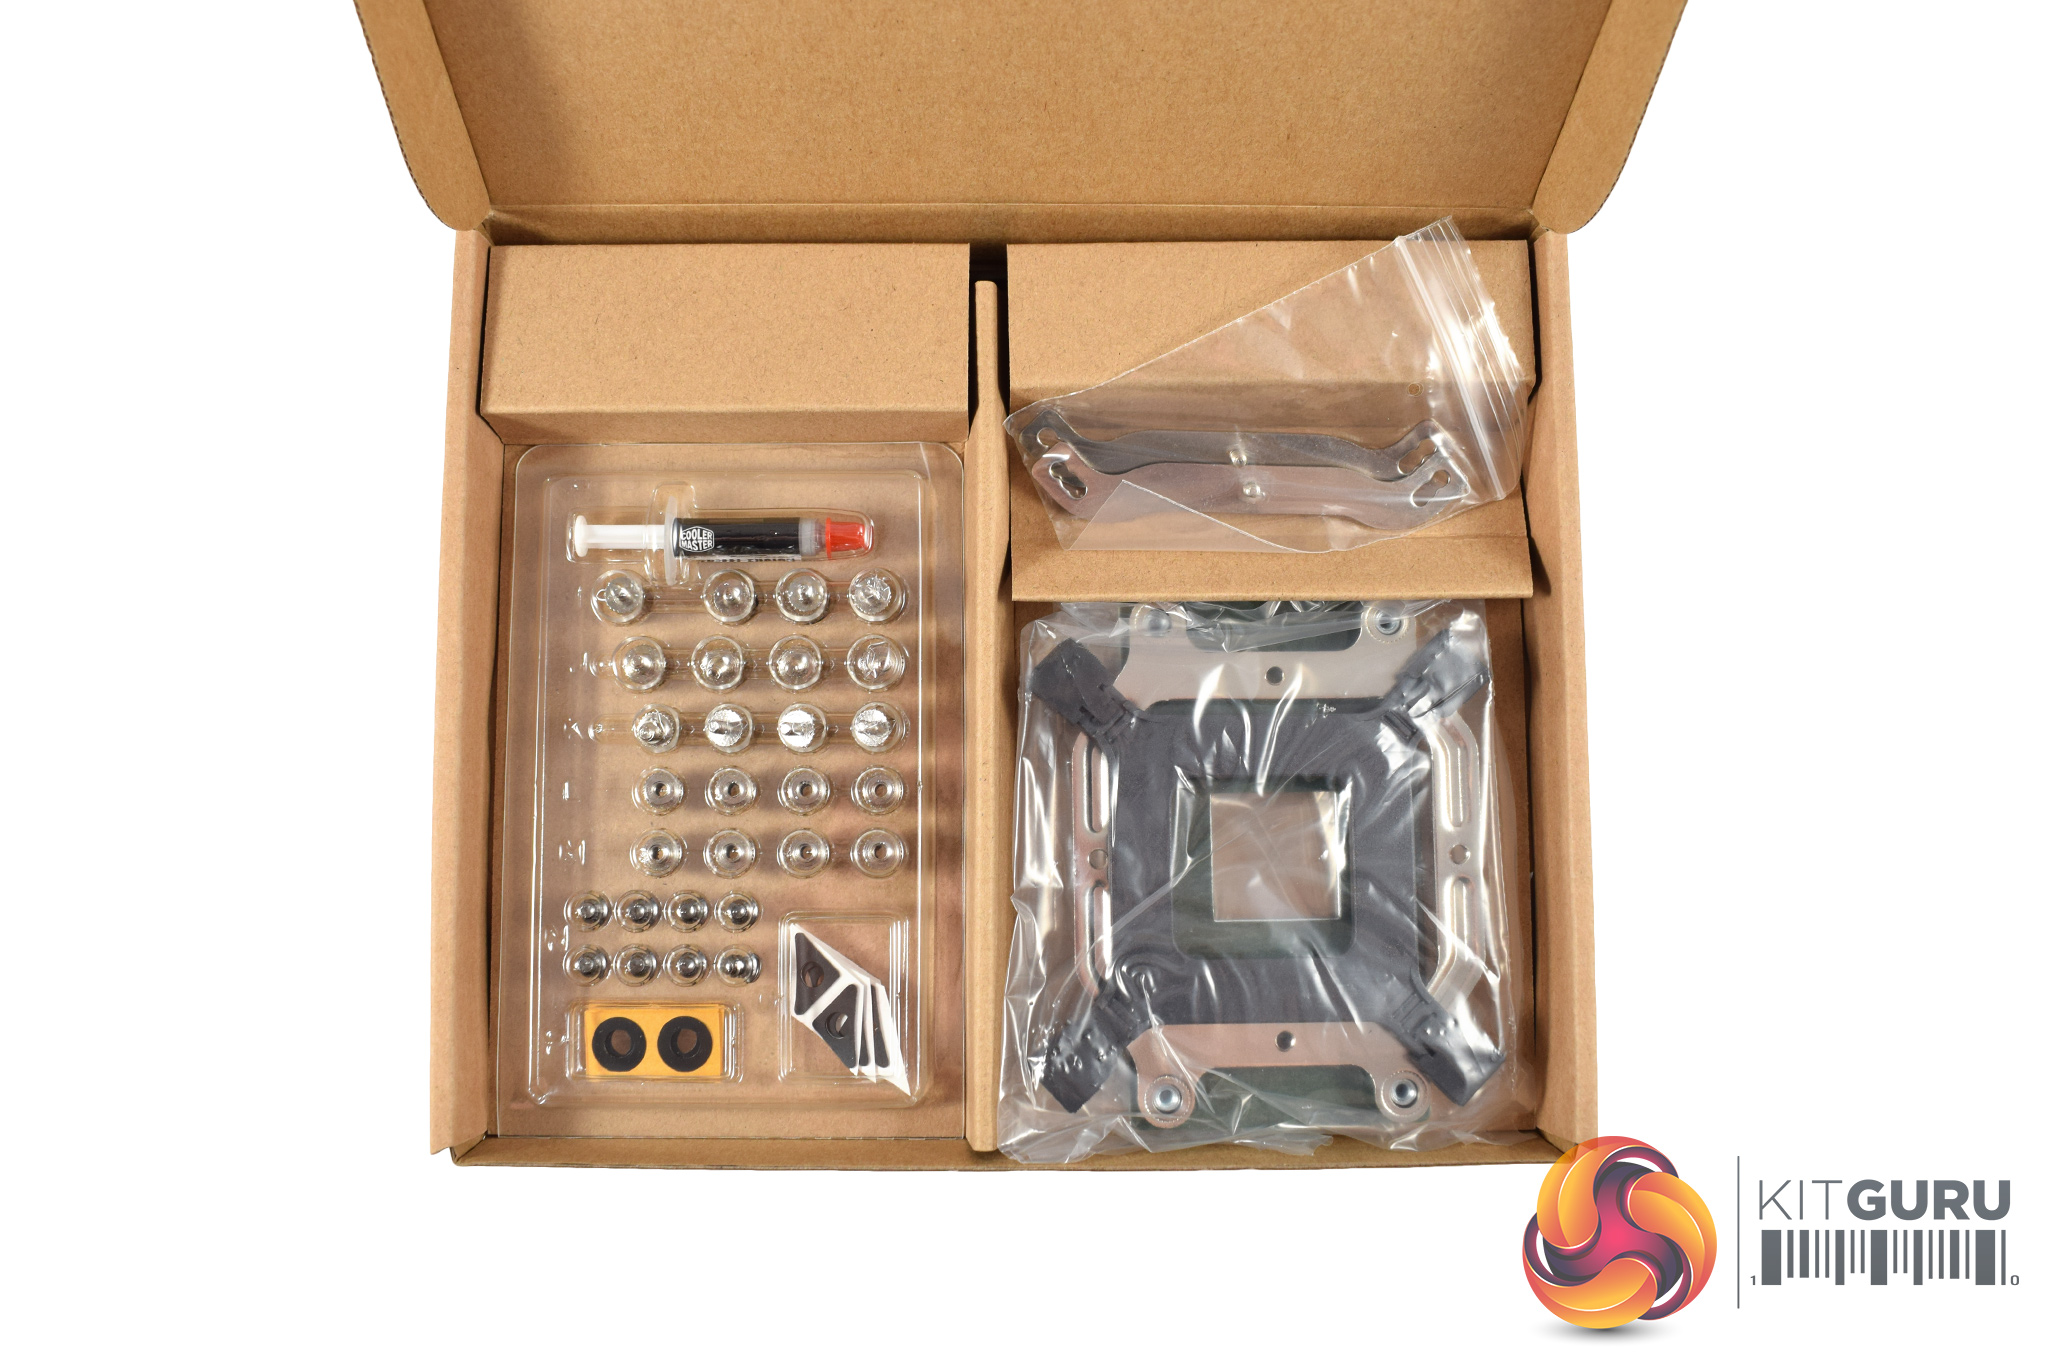
Inside, Cooler Master have absolutely nailed the packaging and presentation – everything is neatly positioned and labelled, while all the installation hardware comes individually packed in a plastic case. This really is the dream, as having everything labelled – right down to the last screw – just makes installation so much easier.
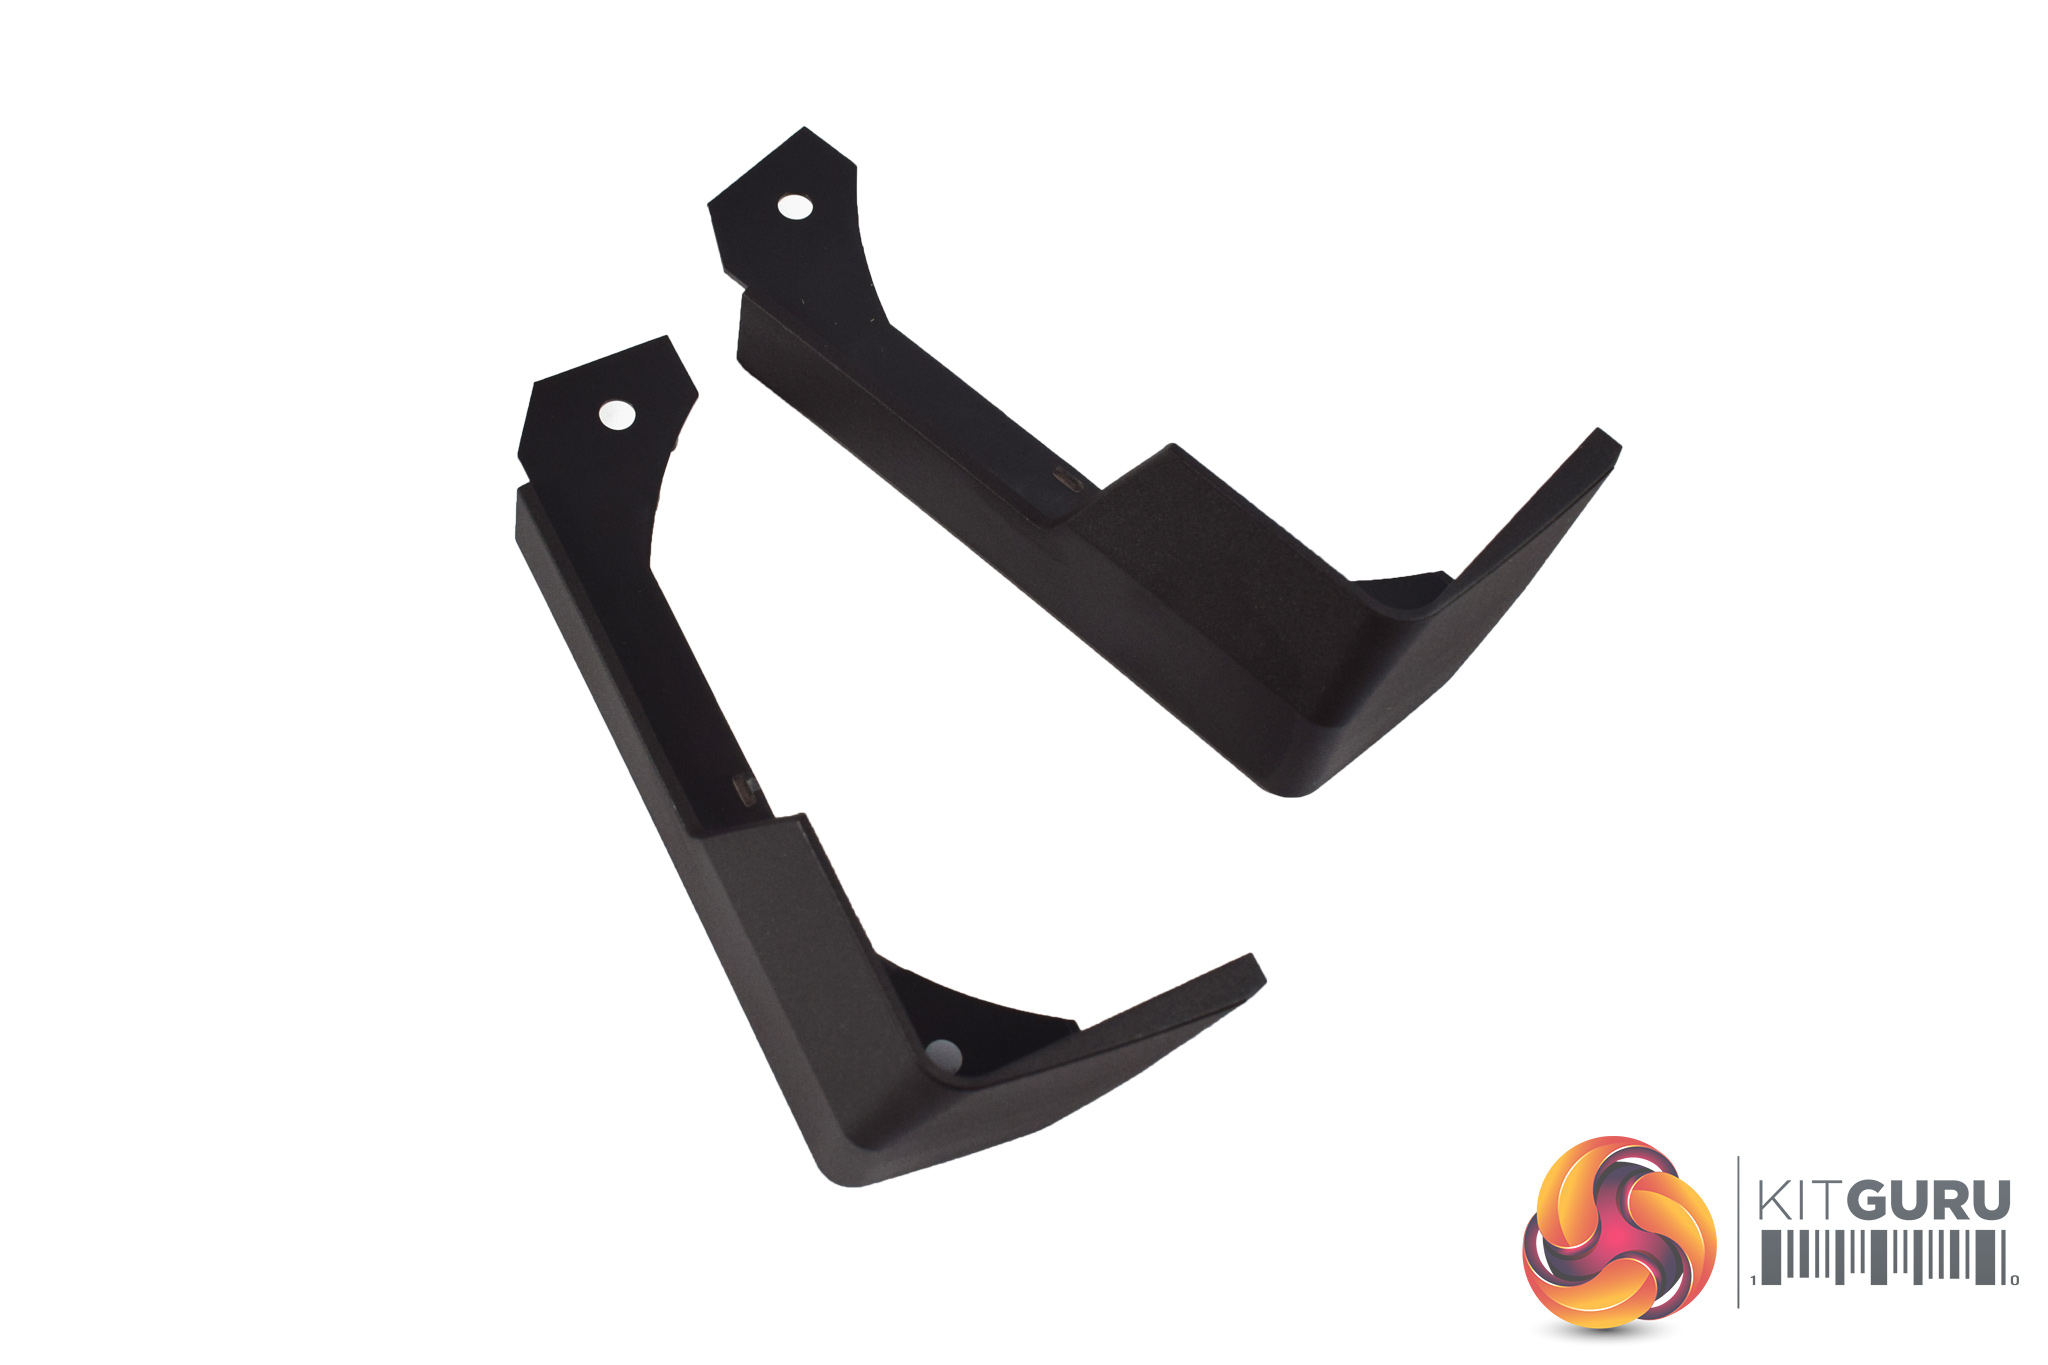
Also inside the box is a set of extra fan brackets – these support 120mm fans, while the pre-mounted brackets support 140mm fans. It is good to see Cooler Master have provided the extra fan brackets, as this lets you use your choice of 120mm or 140mm fans.
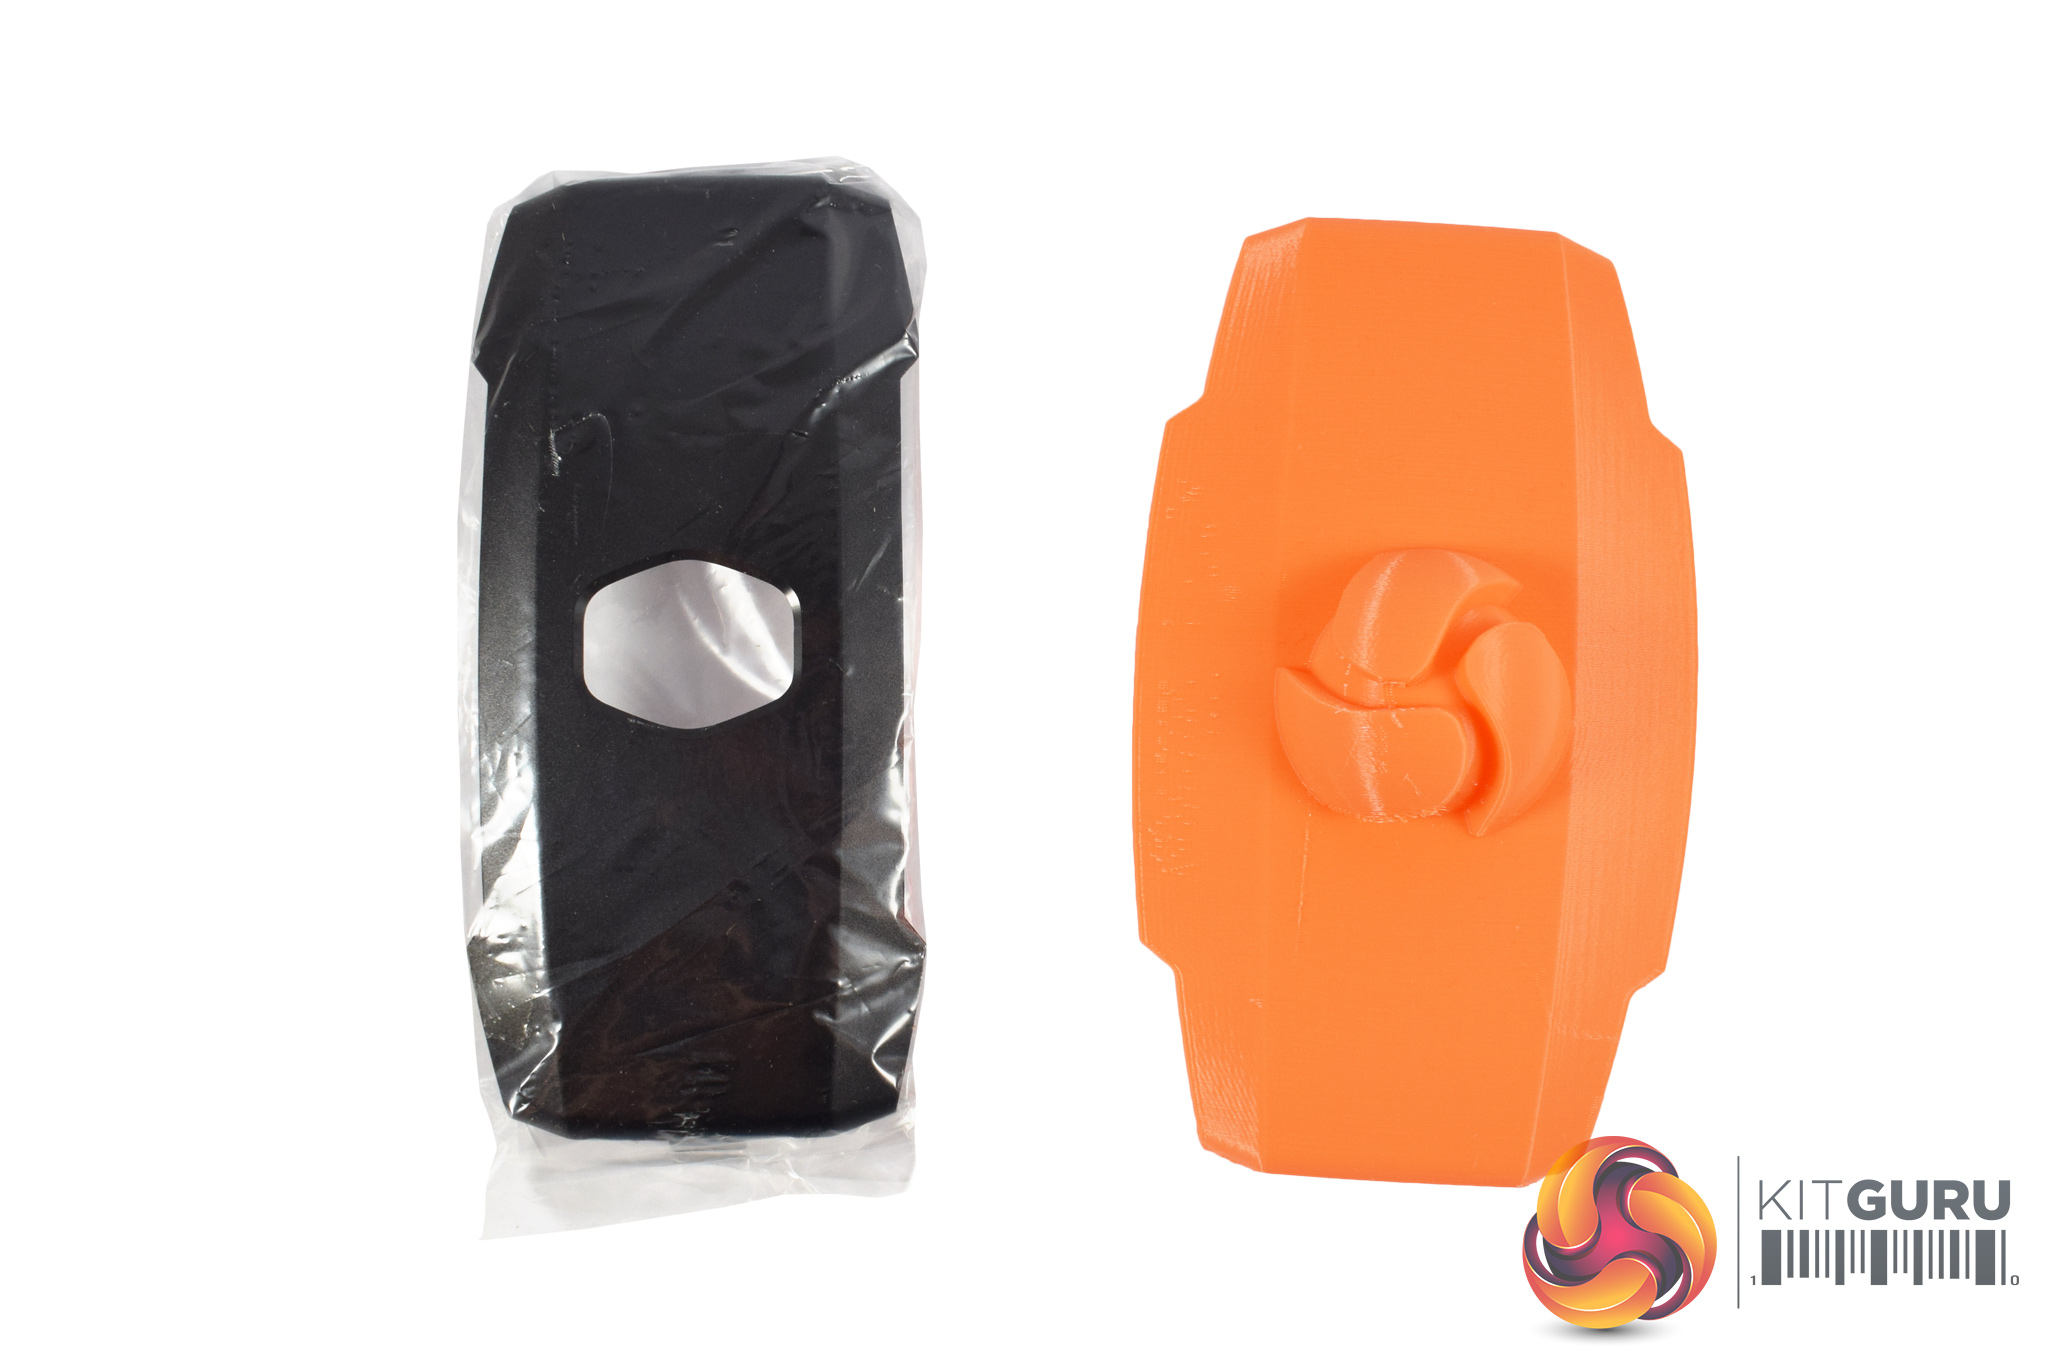
There is also a replacement top cover for the Maker 8 included. The pre-installed cover is made of semi-translucent plastic, but Cooler Master also include a brushed aluminium cover if that is more your style. What is even cooler is that you can actually 3D print your own cover for the Maker 8, and Cooler Master actually sent over a special KitGuru cover for our review sample. It looks pretty sweet if you ask us.

The manual is also effective, with large and clear diagrams providing excellent installation instructions. We go through the installation process itself on the next page.

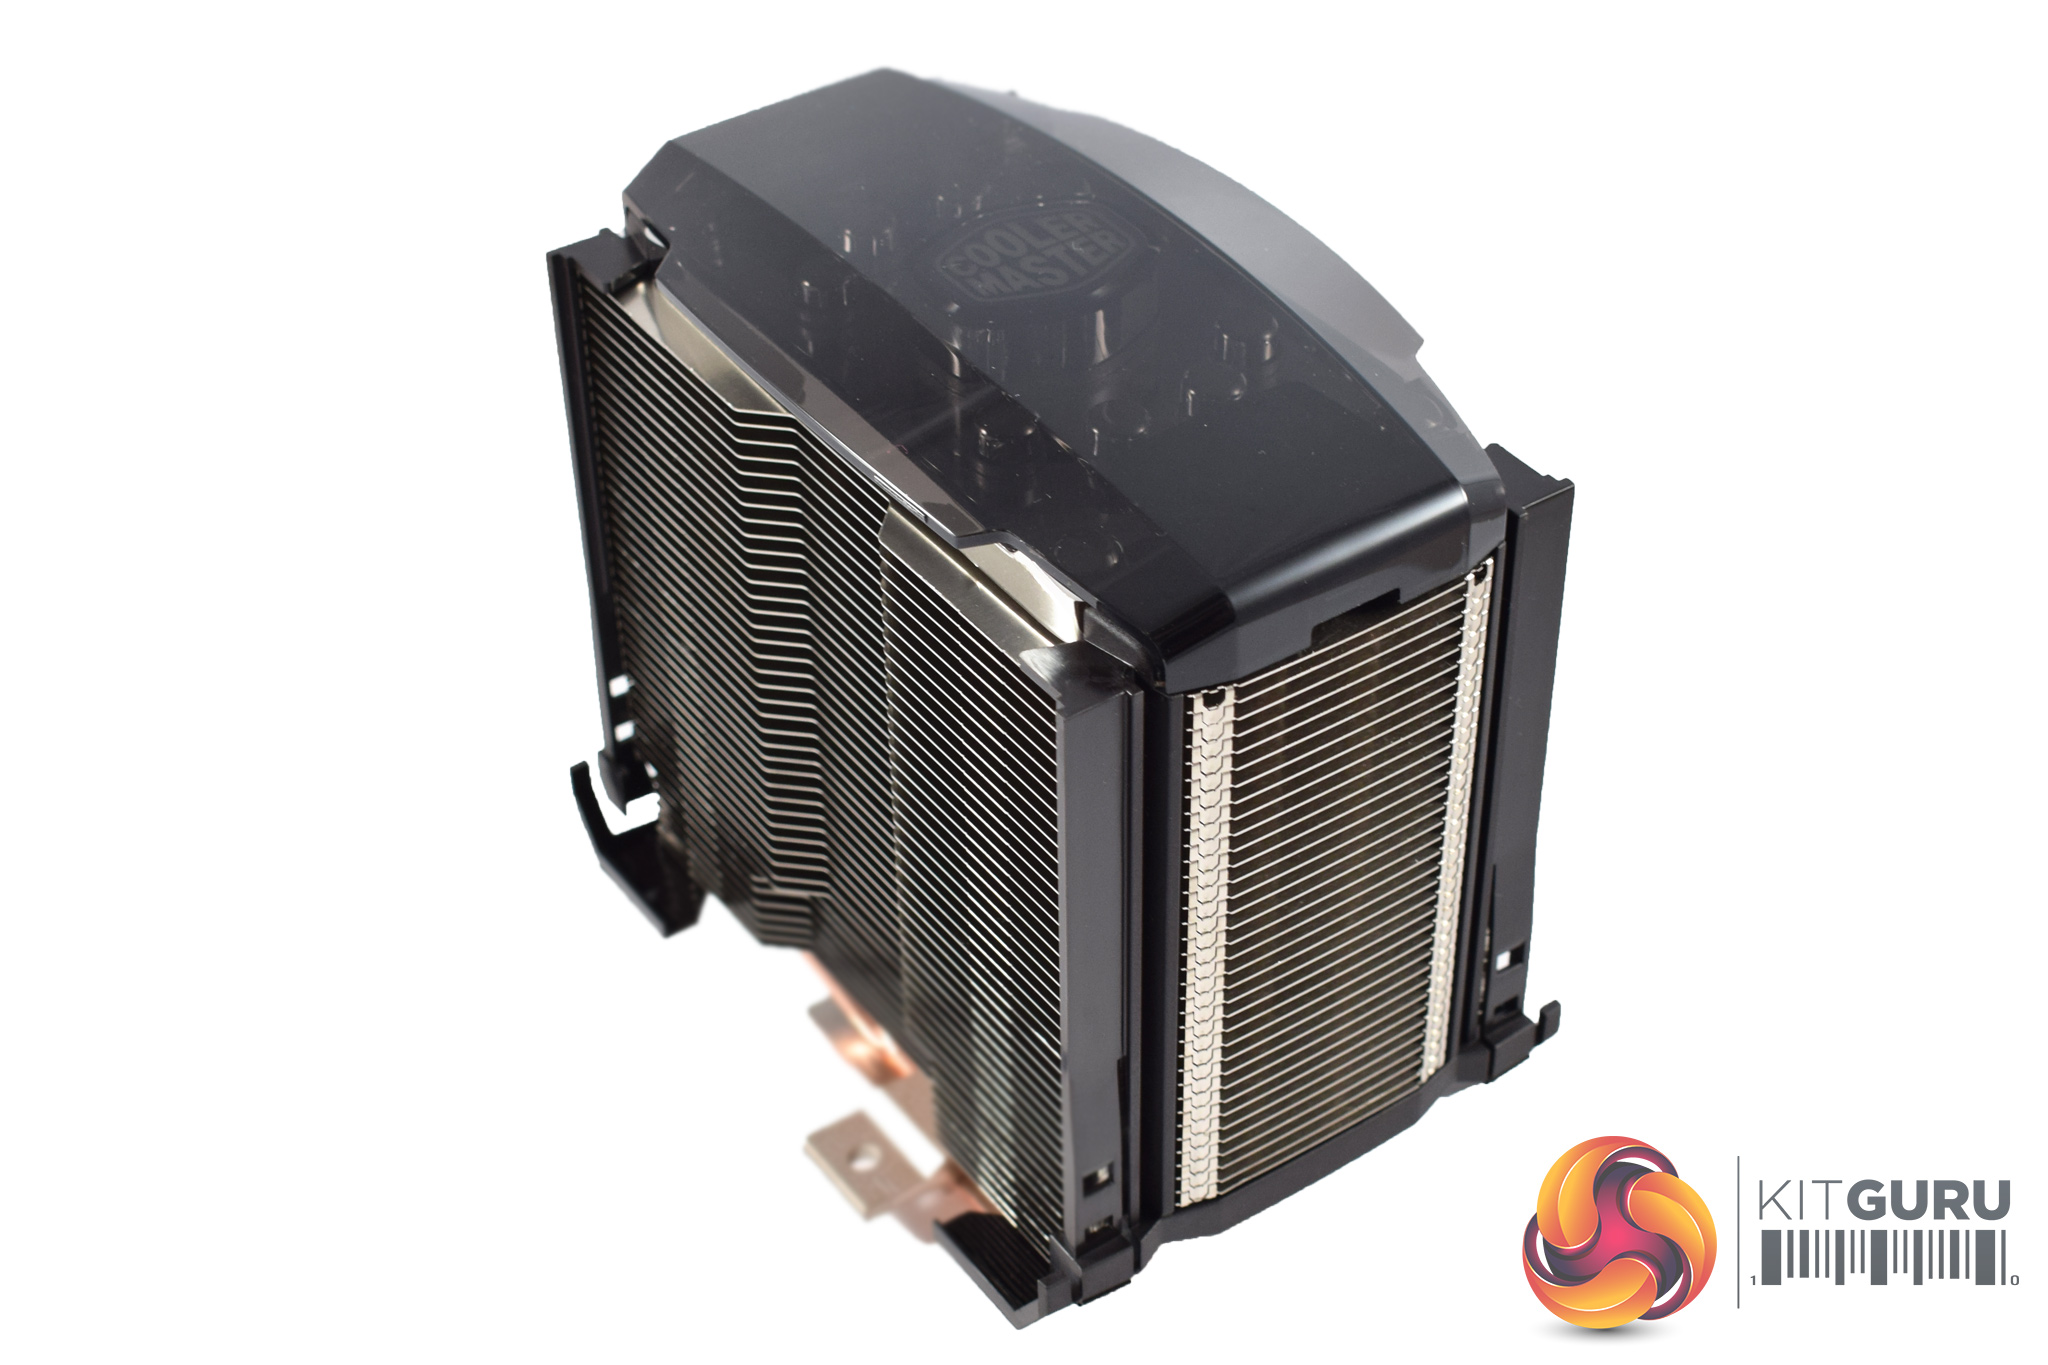
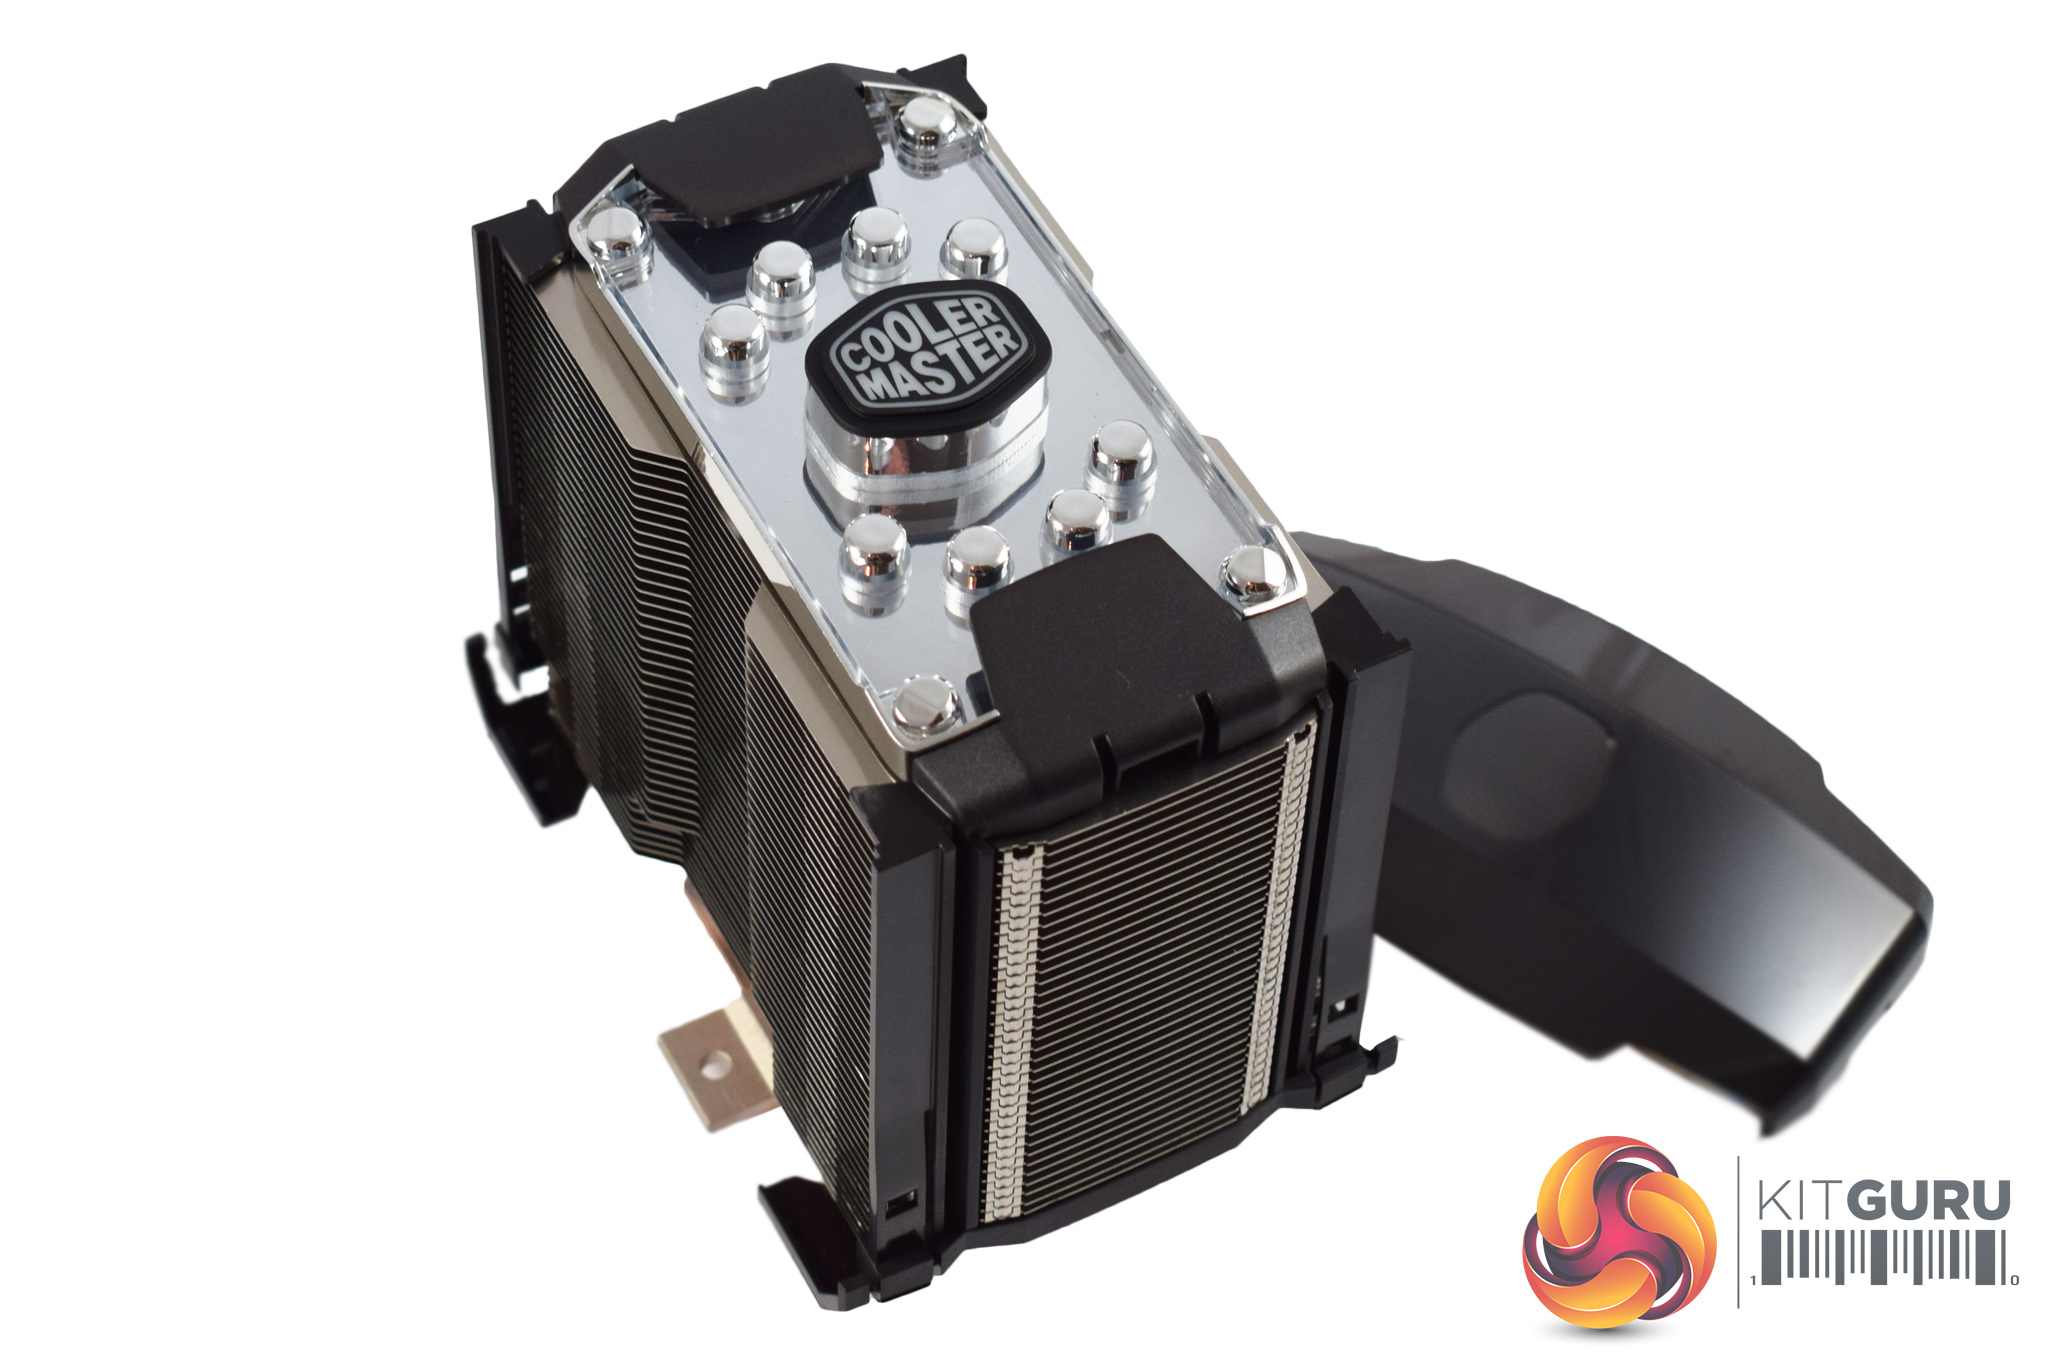
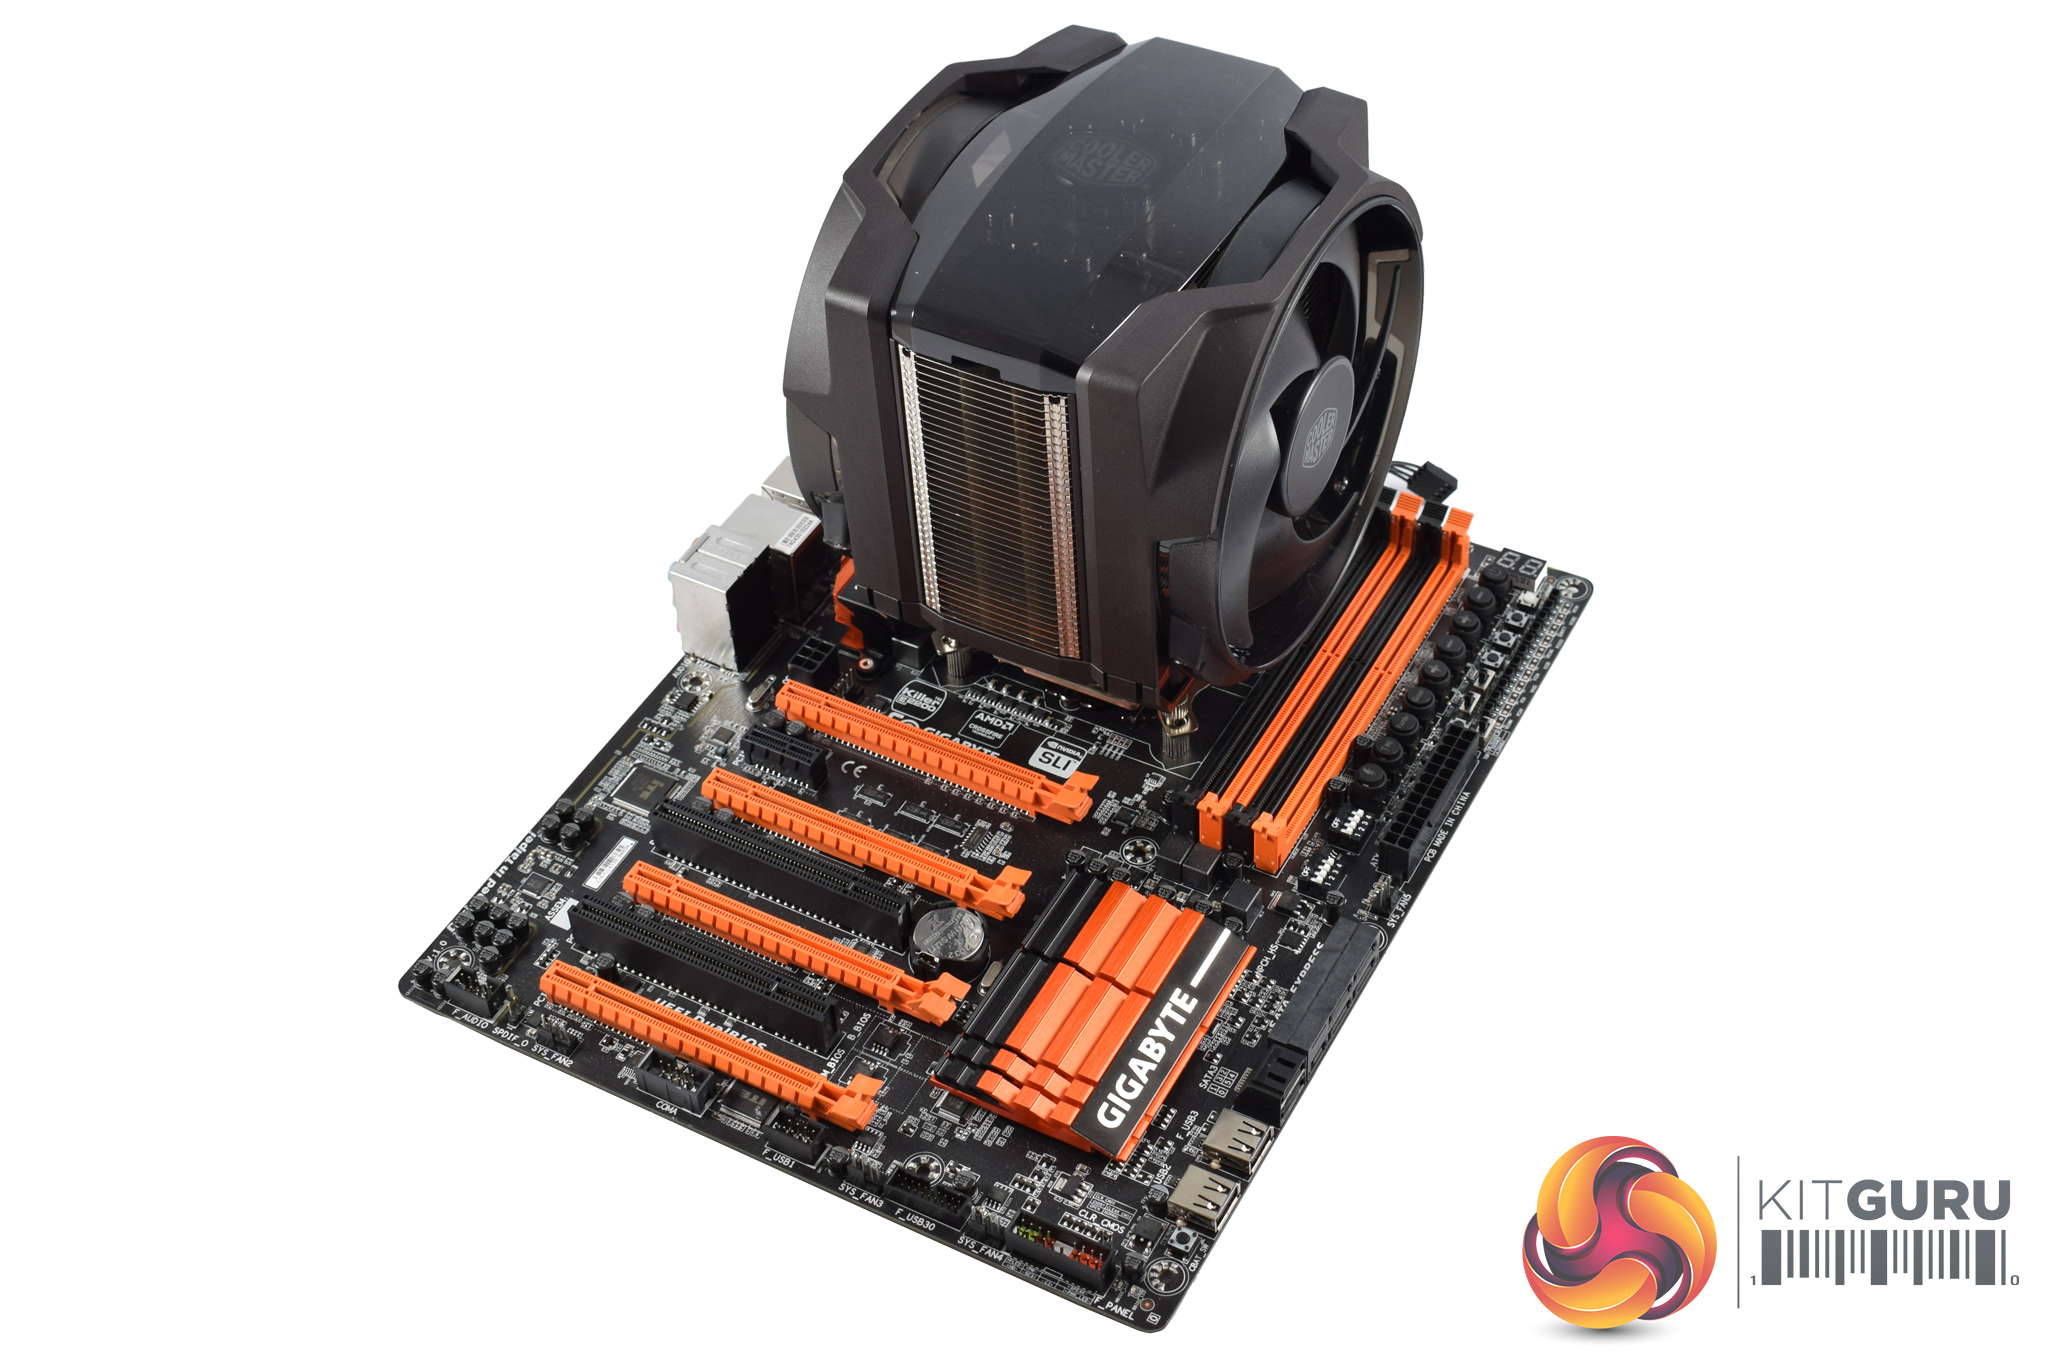
Next, we get to the cooler itself. It is a beast of an air cooler, measuring in at 135 x 145 x 172 mm (LxWxH). Definitely make sure that your case can accommodate a cooler of this size.
The fans do come pre-installed, but it is very easy to remove them as Cooler Master have come up with an innovative solution where the fan brackets just slide into place on the heatsink. To unclip them, you simply need to press a small release tab at the bottom of the cooler, and the brackets slide free. This system also allows you to raise the height of the fans slightly, which would give you more clearance for tall RAM modules, something enthusiasts will definitely appreciate.
![]()
Lastly, the top cover is also easy to remove as it just snaps off. Once it is off, we can see the metal surface below, as well as some of the heatpipe tips. To add your own cover, just snap it into place – easy!Here I will walk you through the installation process. It is worth noting we test using a Z97 motherboard – socket LGA 1150. The process below reflects that.
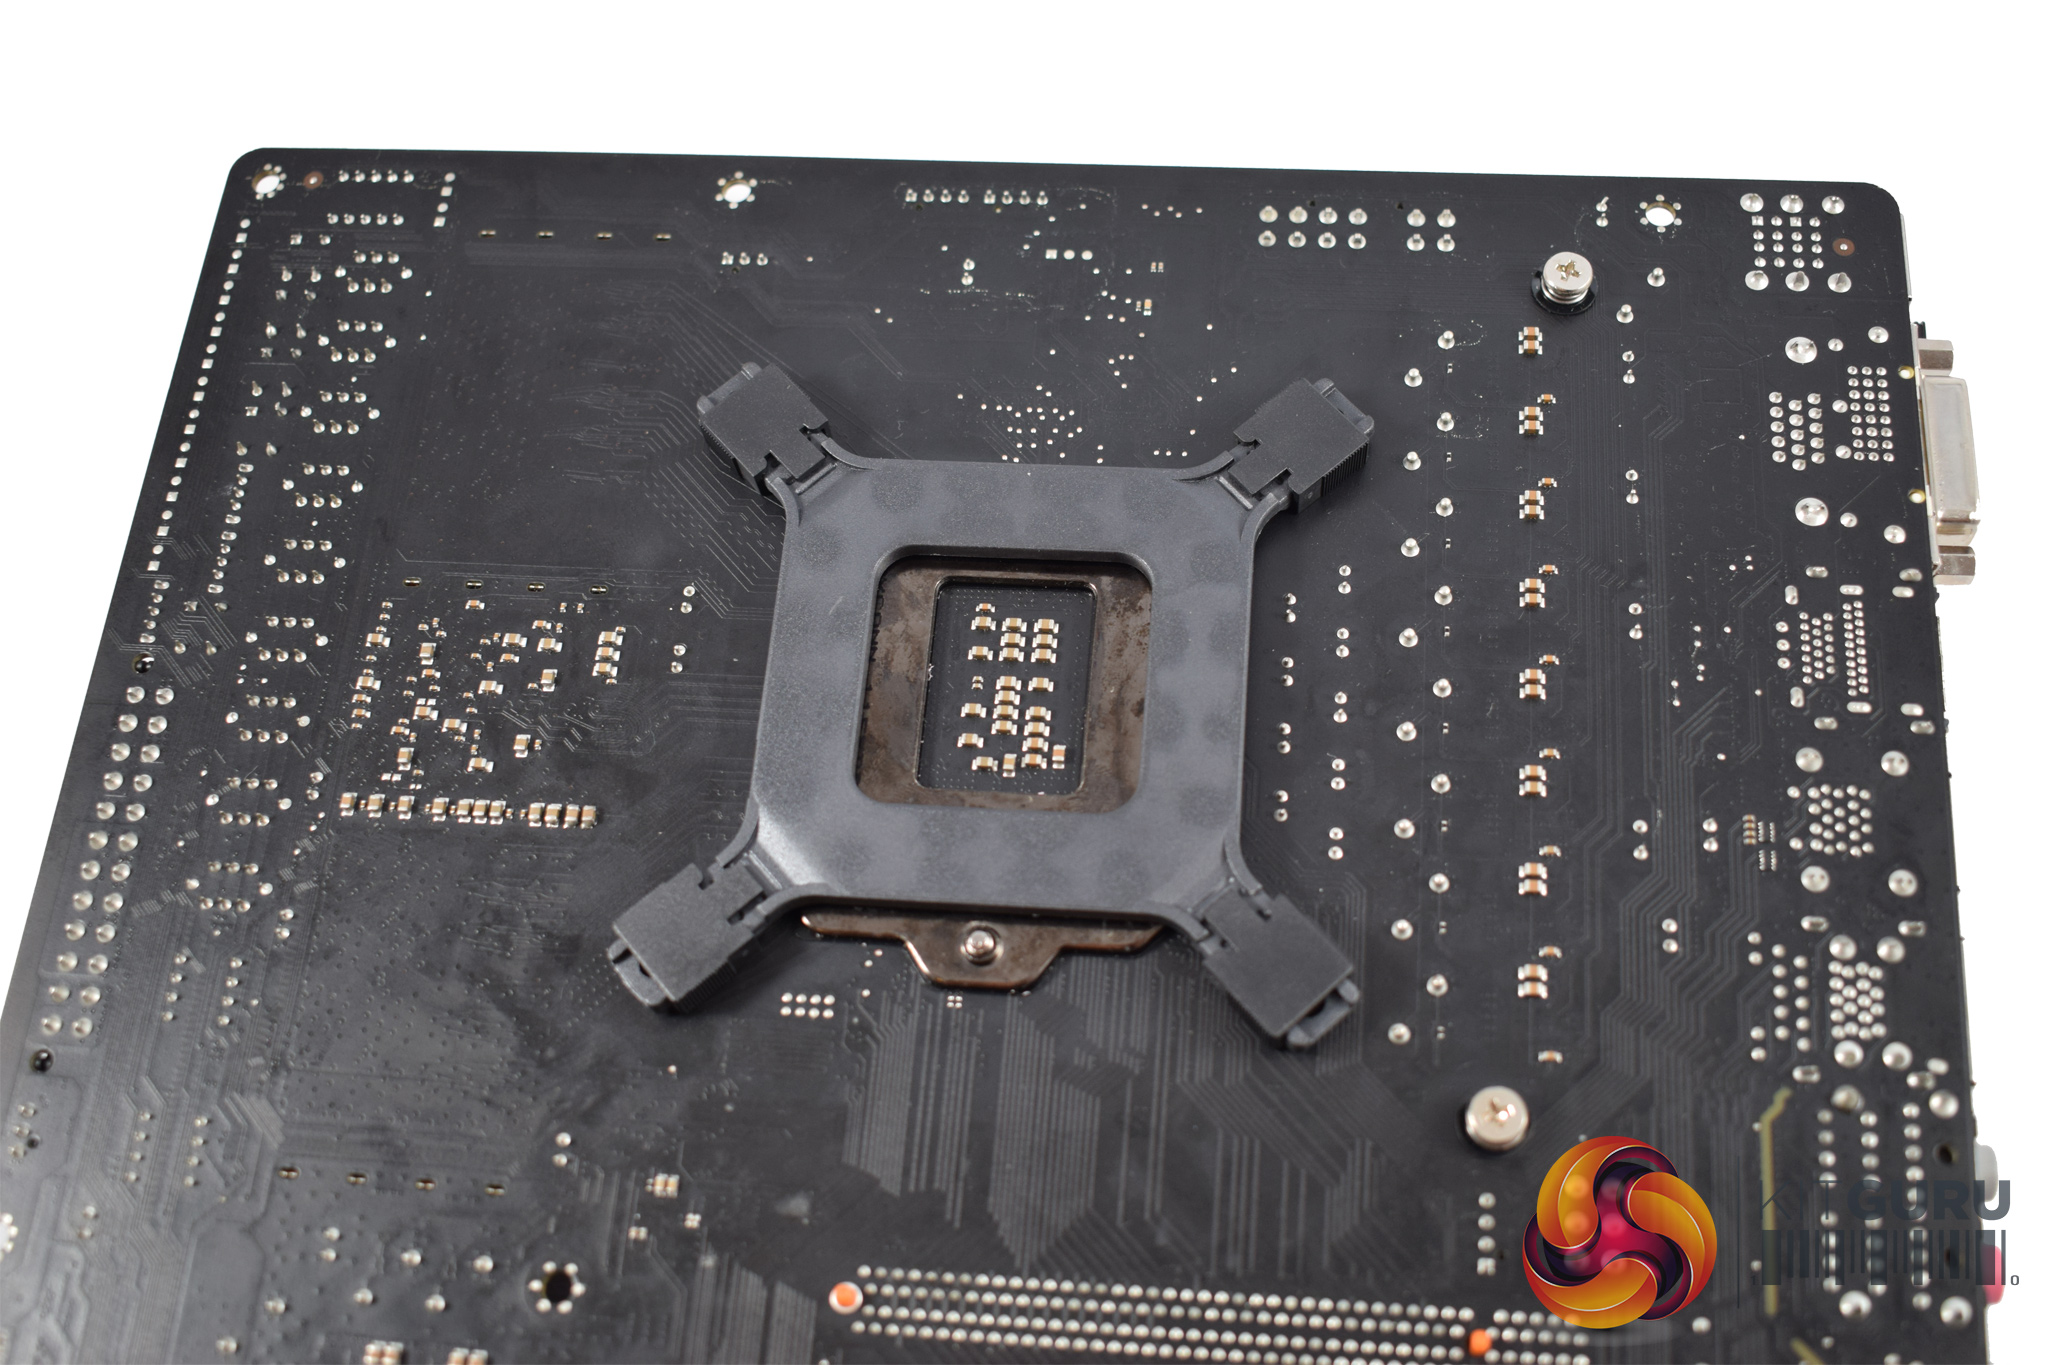
The first thing to do is prepare the backplate: the four screws need to positioned in the central mounting position, labelled ‘115x'. Once you have done that, the screws can be locked in place with small plastic clips.
After feeding the backplate through the motherboard's socket holes, screw four standoffs to the backplate screws, as above.
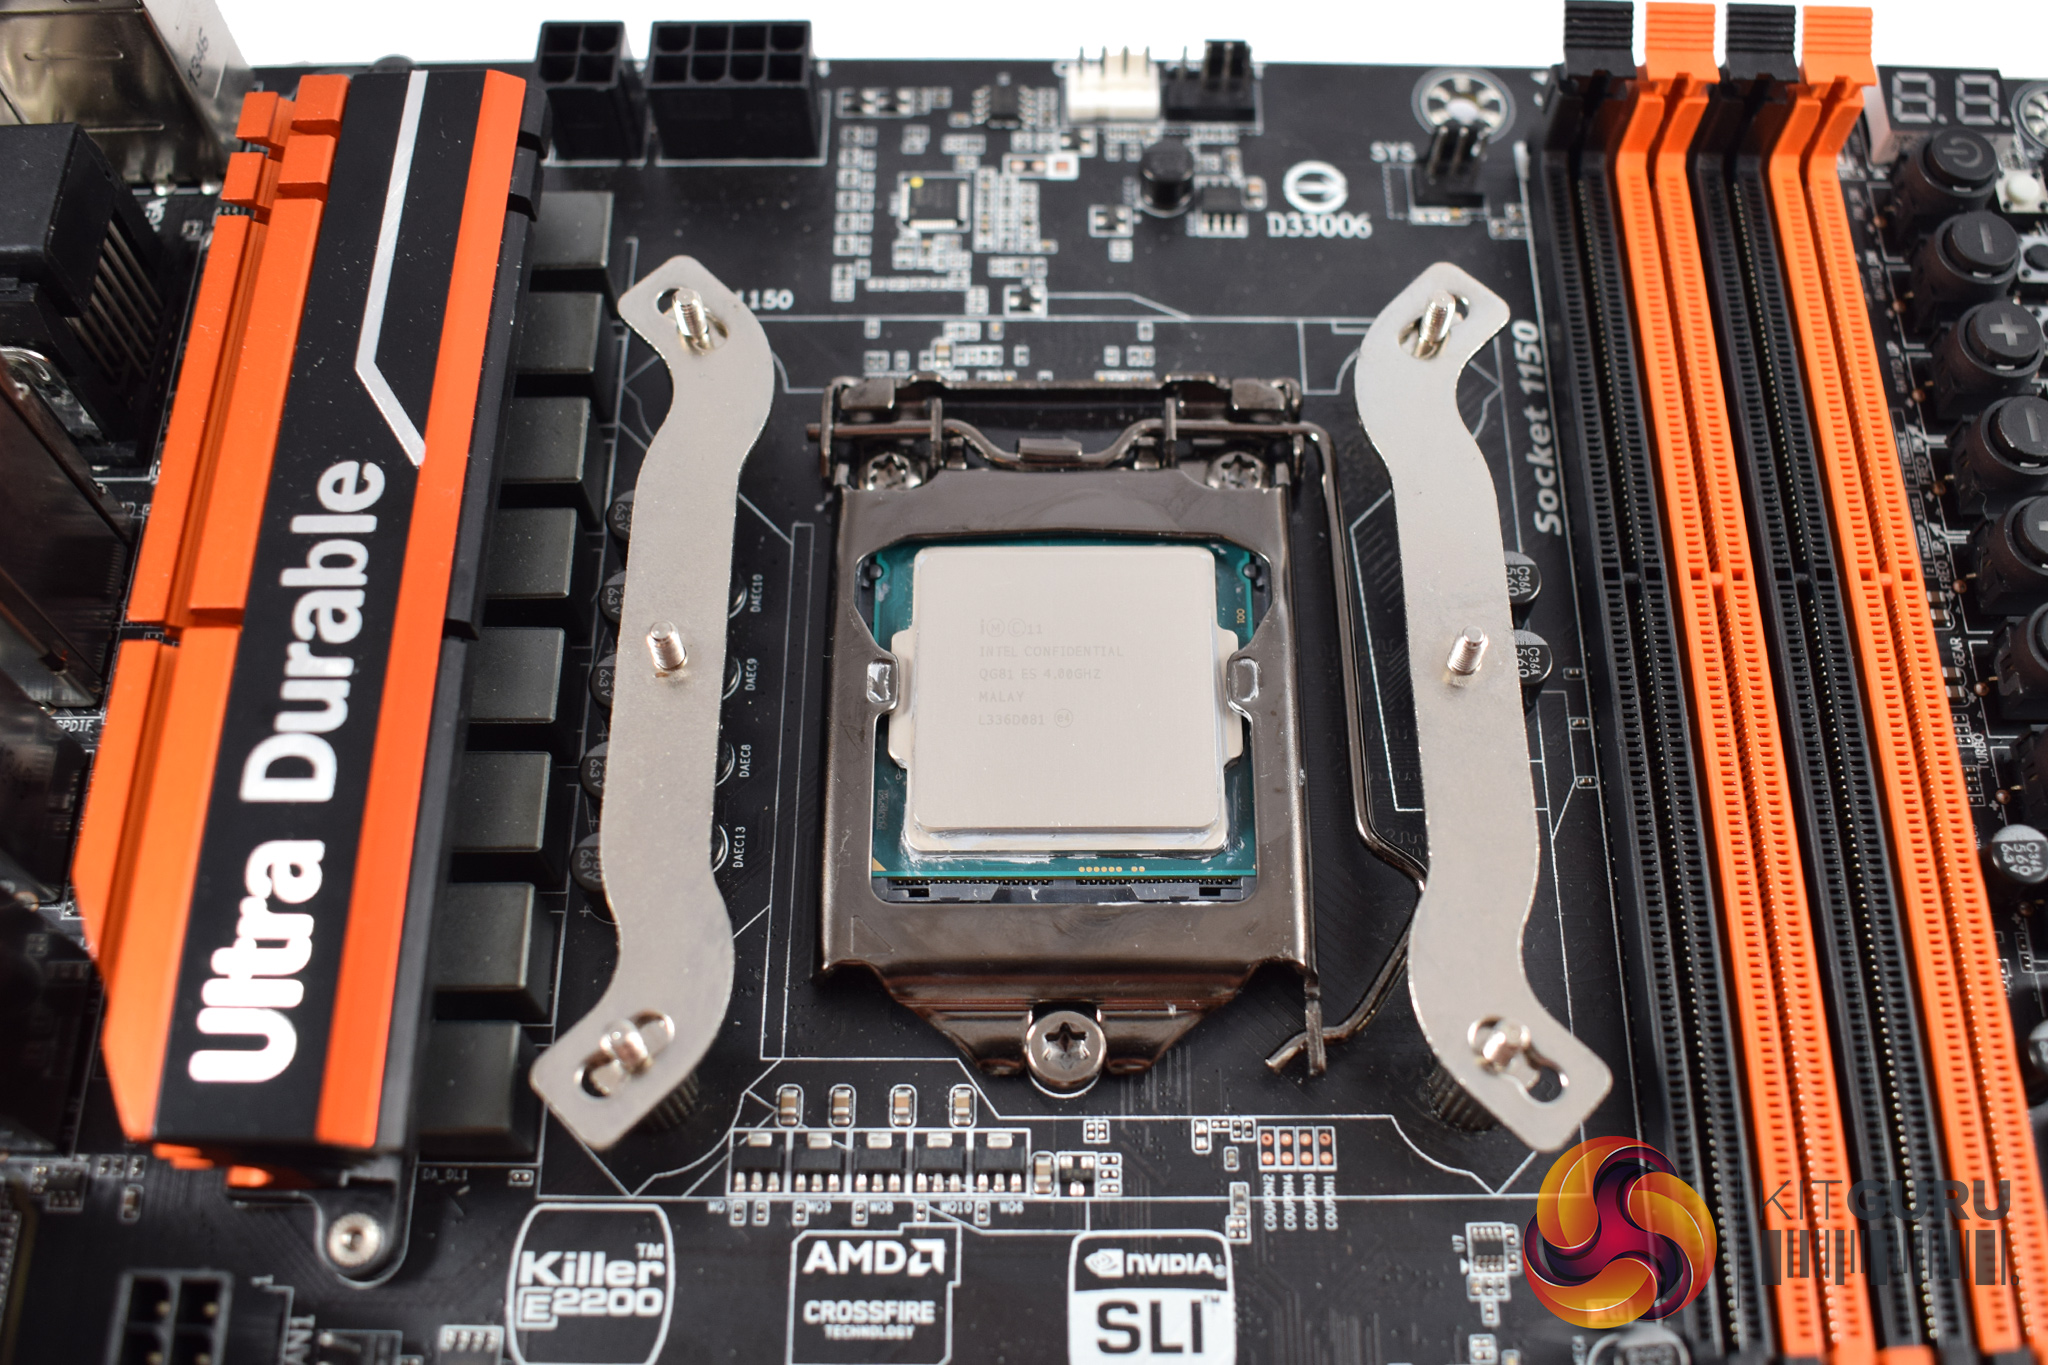
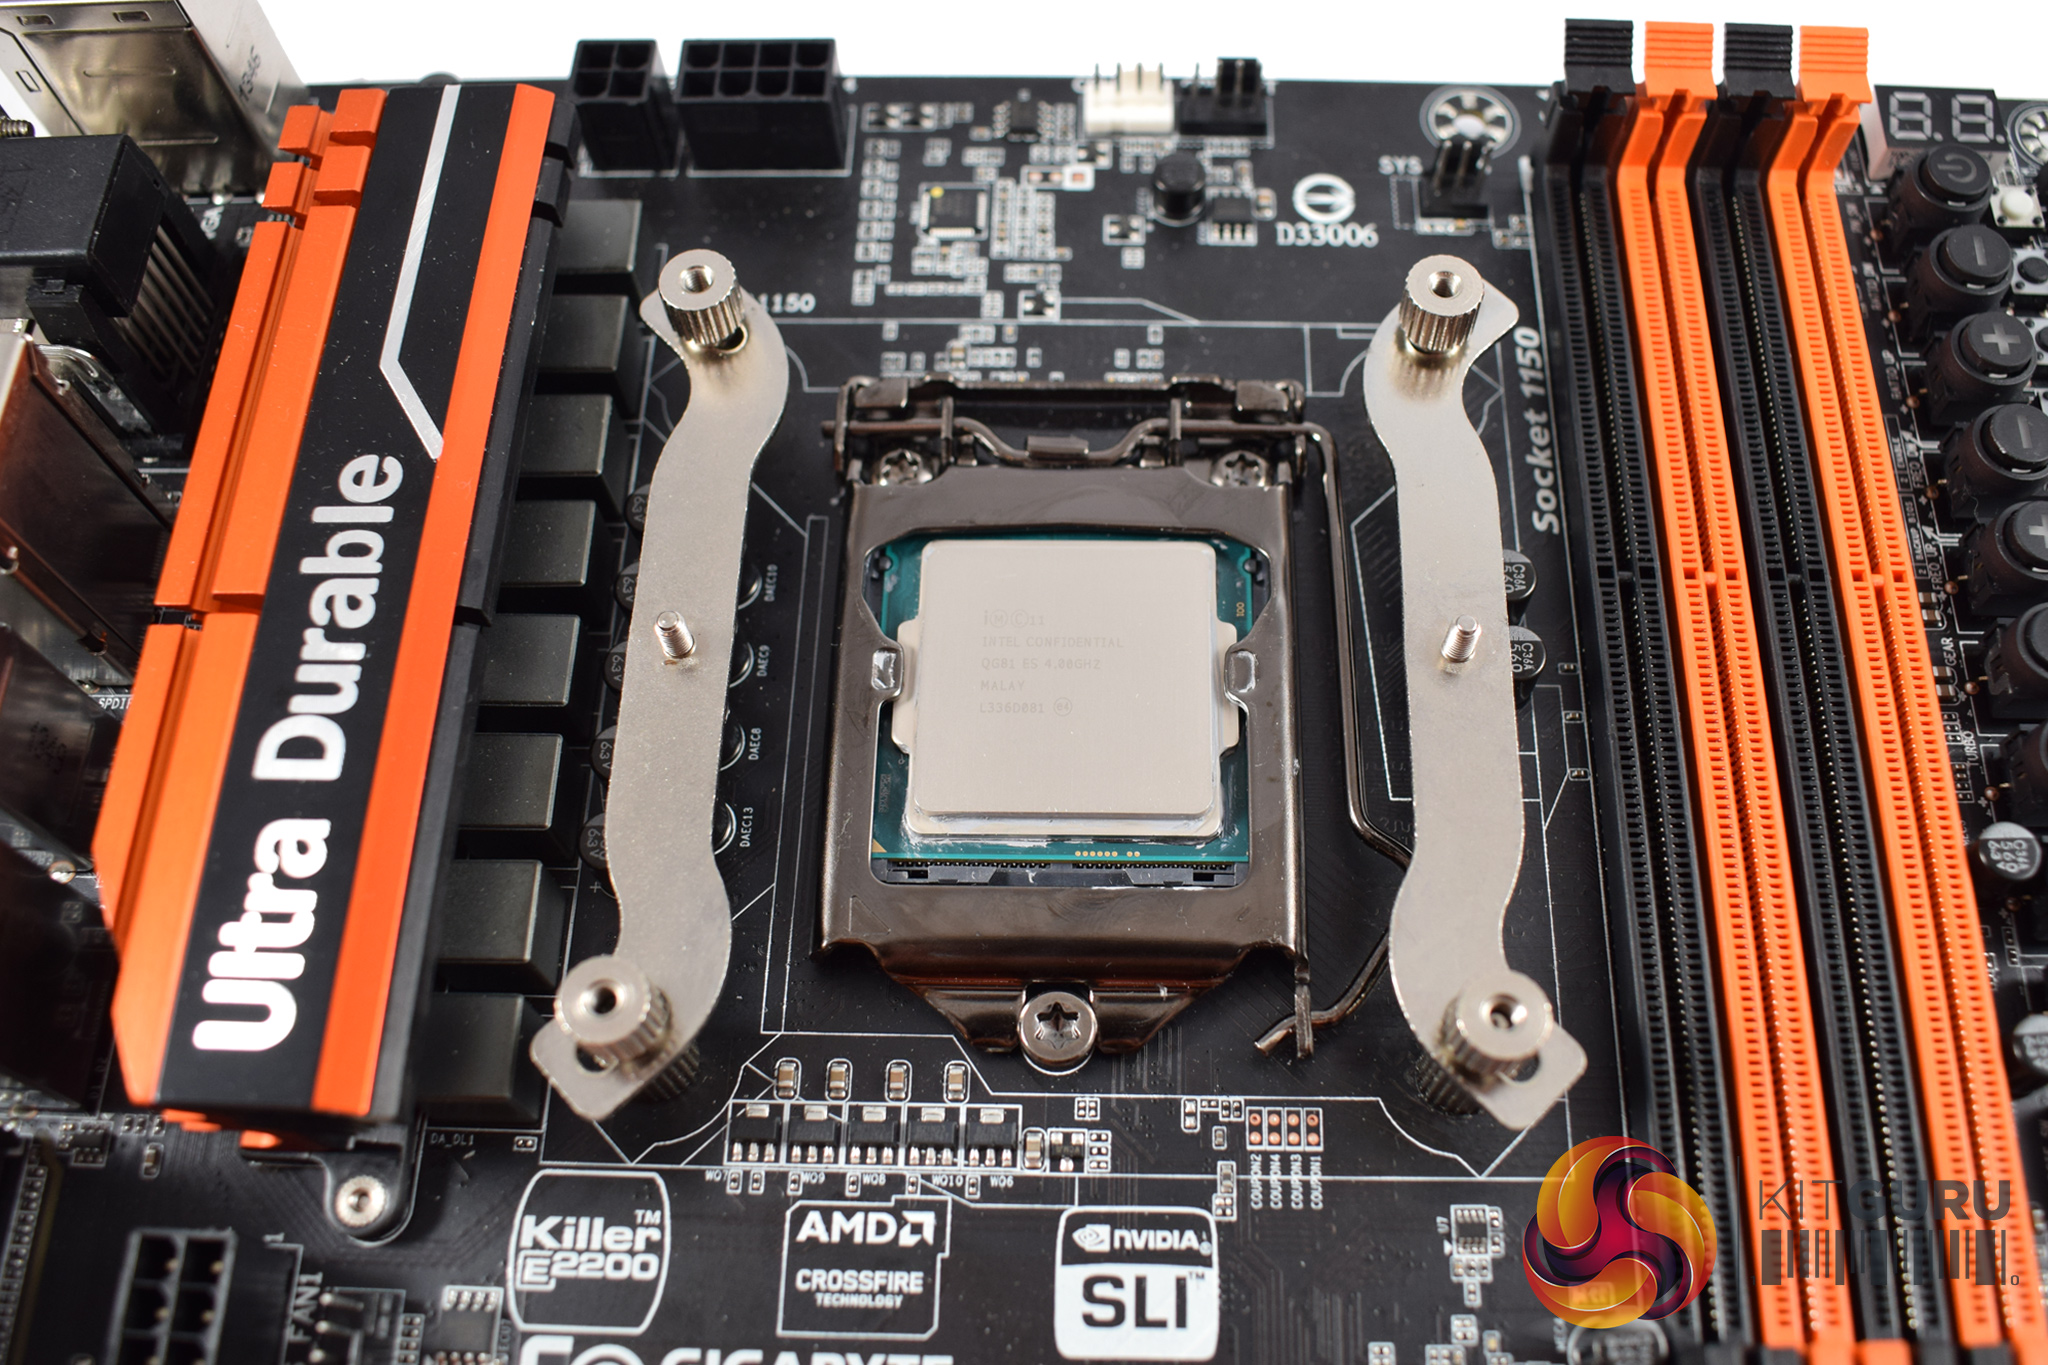
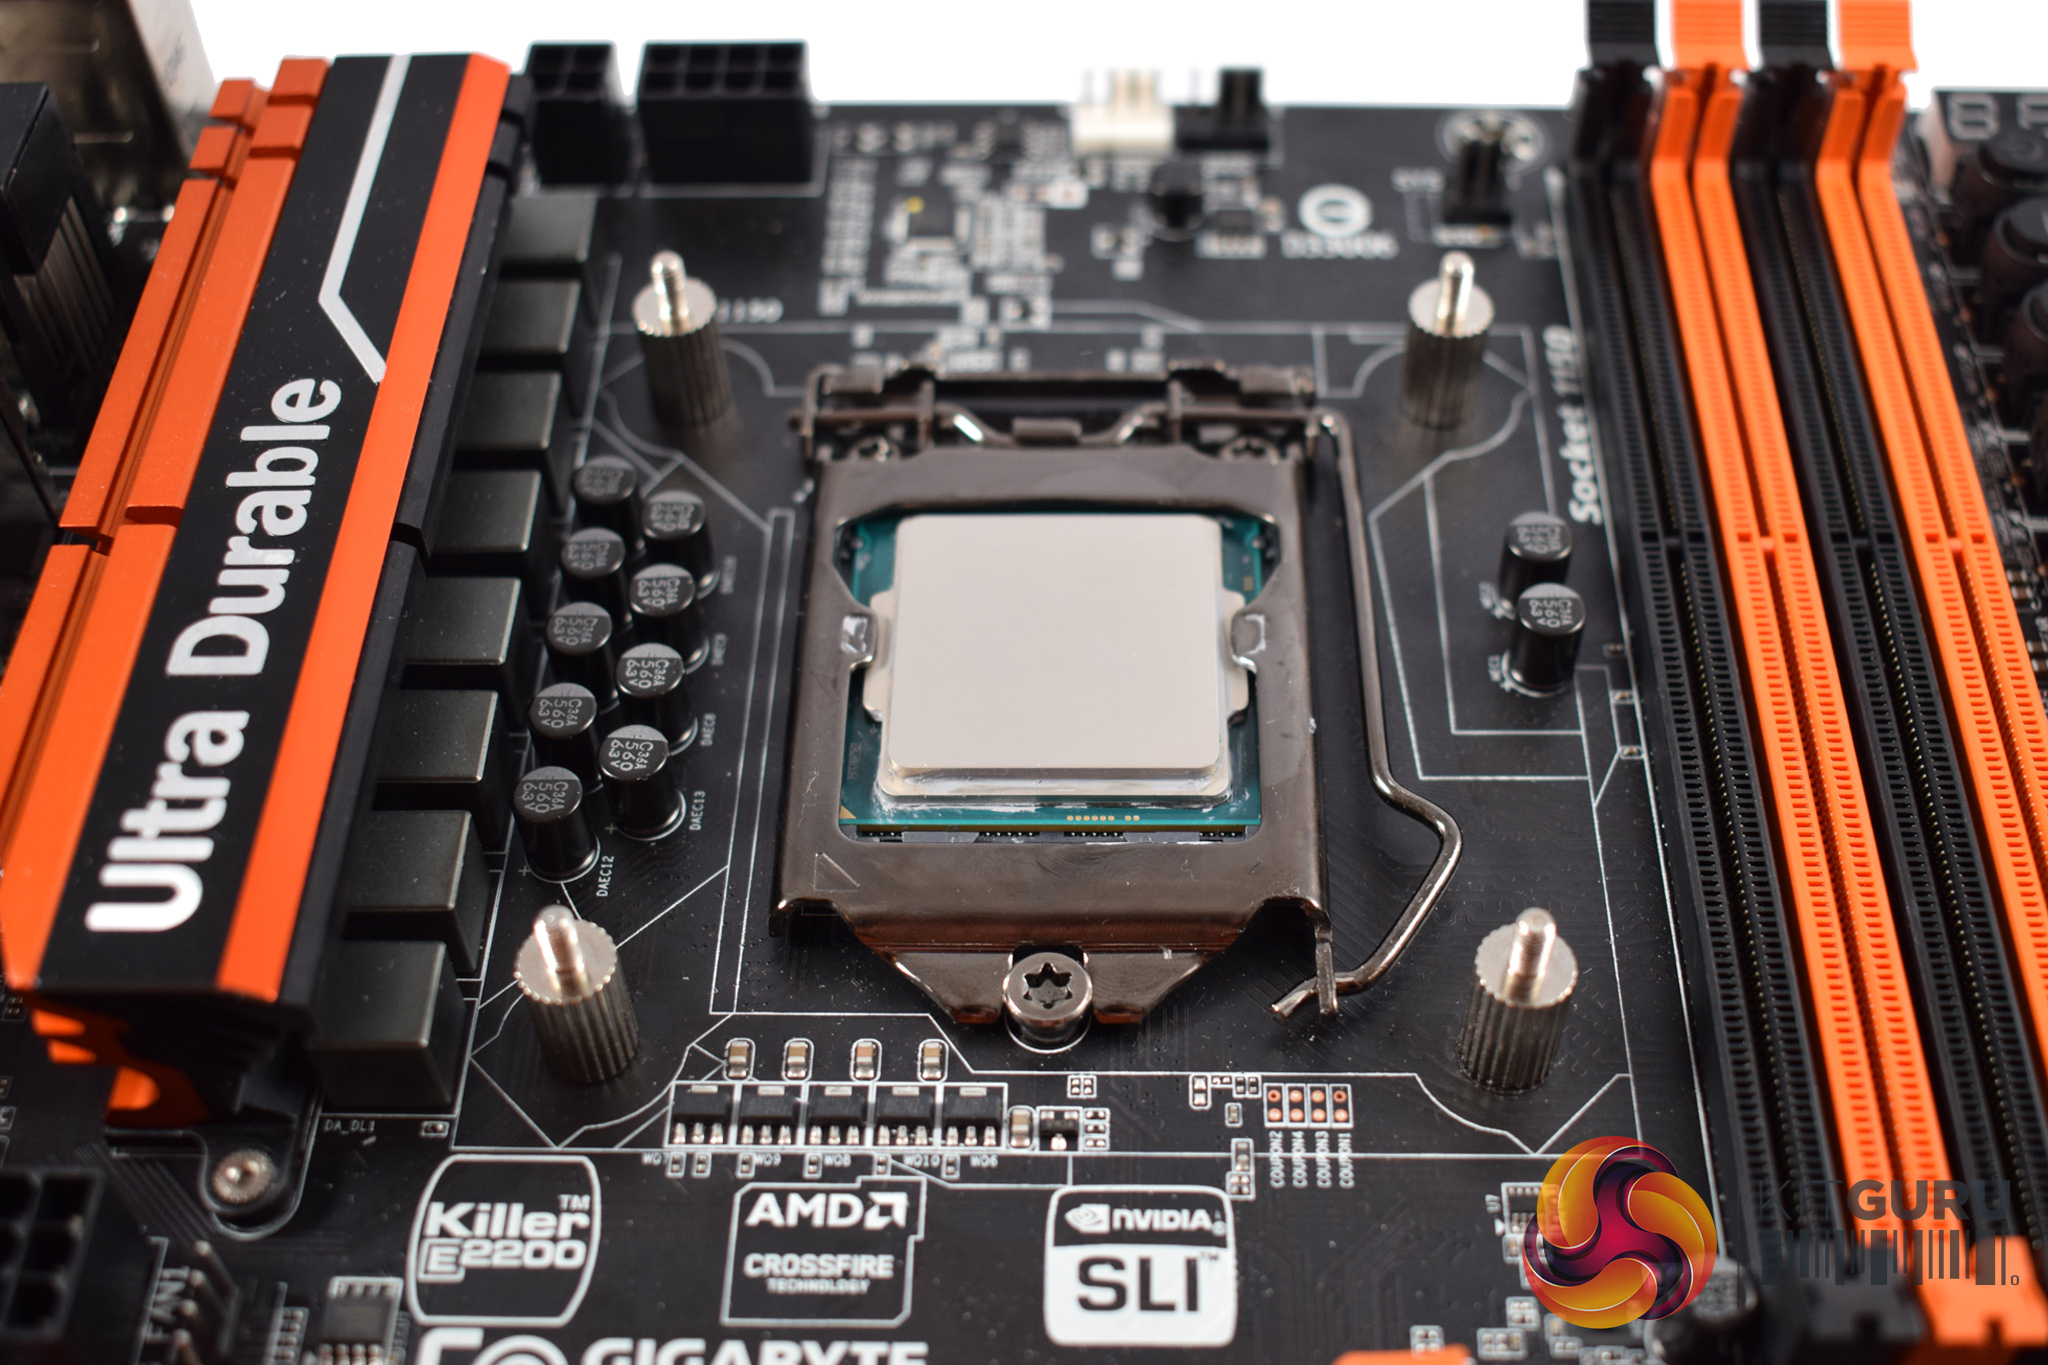
Next, the Intel-compatible rails should be placed on-top of the standoffs.
Once they are in place, secure them with four thumbscrews.
That leaves us ready to mount the cooler – but make sure the fans are removed before you try and install the heatsink.
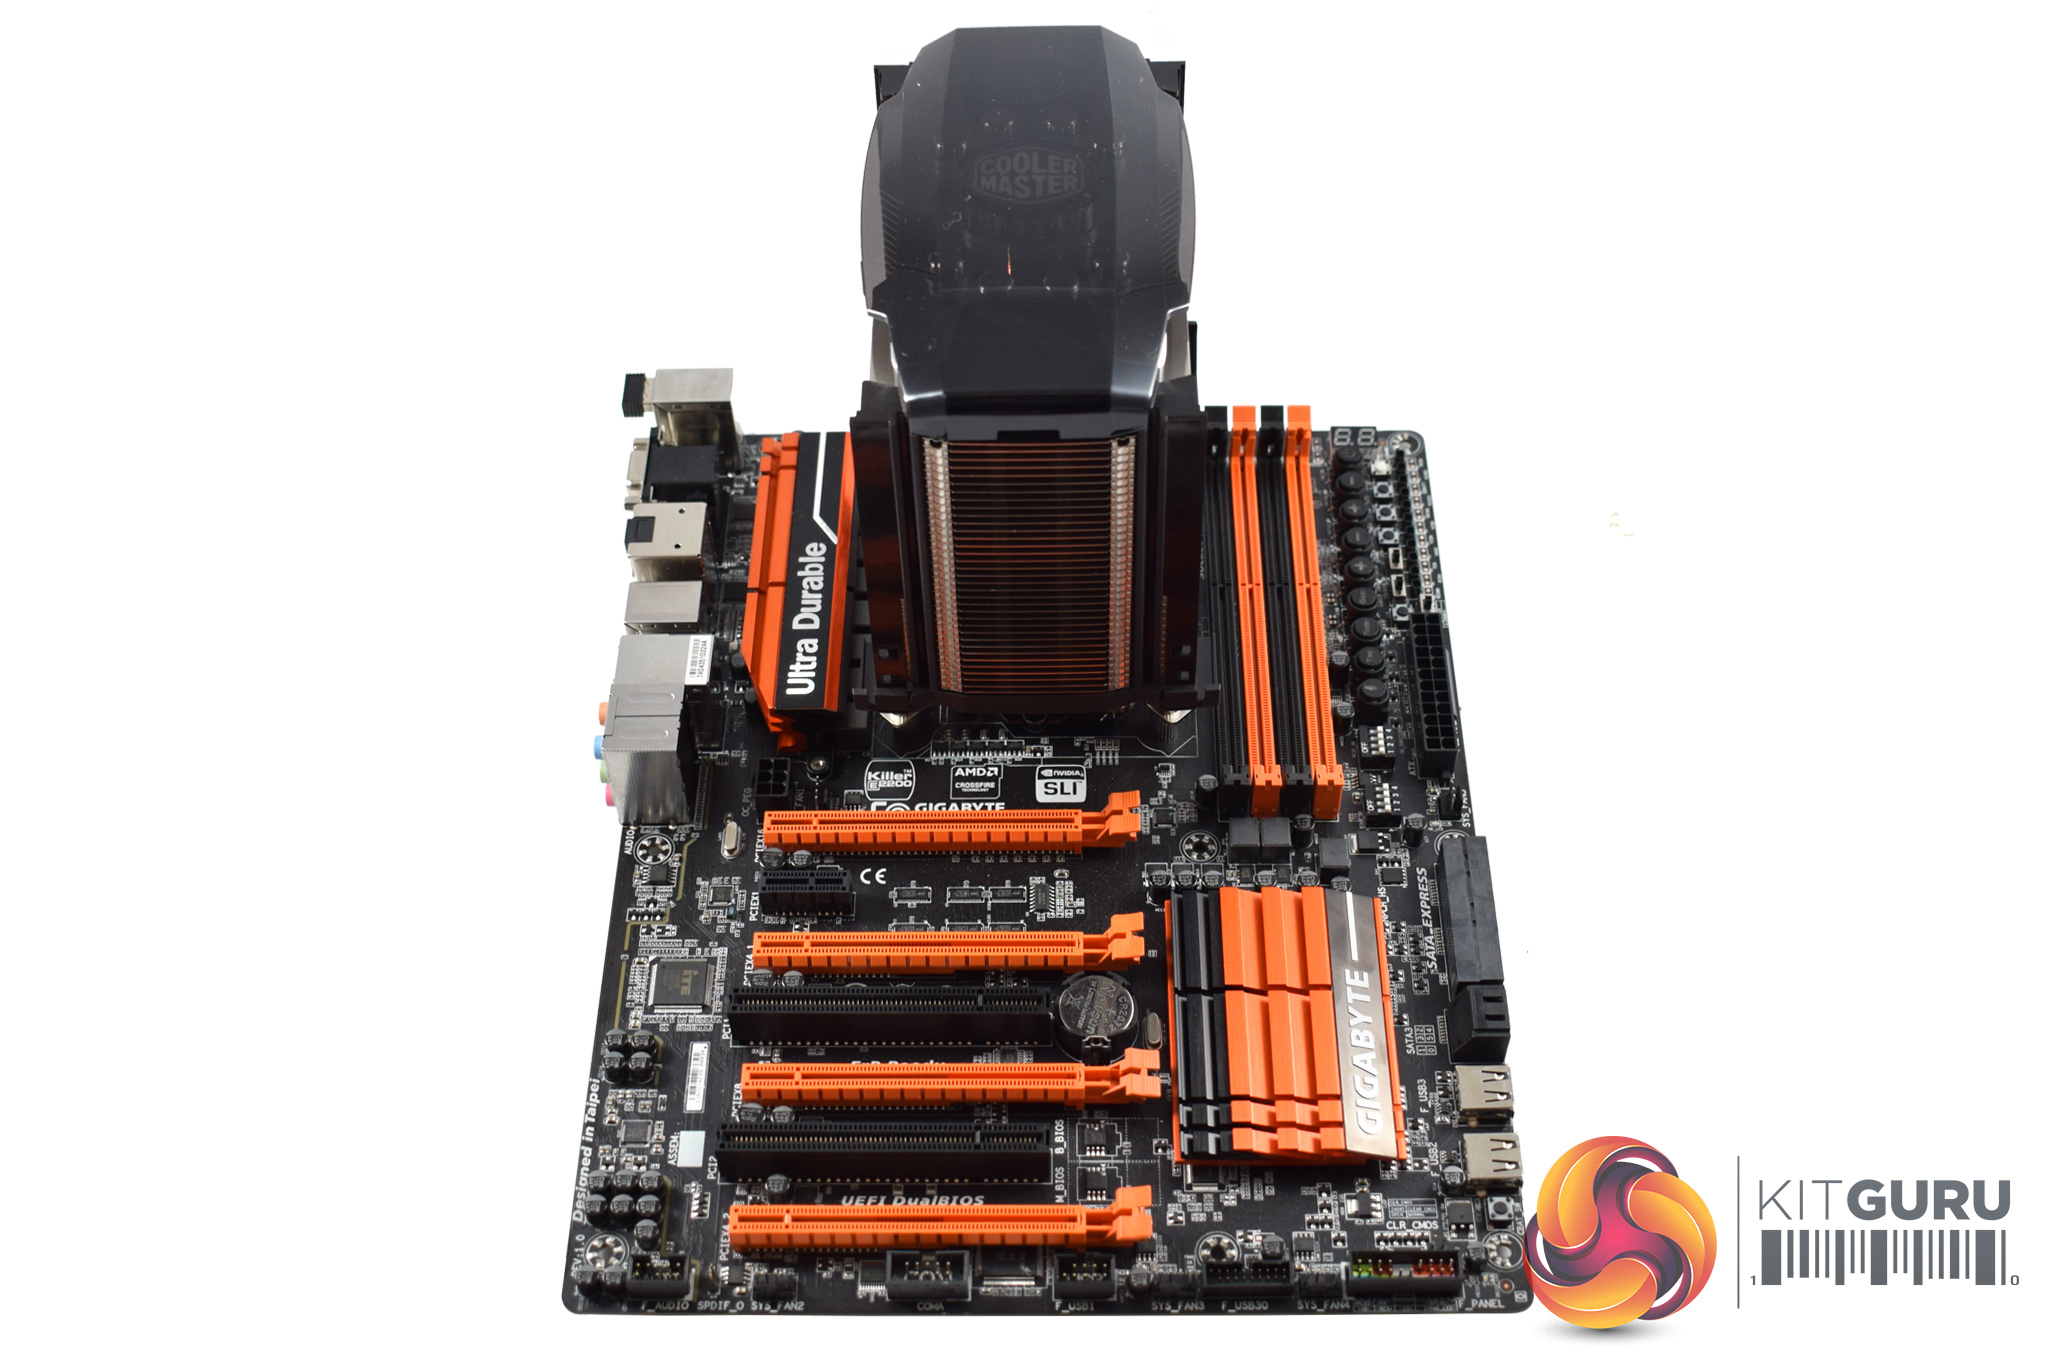
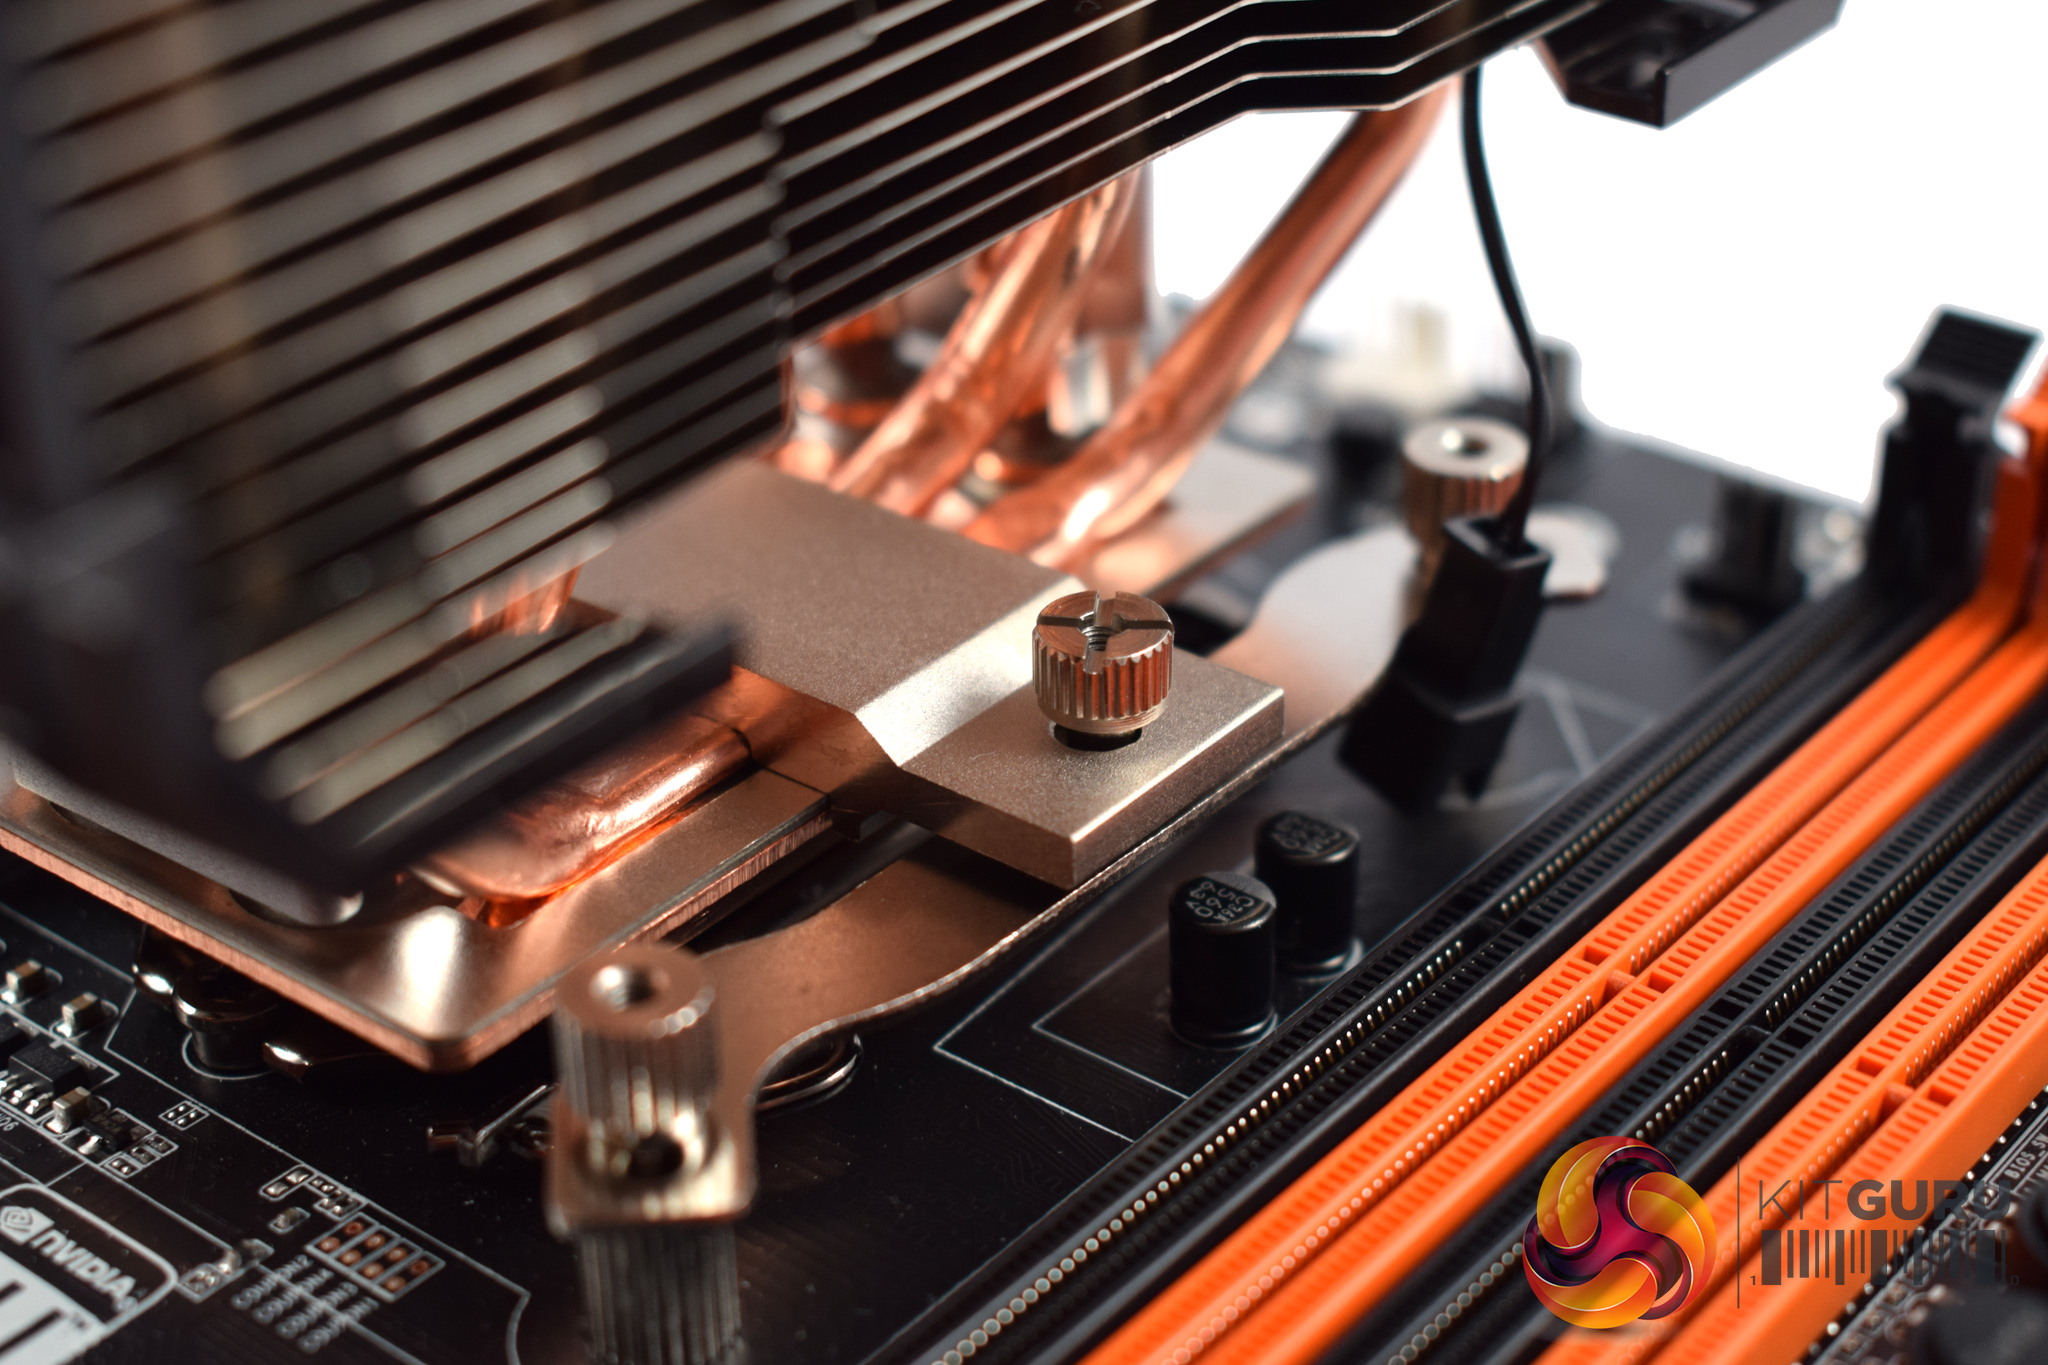
The Maker 8 has a pre-installed mounting bracket which aligns with the two screws that protrude from the mounting rails. Once the cooler is mounted, the heatsink can be secured to the rails using another two thumbscrews.
After that, the fans just need to be clipped back into place, and installation is done.
It is a simple and straightforward process and I encountered no issues. For such a big cooler, having such an easy installation method is definitely top work from Cooler Master.To test all CPU coolers, we devised an easily repeatable test with no variables other than the coolers themselves. This ensures that figures from every cooler we test are comparable with each other.
Test rig
Using an open-air test bench, we deploy an Intel Core i7-4790K plugged into a Gigabyte Z97X-SOC Force motherboard. Alongside this is 16GB of 2400MHz Corsair Vengeance DDR3, as well as a 120GB OCZ Trion 150 SSD. Powering everything is a Corsair RM750x PSU.
The test process
Testing coolers involves taking a total of 4 temperature readings per cooler. First, we measure the idle temperature of the i7-4790K at stock speeds (turbo boost disabled), before measuring its temperature under load at stock speeds. Next, we overclock the CPU to 4.5GHz using a 1.3 Vcore, ensuring greater heat output. In its overclocked state we then measure the idle and load temperatures of the CPU again. The figures we present are temperature deltas – meaning we take each temperature reading and minus the ambient temperature from it. This allows us to test in an environment that is not temperature-controlled.
To ward off potential comments or questions, we know 4.5GHz using a 1.3 Vcore is not the ‘best’ overclock – this particular CPU could reach that frequency at closer to 1.25 on the Vcore, which is more efficient. That is not the point, however. We are trying to stress the coolers to see how they deal with excess heat … hence the higher than necessary Vcore.
Where possible, each cooler’s fans are plugged directly into the motherboard using the CPU_Fan or CPU_Opt headers. Some AIOs, however, ship with their own fan controllers or PWM hubs. If we are unable to plug the fans directly into the motherboard, it is specified in the performance section of the review.
An idle reading comes from leaving Windows on the desktop for 15 minutes. A load reading comes from running Prime95’s (version 26.6) Small FFTs test for 15 minutes – enough time for temperatures to plateau.
Noise output
Unfortunately I am unable to properly measure the sound output of CPU coolers using a digital sound meter. This is because I am based alongside a busy road (with high ambient noise levels). Using a sound meter is, as such, not possible as there are variables out of my control. However, I will try my best to subjectively describe the noise output in a helpful manner.Temperatures
All temperature charts are sorted with lowest load temperatures at the top.
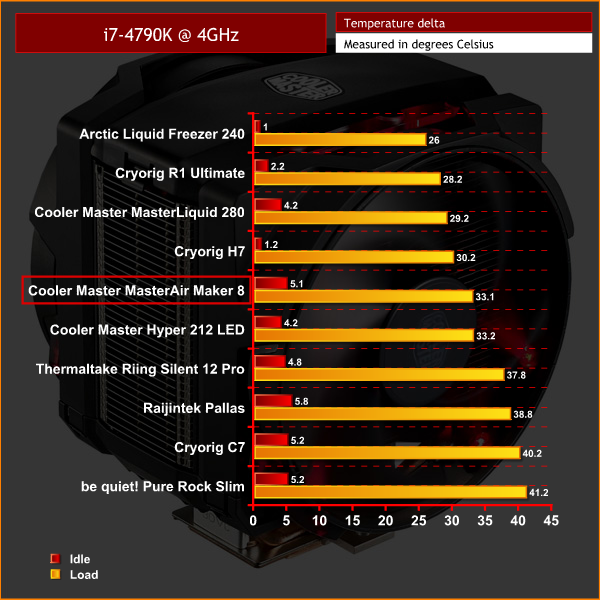
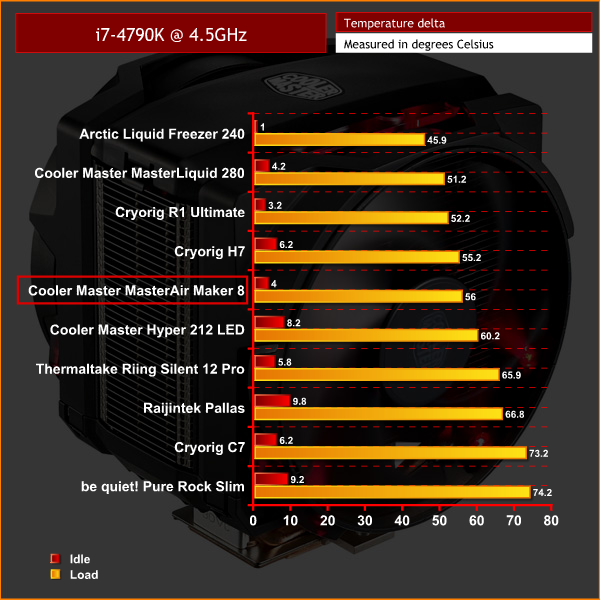
Thermal performance is slightly disappointing. With our CPU at stock-clocks, the similarly-sized Cryorig R1 Ultimate is able to beat the Maker 8 by 4.9 degrees Celsius. Things do look better once we apply an overclock to the CPU, but even then, the cheaper Cryorig R1 Ultimate still performs 3.8 degrees better.
We're talking just a few degrees here and there, and these figures are still very good for an air cooler, but these are the margins of difference between the top coolers on the market. Even so, the delta temperatures above represent a CPU did not exceed 76 degrees (while overclocked) and that is still a very good result.
Acoustics
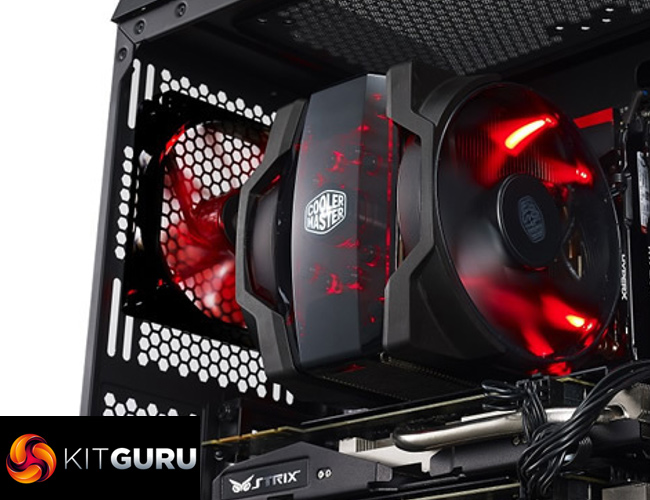
Raw performance figures do not tell the whole story, though, as good acoustics is a big part of what makes a successful cooler. In my experience, the Maker 8 is an incredibly quiet cooling solution – with our test system idling, the cooler is dead silent, and the fans look like they are barely spinning.
Even when the load ramps up, the two fans work together very well and emit the quietest of hums. Compared to the R1 Ultimate, which we shall be reviewing soon, the difference is night and day.Cooler Master have done a near-perfect job with the MasterAir Maker 8.
Things start very well as the cooler is beautifully packaged, and every single screw is labelled – this attention to detail is very impressive and oozes class.
We also think the cooler looks great, and we love the ability to switch out the Maker 8's top cover – you can even 3D print your own cover if the two included cover plates are not to your liking.
The installation process is also very simple and secure, and despite the cooler's size, I had no issues mounting it. The whole process only takes a few minutes, too.
Raw thermal performance is the only slight let-down when it comes to the Maker 8, as we saw the Cryorig R1 Ultimate deliver 3-5 degrees better performance with our CPU at stock and overclocked speeds. The R1 Ultimate is also £25 cheaper. That being said, the thermals are still very acceptable – the margins of difference are just very fine when it comes to high-end cooling products.
What redeems the slightly lacking thermal performance, though, is the Maker 8's ability to stay supremely quiet, even during high-load situations. Compared to the R1 Ultimate, for example, it is much quieter. If you value silence over having the absolute-best temperatures, then the Maker 8 is for you.
All-in-all, we are happy to recommend the Cooler Master MasterAir Maker 8. While it may not deliver the absolute best raw performance, it still performs well and there is more to a CPU cooler than just delivering the lowest possible temperatures. In every other area, Cooler Master have absolutely nailed it.
![]()
You can buy the Maker 8 for £99.95 inc. VAT from Overclockers UK HERE.
Discuss on our Facebook page ,over HERE.
Pros
- Looks great.
- You can customise the top cover, and even 3D print your own.
- Packaging is beautiful, every component is labelled.
- Innovative fan brackets are easy to use.
- Installation is very simple.
- Very quiet.
Cons
- It is out-performed by the cheaper Cryorig R1 Ultimate.
- £99.95 is pricey for an air cooler.
KitGuru says: While it may not deliver chart-topping thermal performance, it still performs fine and is dead silent. Add that to the easy installation process, good-looks and customisation options, and we say that the Maker 8 is definitely worth buying.

Be sure to check out our sponsors store EKWB here