Here I will walk you through the installation process. It is worth noting we test using a Z97 motherboard – socket LGA 1150. The process below reflects that.
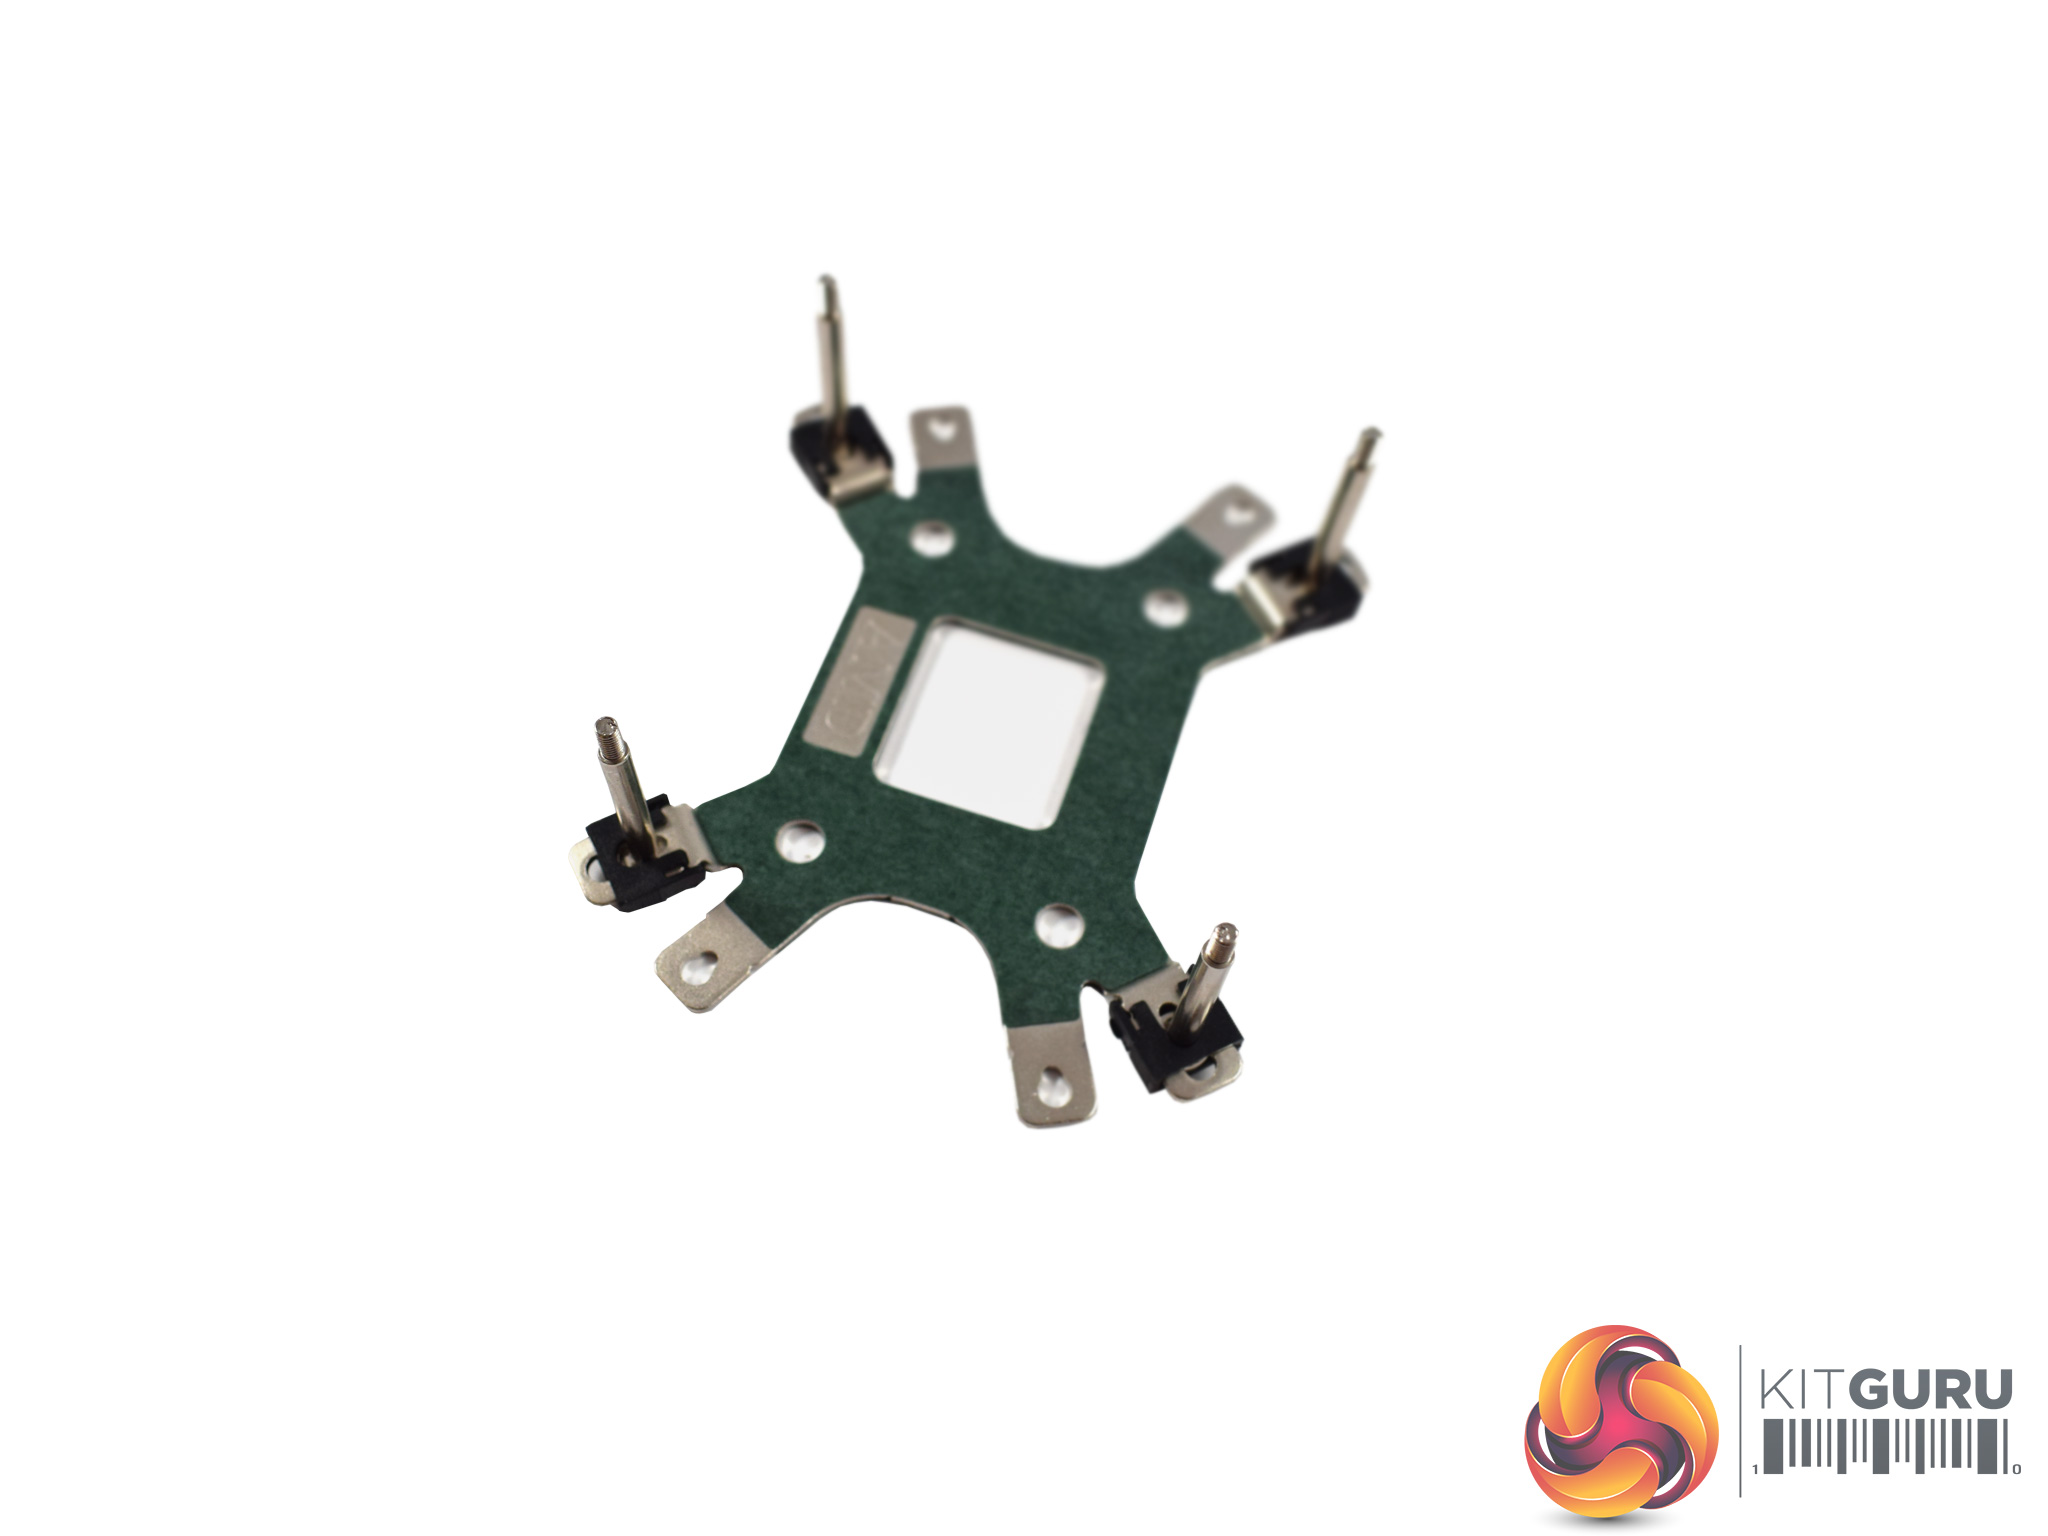
The first thing to do is insert the longest four screws into the backplate. Cooler Master include 4 clips to hold the screws in place.
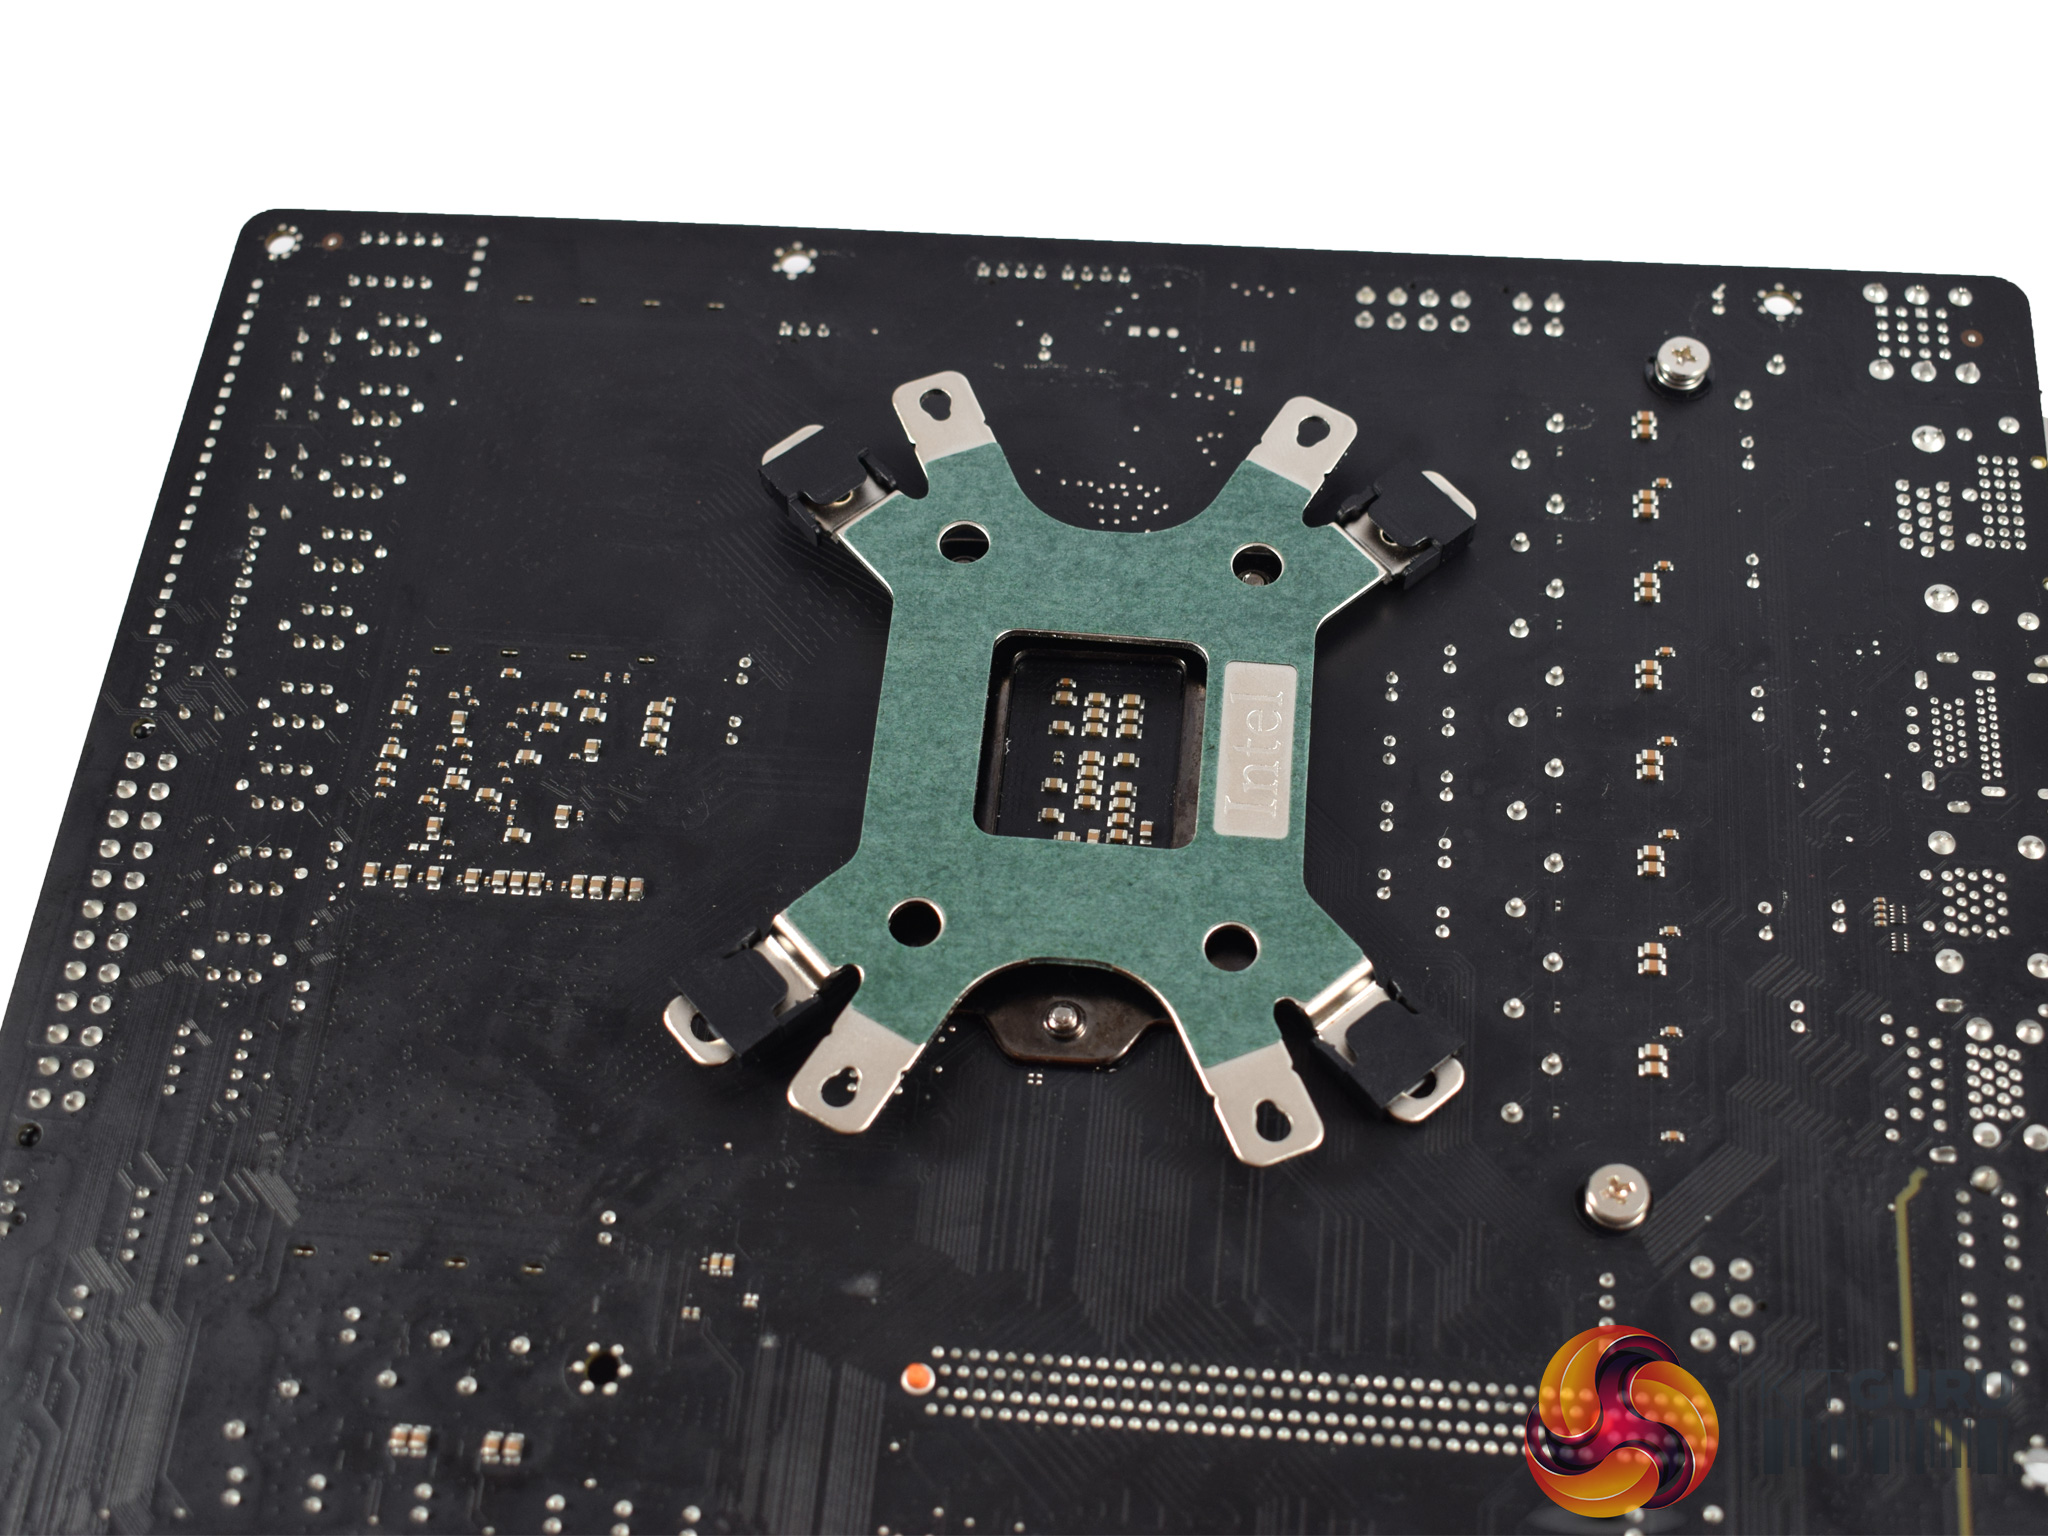
Then, attach the backplate to the rear of the motherboard socket, as pictured.
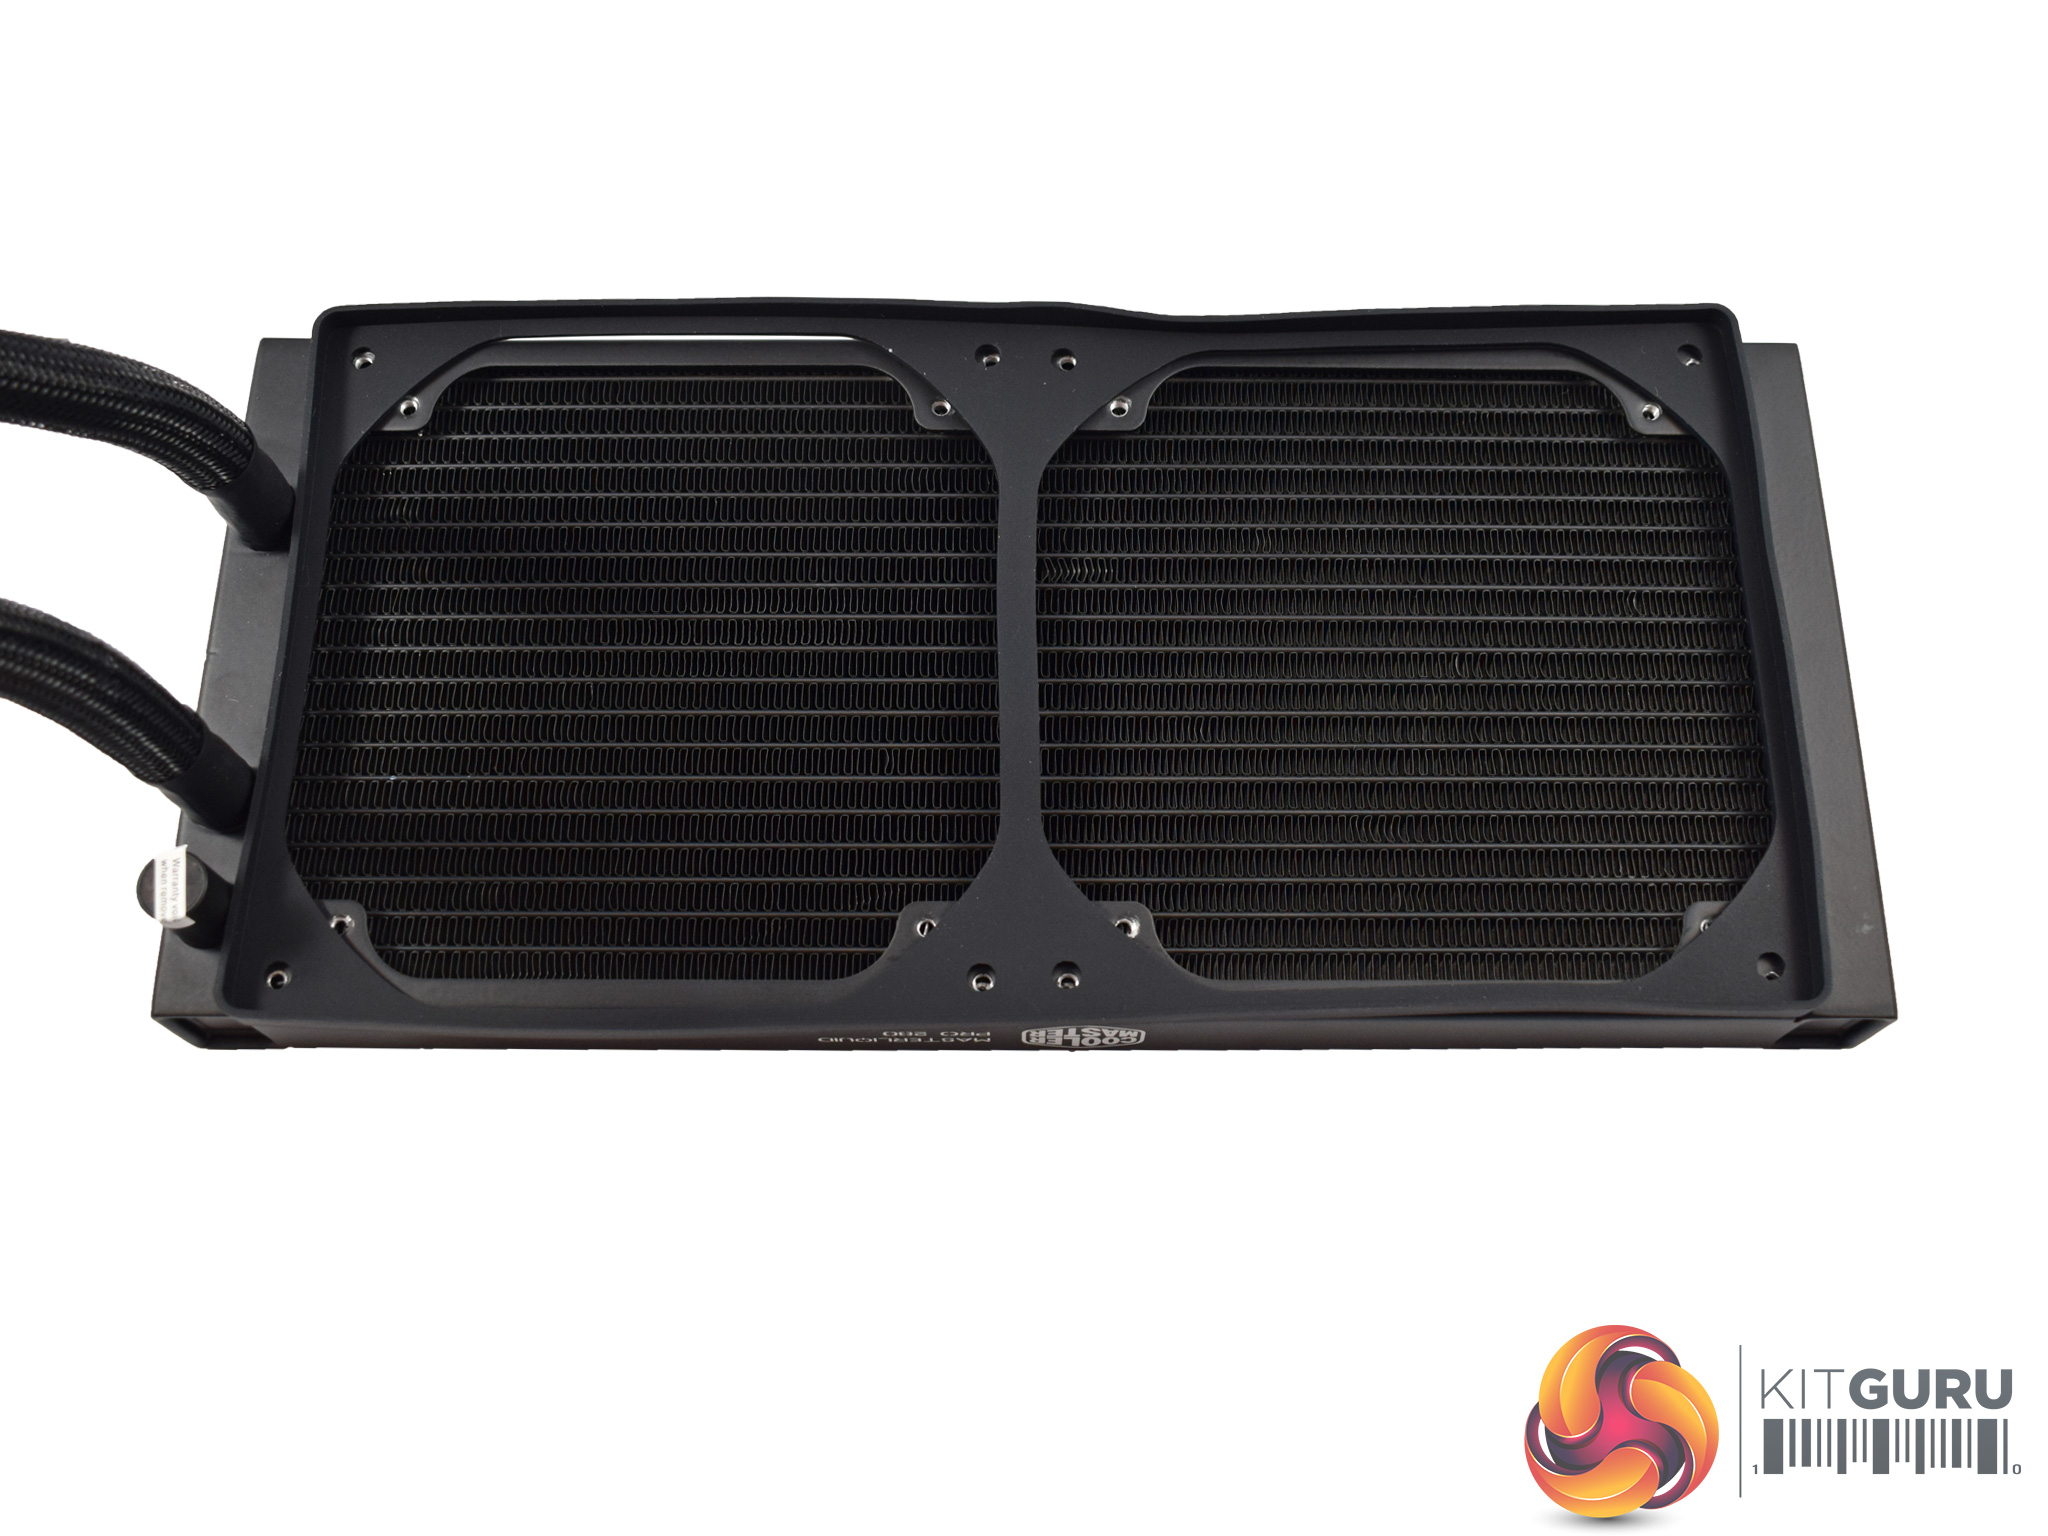
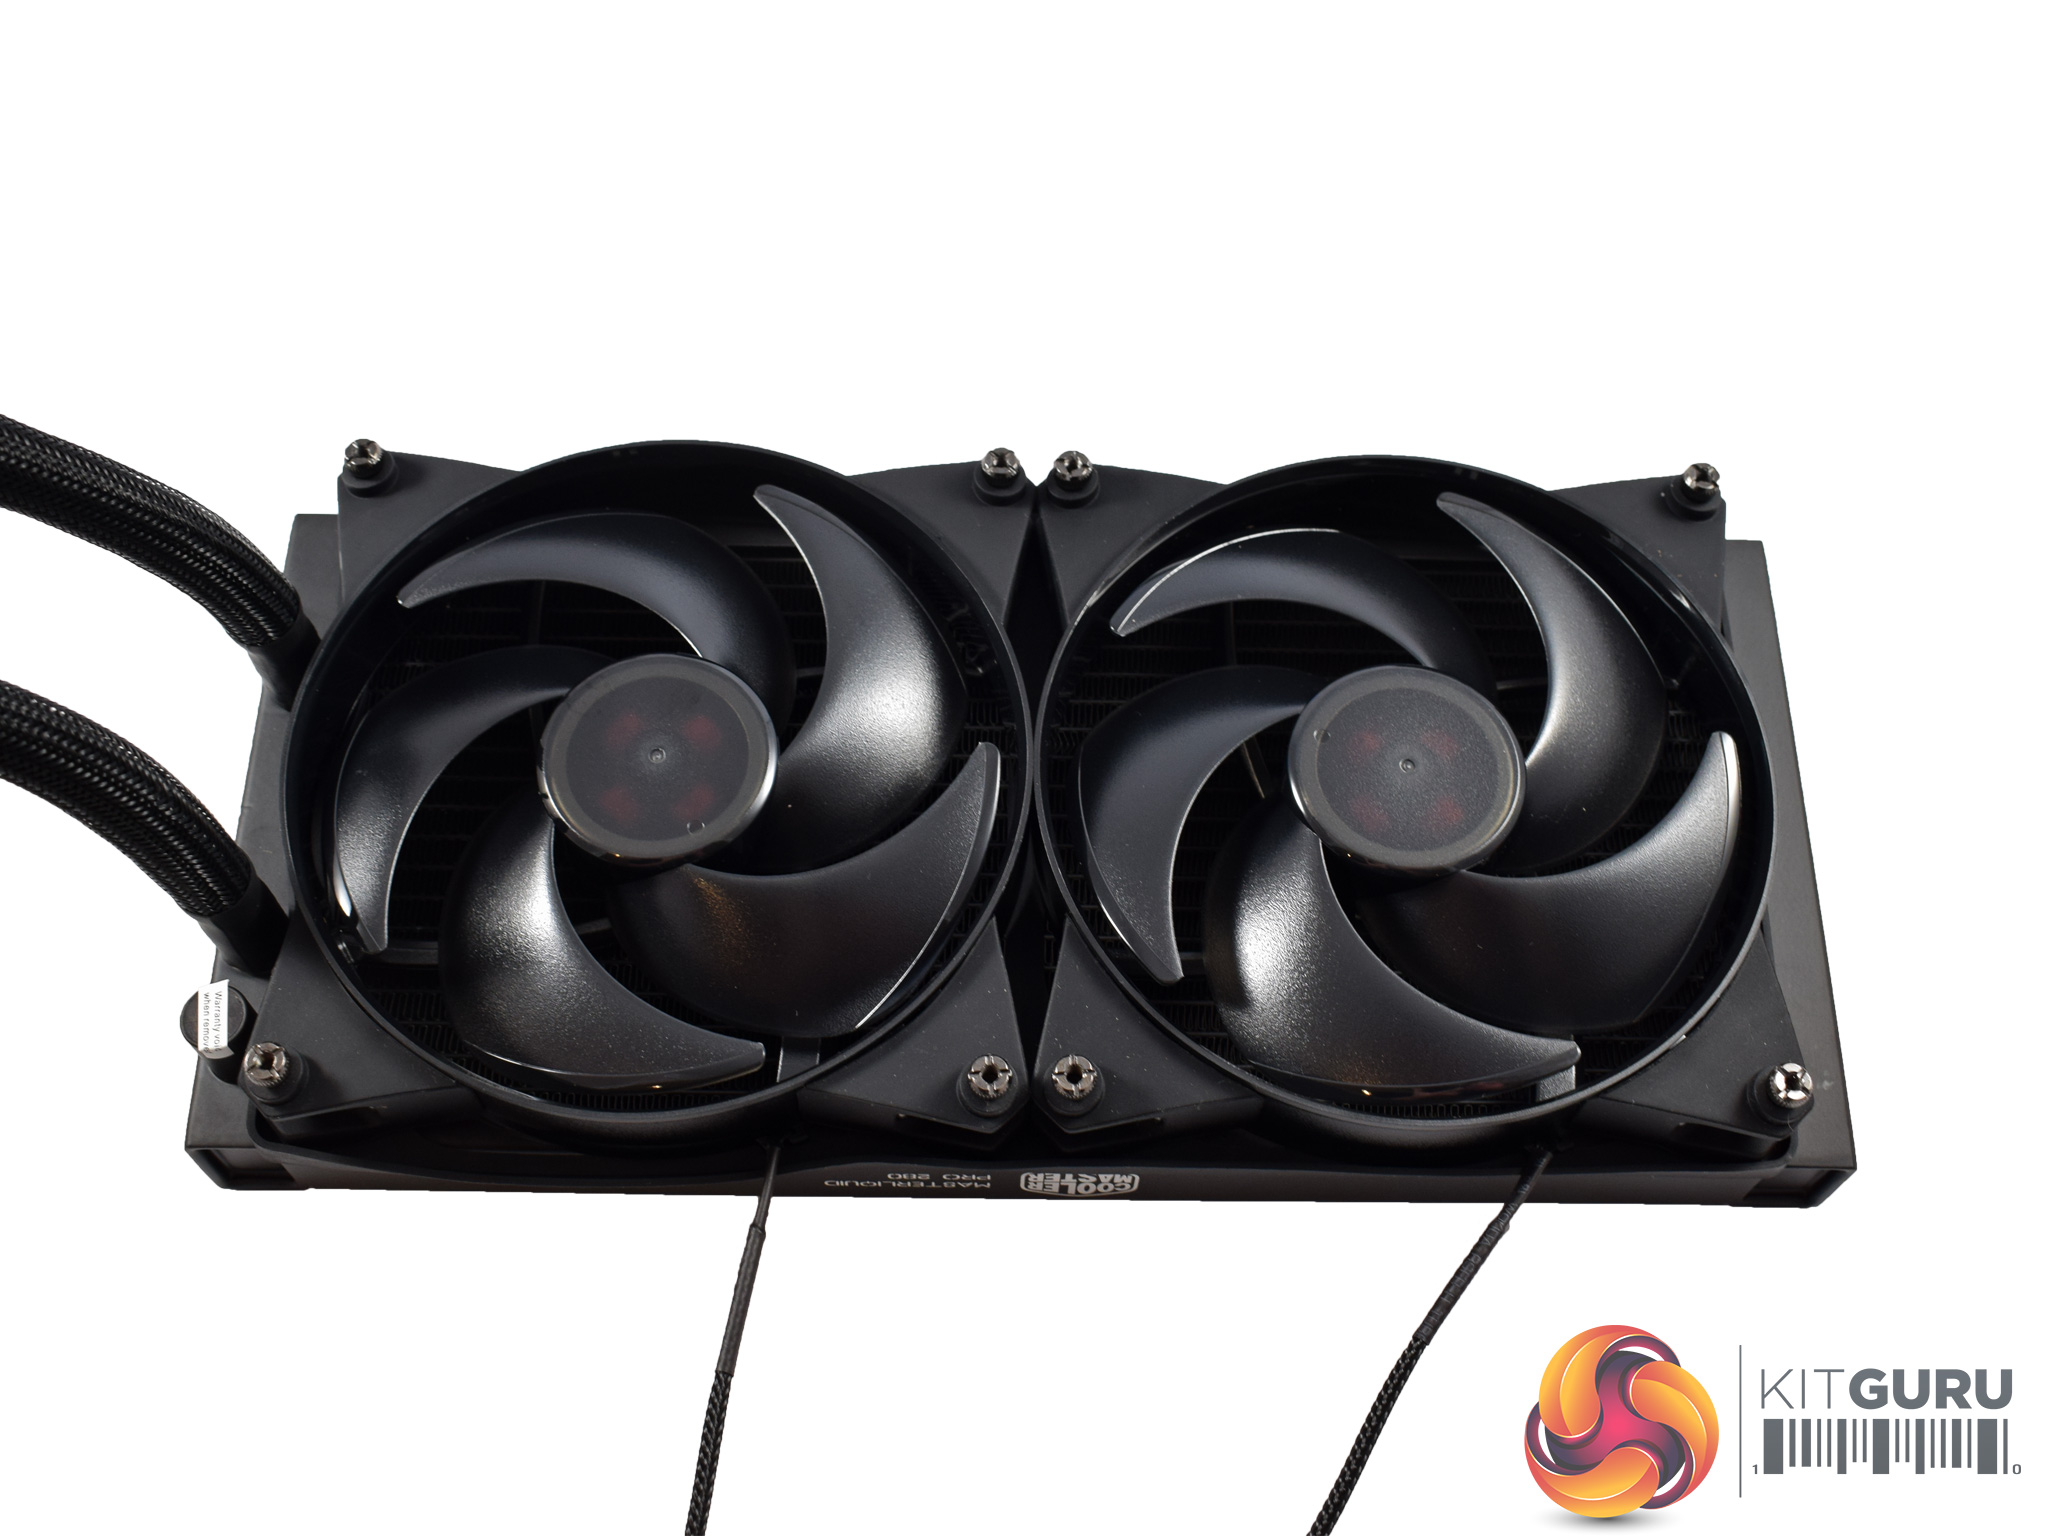
Next, we can install the fans. Cooler Master include a rubber gasket-type mount for the fans which should reduce vibrations. Place this on-top of the radiator, aligning the holes from the rubber with the radiator holes.
After that, go ahead and screw in the two 140mm fans.
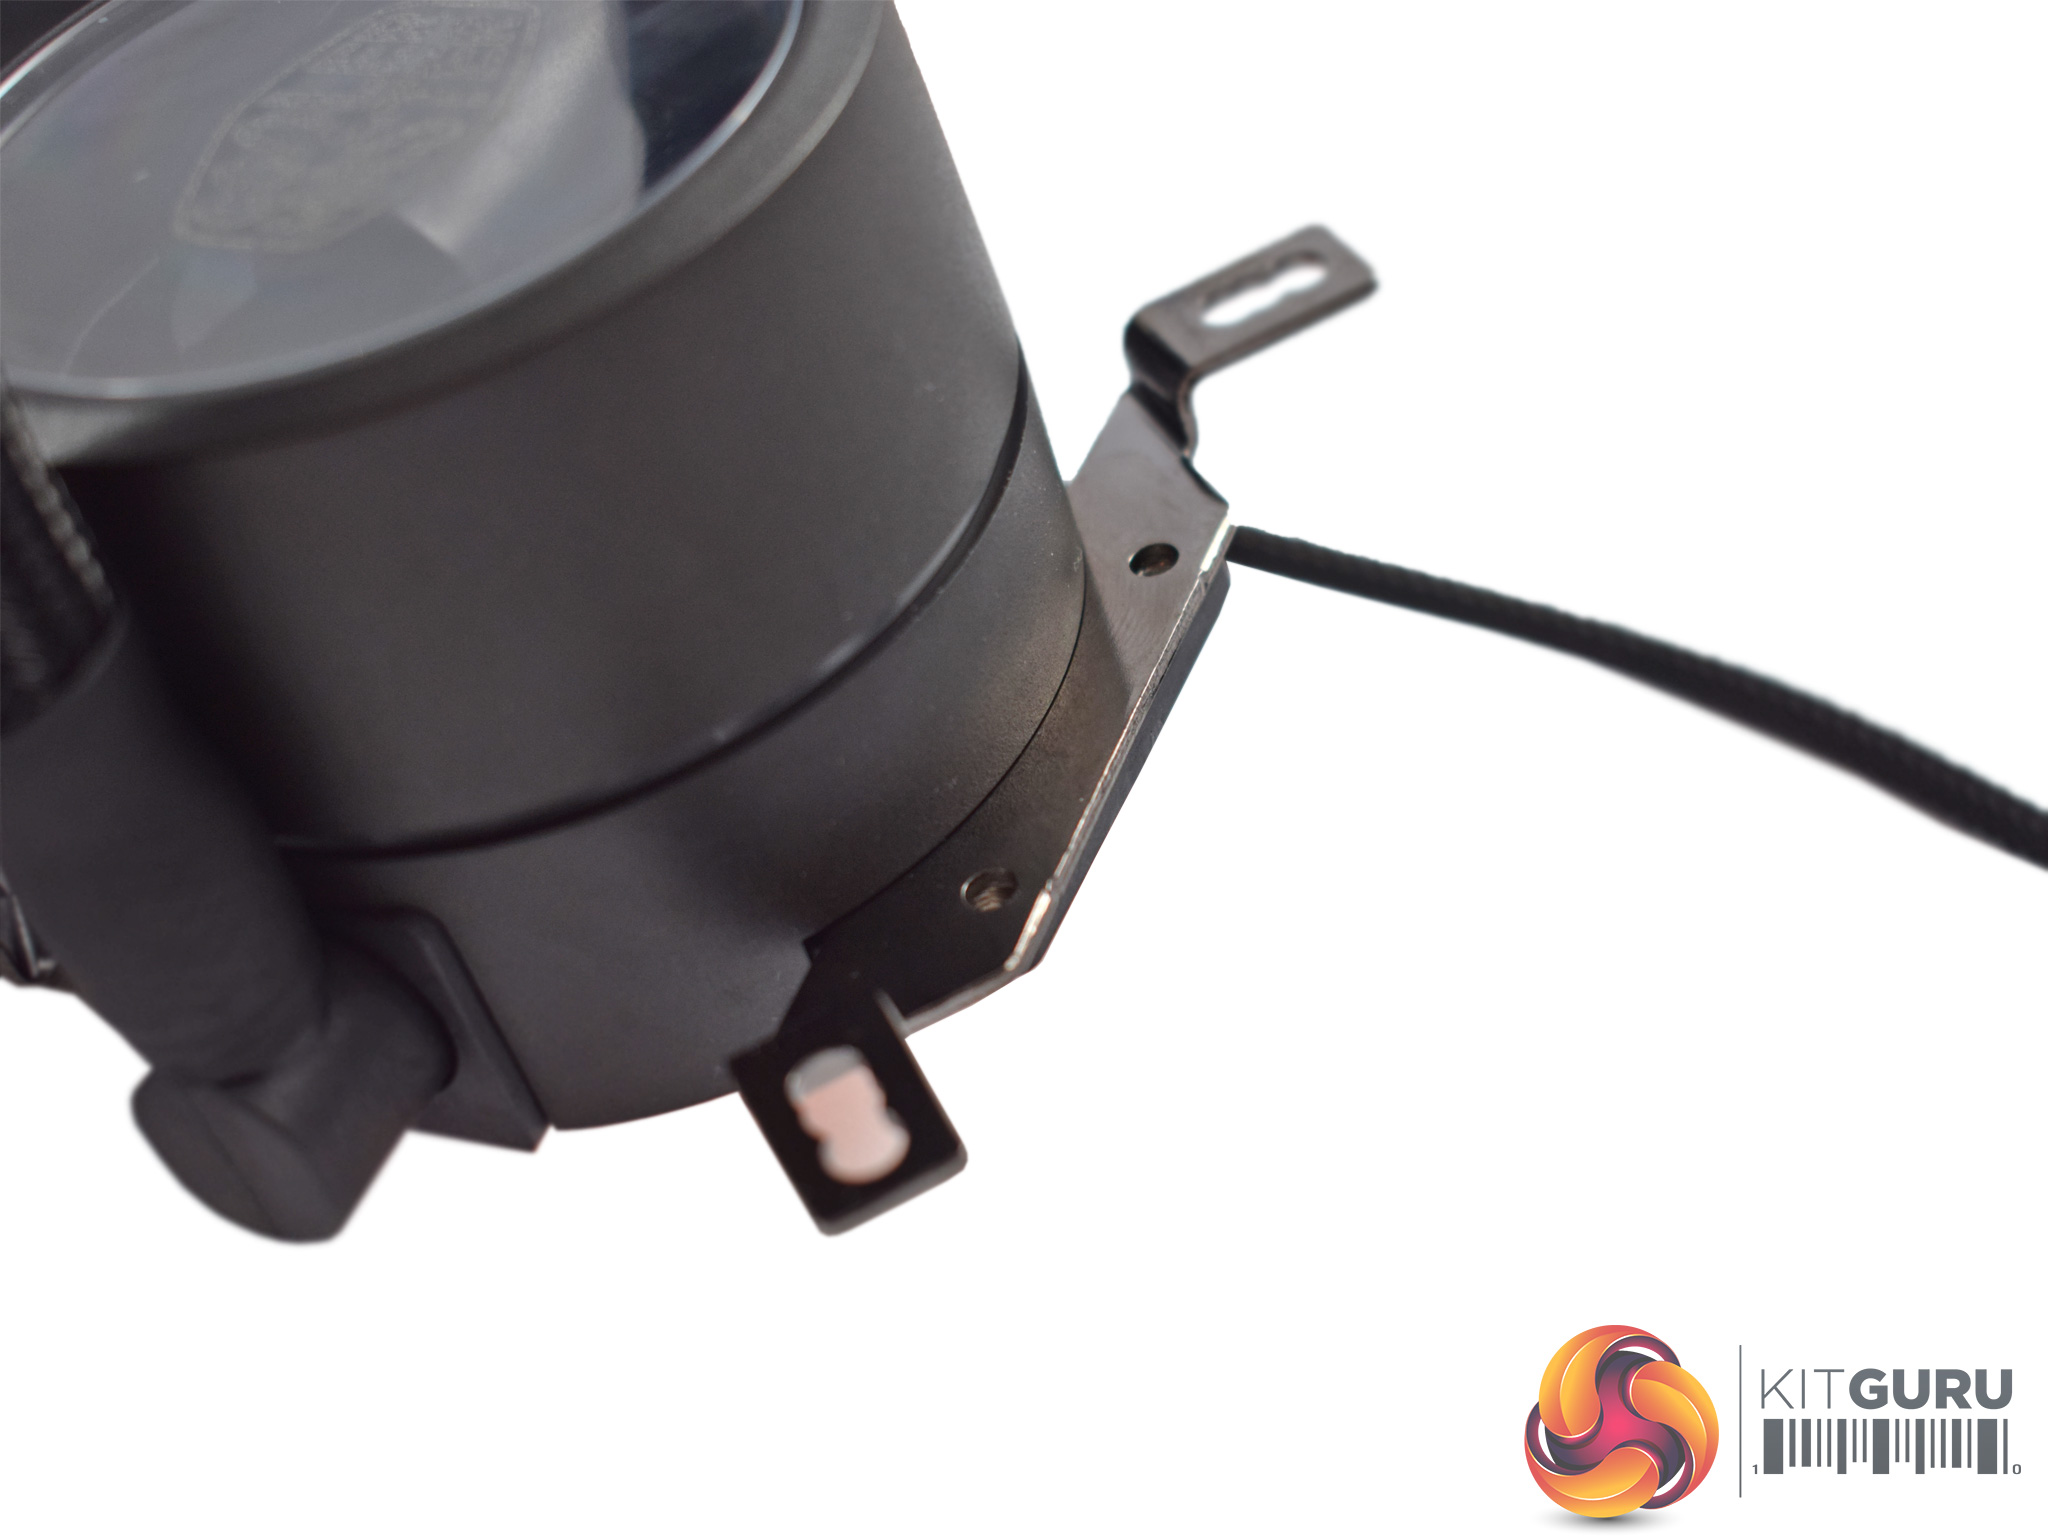
Next, there are two brackets that need to be attached to the pump (as above). These slide in place but are also secured by two small screws.
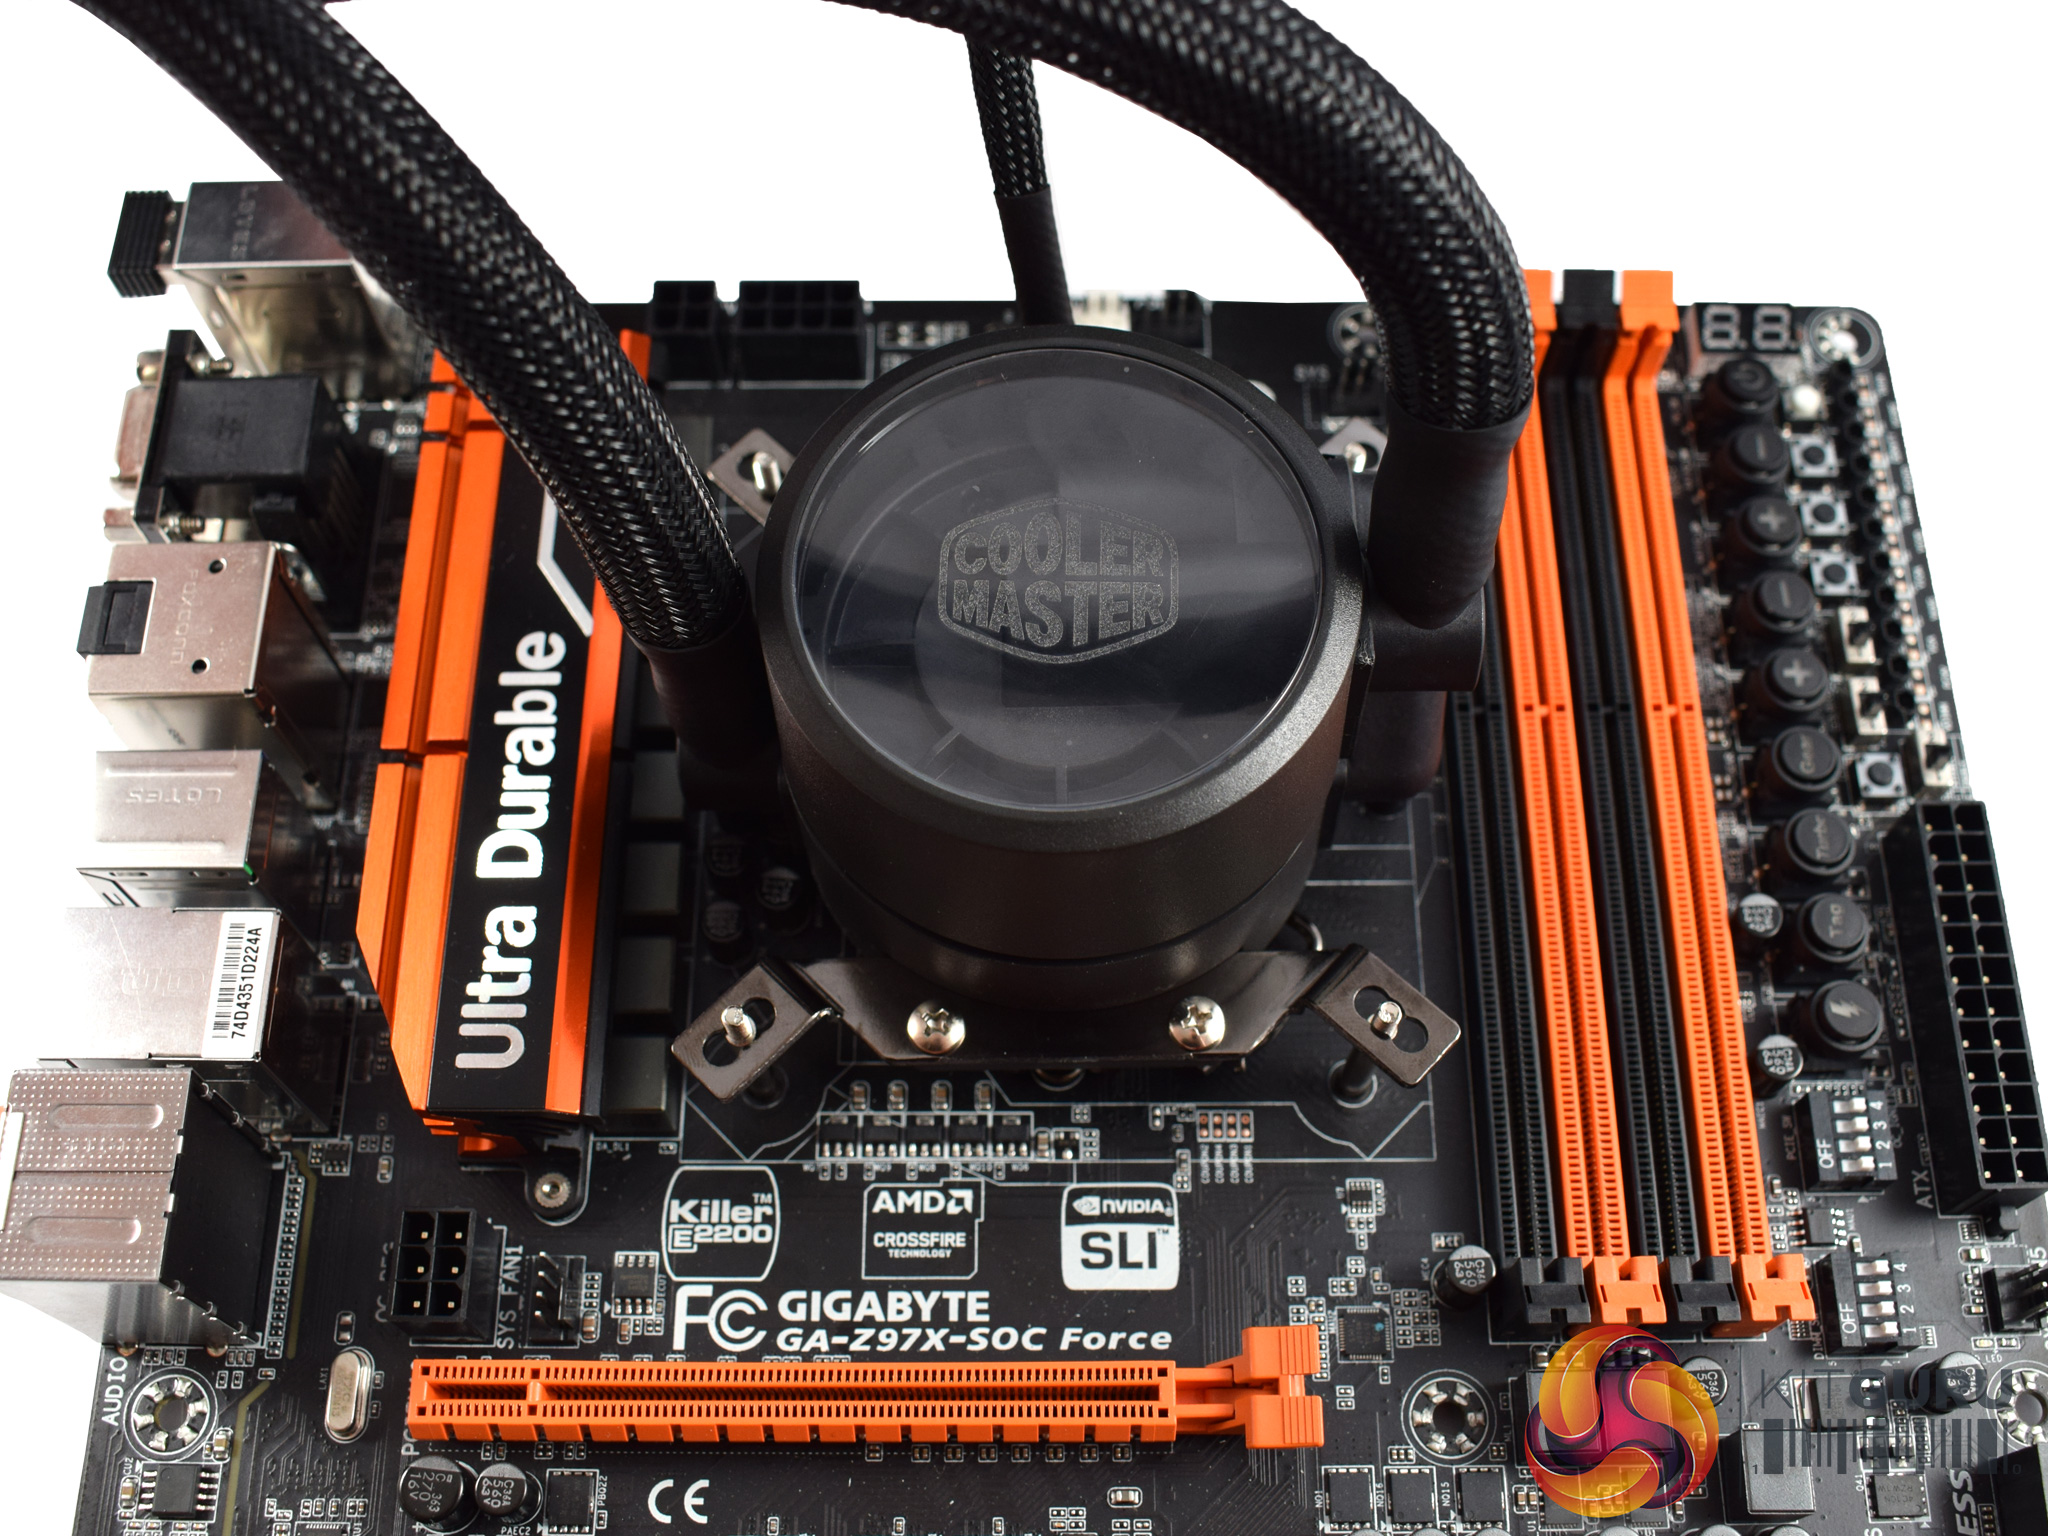
After applying some thermal paste to your CPU, you can then go ahead and place the pump on top of the CPU.
Lastly, the pump just needs to be secured with 4 thumbscrews and installation is complete.
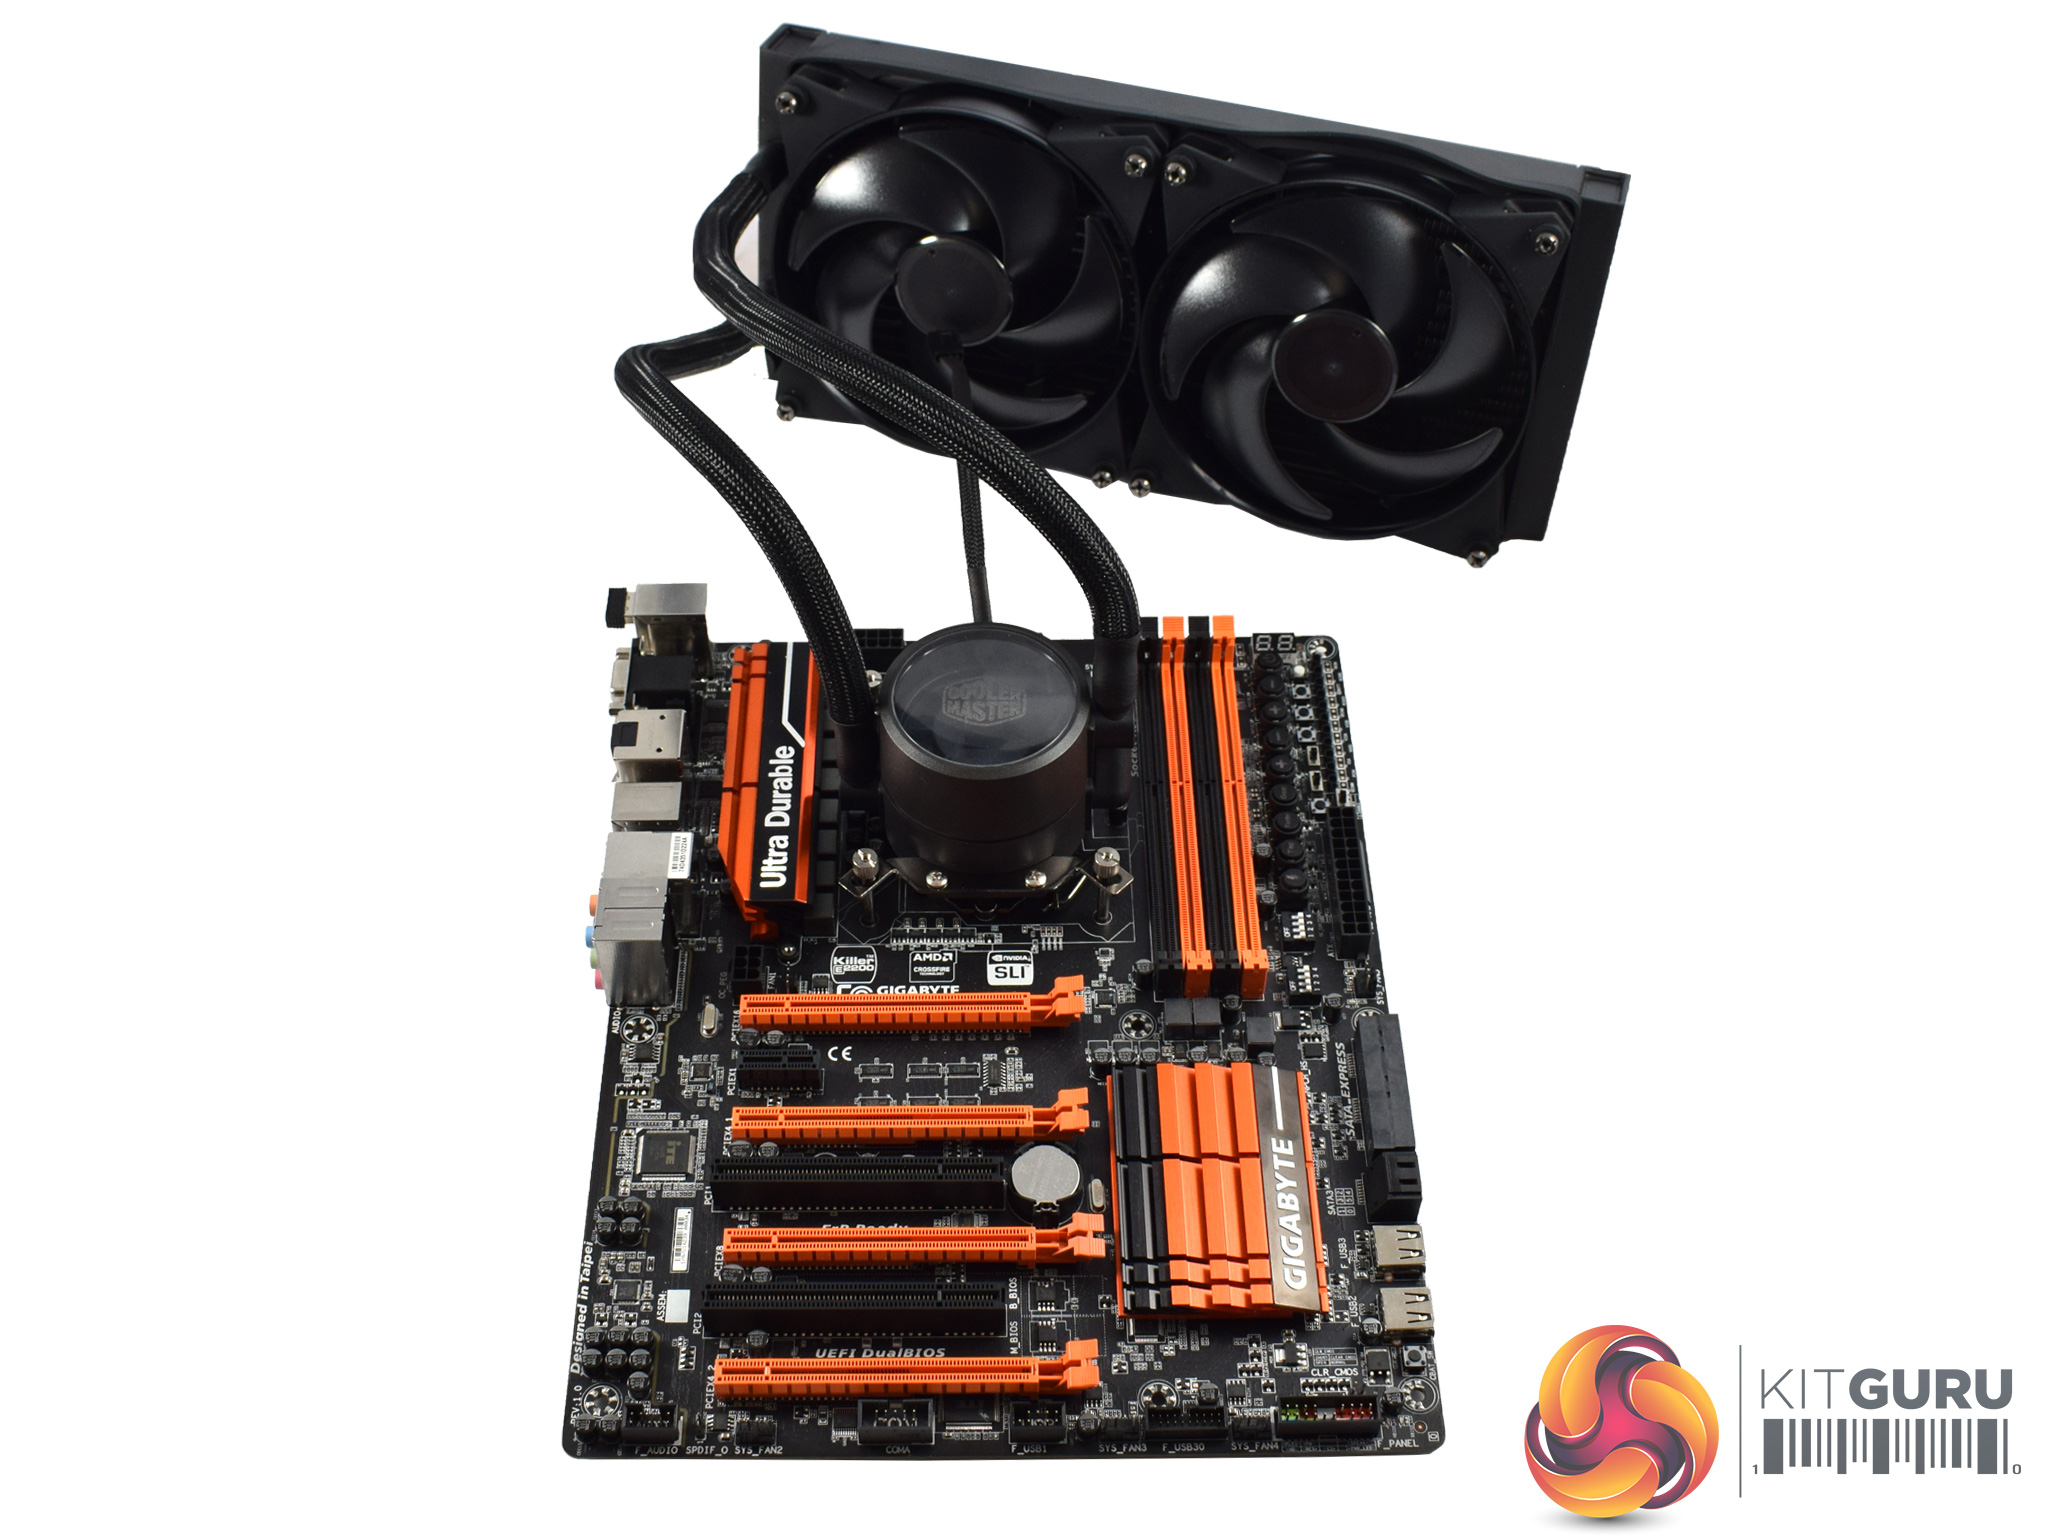
All-in-all, it is pretty painless. It is not quite as easy as the Asetek method – utilised by the Arctic Liquid Freezer 240, for example – but it is far from difficult.
Be sure to check out our sponsors store EKWB here