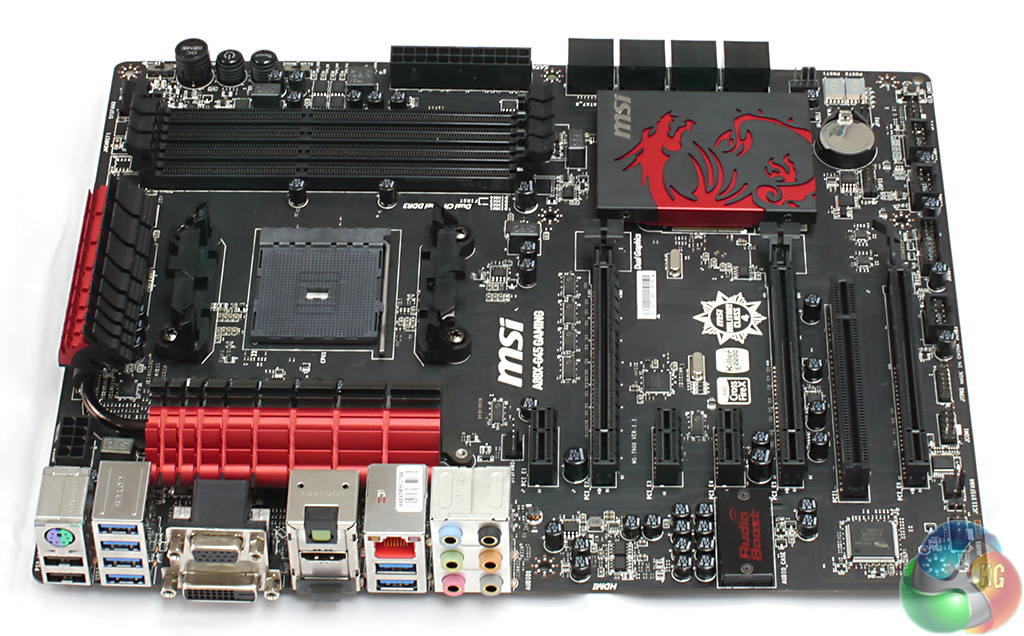
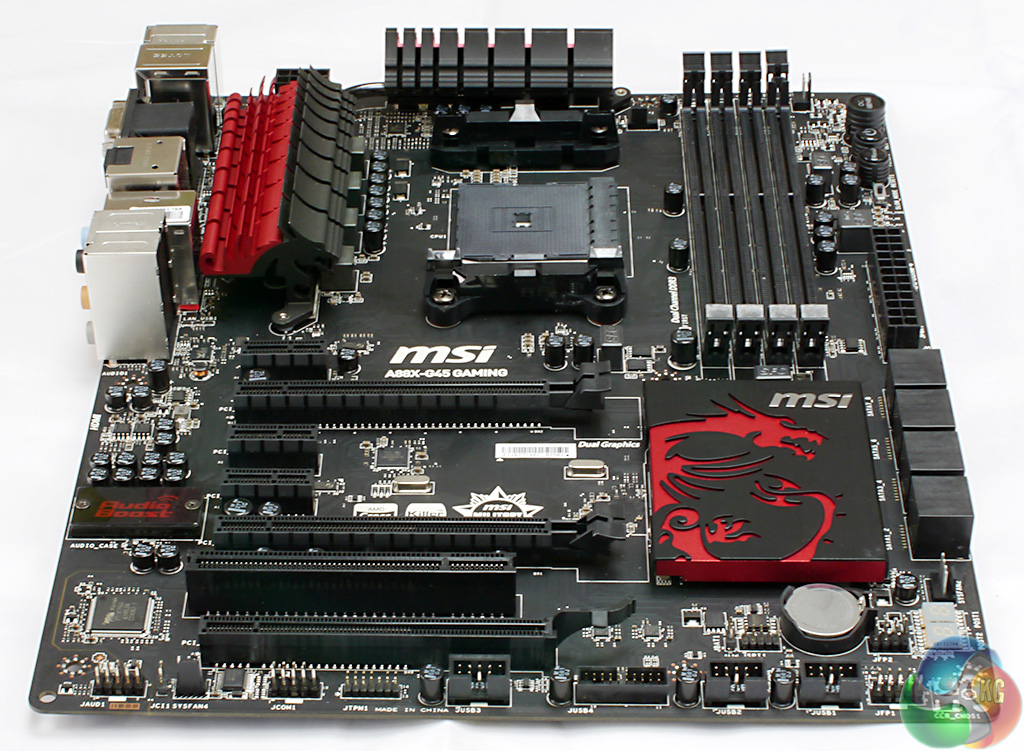
Initial impressions of the A88X-G45 Gaming are positive. The PCB is black with highlights of red on the chipset and power regulation heatsinks. It is an attractive board although it seems every motherboard company are using the same colours this year.
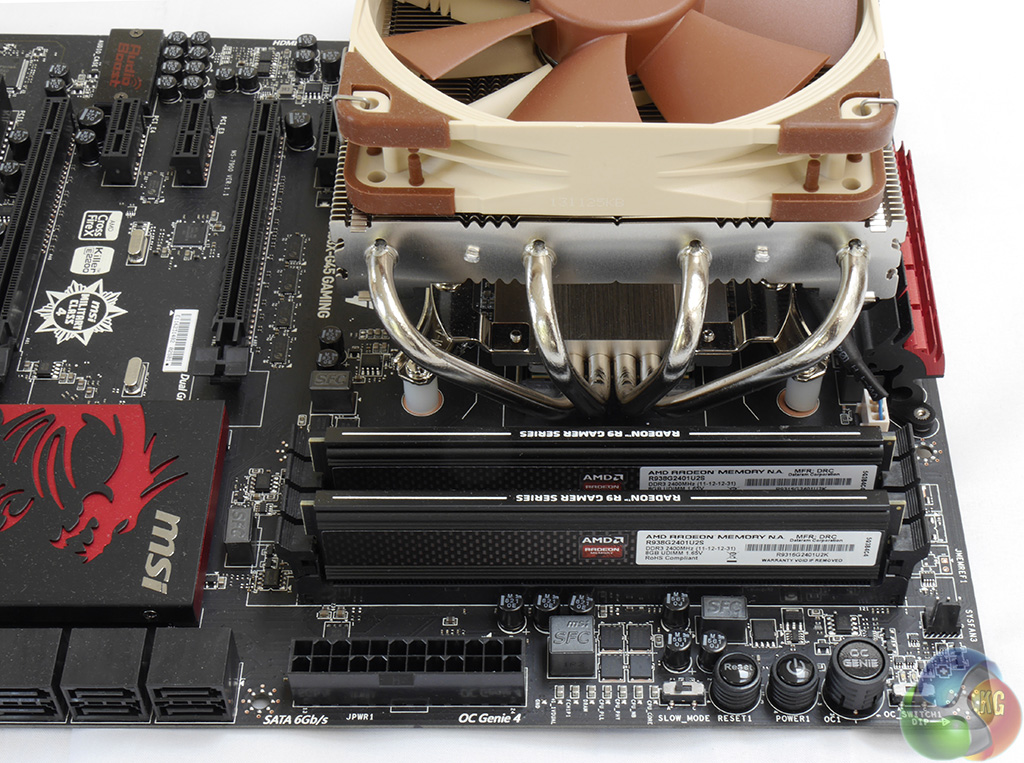
You can see the main features that consist of three long PCI Express slots, three PCI Express x1 slots and one legacy PCI slot. Between the APU socket and the micro buttons there are four DDR3 slots but you don't get any colour coding to work out the channels.

I like to see the memory slots marked as two pairs.
This business of populating slots and 2 and 4 before 1 and 3 can be confusing and it would have been nice to see two of the memory slots in red and the other in black to identify the pairing clearly – instead MSI make you reach for the manual to get the information.
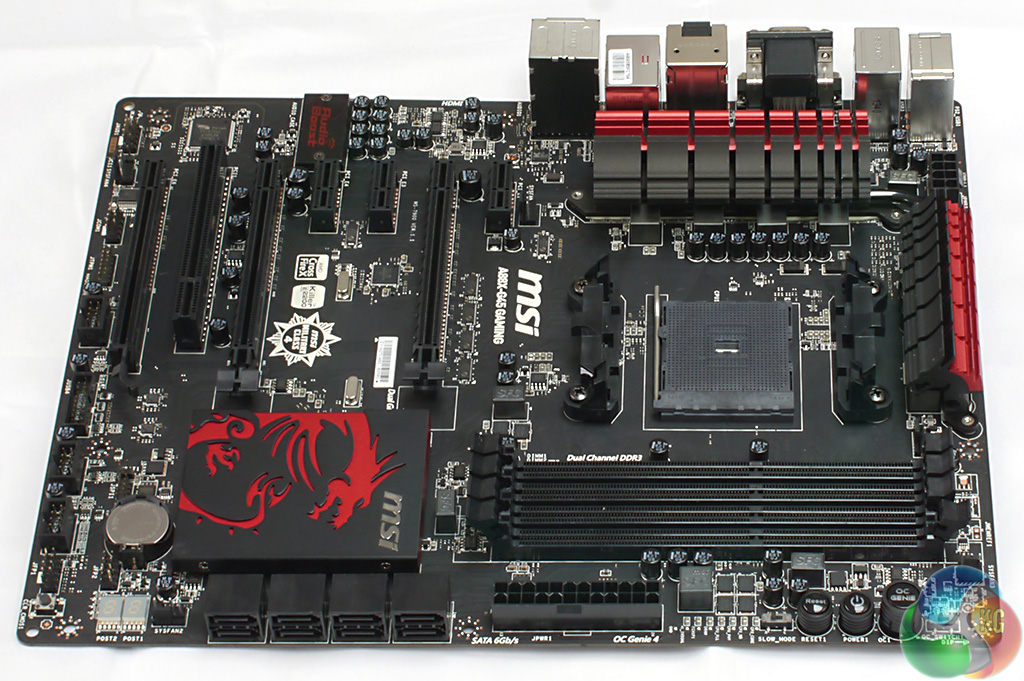
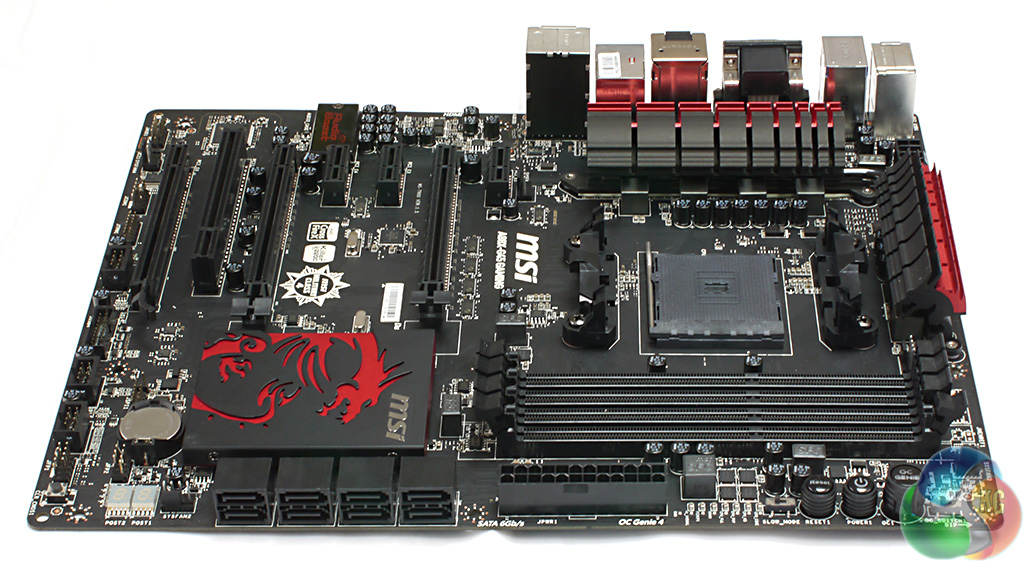
Along the side of the board there are eight SATA 6Gbps connectors that are native to the A88X chipset and which support RAID 0, 1, 5 and 10. These connectors are laid down horizontally so even though they are in line with the graphics slots you'll have no problem plugging in the cables.
In the corner of the board there are three micro buttons and a couple of flick switches that play a major part in the make-up of the A88X-G45 Gaming. I will cover them in some detail shortly.
MSI has arrayed a line of headers across the foot of the board for HD Audio and USB 2.0 which is pretty much what you expect. MSI has also placed a USB 3.0 header at the foot of the board. Every modern case has its USB ports at the top of the front panel so the cables have some distance to reach.
The other thing to consider is that the header is directly in the way of the third graphics slot. I don't think it likely that anyone will install triple graphics cards in this motherboard but if MSI wants to offer the option it seems a bit silly to plonk the USB 3.0 header in that location.
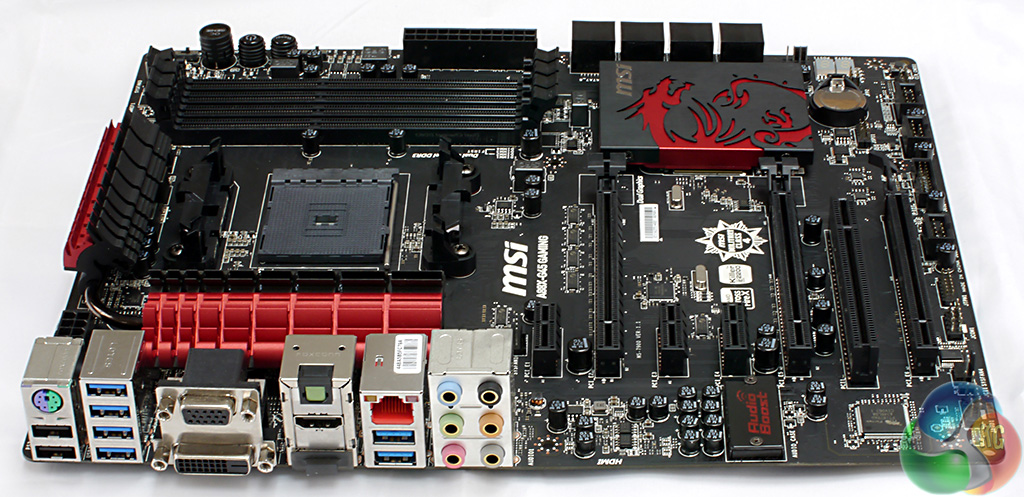
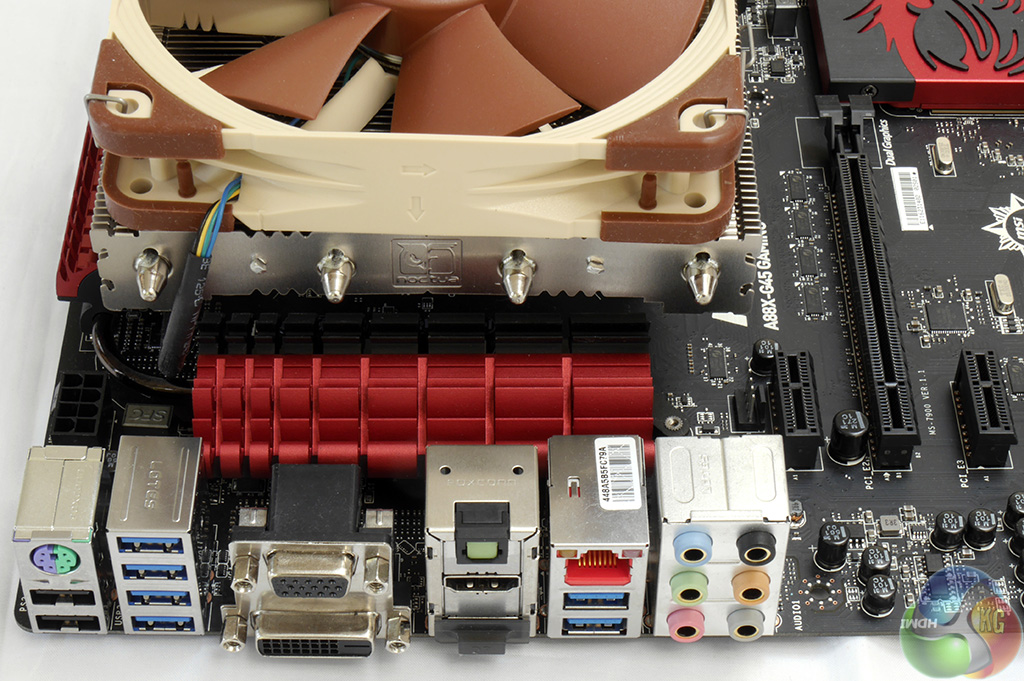
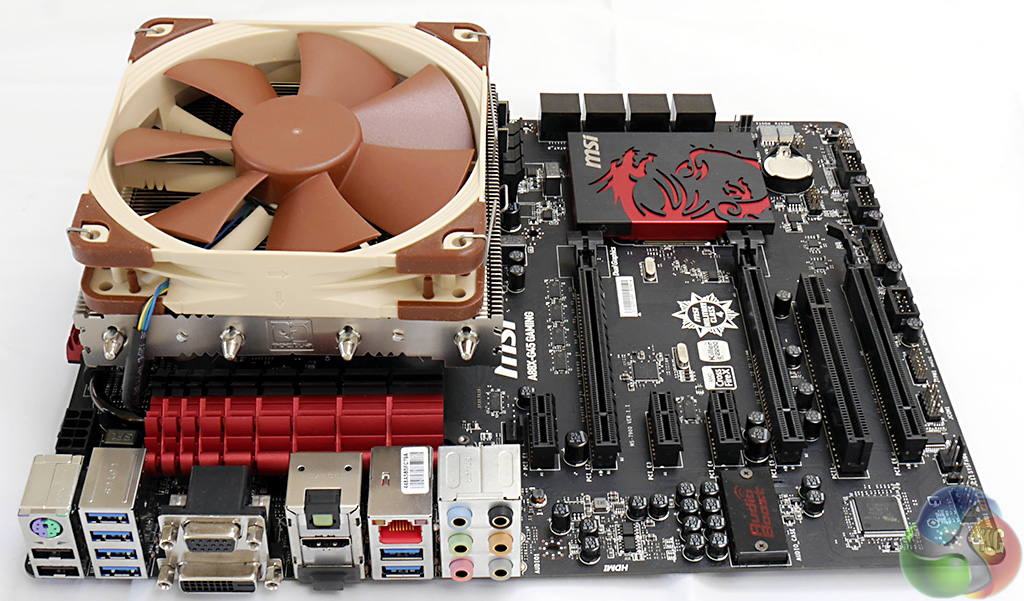
The I/O panel is absolutely packed with ports and connectors.
There are two USB 2.0, six USB 3.0, one PS/2, 7.1 audio with S/PDIF, the Gigabit Killer E2205 Ethernet port and a host of graphics outputs. You get one each of VGA, DVI-D, HDMI and DisplayPort. To get the most from the HDMI you need to use an FM2+ APU.
I am not the least bit clear why MSI has included a VGA output although it might come in handy if you have an old projector you wish to connect.
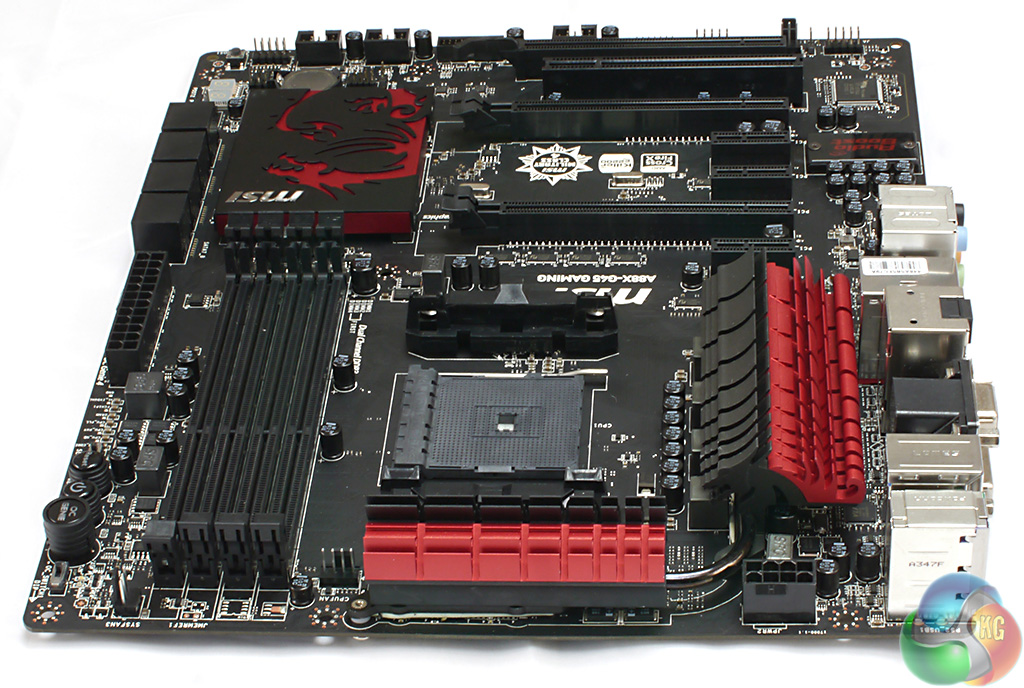
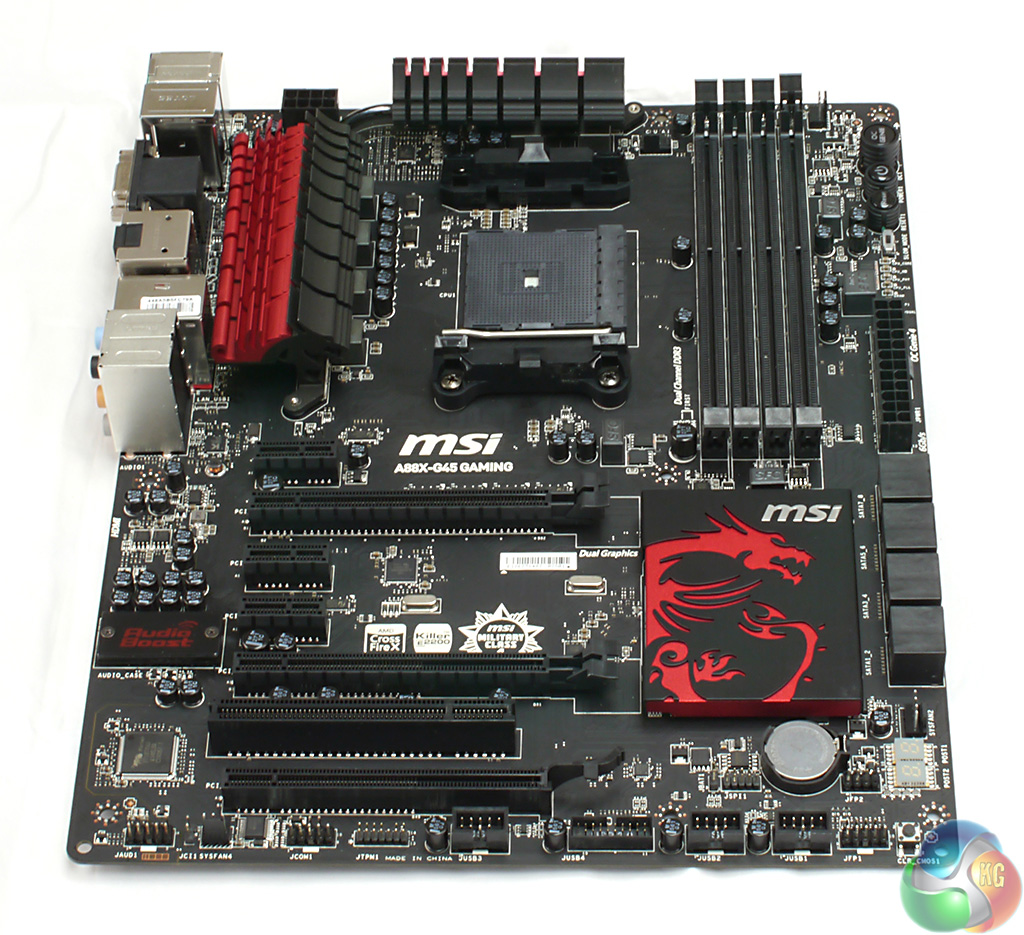
It may not be especially obvious that the dragon motif on the chipset heatsink is repeated in the profile of the power regulation heatsinks. You have to take a close look and squint a bit but yes, it does indeed look dragon-y.
You will note there is a heatpipe joining the two heatsinks together.
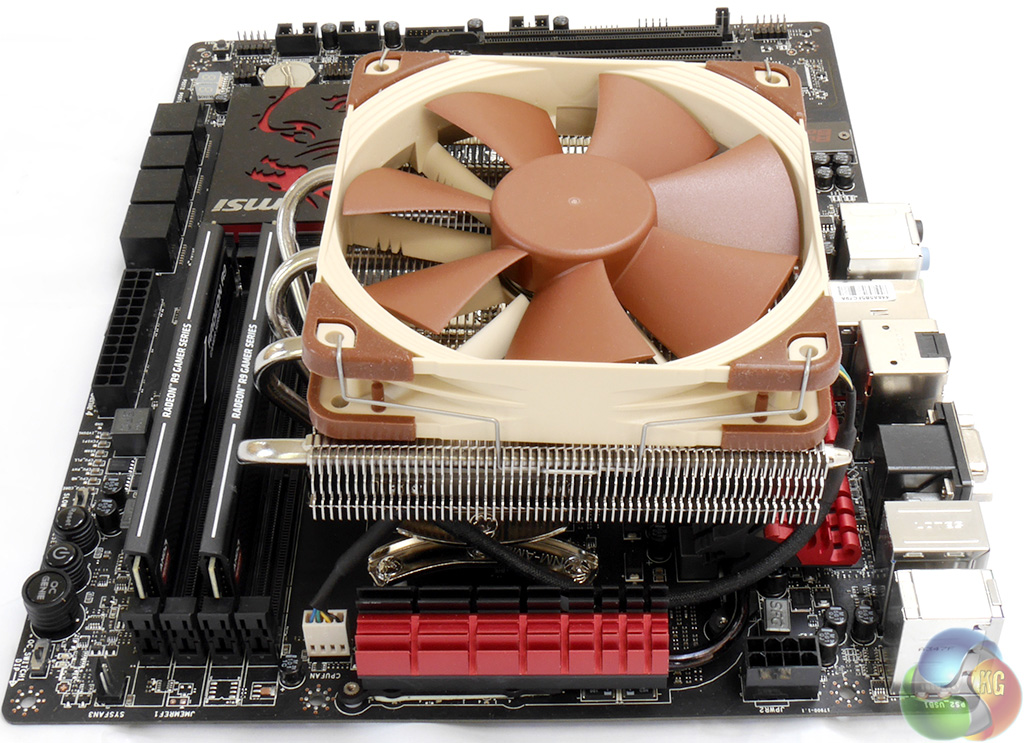
I tested the A88X-G45 Gaming with an AMD Kaveri A10-7850K that costs £132 inc VAT.
This is a 95W TDP part and I could very easily have used a large cooler such as the Noctua NH-D15 but instead opted for a Noctua NH-L12 cooler that costs £45. This is a low profile cooler with a 120mm main fan and the option of adding a 92mm secondary fan below the heatsink.
To my mind a highly integrated APU is a natural choice for a small form factor PC, rather than a large tower with the space for a huge cooler so I plumped for the NH-L12.
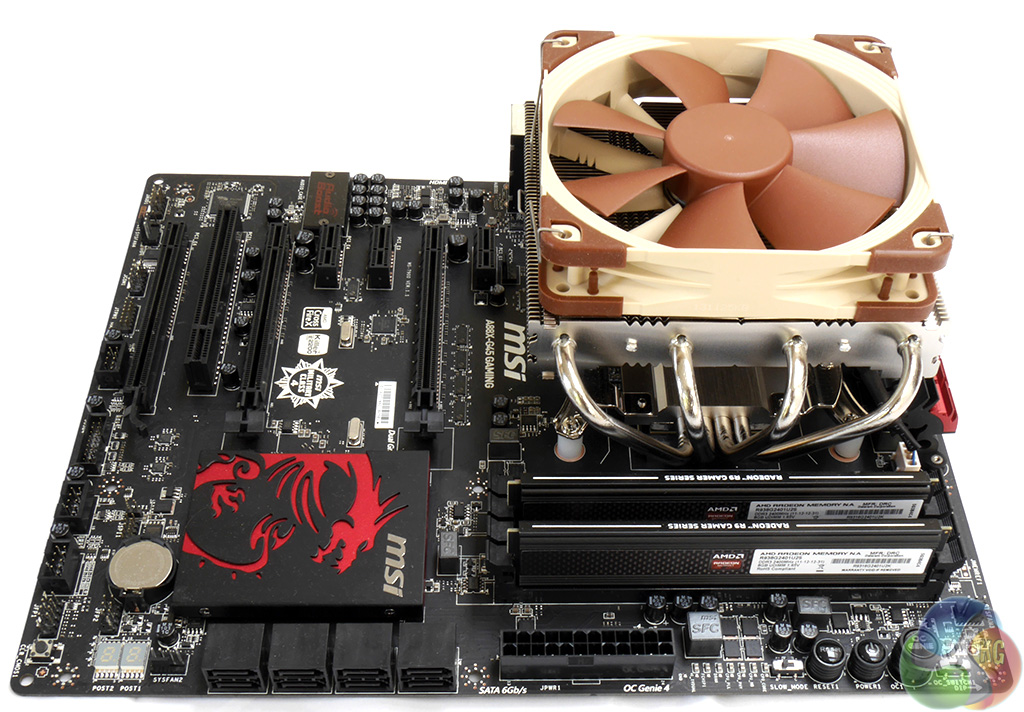
When it came to system memory I had a simple decision as MSI sent me a kit of Radeon R9 DDR3-2400MHz while AMD sent me a second kit with the A10-7850K so naturally I chose the 16GB kit (£162) over the 8GB kit (£72).
Here is a closer look at the control buttons that I mentioned. The Power and Reset buttons speak for themselves while the Slow Mode switch is a fail safe for underclocking to get your PC running when you are using extreme settings with LN2.
The OC Genie button is a superb device that MSI developed to simplify overclocking, You simply turn off the PC, press the OC Genie button, start the PC and wait a couple of seconds while the BIOS loads an overclocking profile that is matched to your APU and memory. You can achieve exactly the same end by entering the BIOS set-up screen and selecting OC Genie there instead.
Next to the OC Genie button there is a flick switch that selects the level of overclocking. Gear 1 lights up a blue LED while Gear 2 is indicated by a red LED. I cannot find any information about the level of overclocking that you can expect to see but in the case of my A10-7850K the stock upper speed was raised from 4.0GHz to 4.25GHz (blue) and 4.5GHz (red).