

ASUS ROG X370 UEFI
The UEFI used on ASUS' X370 motherboard is the same as the interface we have become accustomed to on the vendor's mainstream Intel motherboards (such as the STRIX Z270F Gaming). As such, our analysis follows a very similar tone.

The default entry page for ASUS’ UEFI is EZ Mode. On this page, basic settings relating to fan speeds and boot devices can be adjusted and other important information can be viewed. EZ Mode is simple enough for novice users to not be dissuaded from entering the UEFI.
Hitting F7 allows the Advanced mode to be accessed.
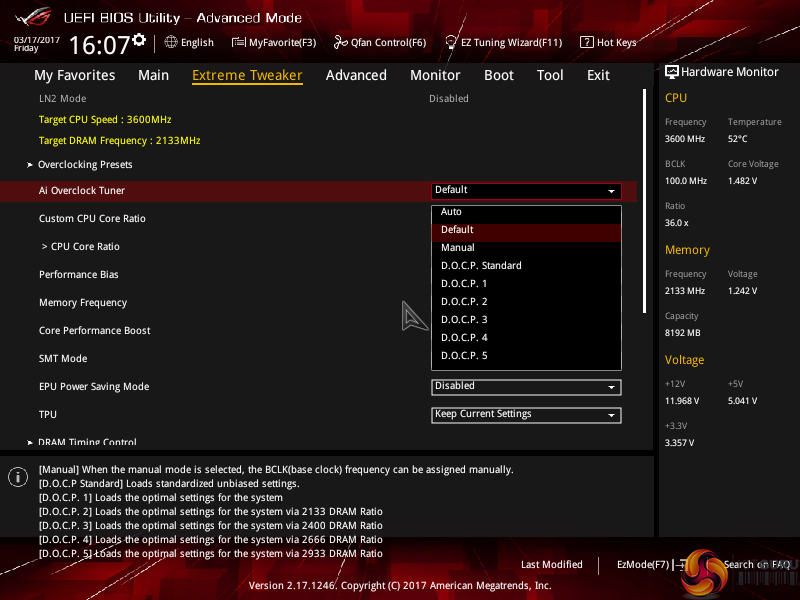
ExtremeTweaker follows the standard layout that we have come to expect from recent ASUS motherboards, and that’s a good thing. Easy access is provided to ratio, frequency, and voltage settings, allowing users to adjust their system parameters with minimal effort.
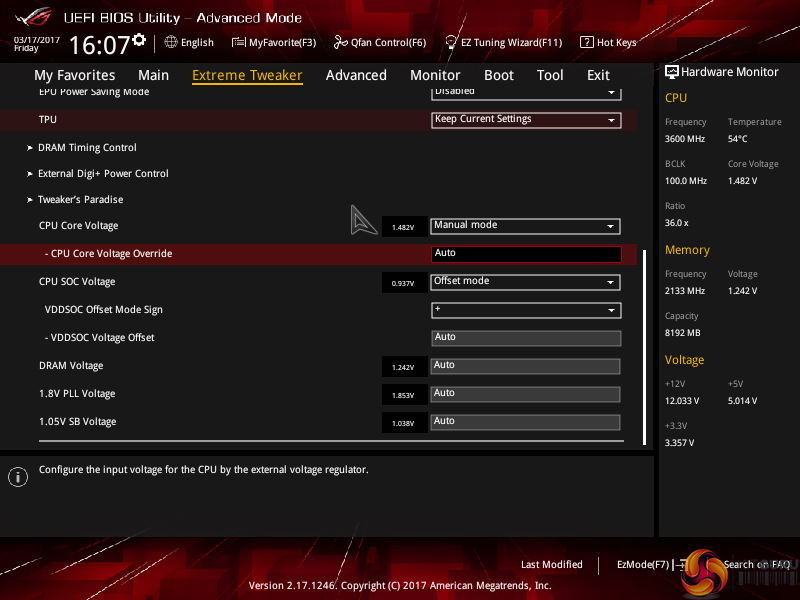
Different voltage operating modes are available for the CPU, allowing the user to adjust an overclock to their own preference. The modes of interest are: Offset, Manual, and Auto.
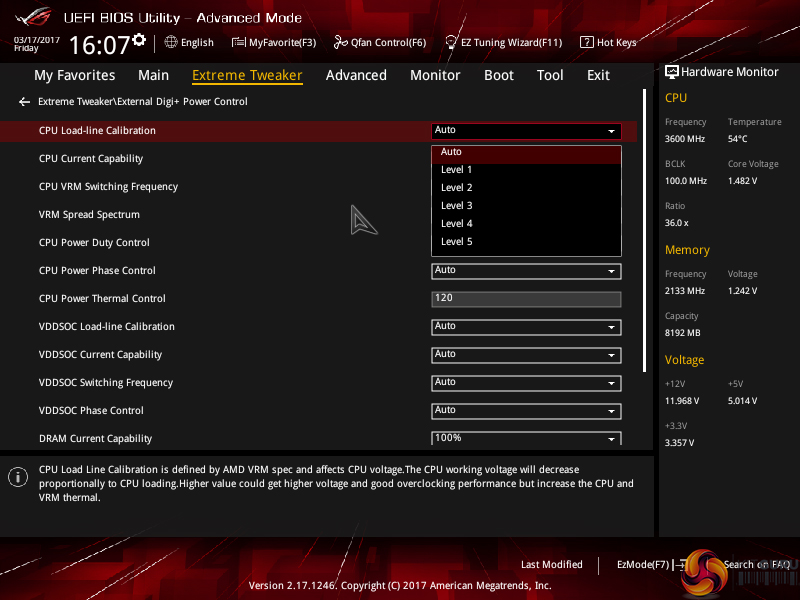
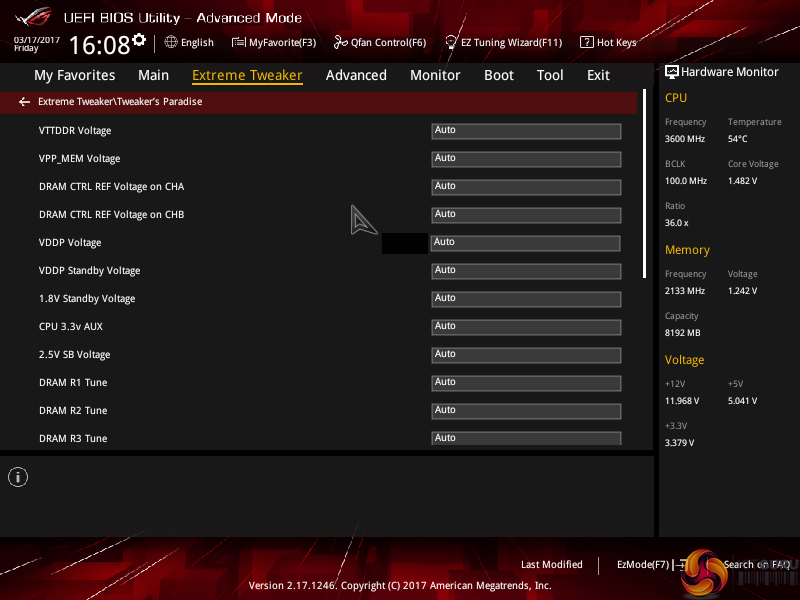
Subsections inside Extreme Tweaker provide users with additional overclocking abilities – External Digi+ Power Control and Tweaker’s Paradise are the focal points.
Load-line calibration (LLC) settings can be accessed through the External Digi+ Power Control page. ASUS provides options from level 1 to level 5 and gives a basic explanation of how LLC works. However, ASUS’ explanation of how voltage changes with load is not as good as MSI’s and ASRock’s visual interpretation using a graph. We had to resort to trial and error in order to find the desirable LLC level, which was a waste of time compared to competing vendors' solutions.
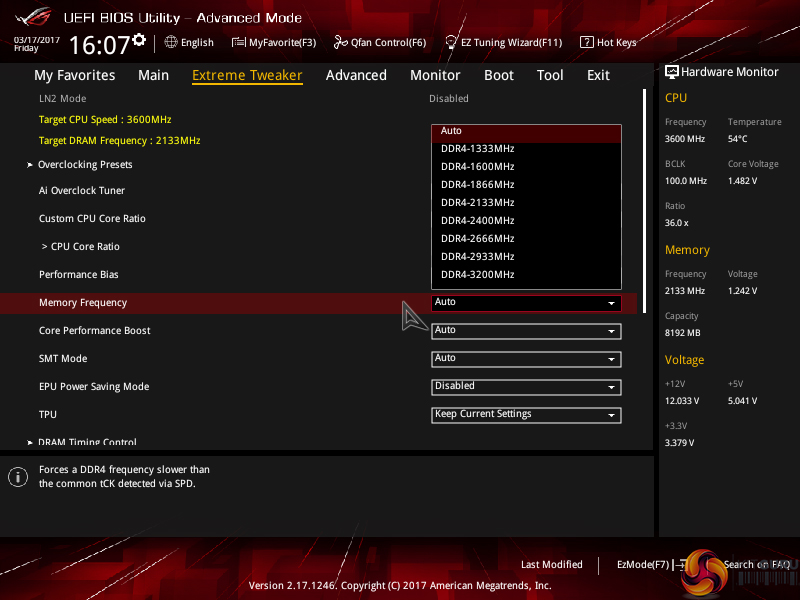
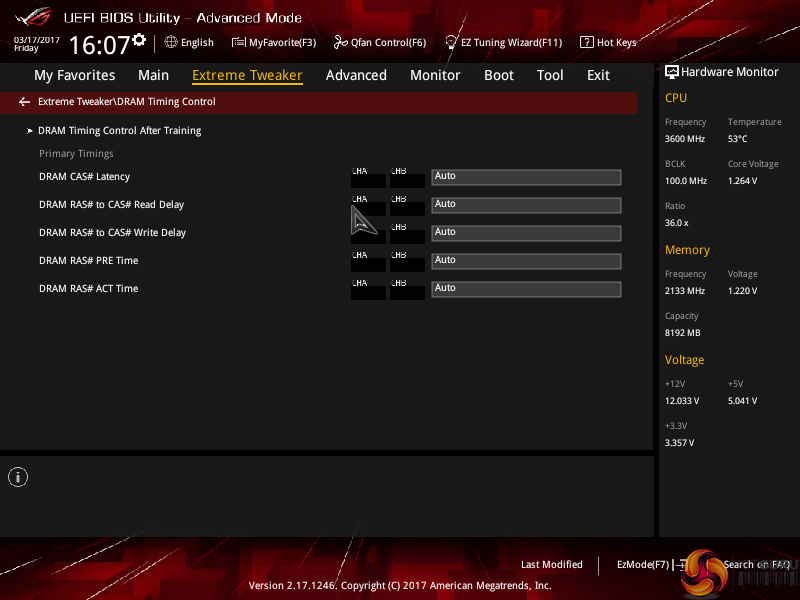
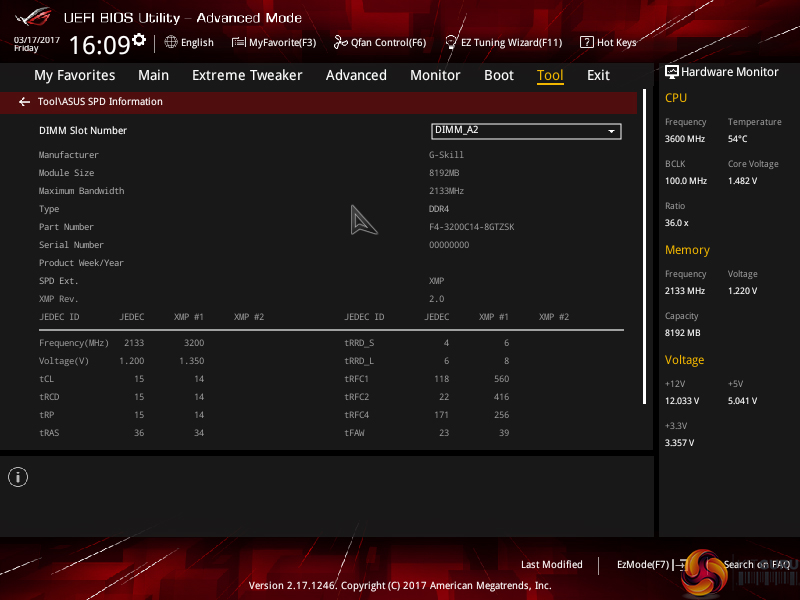
Memory dividers allowing up to 32x can be selected in the drop-down tab. All of the general timings settings are accessible via their own section.
ASUS does not support XMP directly, as MSI and Gigabyte do. Instead, the board vendor opts for a mode called D.O.C.P. which loads what it perceives to be optimal settings in order to hit targetted memory frequencies. Memory dividers up to 32x are selected and the BCLK can be adjusted in order to hit the XMP kit's rated frequency. For example, D.O.C.P. 3 will use a 24x memory divider and 111MHz BCLK to hit 2666MHz on an XMP-2666 kit, whereas D.O.C.P. 1 will load a divider close to the kit's rated XMP frequency and adjust the BCLK to try to hit that value (e.g. 32x divider and 112.5MHz BCLK for XMP-3600 kits).
There is also the D.O.C.P. Standard option which will select a memory divider at the kit's rated frequency or one notch below if there isn't a specific divider for the AMD platform. For example, 3600MHz memory will be set at 3200MHz, 2800MHz DIMMs will go to 2666MHz, and 3200MHz sticks will operate at 3200MHz. This option is, more-or-less, XMP with a different name.
We would advise caution when using D.O.C.P. as we tried to use an XMP-3600 kit using the D.O.C.P. Standard profile and ended up breaking an ROG Crosshair VI Hero motherboard. The BIOS crashed and now the board will not even switch on using the power buttons.
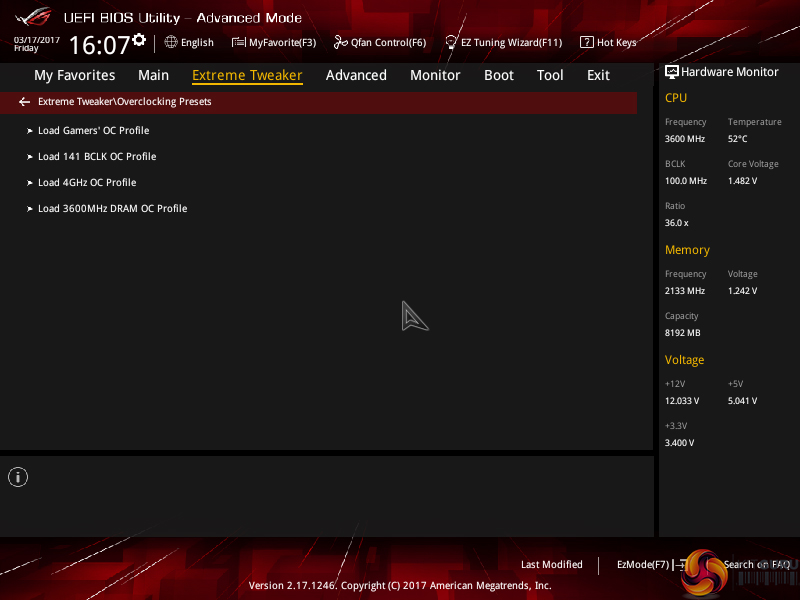
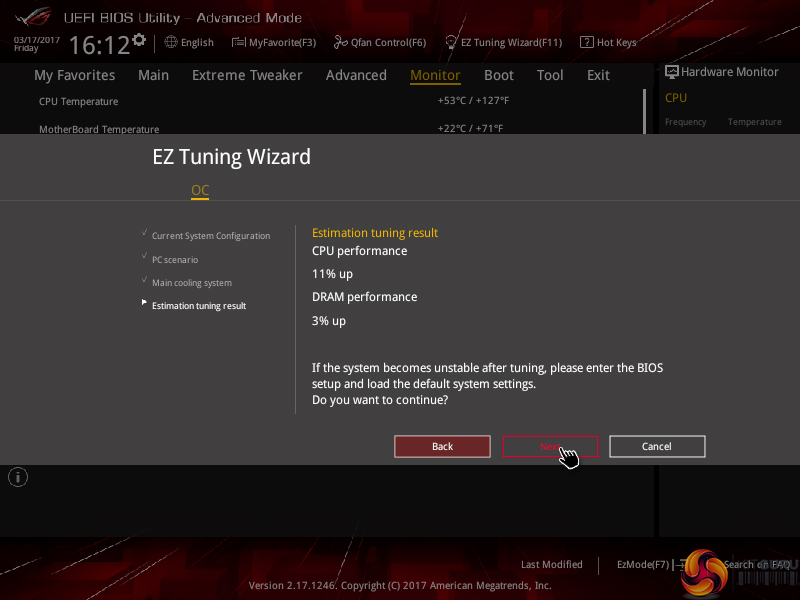
ASUS includes a handful of overclocking presets relating to BCLK, CPU, and memory speed adjustments. The EZ Tuning Wizard also has an ability to increase system speed for novice users but its headroom is limited due to the minimal overclocking potential of the higher-clocked Ryzen 7 1800X.
We would recommend manual overclocking with Ryzen 7 in order to meet your chip's specific requirements. We expect that users purchasing this calibre of motherboard will indeed be doing their own overclocking.
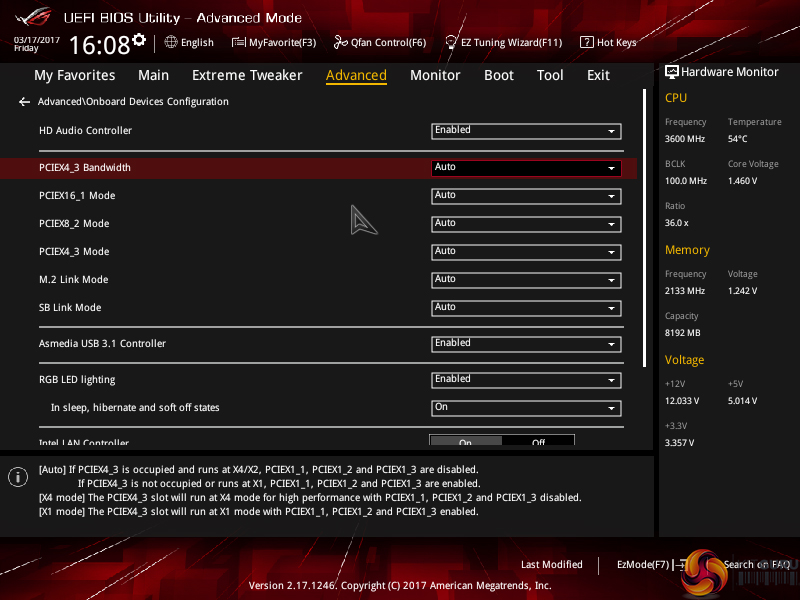
The Advanced tab is where options relating to storage and onboard devices can be adjusted.
Under the Onboard Devices page, operation mode of the M.2 slot can be adjusted in order to get the correct operation. This subsection also provides an option for the onboard RGB lighting to be enabled or disabled during sleep and power-off modes.
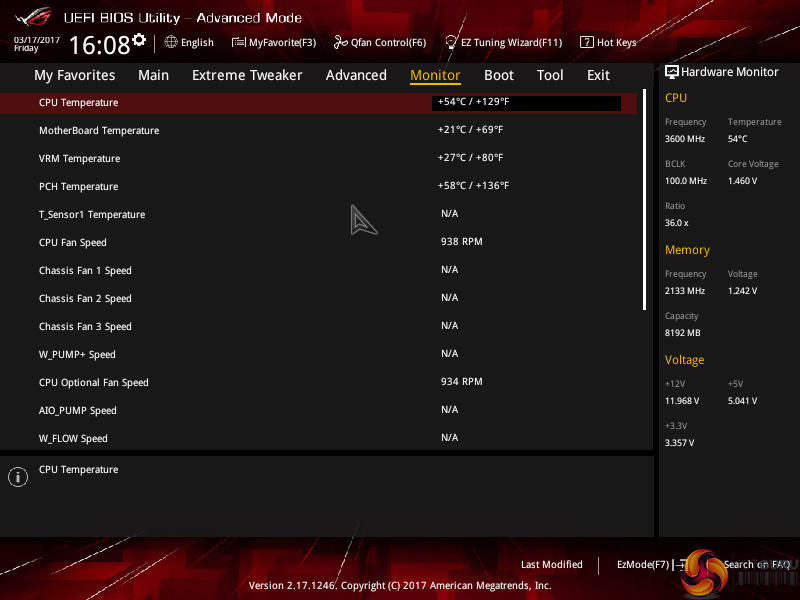
ASUS gives a wealth of information relating to voltages, temperatures, and fan speeds, as displayed in the Monitor UEFI page.
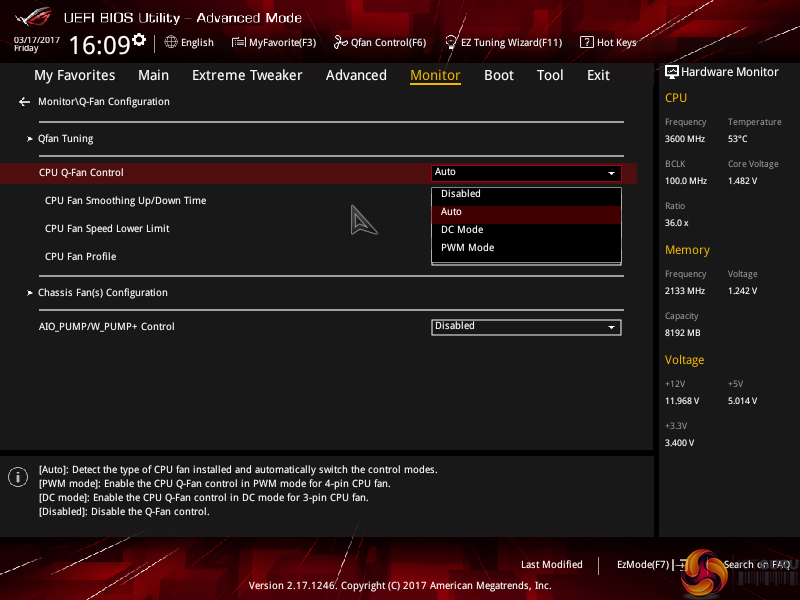
Fan speed control in ASUS’ UEFI is very good, though it is clear that ASUS would prefer you to use the Q-Fan Control option for setting up custom speed curves.
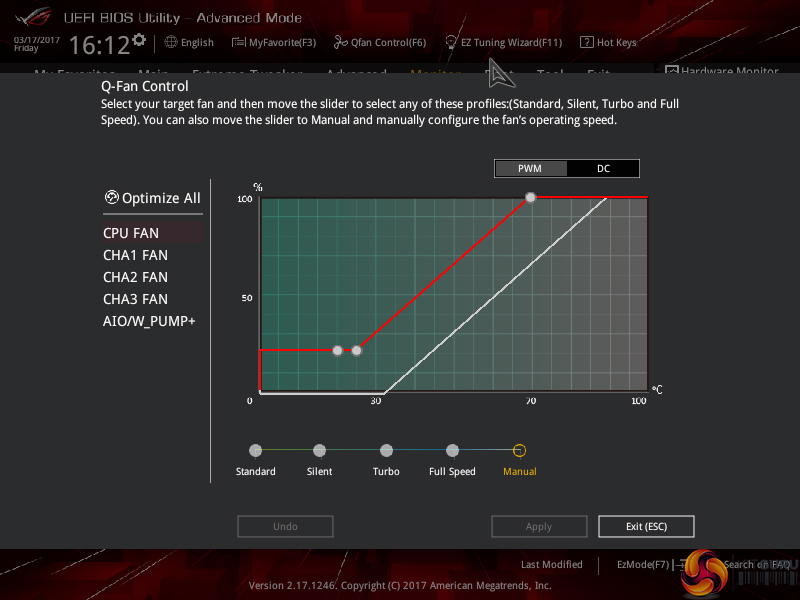
Hitting F6 loads up ASUS’ Q-Fan Control GUI which is a graphical method of adjusting the fan speed curve. Speed curves can be selected and configured for PWM and DC fans.
While the interface is good, it certainly isn’t as strong as Gigabyte’s Smart Fan 5 system which has more granular tuning and better control over temperature relations from motherboard sensors.
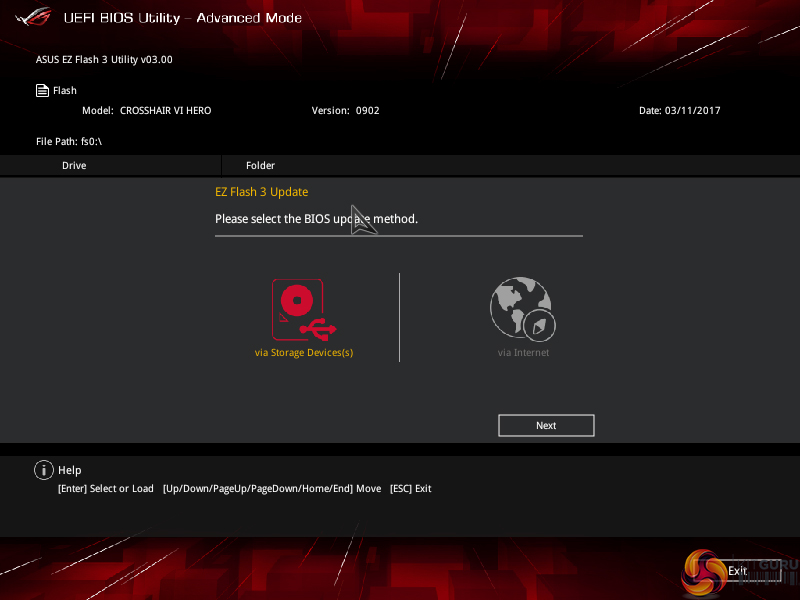
EZ Flash 3 has the ability to update the BIOS using a storage device or over the web.
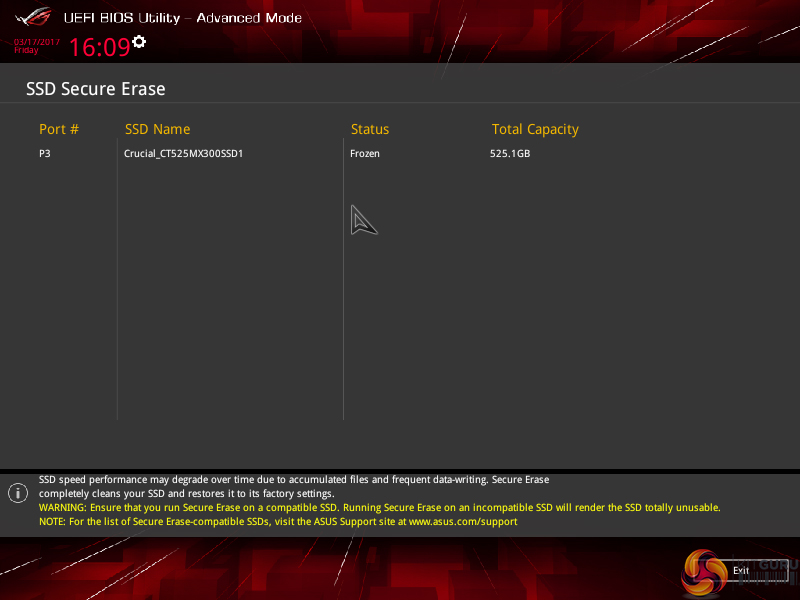
SSD Secure Erase is a useful tool for securely wiping the contents of an SSD if you are selling it on, for example. There is also the possibility that wiping the data will restore performance, though this was more prevalent with older SandForce drives.
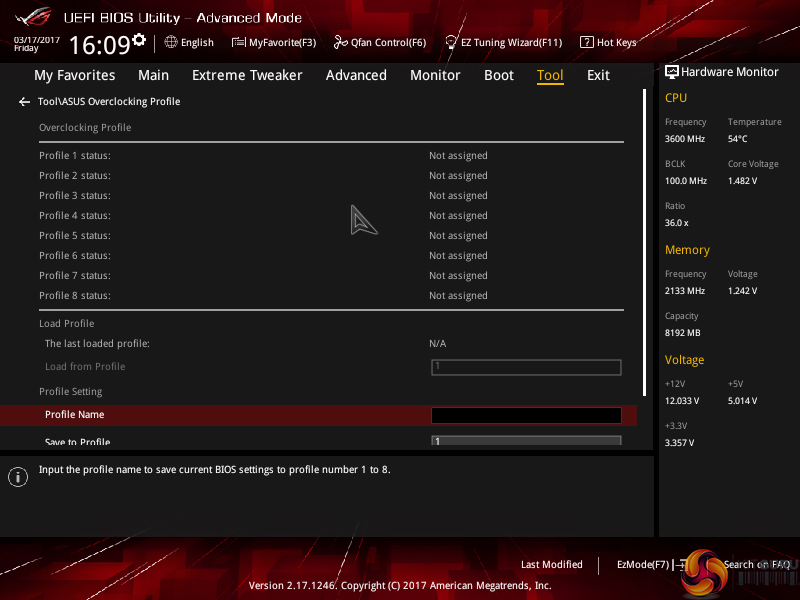
Up to eight settings profiles can be saved and named in the UEFI. Further profiles can be transferred through storage mediums such as a USB flash drive.
UEFI Summary:
ASUS’ overall UEFI is good. The interface is very well laid out, easy to use, and provides plenty of options for system tweaks relating to speeds and voltages. With that said, ASUS seems to be missing out on some updates that competing vendors are providing to bring their UEFI implementations more in-line with the requirements of today.
For example, there is no solution similar to System Browser or Board Explorer, as ASRock and MSI term them, respectively. Such a tool is convenient for basic troubleshooting, such as checking which USB port an external drive is connected to when your system is built and operational (which is relevant given the speed difference between ASMedia, Ryzen, and X370 ports).
Another important omission from ASUS’ UEFI is any form of RGB lighting colour or operating mode control. Gigabyte has a tool that allows basic control of the board’s RGB lighting colour without relying solely on OS-based software. While the OS software is far more comprehensive than a UEFI solution, the UEFI option has the benefit of maintaining its operating settings in the event of an OS crash or clean install. And that’s not even accounting for users who simply refuse to install any vendor-specific software that will take up system resources (that UEFI-based control would not do). ASUS should implement some level of RGB LED control in its UEFI.
With that said, D.O.C.P. is a smart way of tackling the memory frequency challenges with AMD's new platform, even if it does seem to have issues at this early stage in its life. Fan control is also good thanks to each header’s ability to control PWM or DC fans.
Be sure to check out our sponsors store EKWB here
