

MSI Z270 UEFI
Firstly, we are pleased to report that our generic wireless mouse worked correctly in the MSI Z270 UEFI. Some mice can be troubling with UEFI support, so when a generic wireless unit functions correctly in the interface, that is usually a good sign for overall mouse support.
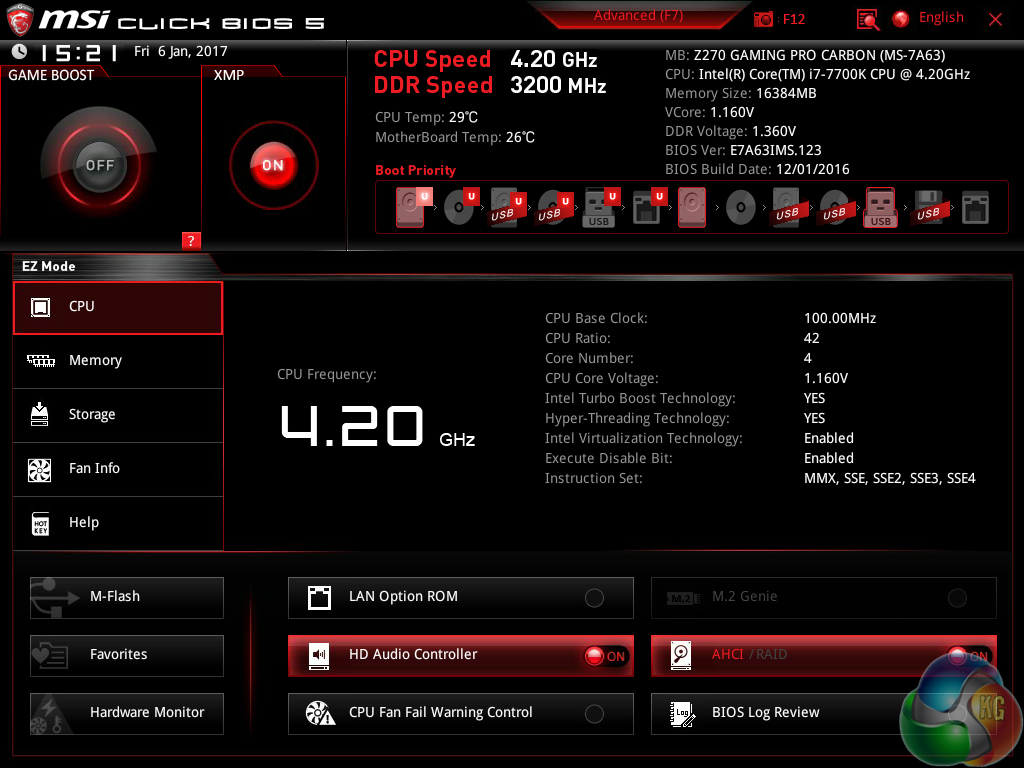
Entry into MSI's Click BIOS 5 UEFI is started on the EZ Mode page.


MSI's version of EZ Mode is the best of all motherboard vendors as it features the most options but does not overcrowd the screen and remove the ease-of-use aspect. Buttons for simple XMP and Game Boost overclocking activation are smart moves.
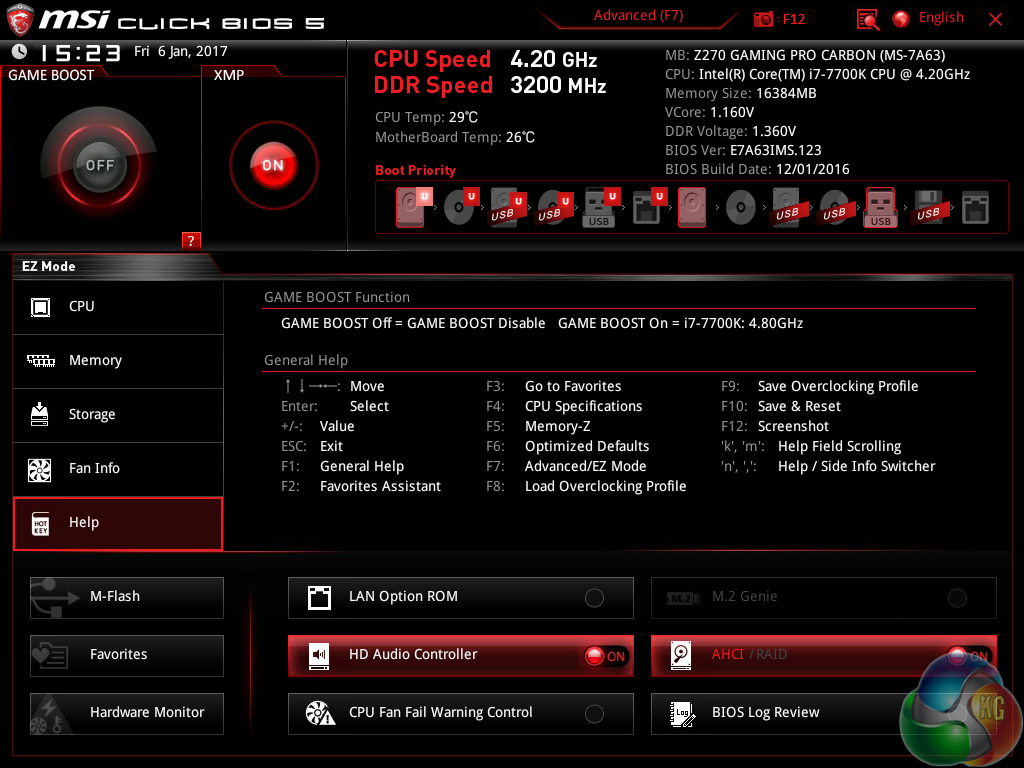
Game Boost is MSI's pre-determined overclocking mode which takes a Core i7-7700K CPU to 4.8GHz at the click of one button.
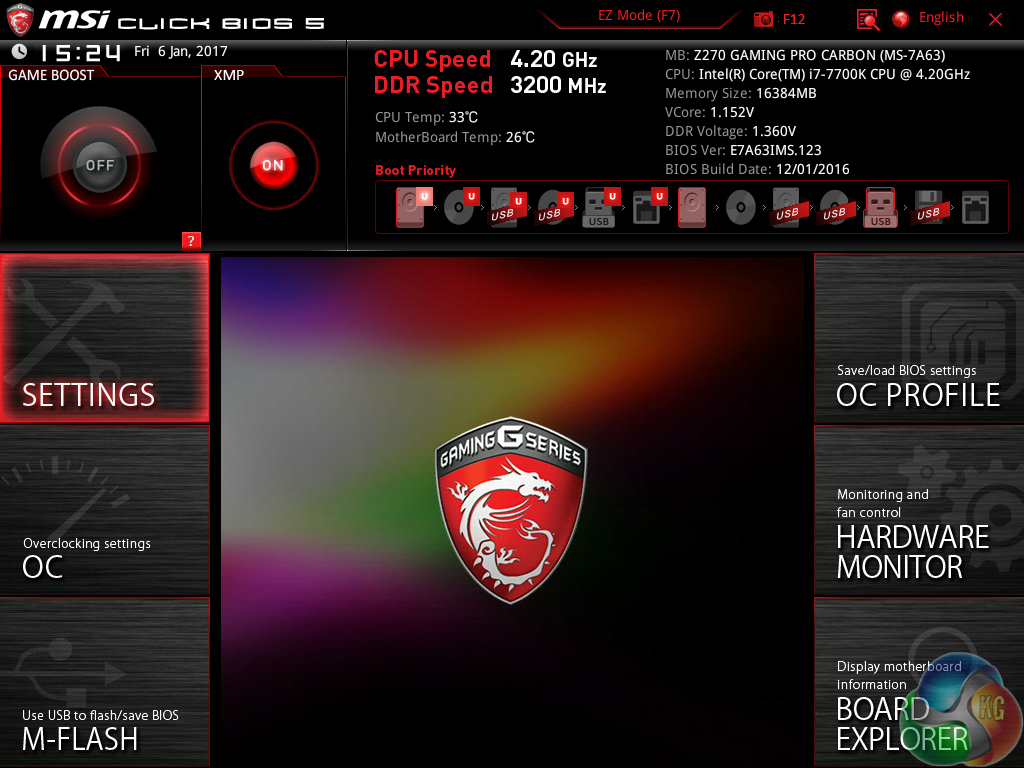
Hitting F7 takes a user into the Advanced section. There are few changes from MSI's previous UEFI implementations and the general layout is well-described and easy to follow. Six tabs house all of the adjustable settings, with information and boot device adjustment being held at the top of the page.
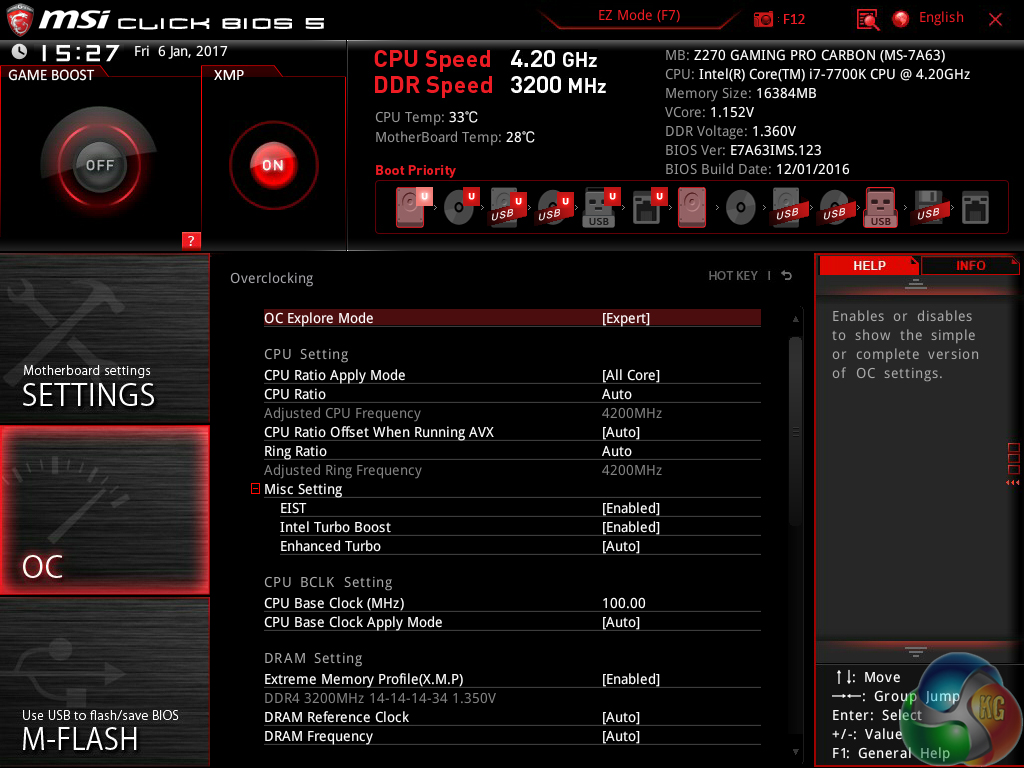
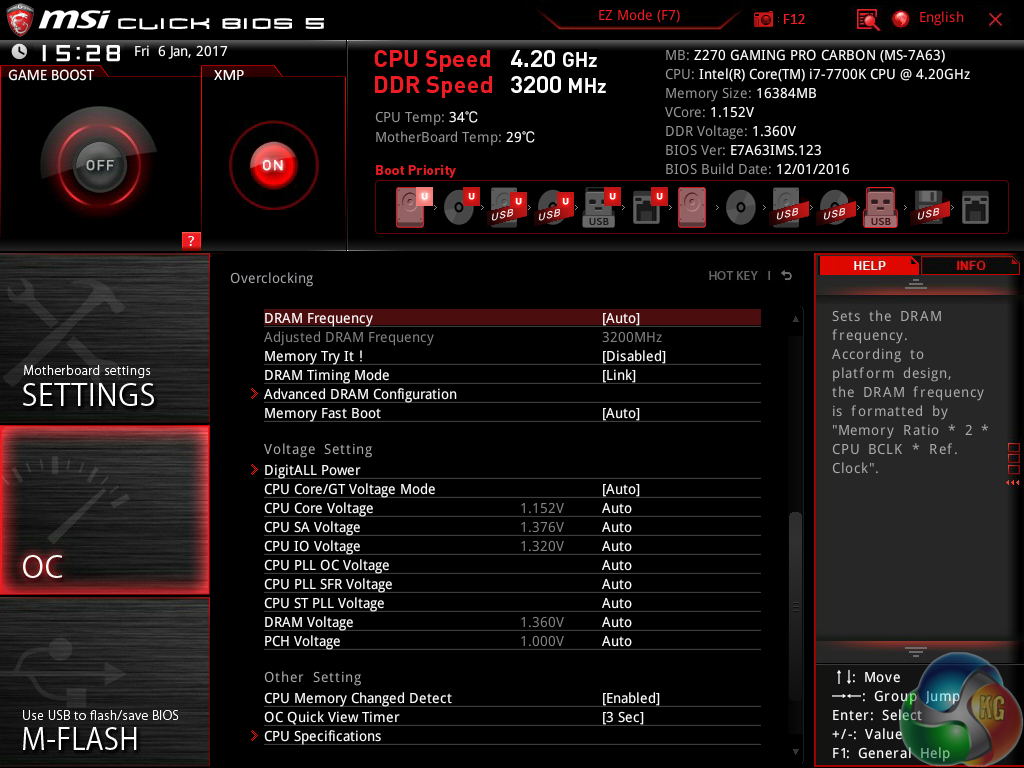
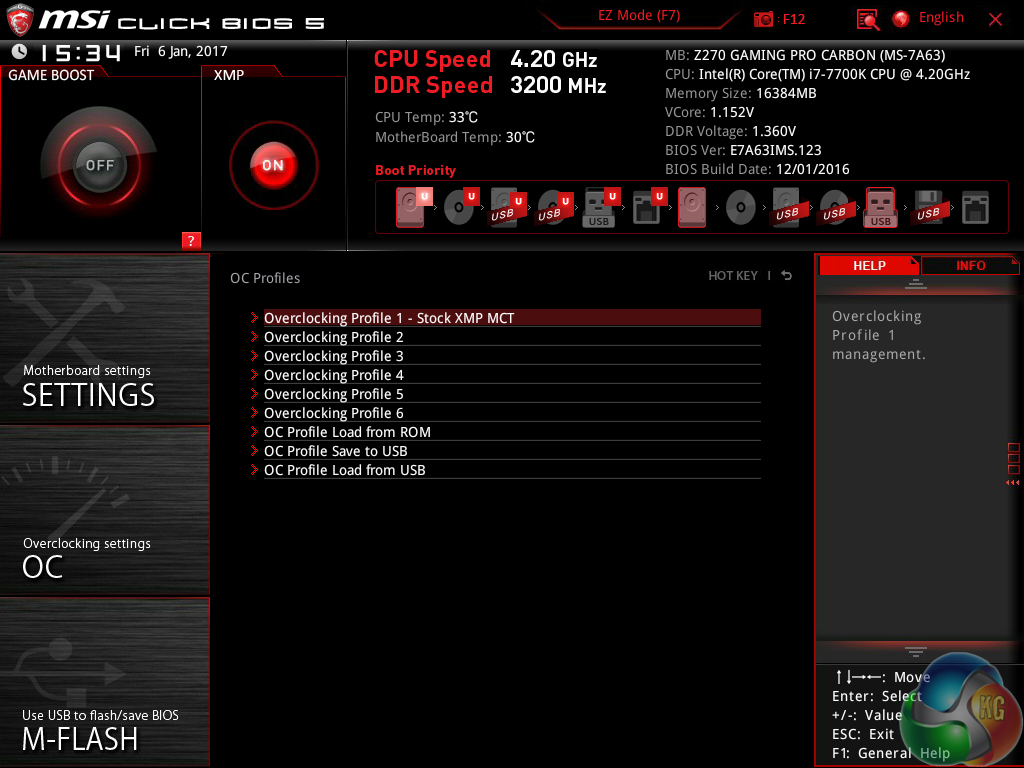
The OC section is, as expected full of settings relating to overclocking. MSI smartly includes a Normal or Expert selection mode that is useful for those trying to learn about overclocking who do not want to risk adjusting irrelevant settings.
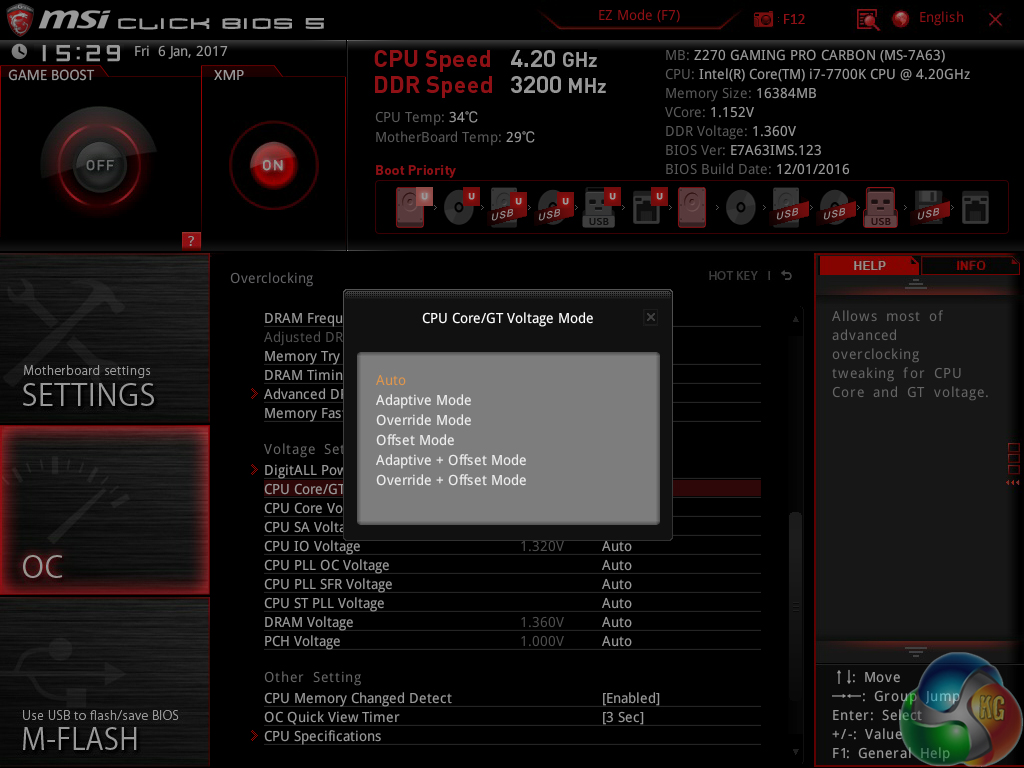
There are plenty of options relating to voltage, frequency, and setting adjustments and all are generally easy to find. Being critical, the layout could be a little more segregated to reduce the amount of information on the single primary page.
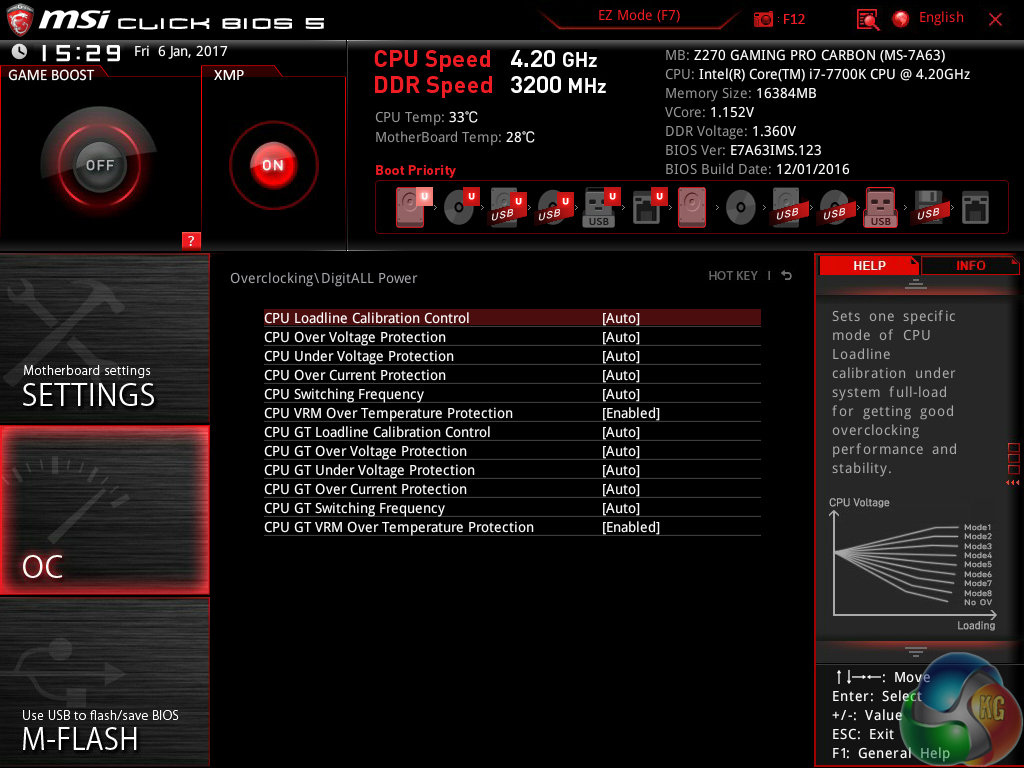
I am pleased to report that MSI has updated its Load-line Calibration settings to make them clear and functional. Nine different options can be selected and MSI smartly uses a simple graph to show how the voltage changes based on load. Simple, yet functional. And it certainly aided the simplicity of our overclocking attempts.
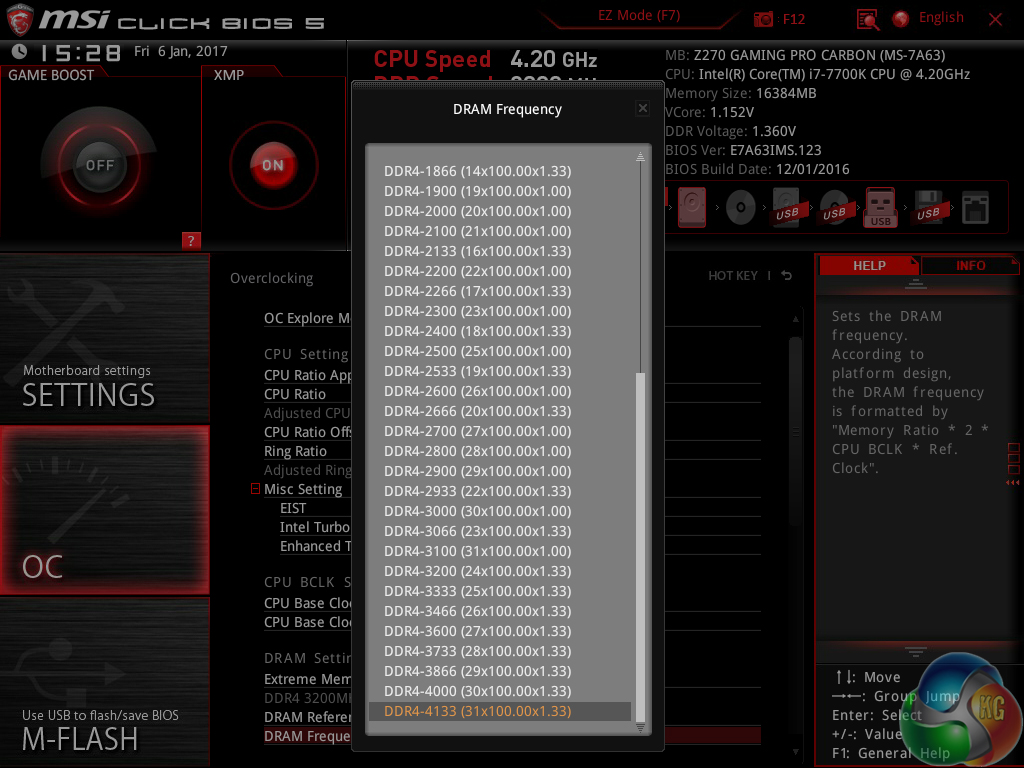
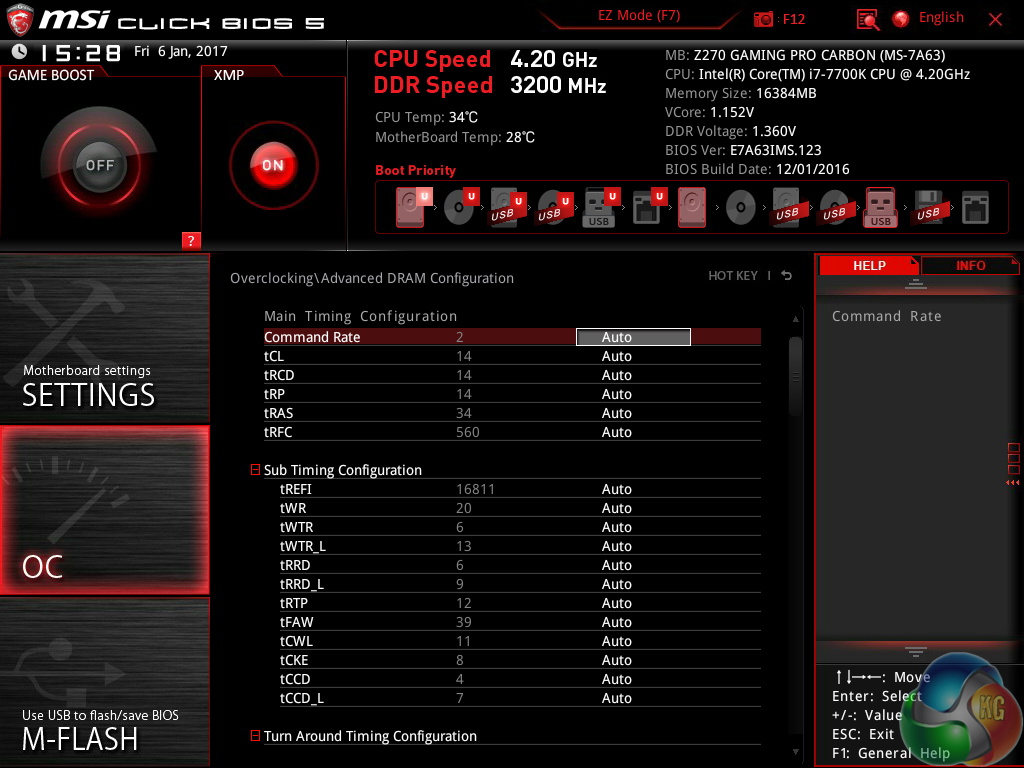
A good number of options are also allocated for memory. Dividers up to 31x for 4133MHz can be selected, which is ideal for aiding flexibility to overclockers who are pushing their system with high-speed RAM.
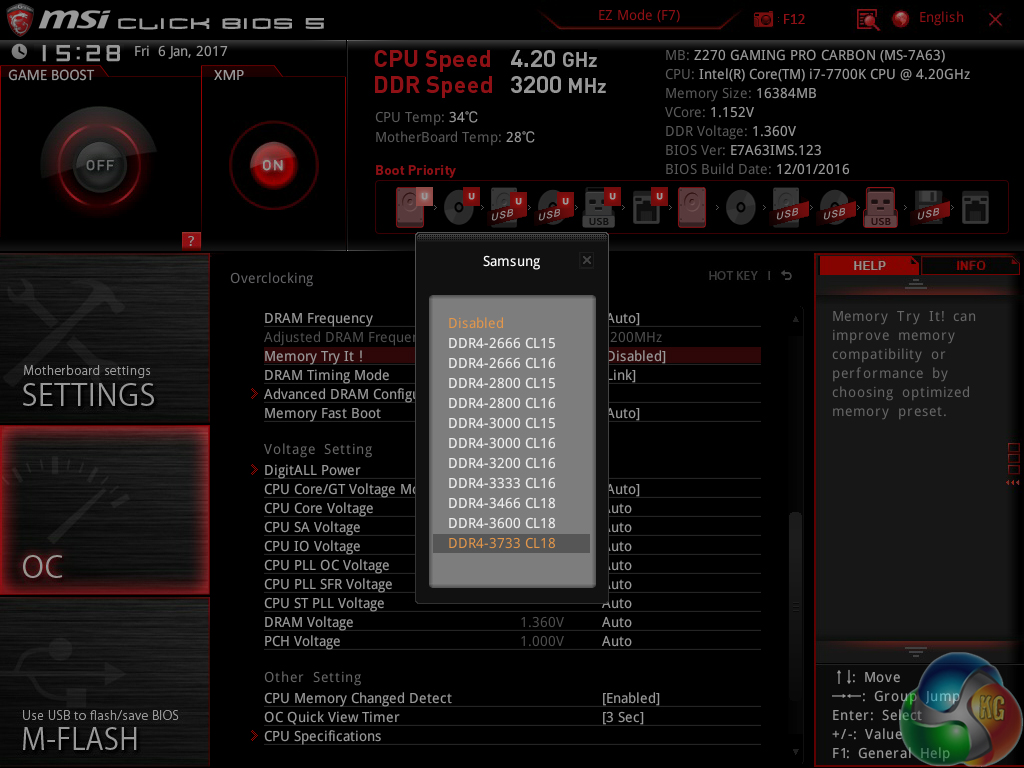
MSI also includes a number of overclocking presets for memory, which is nice to see.
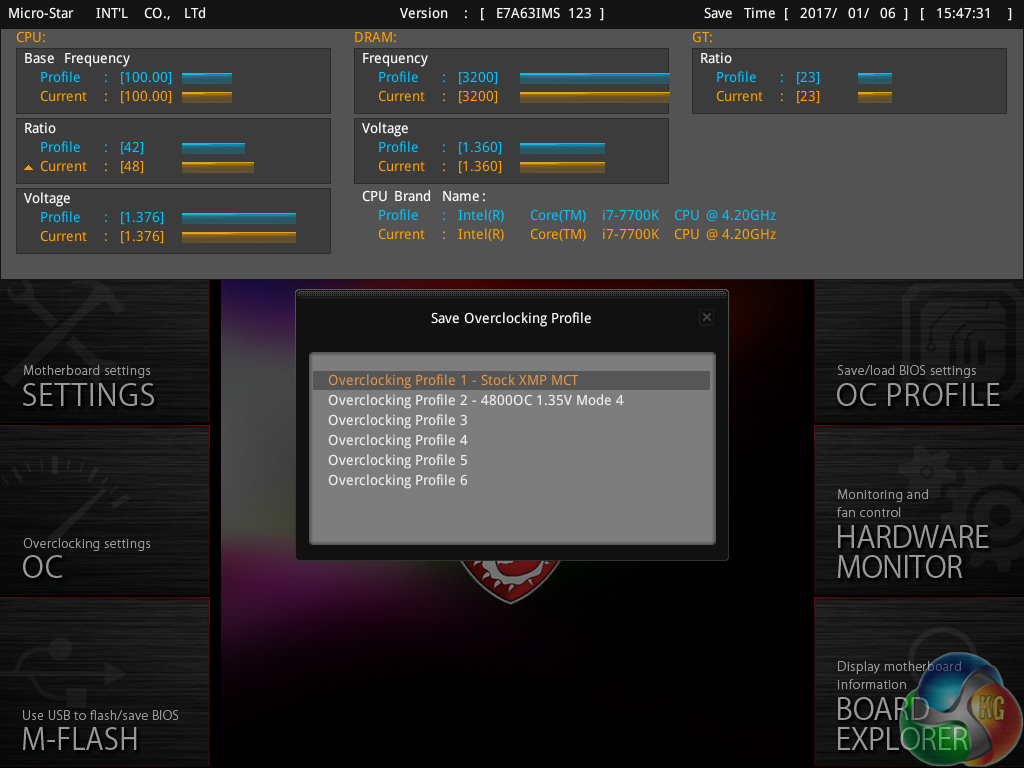
Up to six individual settings profiles can be saved to the board and more can be transferred using storage mediums. Pressing F8 and F9 on a main page of the UEFI draws down an overclocking profile tool which allows for saving and loading.
This tool is a superb graphical method of displaying how the system will change compared to its current state. It would be great to see MSI also roll this out to the more mundane OC Profile section. Either way, the graphical display is certainly a positive for MSI's UEFI over its competitors'.
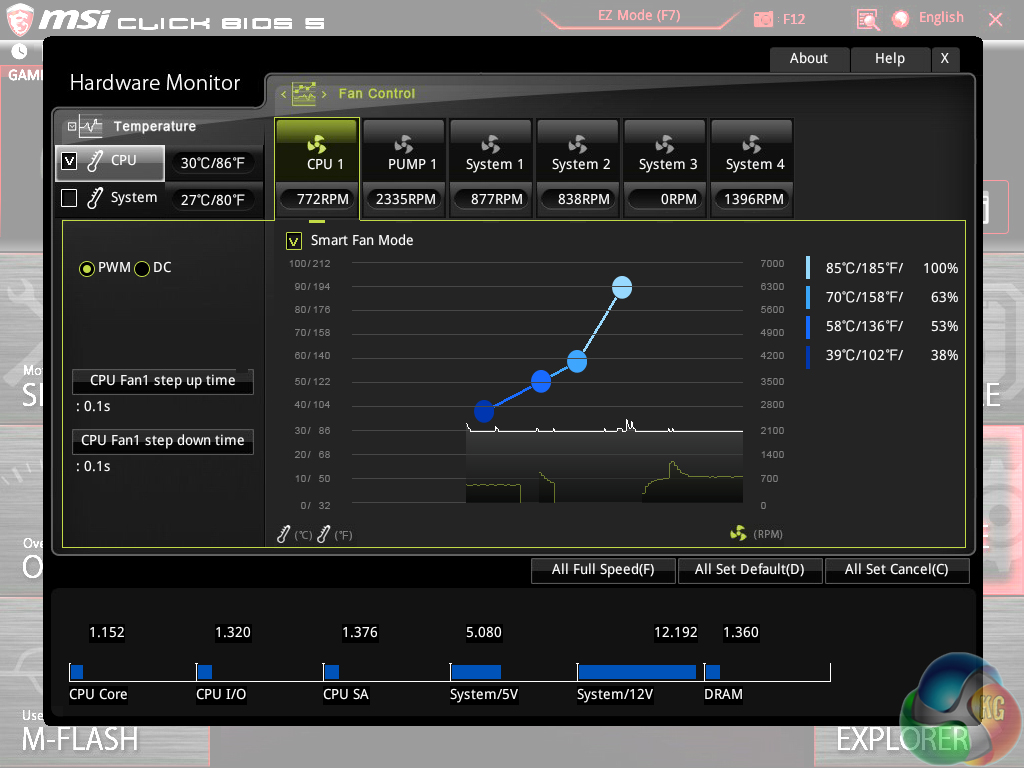
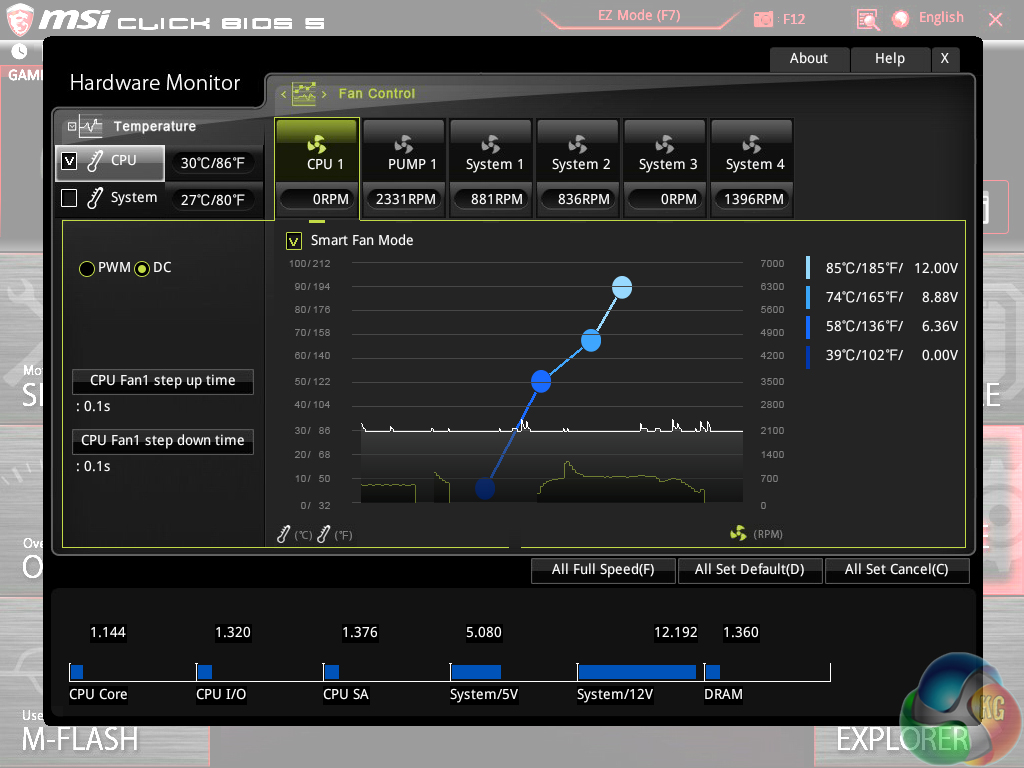
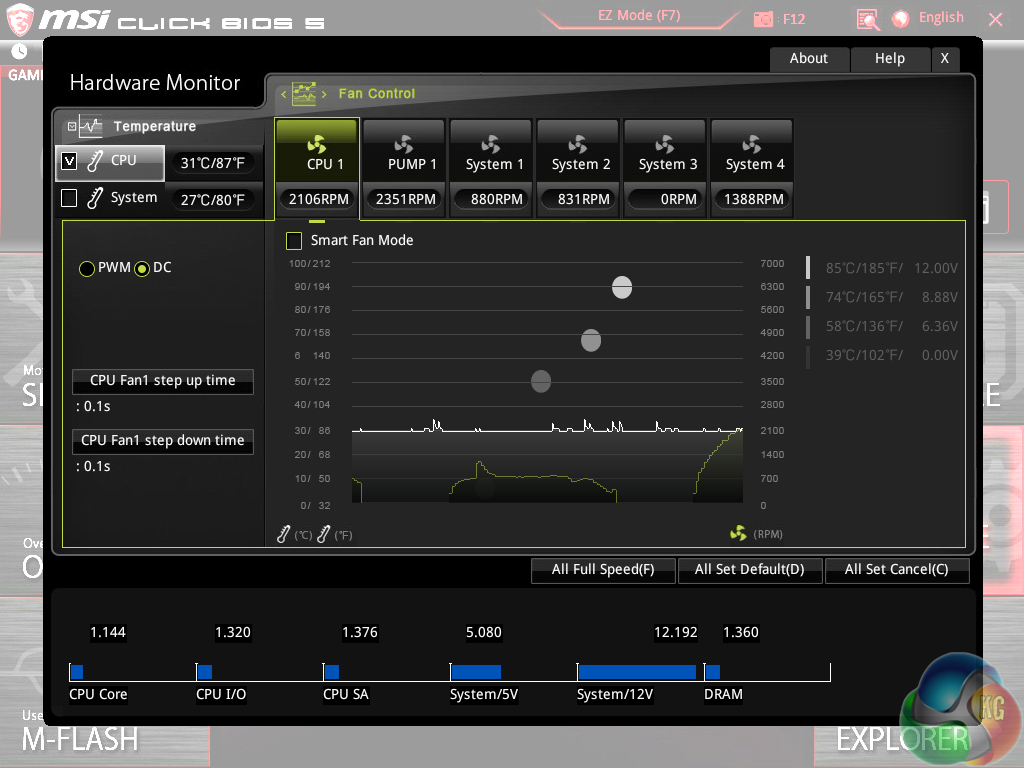
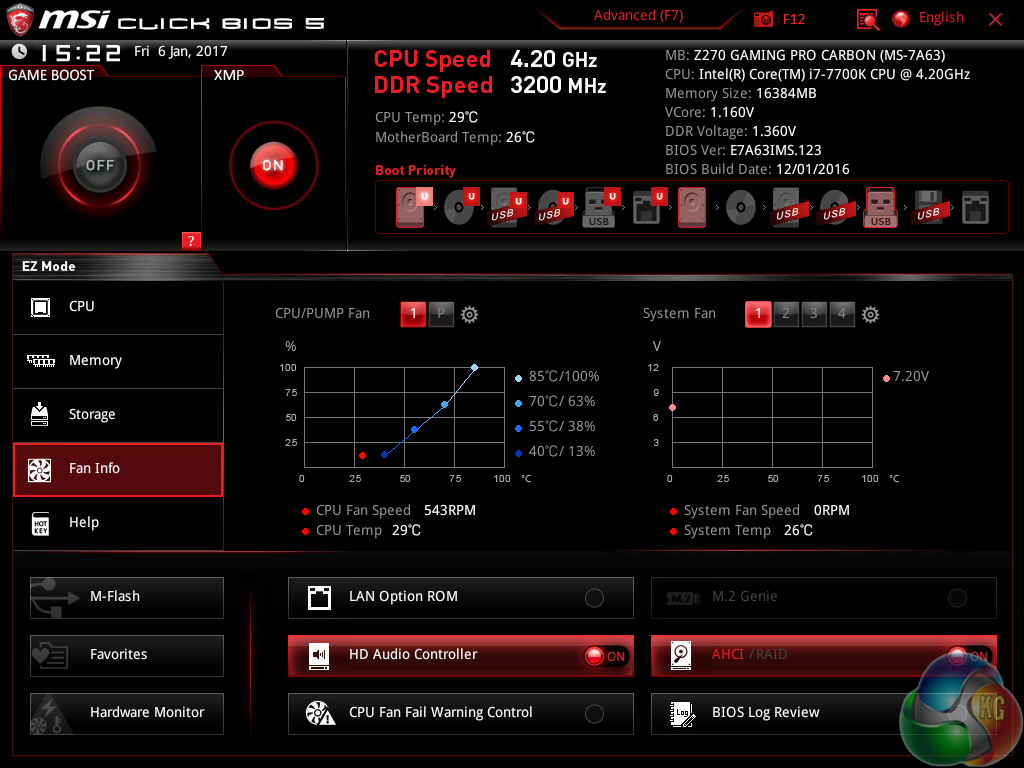
Hardware Monitor is where the primary fan control actions take place. PWM and DC control modes are selectable (only the 2 CPU headers support PWM). MSI keeps in-built fan speed presets to a bare minimum and instead relies on its good graphical control method.
A 4-point curve can be used to adjust the fan speed profile based on temperature readings from the CPU or system. I like the written information that MSI displays alongside the graph, such as exact fan speed percentages and temperatures for each marker.
I successfully controlled (including running at 0 RPM) 3-pin and 4-pin Noctua fans, as well as a 4-pin PWM Cooler Master model.
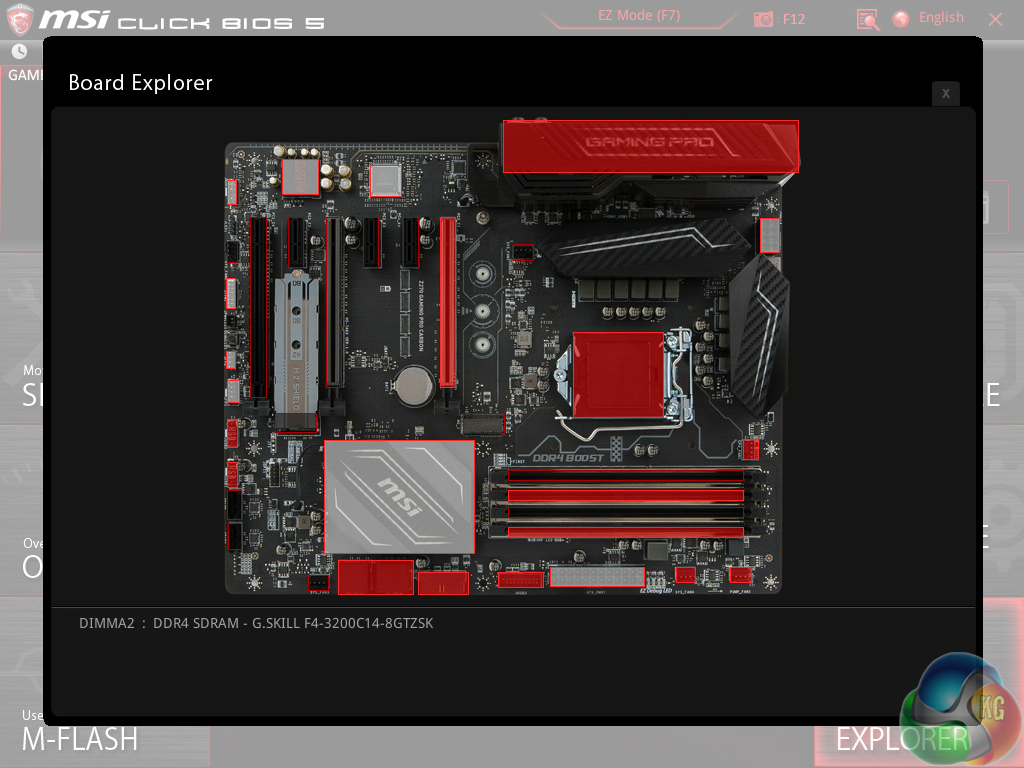
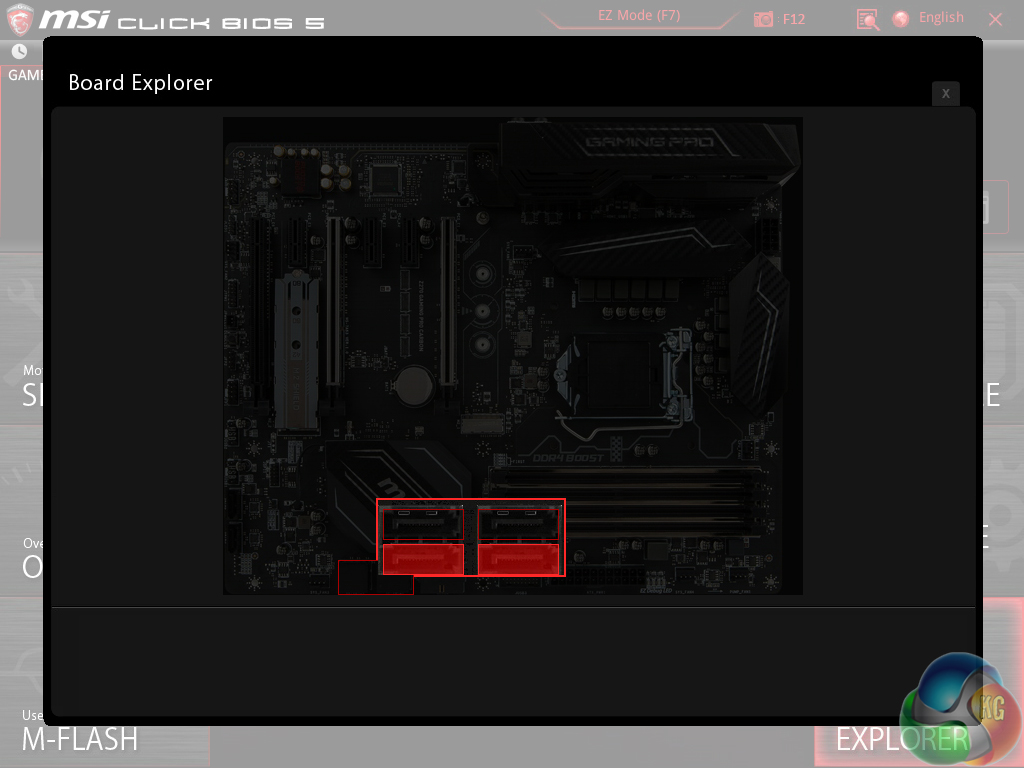
Board Explorer is a visual interpretation of the motherboard and its connected devices. This is a good tool to use for troubleshooting or ensuring that components are connected to the correct port at the correct speed. This is similar to ASRock's System Browser tool.
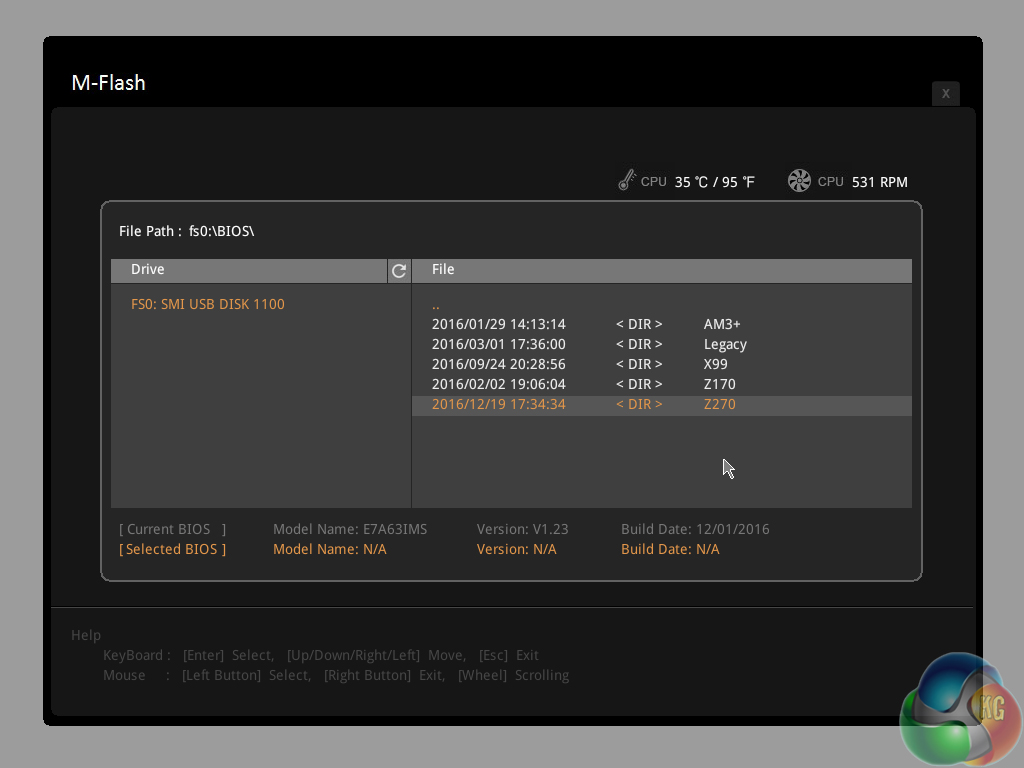
M-Flash has an ability to select BIOS profiles in USB drive folders, which is good. The tool works without hassle.
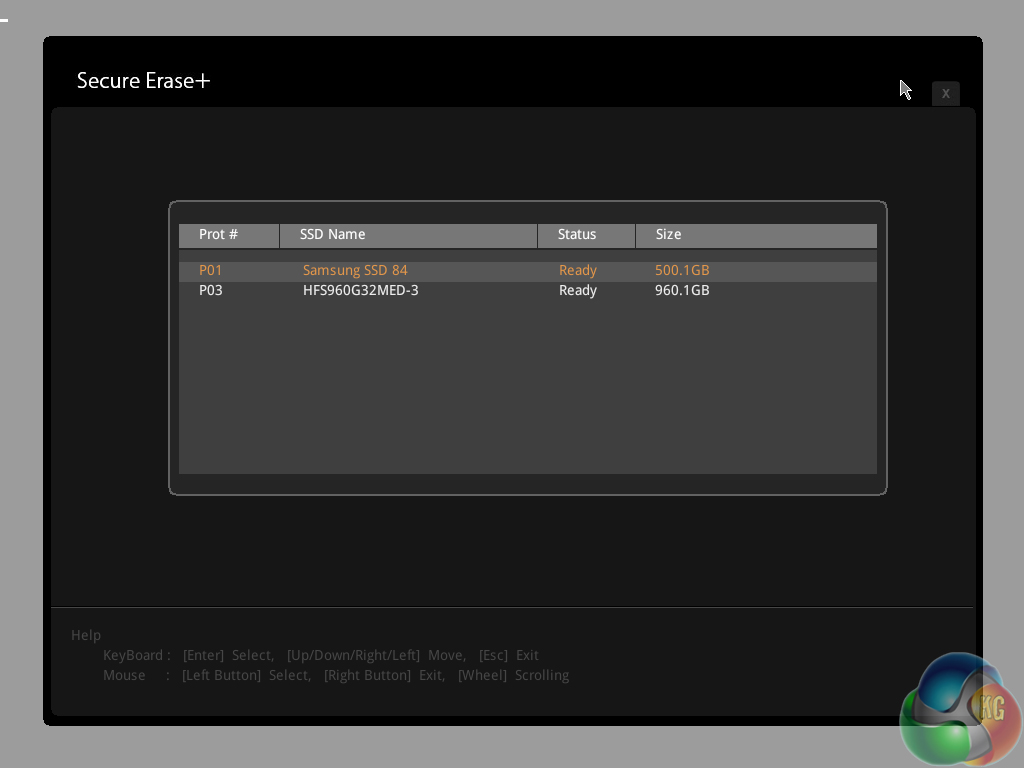
Secure Erase is a new addition to MSI's UEFI. The tool can be used to securely wipe (not just format) an SSD with great ease which can be good if selling it on or aiming to restore performance from a ‘dirty' drive. I tested Secure Erase with a SanDisk SSD and it worked as expected.
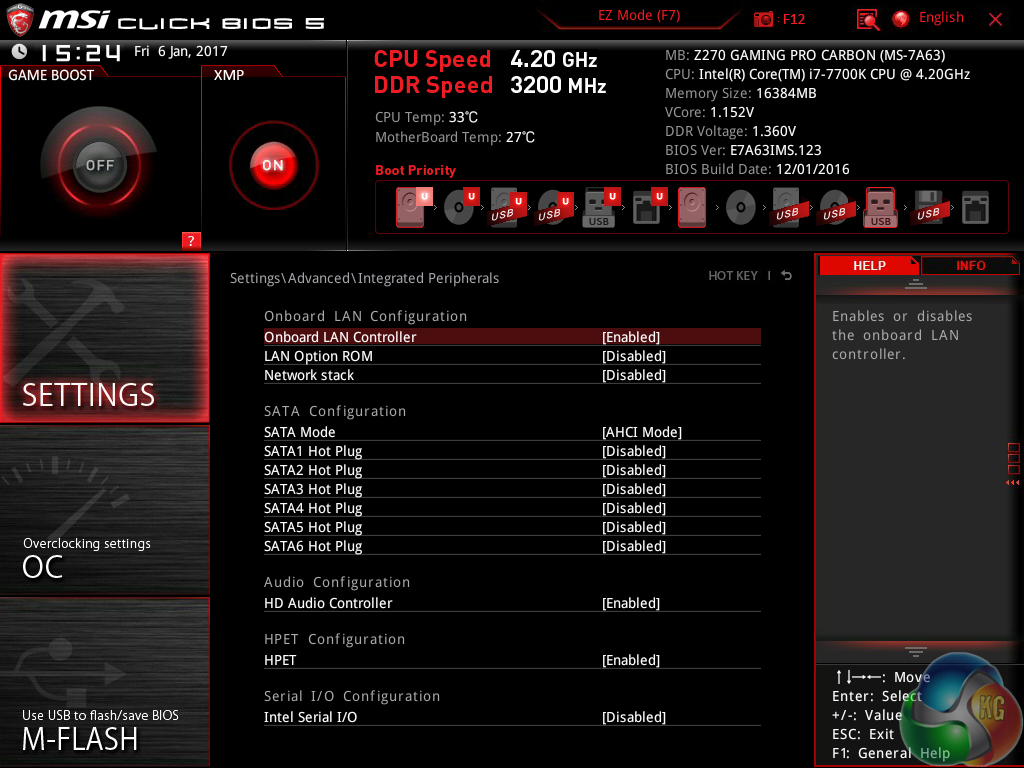
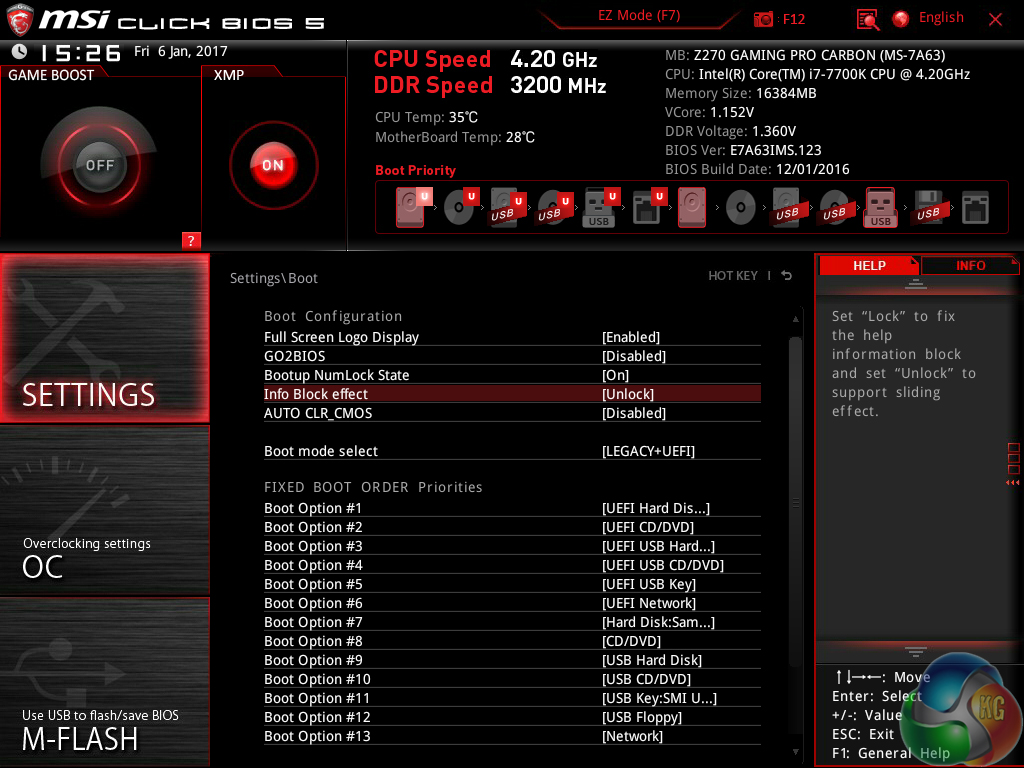
General settings relating to the time, boot priority, and onboard devices can be accessed on the Settings tab.
UEFI Summary:
MSI's Click BIOS 5 UEFI is a great offering without any glaring weaknesses. The EZ Mode page is market-leading, ease of navigation is high despite the crowded OC page, and tools such as Secure Erase and Board Explorer sweeten the deal.
Manual fan control is good though only two PWM headers is slightly disappointing and a lack of preset profiles leaves MSI behind its competitors in this department. Save slots for six system profiles is sufficient and the alternative mode by which these profiles can be selected is extremely intuitive.
The lack of RGB LED control options through the UEFI is disappointing. UEFI settings for LEDs can be retained in the event of an OS crash or reinstall. Despite this, MSI's UEFI is a strong offering that should serve the vast majority of users well.
Be sure to check out our sponsors store EKWB here
