

Gigabyte has again altered the look and feel of its UEFI environment with the Z270X-Ultra Gaming, take a look at how the UEFI was on the Gigabyte Z170 Gaming K3 for comparison. The tabbed structure follows the same left to right order but the arrangement of parameters and nested sub-menus has changed a fair bit.
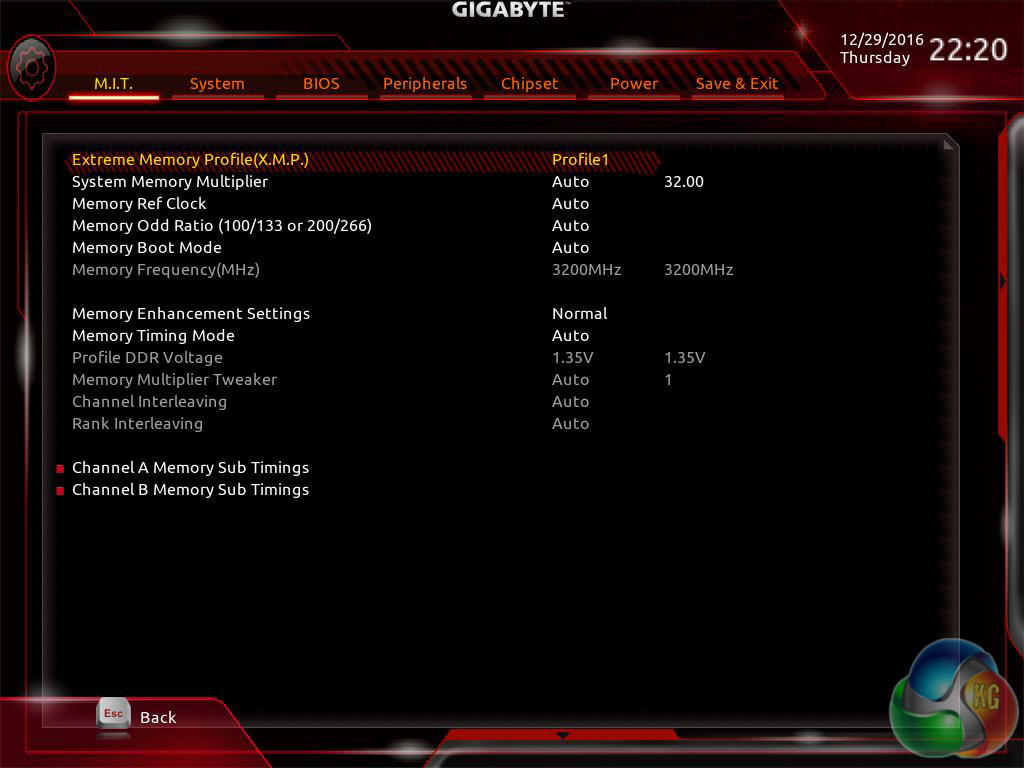
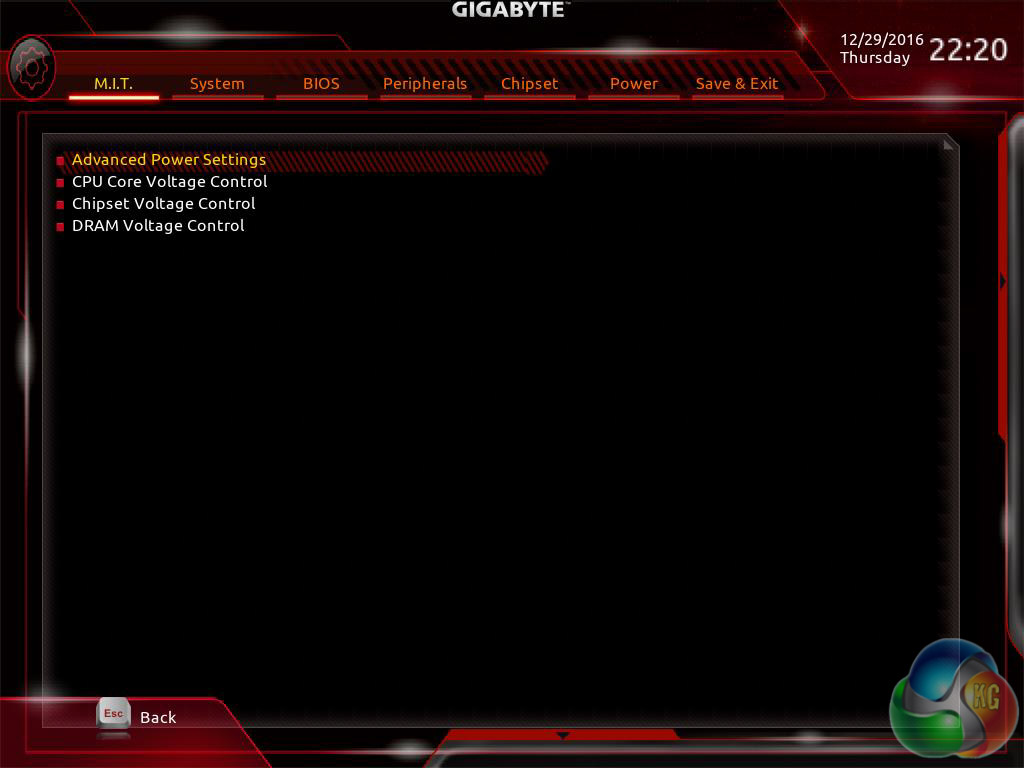
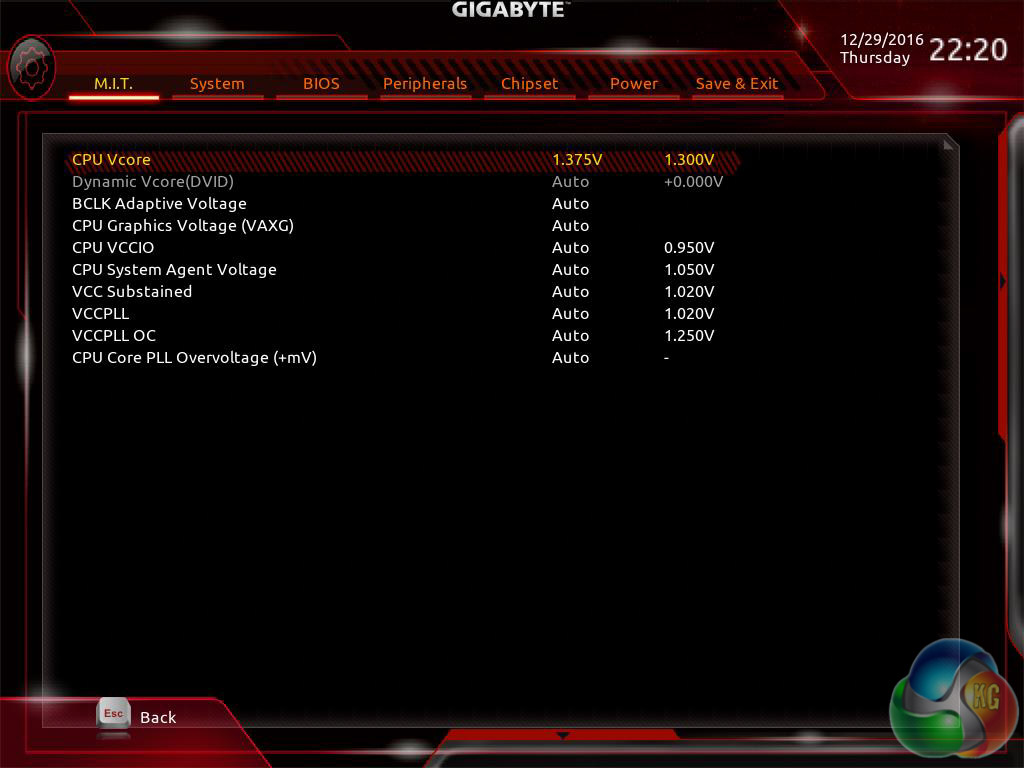
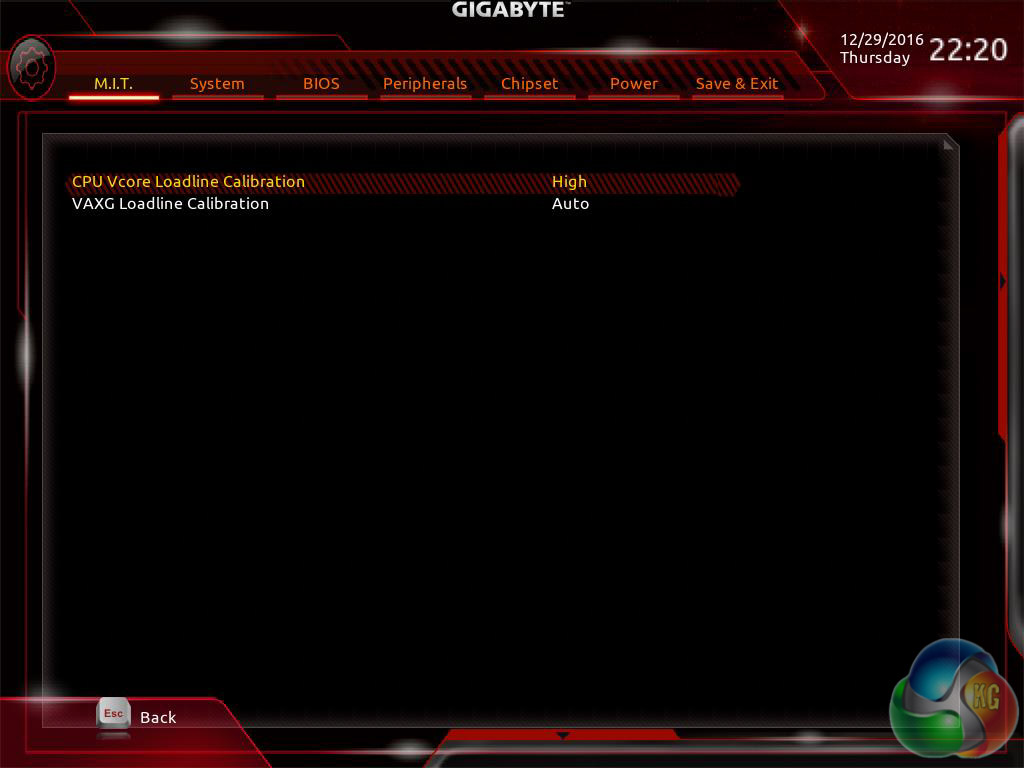
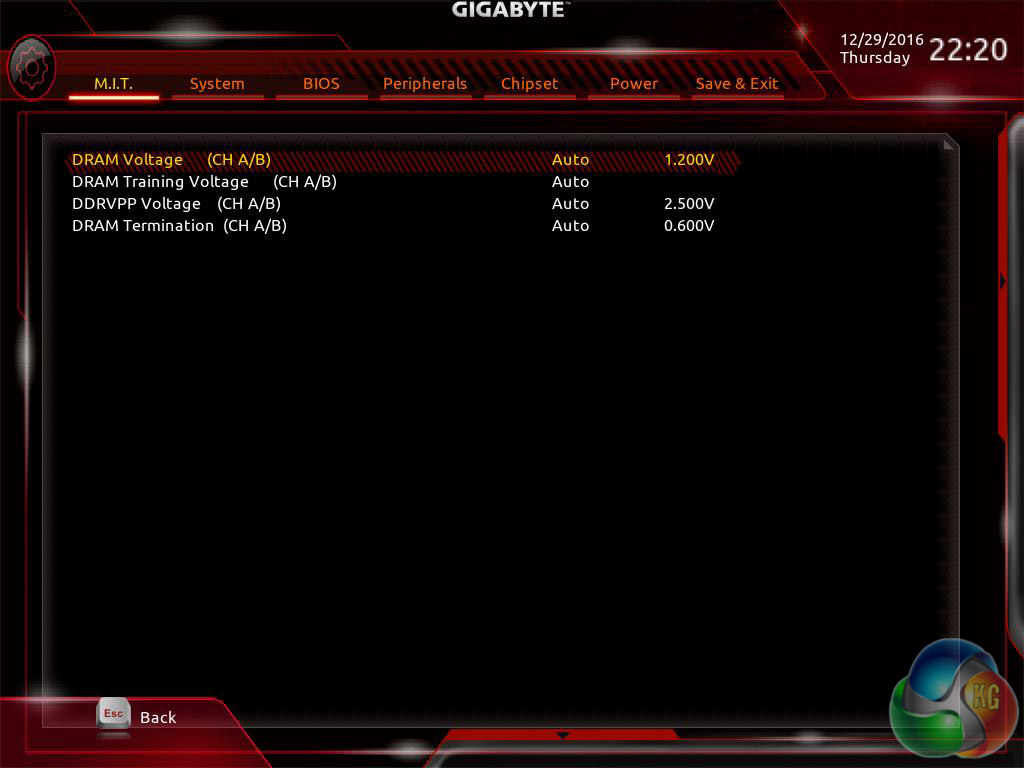
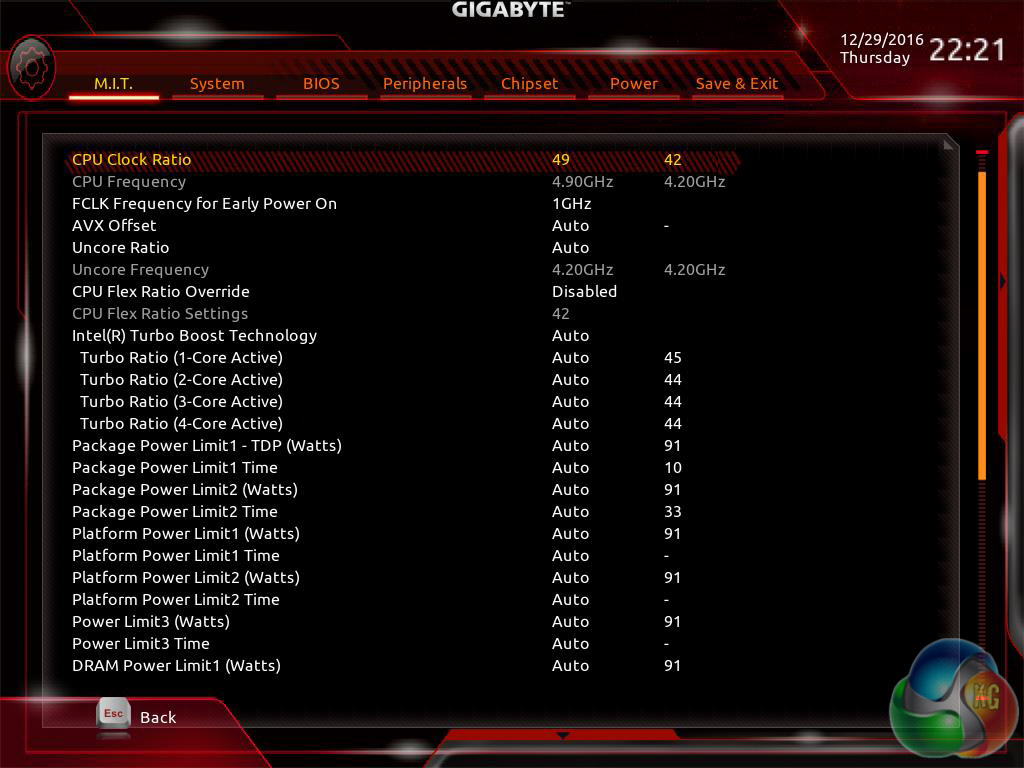
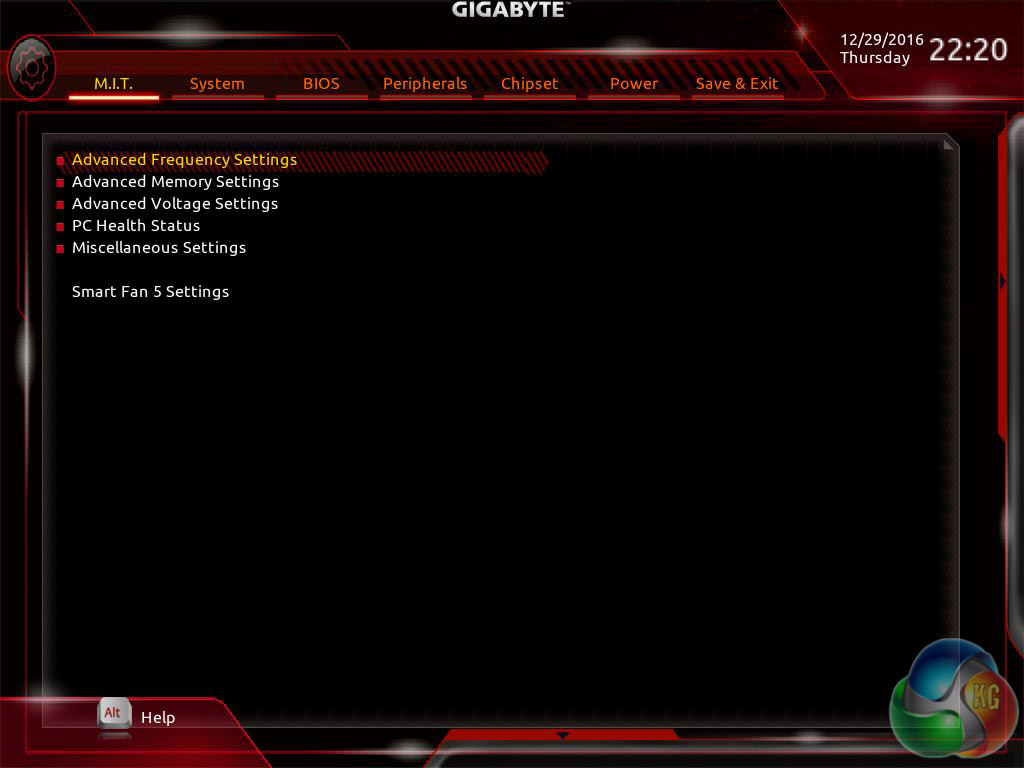
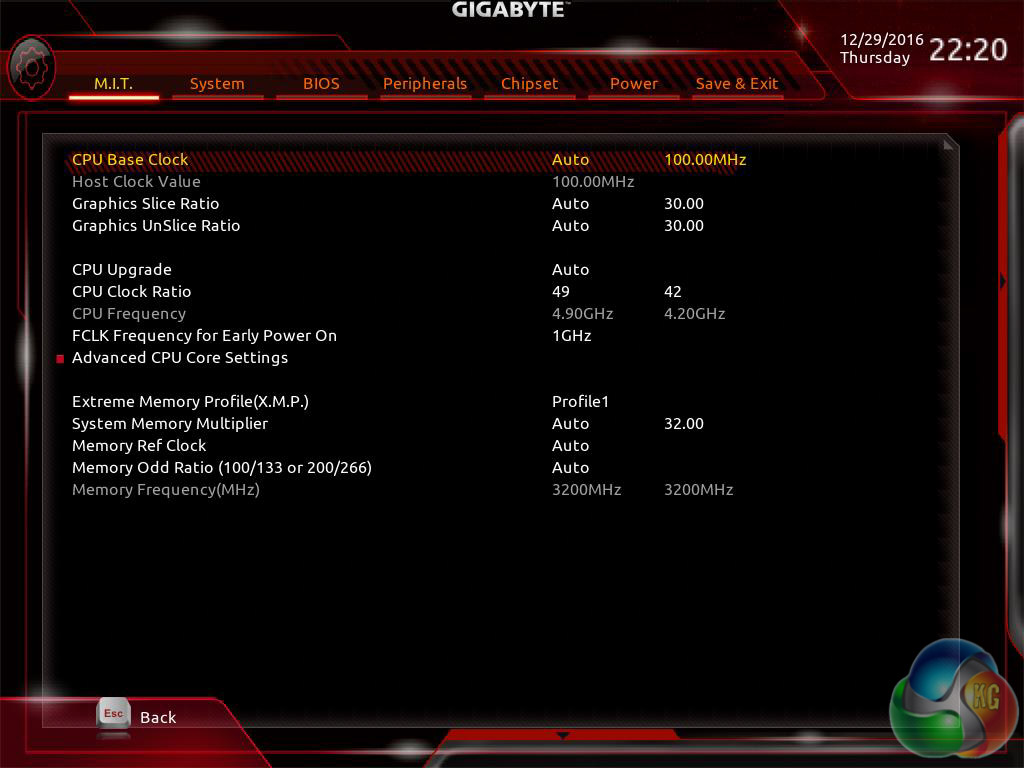
M.I.T, Motherboard Intelligent Tweaker, is the section of the Gigabyte UEFI where the performance tuning parameters are found. In here you will find power, voltage, turbo and frequency settings for the CPU, DRAM and chipset.
The new setup is functionally fine but the fact the user has to keep tabbing back and forth between the various menus of the M.I.T makes the tweaking process a little tiresome. Gigabyte should consider a more user-friendly layout that involves less menu management. This could be done by simply presenting more options on each main tab with less nested sub-menus.
The fact you have to manually expand the help window on the right, that explains the user options for each parameter, takes some getting used to because it is convention that this permanently displays in all UEFI environments from major vendors.
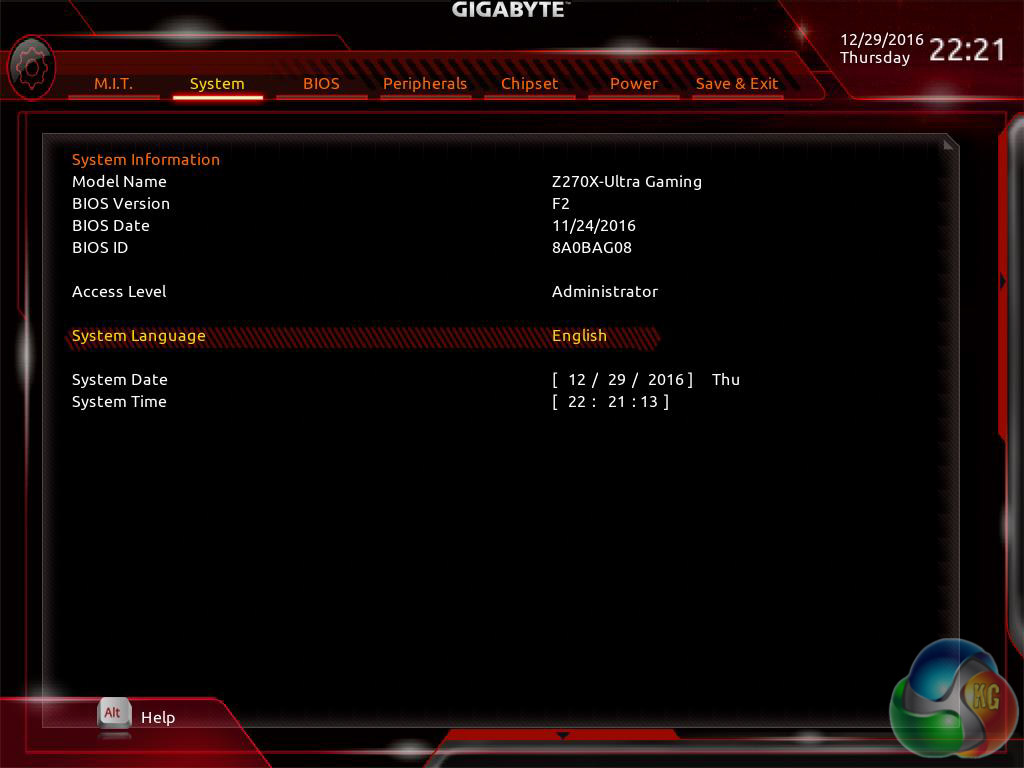
System tab contains only BIOS version information, language, time and date settings.
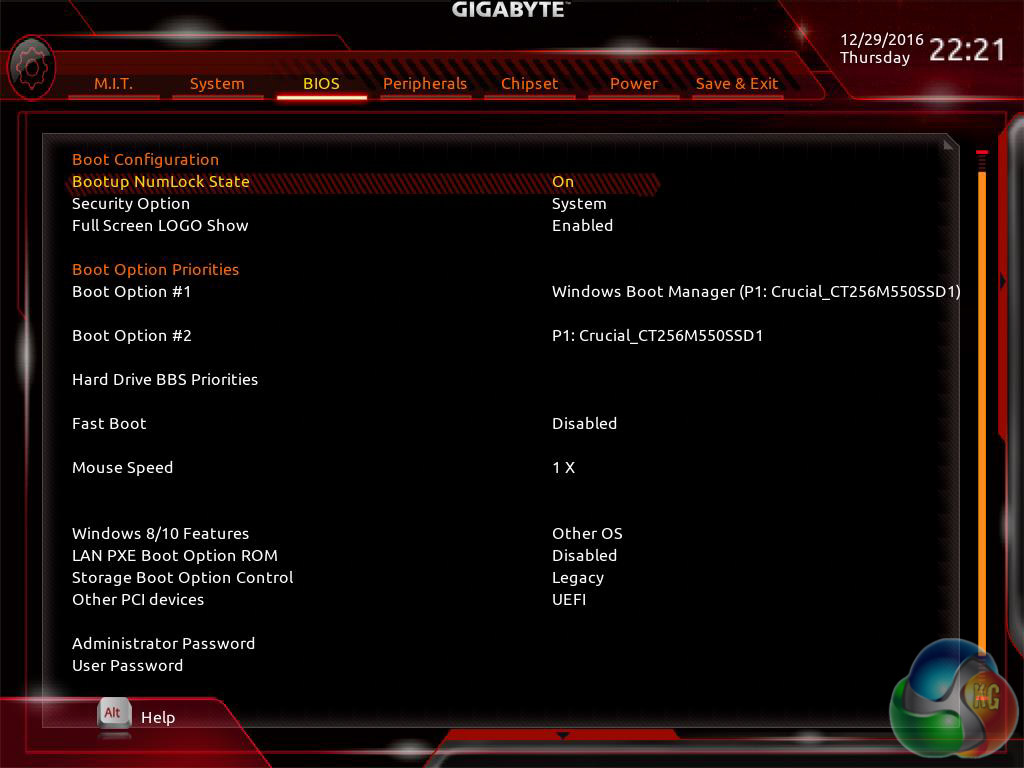
The BIOS tab delivers the main boot options and should probably be renamed to Boot, or something similar.
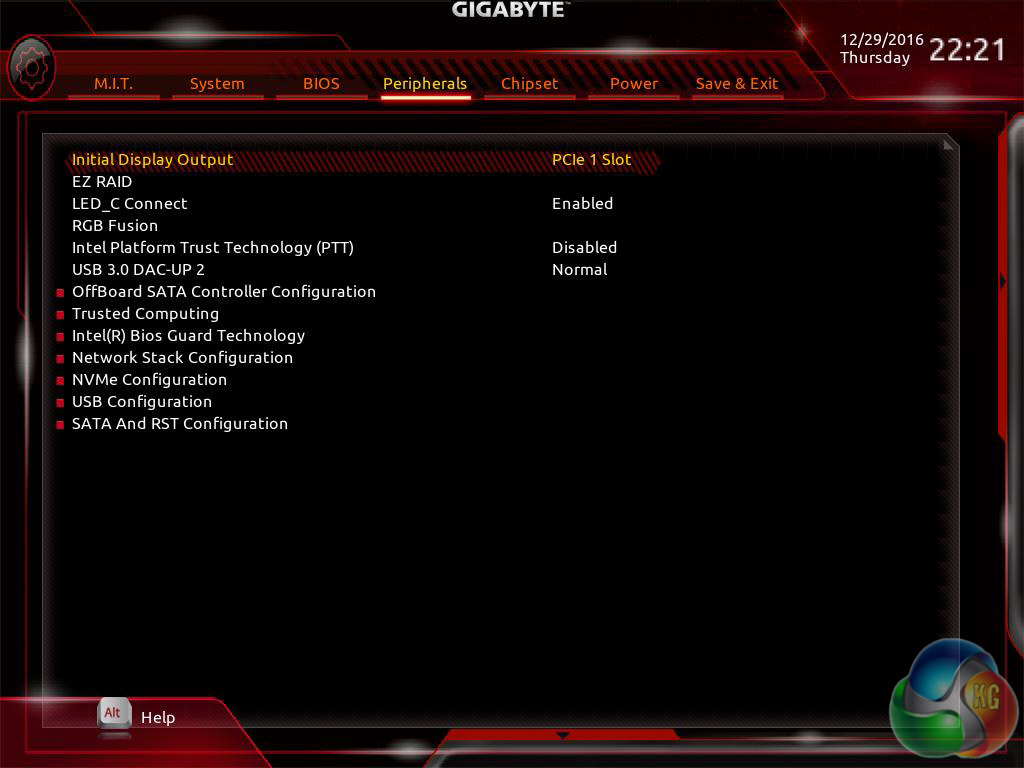
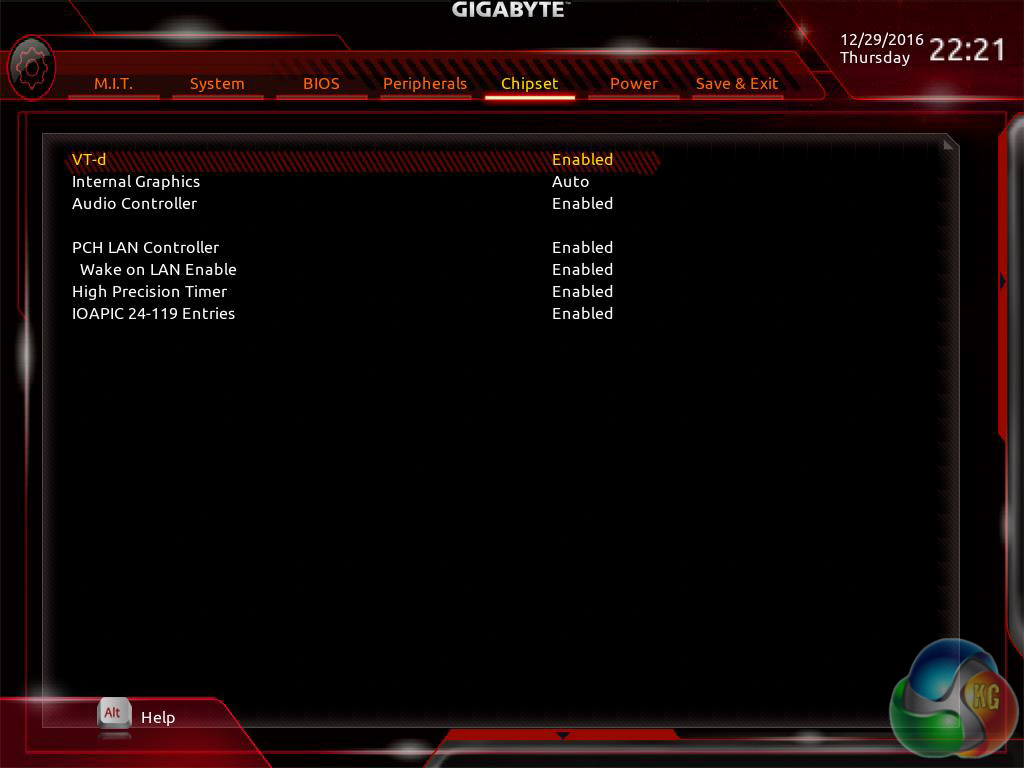
Peripherals and Chipset tabs contain all options pertaining to other hardware on the motherboard that isn't the CPU or DRAM. USB, NVMe, LAN, Audio, LED, PCIe bandwidth sharing, SATA and a number of miscellaneous troubleshooting and compatibility settings are found in these two tabs.
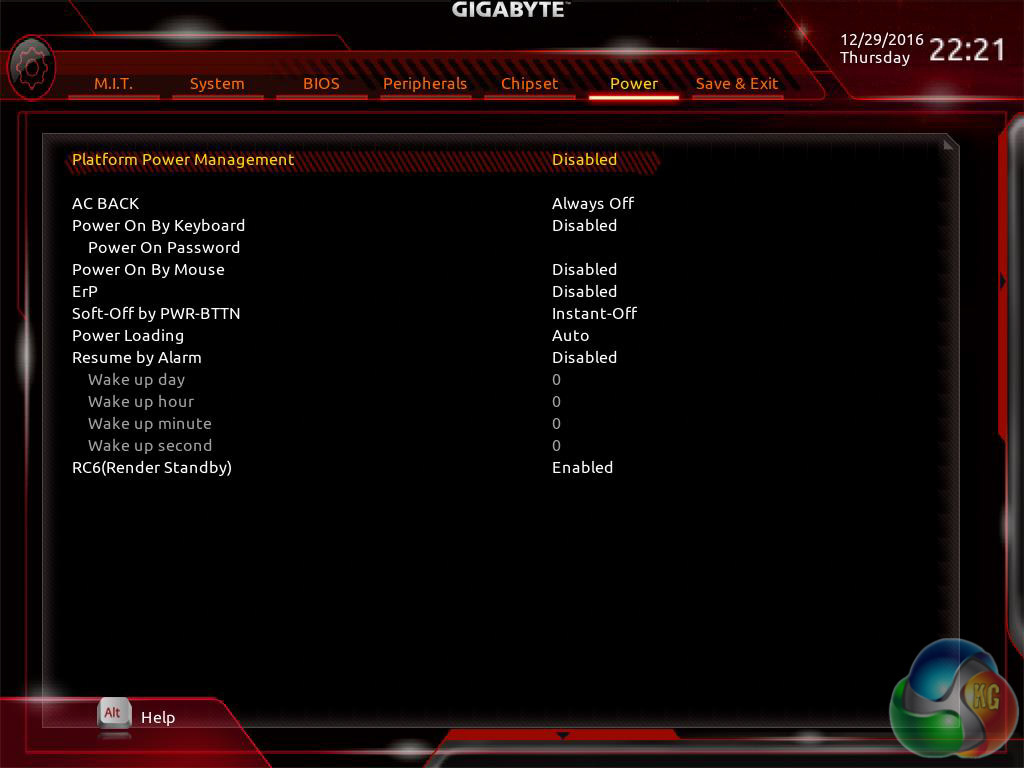
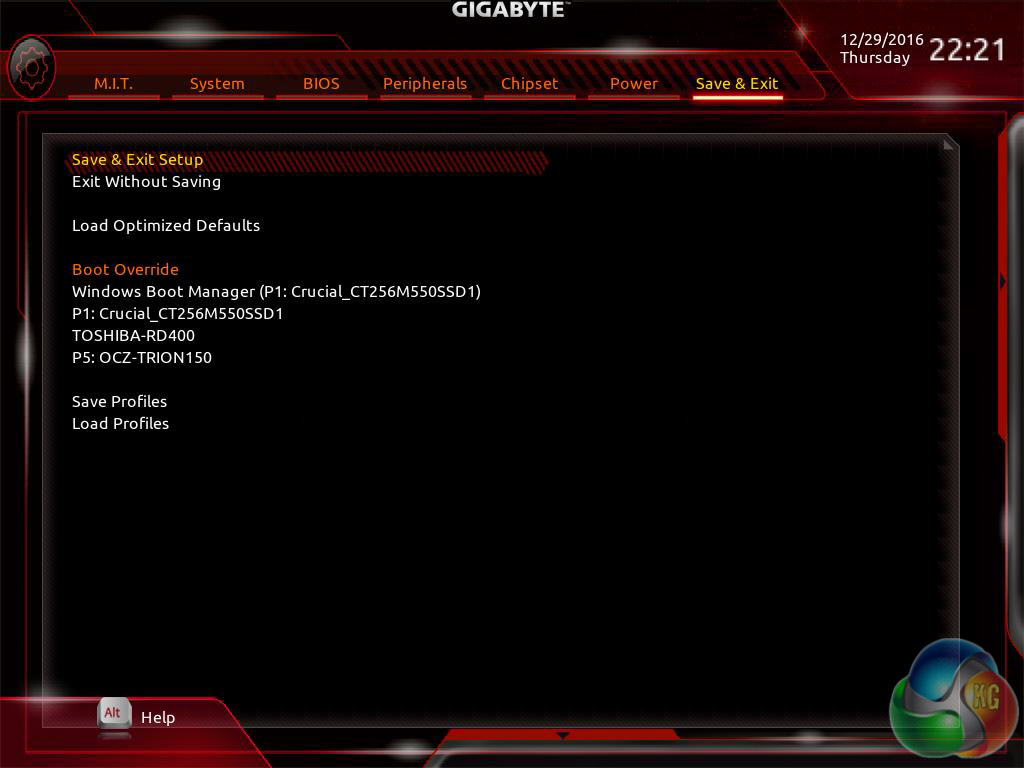
The Power tab has some obscure power settings that might be better integrated into one of the other sections. Save and Exit contains boot override settings, which should probably be integrated into the BIOS tab, and the load and save function for BIOS settings.
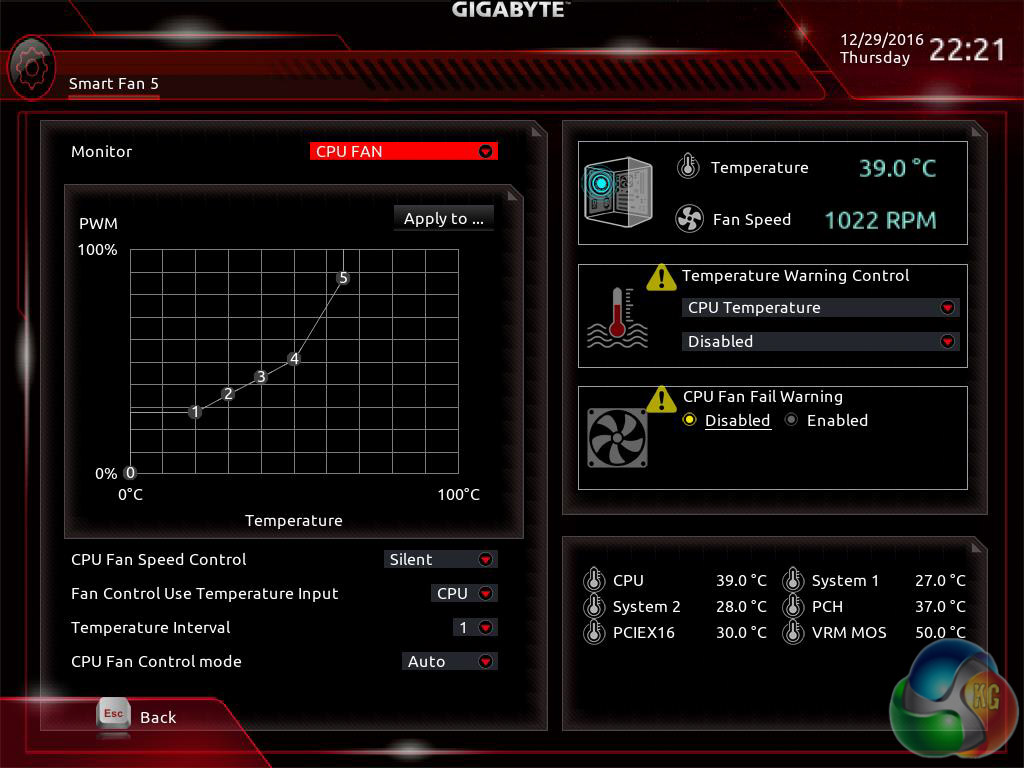
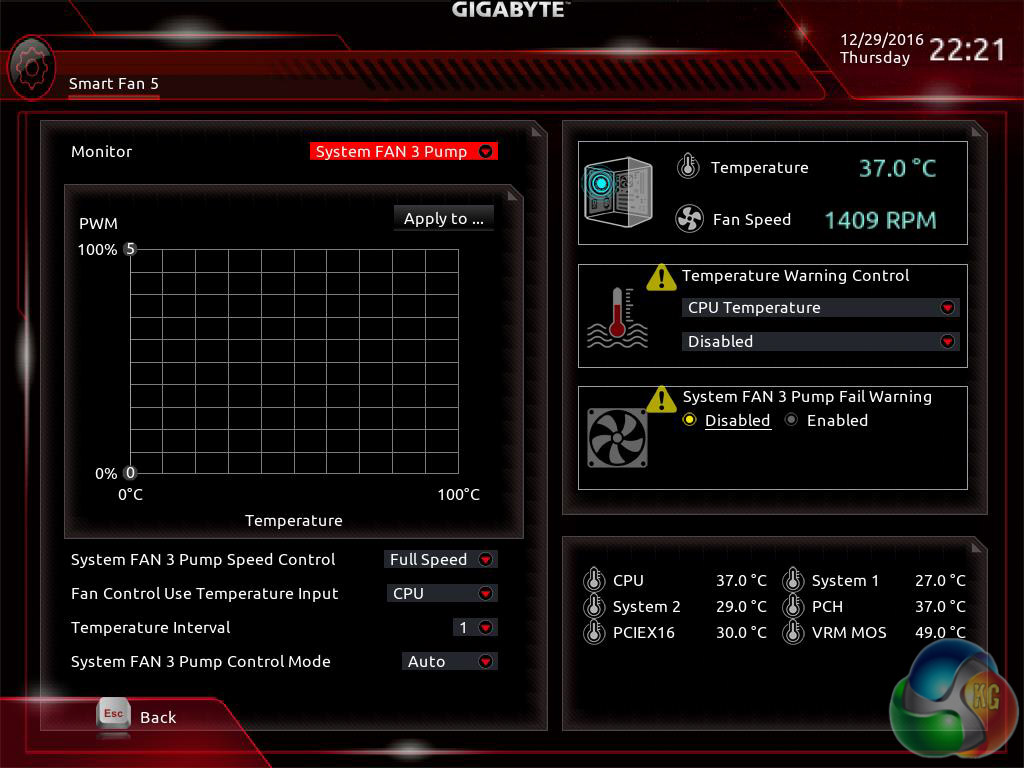
Gigabyte's Smart Fan 5 utility is a visual GUI that can be brought up through the M.I.T tab. From within here you can set predefined fan speed profiles or create your own, set the temperature hysteresis between fan speed changes and pick a temperature input for the fan curve to follow. We found all the pre-defined fan profiles were noisy, the silent one included, since the maximum fan speed starts kicking in at 65 degrees Celsius. This wasn't helped, either, by Gigabyte's UEFI applying too much auto voltage to the CPU in its 4.5GHz all-core turbo state.
We observed between 1.3 and 1.4 volts where the ASUS Maximus IX Formula hardly applied more than 1.25 volts. There's no logical explanation why Gigabyte apply such an aggressive voltage as it simply serves to drive up temperatures, thus causing the noisy fans, and higher power consumption. You can easily get around this issue by applying a -0.1 volt offset to the core voltage.
As we will demonstrate later on we were able to reduce power consumption and temperatures, while overclocking the CPU to achieve better performance compared to the auto voltage behaviour.
Be sure to check out our sponsors store EKWB here
