On this page, I will walk you through how to configure the Cycon according to Nerdytec's instructions.
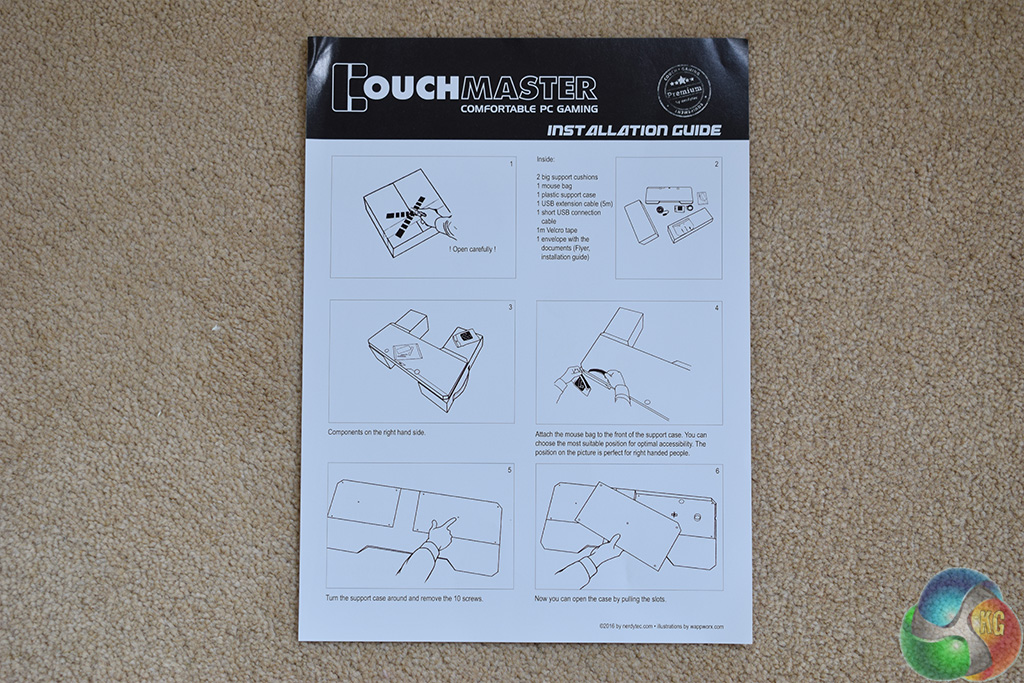
The instructions themselves are clear and easy to follow.
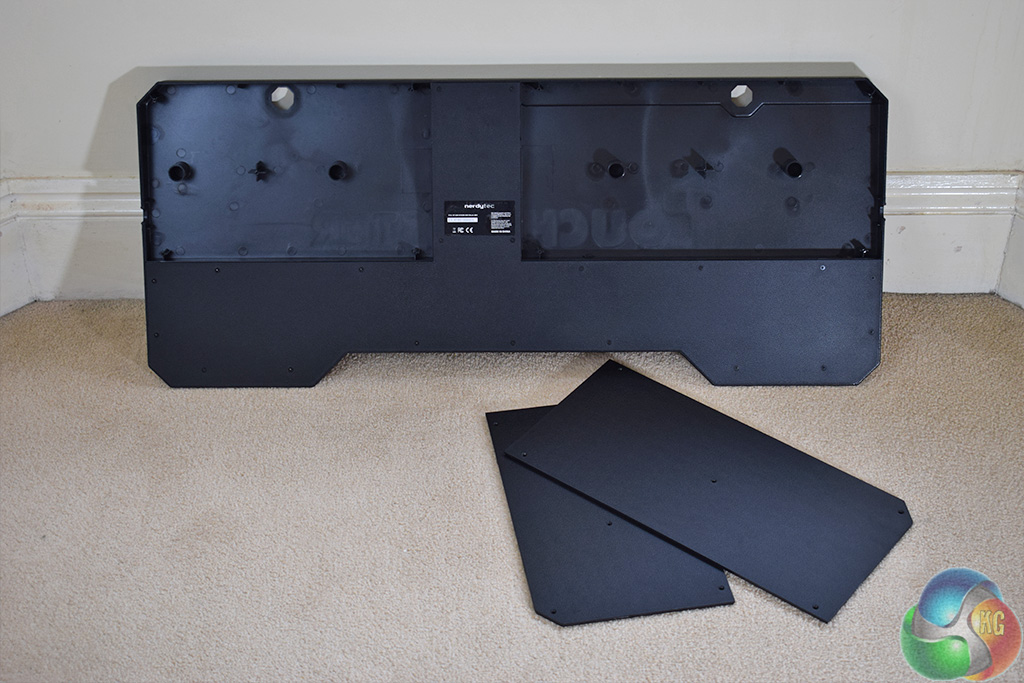
First, you want to remove the two panels on the bottom of the Cycon's cross-board. This allows you access to the four internal USB 3.0 ports.
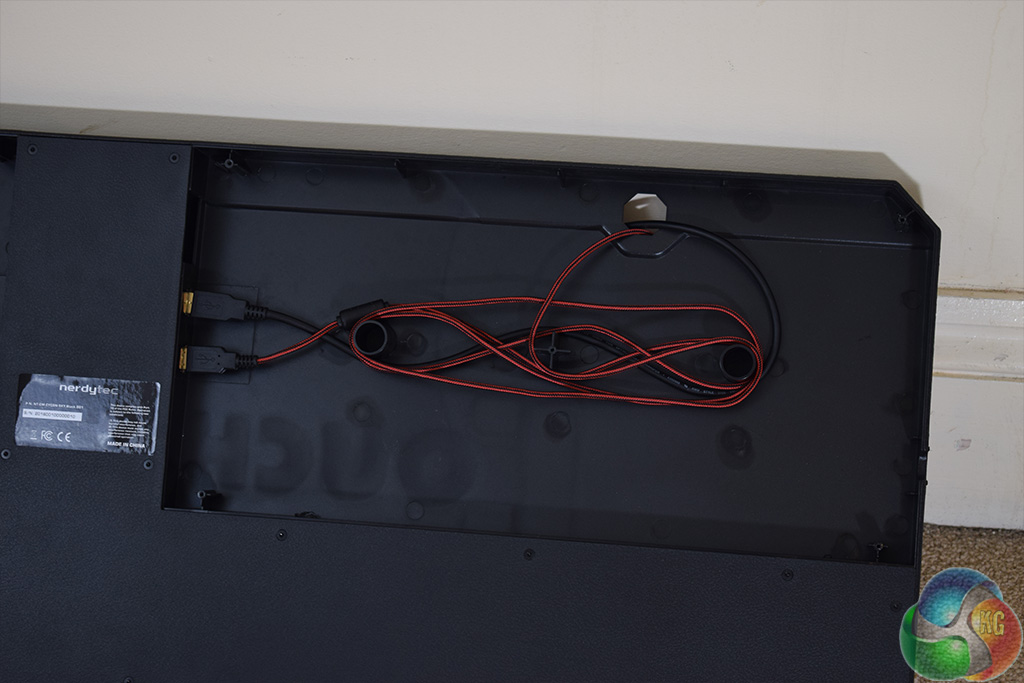
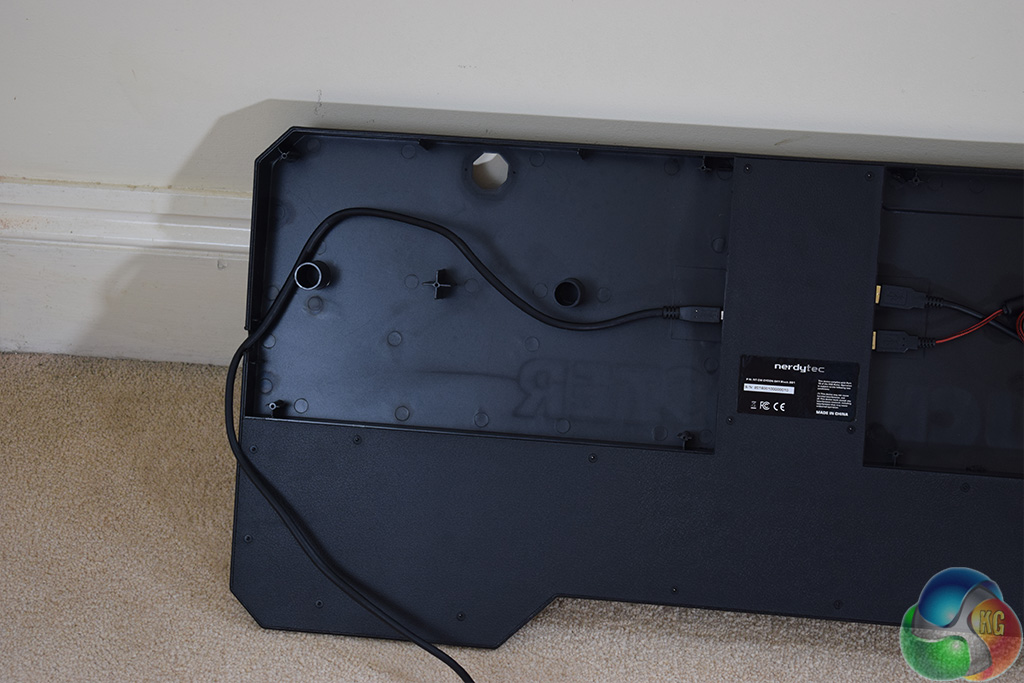
Once you have done that, you can feed in your peripheral cables. As there are panels on both sides of the board, you can feed the cables in from either side – this will depend on whether you are right or left handed.
Nerdytec have also included some clever posts where your wiring goes. These allow you to wrap excess cabling around them, keeping things tidy inside.
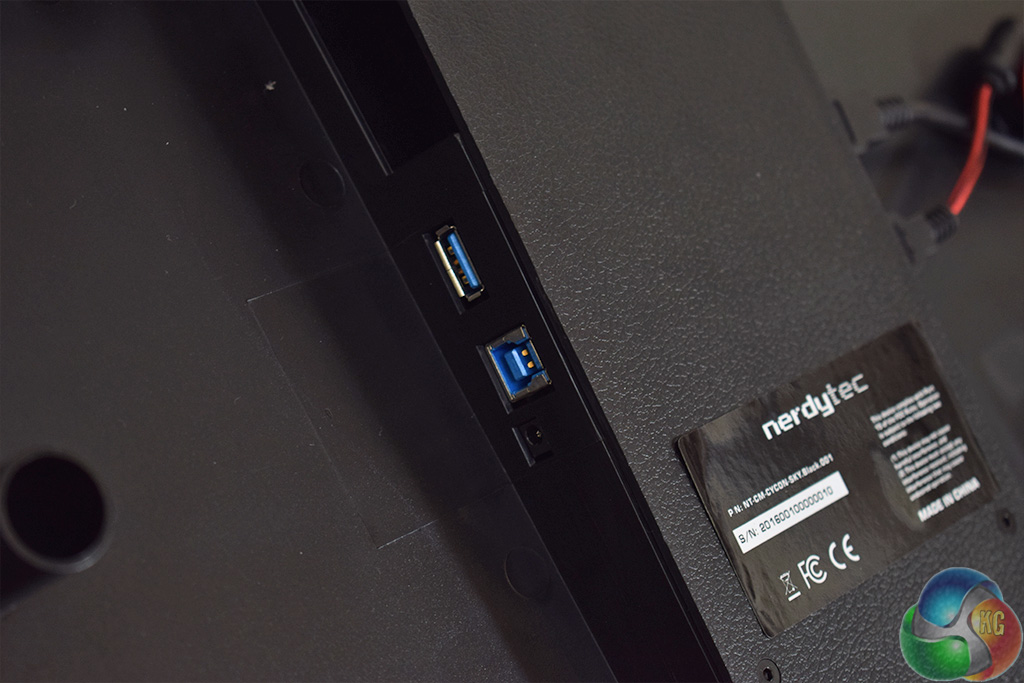
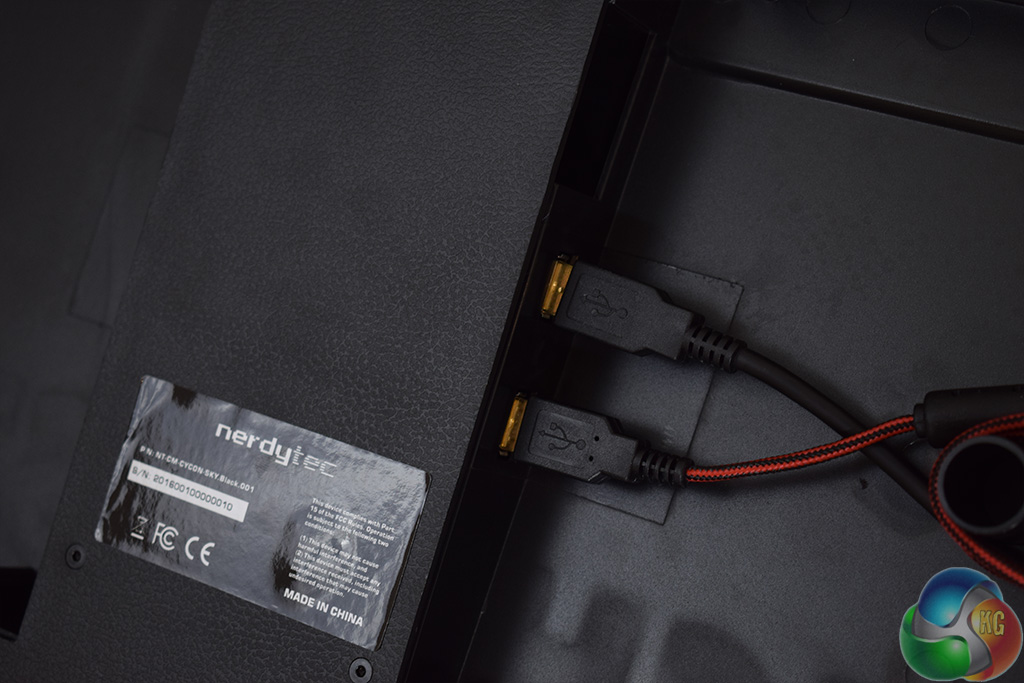
On the other side of the USB 3.0 hub is a Type-B connector, as well as another Type-A. This Type-B port is for connecting the shorter USB 3.0 cable to the hub (as pictured.)
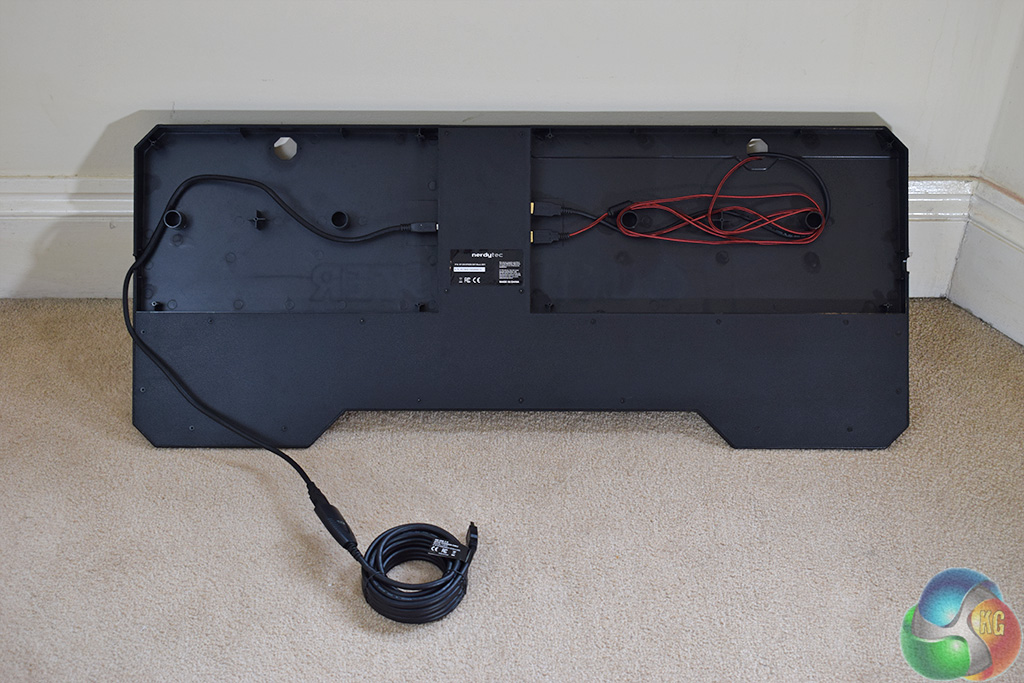
The shorter USB cable then connects to the 5m cable – which ultimately ends up plugged into your PC.
The way Nerdytec have configured the cabling is excellent. Having all your peripheral cables tucked away inside the cross-board means everything is very tidy, and you only need one cable actually outside of the Cycon itself. A very neat solution to sofa gaming.
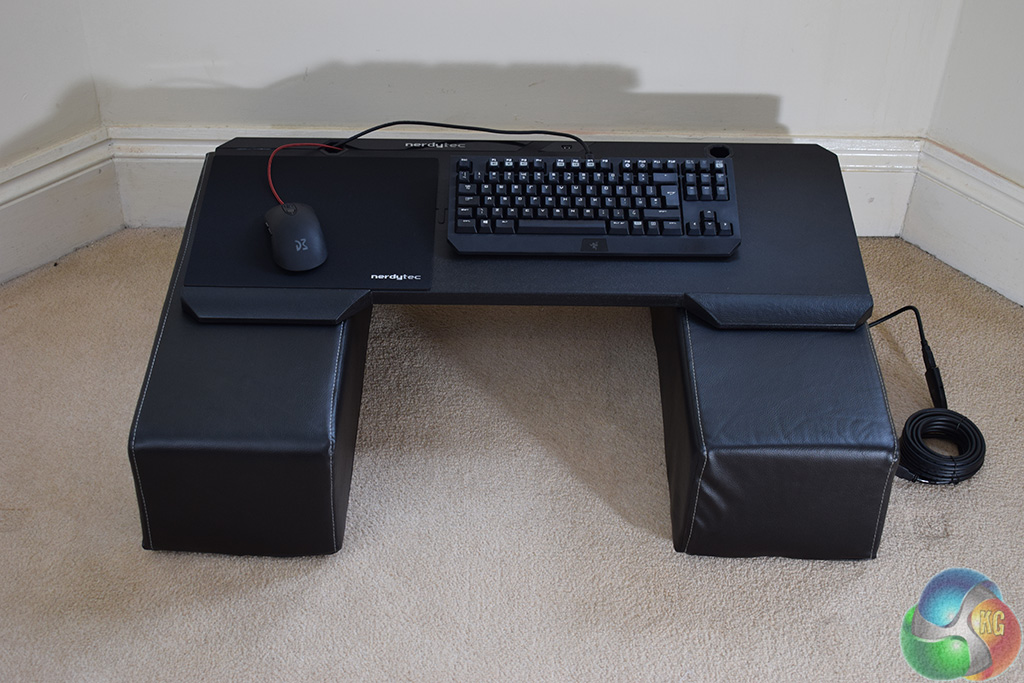
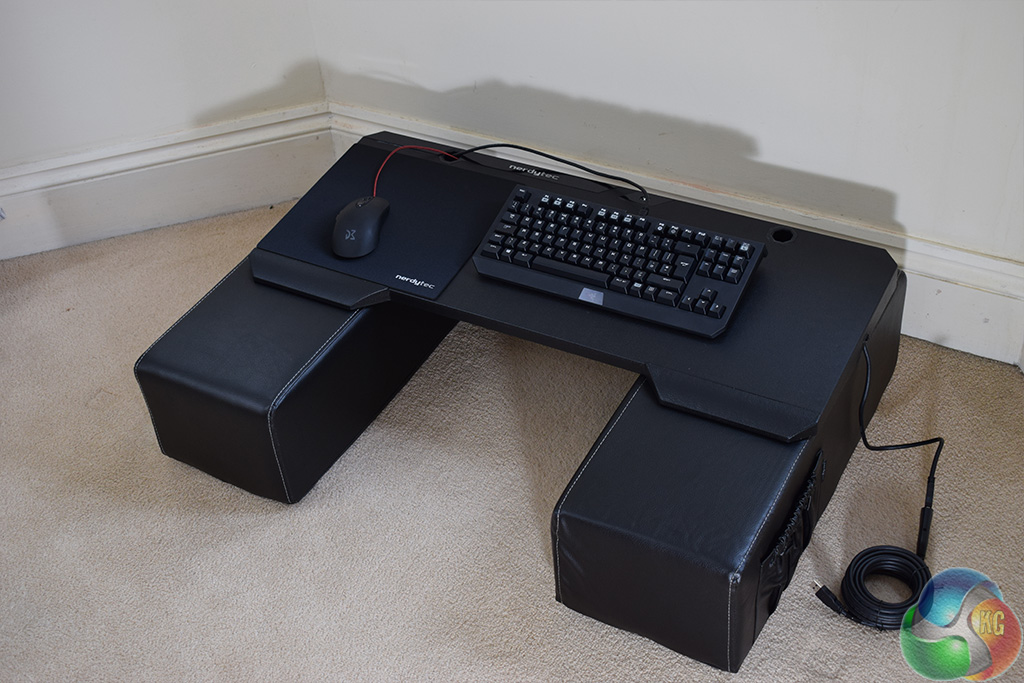
Once you have sorted your cabling out and got everything ready, go ahead and place the cross-board onto the cushions. The Cycon is now all sorted and ready for some use!
Be sure to check out our sponsors store EKWB here