

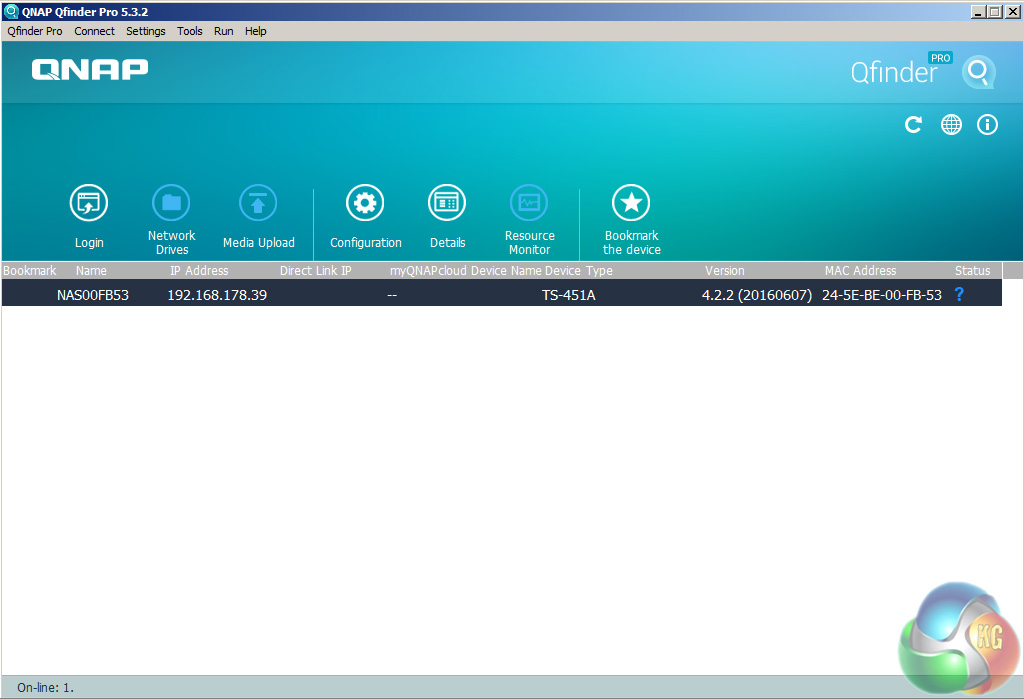
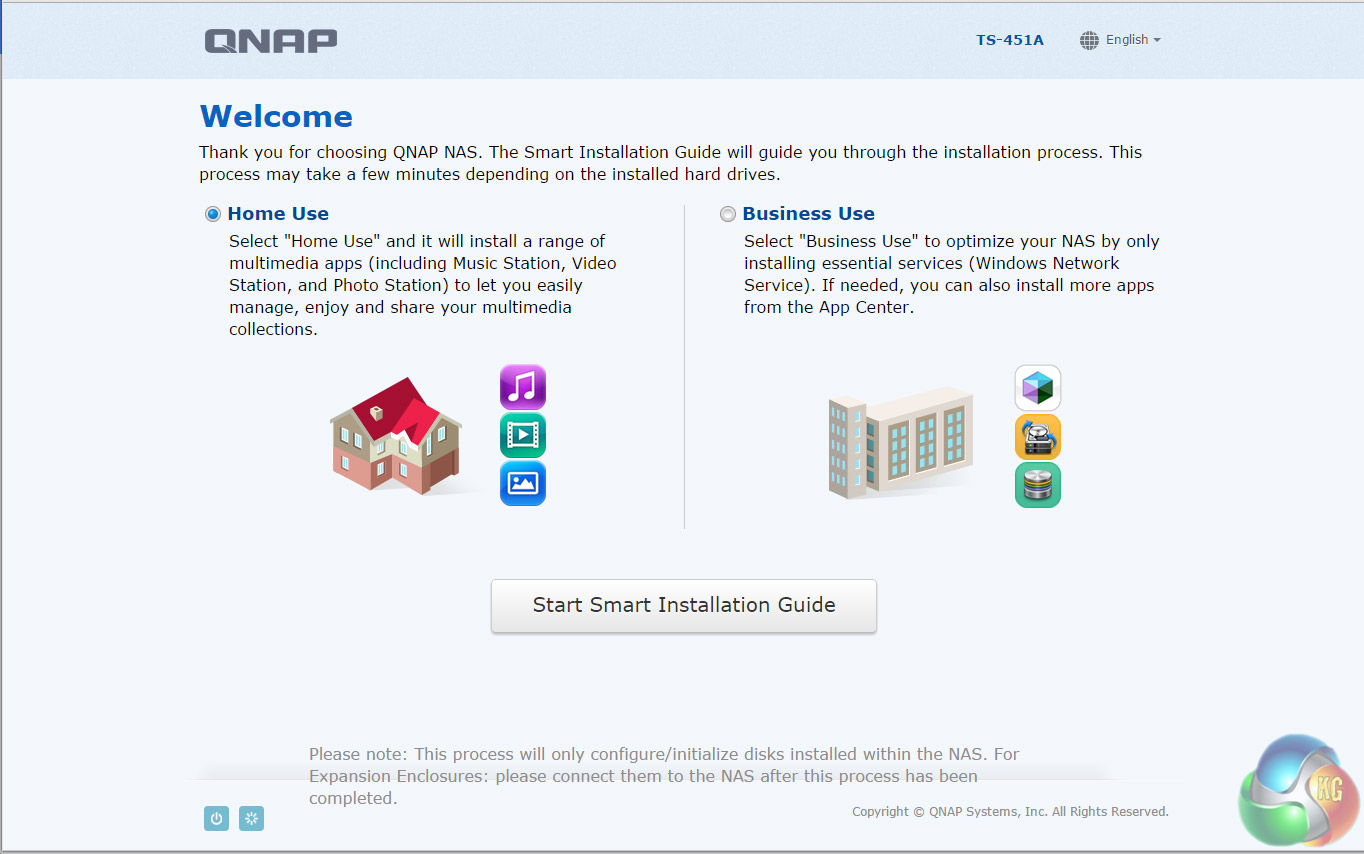
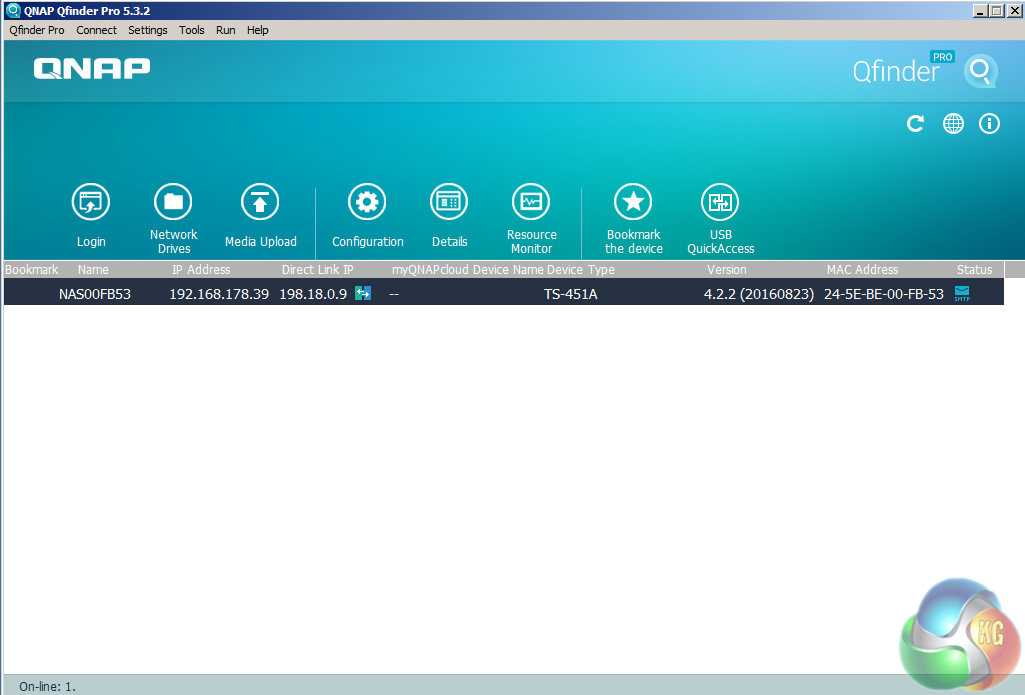
There are two ways of setting up the TS-451A-4G, either online by entering the Cloud key which is on the side of the unit or by using QNAP's Qfinder Pro utility. Once Qfinder Pro has located the NAS, clicking on the NAS details brings up the Smart Install Wizard which gives you a choice of install options; Home or Business.
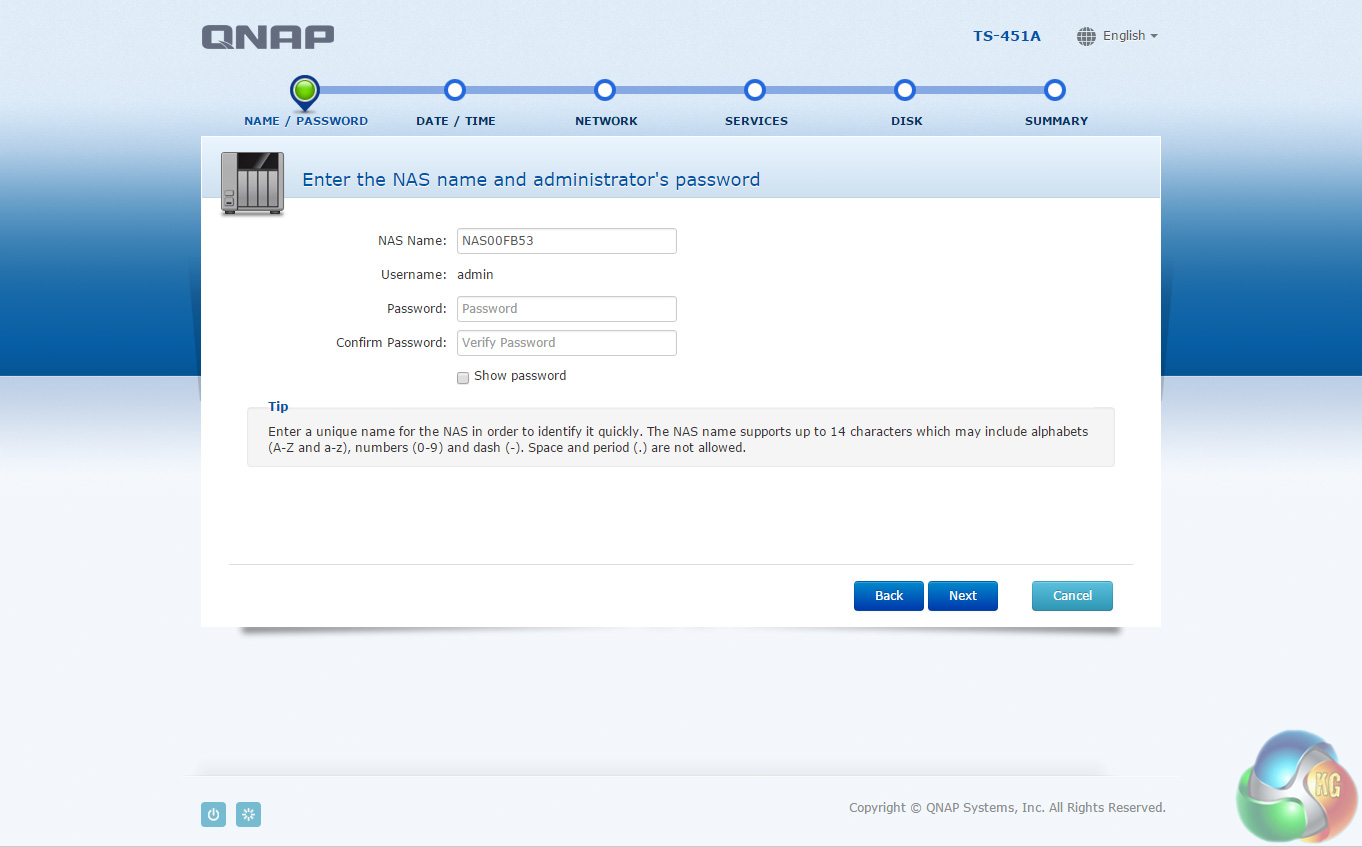
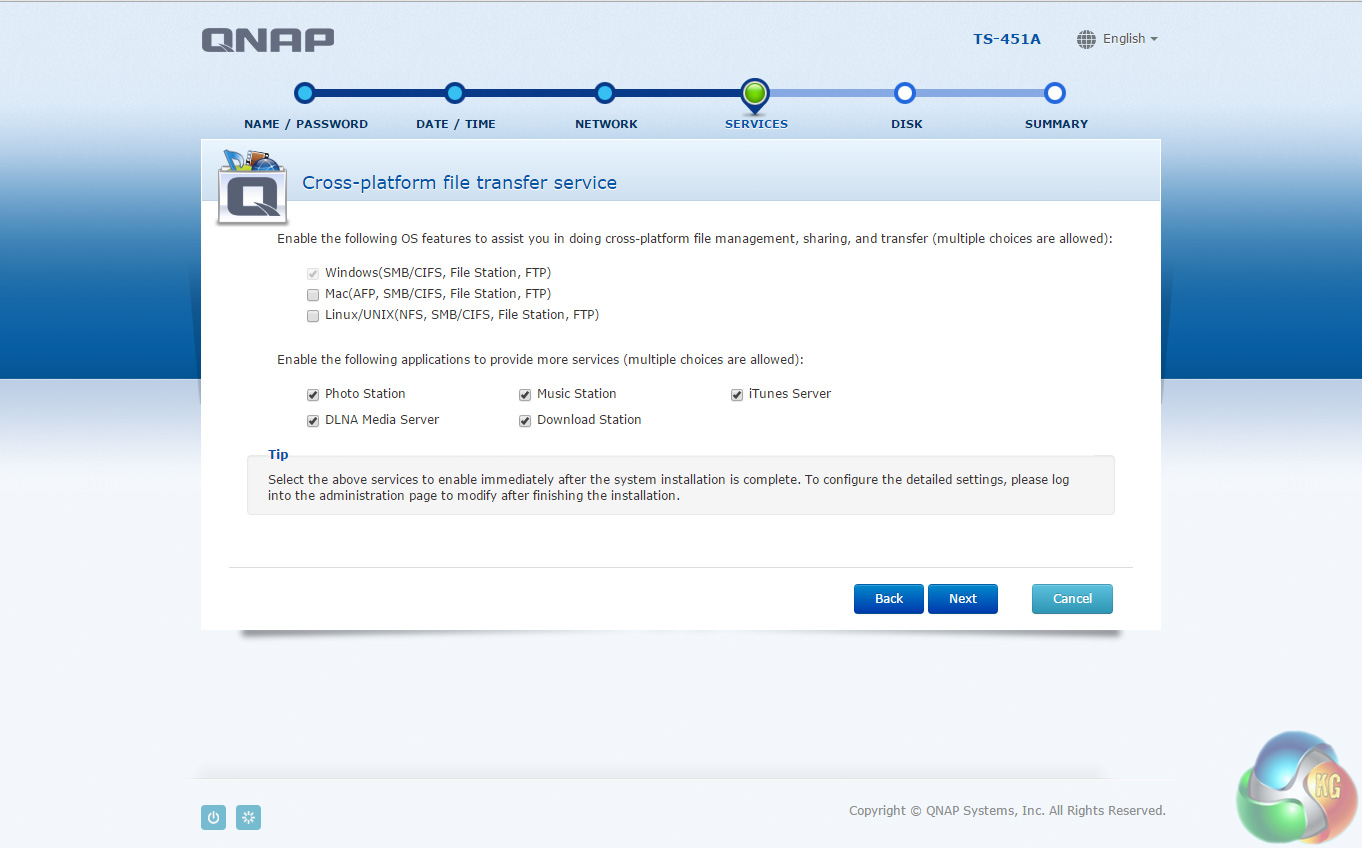
From then on it's just a matter of following the wizard through the install process. During the setup you can enable which OS cross-platform file management service you require; Windows (SMB/CIFS, File Station, FTP), Mac (SMB/CIFS, File Station, FTP) and Linux (NFS, SMB/CIFS, File Station, FTP). At this stage you can also load a few basic apps; Photo Station, Music Station, iTunes Server, DLNA Media Server and Download Station.
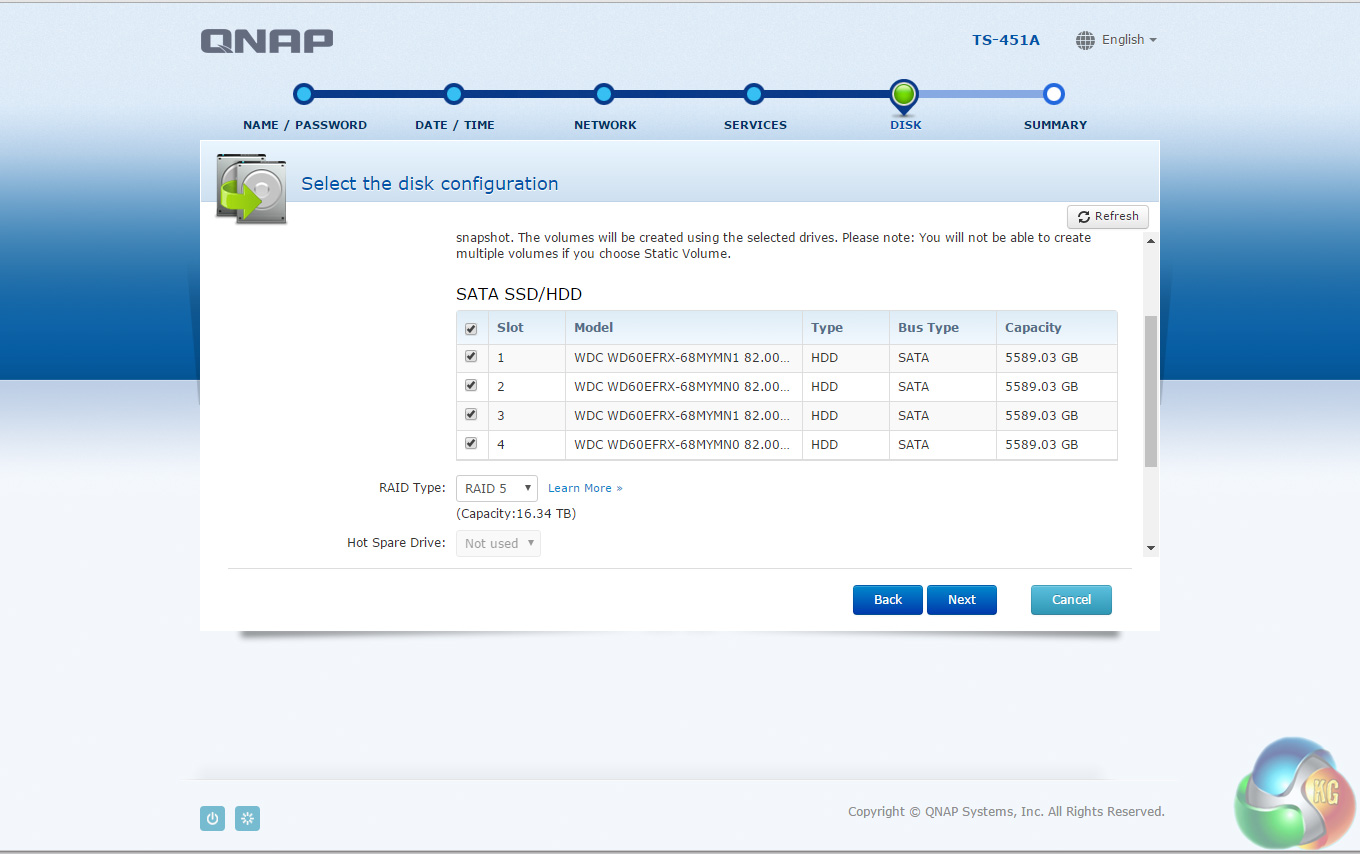
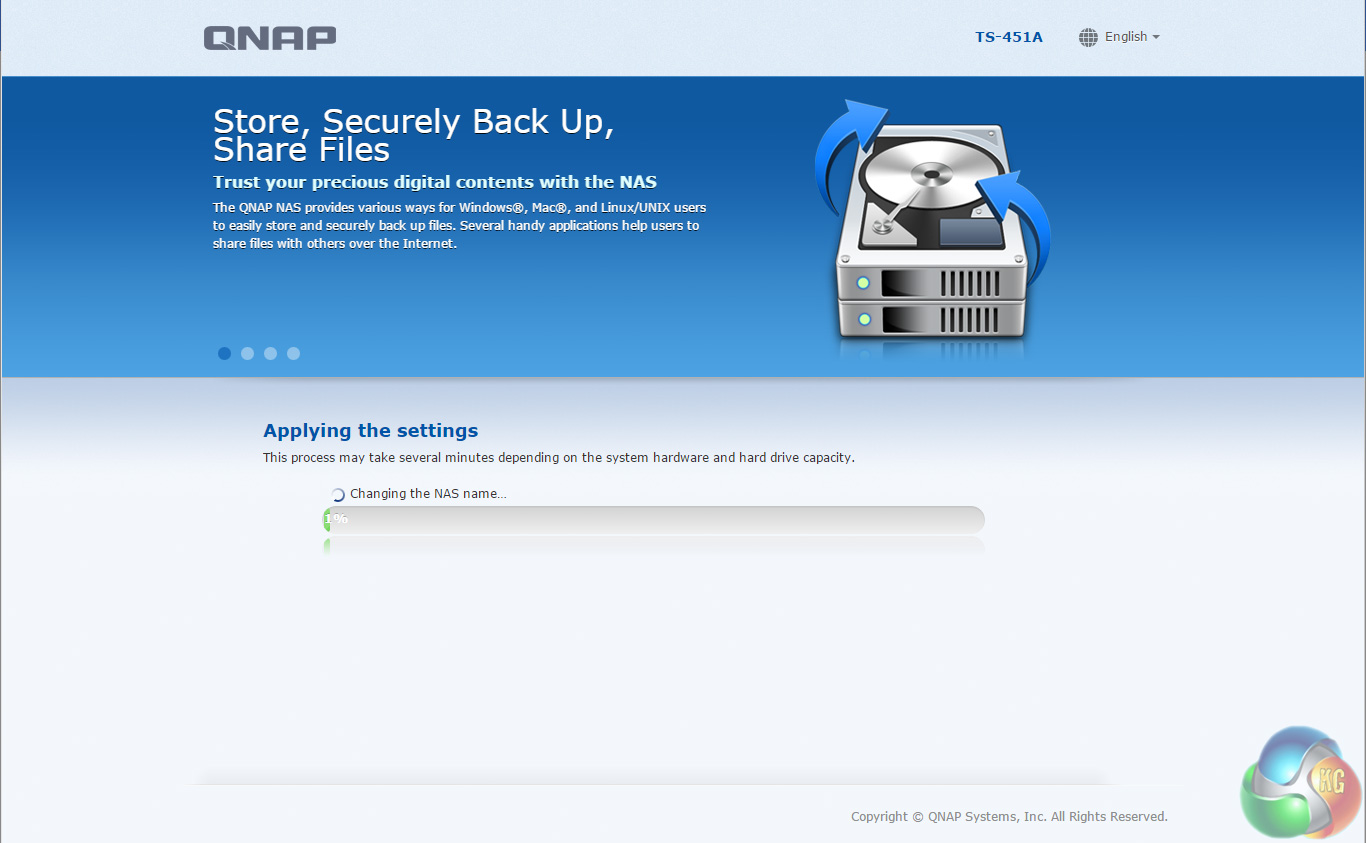
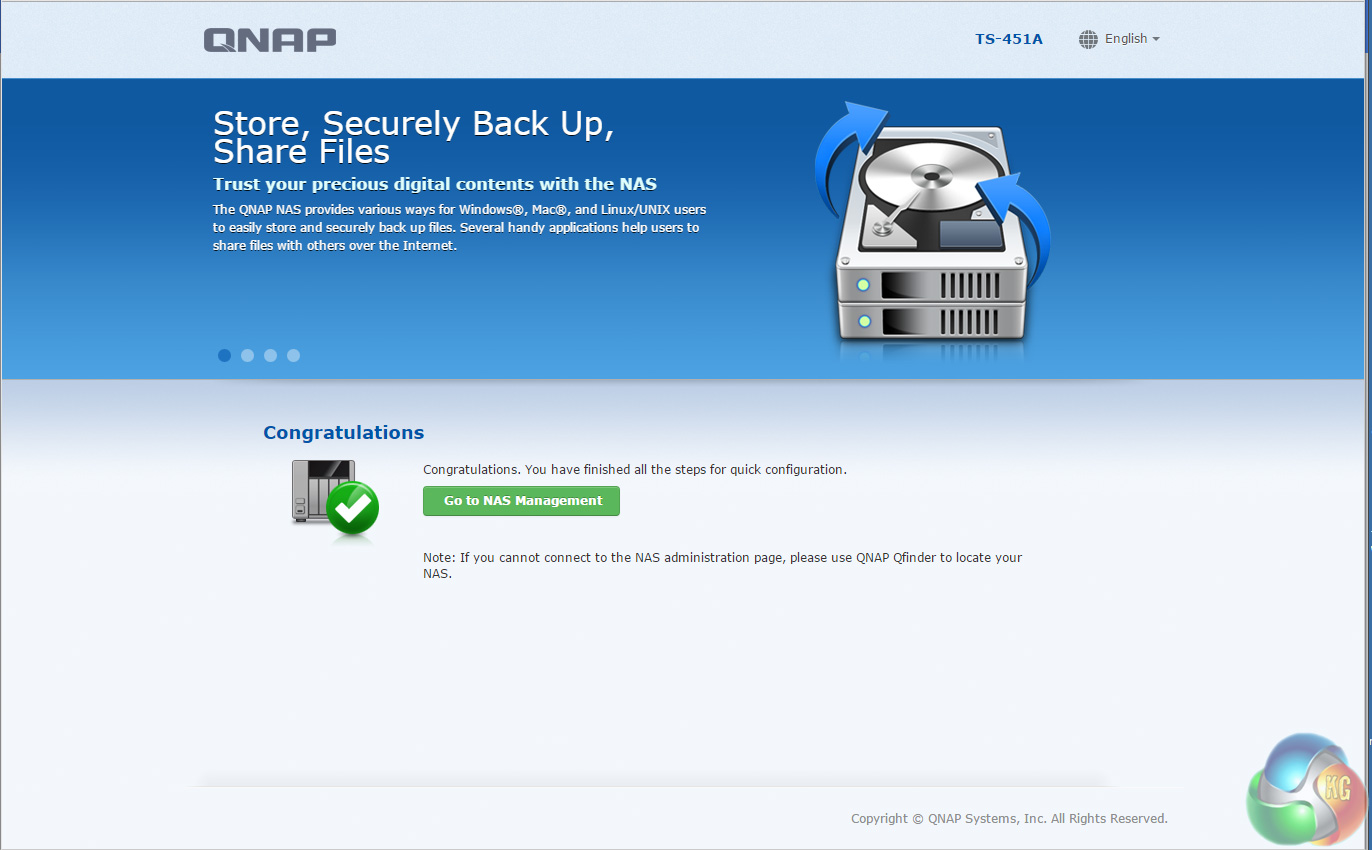
The default setup for the TS-451A-4G with four disks is RAID 5. It takes around 20 minutes to get the NAS set up and ready to use but obviously longer to get the disks synchronised (it took around 15 hours to synchronise the 4 6TB disks we were using for testing in a RAID 5 array). Once the NAS is set up, clicking on the NAS in the QFinder Pro brings up the log in screen.
SD Card
The TS-451A-4G has a handy SD Card slot so files can be downloaded and uploaded directly via the File Manager utility without the need of a separate card reader.
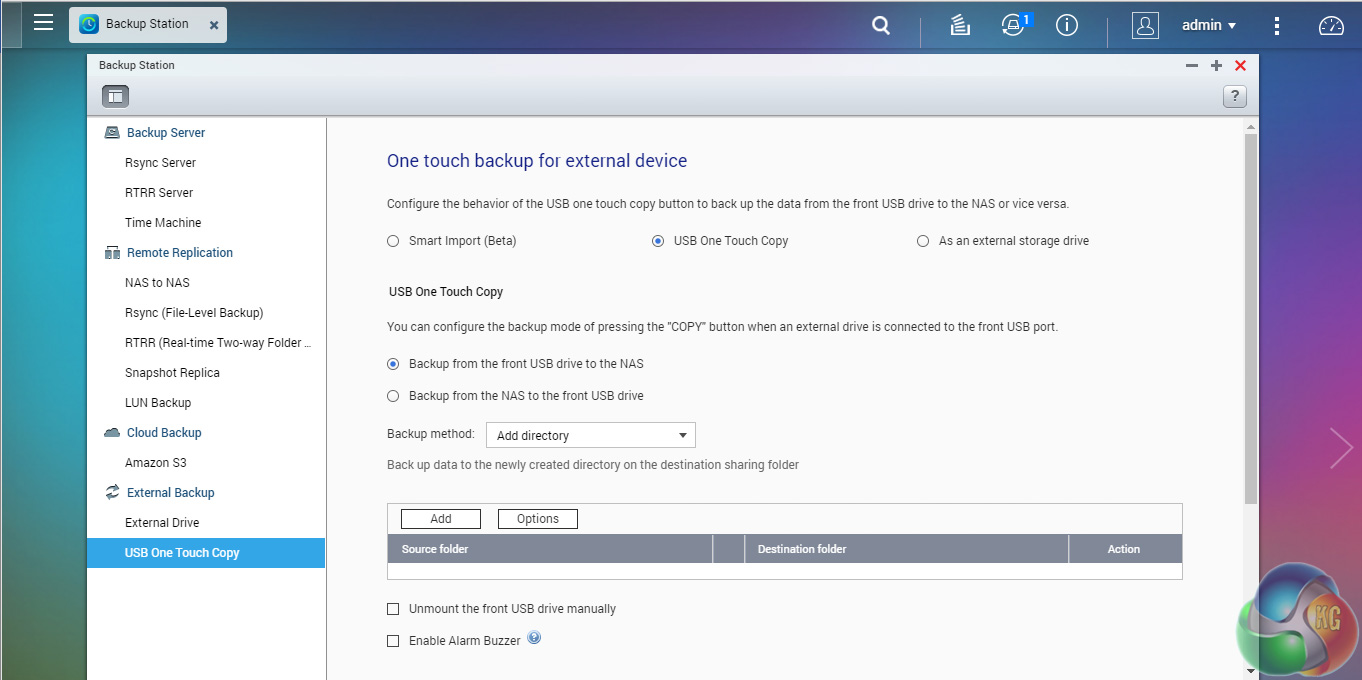
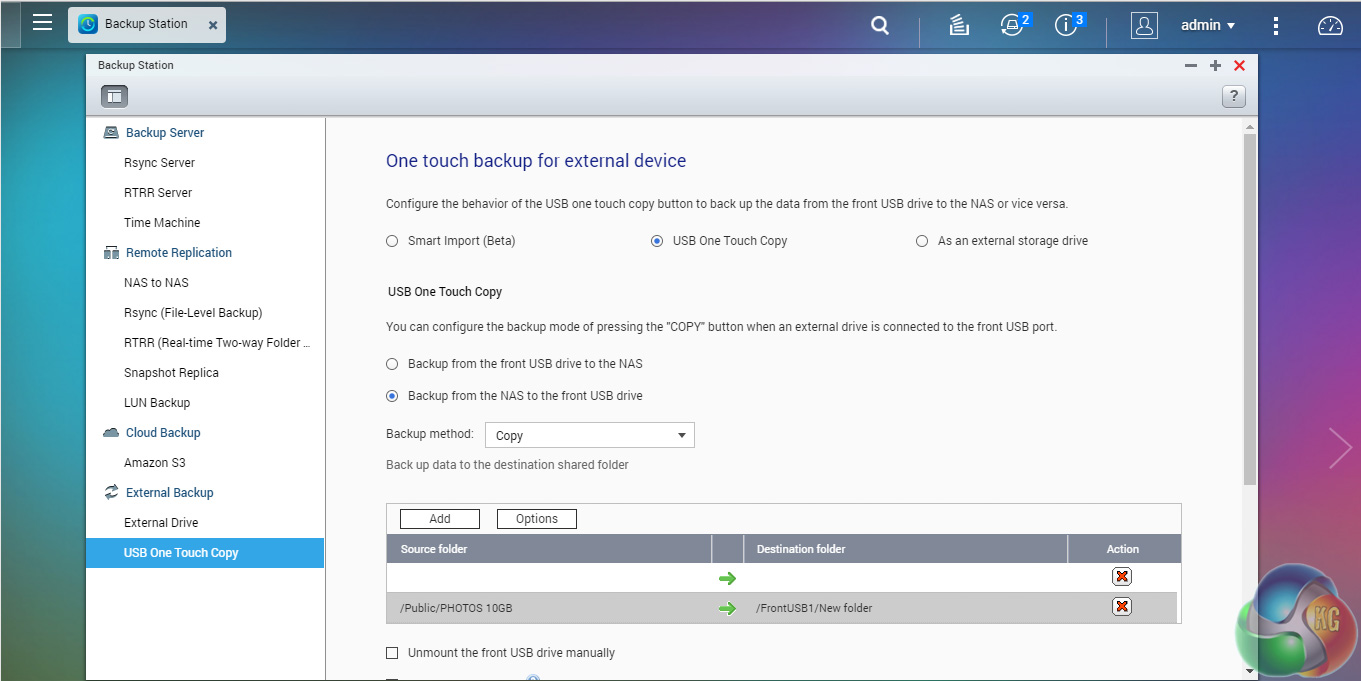
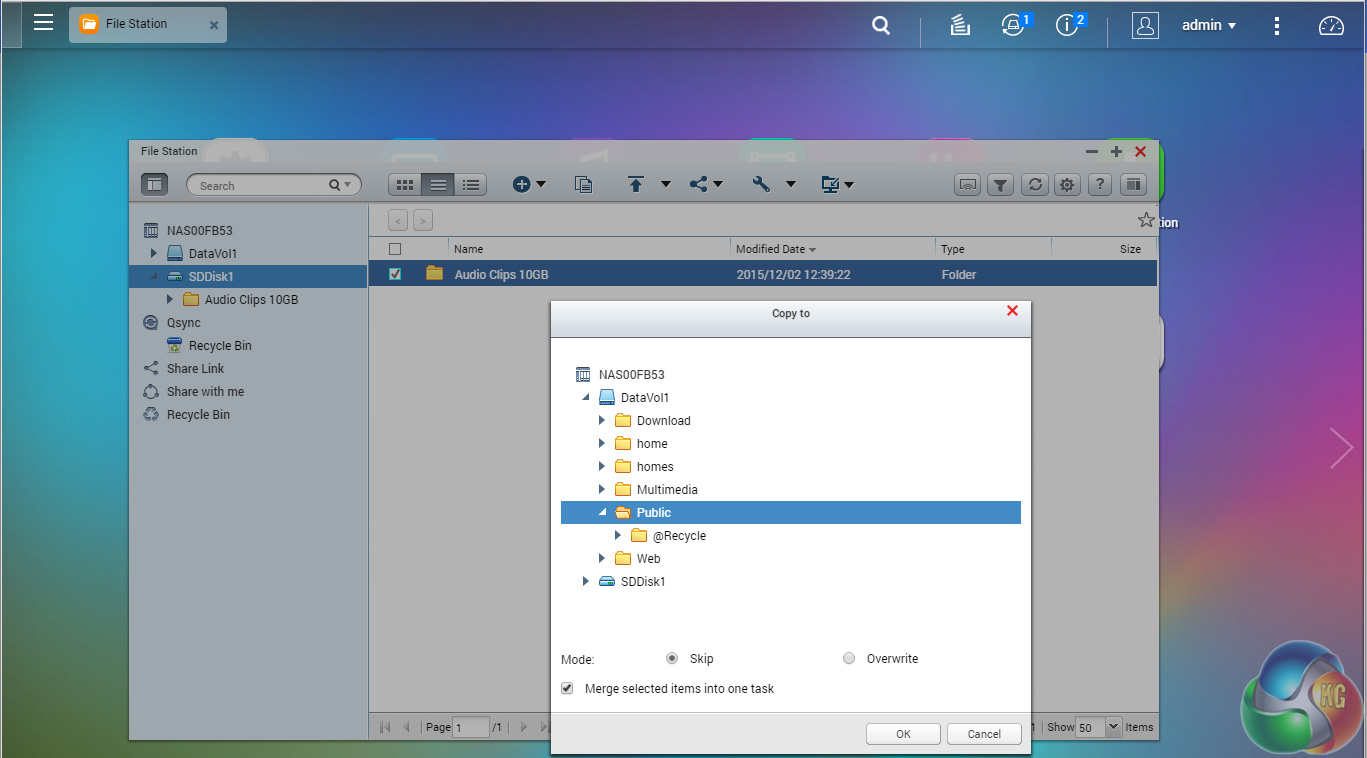
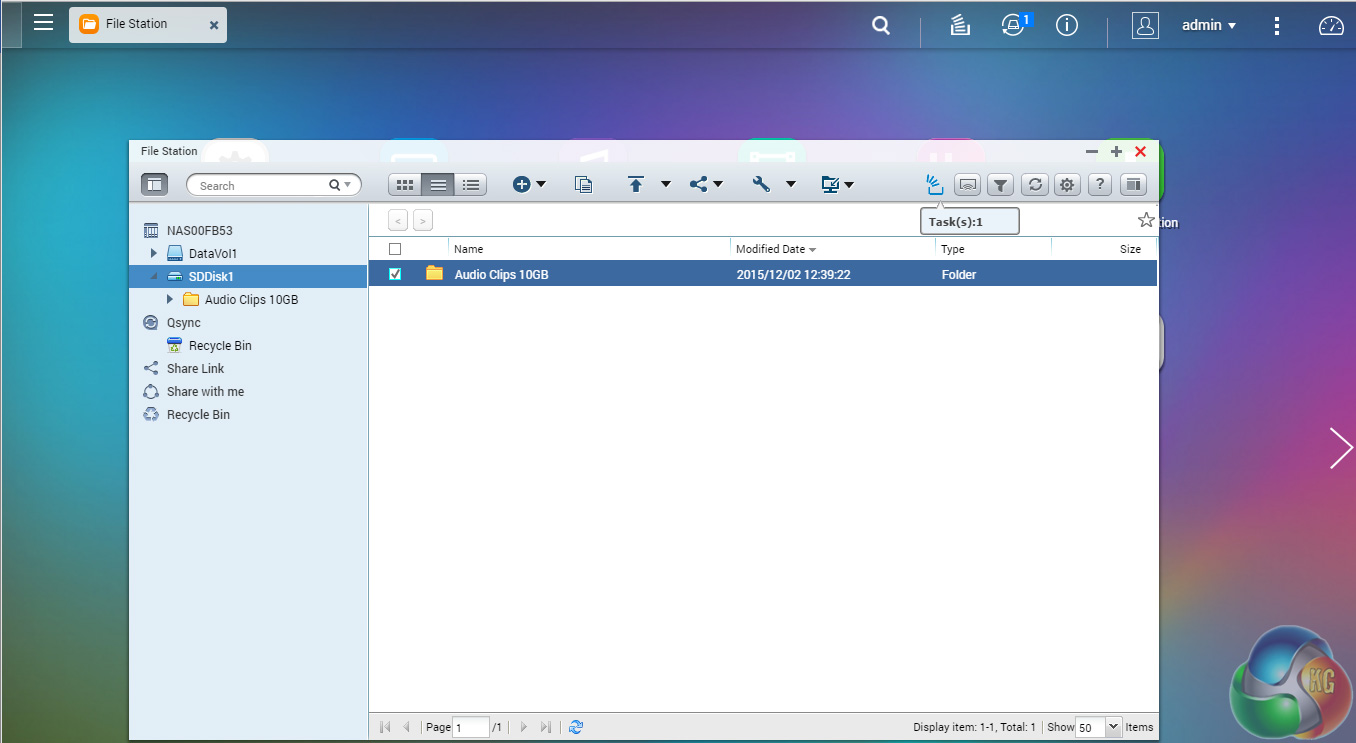
One Touch
The One Touch button on the front bezel can be set up to either upload or download files/folders or backup the NAS to an external USB drive. In the Backup Station pages in the QTS you can set up exactly what you want the One Touch system to do.
QuickAccess
QuickAccess is a very clever idea. Using the USB QuickAccess port in the front bezel you can connect the TS-451A-4G to your PC via a USB cable to gain access to files and folders on the NAS (it shows up as a QuickAccess icon in Qfinder once connected). So should the network fail or you need to use the NAS in a location without wired Ethernet you can still get to your data – very neat.
The NAS unit is essentially being treated as a DAS.
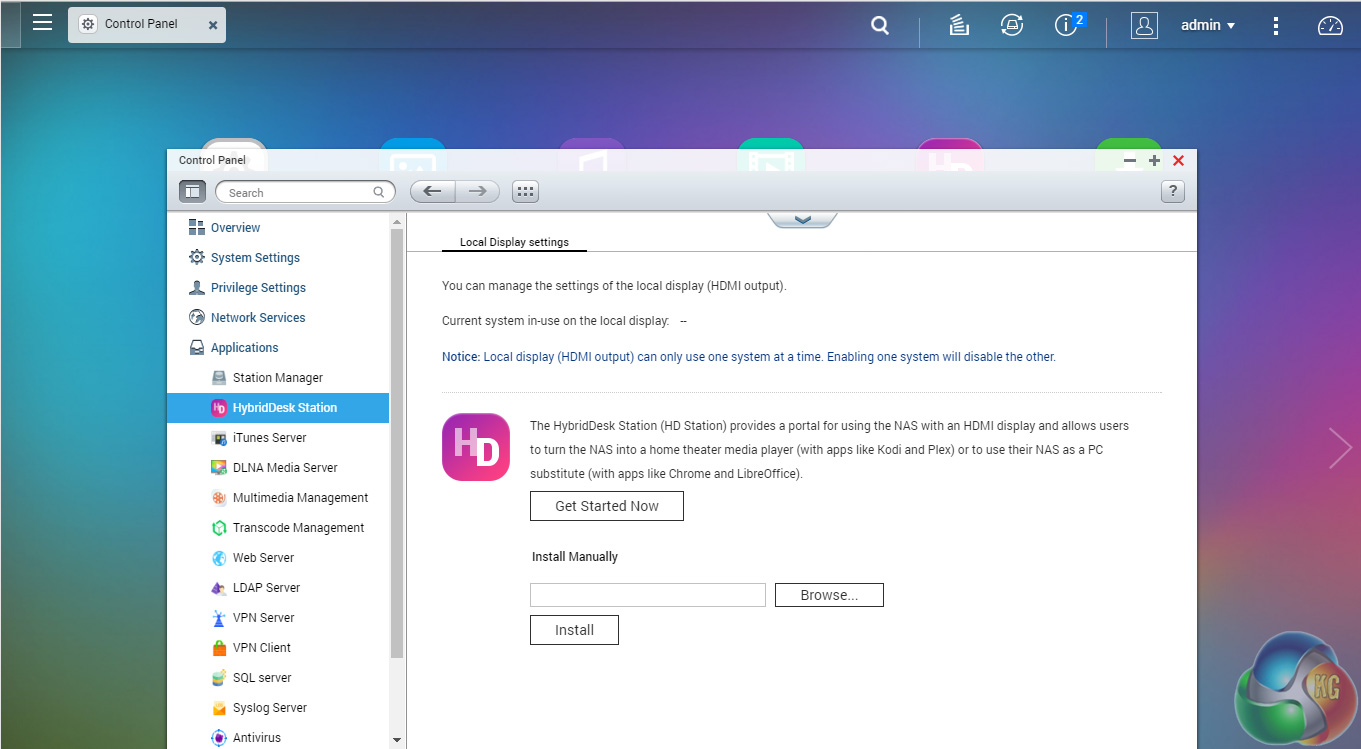
HybridDesk Station
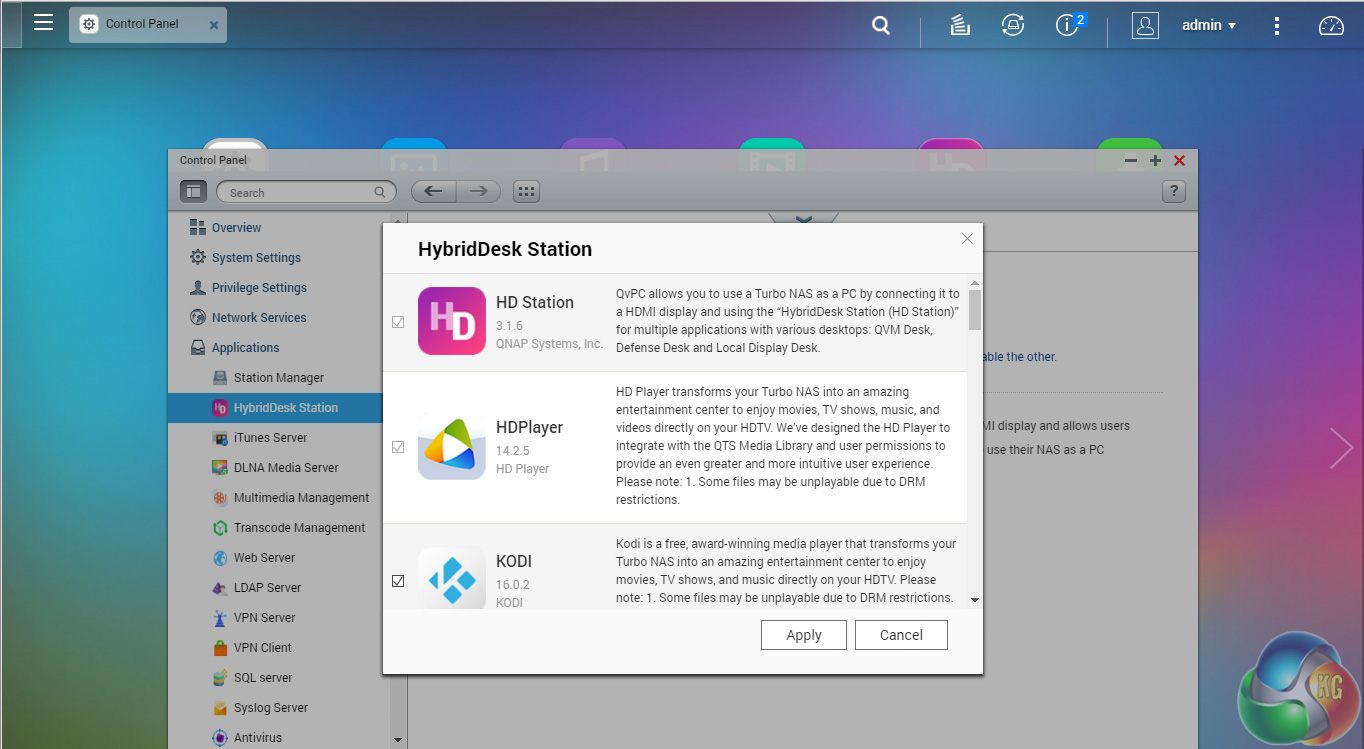
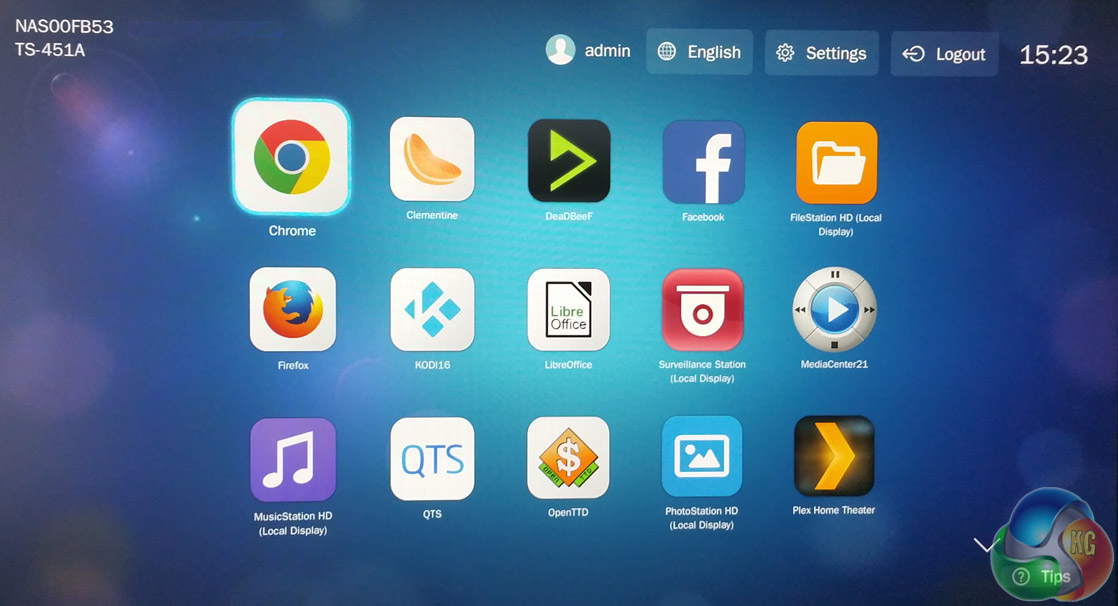
The HybridDesk Station is QNAP's software that allows the NAS to be used as a home media player or a basic PC (via the HDMI port). In this mode you don't even have to fire up a PC to use the NAS. You have a choice of how you want to install the apps that are part of the HybridDisk Station; you can either cherry-pick them from a list and manually install them or simply press the install button and the NAS will load all the appropriate apps.
Plug a USB mouse and a keyboard into the NAS and away you go. Alternatively you could you use the bundled RM-IR002 remote control.
Be sure to check out our sponsors store EKWB here
