

Synology has made the DS916+ very straight forward and quick to setup, and from getting it out of the box to ready to use takes around 20 minutes, although this is just being set up into RAID 0.
With RAID 5 and 6, it takes a whole lot longer because of verifying and disk parity checks which take around 14 hours to complete.
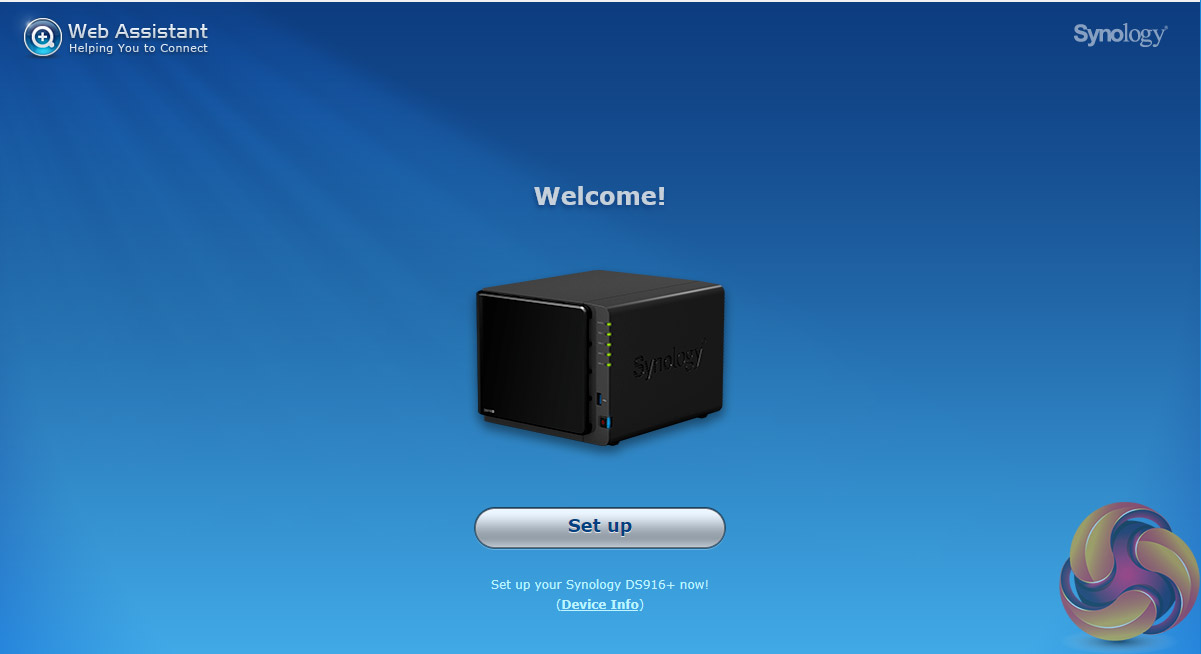
The first part of setting up the DS916+ as with all Synology NAS units is to go to http://find.synology.com which launches Web Assistant.
This app searches for all DiskStations on the network so you can begin the install. If this method fails to find the NAS, the App has a link to the Synology Download Center where you can download Synology Assistant to your PC to search again for the NAS.
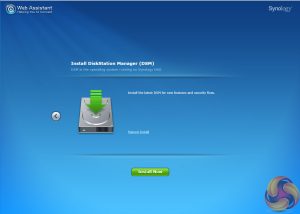
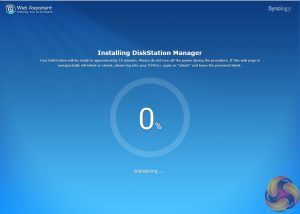
Once the NAS is found, the first window of the DSM setup wizard appears. Pressing install (there's also a manual install option to install a downloaded instance of DSM ) automatically downloads the latest version of DSM and starts installing it after reminding you that any data on the hard disks will be deleted.
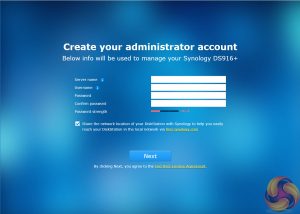
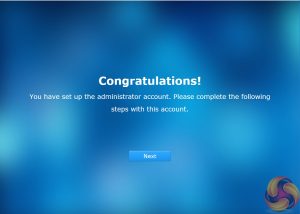
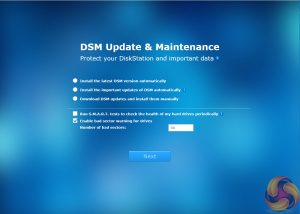
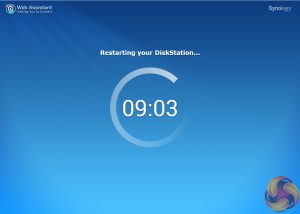
After the basic install has finished, the NAS is restarted and next up comes the setting up of the NAS management, where you assign a server name, admin user name and password. The next window is where the DSM update settings are set.
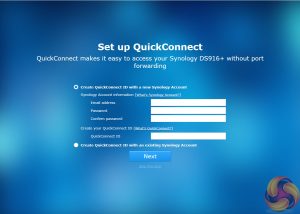
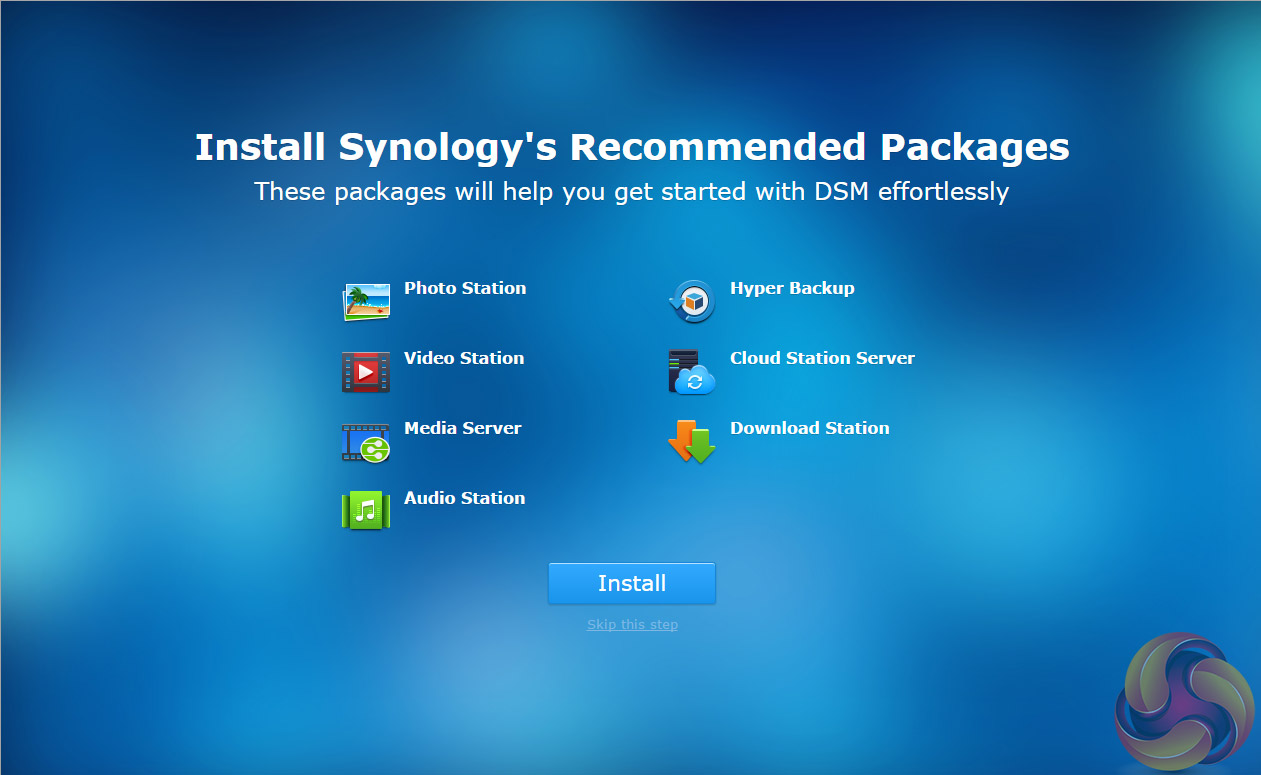

Next you can set up Quick Connect (remote access to the DiskStation) or skip it and set it up later as you can with the install of Synology's recommended packages; Photo, Video, Audio and Download Stations and Media and cloud Station Servers as well as Hyper Backup and that's the setup complete.
Be sure to check out our sponsors store EKWB here
