

The Aerocool P7 C1 Pro is a upgraded version of last year’s Project C1 which Leo reviewed back in December (HERE), It had decent cooling performance and integrated lighting in the front panel with up to 8 changeable colours. This time round Aerocool have decided to adopt full RGB lighting – but is it enough to justify the word PRO and to stand out from the competition ?


Specifications:
Case Type: Mid Tower
Motherboards: ATX / micro ATX / mini-ITX
Expansion Slots: 7
GPU Clearance: 375 mm / 400mm (without front fan)
CPU Cooler Clearance: Support Max. Height of 165 mm For CPU
Included Fans: Front 3x RBG 120mm 3 pin and 1x 120mm rear
Fan: Mounts: 3 x 120mm / 2 x 140mm in front, 2x 120mm top and 1x 120mm rear
Radiator Support: 240 / 280 / 360 mm in front, Top Up to 240mm and 120mm rear
3.5” Drive Bays: 2 (Internal)
2.5” Drive Bays: 4 (Internal)
Dimensions: 244.6mm x 550mm x 446.4mm (W x H x D)
Weight: 8.8Kg (19.4 Ibs)
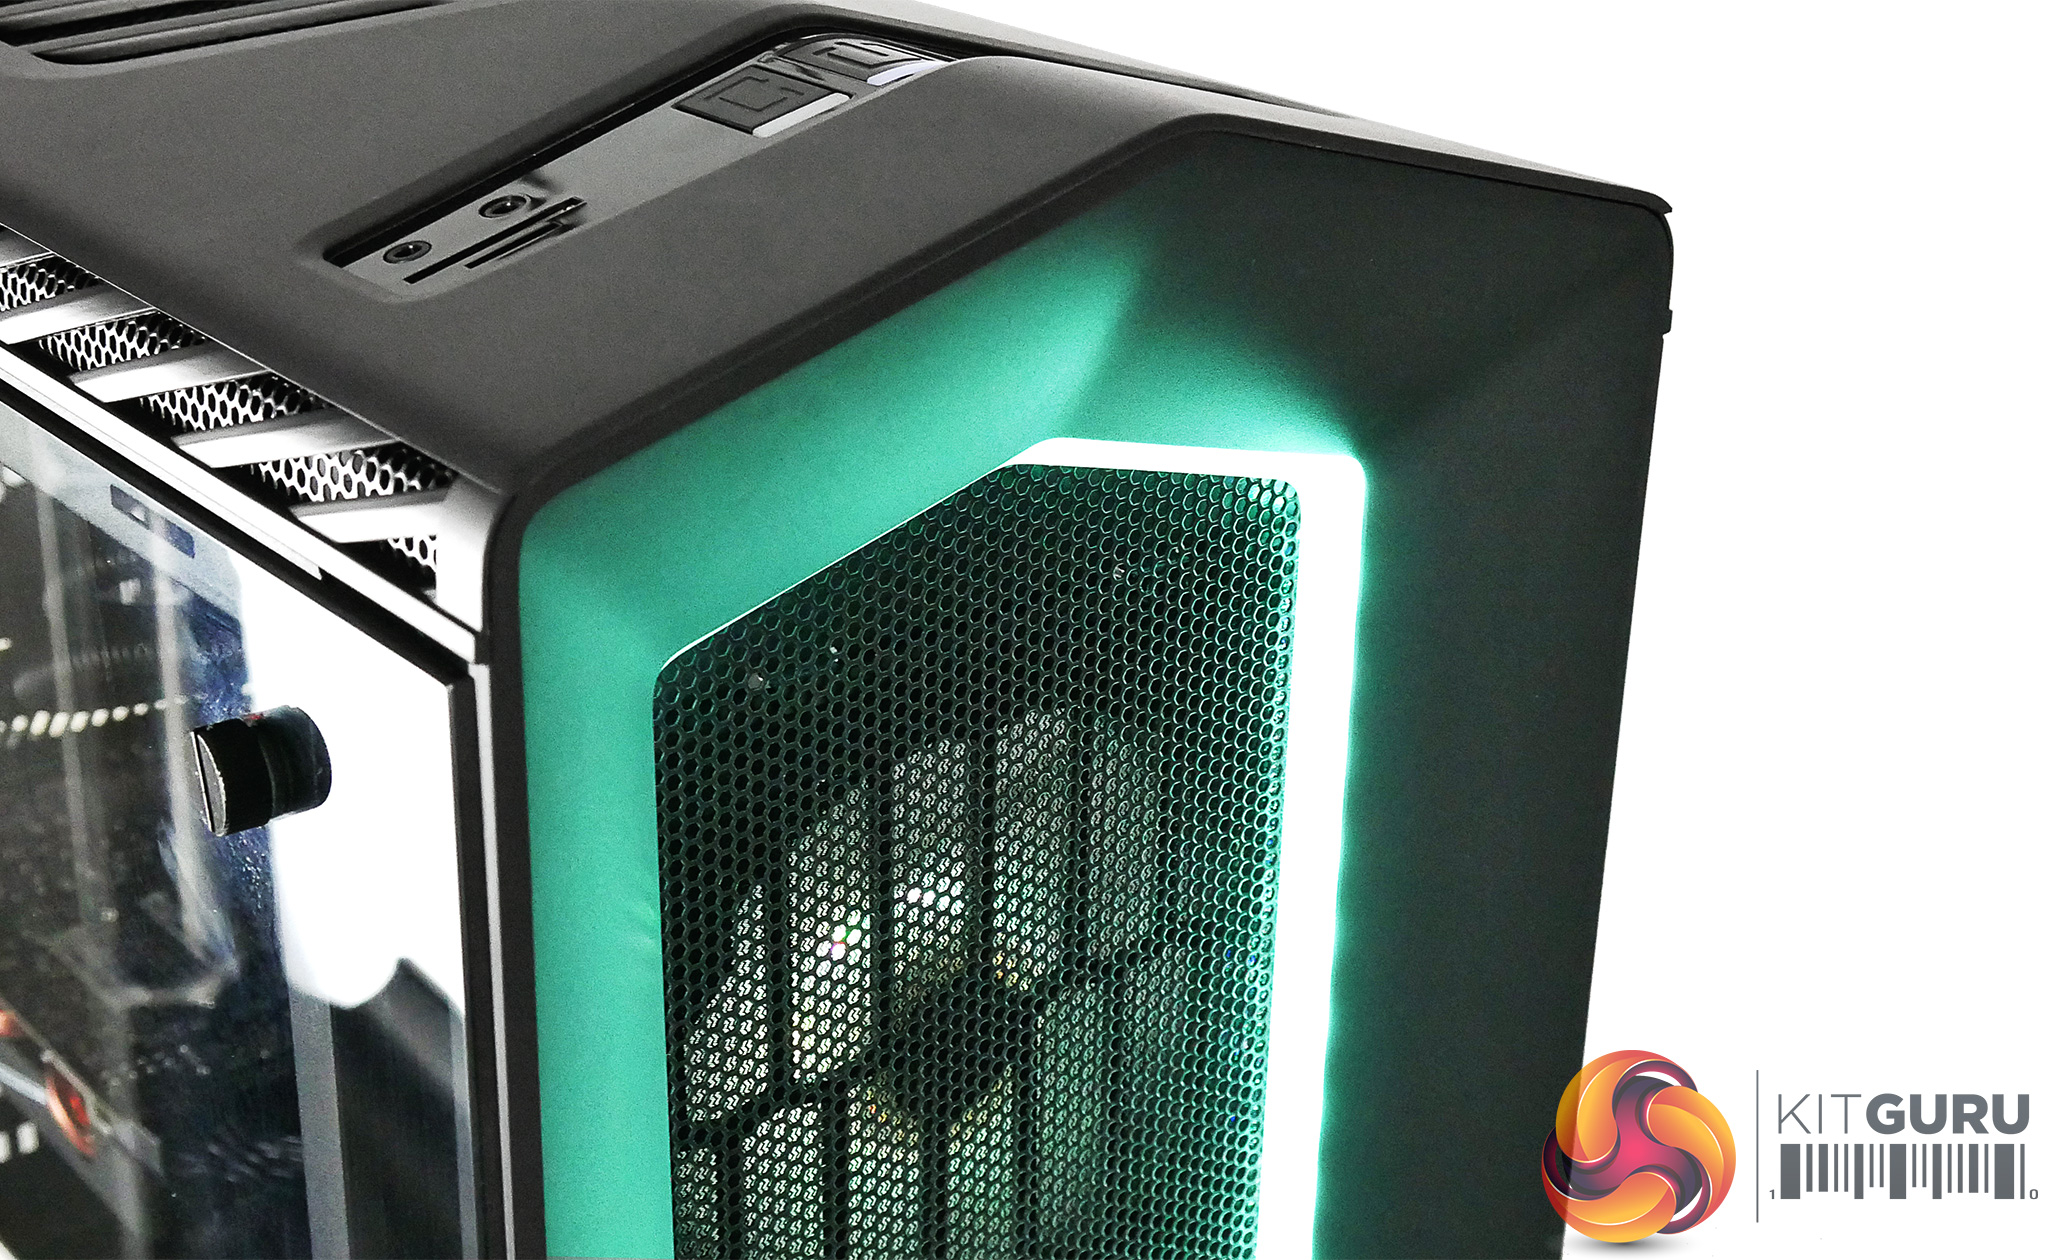
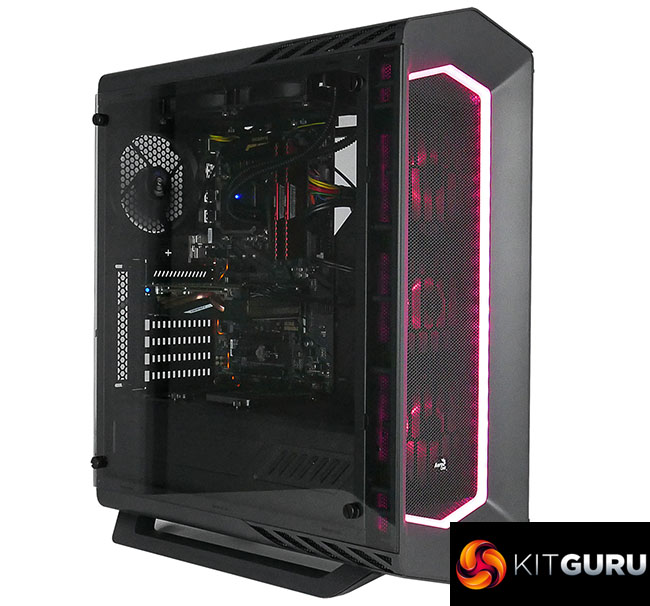
The looks haven't changed that much since we looked at the standard P7 C1, it still has a very aggressive ‘gaming oriented' design with futuristic details and a hexagonal shape. The front panel has a metal mesh which allows you to see the three included fans as well as producing a lot of airflow.
Around this you also have an integrated led strip which frames the fans quite nicely. You would find it hard to spot a difference between this and the original.
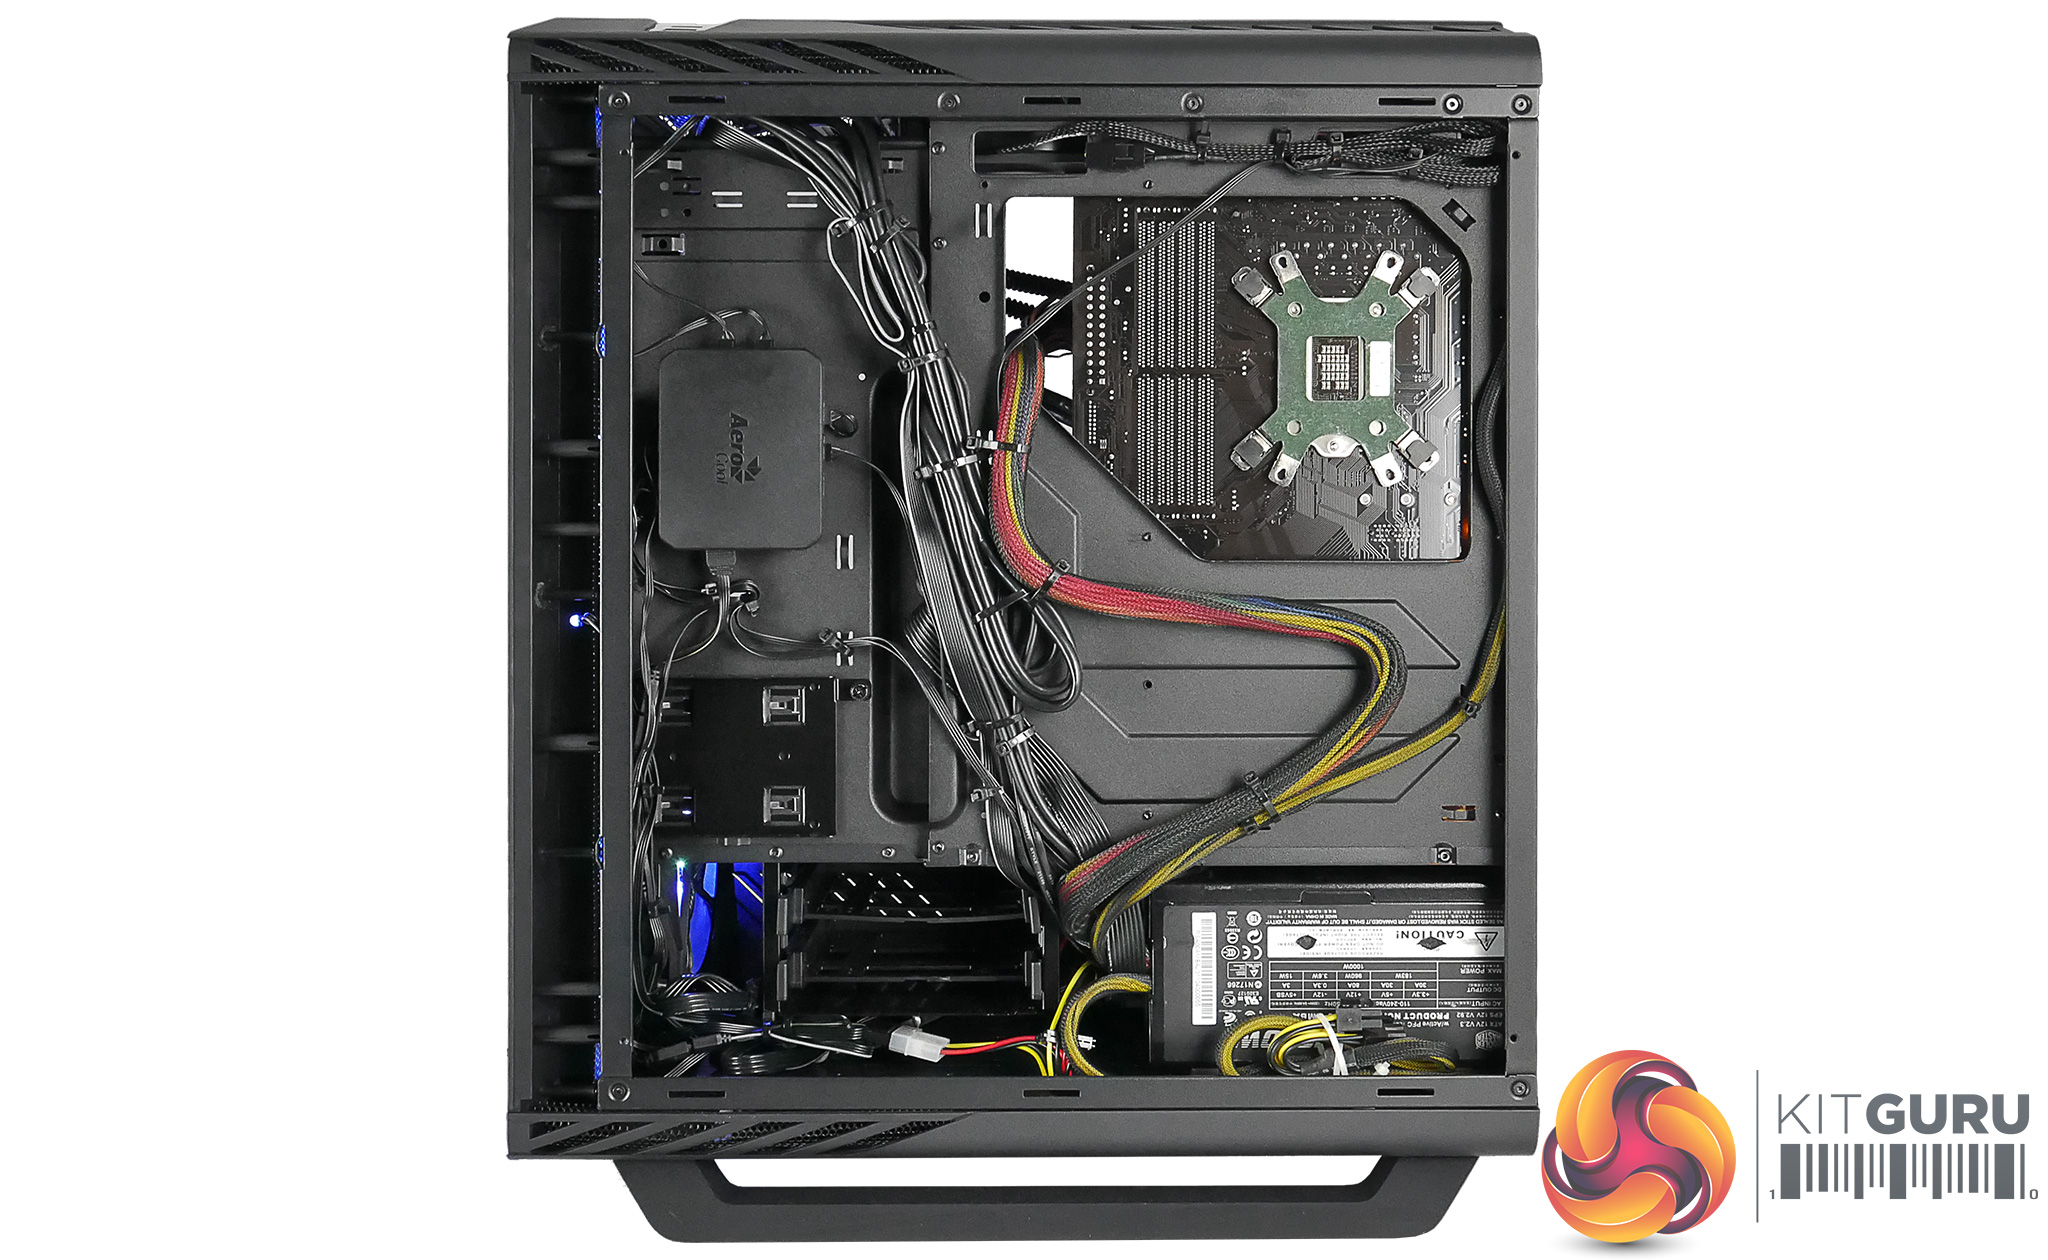
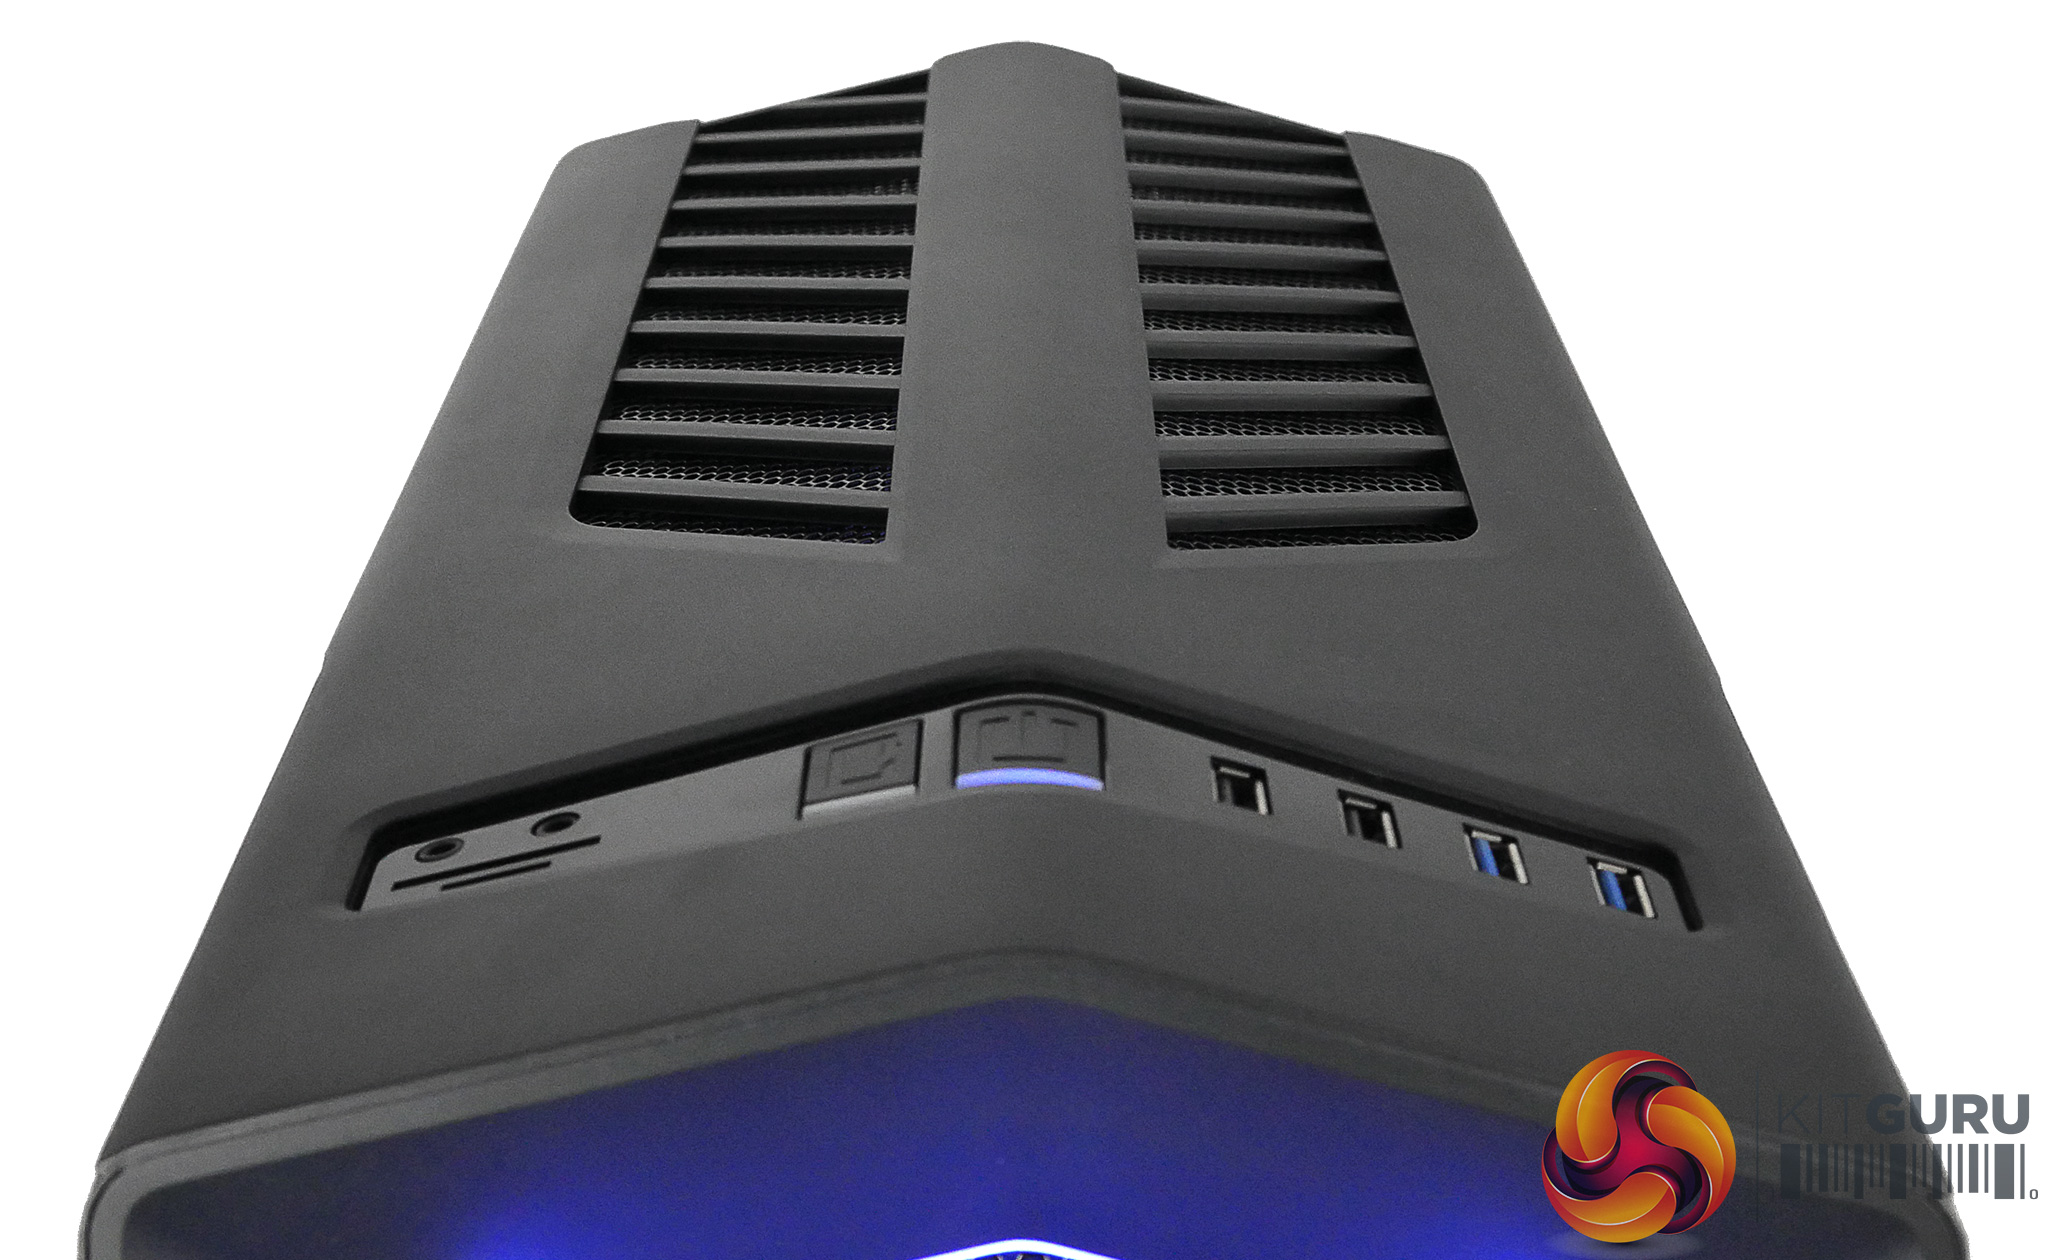
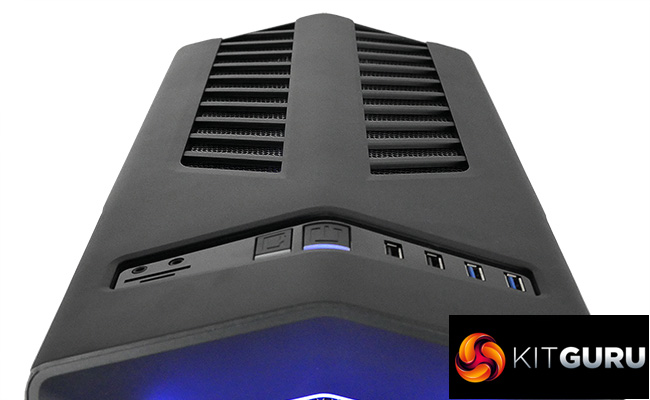
The top panel has front connections which has a wide assortment such as USB ports, power and reset switches and a memory card reader, which I was surprised to see. Keen observers will note there is a button ‘missing' from here that was used to switch between colours in the original P7 – I will explain why it is missing a little later.
The remainder of the top panel has plenty of ventilation which seems to be the theme of this case, there is a included dust filter for the front panel, but to access it you have to remove both side panels to get the proper leverage to pull front panel off.
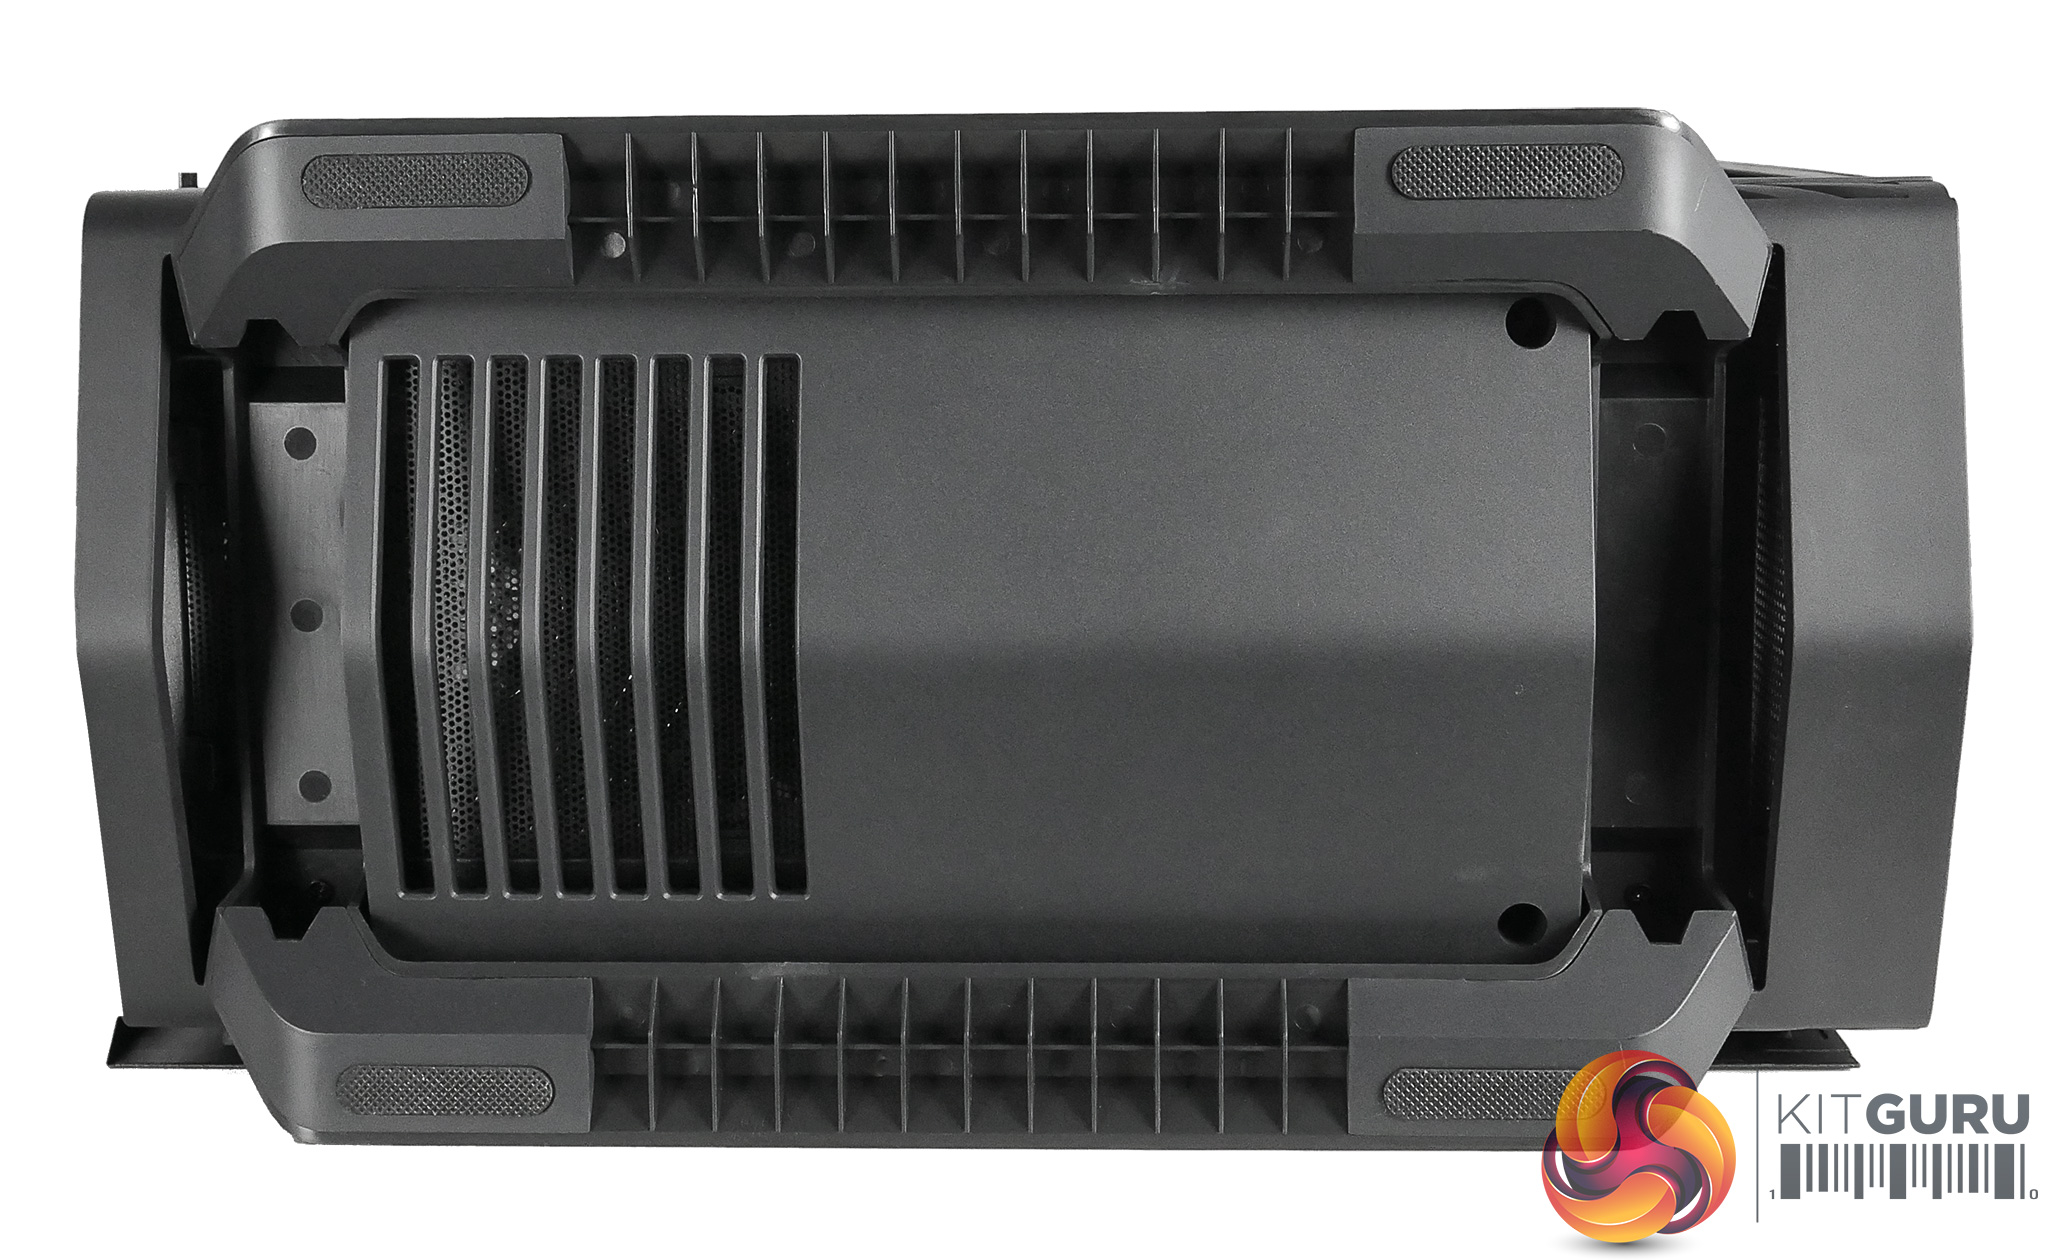
If we move to the bottom of the case we find air vents for the power supply with a removable dust filter. Getting to this dust filter is a chore more so than the front filter – you must first remove the front panel , then unscrew the feet and the bottom panel only then will it slide off giving you access to the dust filter.
This dust filter is lower quality than the front dust filter and I wish they implemented a slide out version. The feet of the case are long and span along the bottom of the case and overhang from the bottom. It ruins the concept of a ‘slimmer design' as you can’t exactly put it right against the wall and makes the overall foot print of the case bigger.
Additionally, the feet flex too much and could have been made thicker for reinforcement. Unfortunately, this build quality issue follows the rest of the case as the front and top panel are made out of thin plastic and overall the case feels a bit flimsier than it should be.
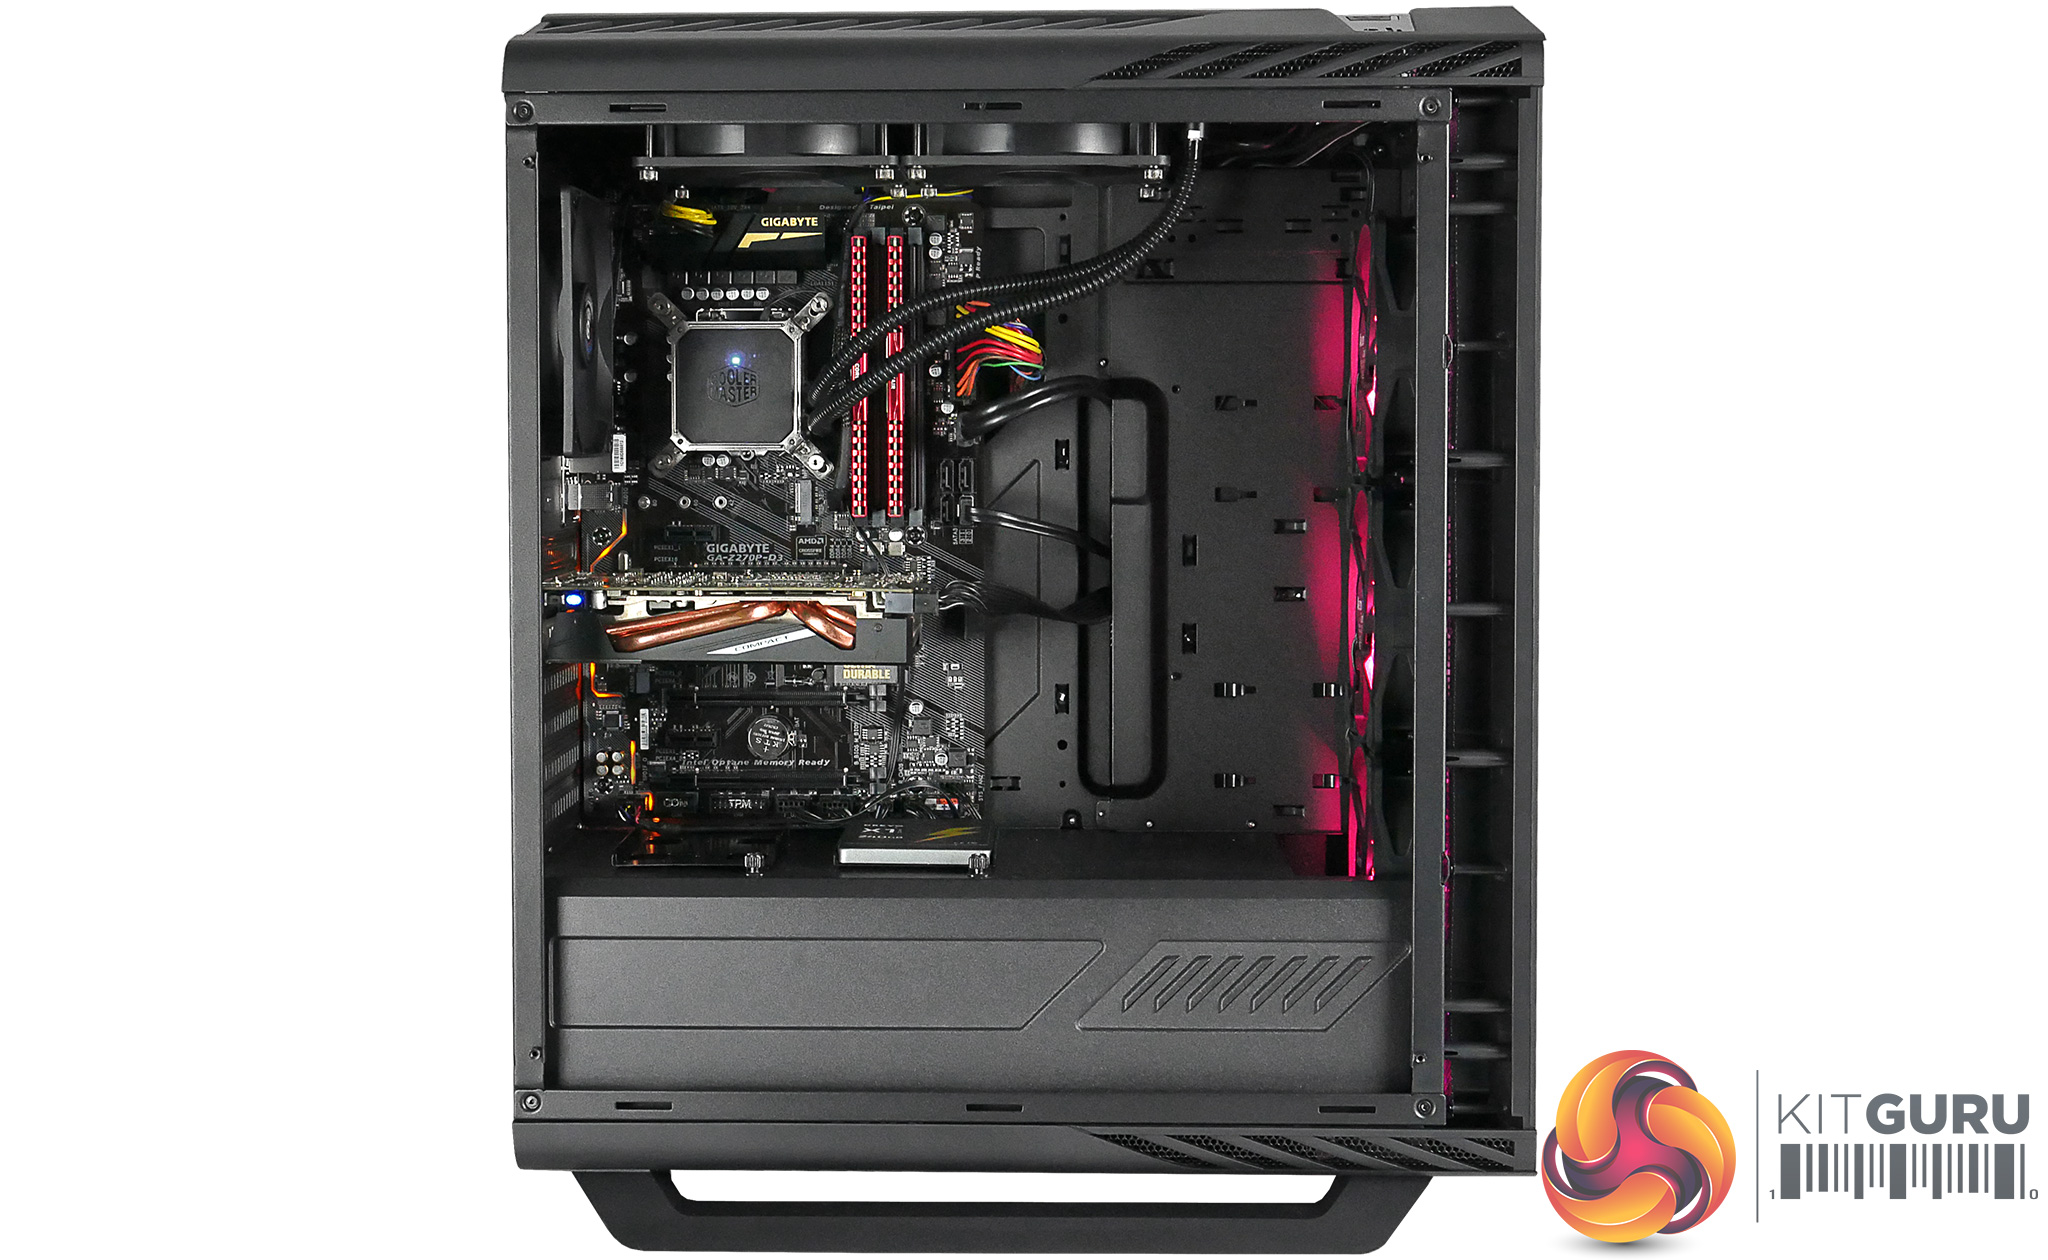
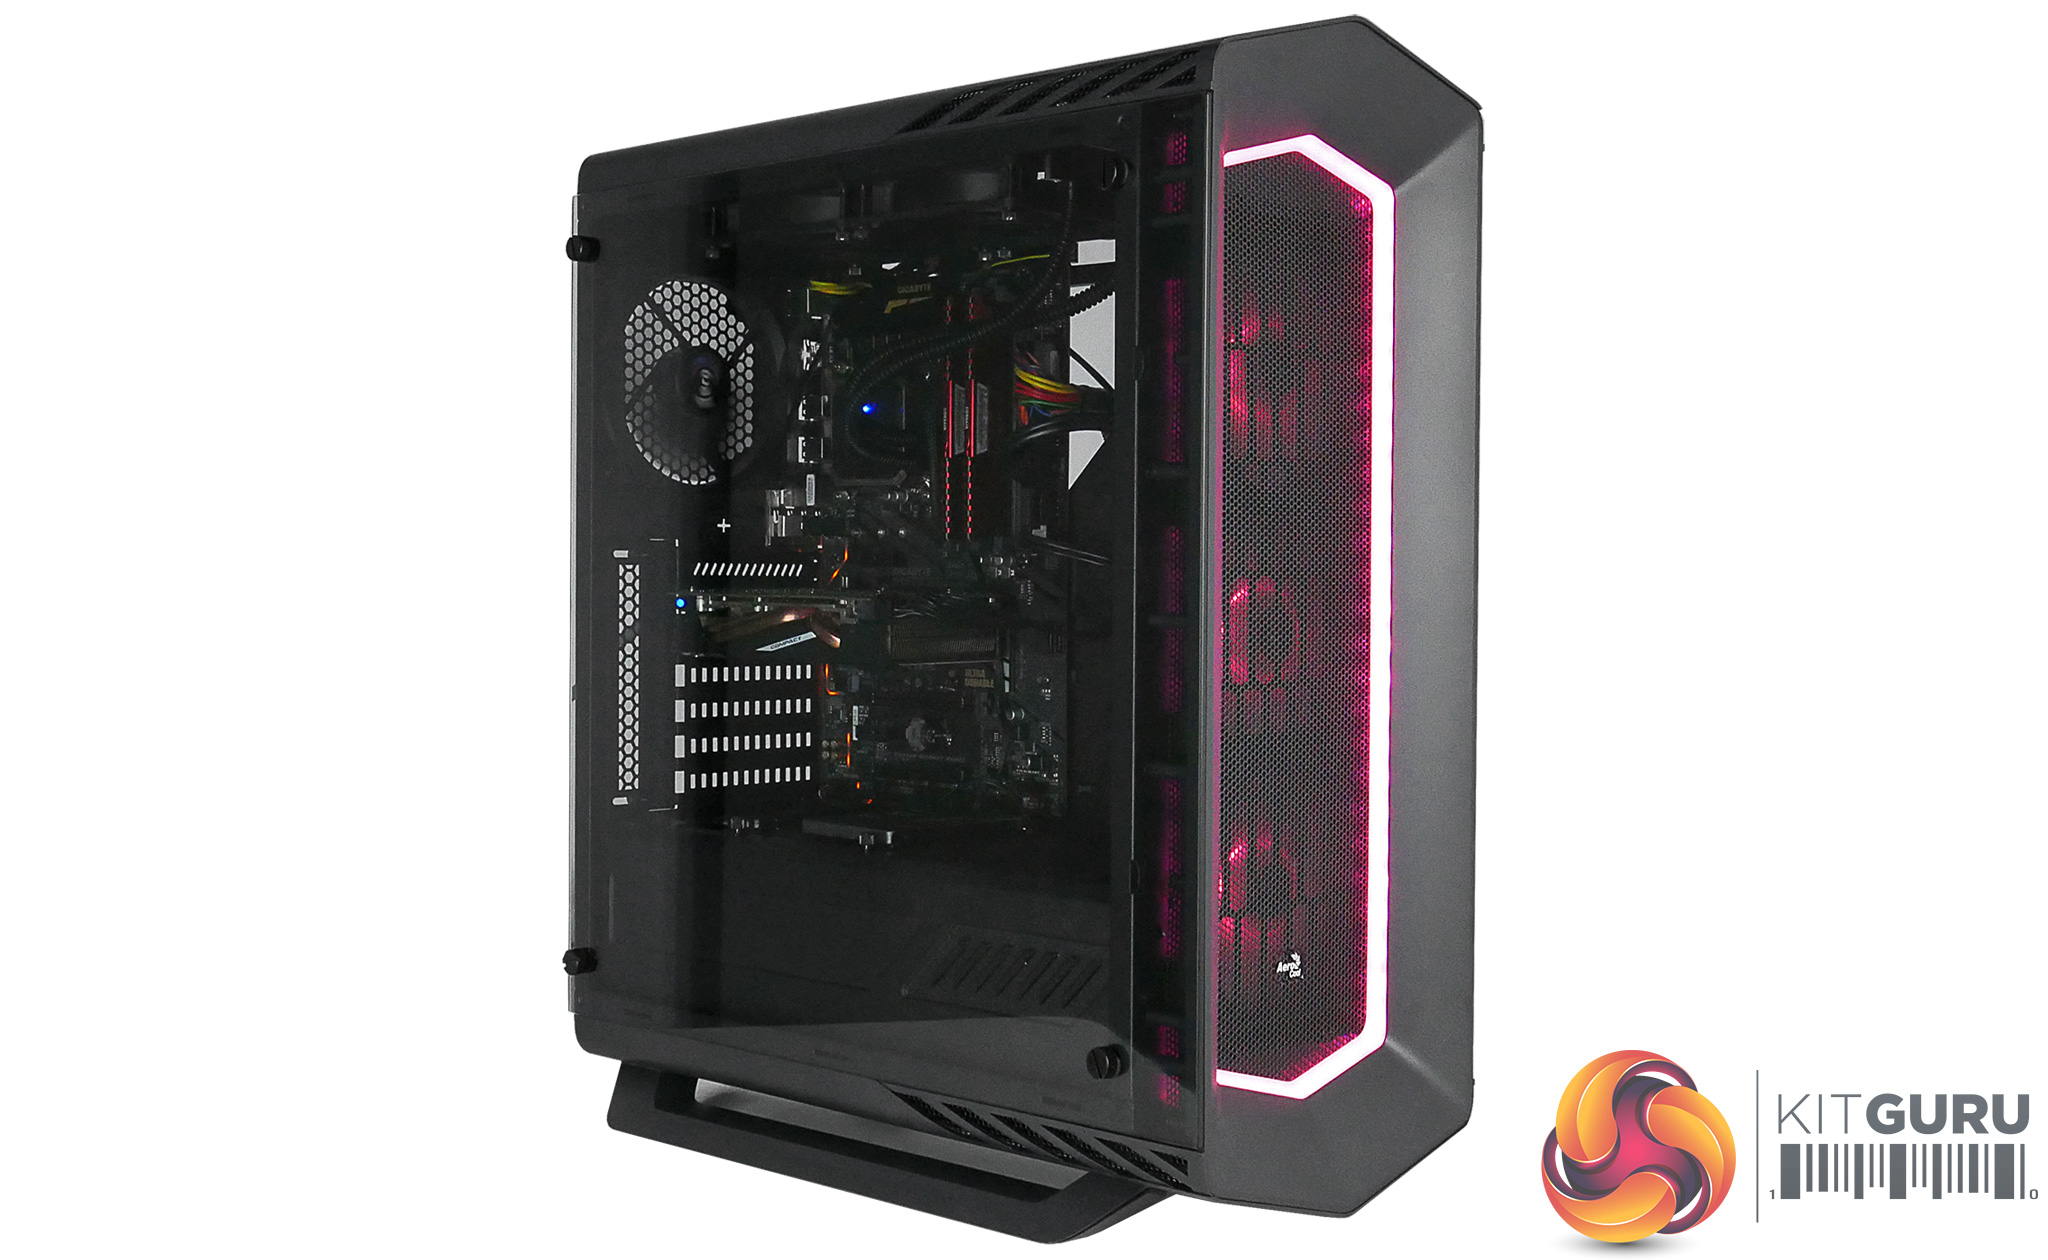
This was a problem with last year’s design; I thought they would have enhanced the PRO version- but least the inner frame is crafted from heavy duty steel. With the standard P7 C1 Aerocool offered a tempered glass windowed version of this case as well as an acrylic version, but for the PRO they have forgone the latter and just offer tempered glass. That makes sense to me – no one really likes acrylic anyway. It’s nicely tinted and allows us to see all the components inside. Just watch those finger prints!
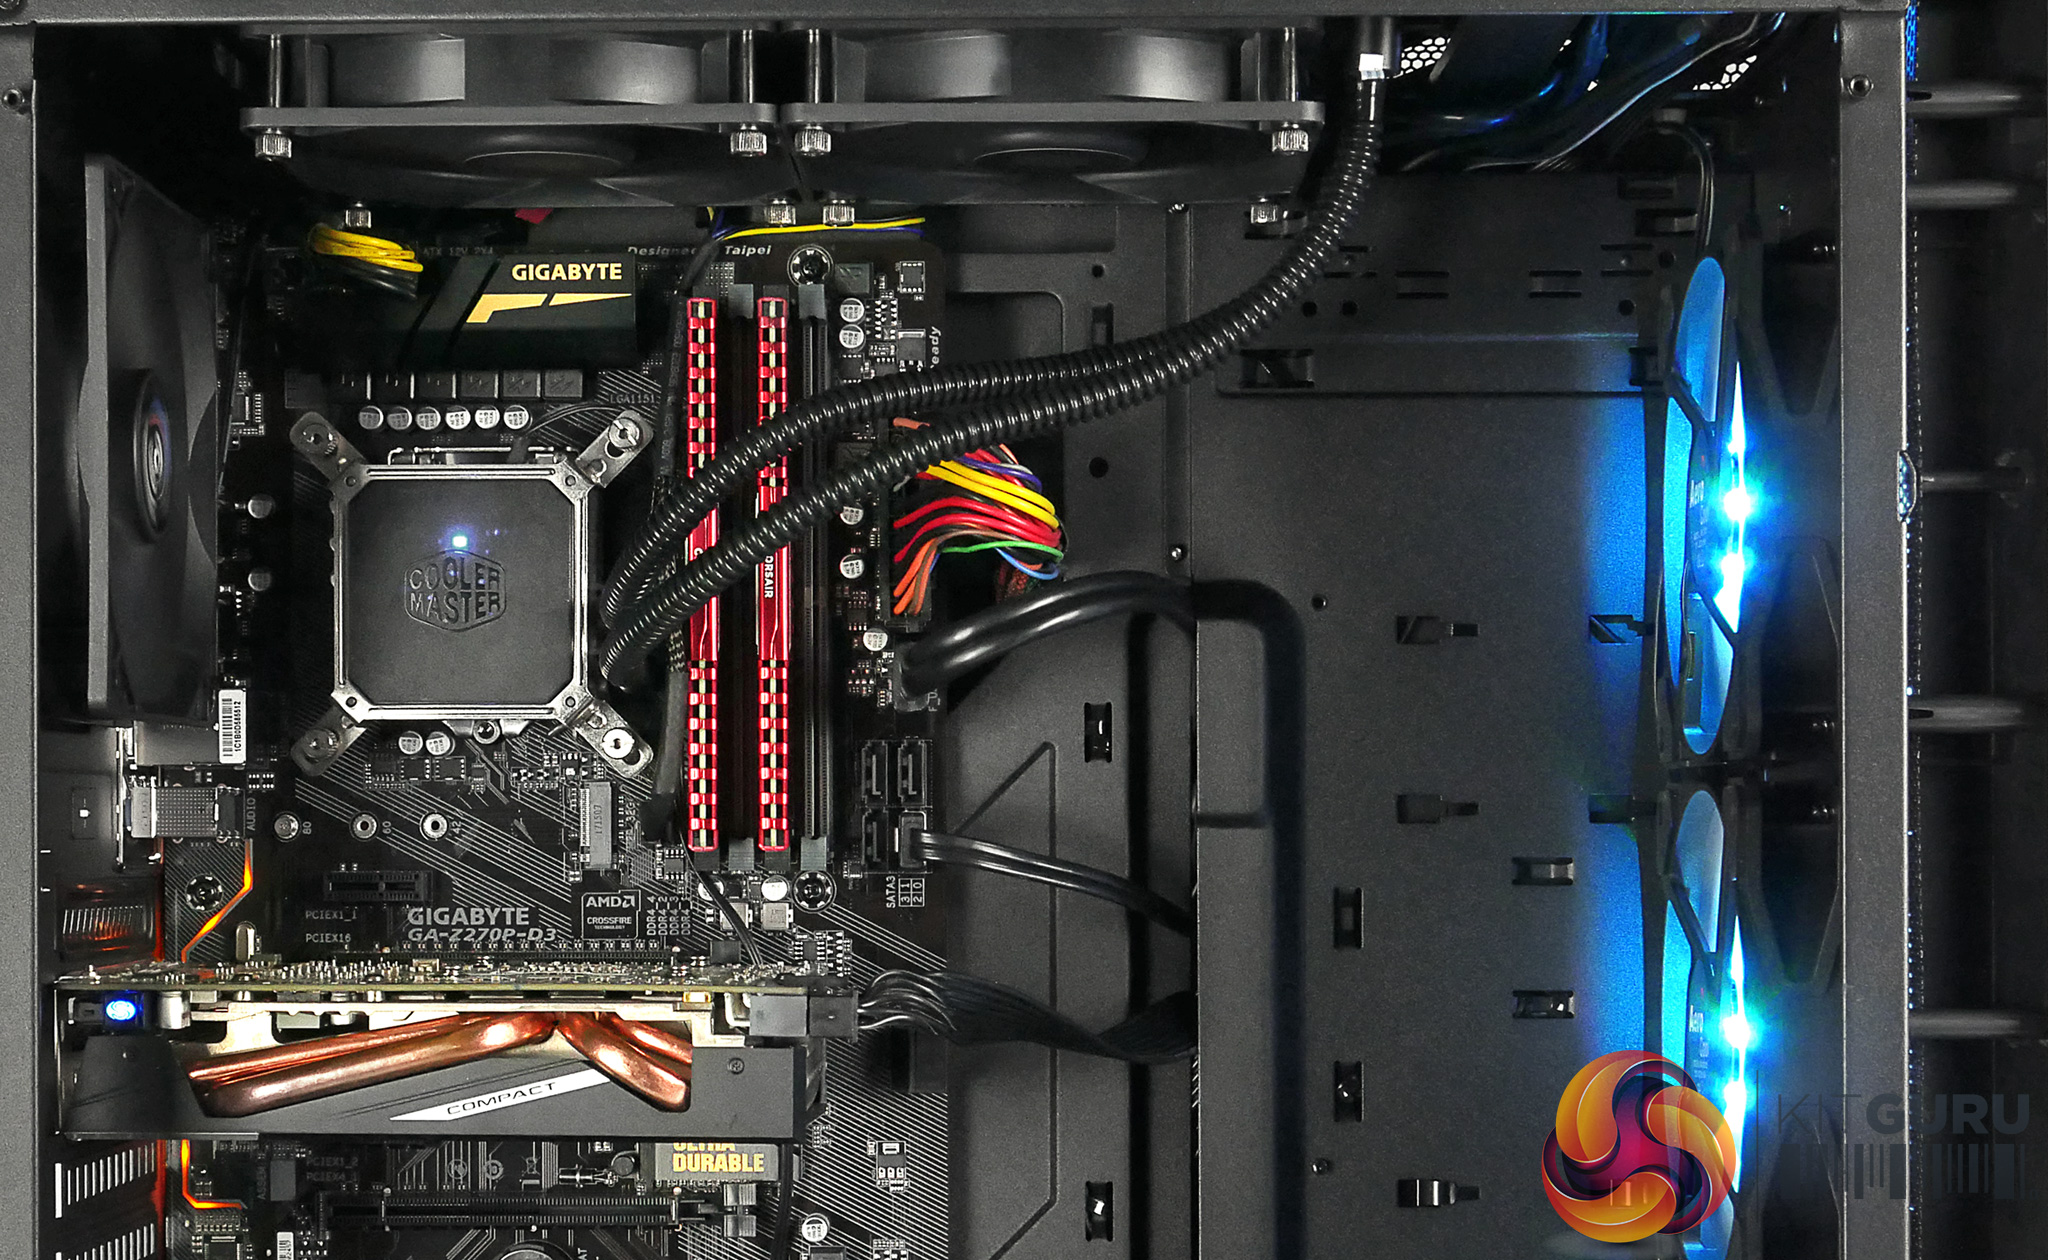
As for hardware compatibility this case is quite large so component compatibility is wide. It supports graphics cards up to 375mm long or even one 400mm long with one the fans removed! You also have space for a 165mm high CPU cooler, I would have liked to see larger cooler compatibility for this to be honest but I guess they want to keep the relatively narrow design of the chassis.
As for additional cooling options you have space for up to a 360mm radiator at the front where the three included fans are. One 120mm radiator at the rear and a 240mm at the top. A 280mm option at the top would have been welcomed. On a more positive note however this case has space for custom water cooling like the standard P7 C1 did before.
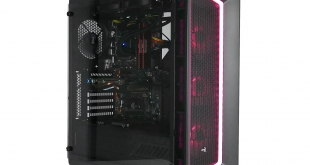
Hard drive support is decent – there are 2 x 2.5 slide on mounting brackets on top of the power supply shroud as well as another two of these brackets behind the motherboard tray.
There is also a 3.5 inch hard drive cage behind the shroud which can support 2 x 3.5 or 2.5 inch drives depending on your preference – this cage can be removed if you require more additional power supply space or more cable management options.
Cable management is at best, average for this sector. There are plenty of cable tie loops and a reasonable amount of routing holes for passing the cables through. Although like the Standard P7 C1 there is only one cut out for the 2.5 drives on the power supply shroud. I don’t understand why they did not add another, because if you want to have another 2 drives here you going to have to run the cable along the shroud which is less than ideal.
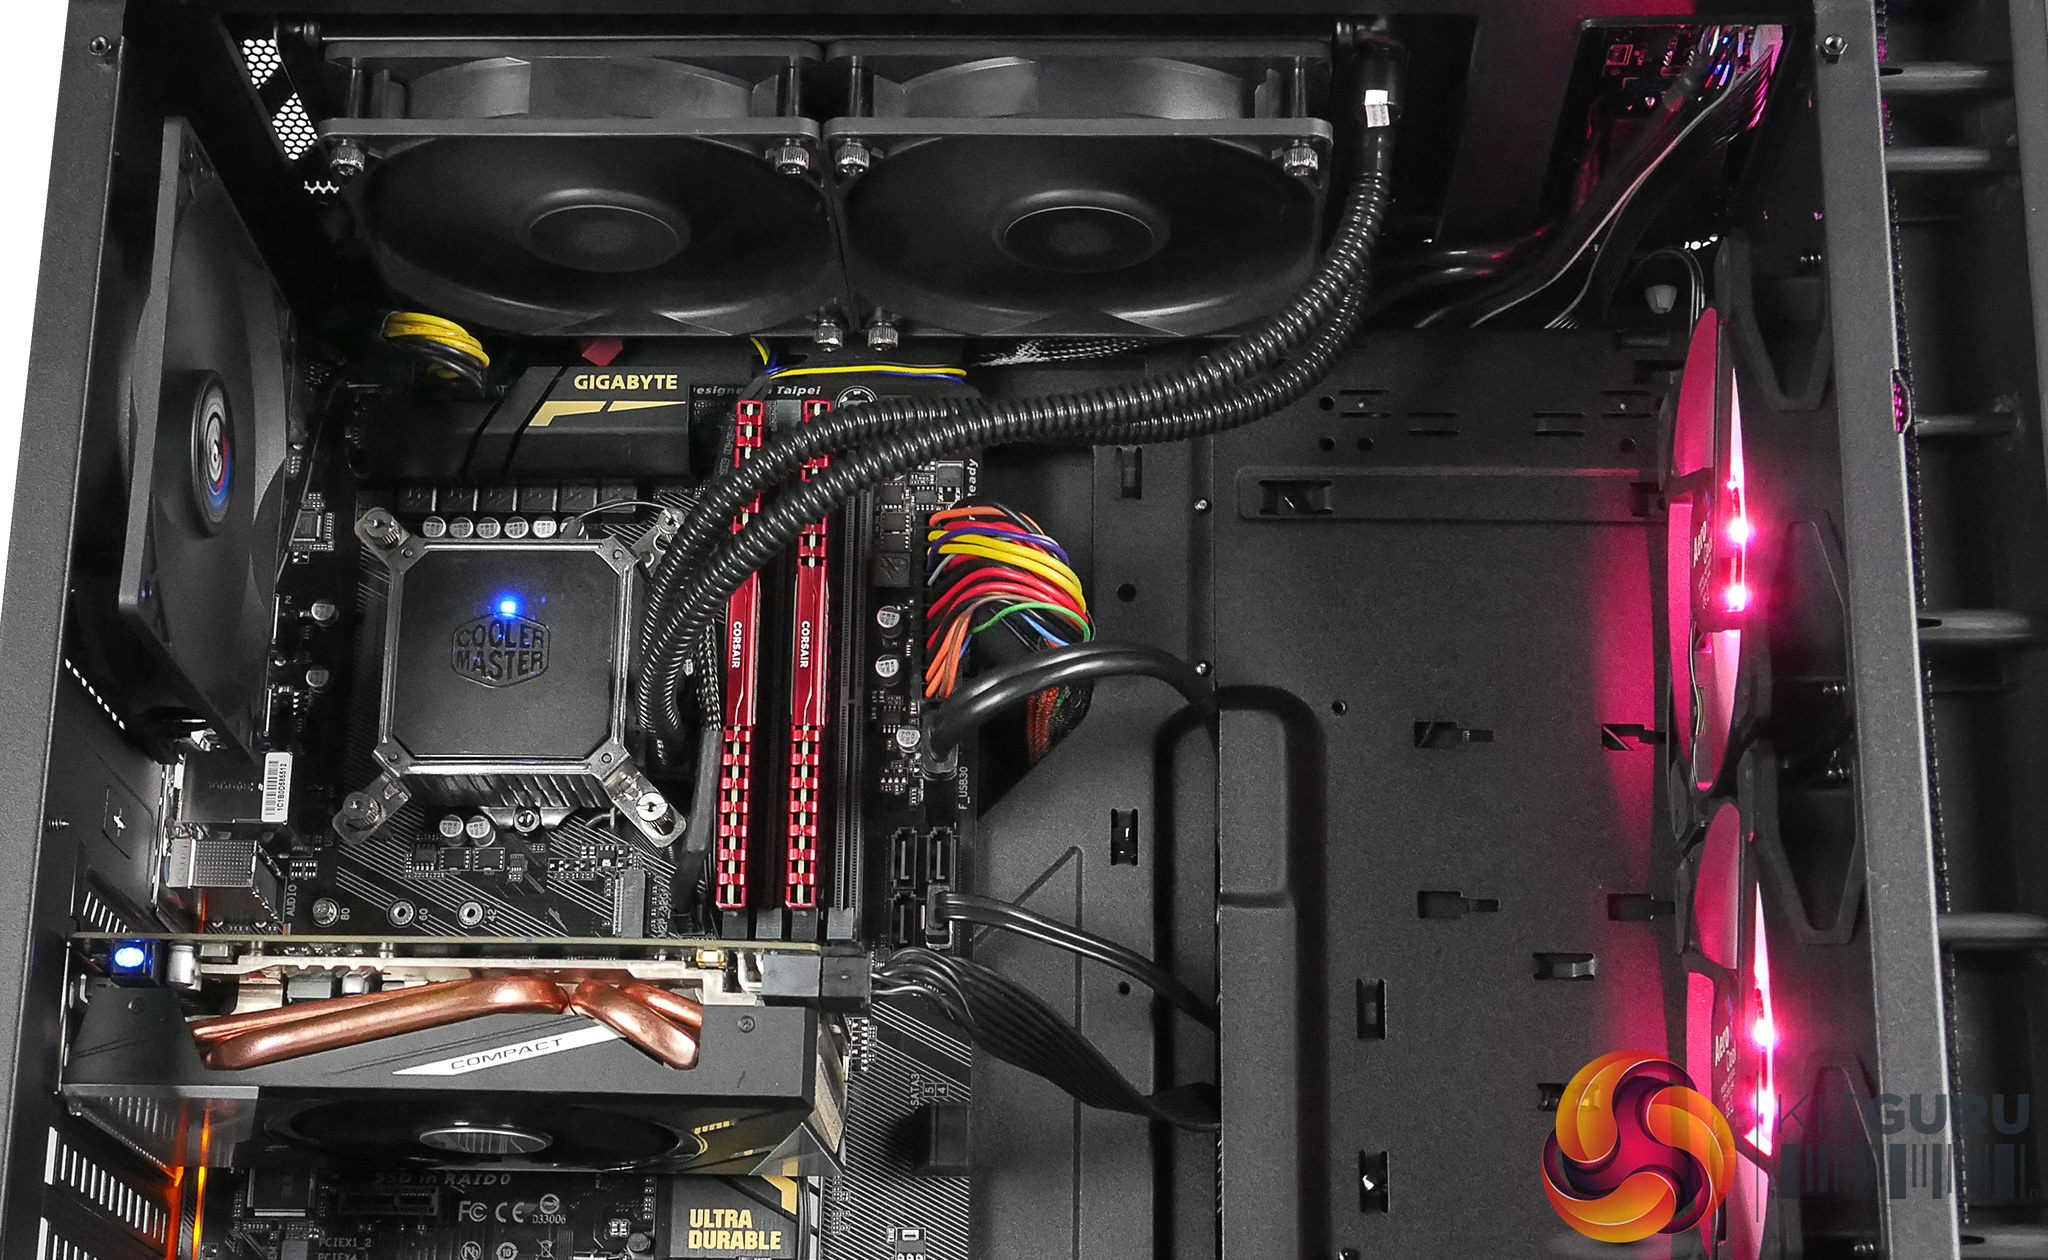
The build phase was quite simple as there is a lot of physical space to take advantage of. My biggest annoyance is the top panel as the IO is built into it rather than the frame of the case which means that taking it off is an absolute nightmare. You have to slowly feed the cables through to avoid damaging them. This makes mounting a radiator or fans very aggravating. Especially if you want to mount something after you have already tied down the front IO cables. They do really need to fix this for the next chassis.
It's RGB Time
One of the main distinguishing features over the standard Aerocool P7 C1 is the inclusion of full RGB. Yes, everyone seems to demand RGB support in 2017 and Aerocool have been listening.
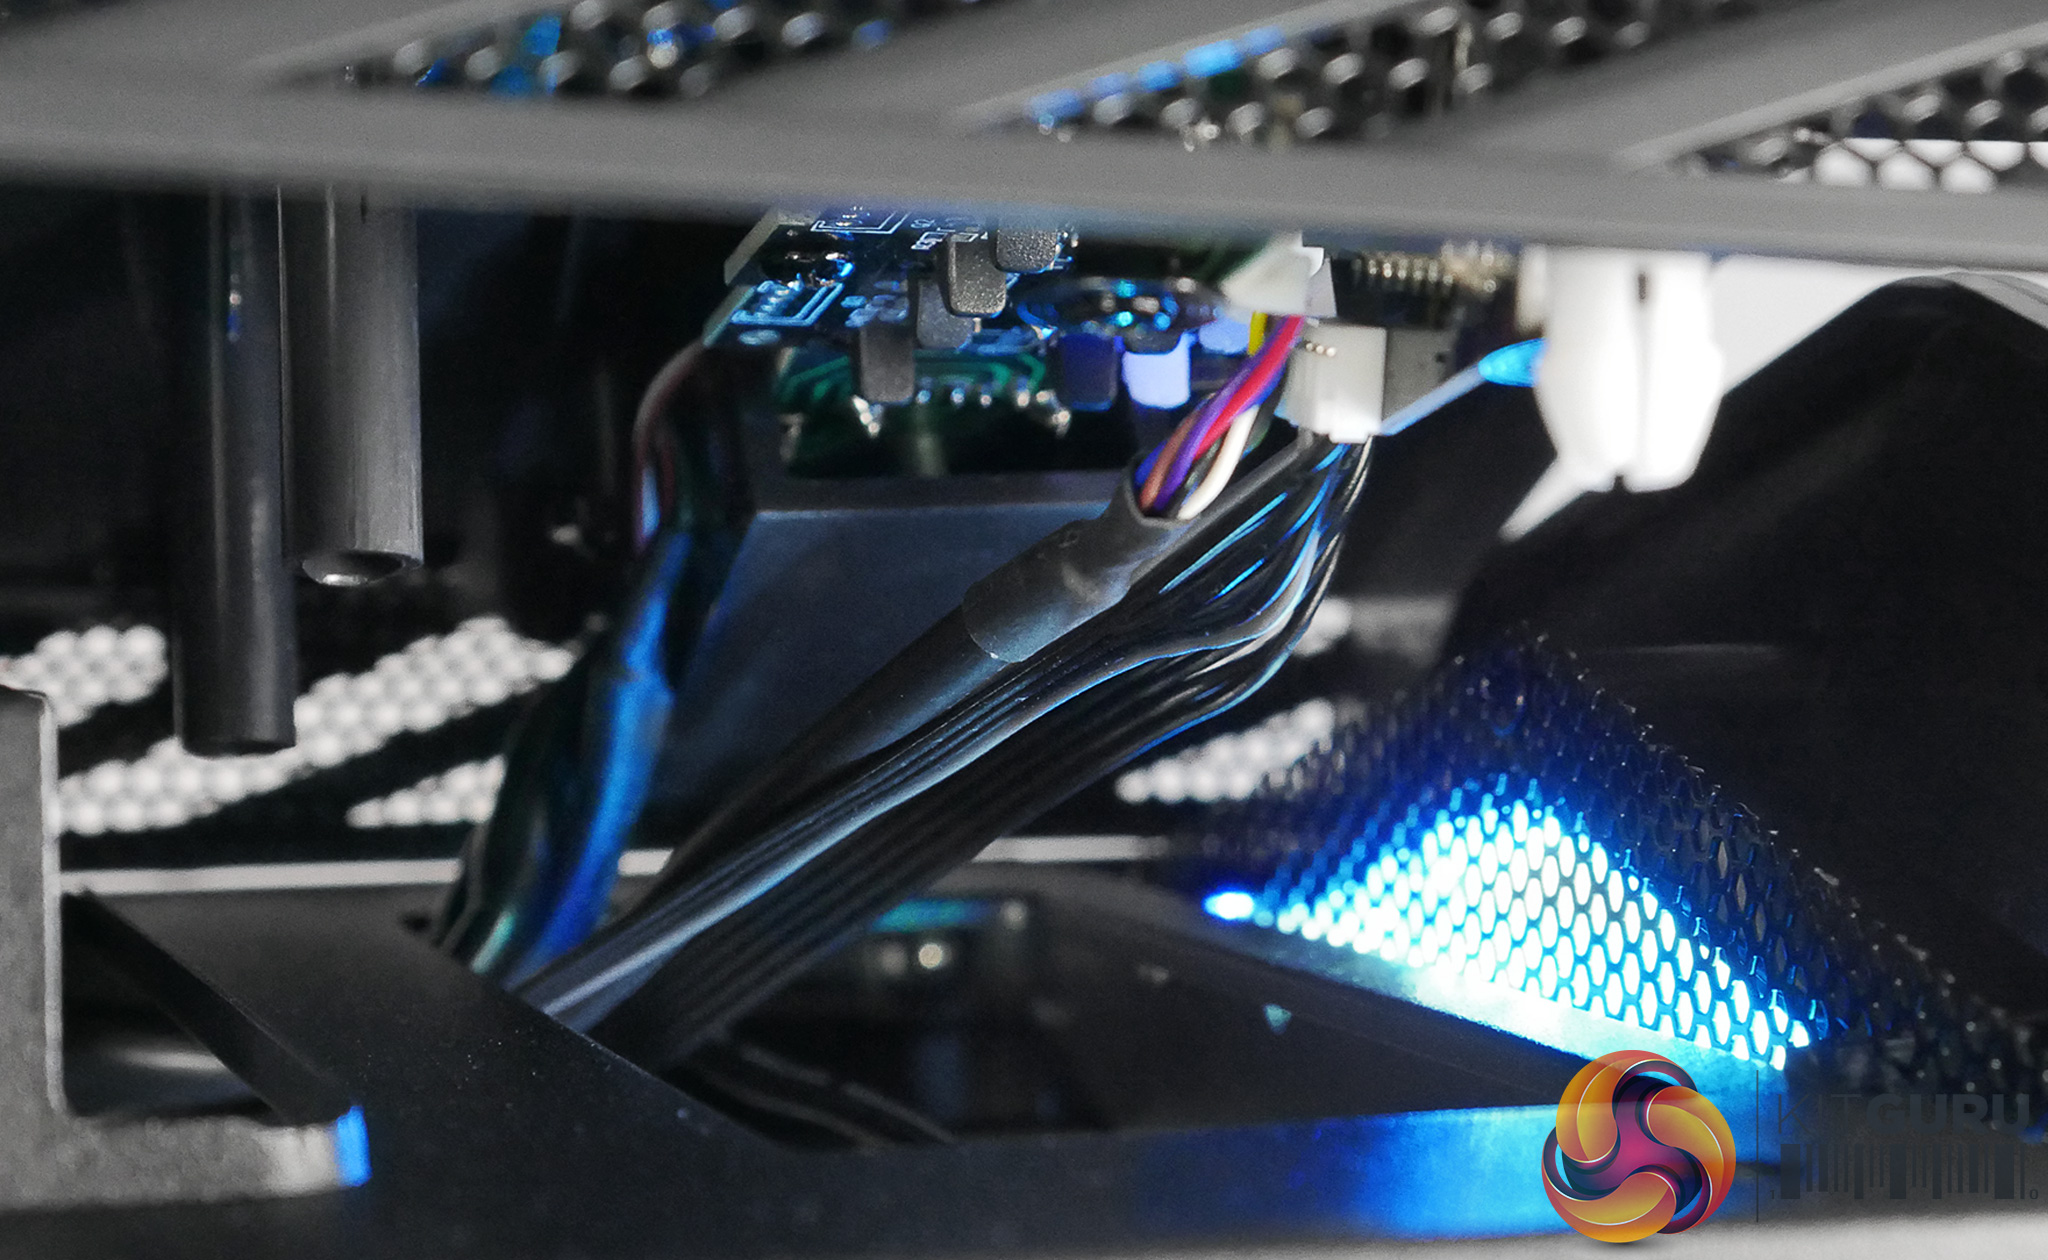
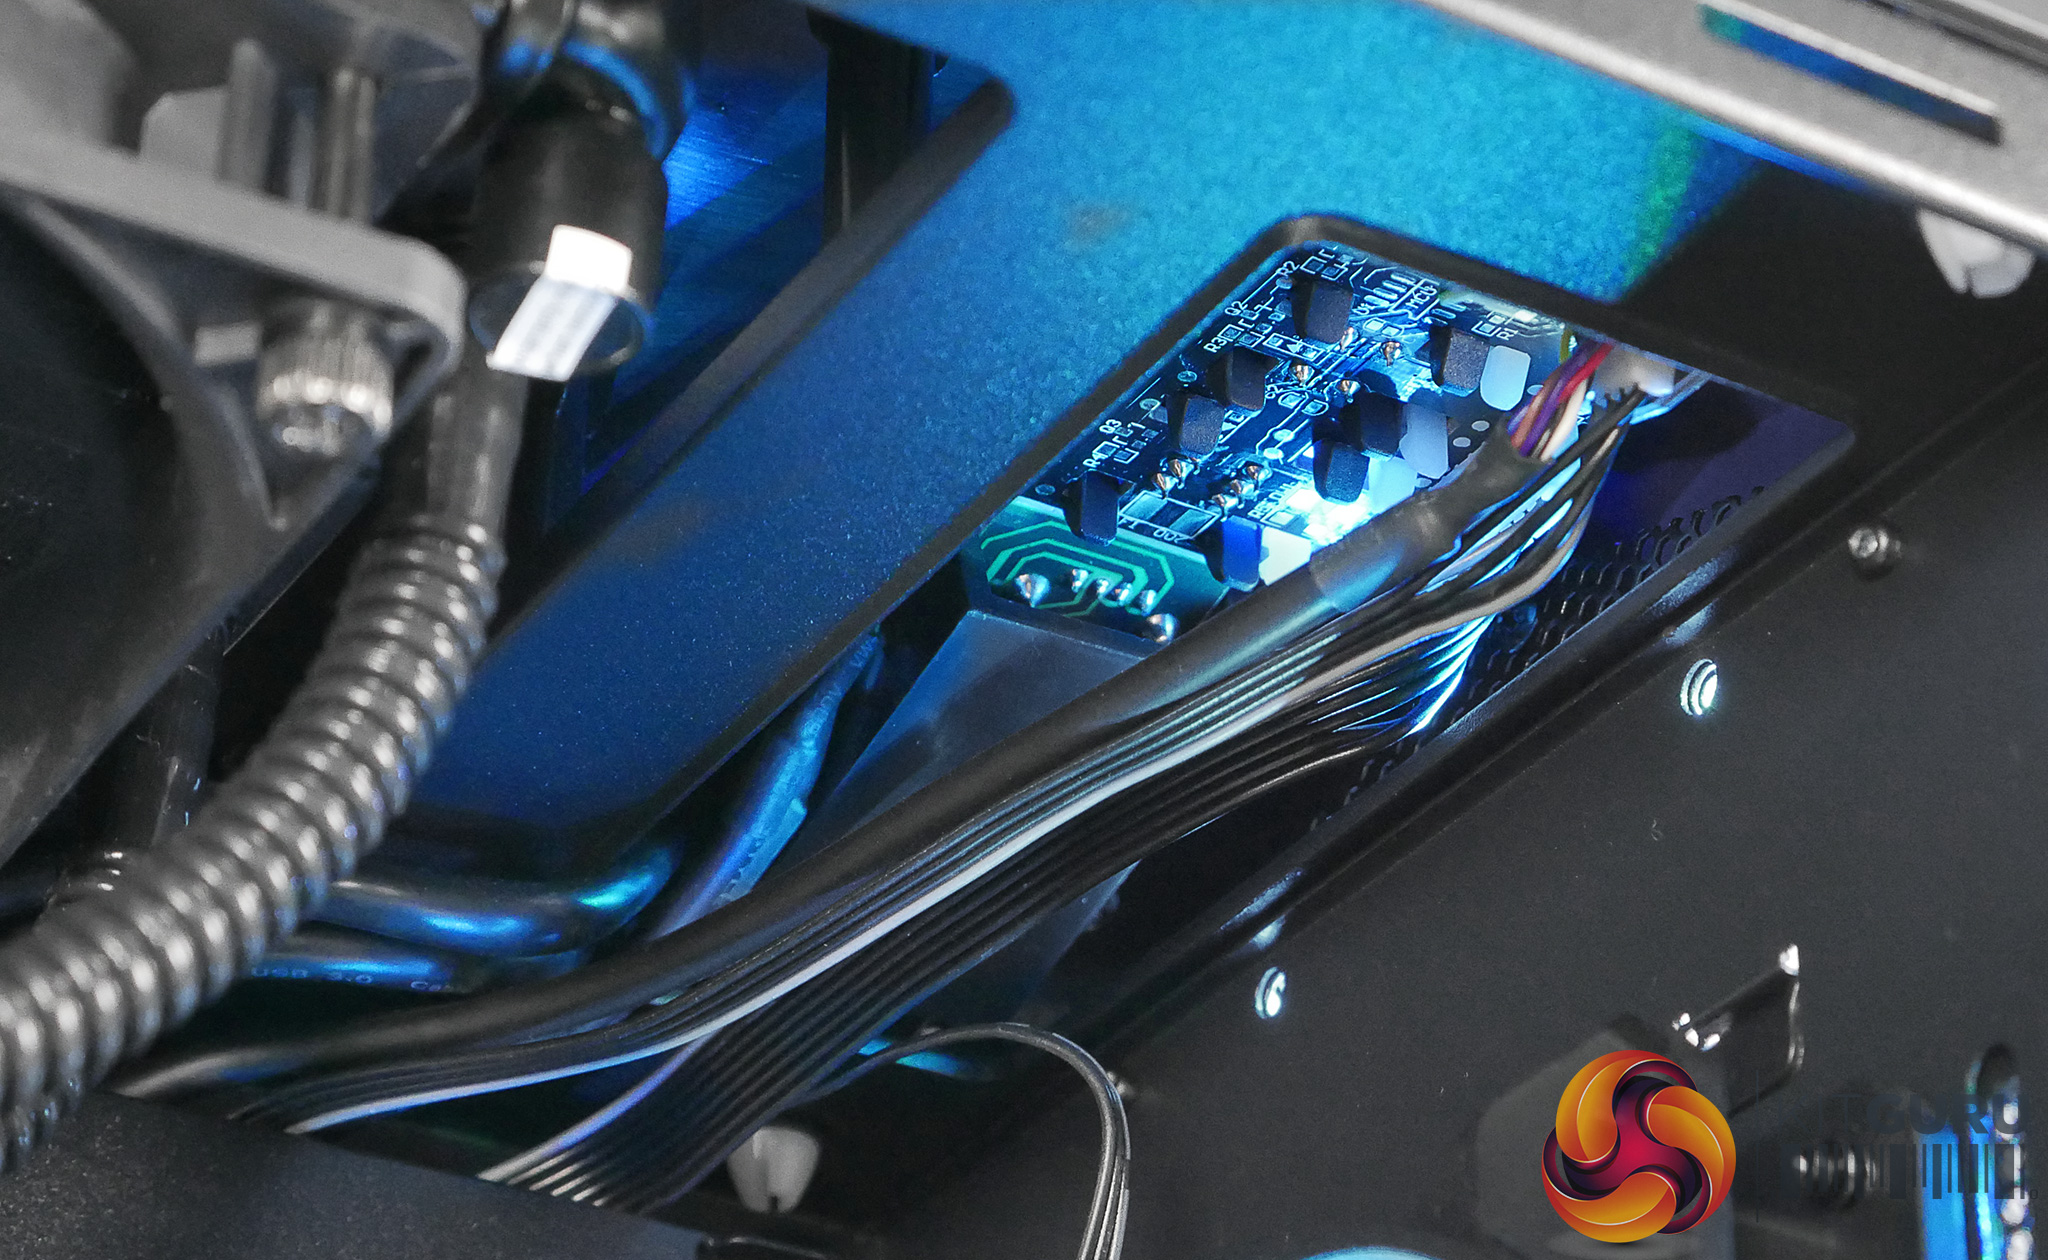
The three included fans at the front and the LED strip are now full RGB so instead of having a button on the case I/O that cycles through 8 different colours you now have total control over the lighting. This is handled through Aerocool's software which is designed to work with the included RGB hub. This hub can control two channels of RGB lights up to 24 watts in total and it also acts as a hub to connect up to five PWM fans up to 18 watts total, if your motherboard has limited headers.
RGB functions can also be controlled through motherboards with a 4-pin RGB connector, using the software supplied with the motherboard.
Finding a place to install the hub can be difficult, I removed one of the rear 2.5 hard drive brackets and stuck the hub in that position using the included Velcro strips. I wish they would have made the hub integrated into the case to avoid the cluster of cables you need to connect to get this thing operational.
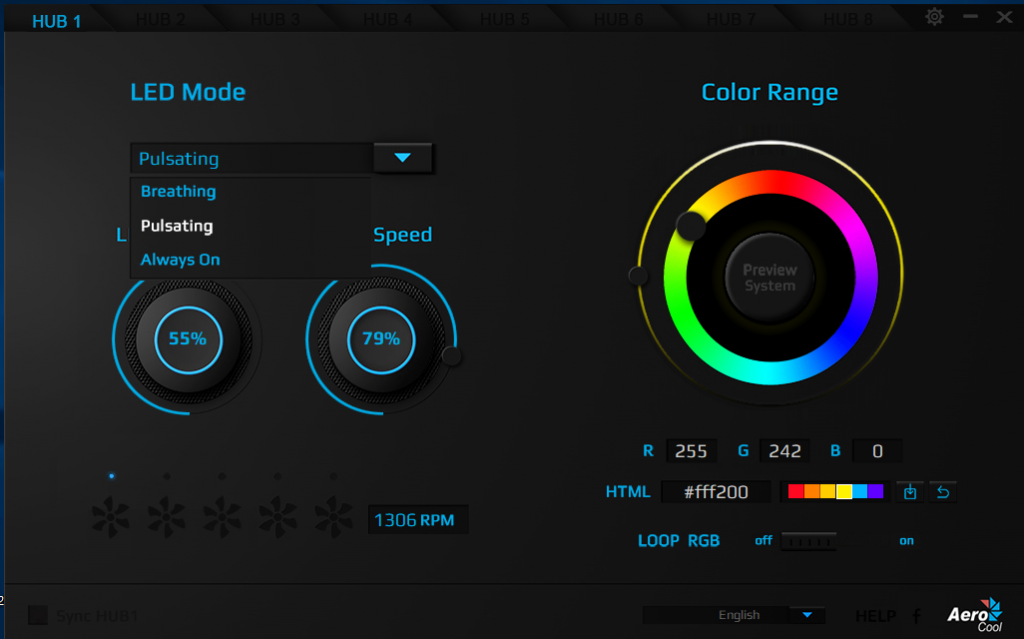
Luckily the software is quite simple to use, It allows you to pick all the colours from the RGB range and three different effects – such as breathing, pulsing or always on. You can also adjust LED brightness and LED speed. To apply the settings, you have to click on the preview button – weird that they wouldn’t add a separate apply button or just rename the preview button to apply. A minor point to make I know, but it can't help but make me feel its unfinished.
If you just change settings and exit- nothing happens. Also, another strange choice is that below the brightness controls you can see how many fans you have connected, and the related RPM.
Sadly you can’t actually control the fan speed directly from here but have to rely on the bios or another 3rd party program. Why Aerocool did not choose to just integrate a fan speed controller into the hub is beyond me seeing as the Standard P7 C1 shipped with a fan speed controller.
Temperature Testing
For temperature testing I used my standard test of Aida 64 and Unigine Heaven running for 10 minutes simultaneously. I performed two temperature checks. One with fans at low speed and another with a high speed setting as all the included fans are 3 pin.
I used the following system:
Test System:
Processor: Intel I5 7400 (stock speed)
Motherboard: Gygabyte GA-Z270P-D3
CPU cooler: Coolmaster Sedion 240V top mounted
Memory: Corsair Vengeance 16gb LPX 2666mhz
Graphics card: Sapphire r9 285 compact
Power supply: Coolmaster SIlent M pro 1000watt bronze
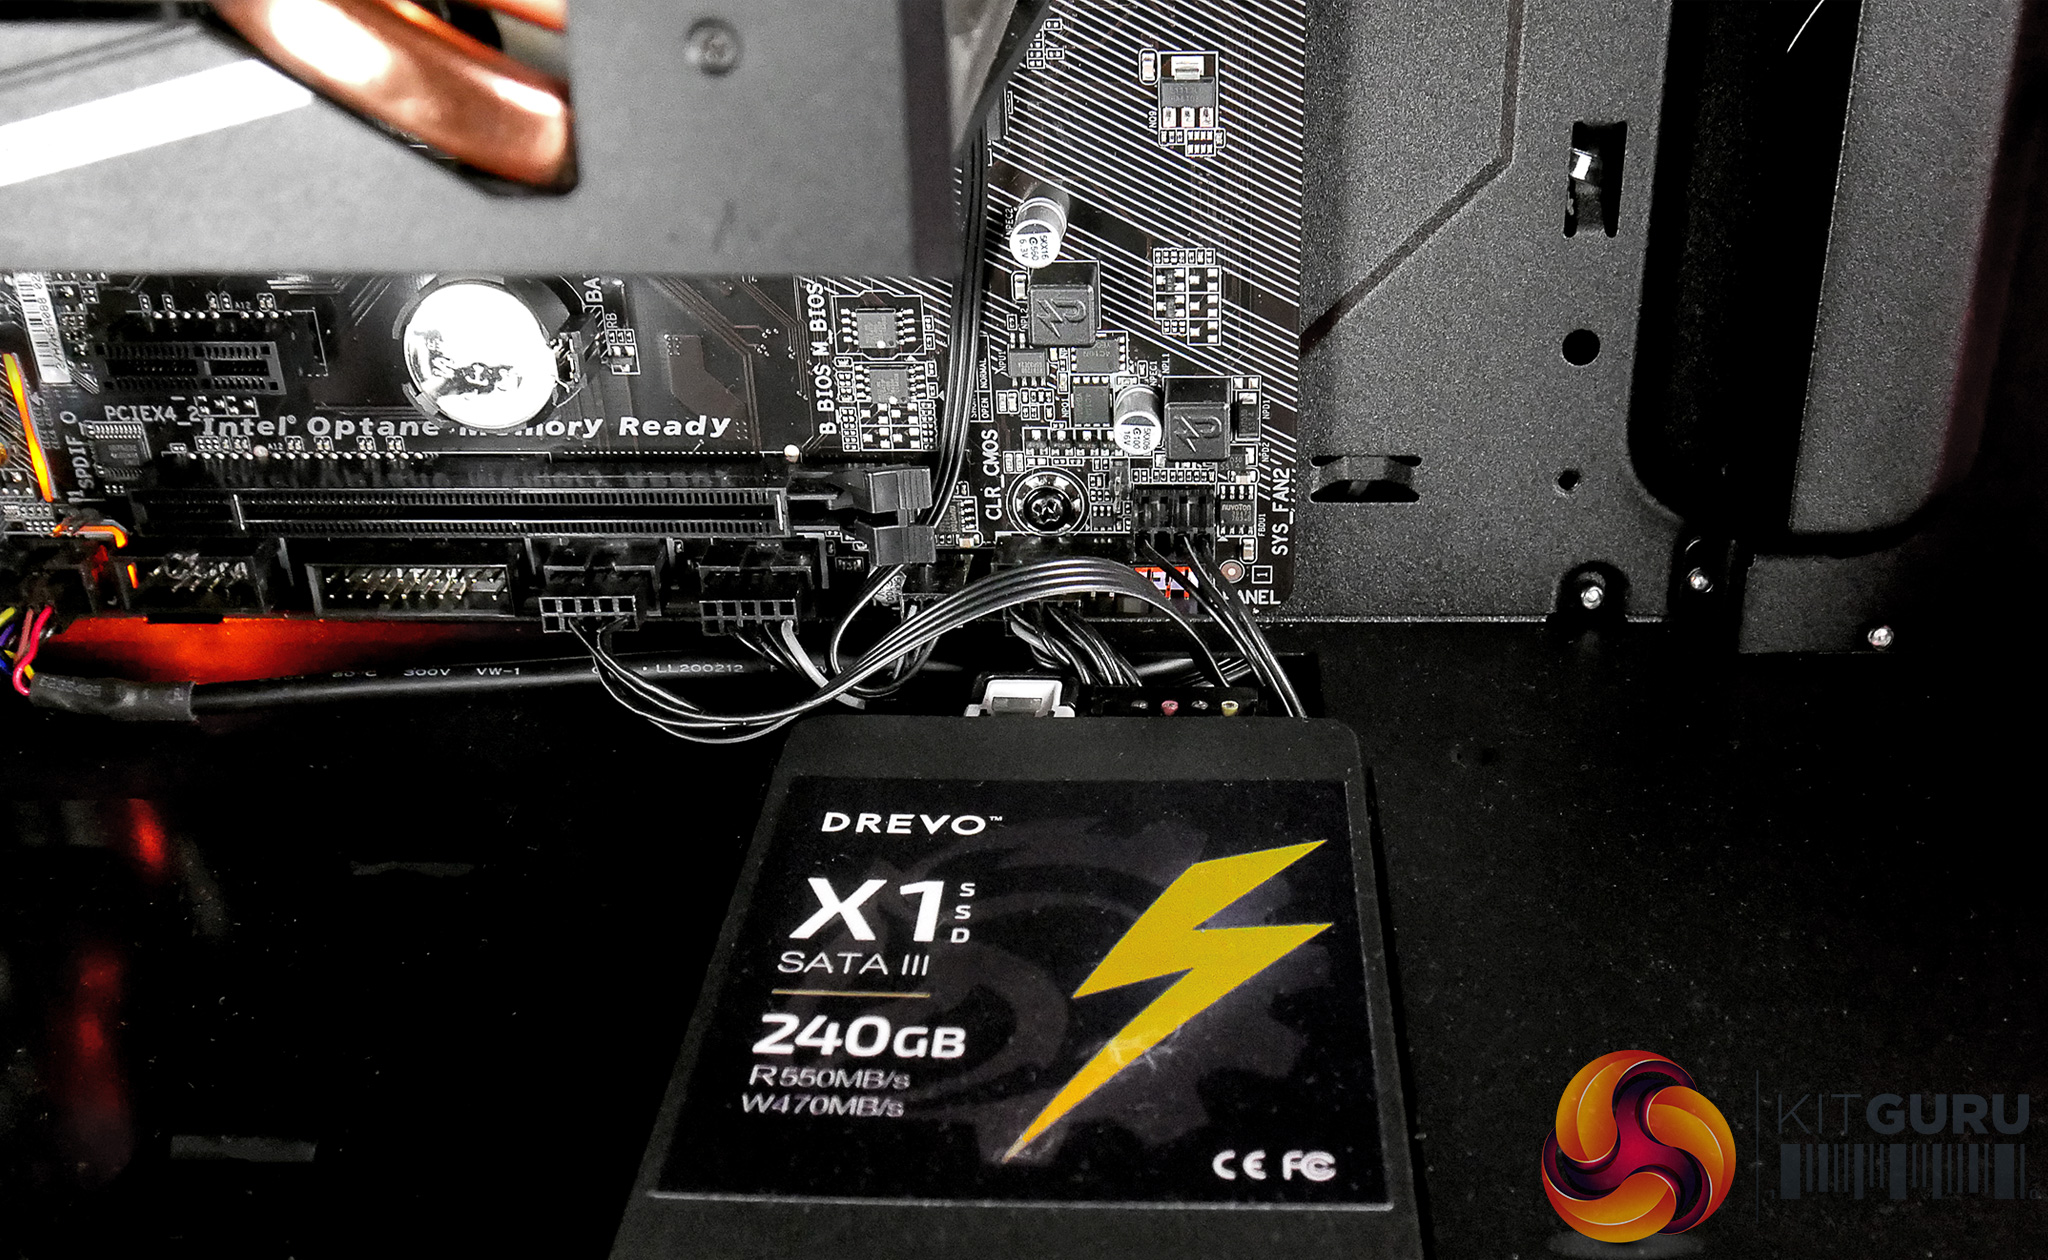
Storage drives: Drevo X1 240gb
OS: Windows 10
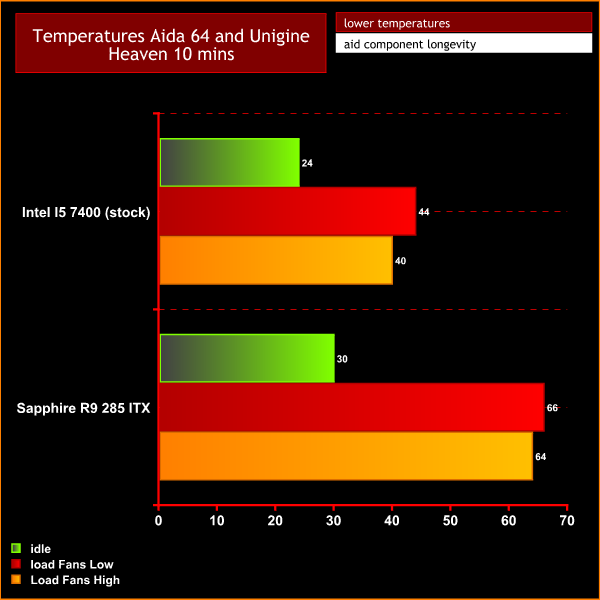
The temperatures are very good overall with a decent improvement when fans set to high, but there is a lot of noise when the fans are set to high. Low is a good compromise between air flow and reduced acoustics output.
Closing thoughts
So, what do I think of the ‘PRO' version of the P7? If you like the aesthetic design of the standard Aerocool P7 C1 you will like this, as they are visually identical. If you like the aggressive futuristic design then you will already be in love, but if you want something more restrained then this is likely not going to make your final shortlist. Beauty is in the eye of the beholder.
It would be fair to say that Aerocool need to work on the build quality. It is sad to see that the PRO version isn't built any better than the standard version we previously reviewed – higher grade plastic would be welcomed, especially on the large, oversized feet. On a positive note, we are glad to see that the acrylic windowed version has been binned in favour of tempered glass.
The main selling point for the PRO version is the RGB hub and the accompanying LED strip and fans which offer some nice effects and a decent level of control with simple to use software. However, I do wish it would act as a fan controller rather than just an indicator of fan RPM speed.
The chassis has plenty of airflow to control internal temperatures but it is hugely disappointing that it can't accommodate bigger cooling options. They could have taken the PRO design one step further and incorporated bigger radiator support across the top.
This case is sold in black and white options and is currently priced at £111 with the included three RGB fans and RGB led strip. The hub is a nice addition and it can also be bought separately for £15.
Overall the Aerocool Project 7 C1 Pro is a solid buy if you love the dramatic appearance and are willing to accept the less than stellar build quality and lacklustre cable management. The thermal performance on the other hand is not in question.
My main concern is that the PRO version has all the same issues as the Standard P7 C1 which we noted before. It is basically the same case and the only real difference are the RGB features – we love the tempered glass panel, but that option was already available on the regular P7 C1. This should really have been called the Aerocool P7 C1 RGB.
If you are in the market for a big, bold, futuristic looking chassis with full RGB support and a tempered glass panel, then the Aerocool Project 7 C1 Pro Chassis is most certainly worth considering, but in 2017 it faces stiff competition around the £110-£120 price point.
Discuss on our Facebook page, over HERE
Buy from BOX UK for £109.99 inc. VAT HERE
Pros:
- Lovely Tempered glass window.
- Space for custom water cooling.
- Included RGB lighting system including a HUB, 3 RGB fans and integrated lighting strip.
- high airflow levels, and runs cool.
- RGB software.
Cons:
- Build quality could be better.
- Large case but relatively limited cooler compatibility.
- Tricky accessing dust filters.
- Top panel is very hard to remove.
- No PWM fan speed controller included.
- Stiff competition at this price point.
Kitguru says: The Aerocool Project 7 C1 Pro Chassis is a solid design and it brings a full RGB feature set to the enthusiast audience.

Be sure to check out our sponsors store EKWB here
