In our full review of the Huawei P20 Pro, we covered three main areas of the triple camera setup – general image quality, zoom, and night mode. A few readers have since been in touch to ask that we look at some other modes as well, so today we will be using the phone in ‘Pro' mode, using the ‘Aperture' mode and assessing the AI scene recognition.
Pro mode
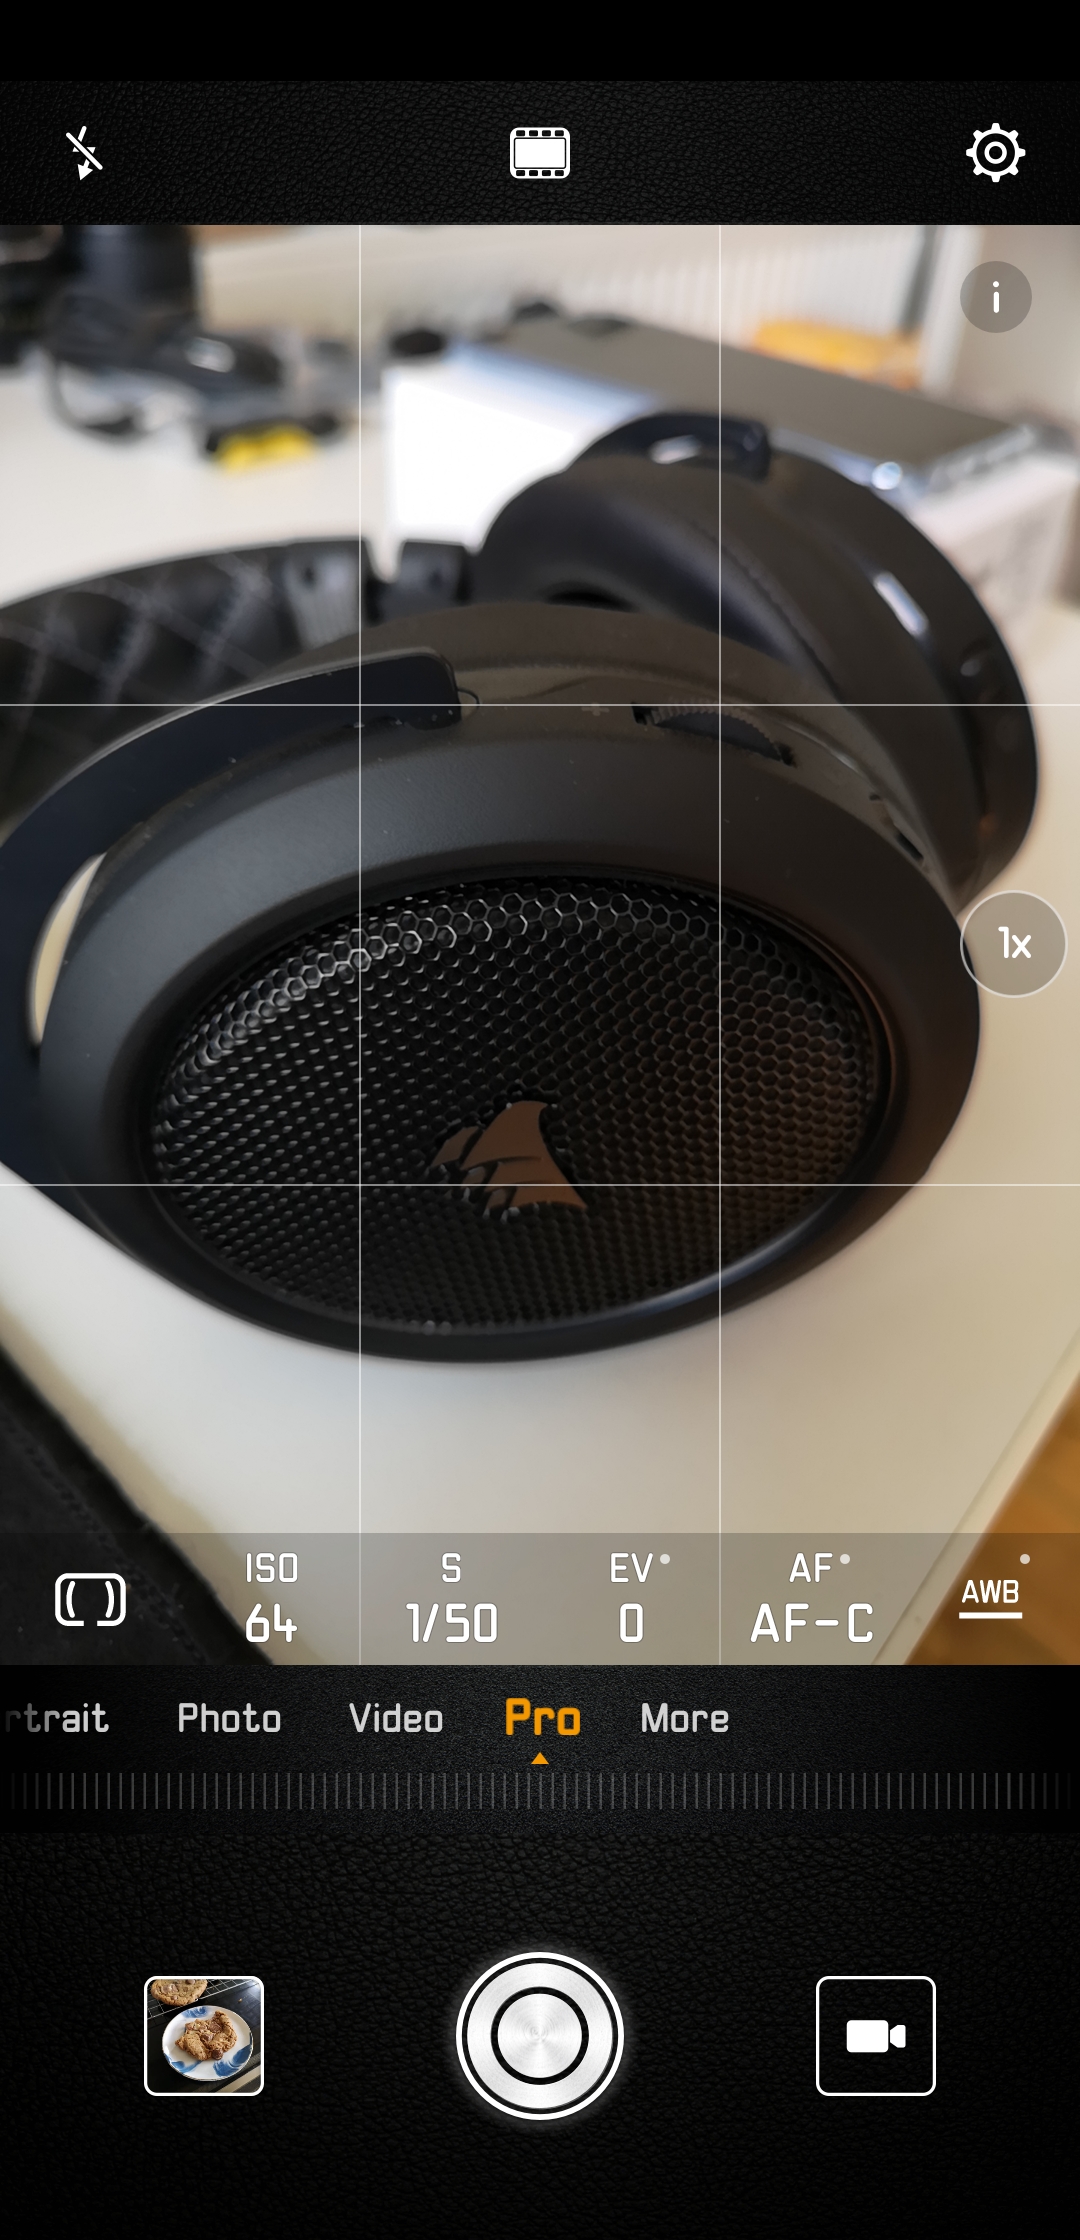
Let's start with Pro mode. It is worth pointing out what settings you can actually change in this mode, and essentially it boils down to ISO, shutter speed, EV (exposure value), autofocus mode and white balance. There is no aperture control straight through the glass itself- the RGB sensor's aperture is locked at f/1.8, the monochrome sensor has a wider f/1.6 and the telephoto lens has a narrower f/2.4 aperture.
While it's good to have control over the exposure, my main complaint about the P20 Pro's camera was that the image processing was too aggressive, giving a slightly artificial ‘sharpened' look to the images. I wanted to see if using Pro mode would change that.
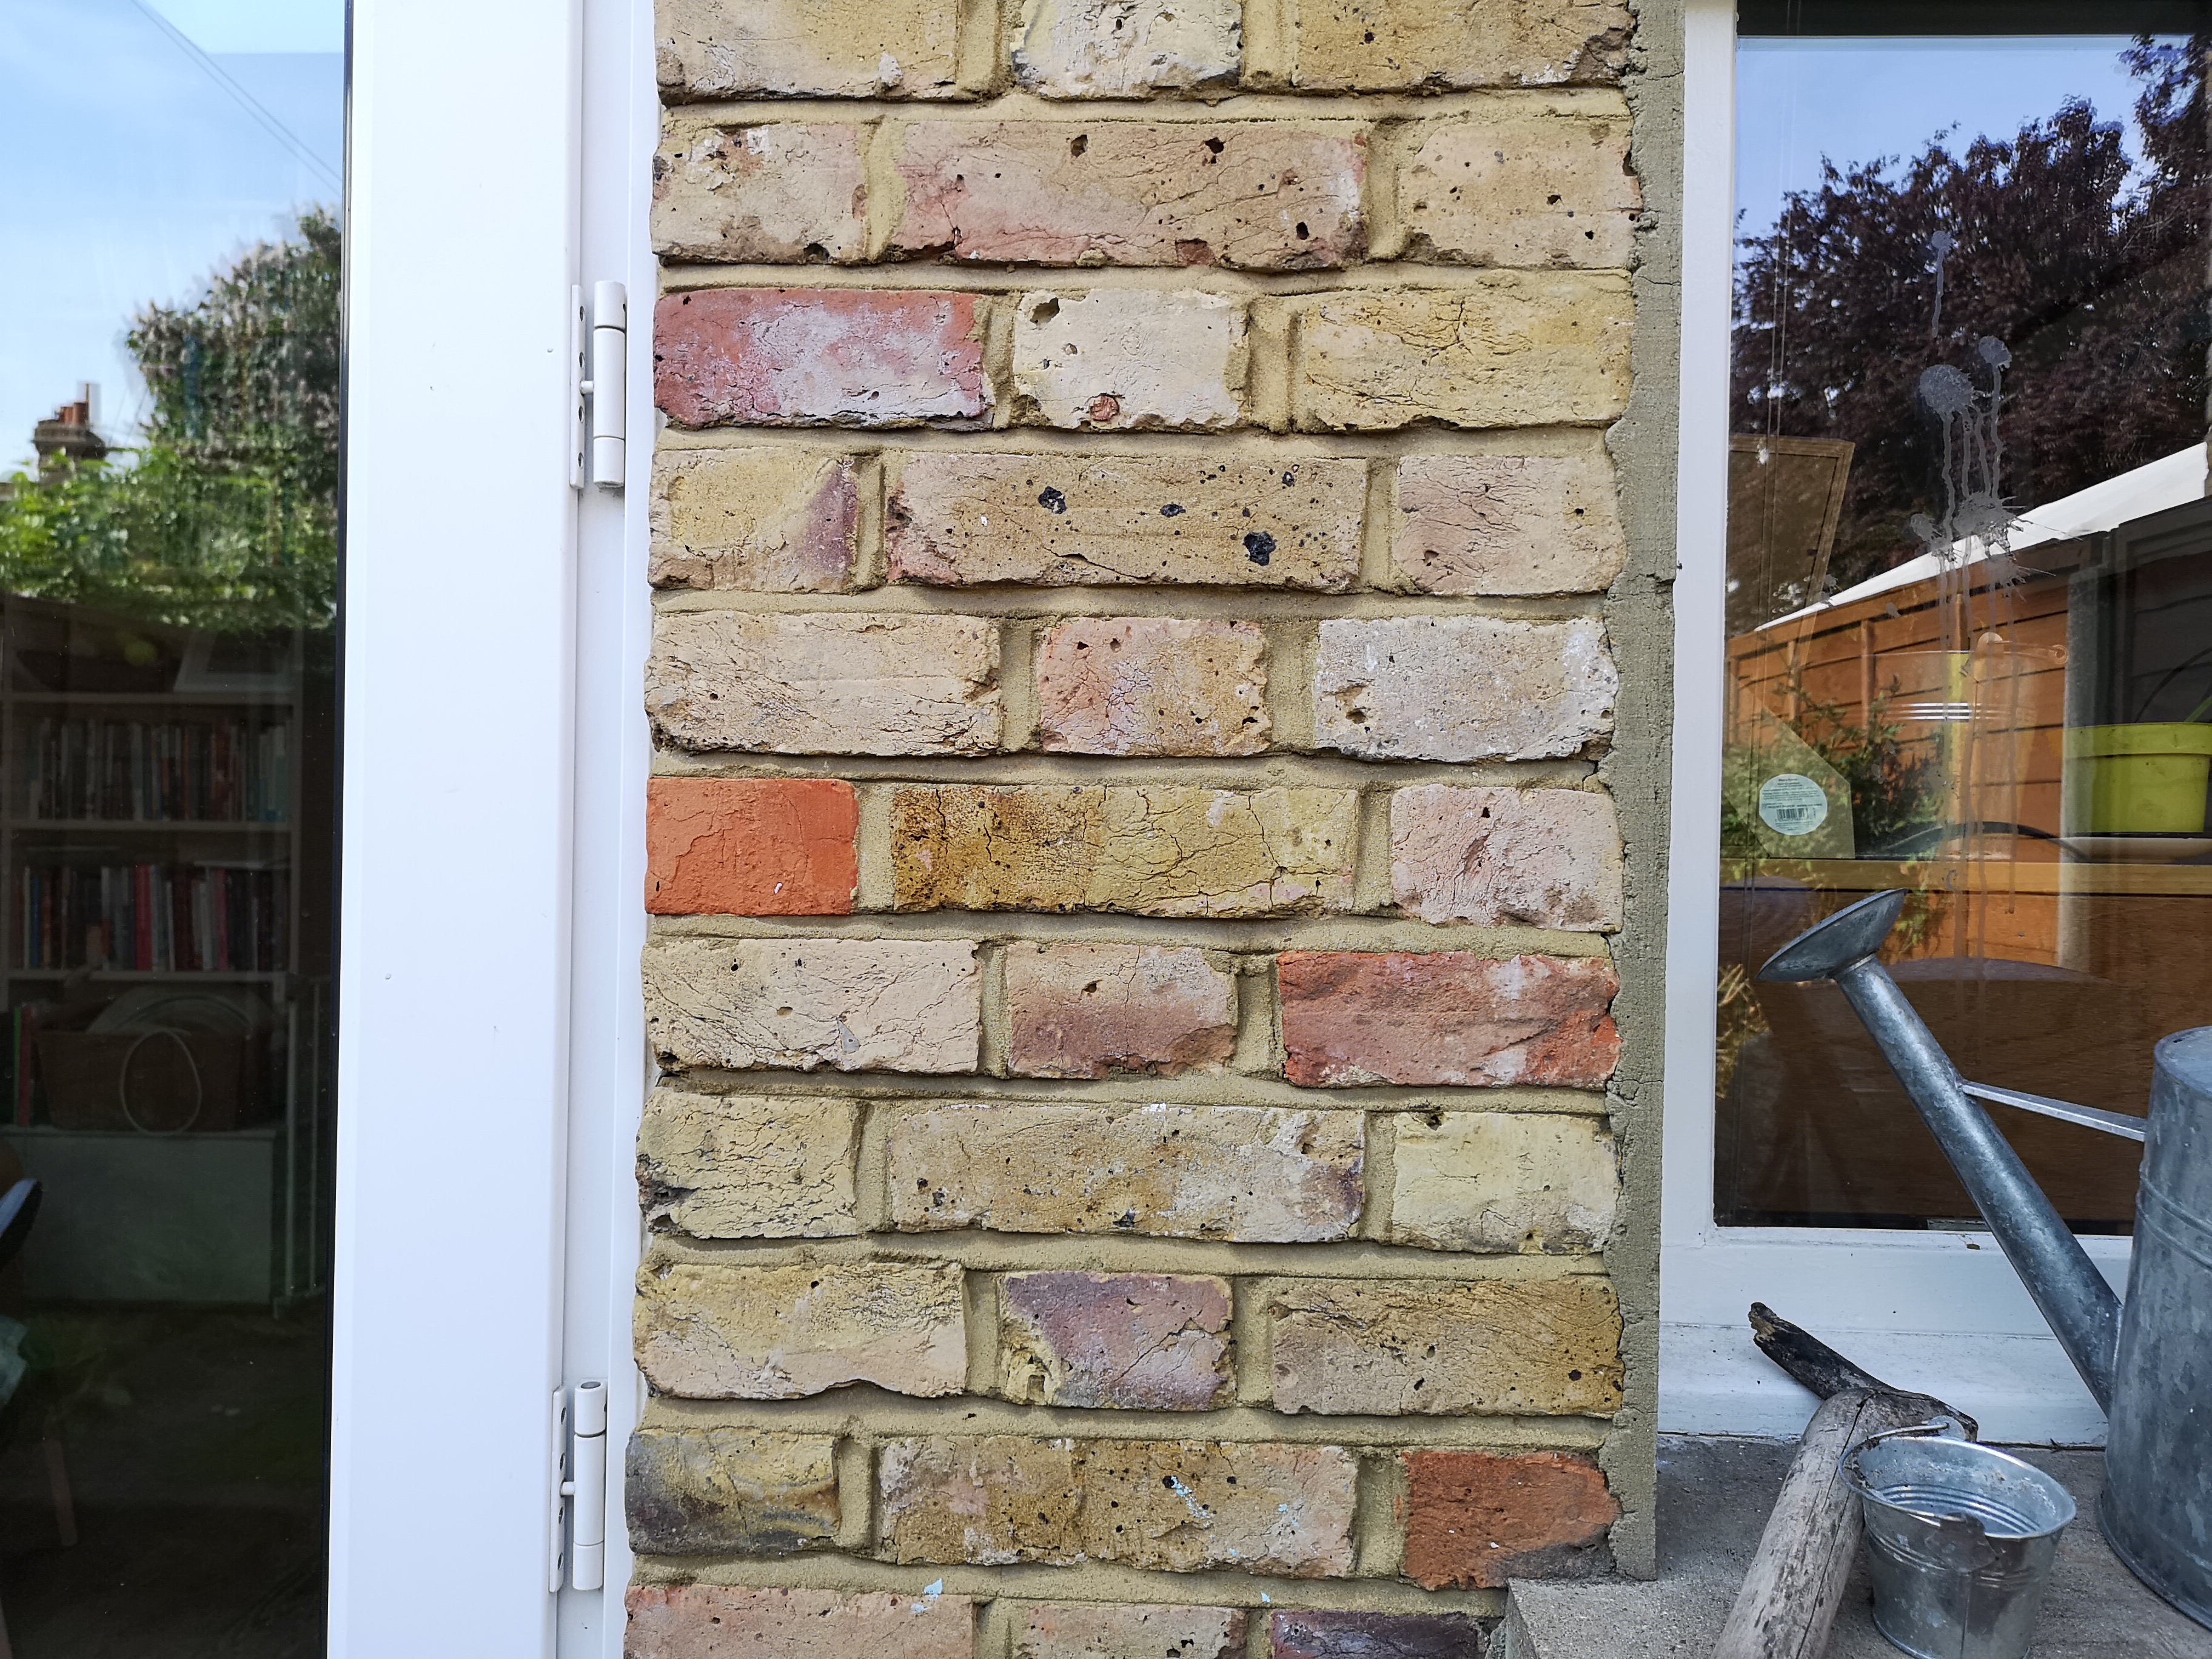

Auto mode on the left, Pro mode on the right.
Our first example, a humble brick wall. Interestingly, with the exposures nearly identical, there is no visible difference to the texture/sharpness of either image – suggesting Pro mode does not process the photos differently to Auto mode.

Auto mode on the left, Pro mode on the right.
Again, it is the same here – the photos look identical. It is also worth mentioning these were taken with the phone mounted on a tripod to ensure the exact same photo every time.

Auto mode on the left, Pro mode on the right.
So while Pro mode doesn't seem to apply any less of an aggressive sharpening algorithm to images, that is not to say that it is not useful. In the Pro mode shot above – taken at 10.30pm – I set a 3.2sec exposure, with ISO 50. Not only does that give a brighter overall image than the auto mode image, it also looks cleaner thanks to the low ISO setting.
So, in a nutshell, while Pro mode won't give you less sharp-looking images, the shutter control can be handy if you want to capture a long exposure of city lights or a waterfall, for instance.
Aperture mode
While Pro mode can't physically adjust the lens aperture, there is a separate Aperture mode which tries to simulate the effect of widening/narrowing the lens aperture. It does this via software – all you need to do is choose a point in the image to focus on, and choose the simulated f-stop – starting as low as f/0.95 and going up to f/16.

f/2 on the left, f/16 on the right
Above you can see an example with the ‘aperture' wide open at f/2, and then compared with f/16. Essentially, widening the ‘aperture' using Aperture mode will blur the area – background and foreground – around your image to simulate the bokeh that can be achieve with a proper wide-aperture camera lens. Given that this effect is achieved by software, you can actually change the ‘aperture' after a photo has been taken, which can be handy if you want to add in extra blur, for instance.

f/1 on the left, f/16 on the right
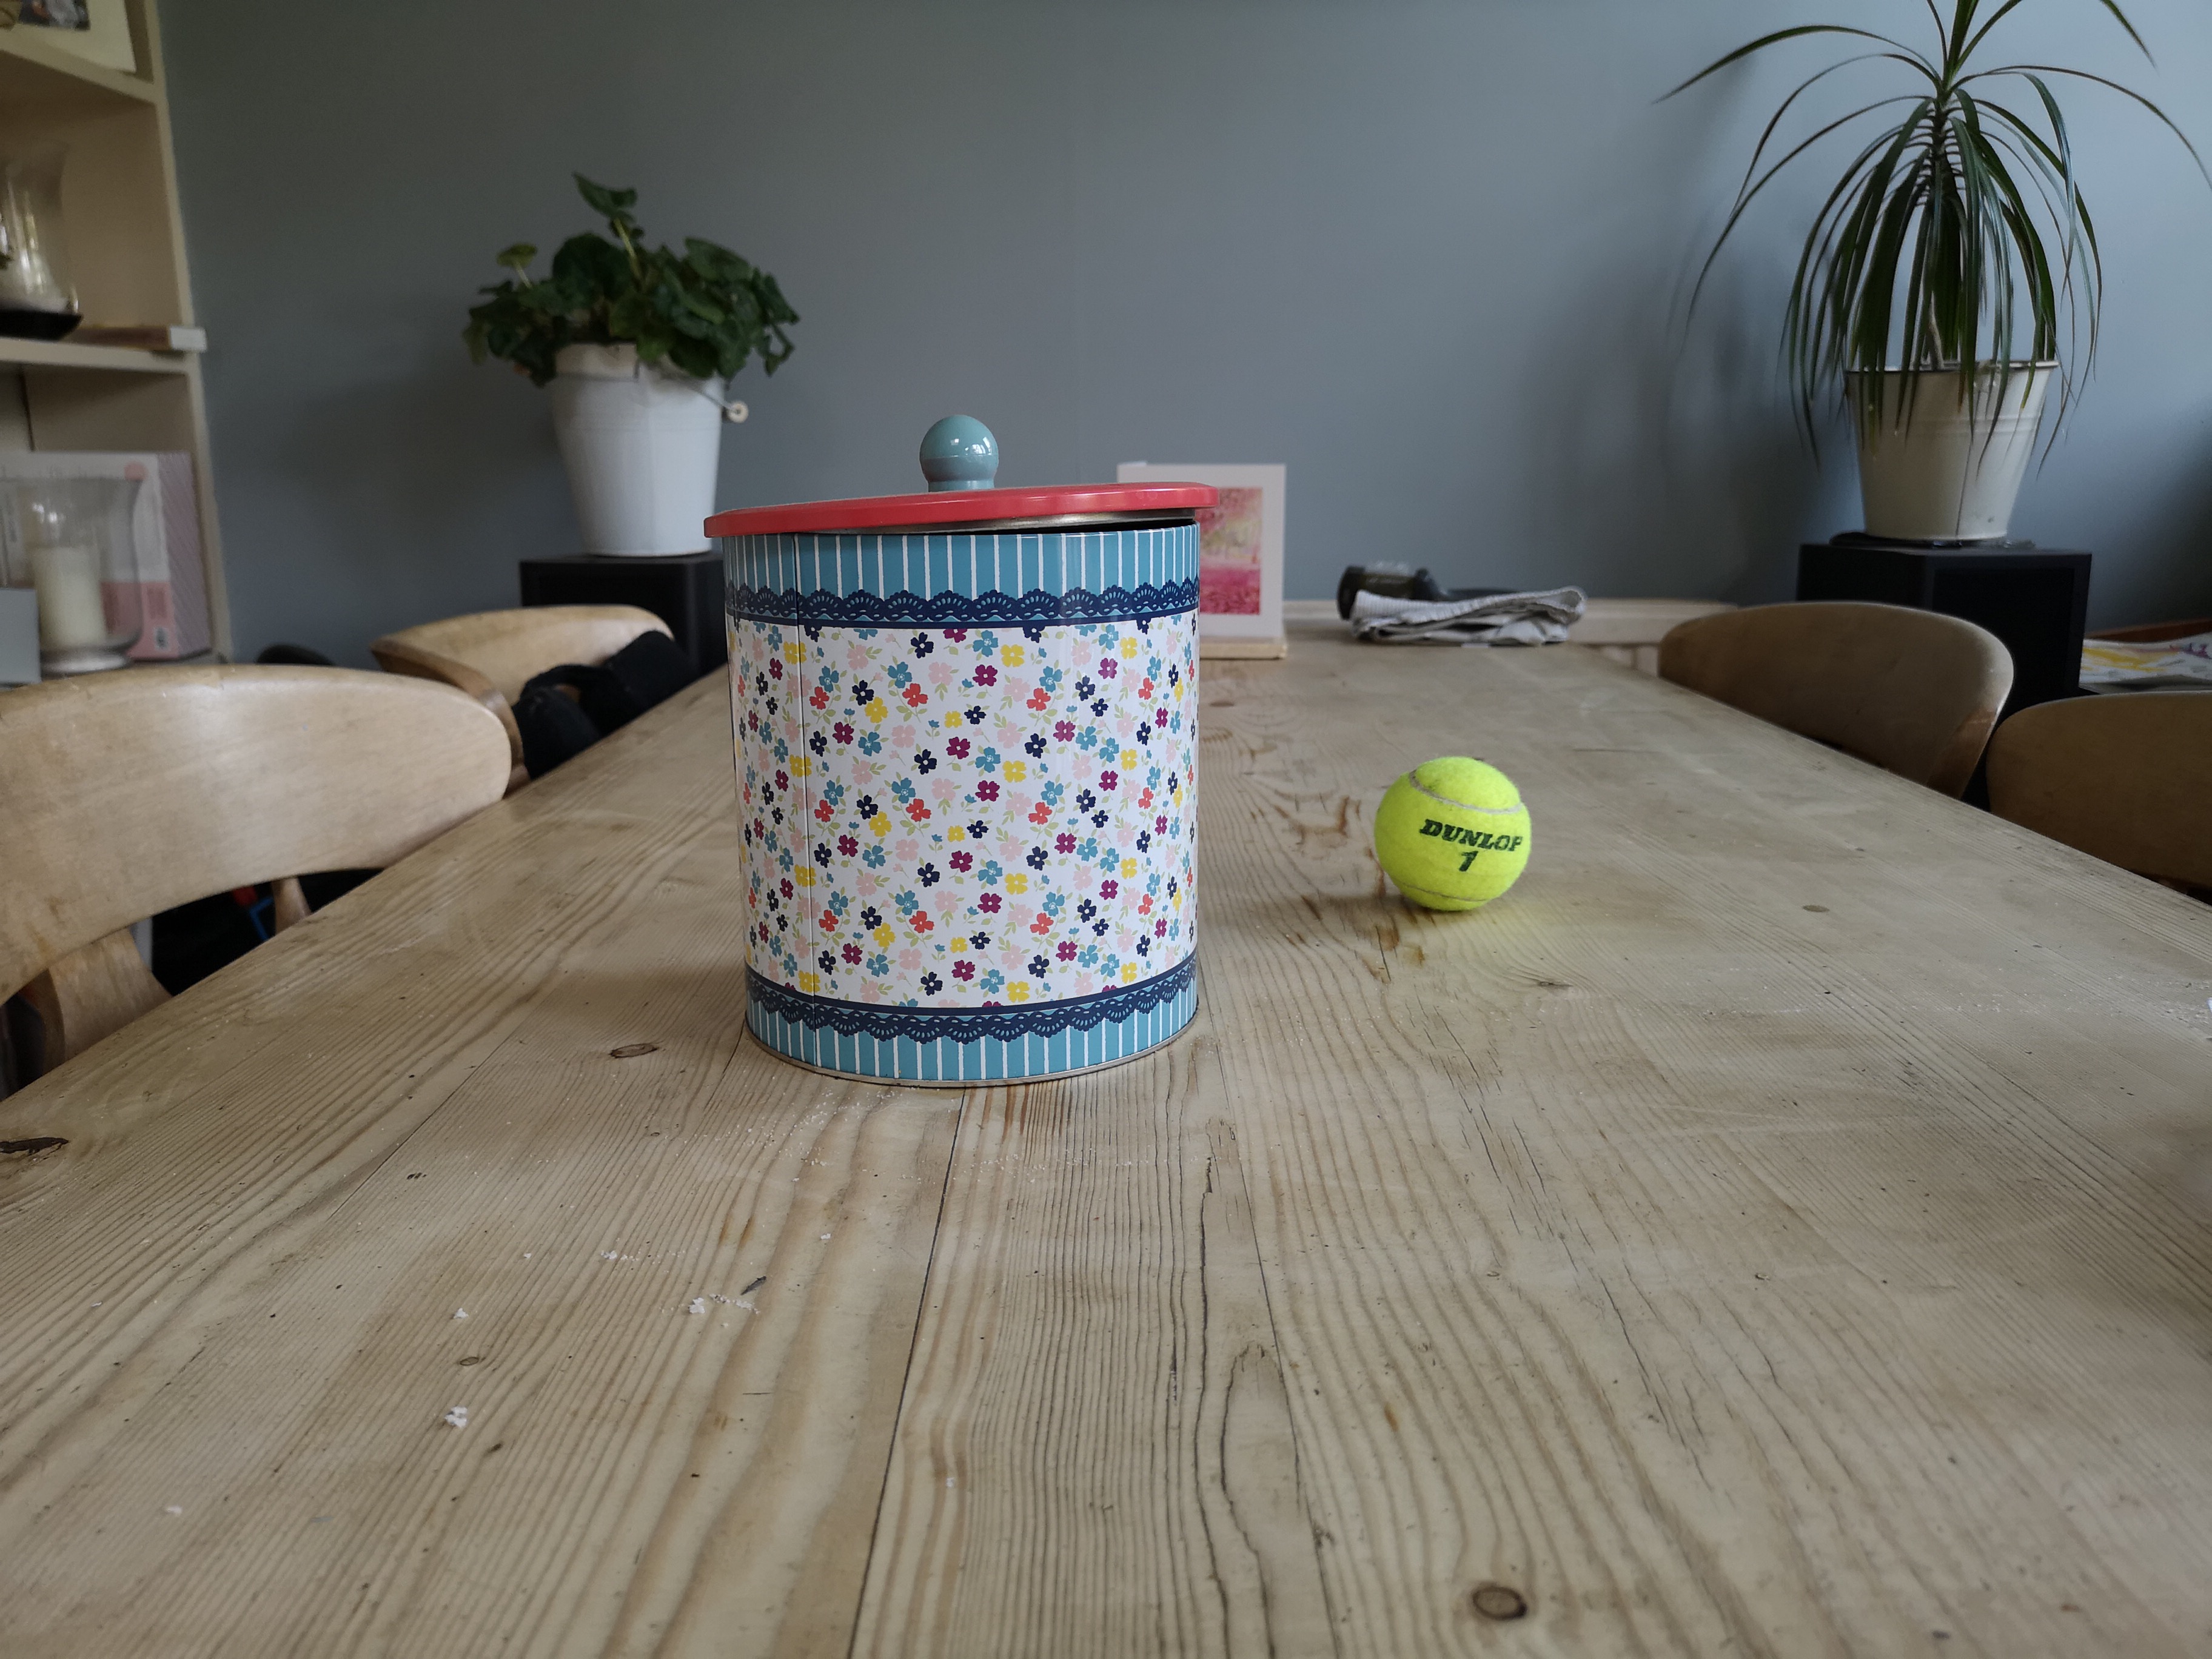
Another example of a wide vs narrow aperture image. Even though it is not the same as a ‘proper' bokeh, I do quite like the look Aperture mode can give. It's quite a gentle blur but it can give your subject prominence over the rest of the scene.

f/2 on the left, f/16 on the right.
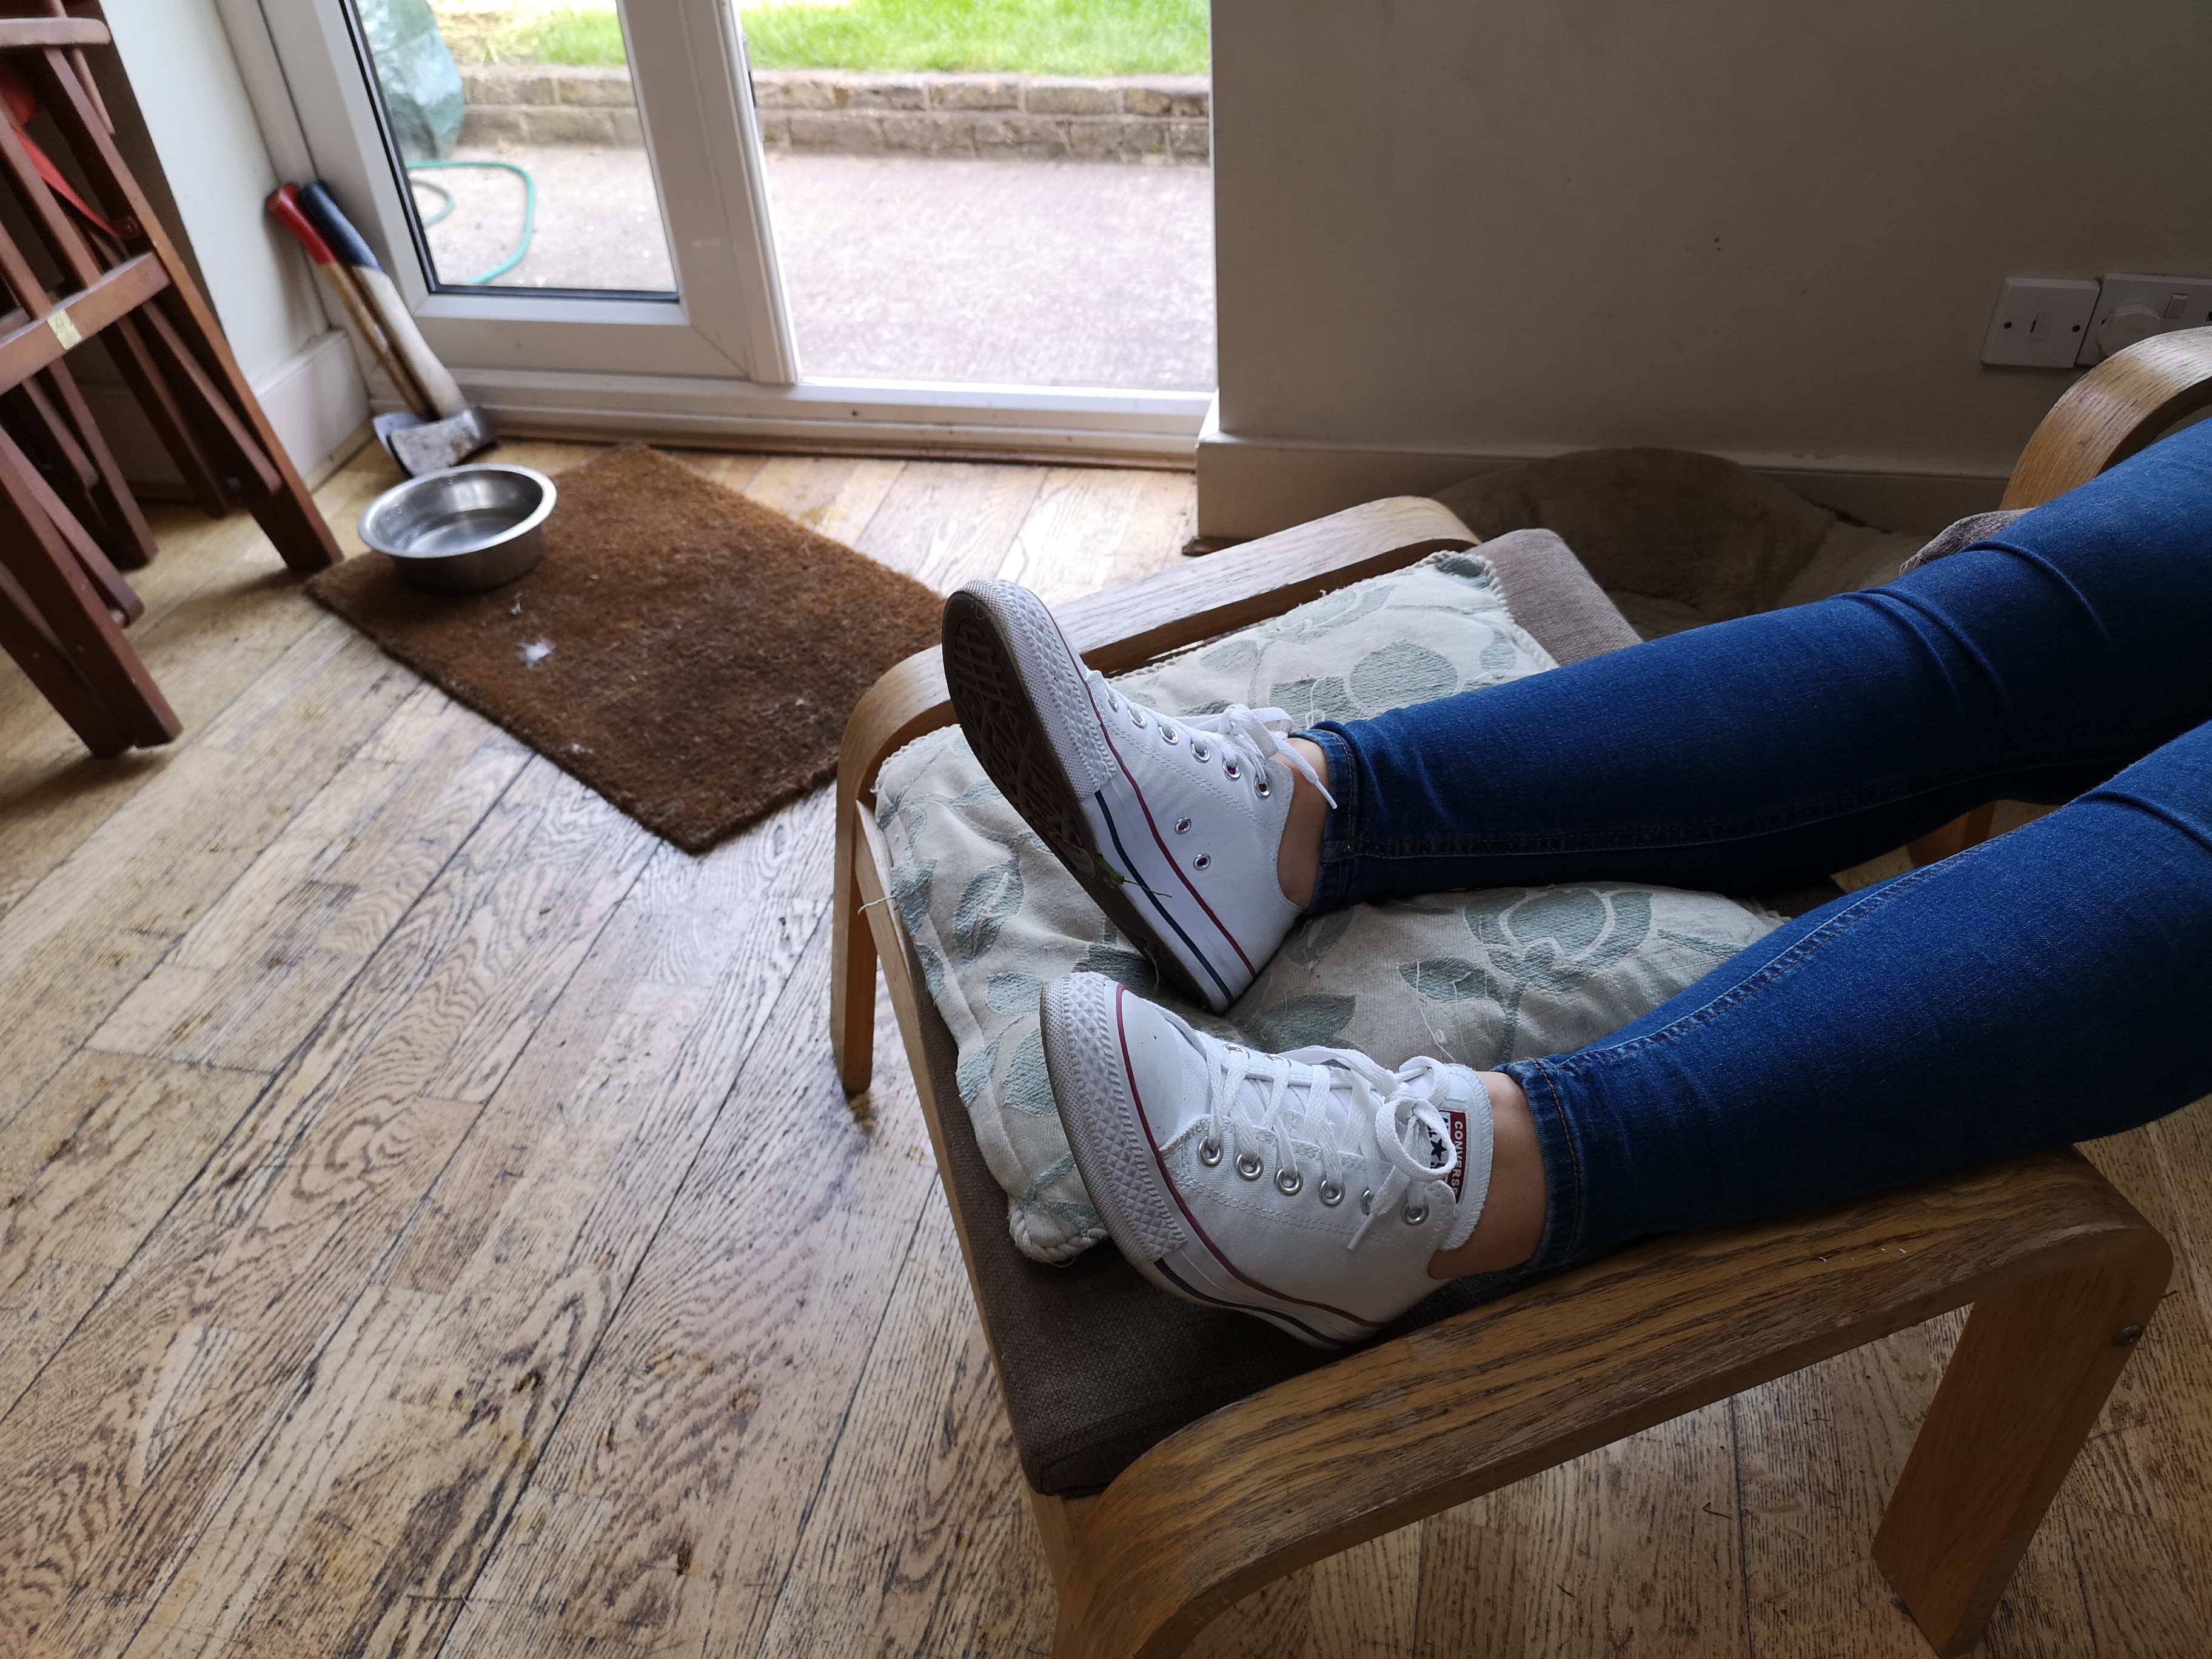
One last example above – f/2 compared to f/16.
On the whole, Aperture mode can be useful if you want to get a nice bokeh, regardless of the fact that it is software simulated bokeh. Obviously it is not the same as the aperture on the lens physically changing – at the moment, the Samsung S9/S9+ is the only smartphone which can do that – but for getting a smooth background blur, Aperture mode will do the job.
AI scene recognition
The last feature we want to touch on is the AI scene recognition that is baked into the camera. This is where the phone can recognise 19 different scenes, objects or environments – including food, dogs, cats, greenery and more (for a full list, see here) – and optimises image settings for that particular thing. To enable this mode, you can need to toggle ‘Master AI' in the camera settings. When a scene is recognised, a little icon will pop up to let you know – so if you're pointing the phone at a dog, a little dog icon will appear on screen.
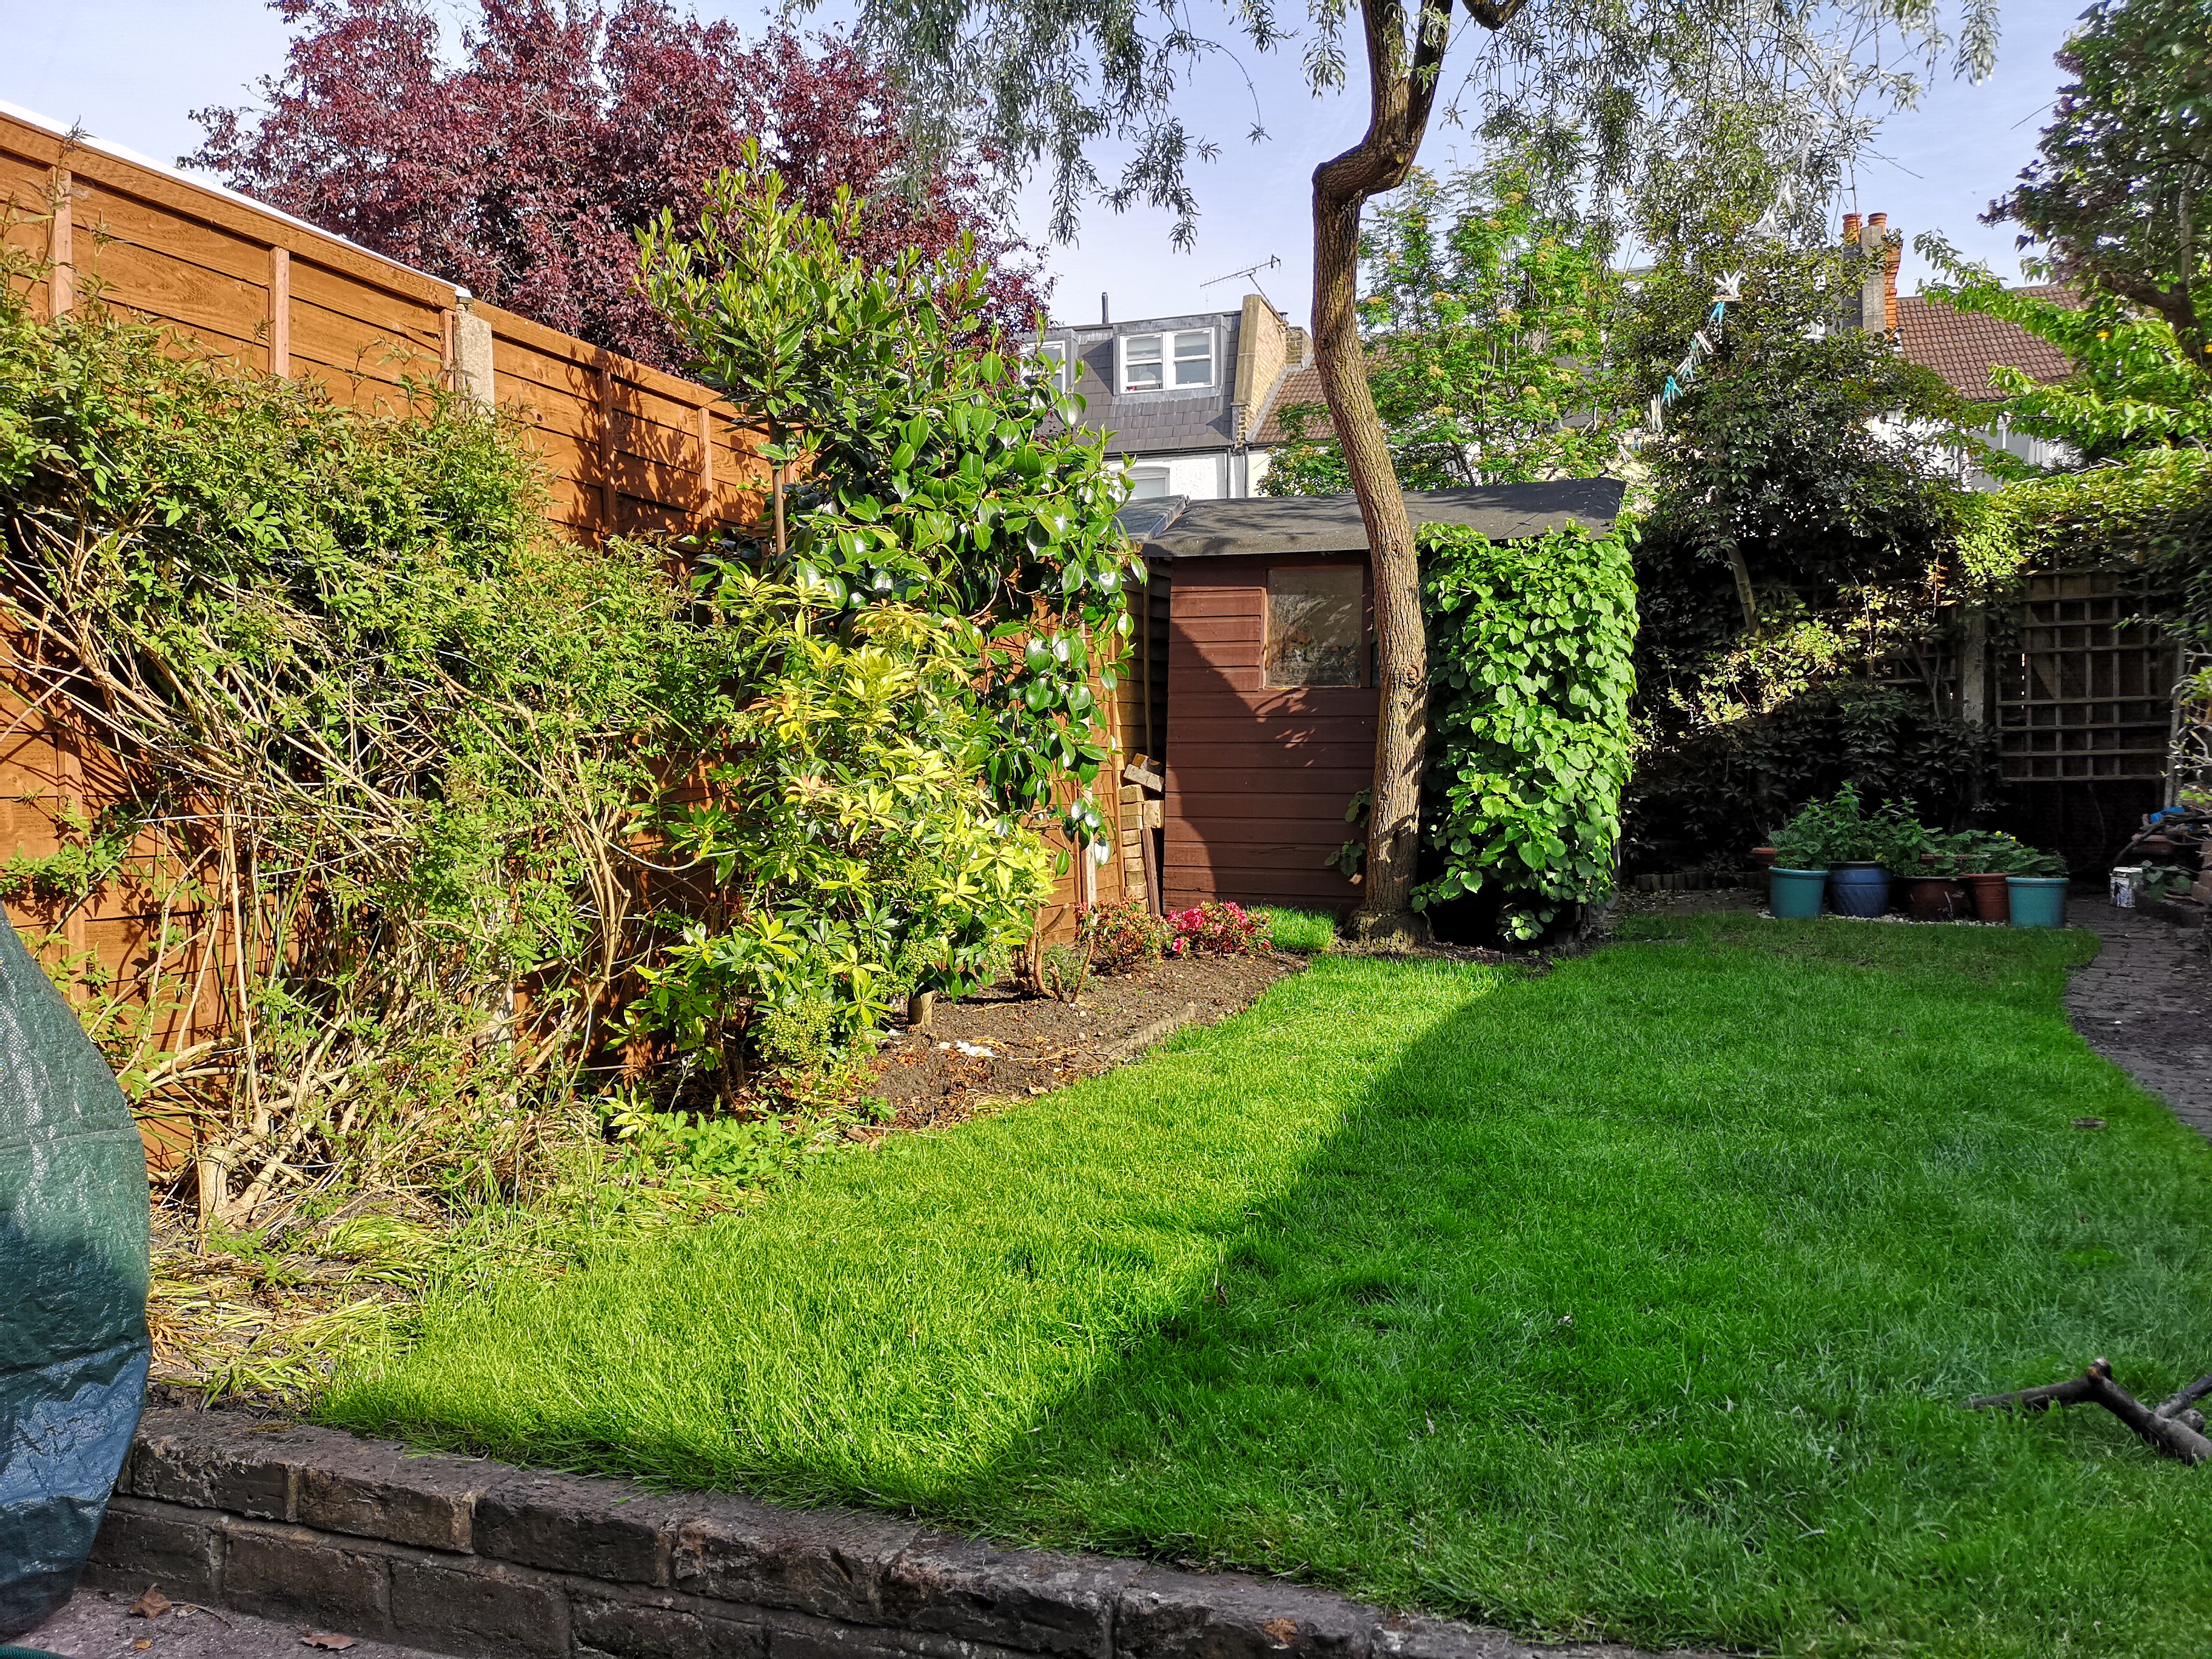
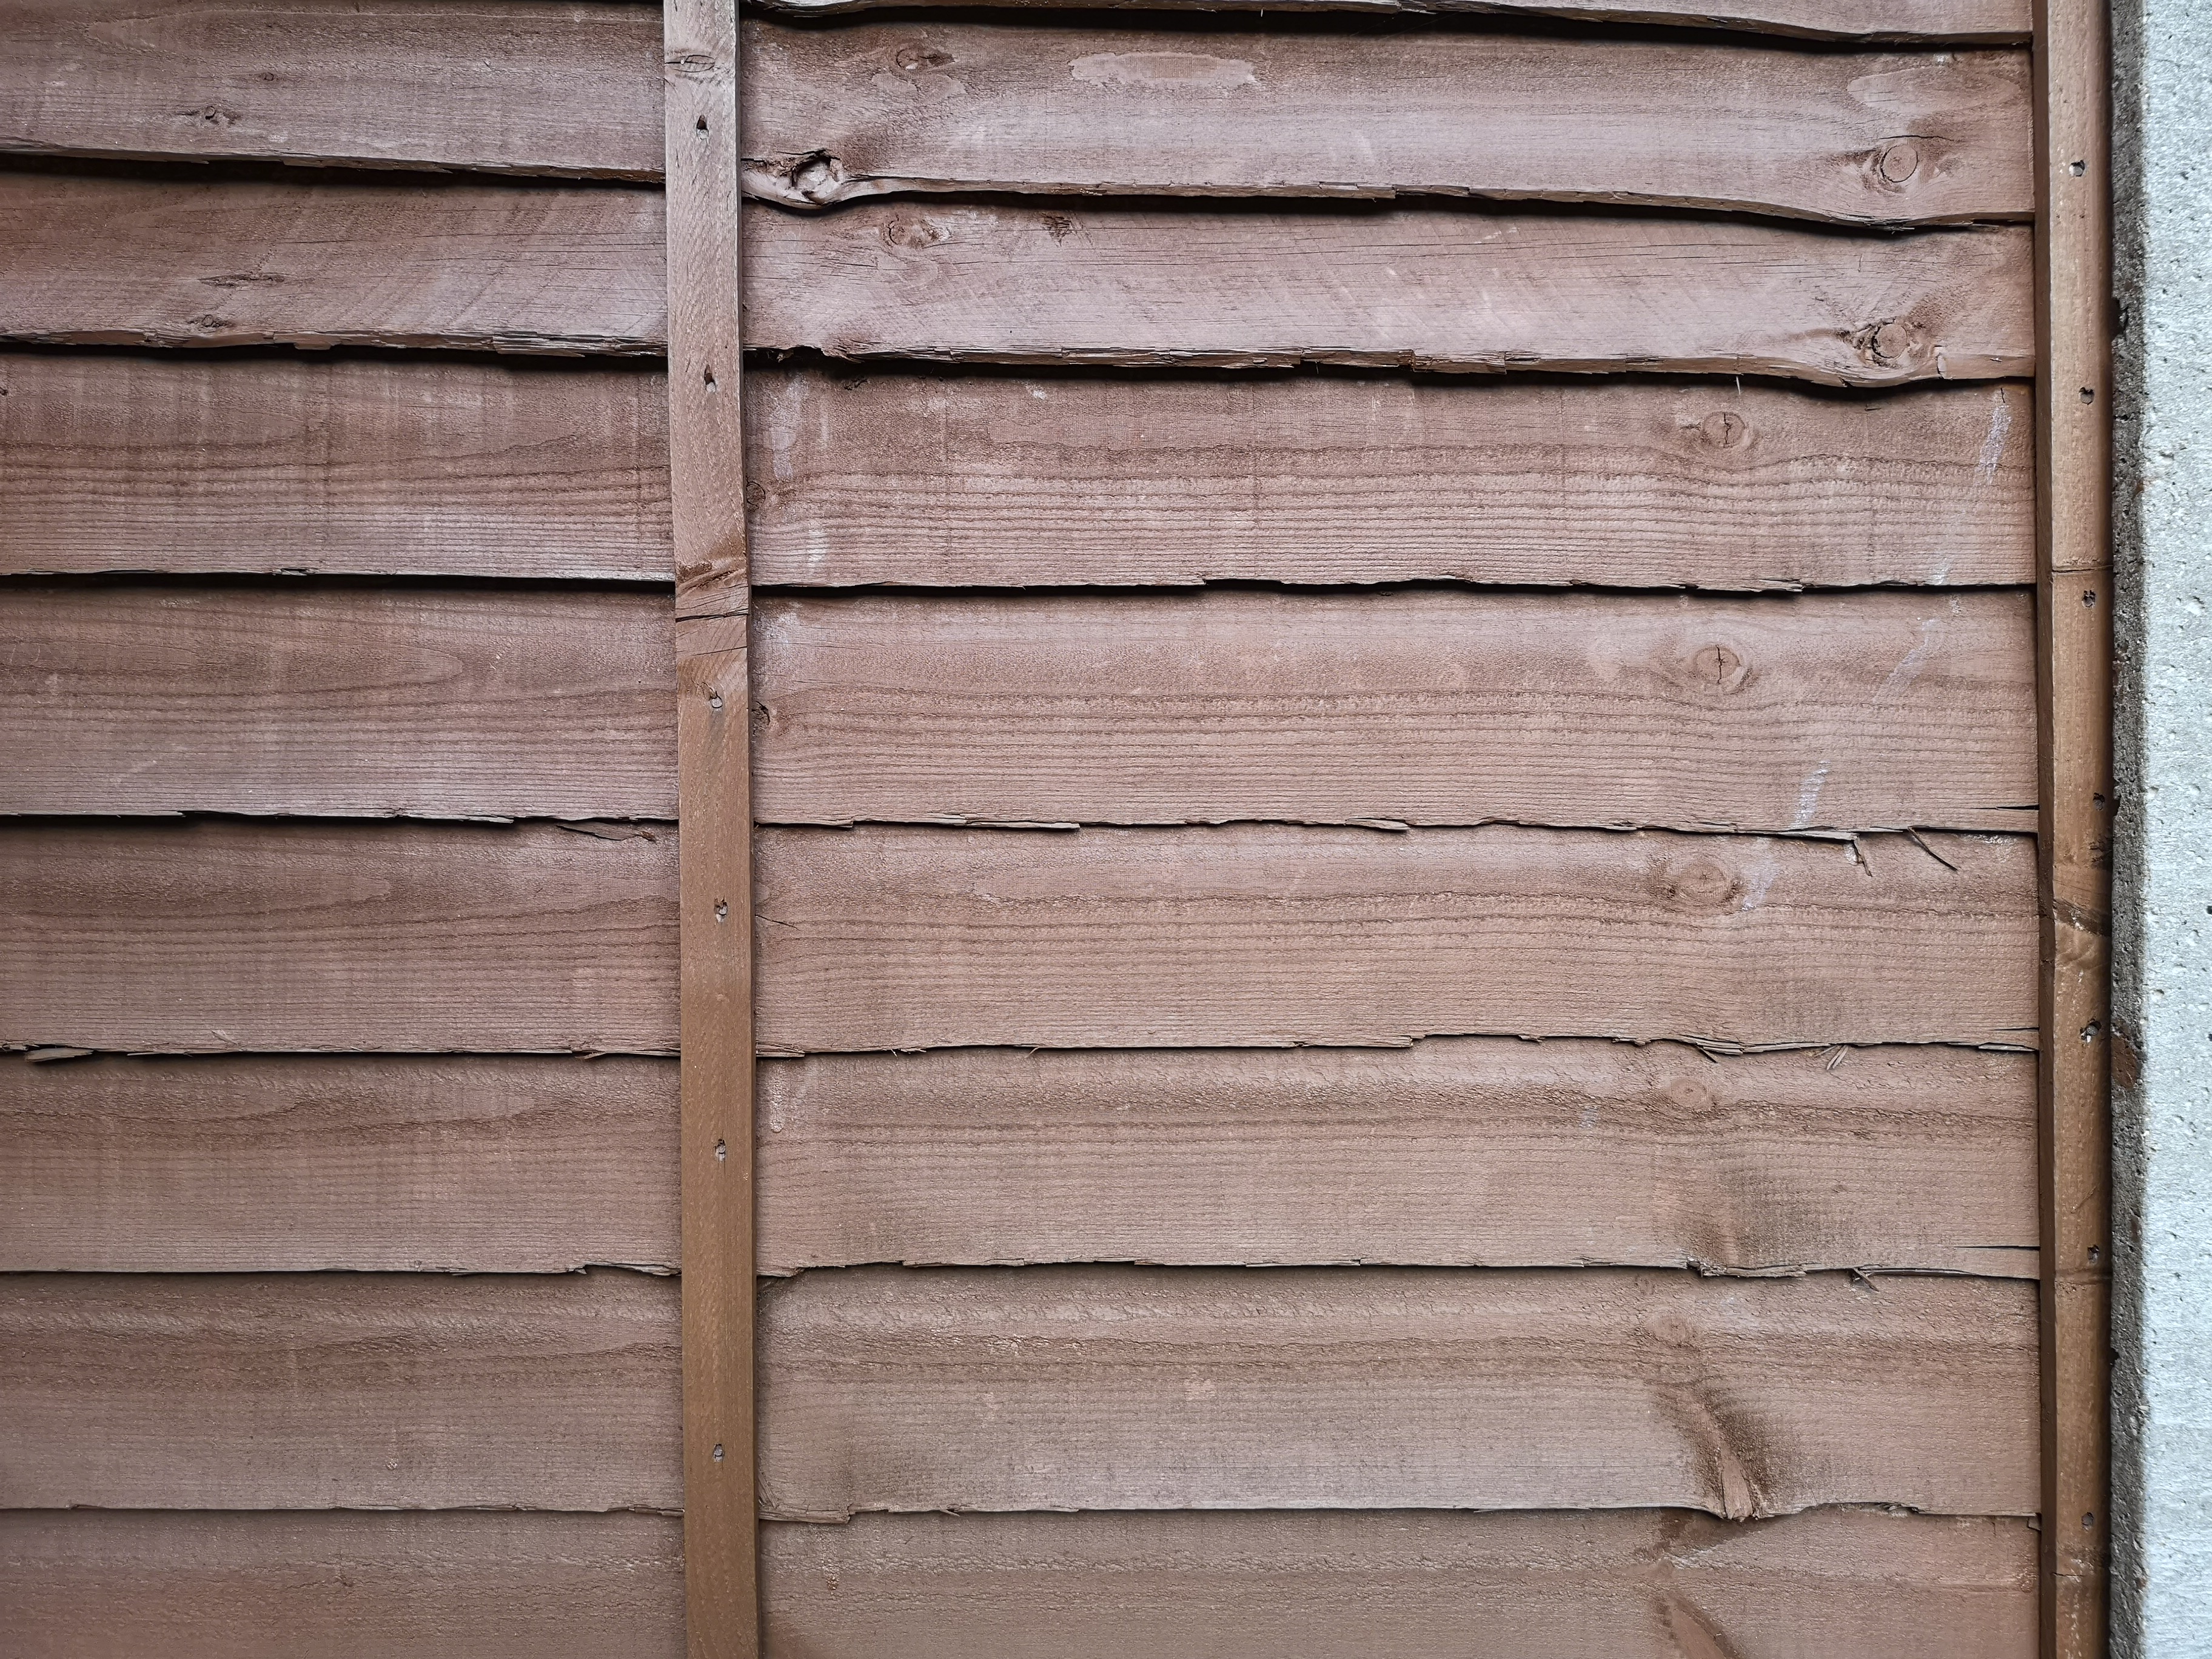
Master AI enabled on the left, Master AI disabled on the right
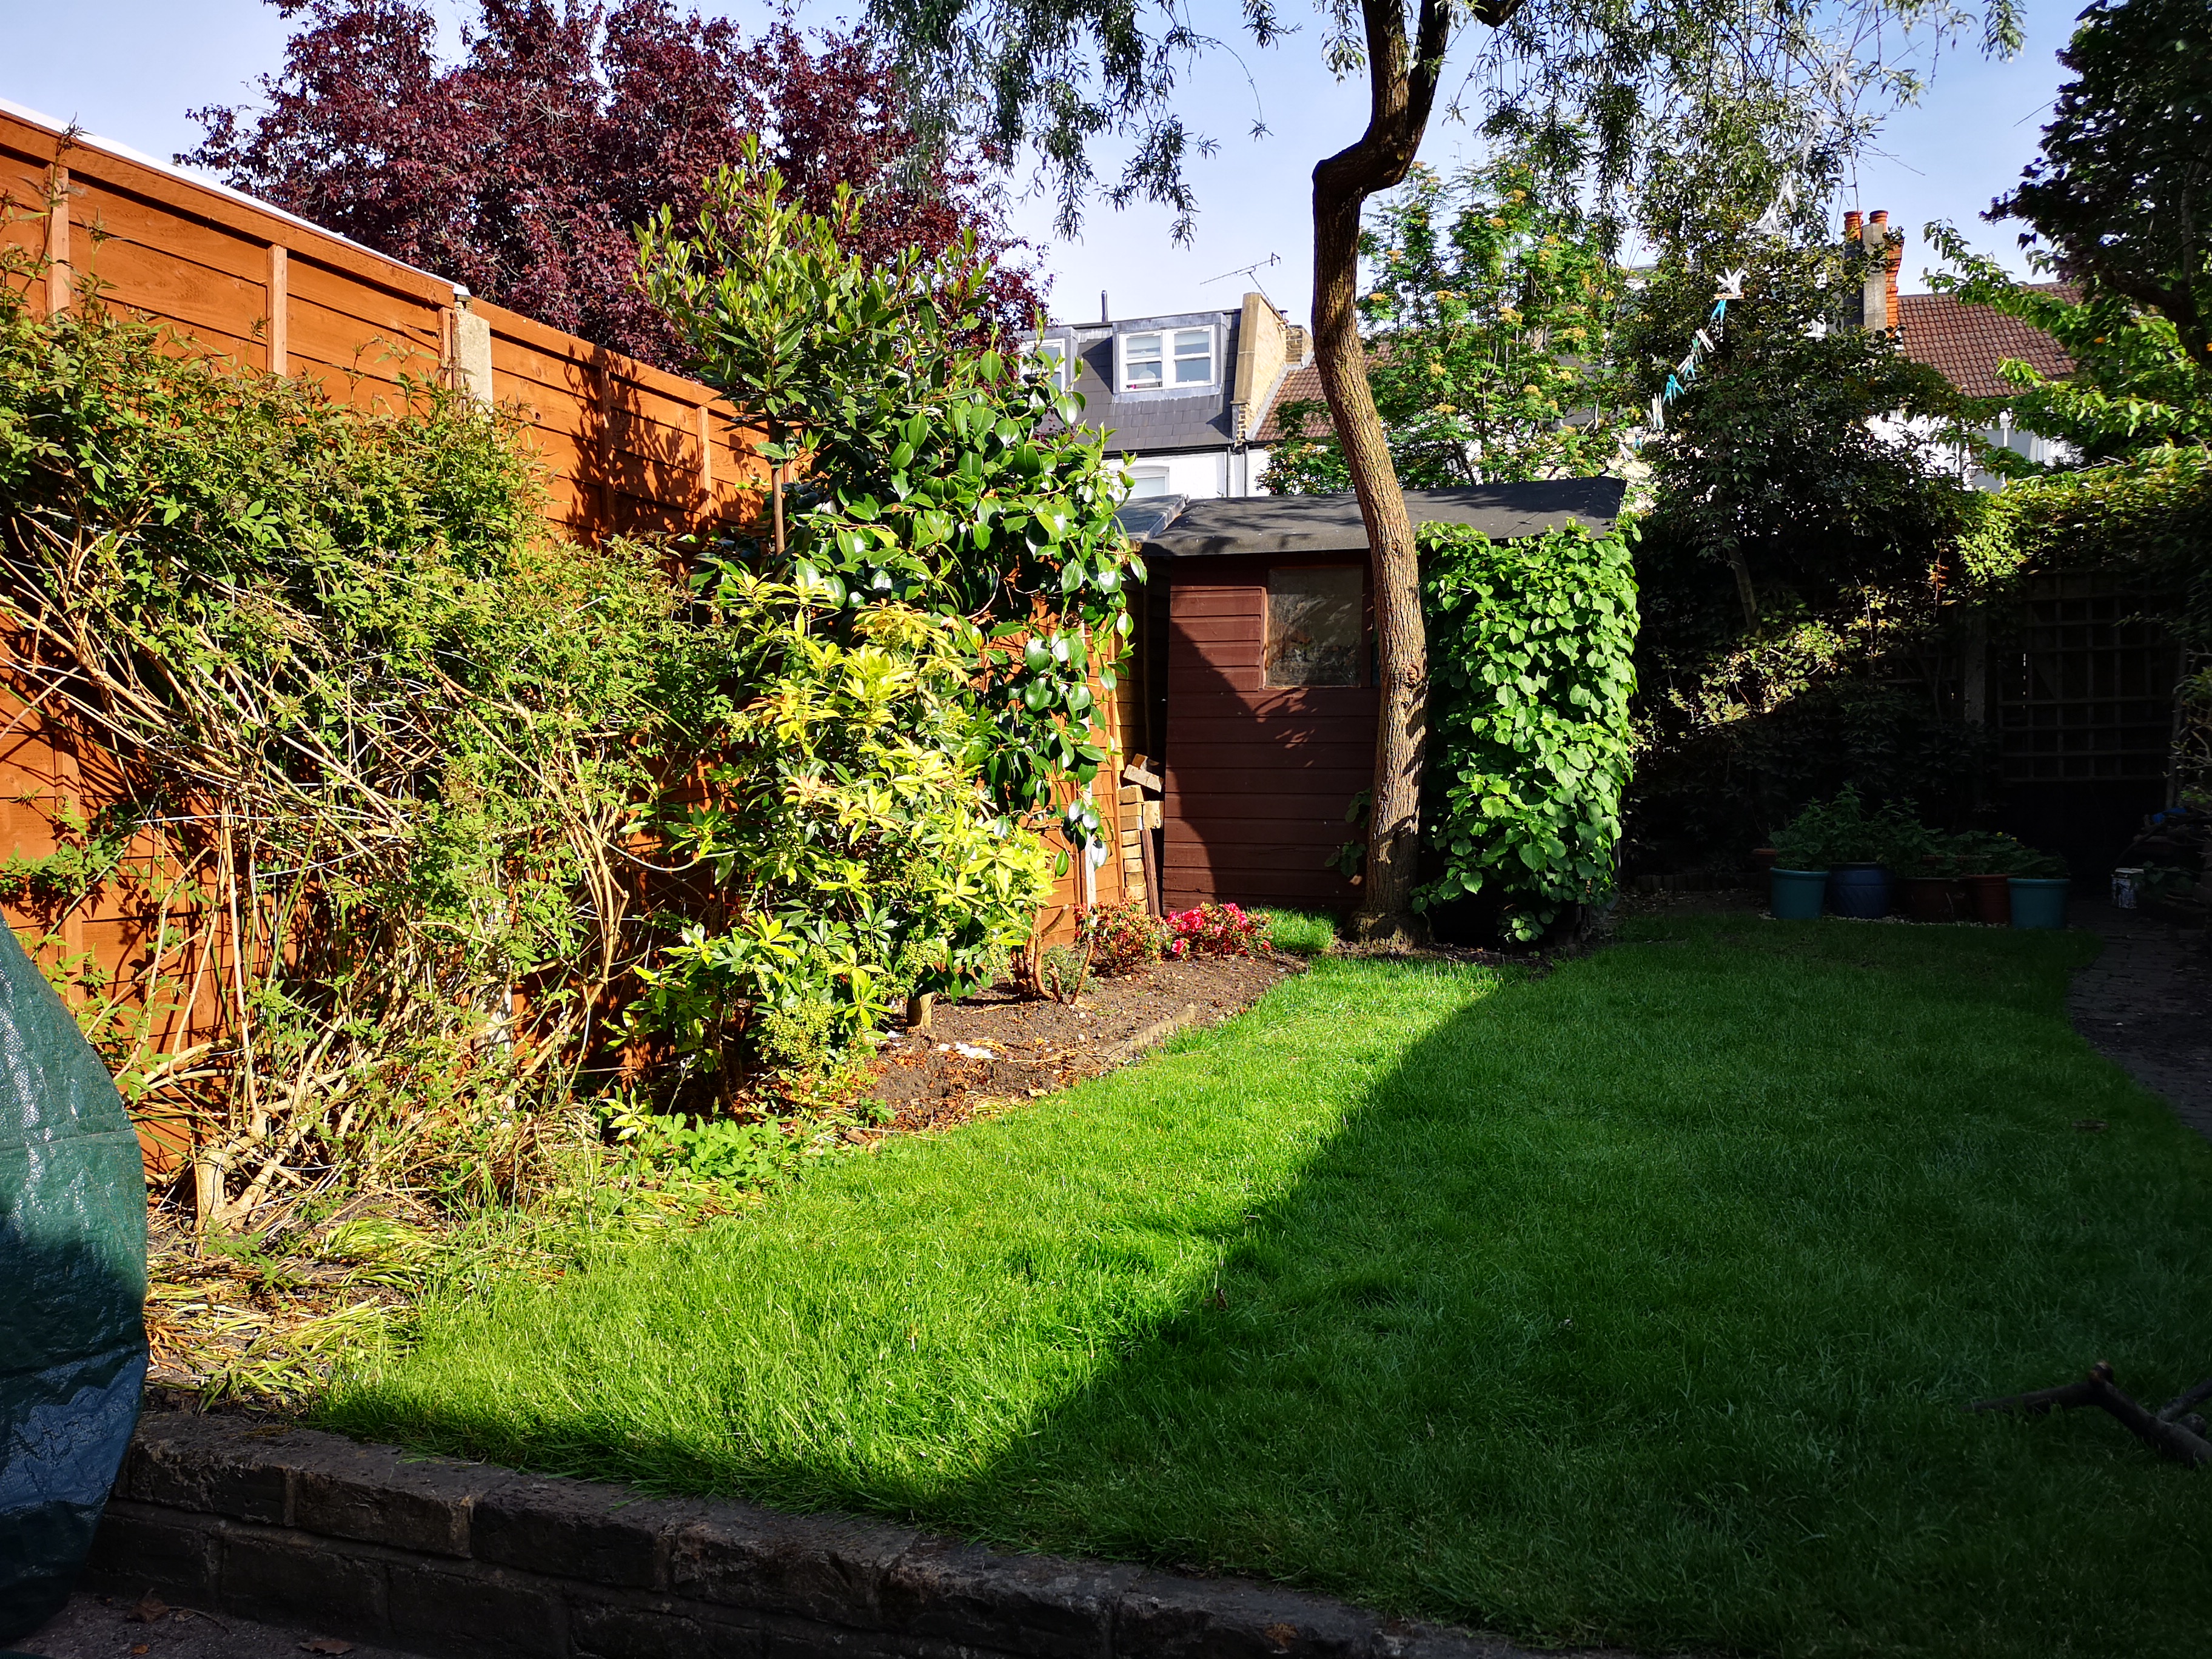
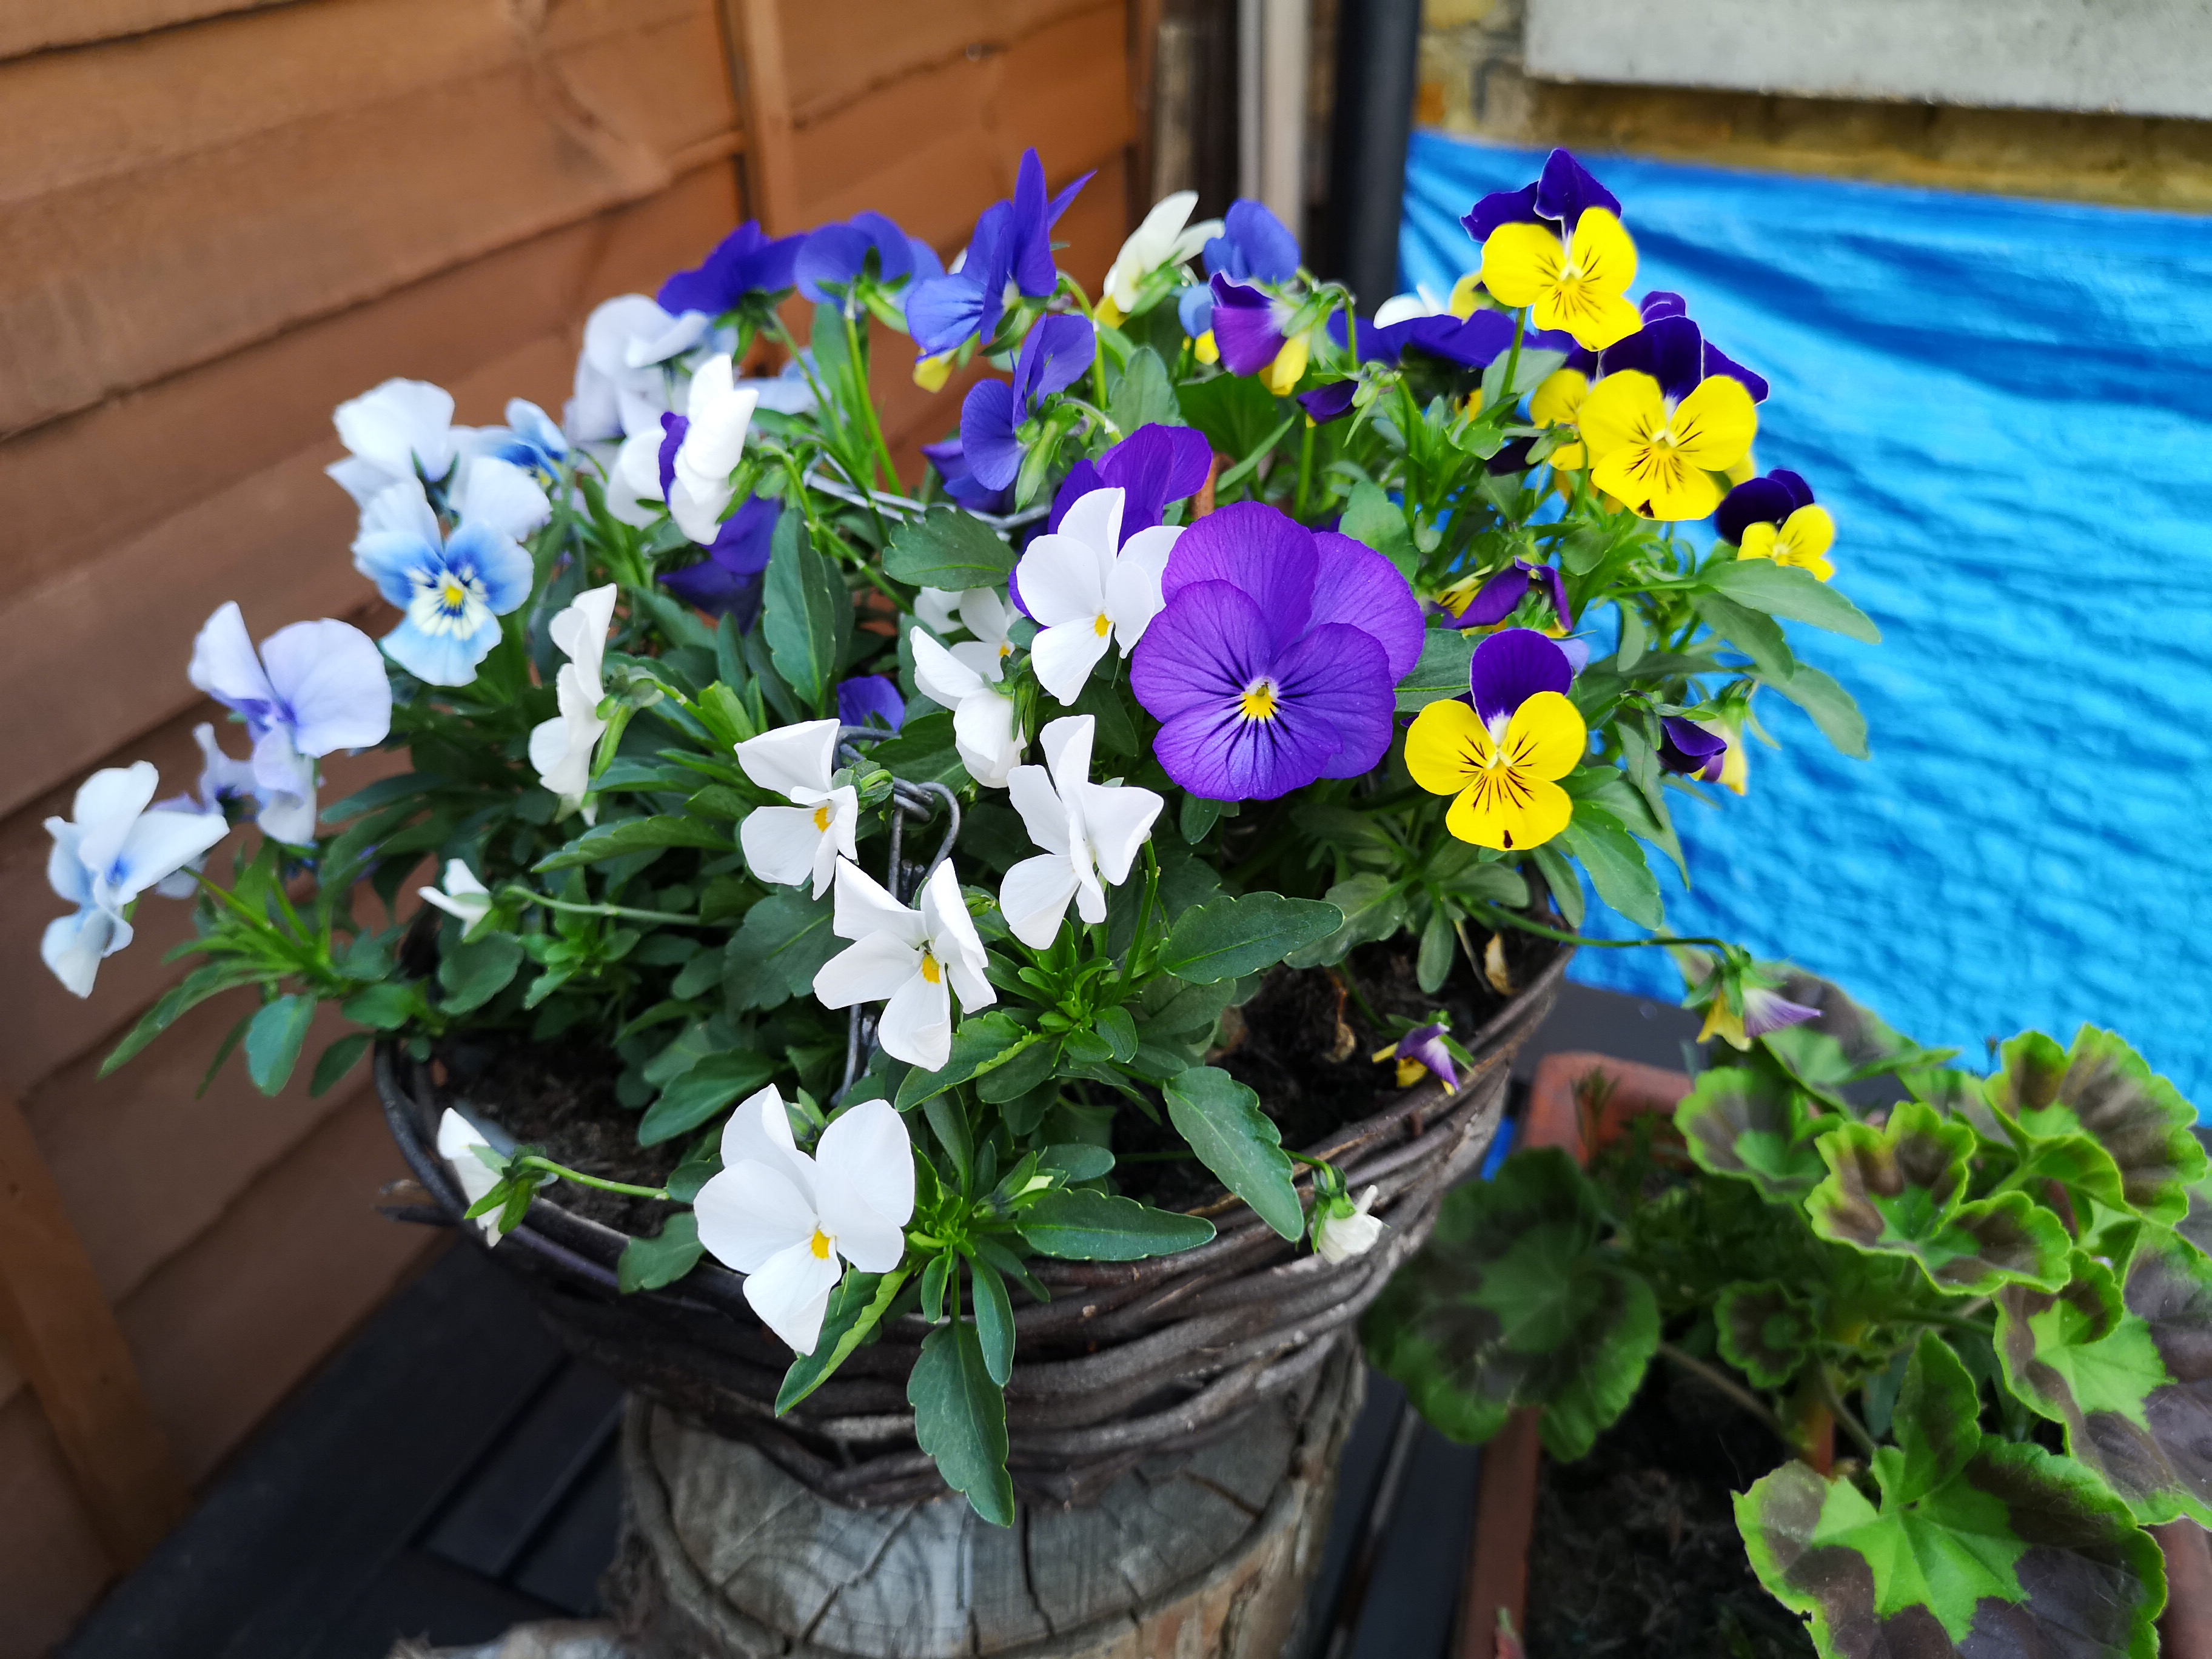
The first Master AI example to show you is this shot of a garden. The phone quickly recognised ‘greenery' and the difference between the AI enhanced image vs a standard photo with AI off, is quite remarkable. That said, the adjustment seems quite simple – ‘greenery' mode has whammed up the contrast and saturation to make the greens look super green. Interestingly, the wooden fence in the image is also noticeably more ‘orange' with the AI enhancements enabled, suggesting it is not just the green channel that has been boosted.
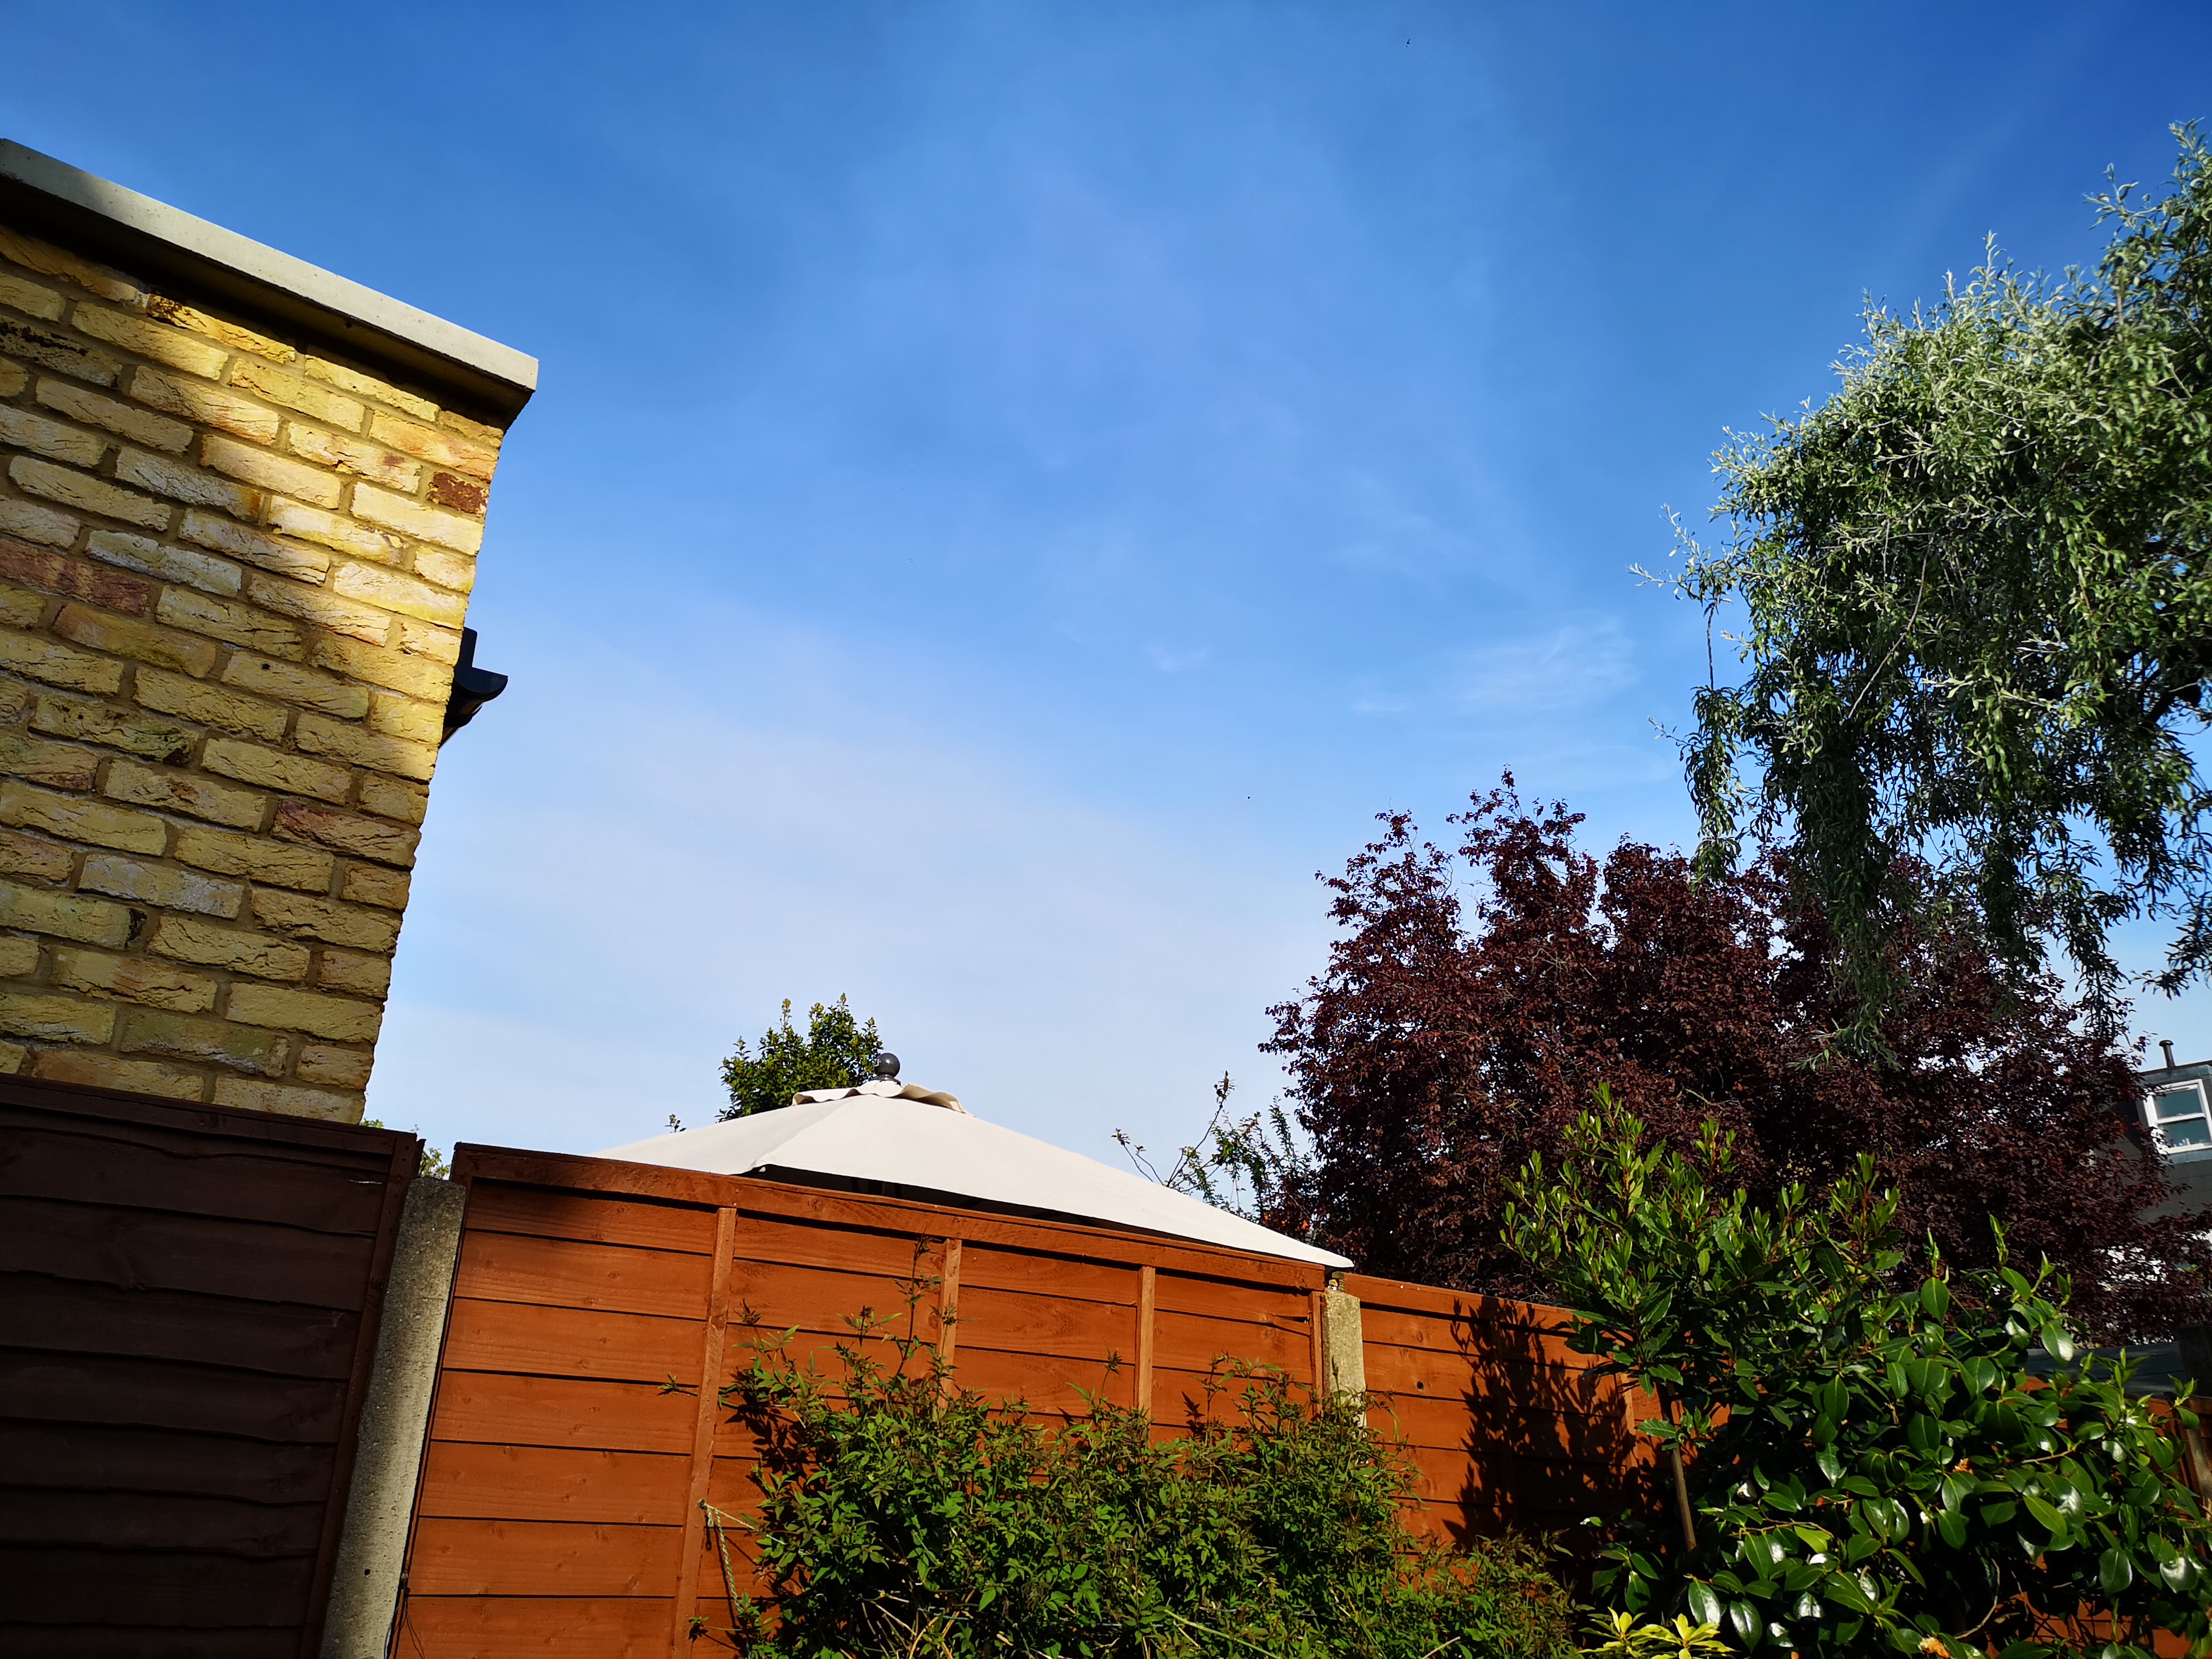
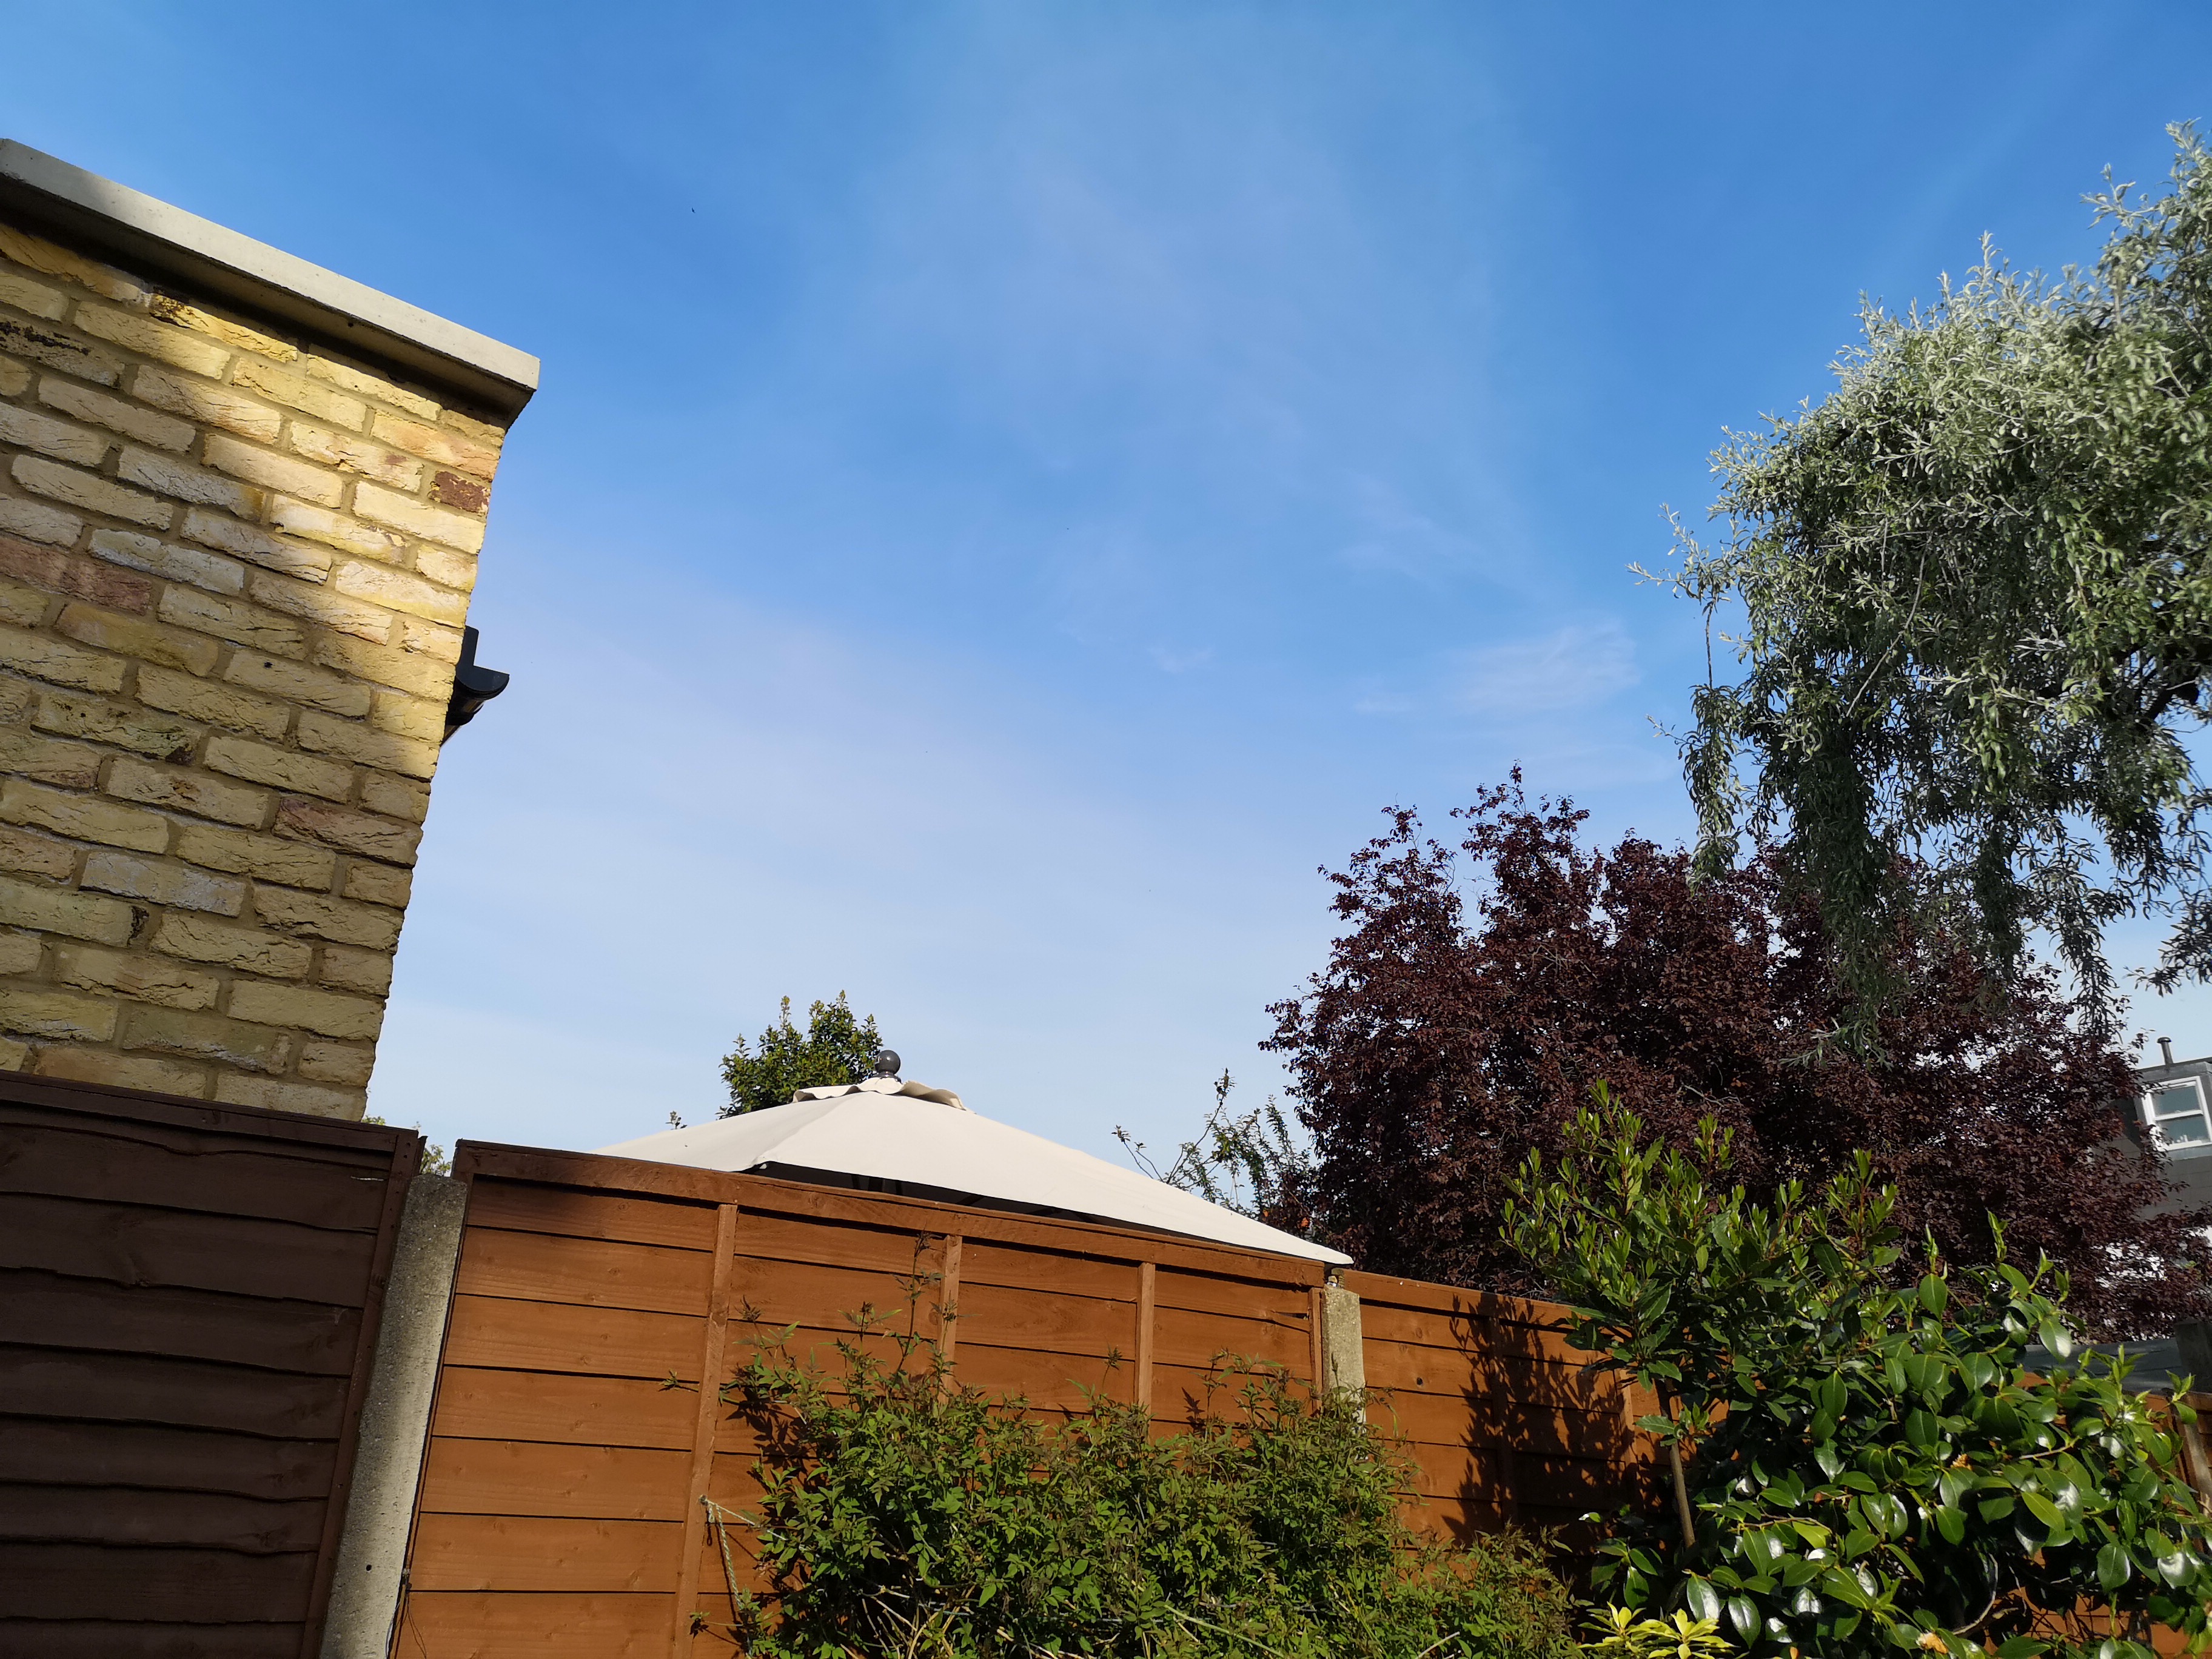
Master AI enabled on the left, Master AI disabled on the right
Much the same can be said for the blue sky scene recognition. The phone is quick at detecting there is indeed some blue sky, and again – contrast and saturation is noticeably bumped up across the whole scene. Personally, I don't like this look – it is over-done and looks quite fake. Perhaps if you are (or know) a teenager who uses Instagram quite frequently, it might appeal to them. For me, I prefer a natural-looking image.
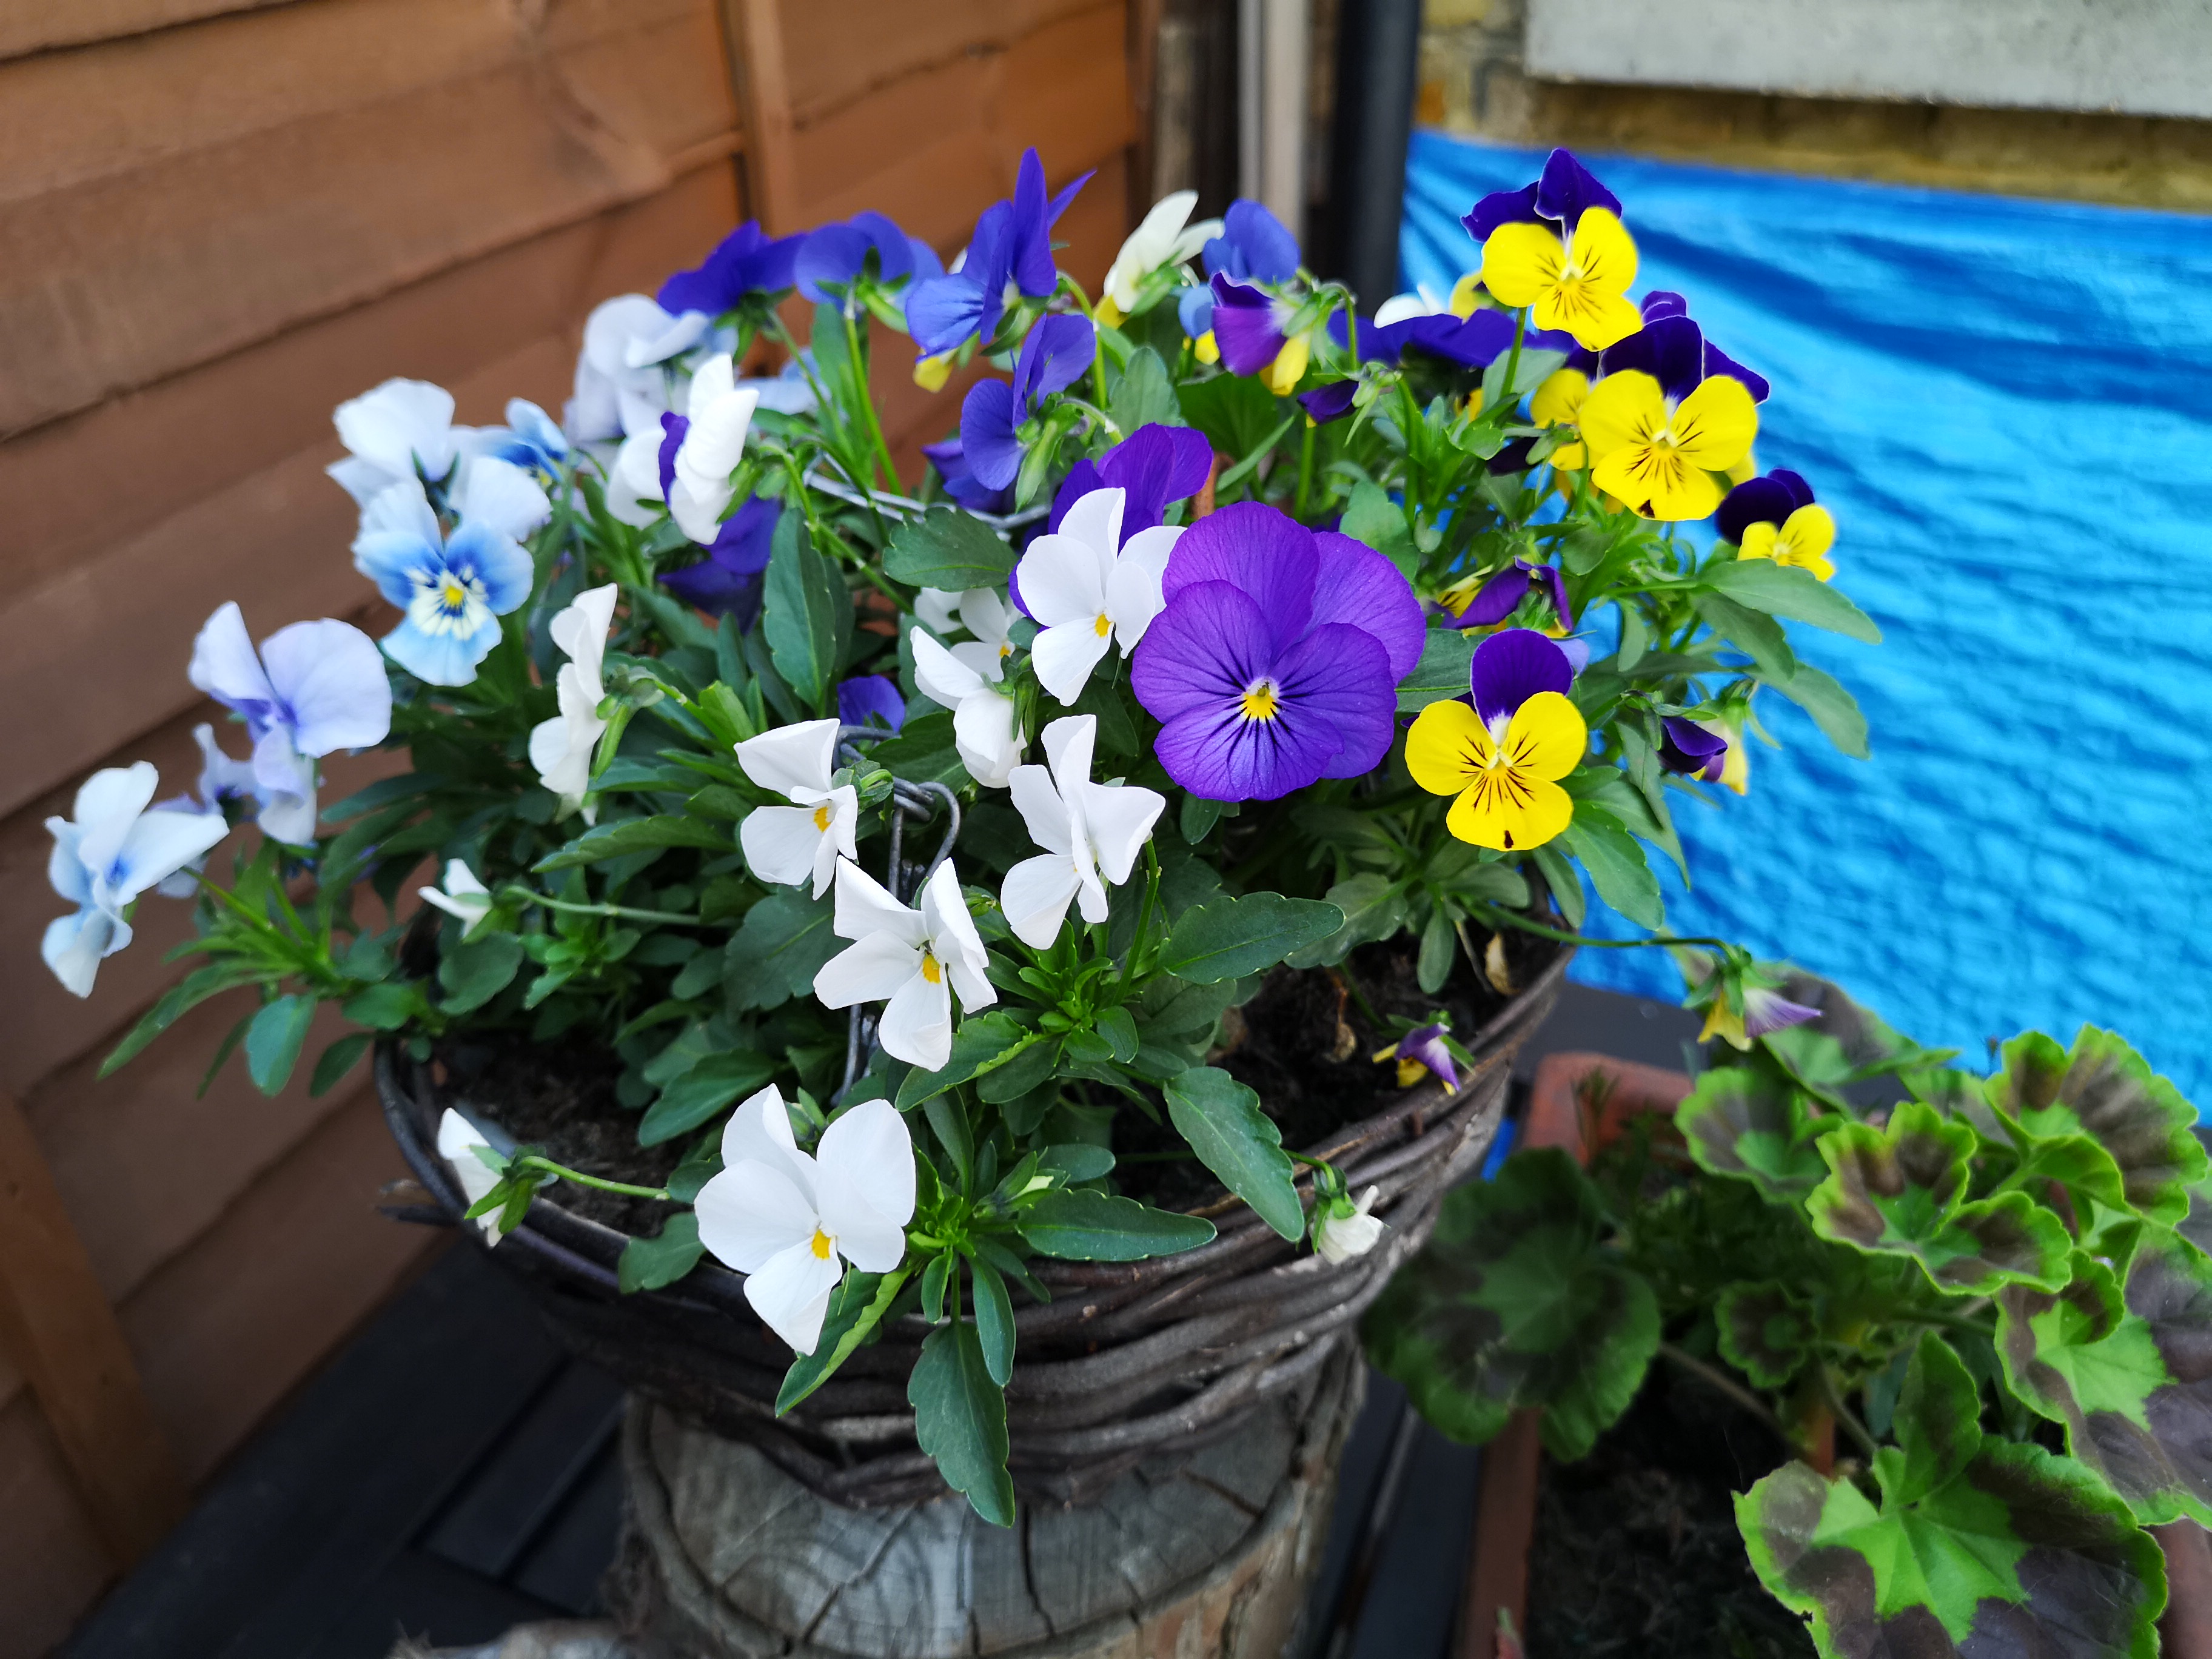
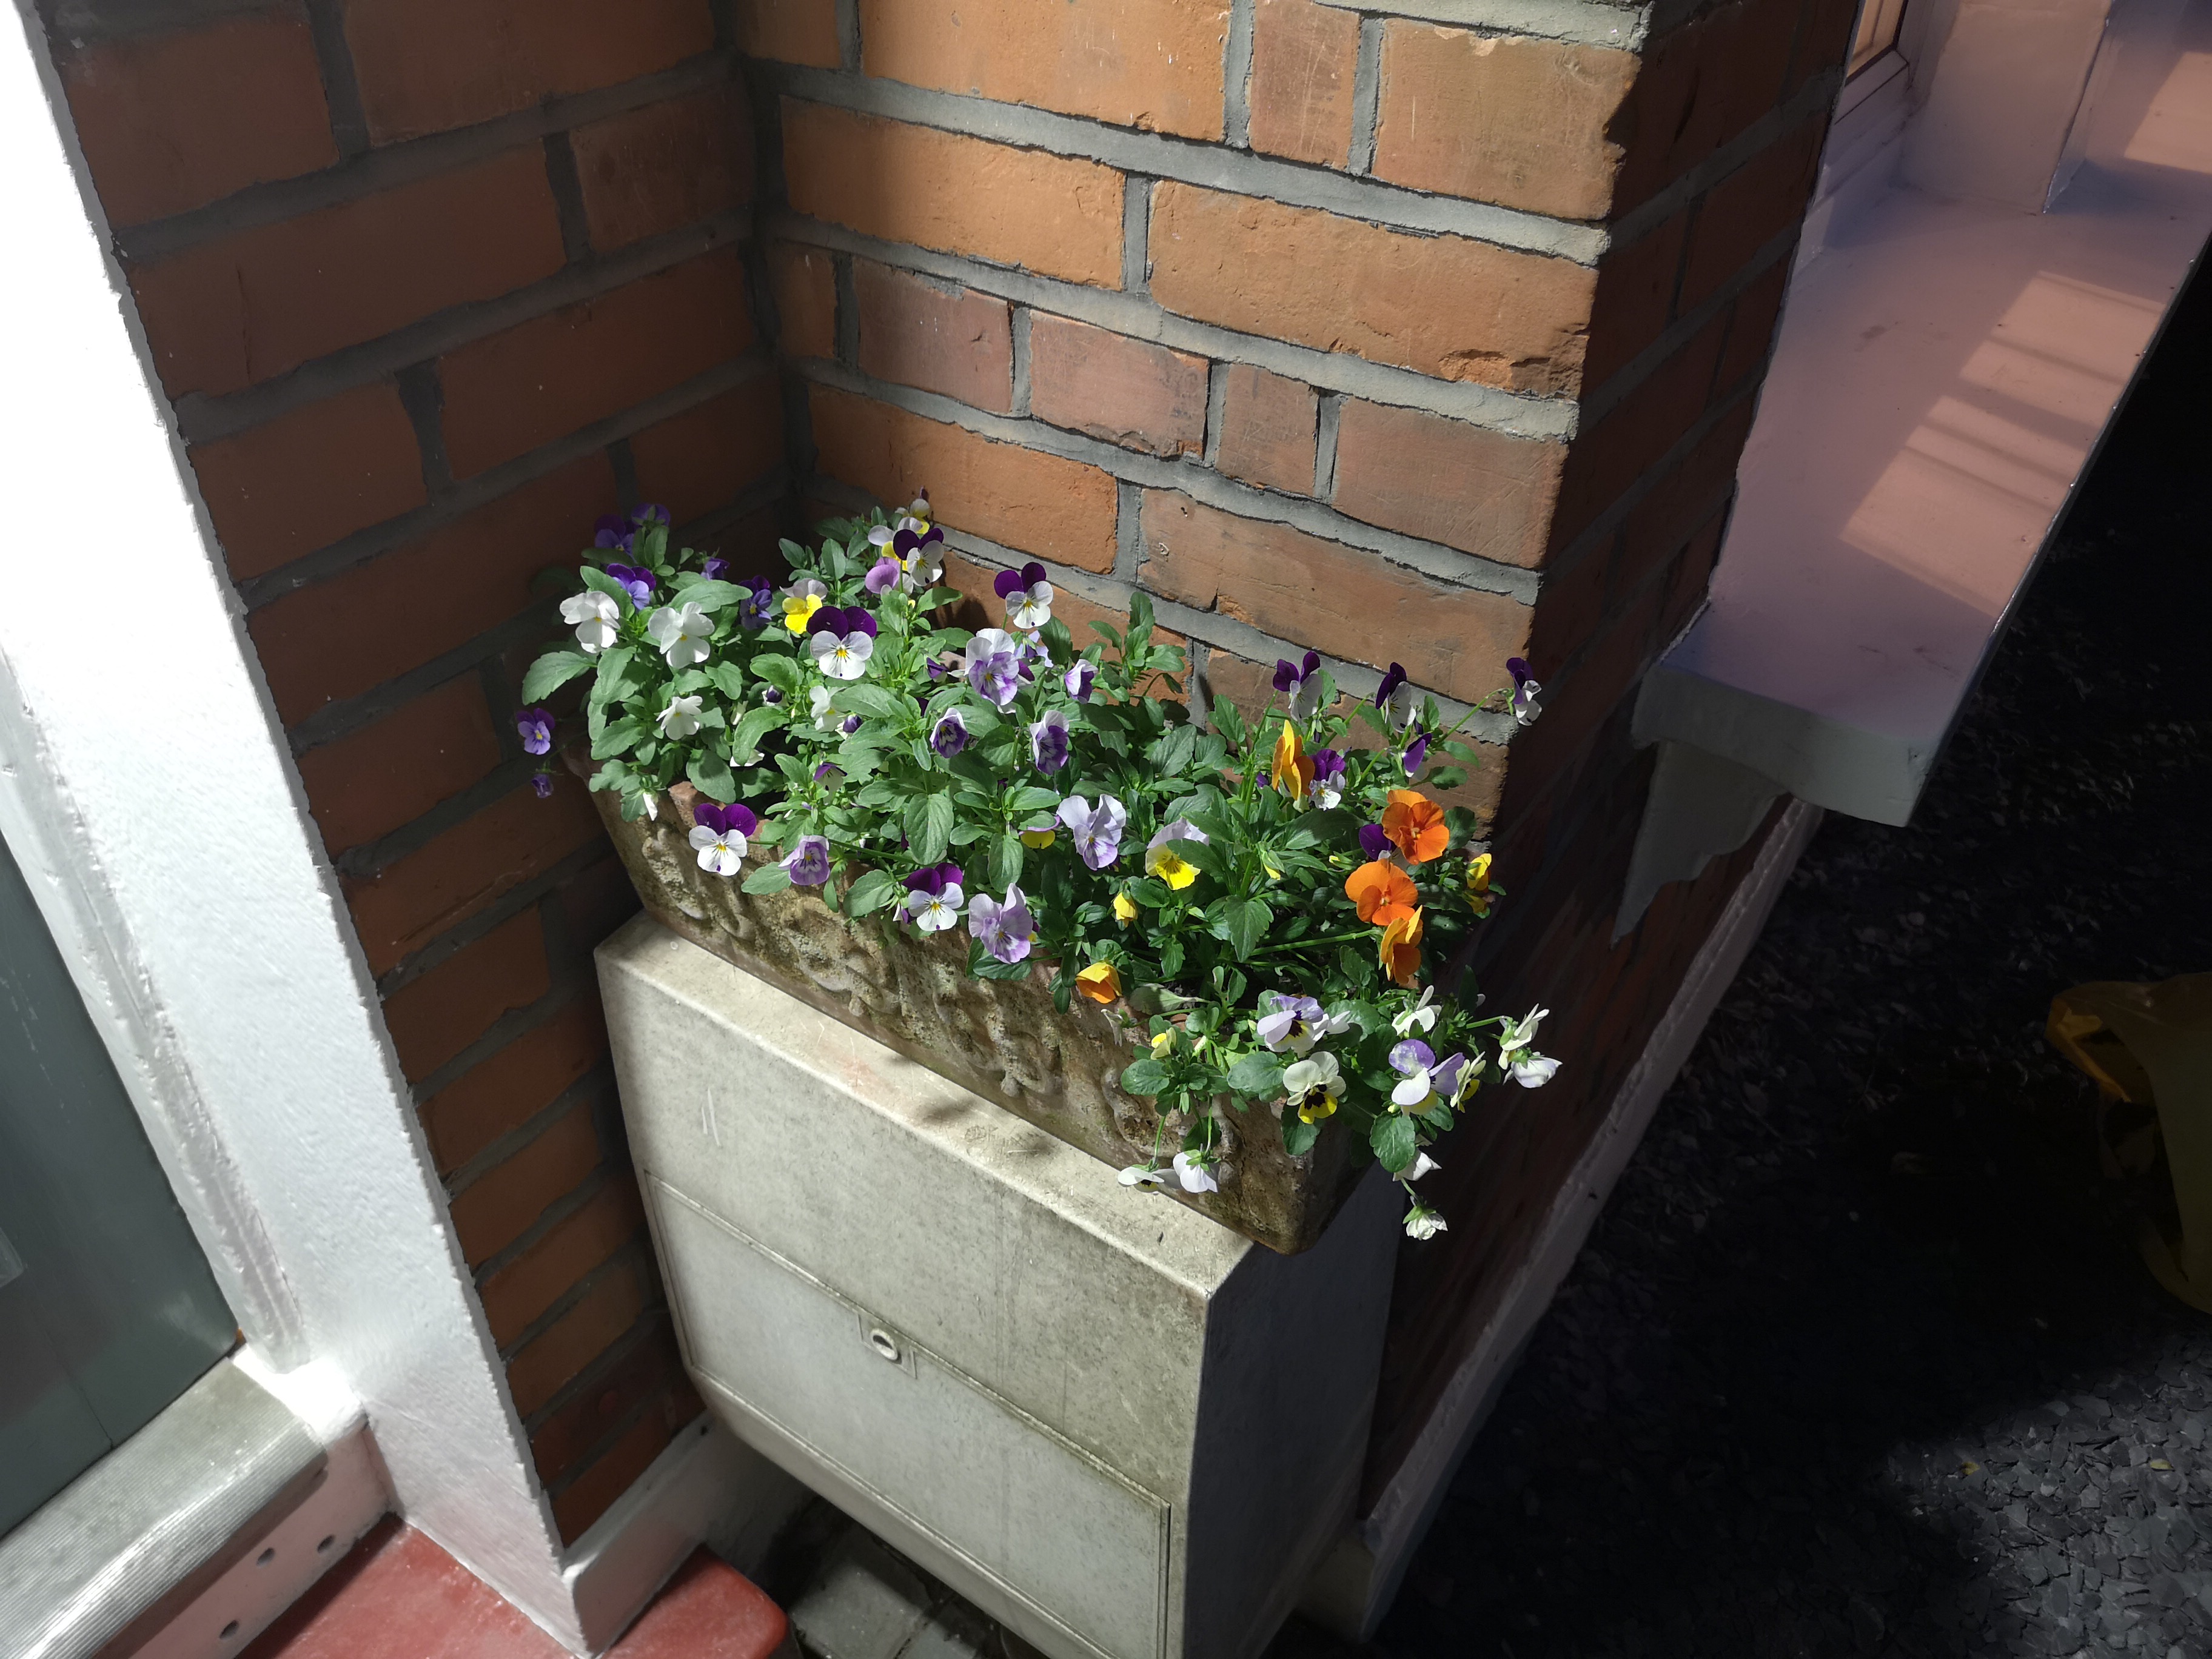
Master AI enabled on the left, Master AI disabled on the right
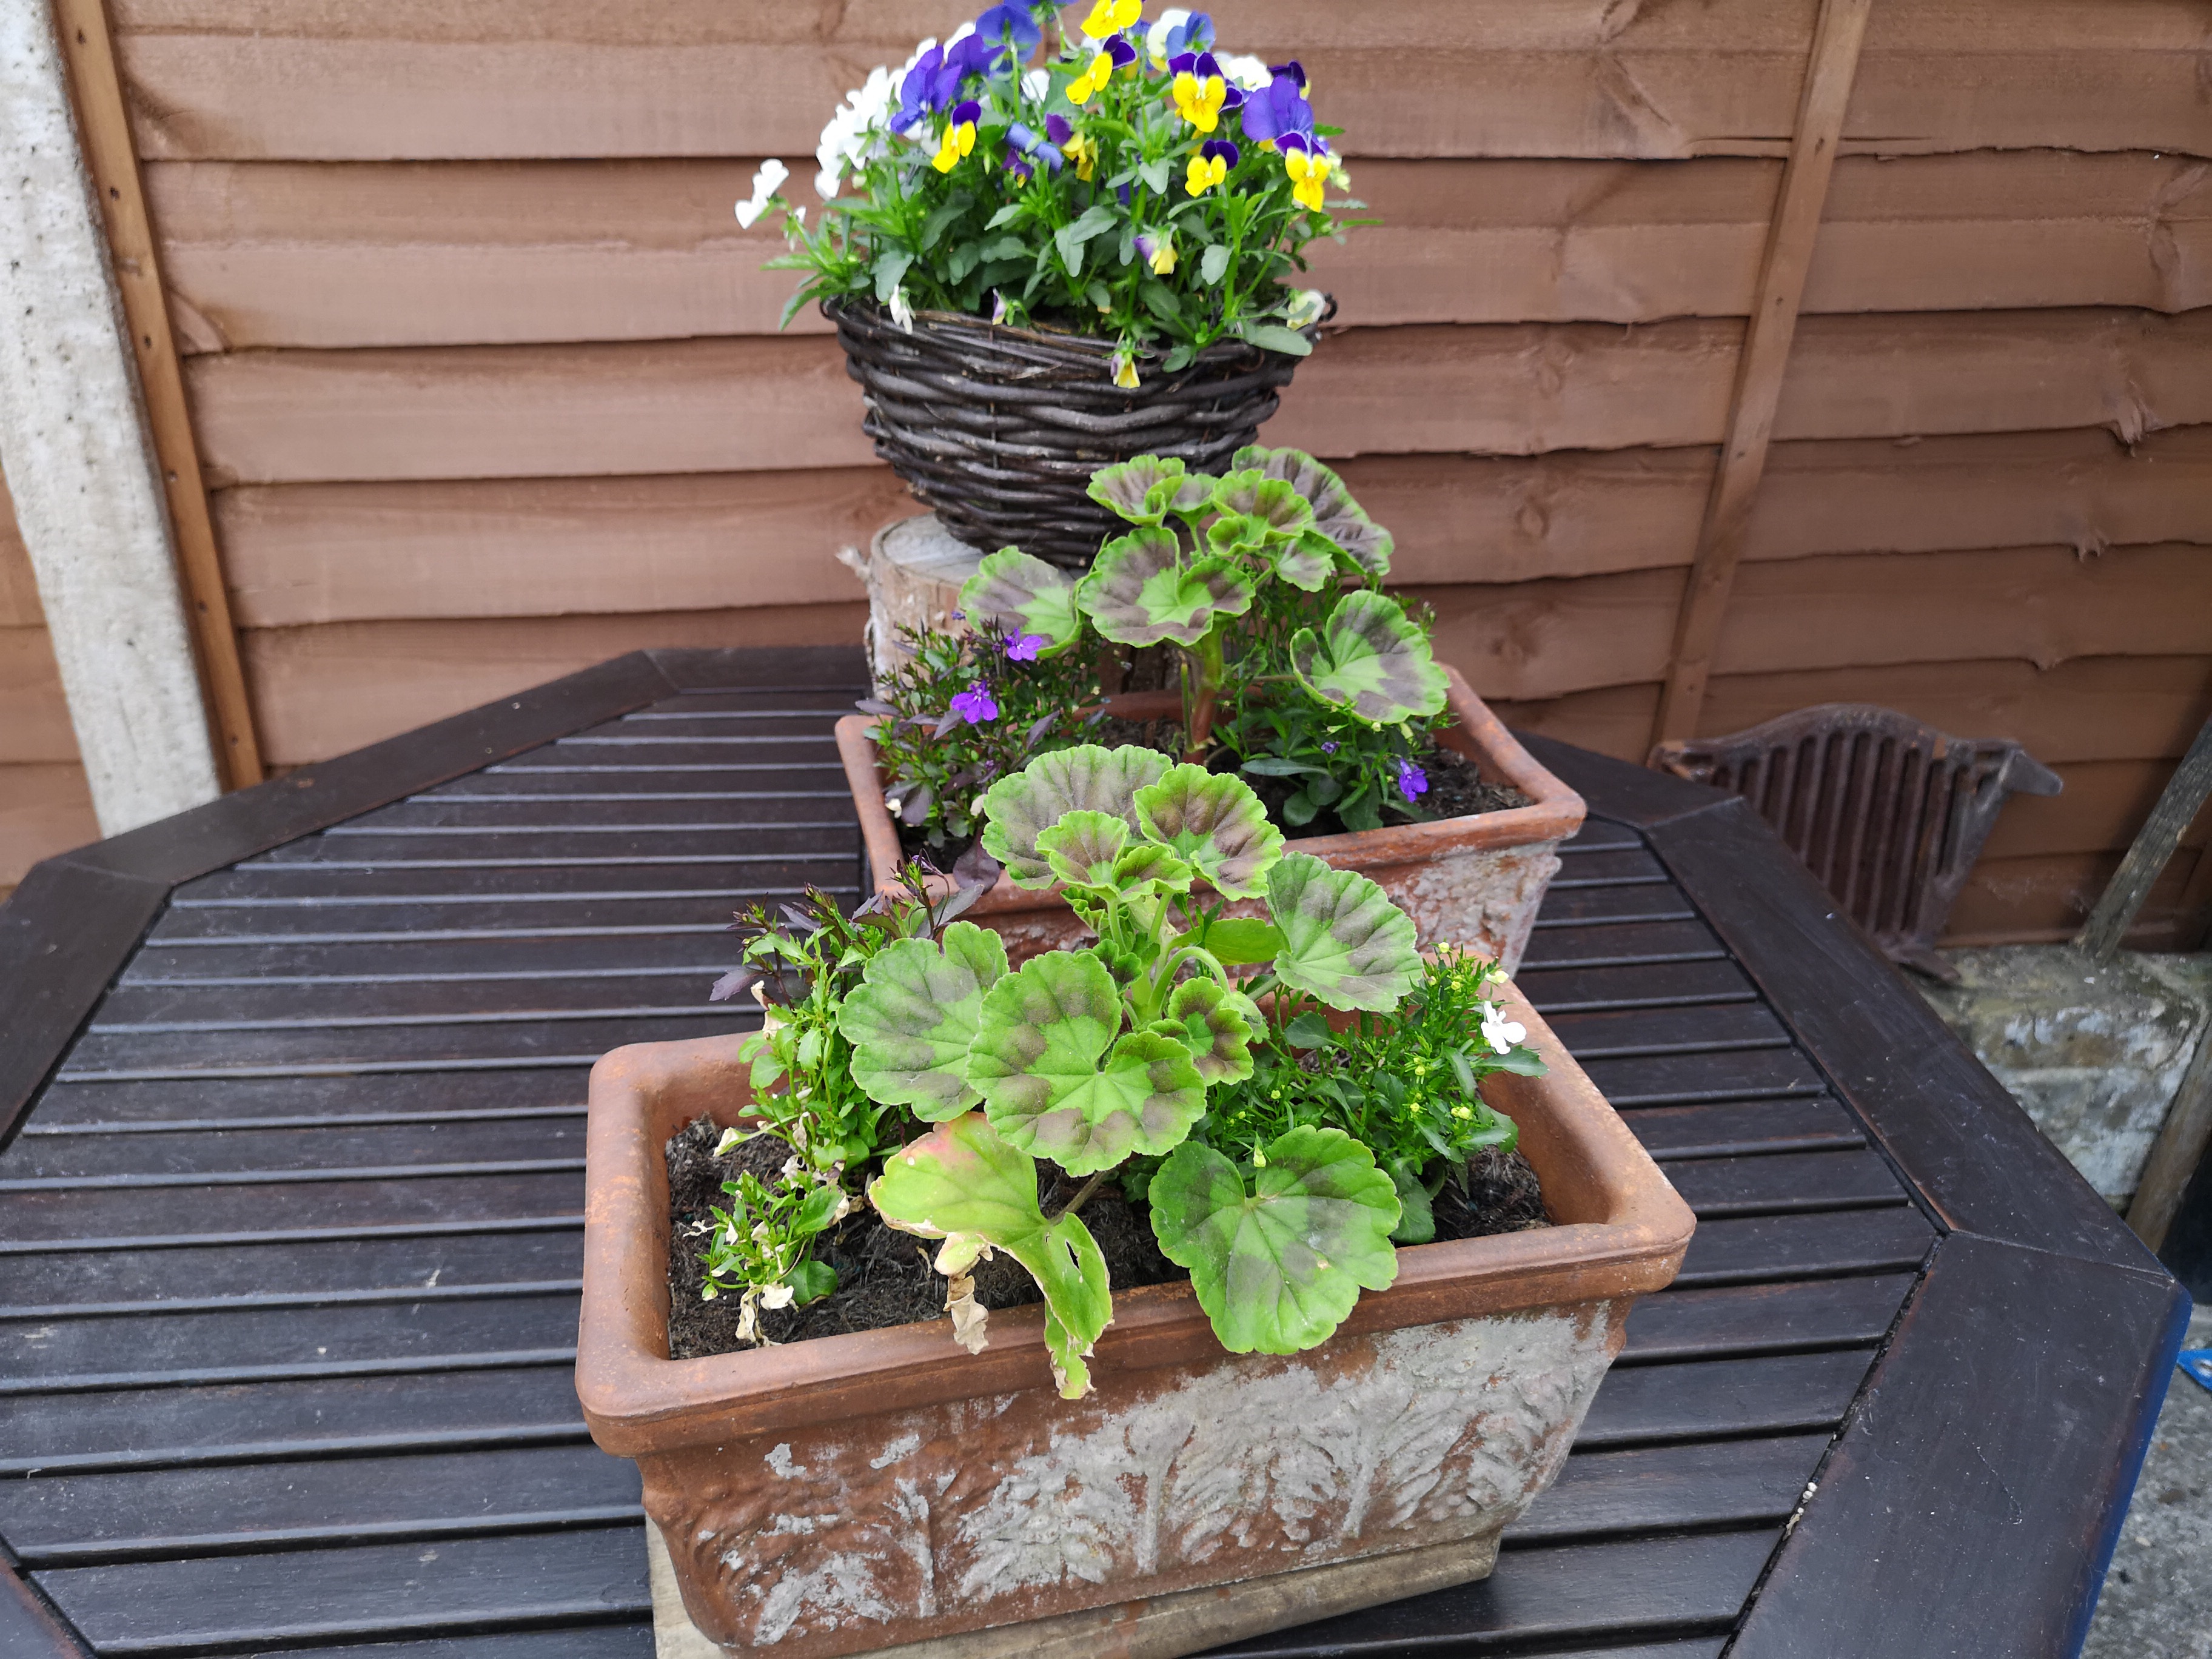
Credit where credit is due – the P20 Pro is very fast at recognising different scenes/objects, and it detected the flowers very quickly. However, the differences here are much more subtle – to the point where I'm not sure I could differentiate between the two. If anything, I'd say that the image with AI disabled looks slightly more vibrant.
Master AI enabled on the left, Master AI disabled on the right
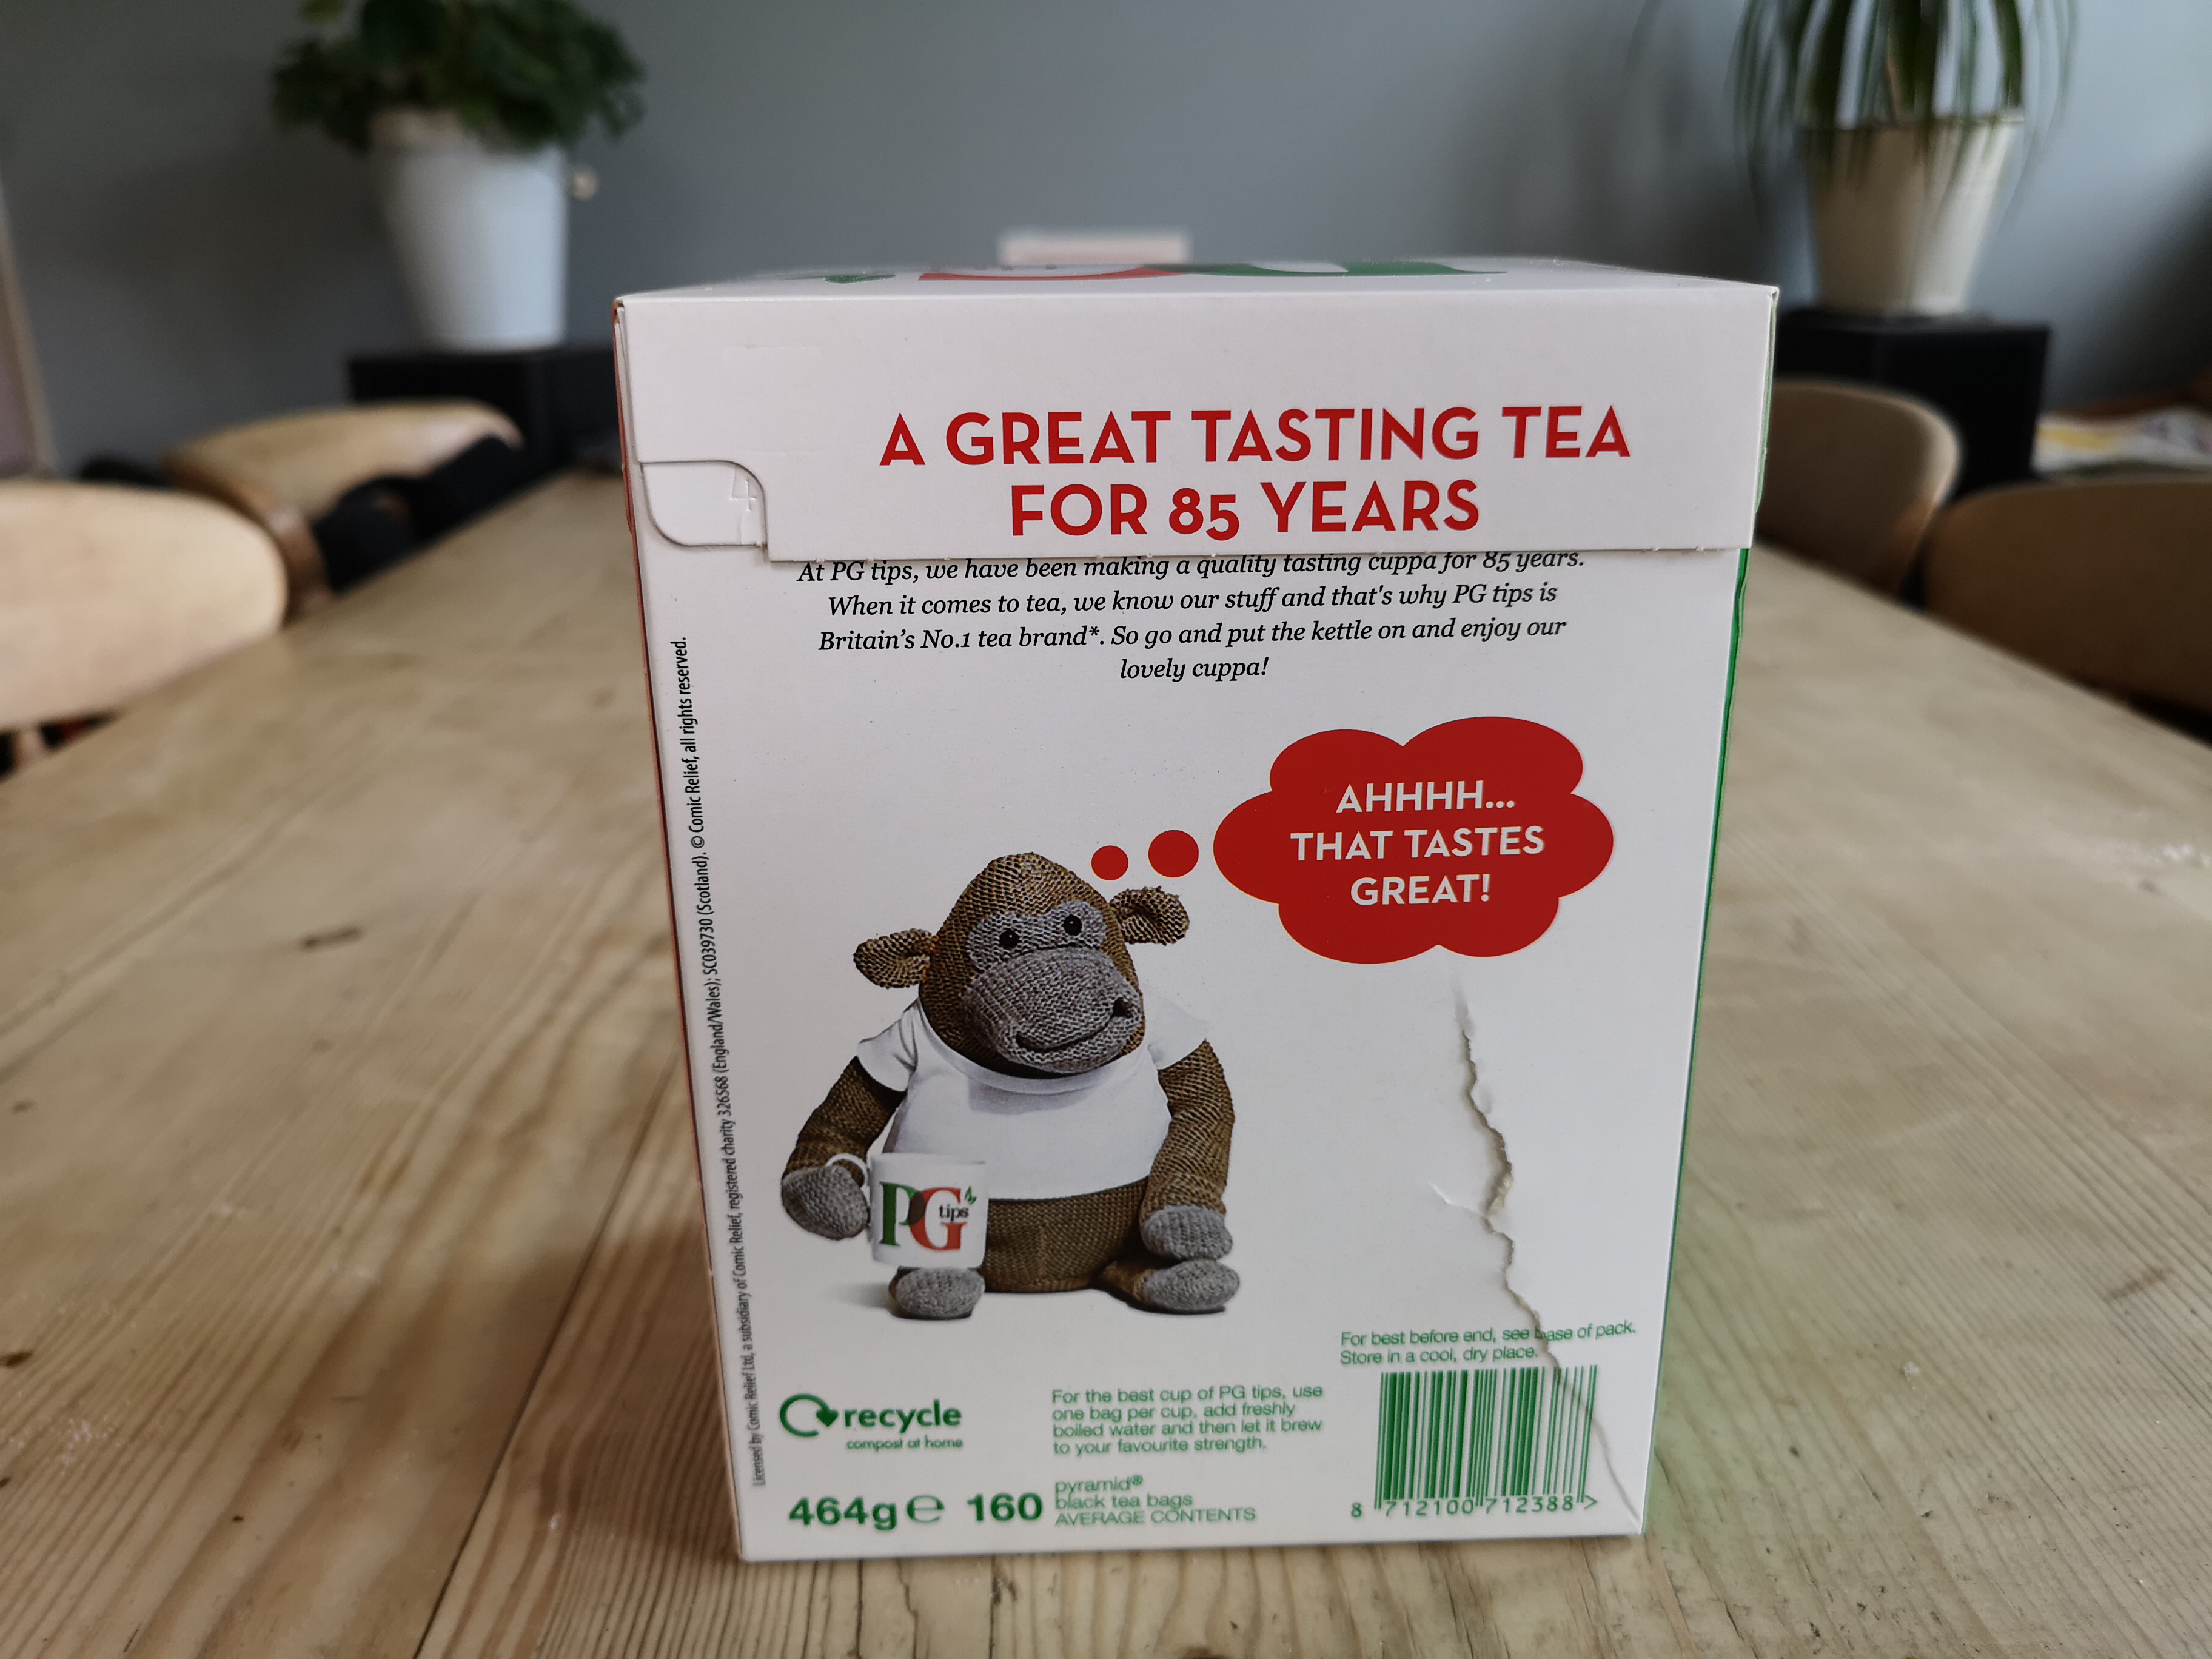
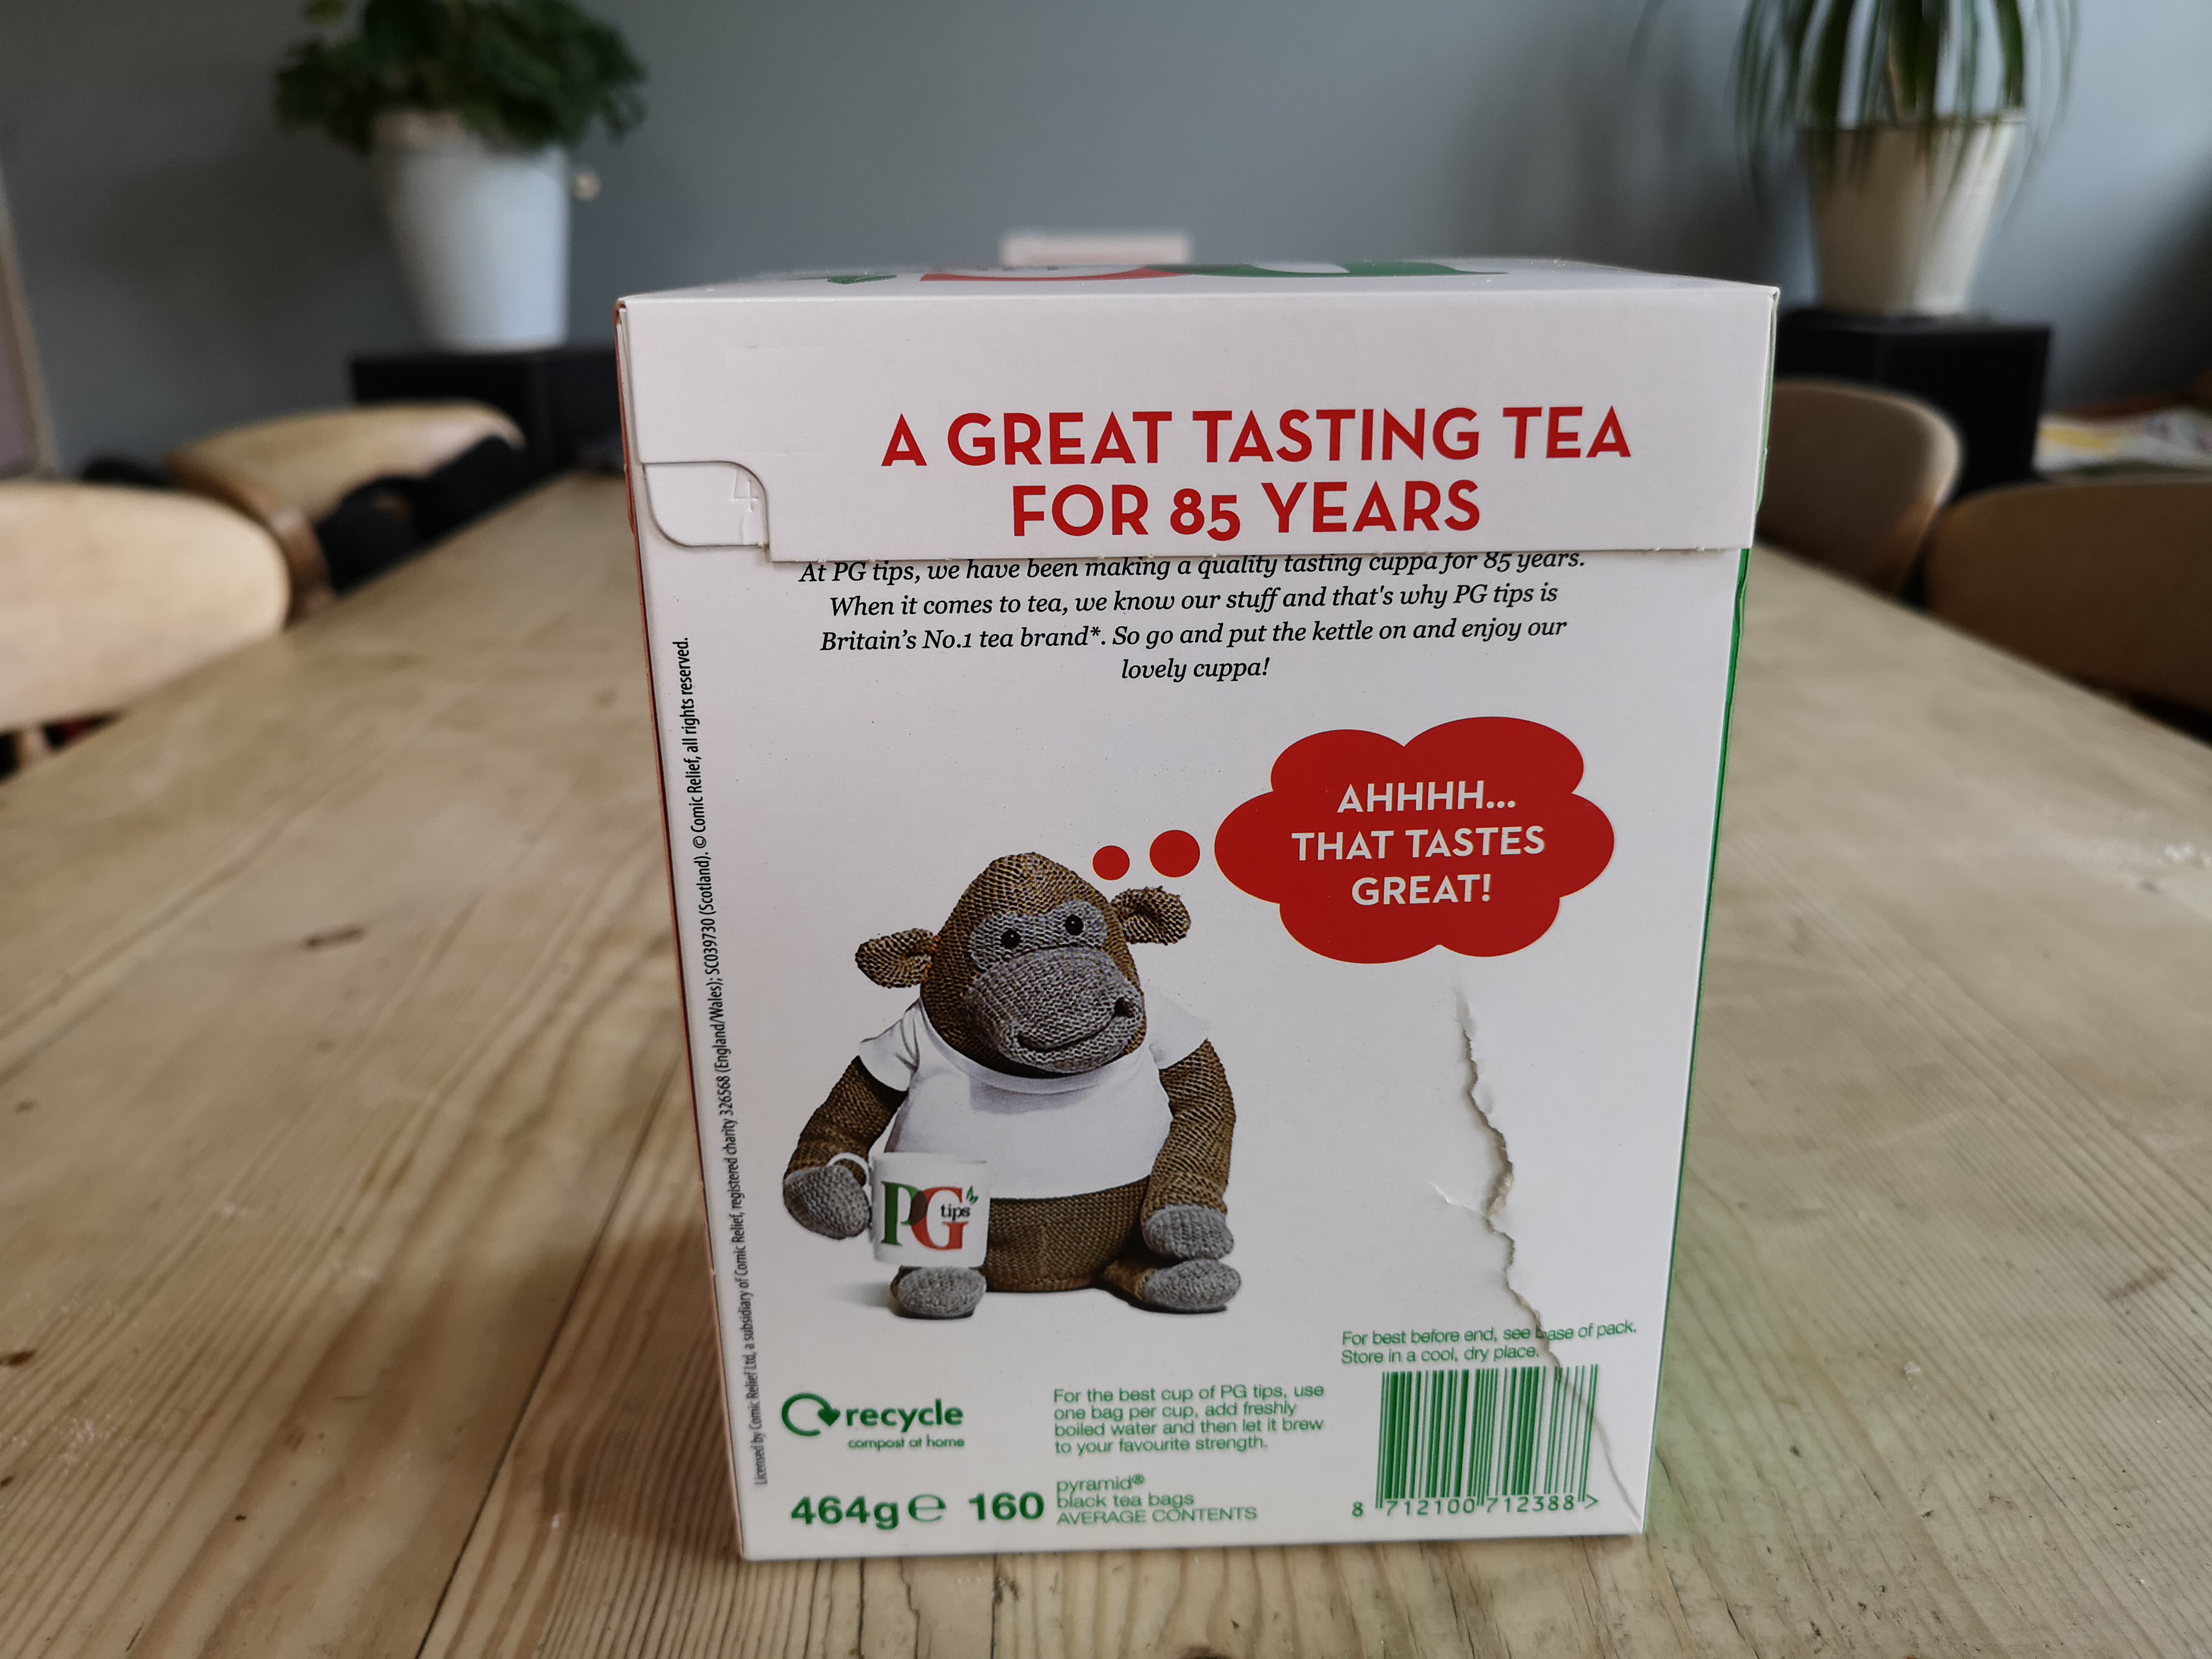
The last example, this one is testing the AI's recognition of text. Like the image of the flowers above, the difference is minimal. Perhaps the image with AI enabled has slightly higher contrast, but the text is clearly legible across both images.
Those four images sum-up my experience with Master AI in a nutshell – either it makes a very significant difference to photos (in an artificial way, which I don't personally like) or it doesn't seem to be doing much. In regard to the latter point, I do have to wonder – it's all well and good that the phone can recognise different things, but what's the point if it isn't changing many, if any, camera settings?
Closing thoughts
Overall, this further examination of the Huawei P20 Pro's camera hasn't changed my overall opinion about the phone that I put forward in my review. It is certainly a capable triple camera setup which can take clear and detailed images. However, I feel like images are just processed to much, and I prefer a more natural-looking image. This is the case whether I use Auto mode or Pro mode, and even when Master AI is disabled.
That said, I can obviously appreciate some people might like this ‘enhanced' effect that is applied to photos. If you want to upload a photo to Instagram without thinking about filters or playing with contrast levels, the P20 Pro will be perfect for you. However, I can't help but feel a twinge of disappointment that there isn't a ‘natural' mode, or something like that, which can harness the impressive camera hardware without over-doing the image processing.
KitGuru says: What do you guys prefer – a more processed image, or something a bit more natural? We'd love to hear your thoughts. If you've bought a P20 Pro yourself, feel free to share any photos with us.