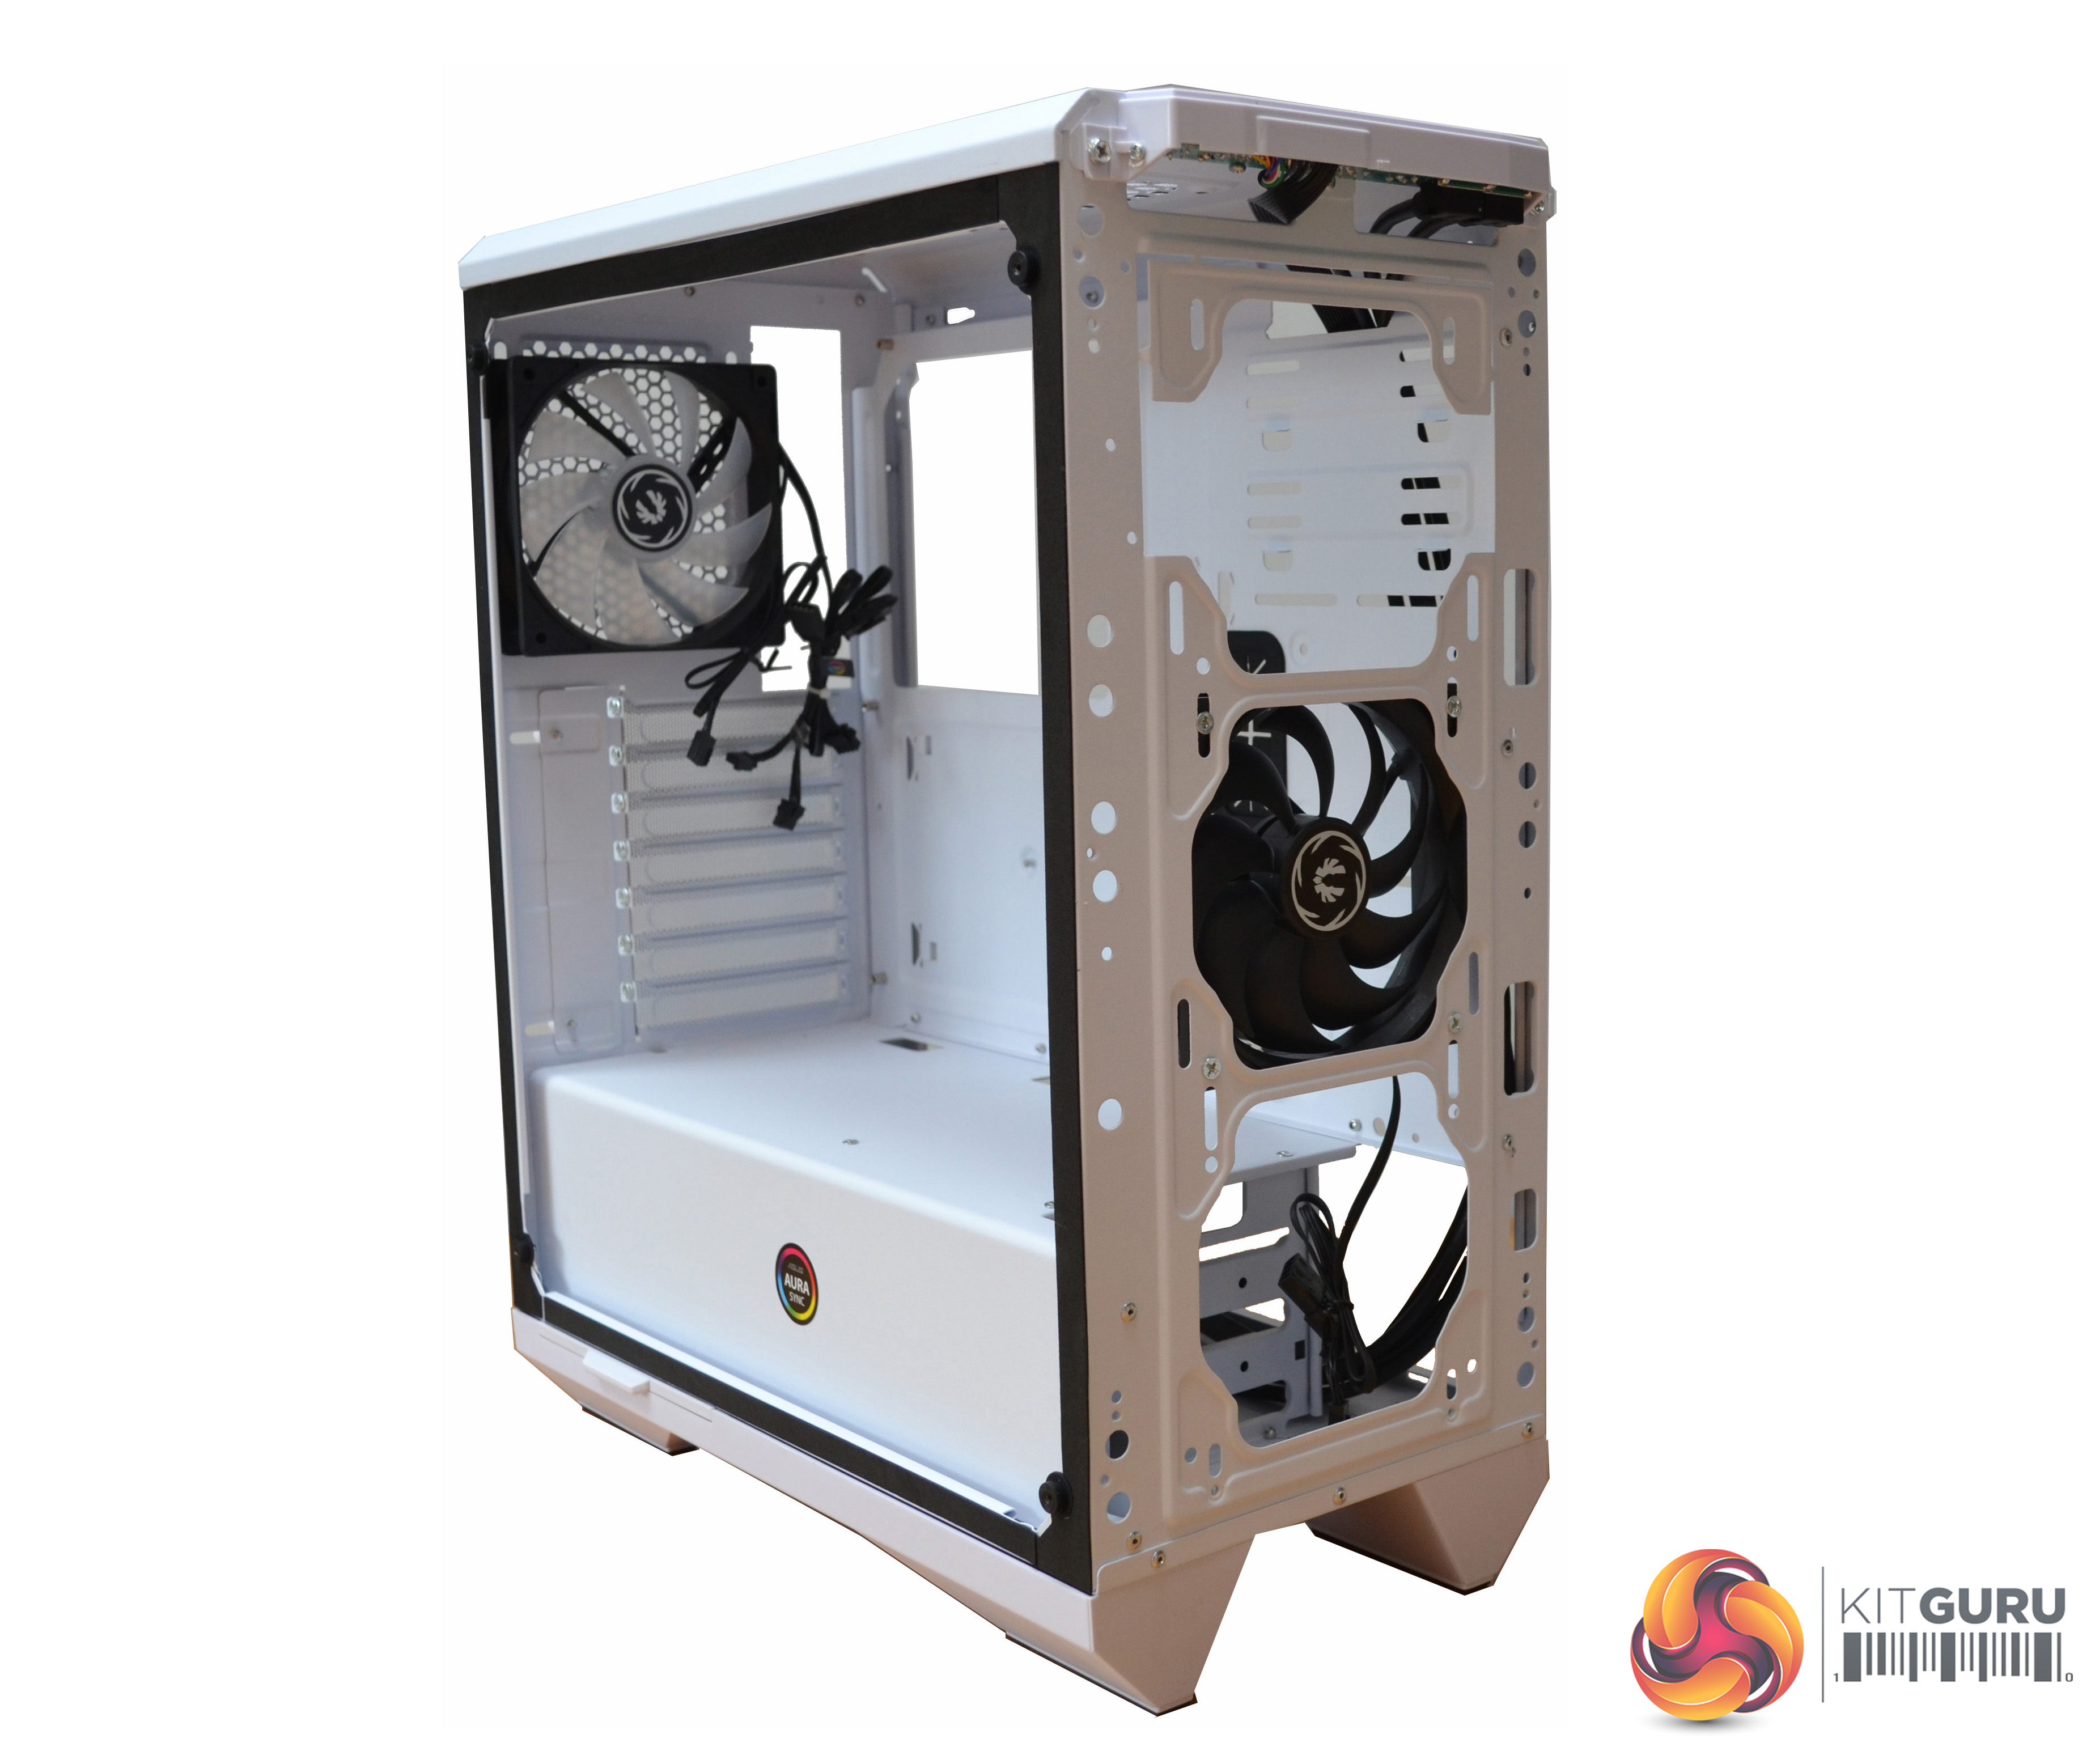
Overall, the structural design and materials used are of a reasonably good quality – the case seems quite sturdy for this price range. Even with the side and front panels removed the case doesn’t flex much at all. When measured with a micrometer, it seems 1mm thick steel for the chassis structure and side panel has been used, which is more substantial compared to some other higher priced cases on the market, which only use 0.75mm thick steel.
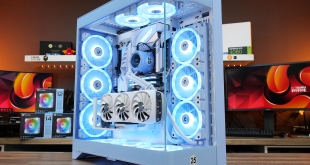
Along with a removable front panel, both the side panels are rather easy to remove. The right-hand steel side panel has two thumb screws at the rear which unscrew completely (not captive), then the side panel slides backward to release from the case. The top panel is riveted to the frame and the motherboard tray so, therefore, cannot be removed. This can hinder installation access a little, especially when routing cables along the top edge of the motherboard.
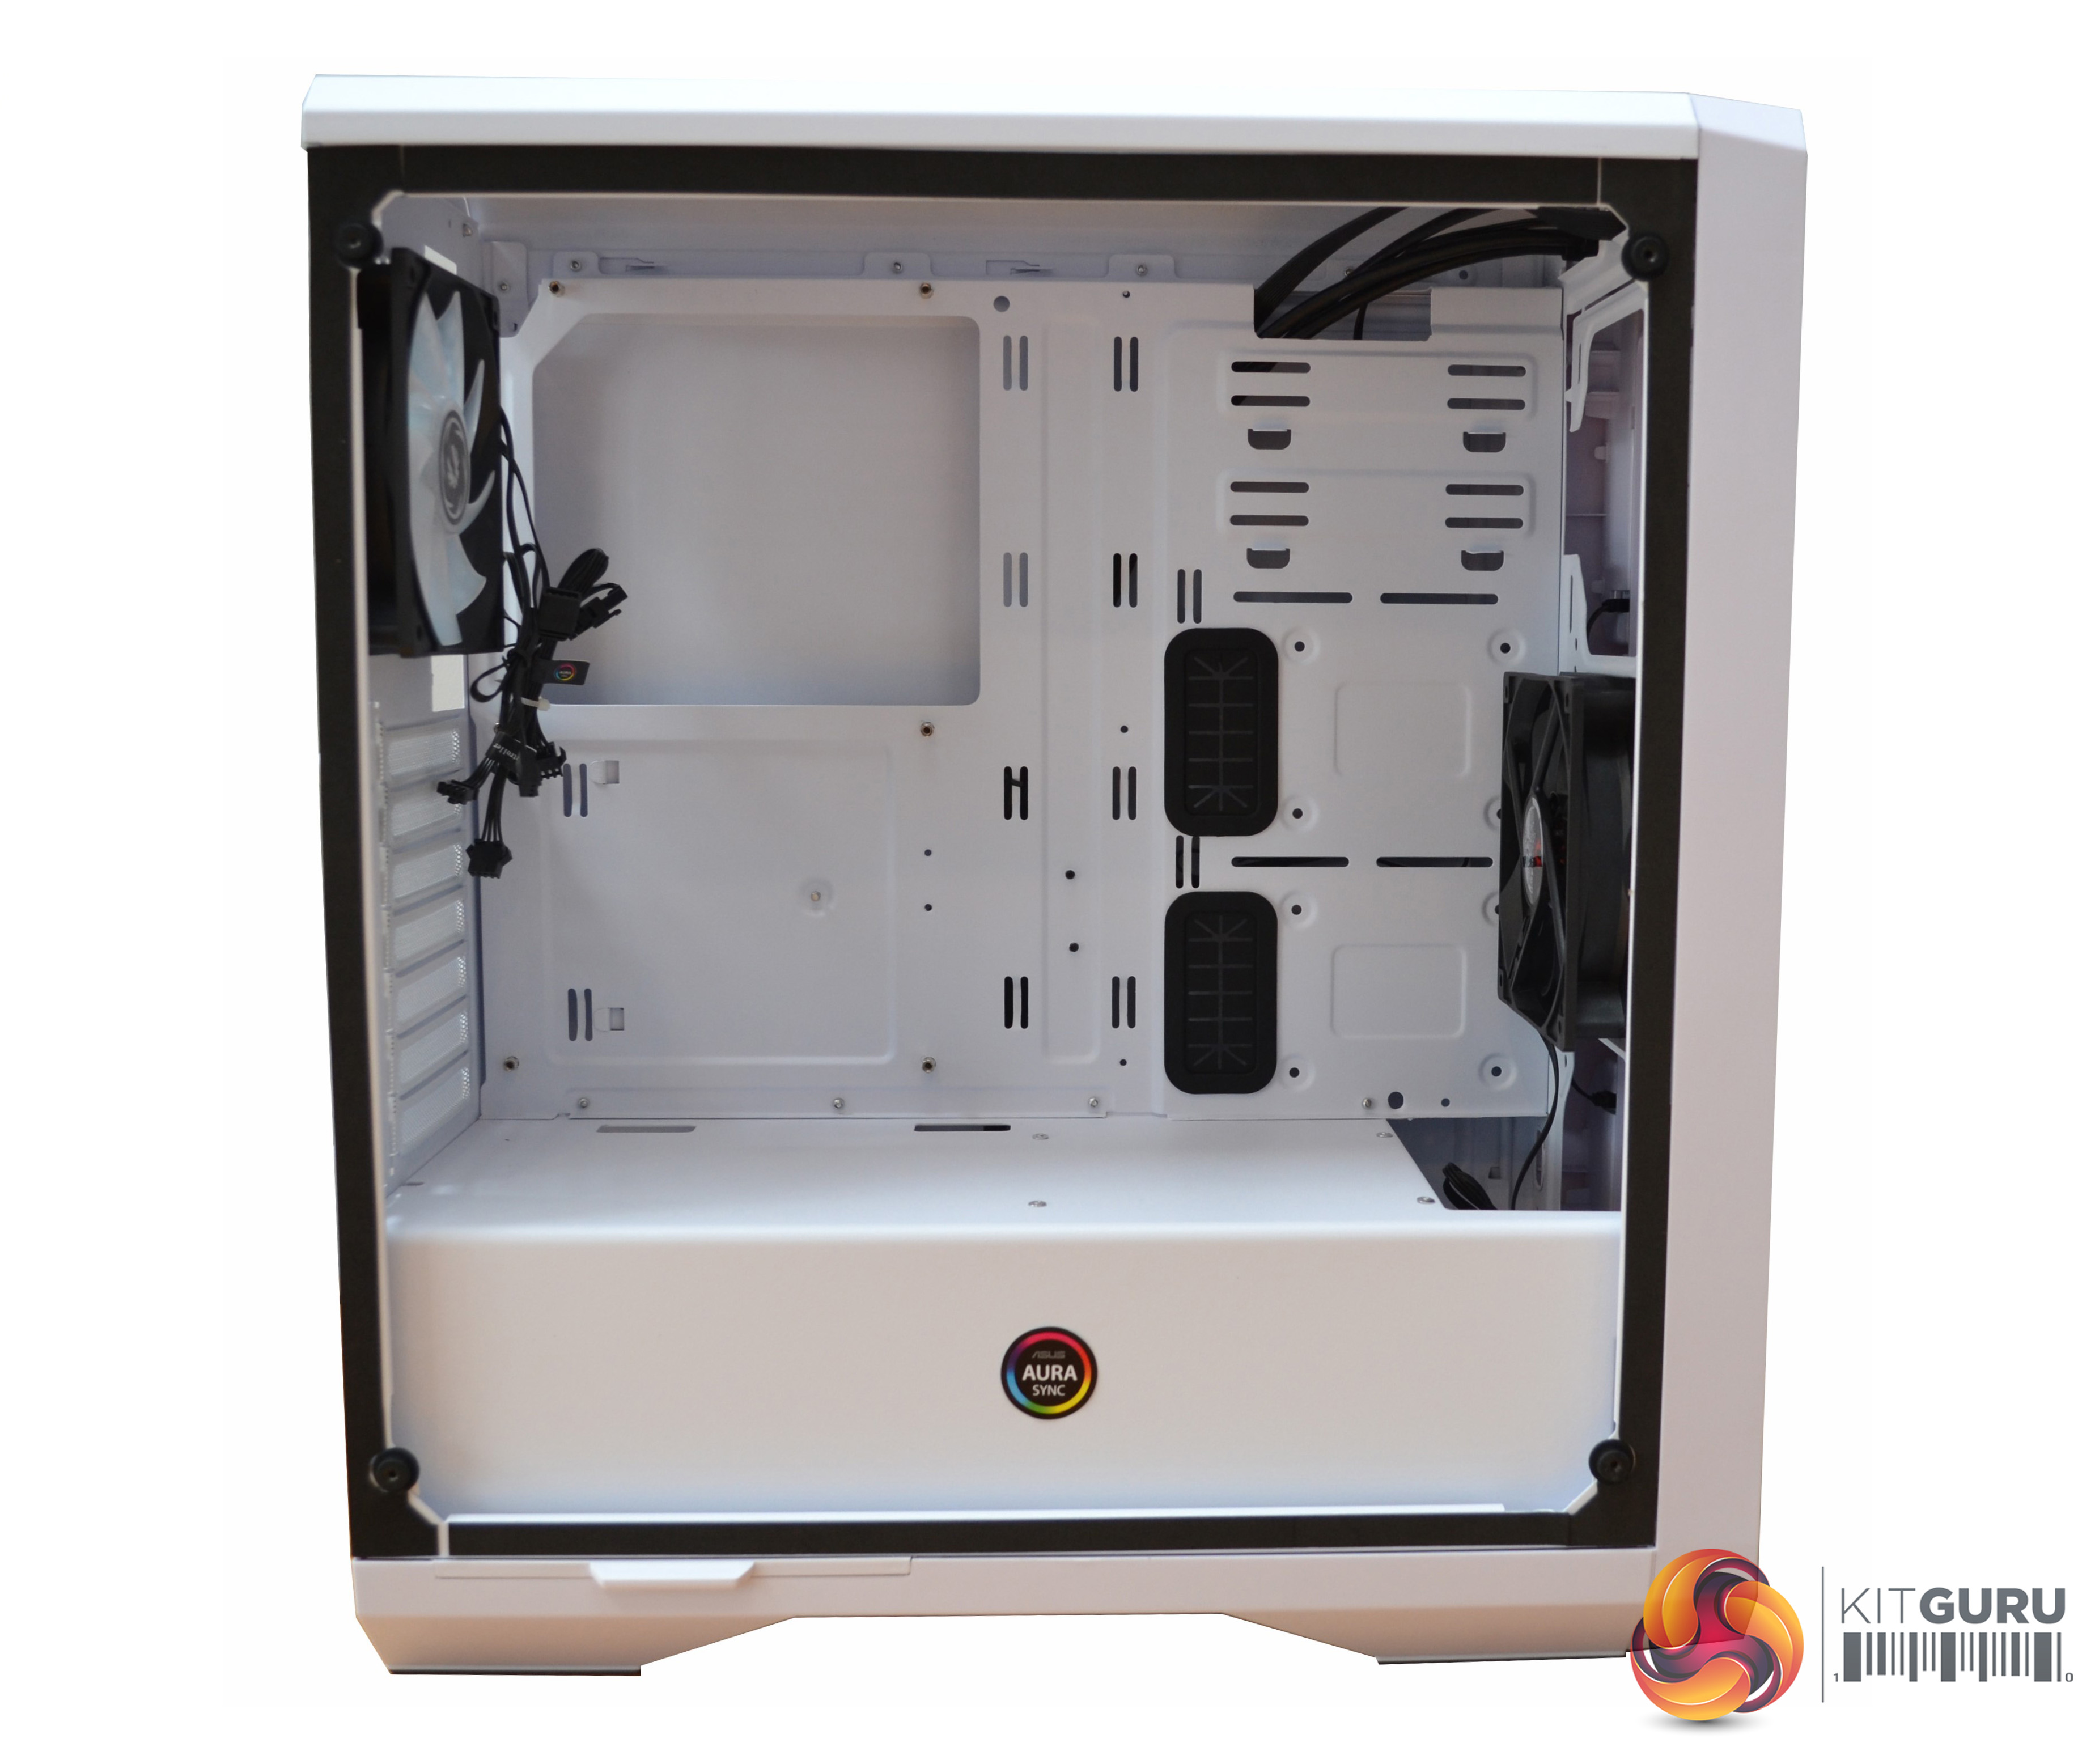
The slightly tinted 4mm thick tempered glass left hand panel is located on four rubber fixing mounts with a female thread, which protrude out from the side of the case. Four thumbscrews hold the panel in place and there is a rubber seal around the opening for the glass panel. The rubber seal has three potential benefits; to help prevent dust entering the case, to provide anti-vibration/noise suppression, and to minimise the chance of breaking the glass when tightening the fixings. We were pleased to see this seal implemented on a case in this price range,
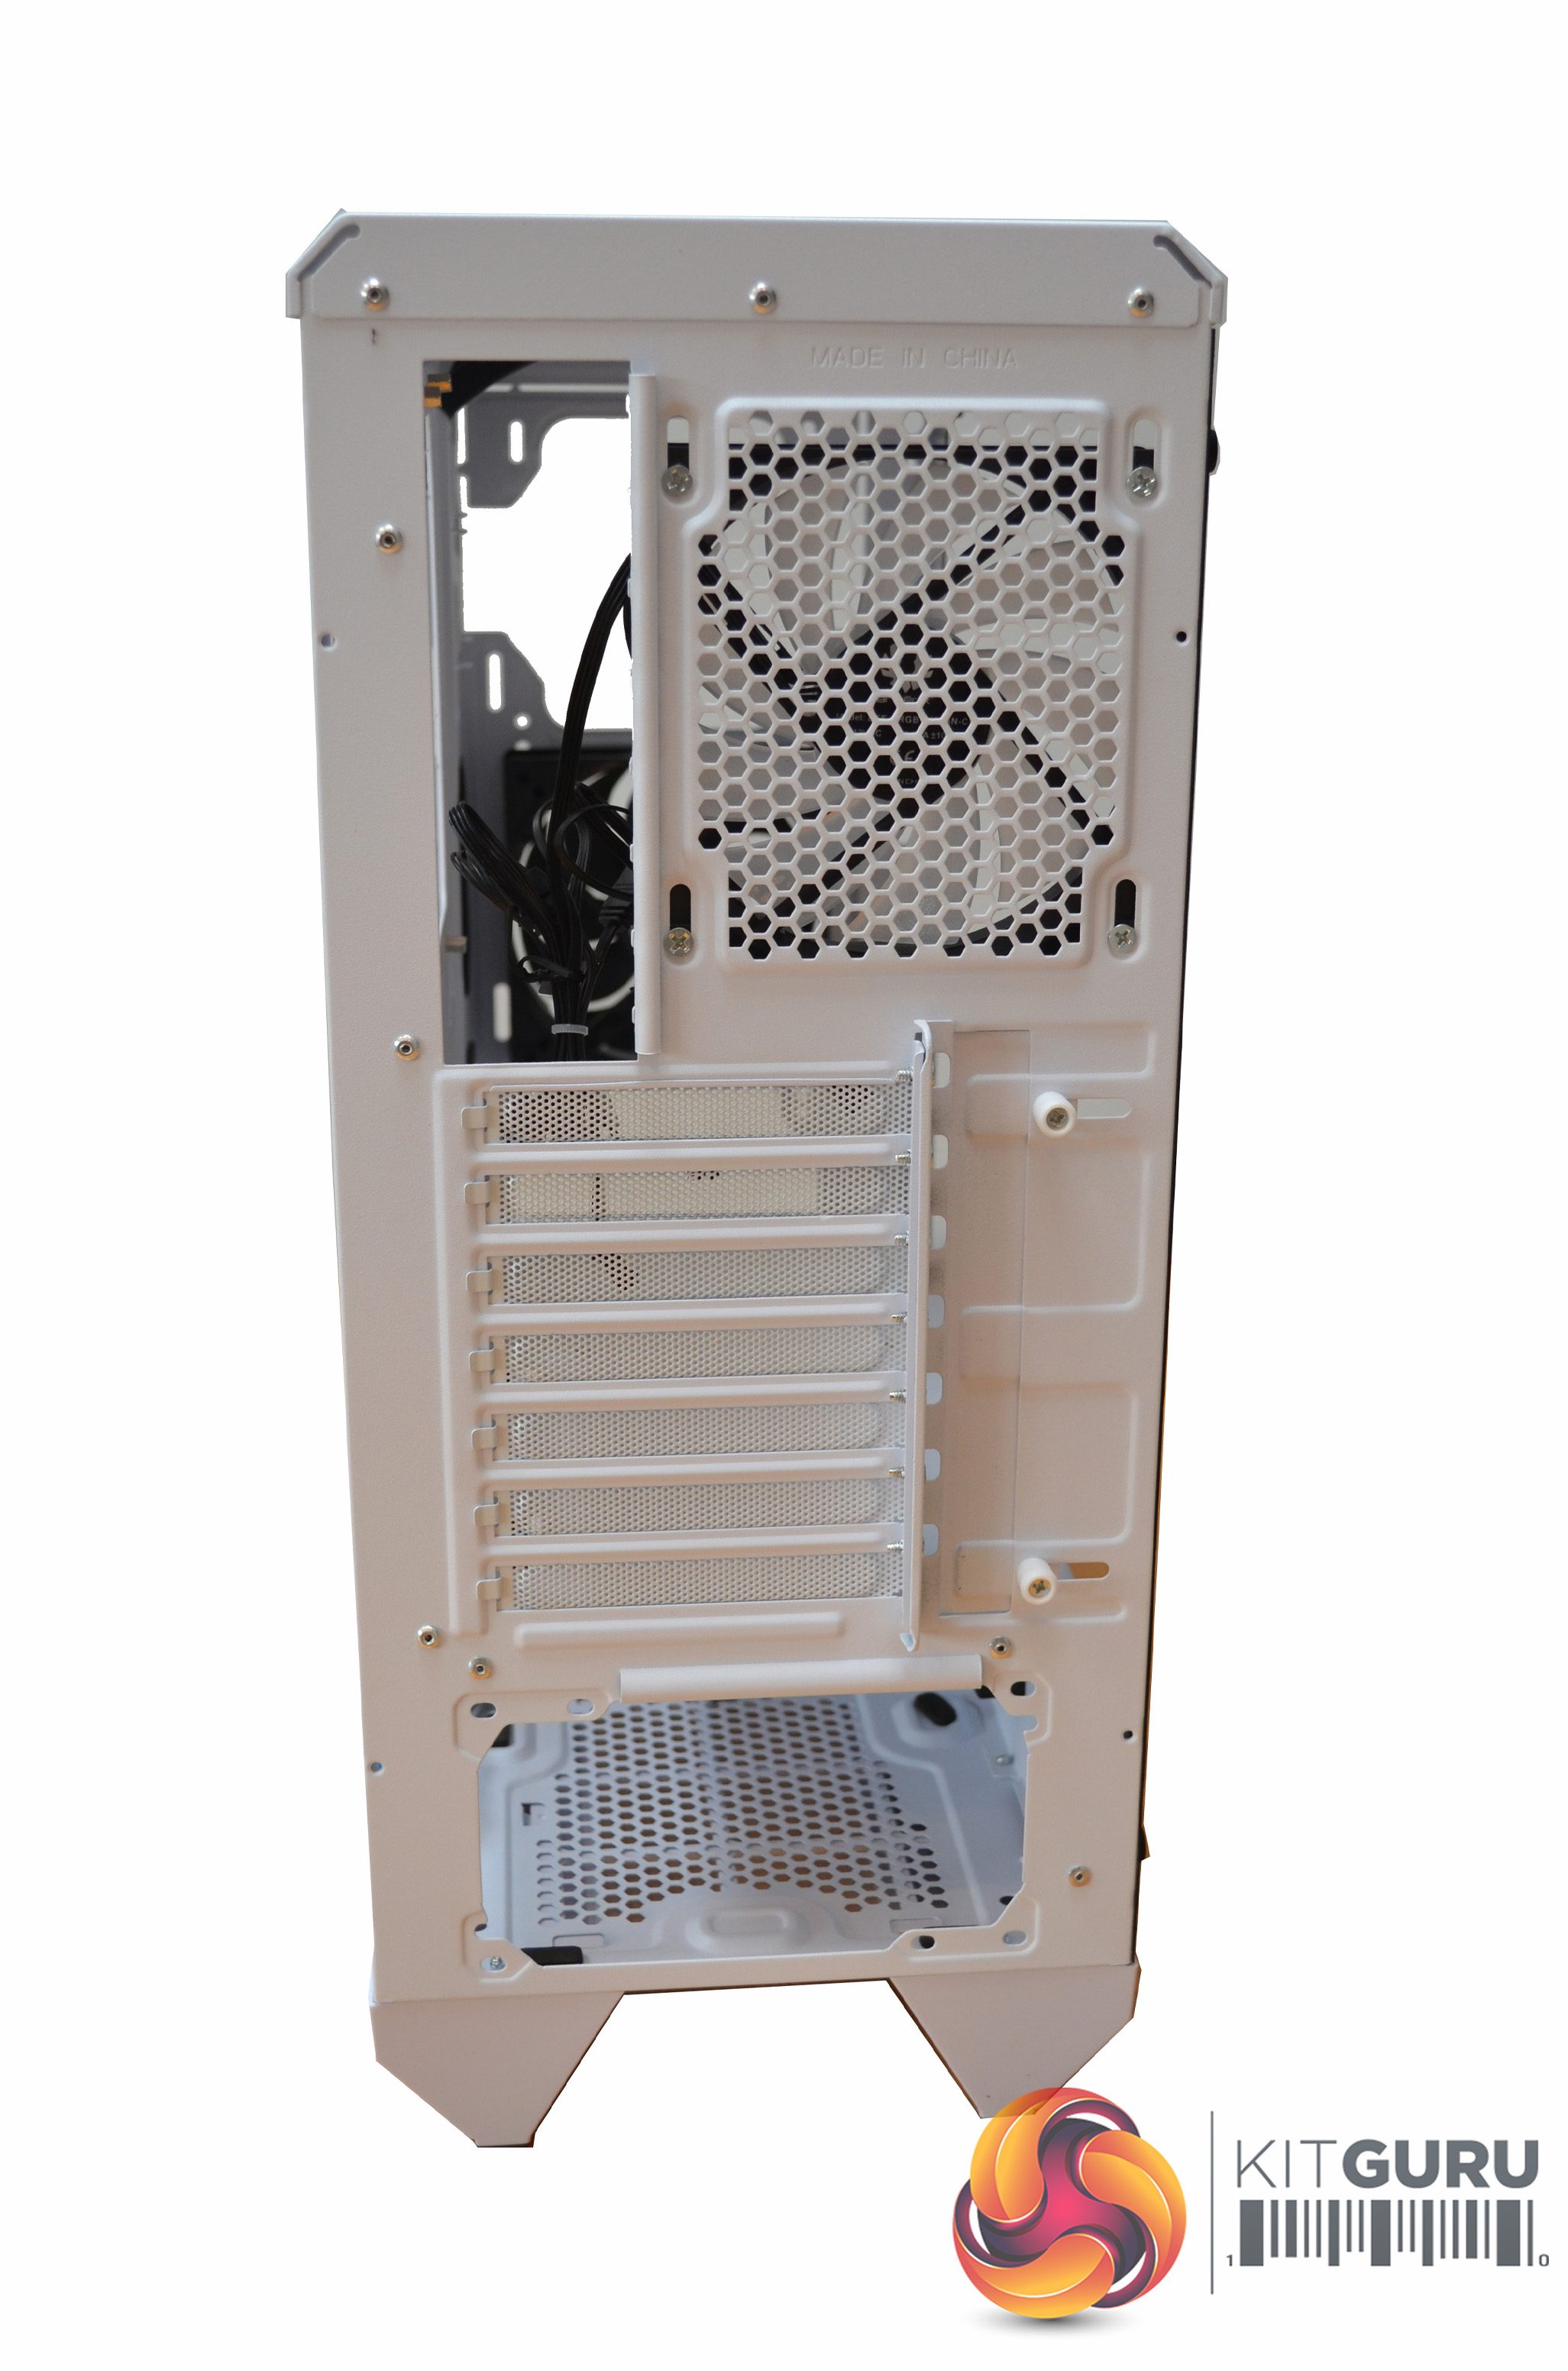
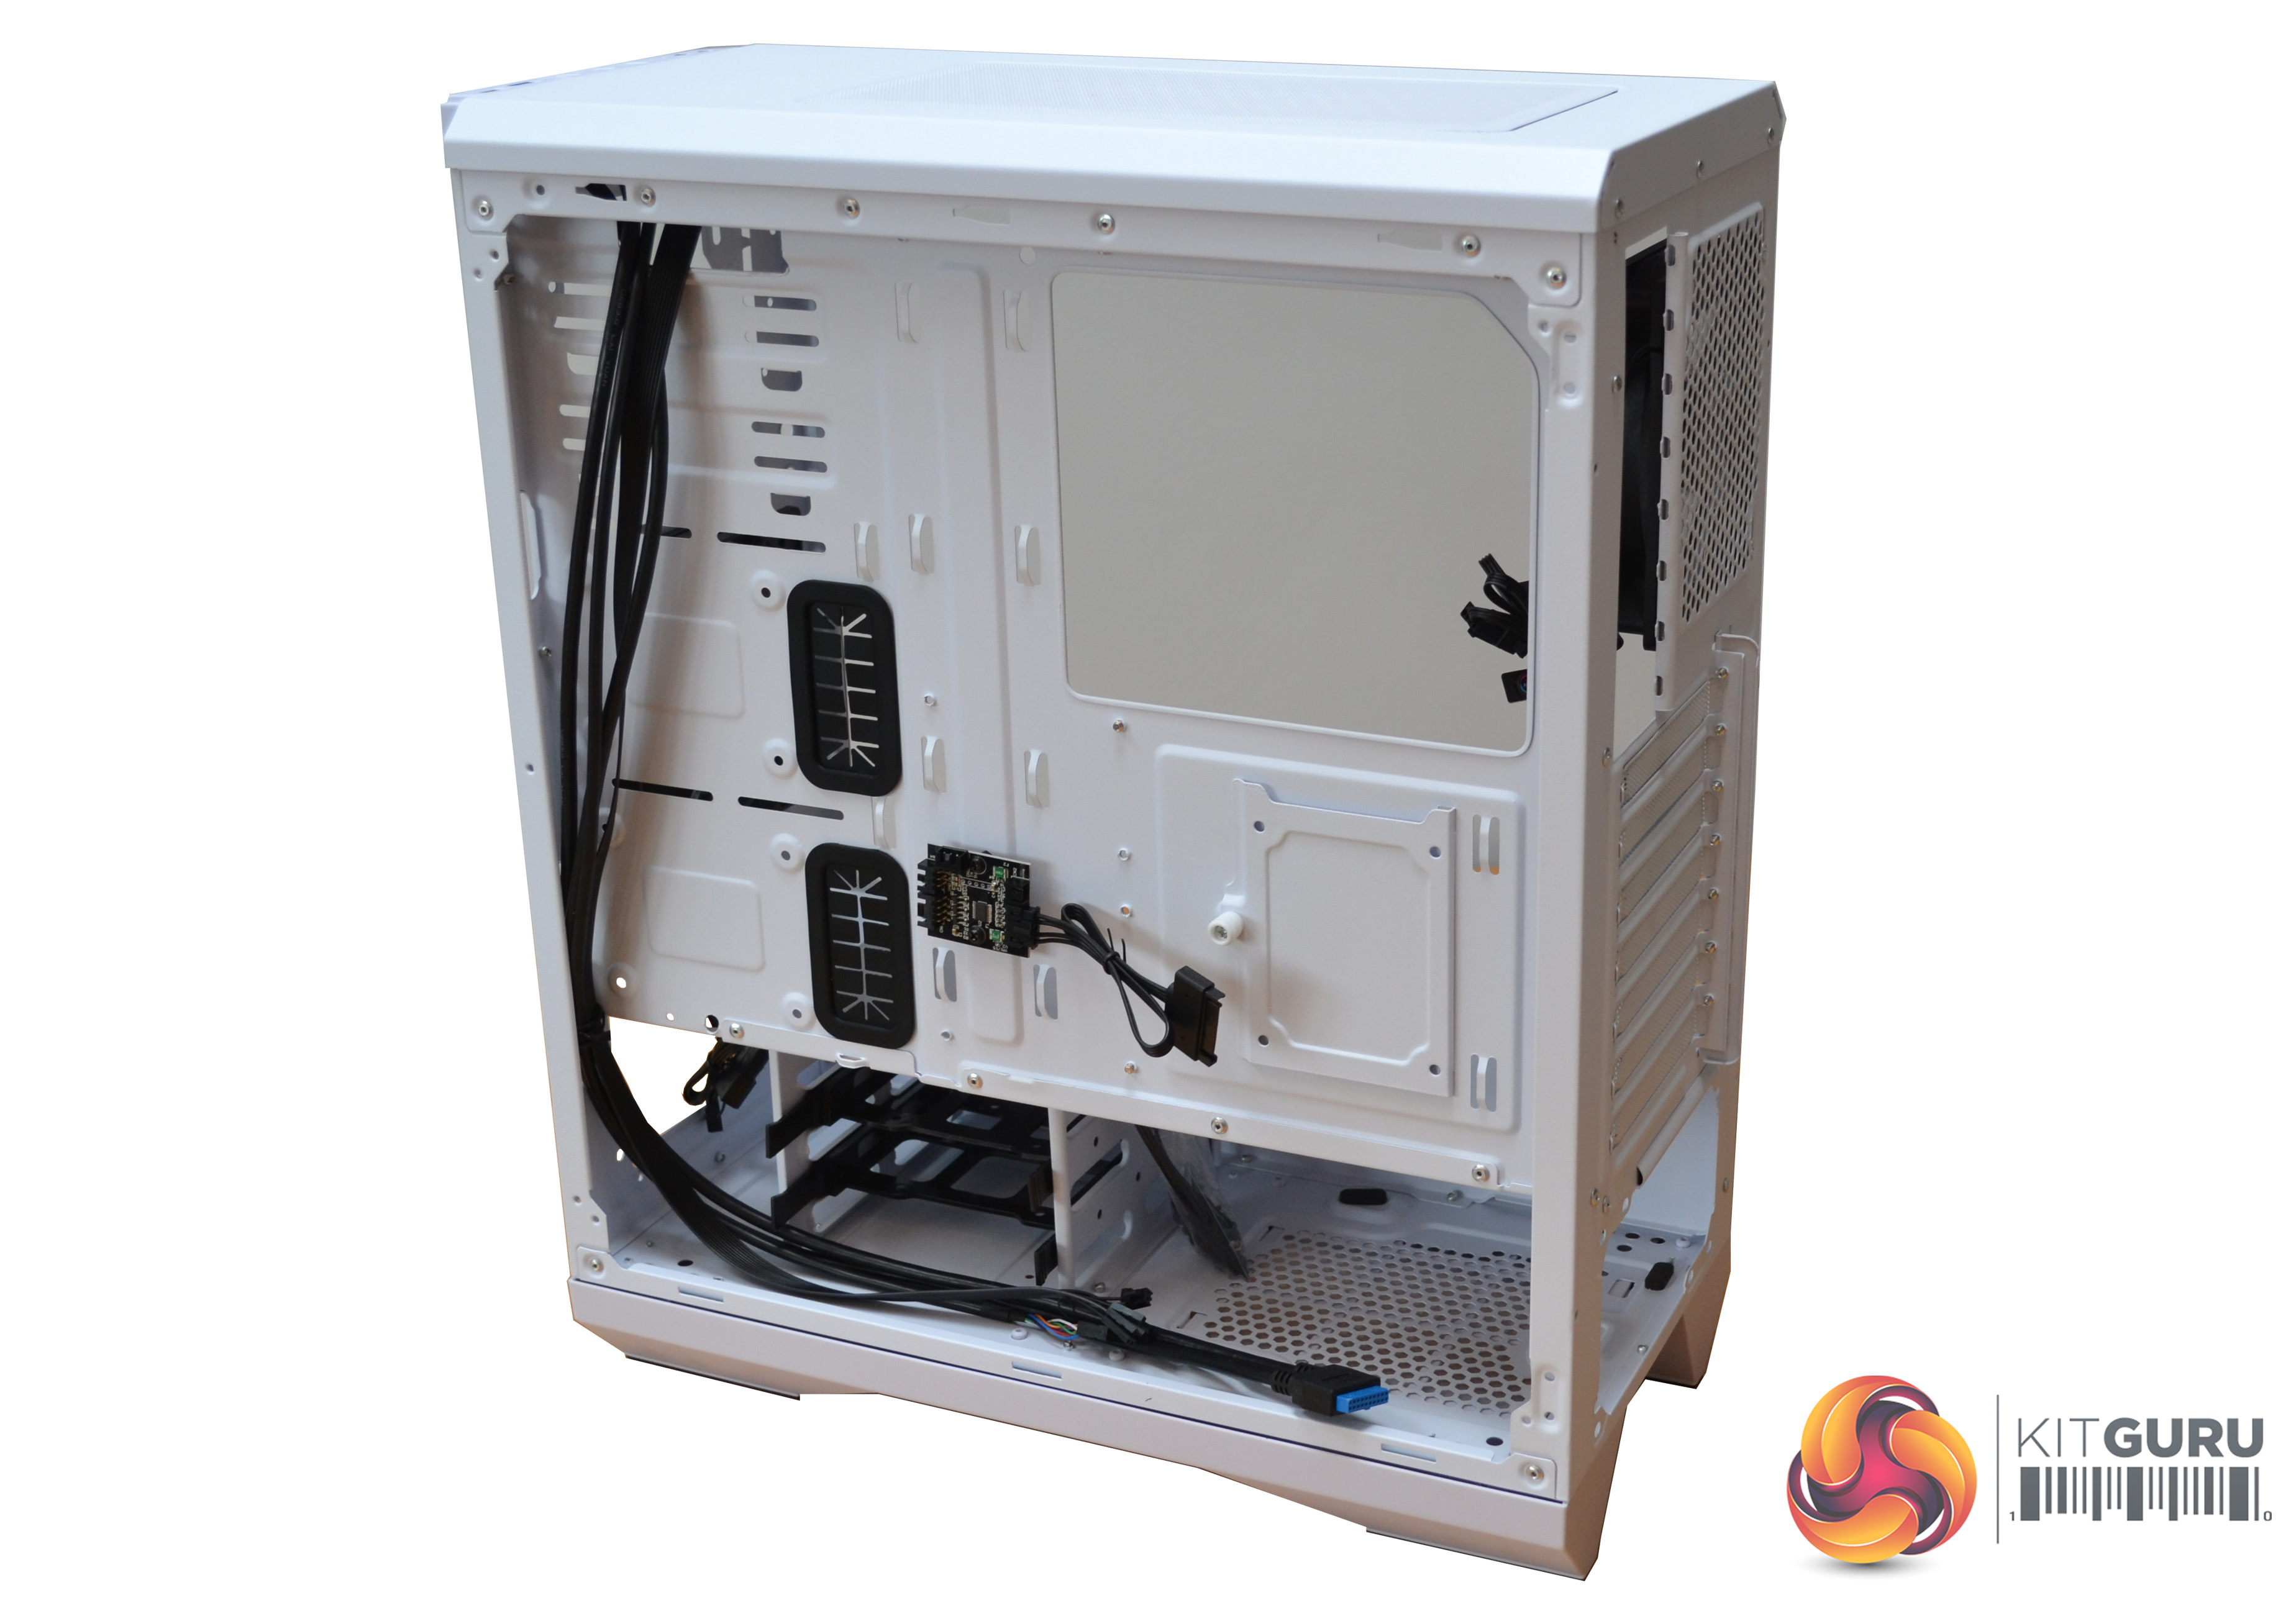
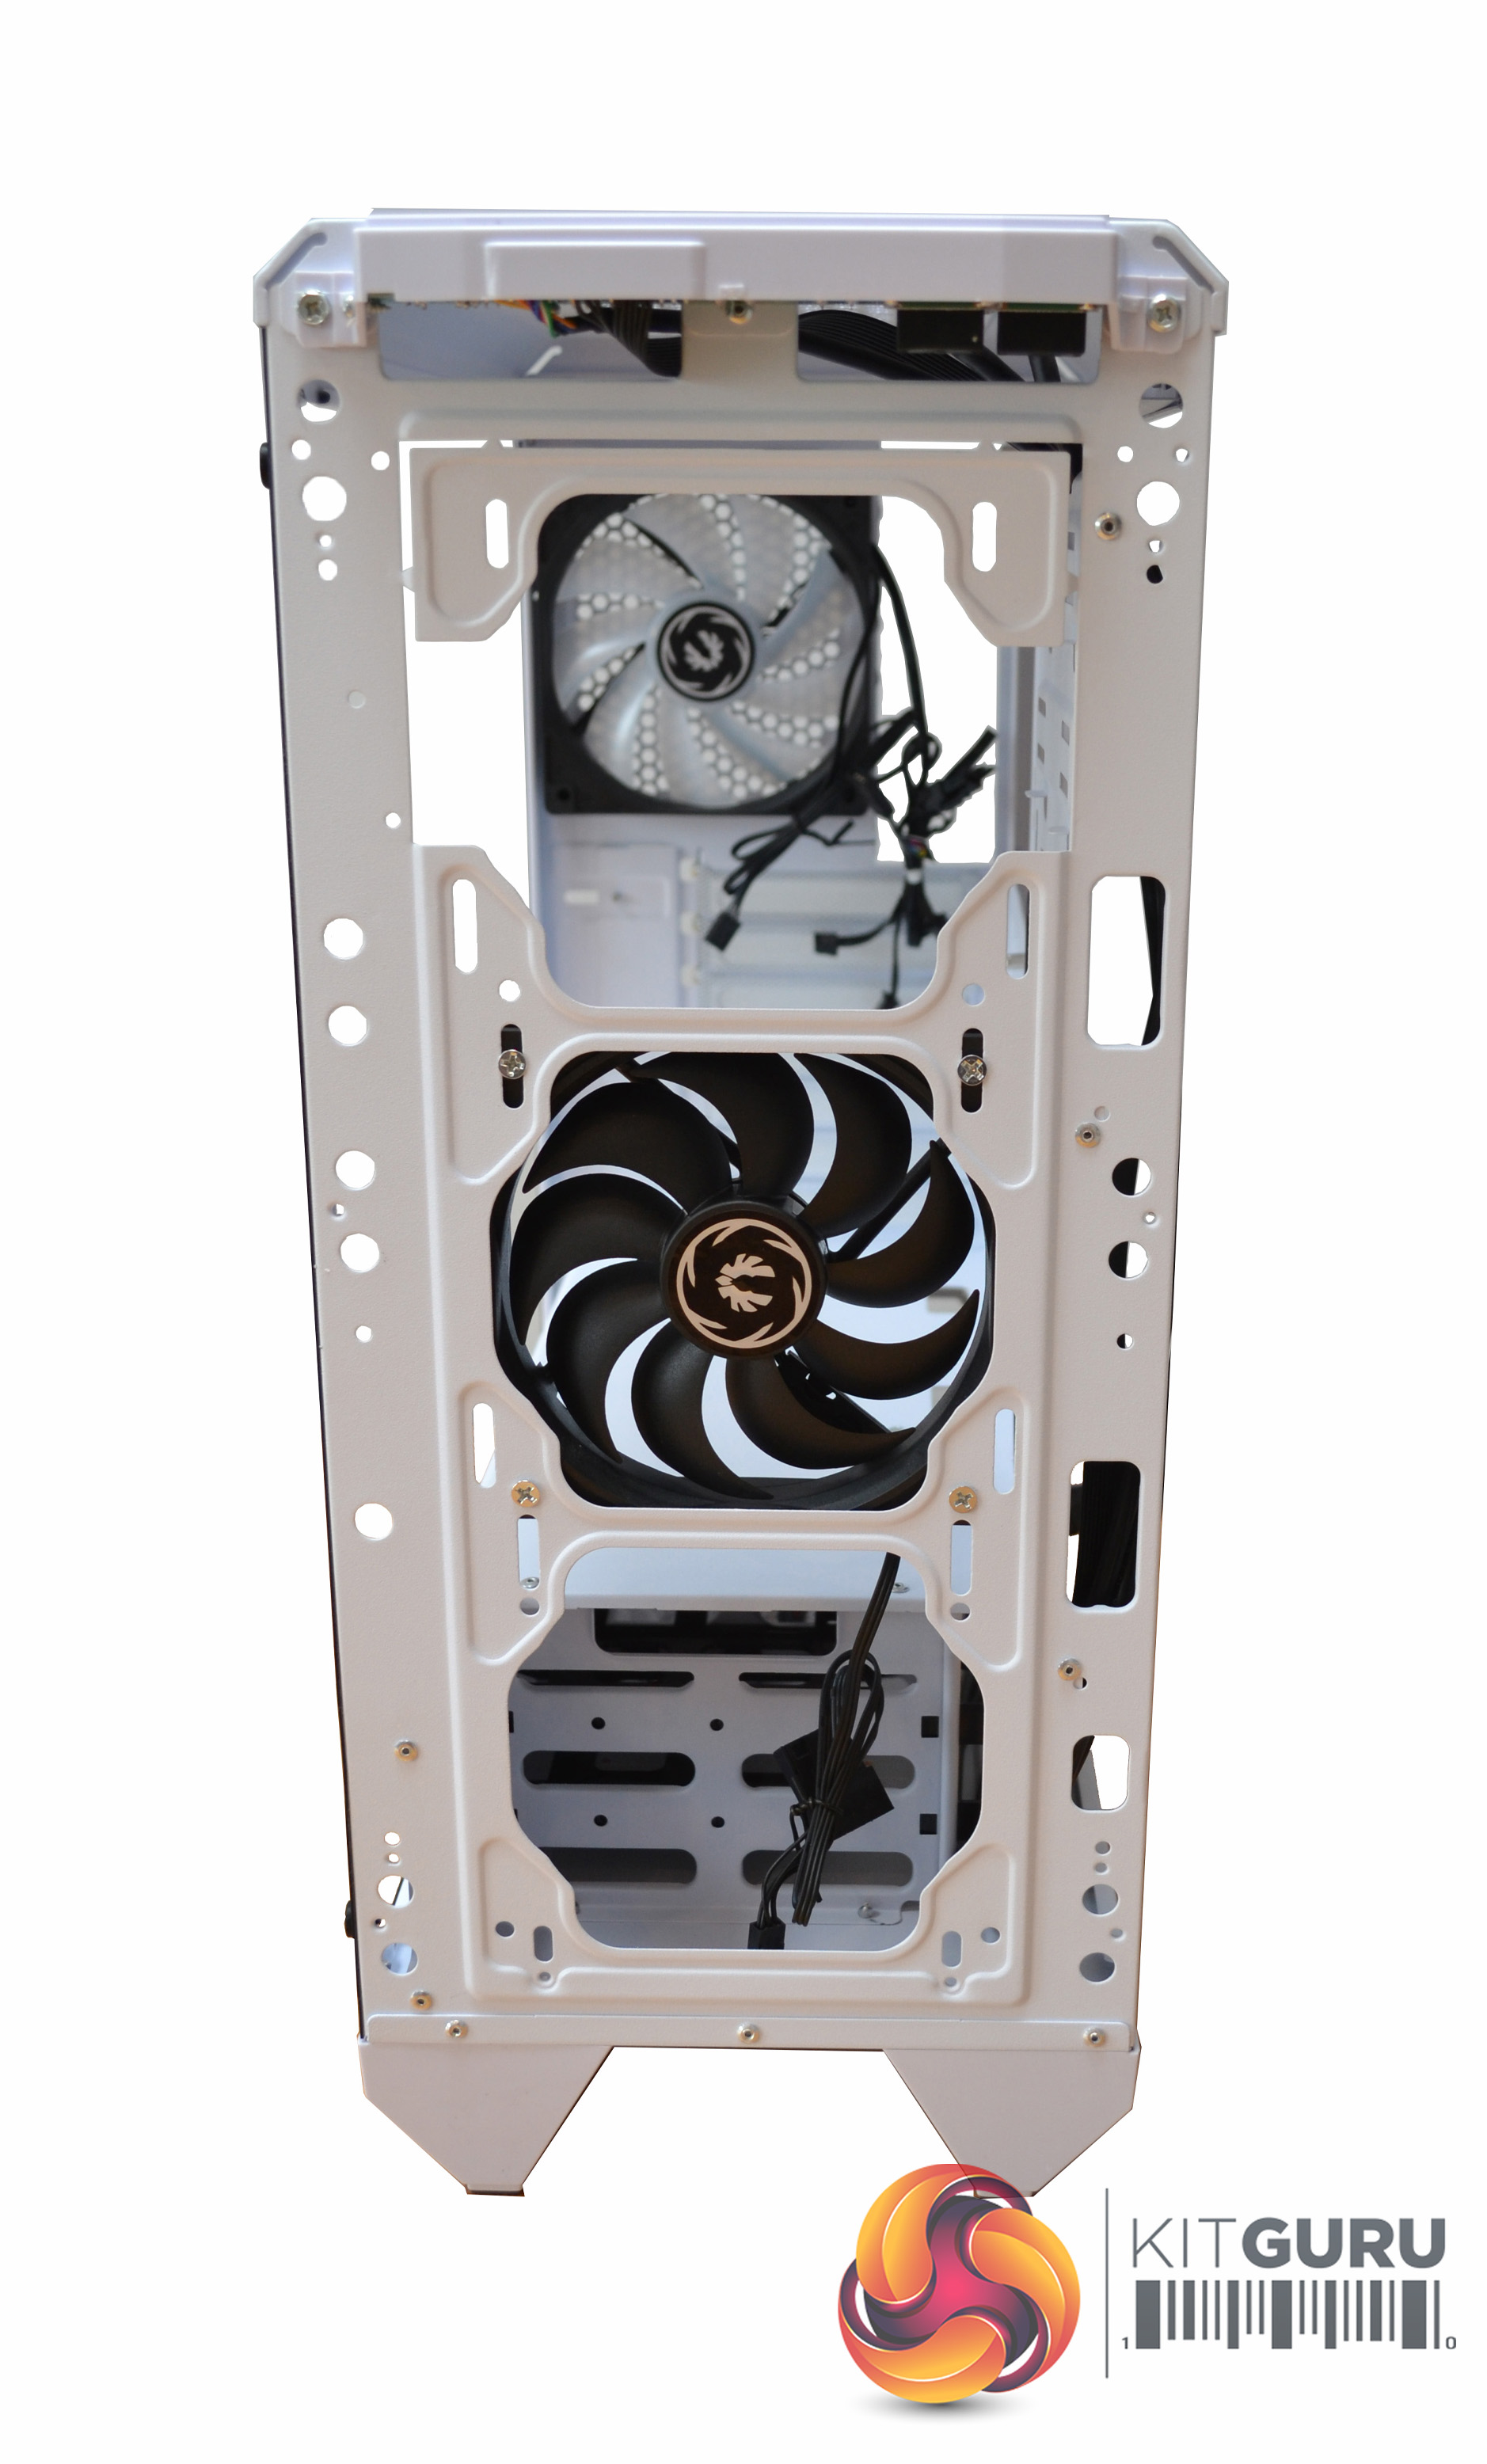
There are mounting points for three 120mm fans or two 140mm fans at the front, two 120mm fans can be fitted in the top panel of the case and a single 120mm fan at the rear exhaust mounting location. There is a total of seven PCIe expansion slot cut-outs on the rear which have a sliding metal retention plate attached with two thumbscrews.
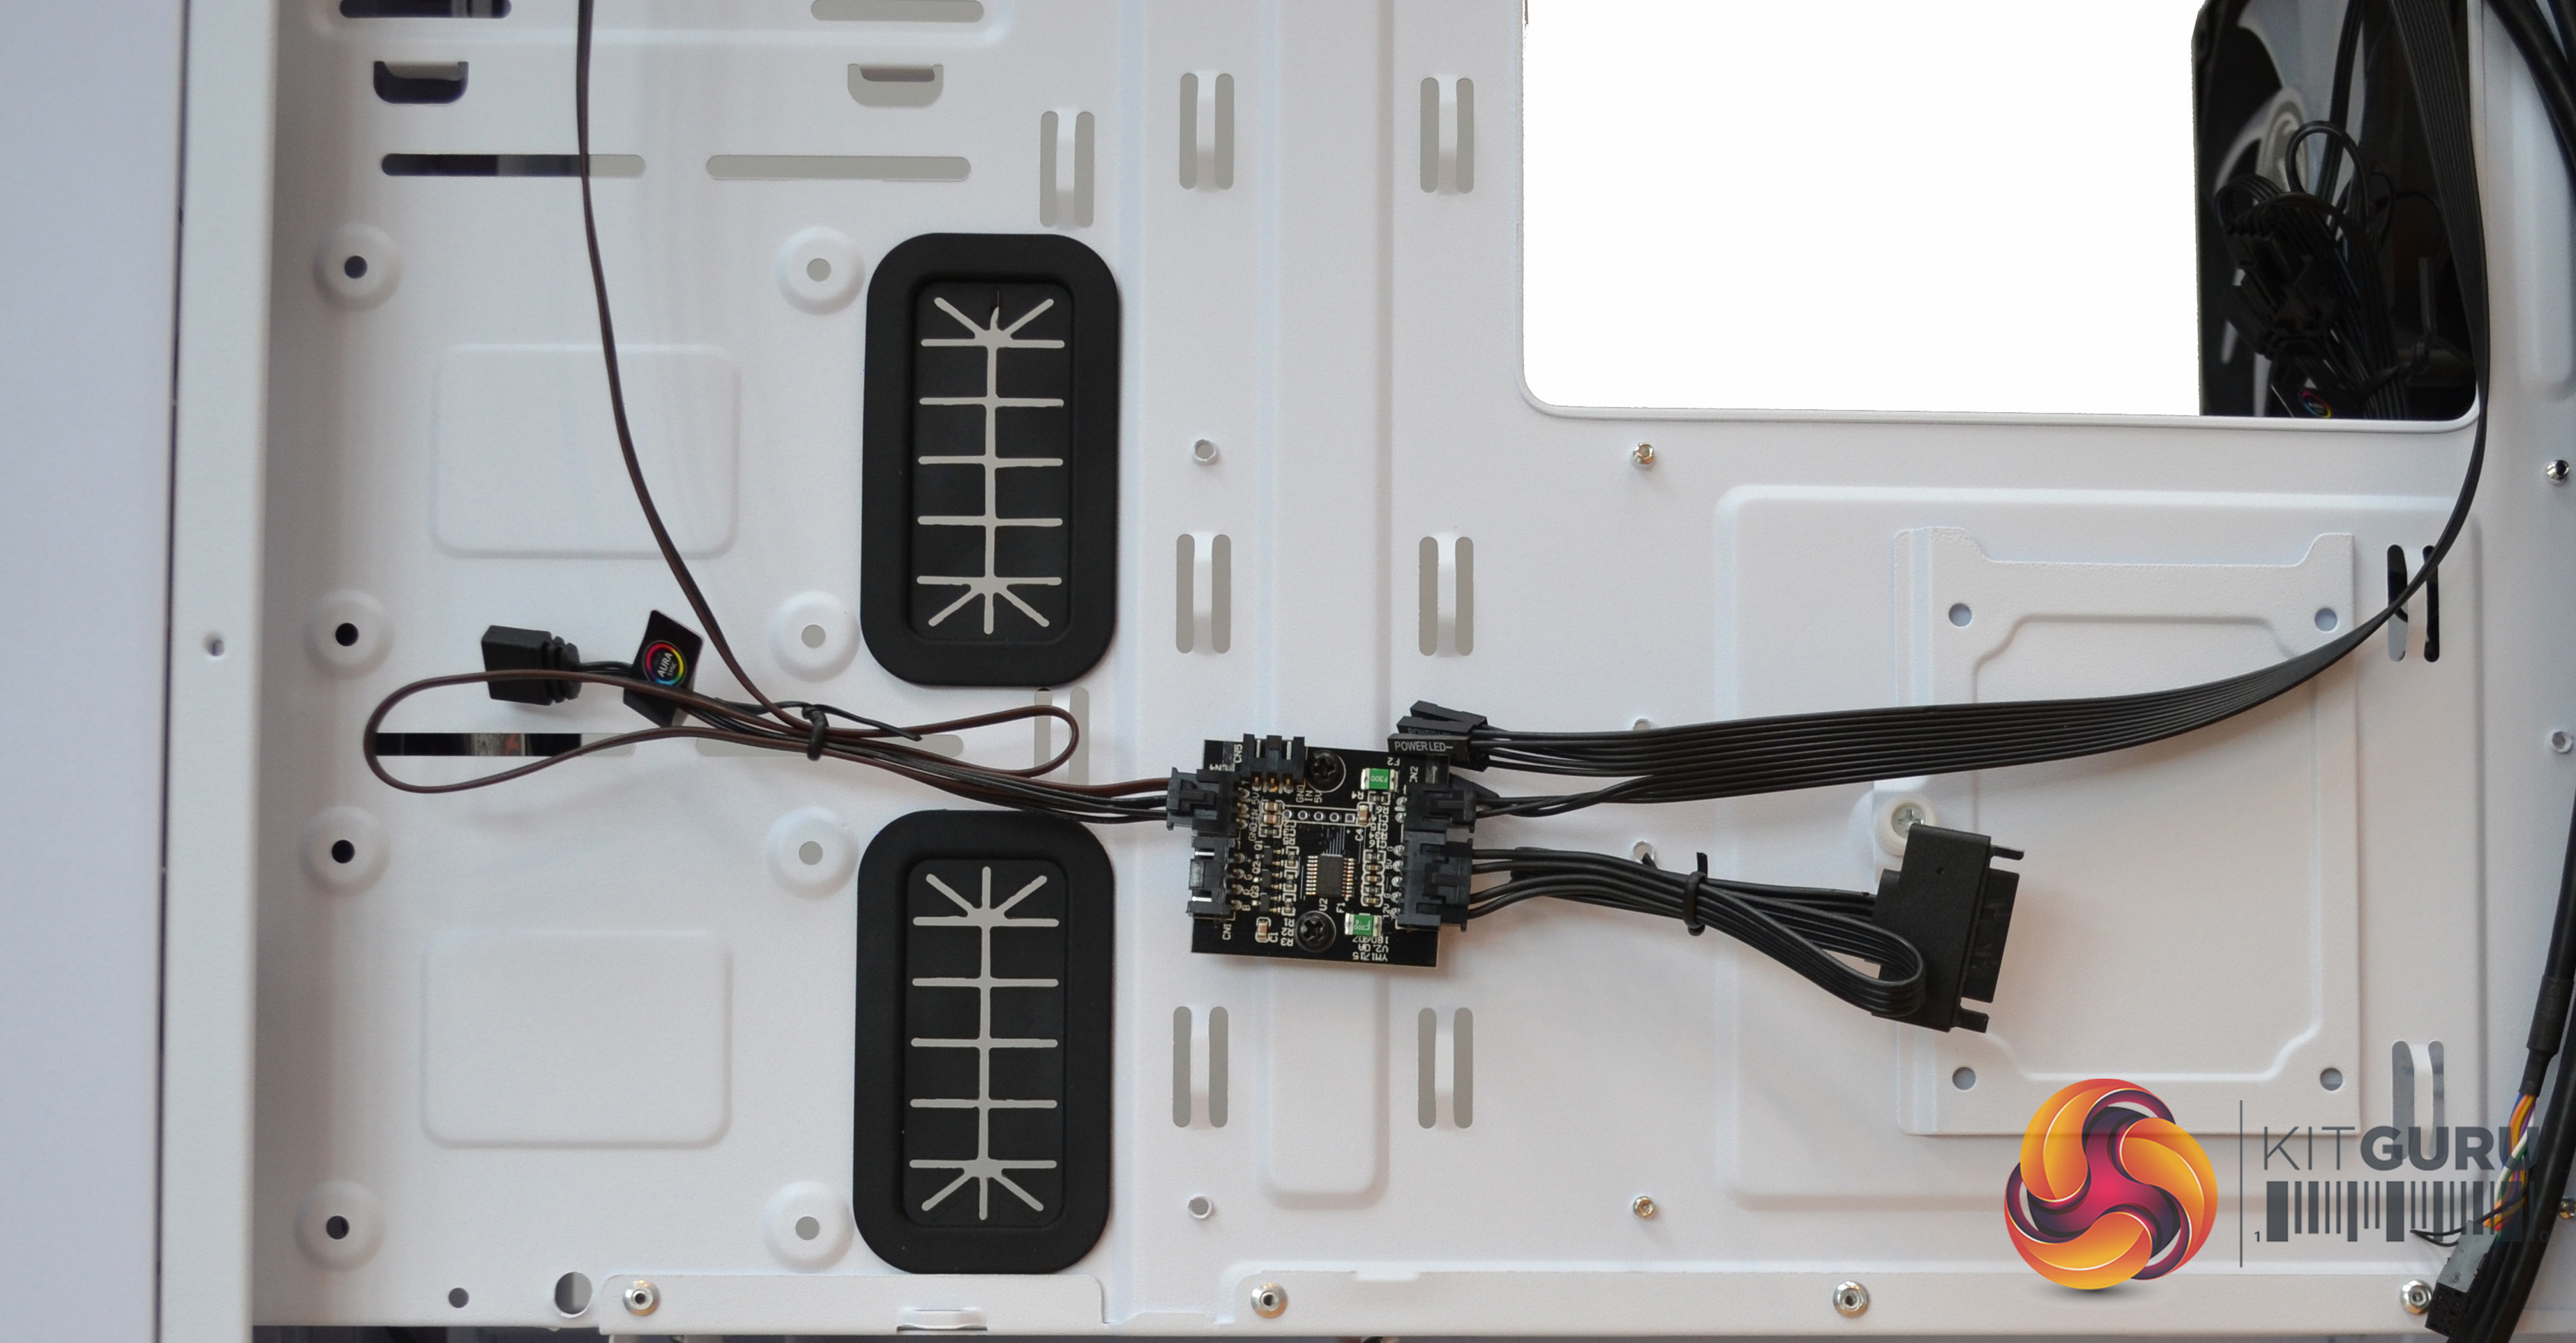
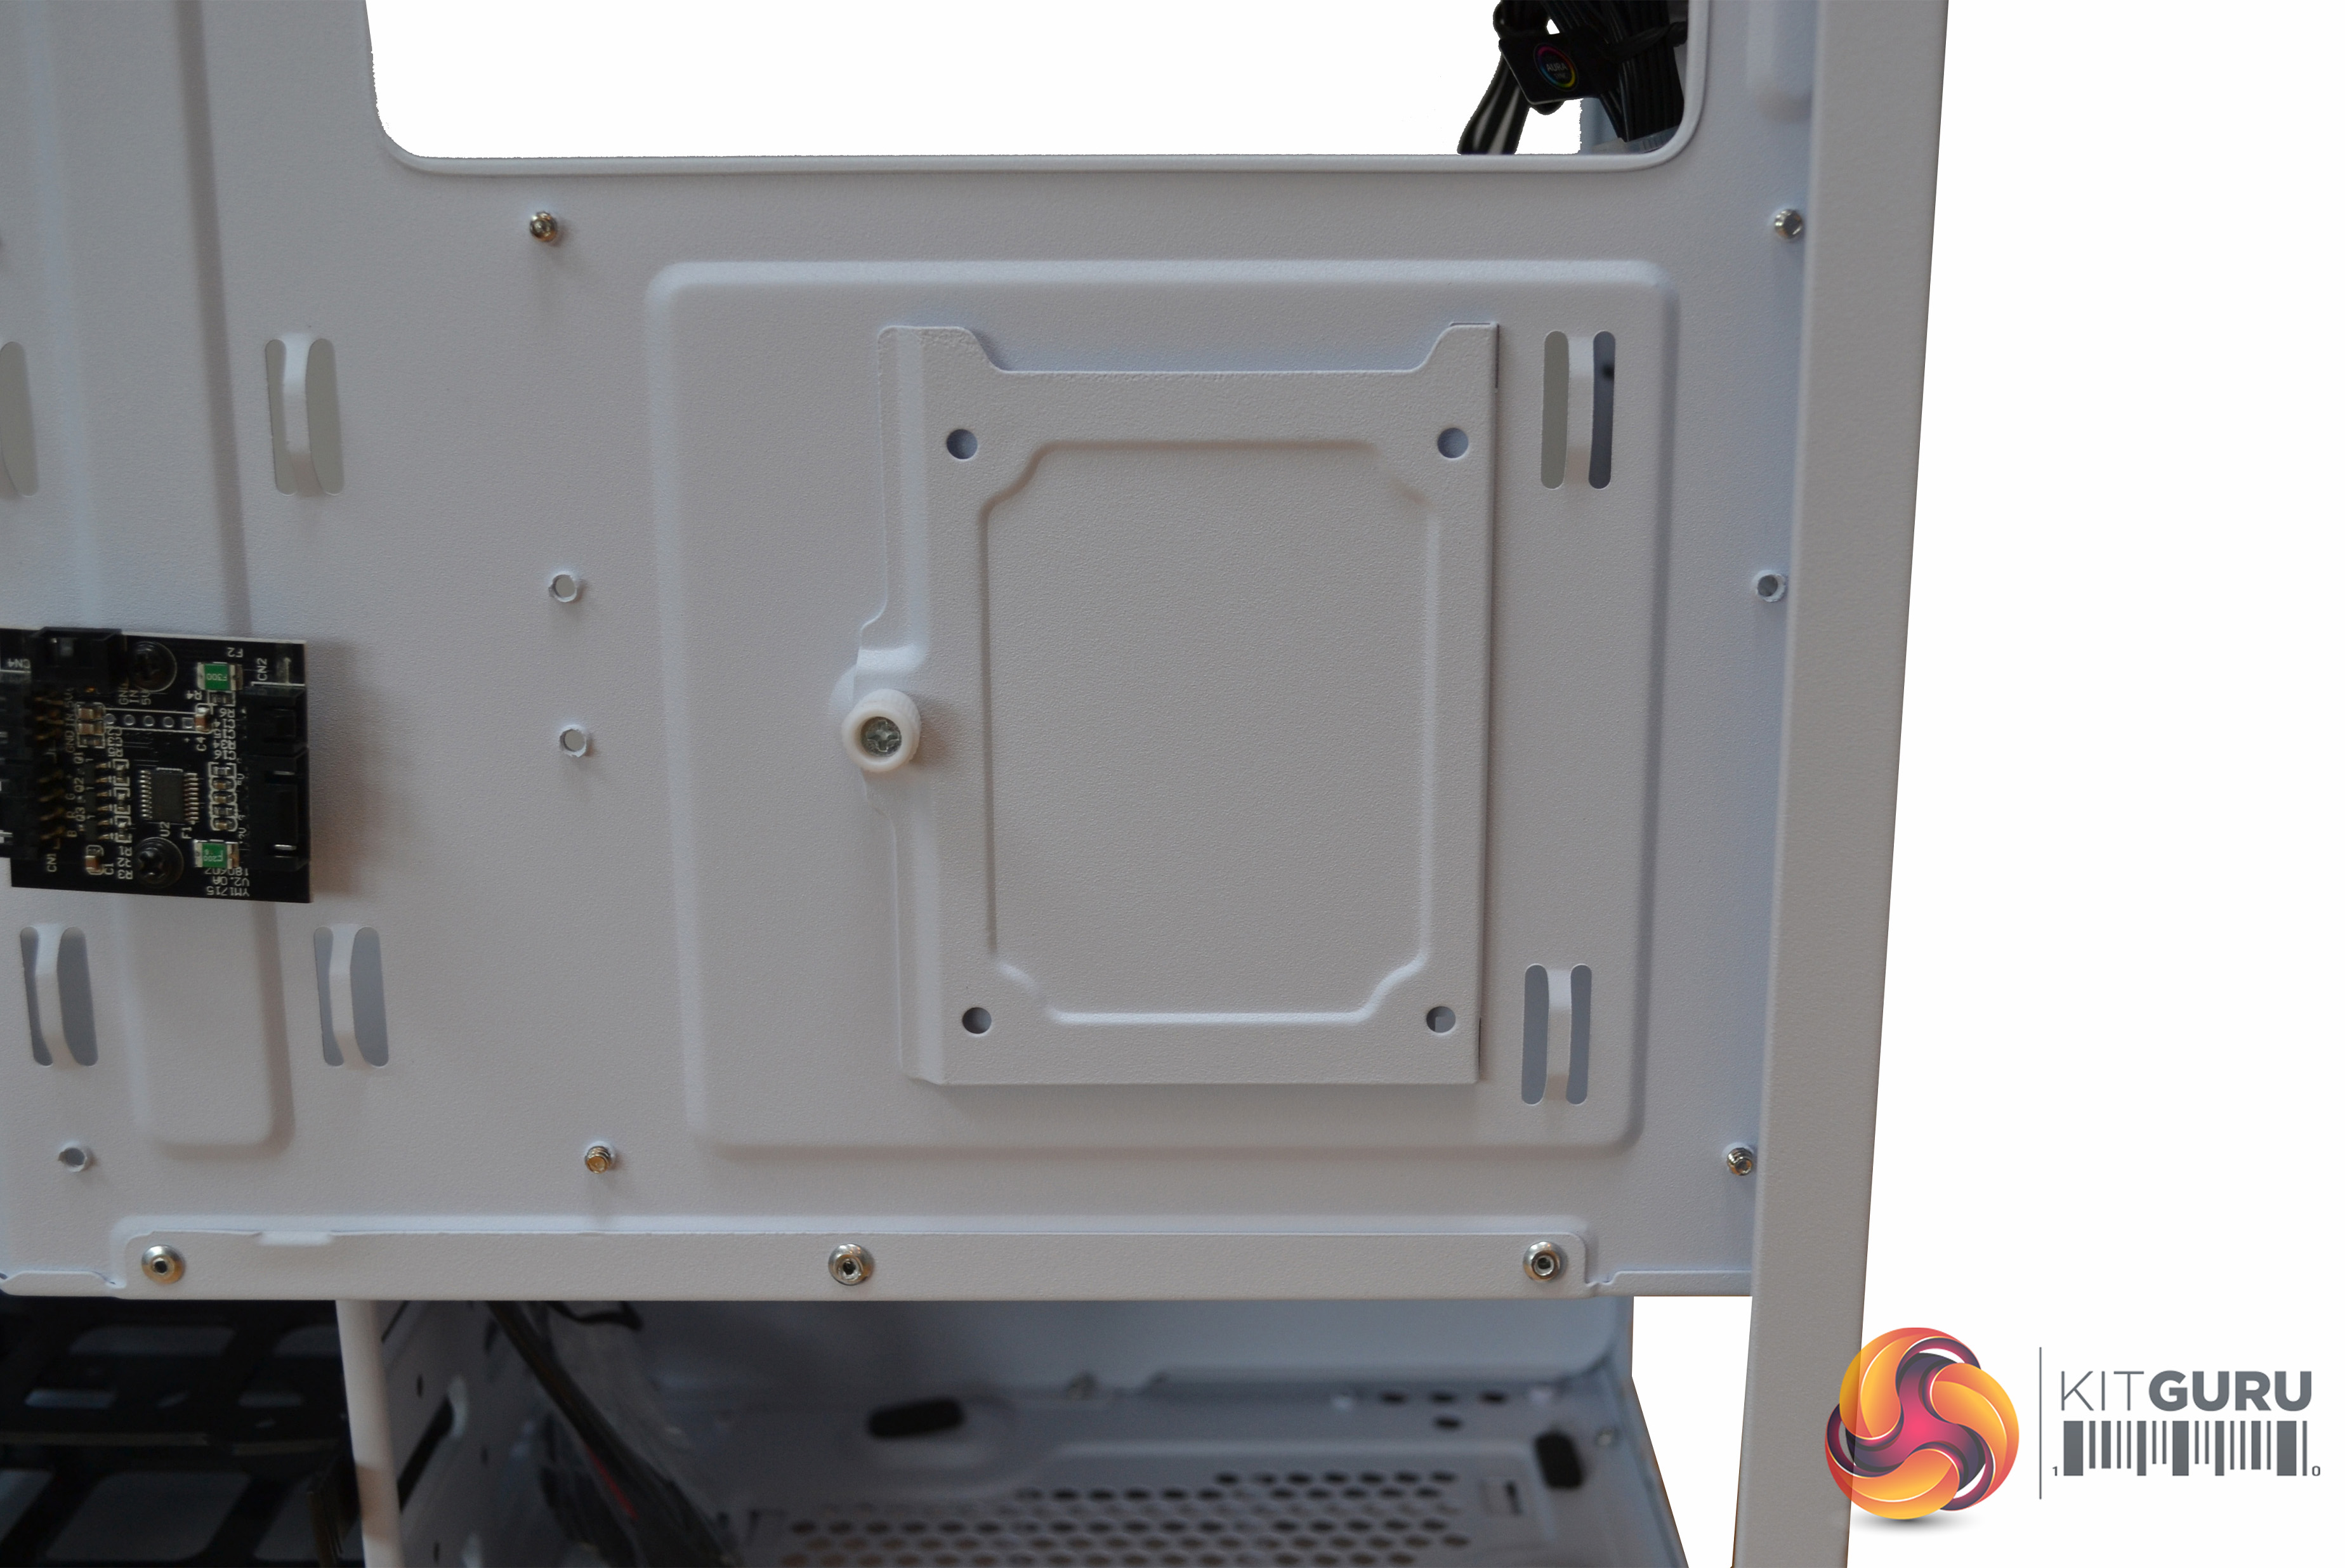
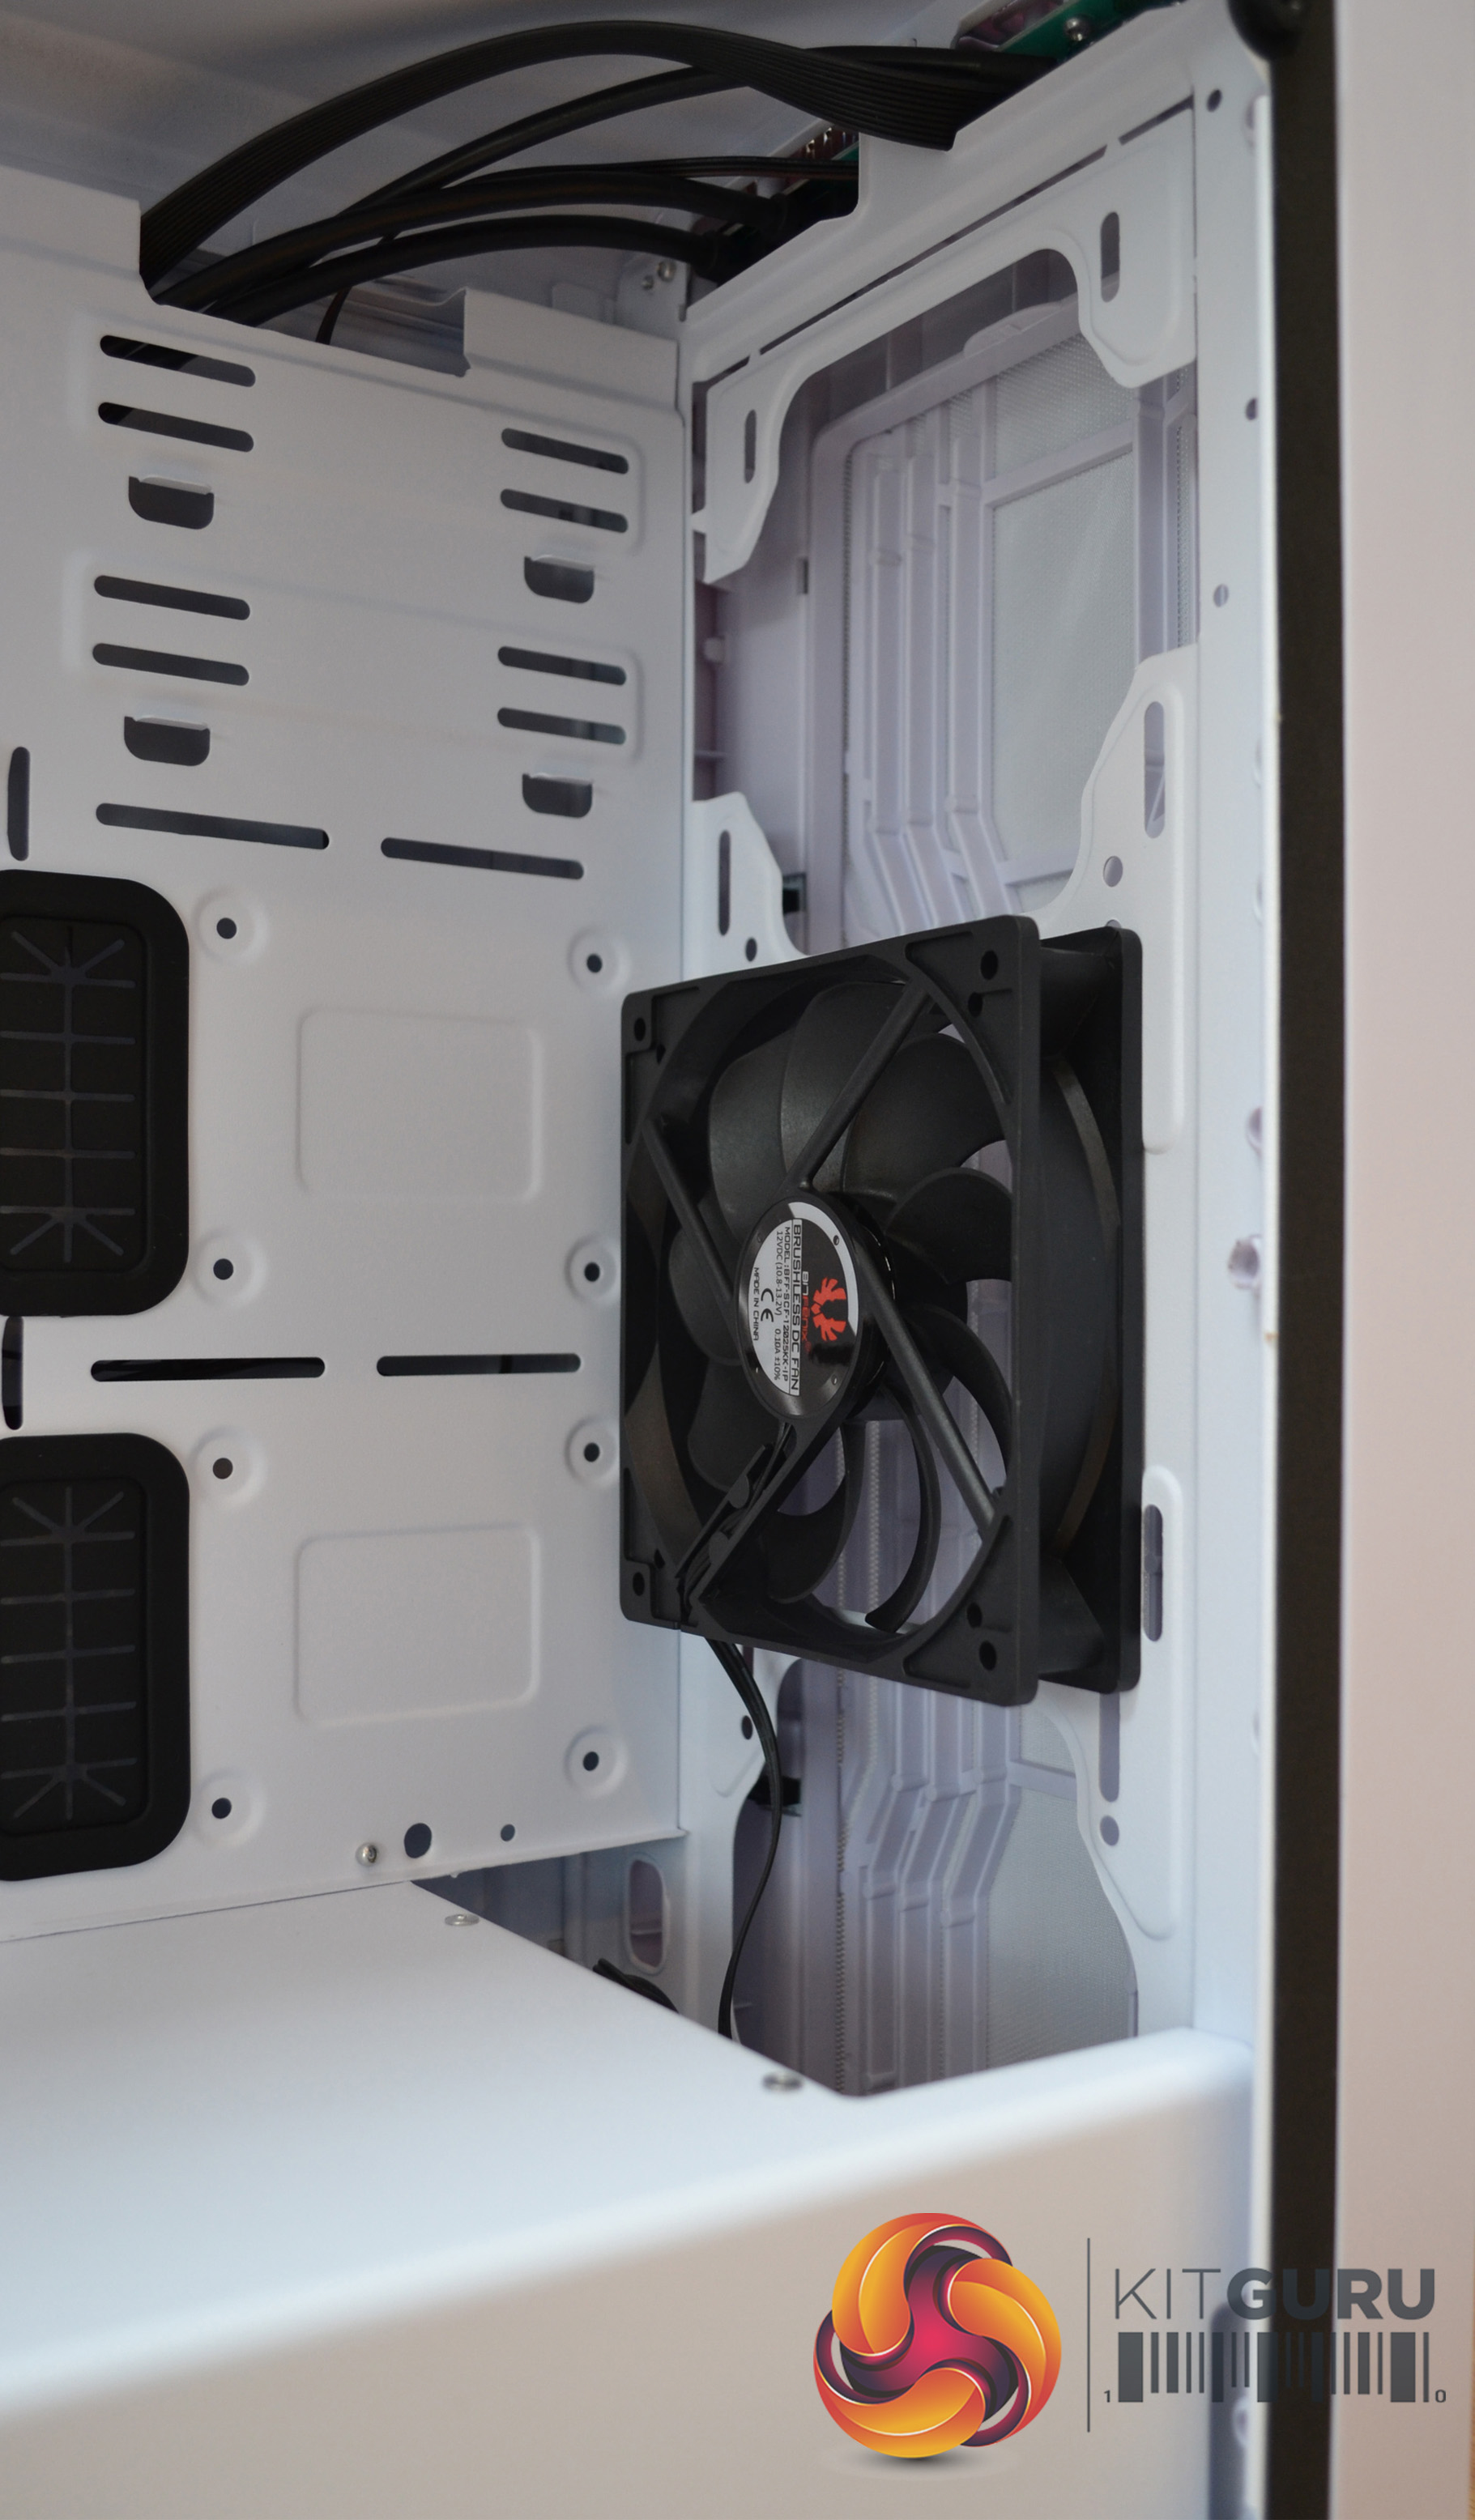
In terms of space for storage devices, there are three mounting points on the rear of the motherboard tray for 2.5” SSD drives. Two of these are found towards the front and attach with screws directly to the motherboard tray, a further mounting point is located below the CPU retention bracket cut out and uses a detachable cage, fixed with a single thumbscrew for quick removal.
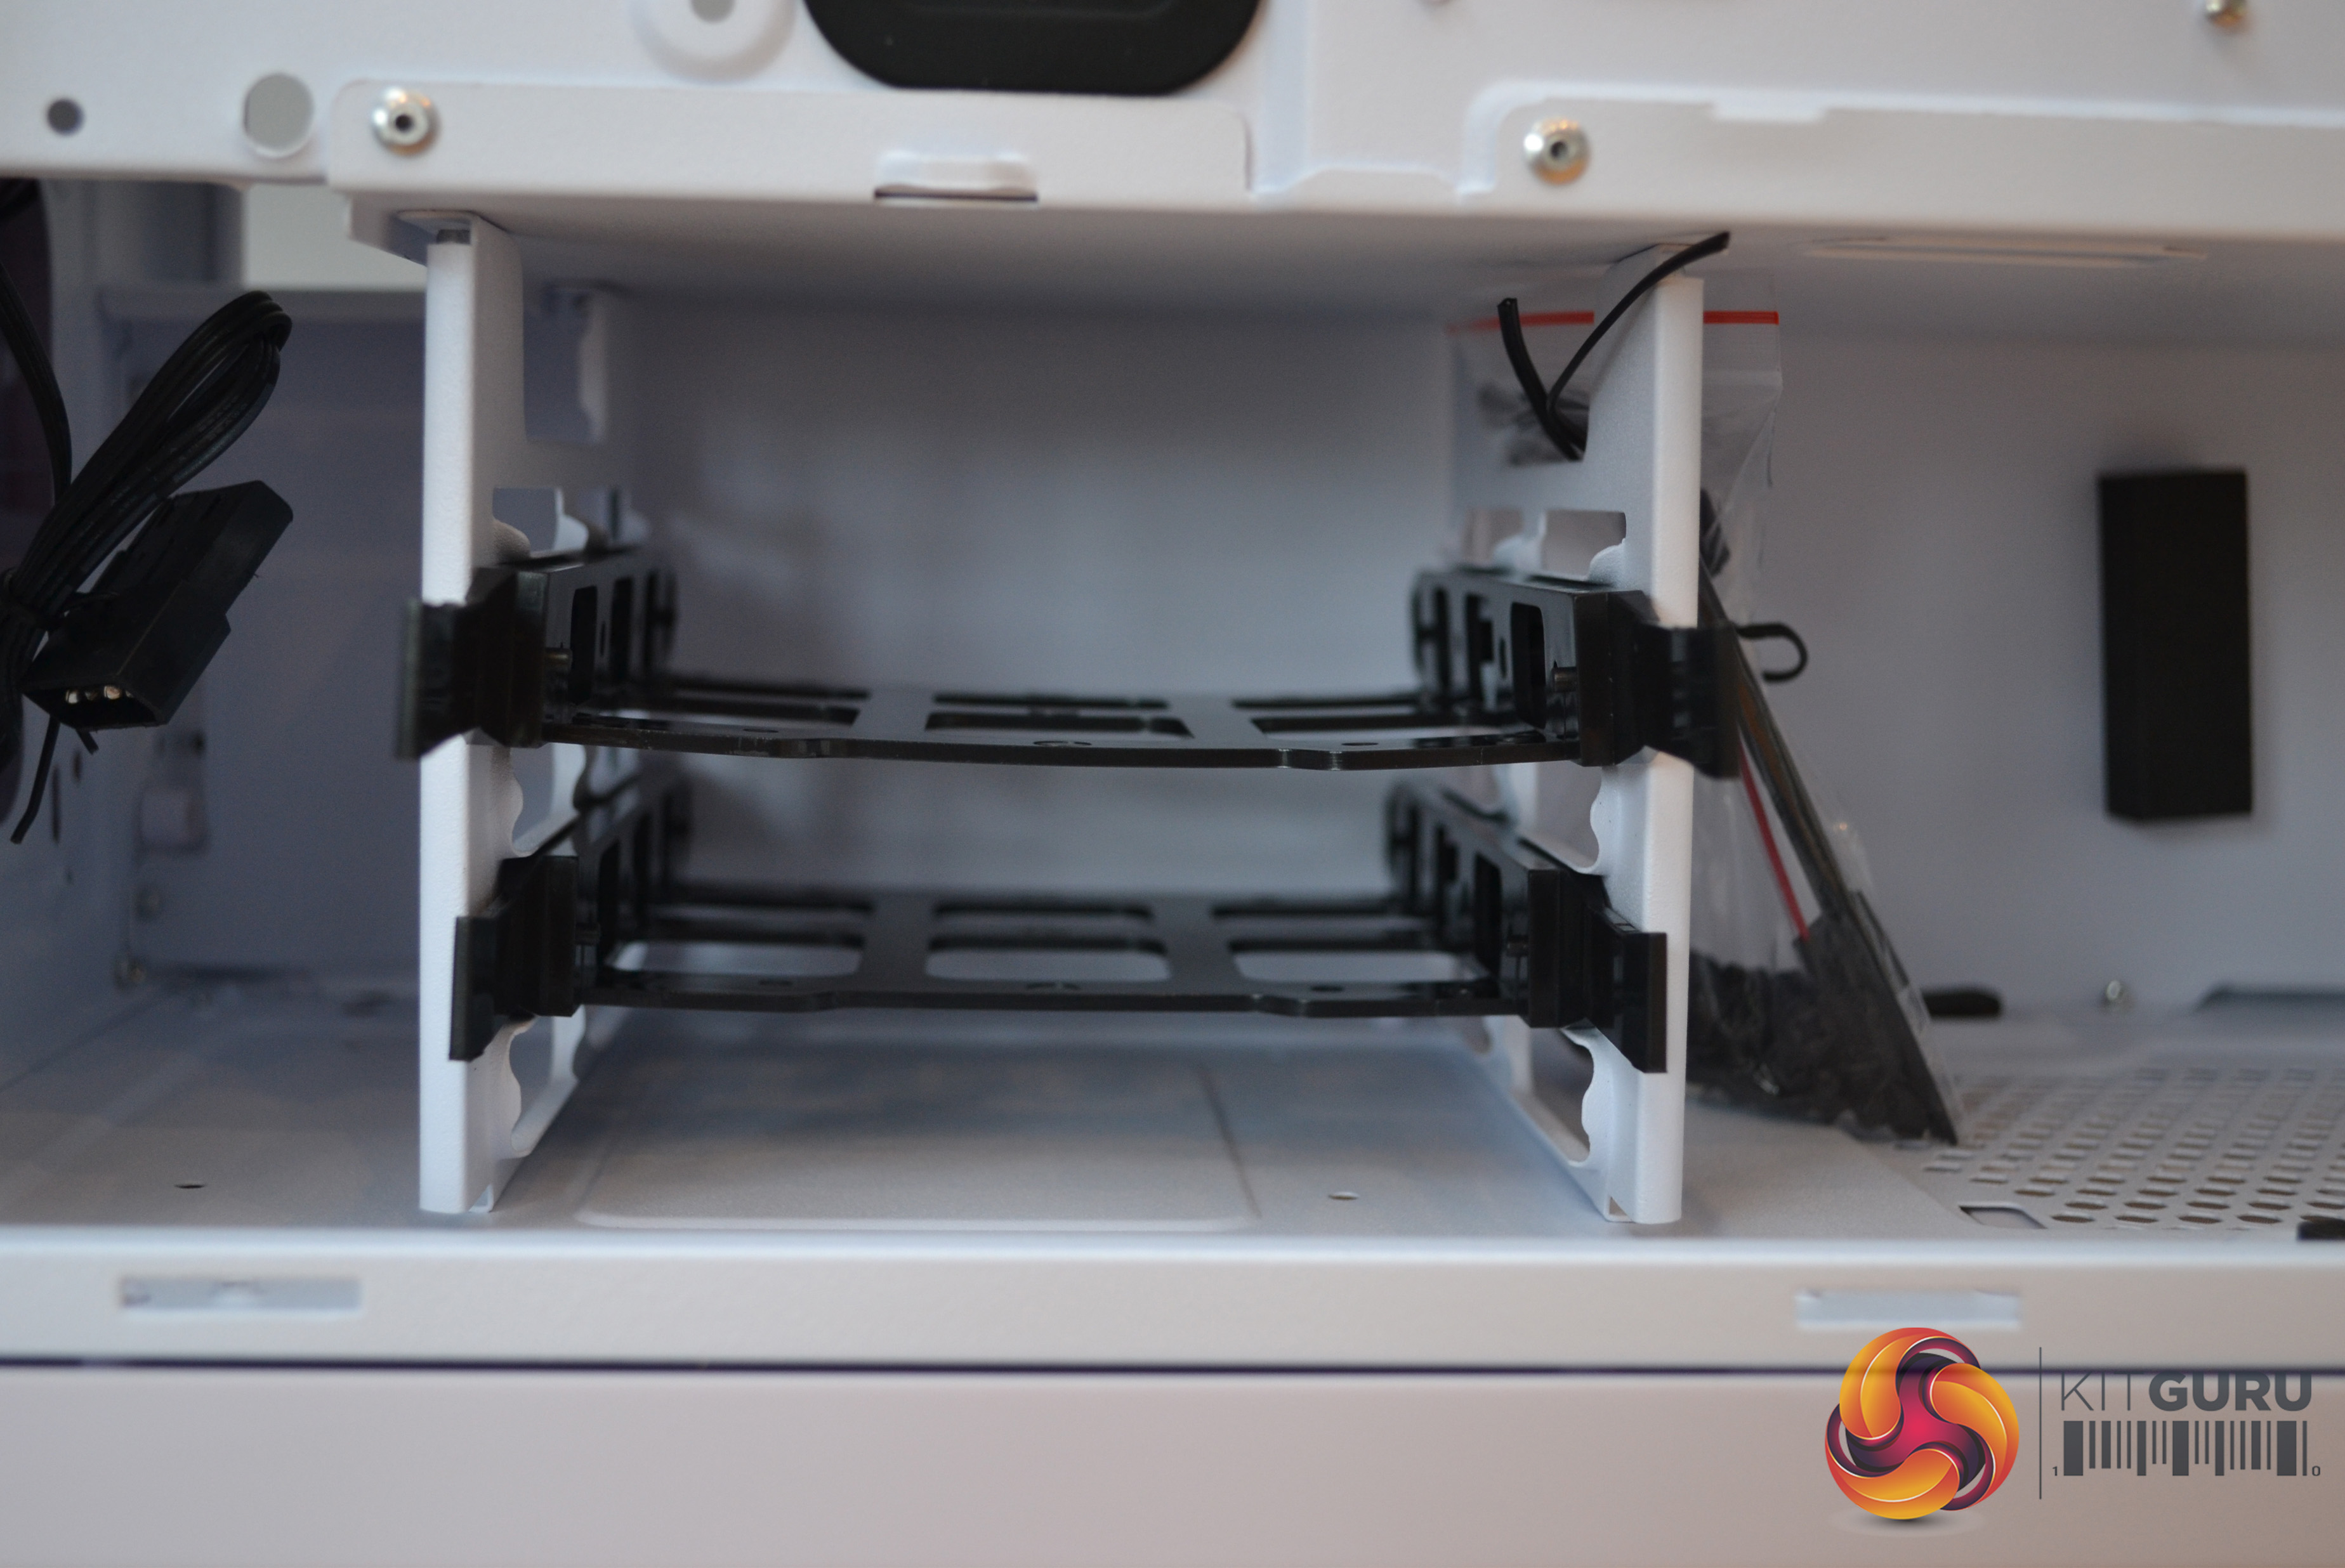
Beneath the power supply shroud are two 3.5” drive bays which can also accept 2.5” drives. These 3.5” drive bays use rather flimsy plastic sliding mounts, which are flexible and look bent without a drive fitted – they can also be a little awkward to lock in place. Once fitted with a drive and locked in place, the plastic brackets seem adequate. However, there are no rubber washers supplied for use when installing a HDD, therefore any vibration can be transferred from the HDD to the case and could possibly cause unwanted noise from the HDD.
Be sure to check out our sponsors store EKWB here