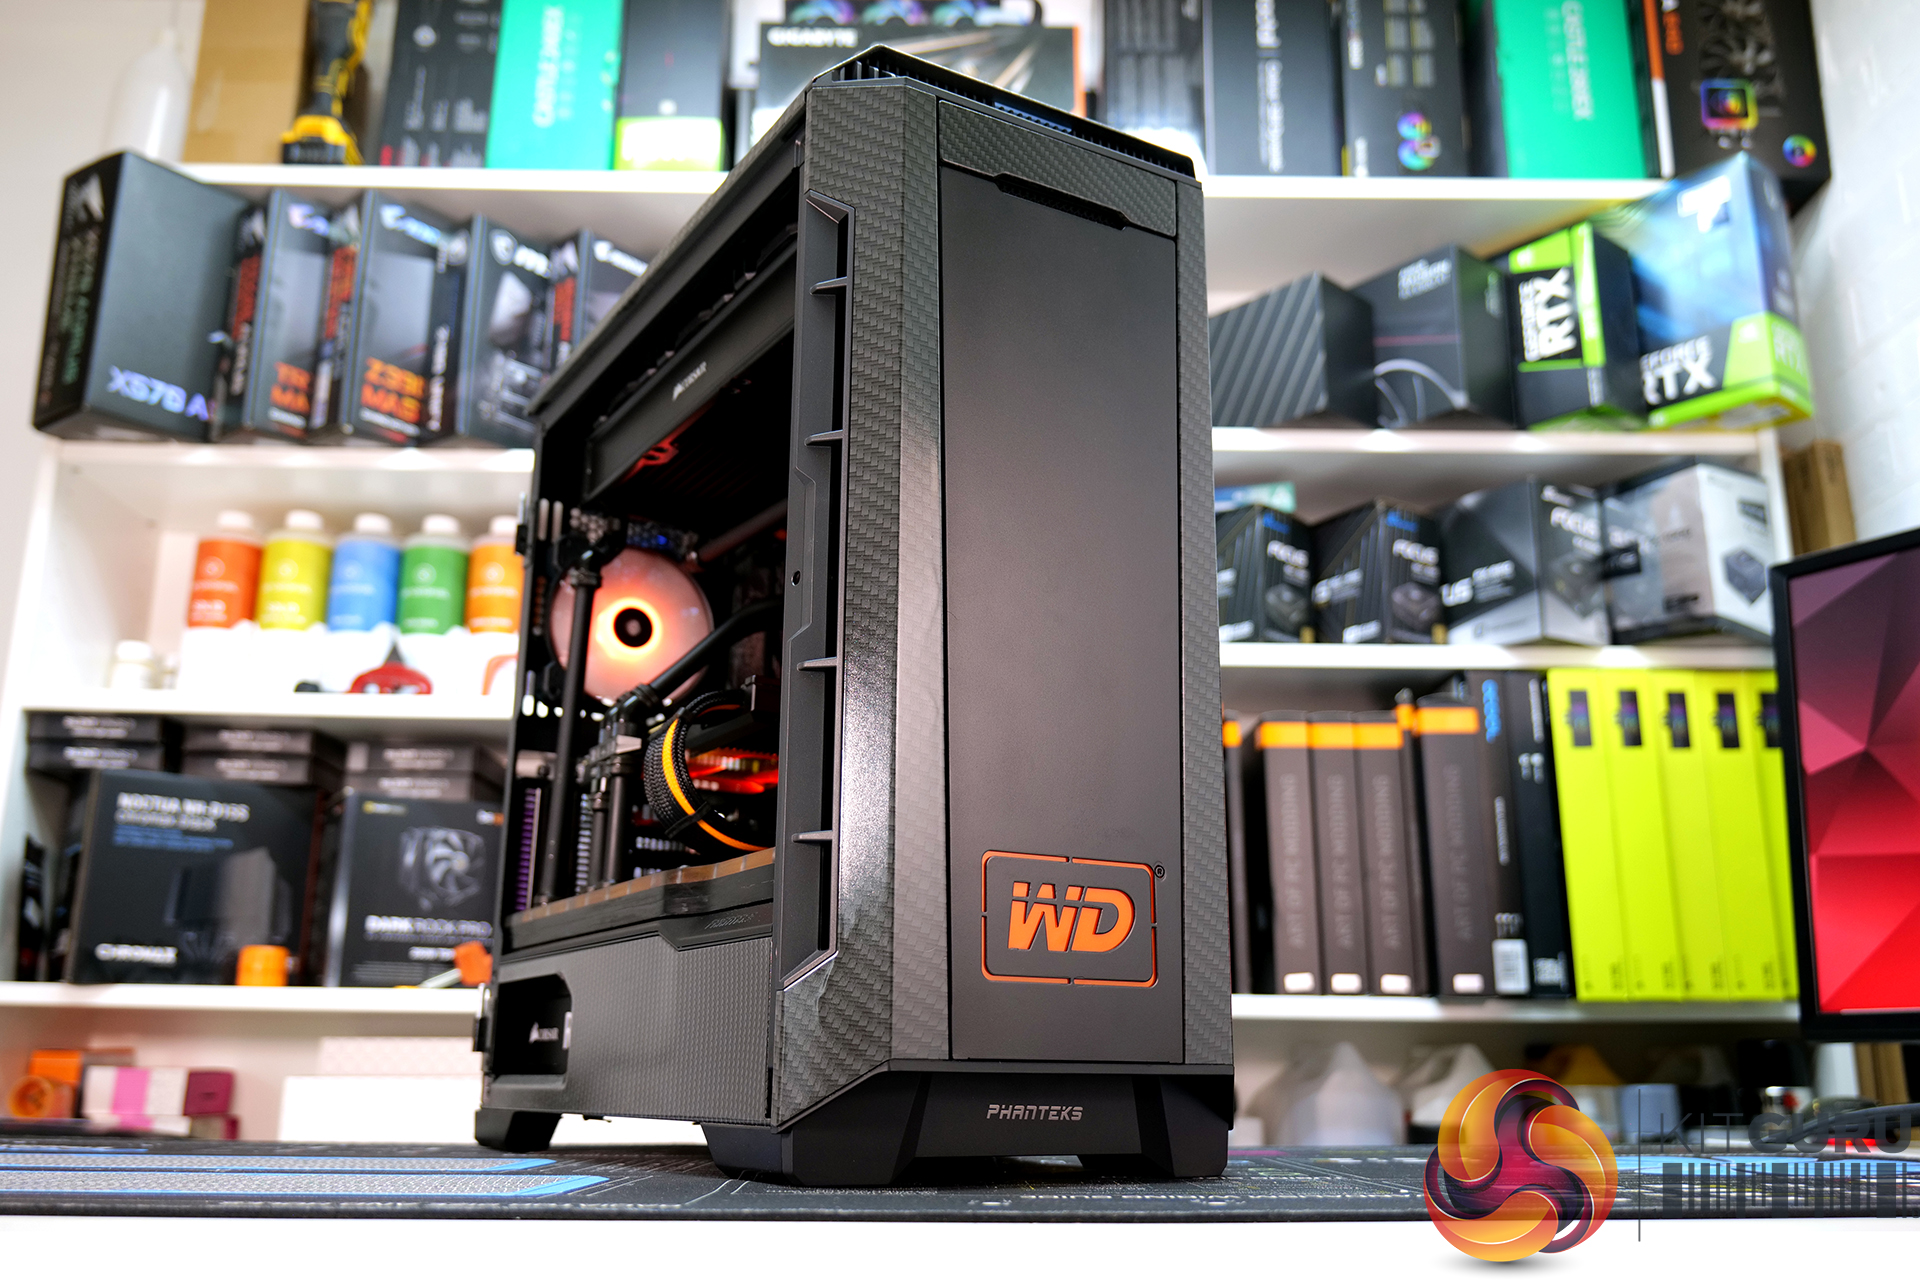
WD_Blackout has been a very interesting project. Since opting to design and build a custom distro plate for this project I knew it would be a stern test of my modding skill, and several revisions of the distro plate were made before settling on the final design that is leak-free and a visual improvement over the prototypes. In the third and final part of our WD_Blackout special build, we unveil the finished distro plate and build the system up for real. But will it turn out as expected? Let’s find out.
The third part of our WD_Blackout series focuses on building the final system, but there are still a few issues to iron out and customisations to finish off along the way. We kick off the video with a small mod to one of the M.2 drives in the system – the WD Blue SN550 M.2 SSD has a blue PCB which isn’t the ideal match for our blackout themed system, so I devise a small mod to quickly resolve that problem.
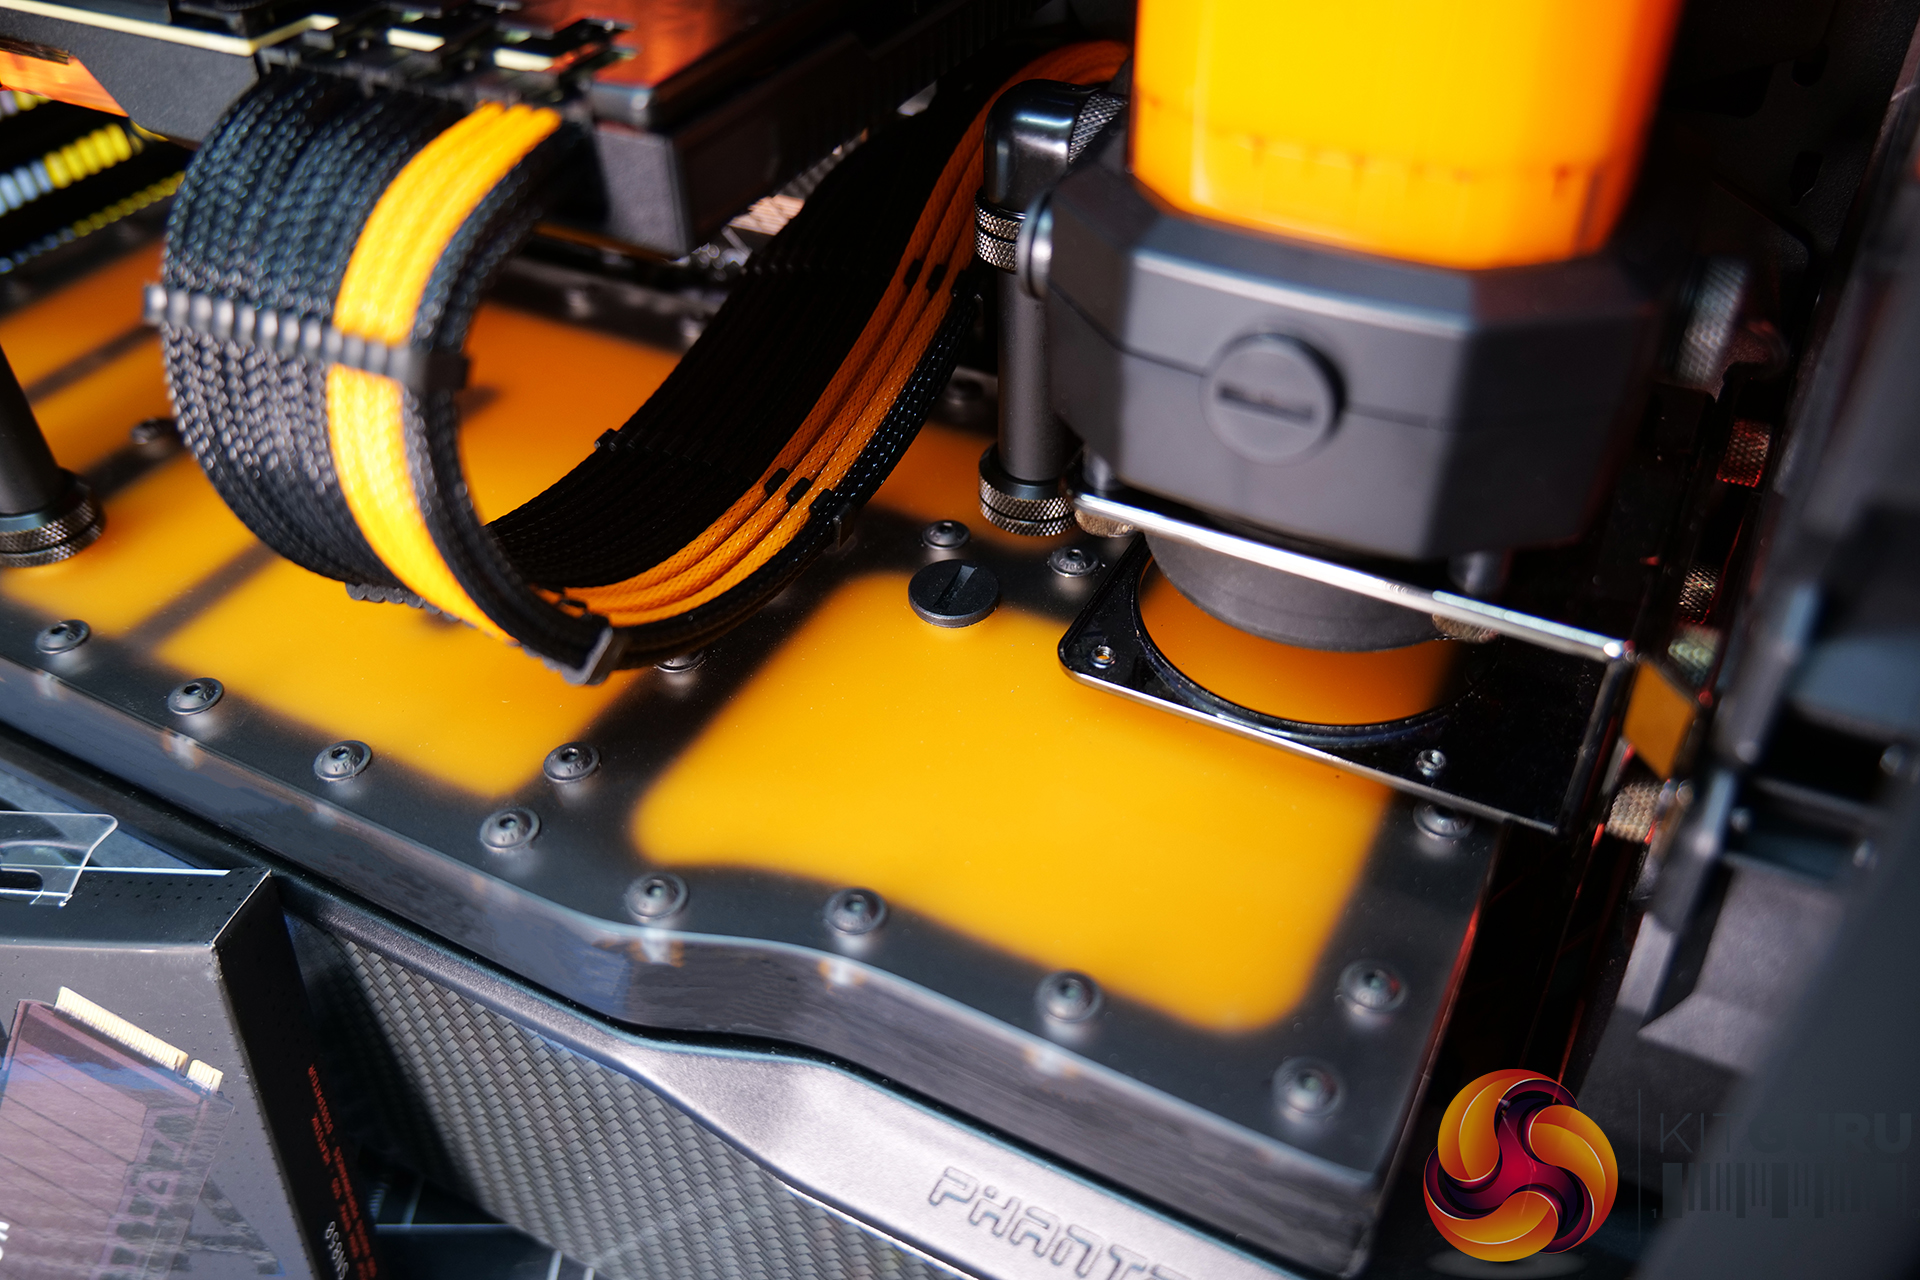
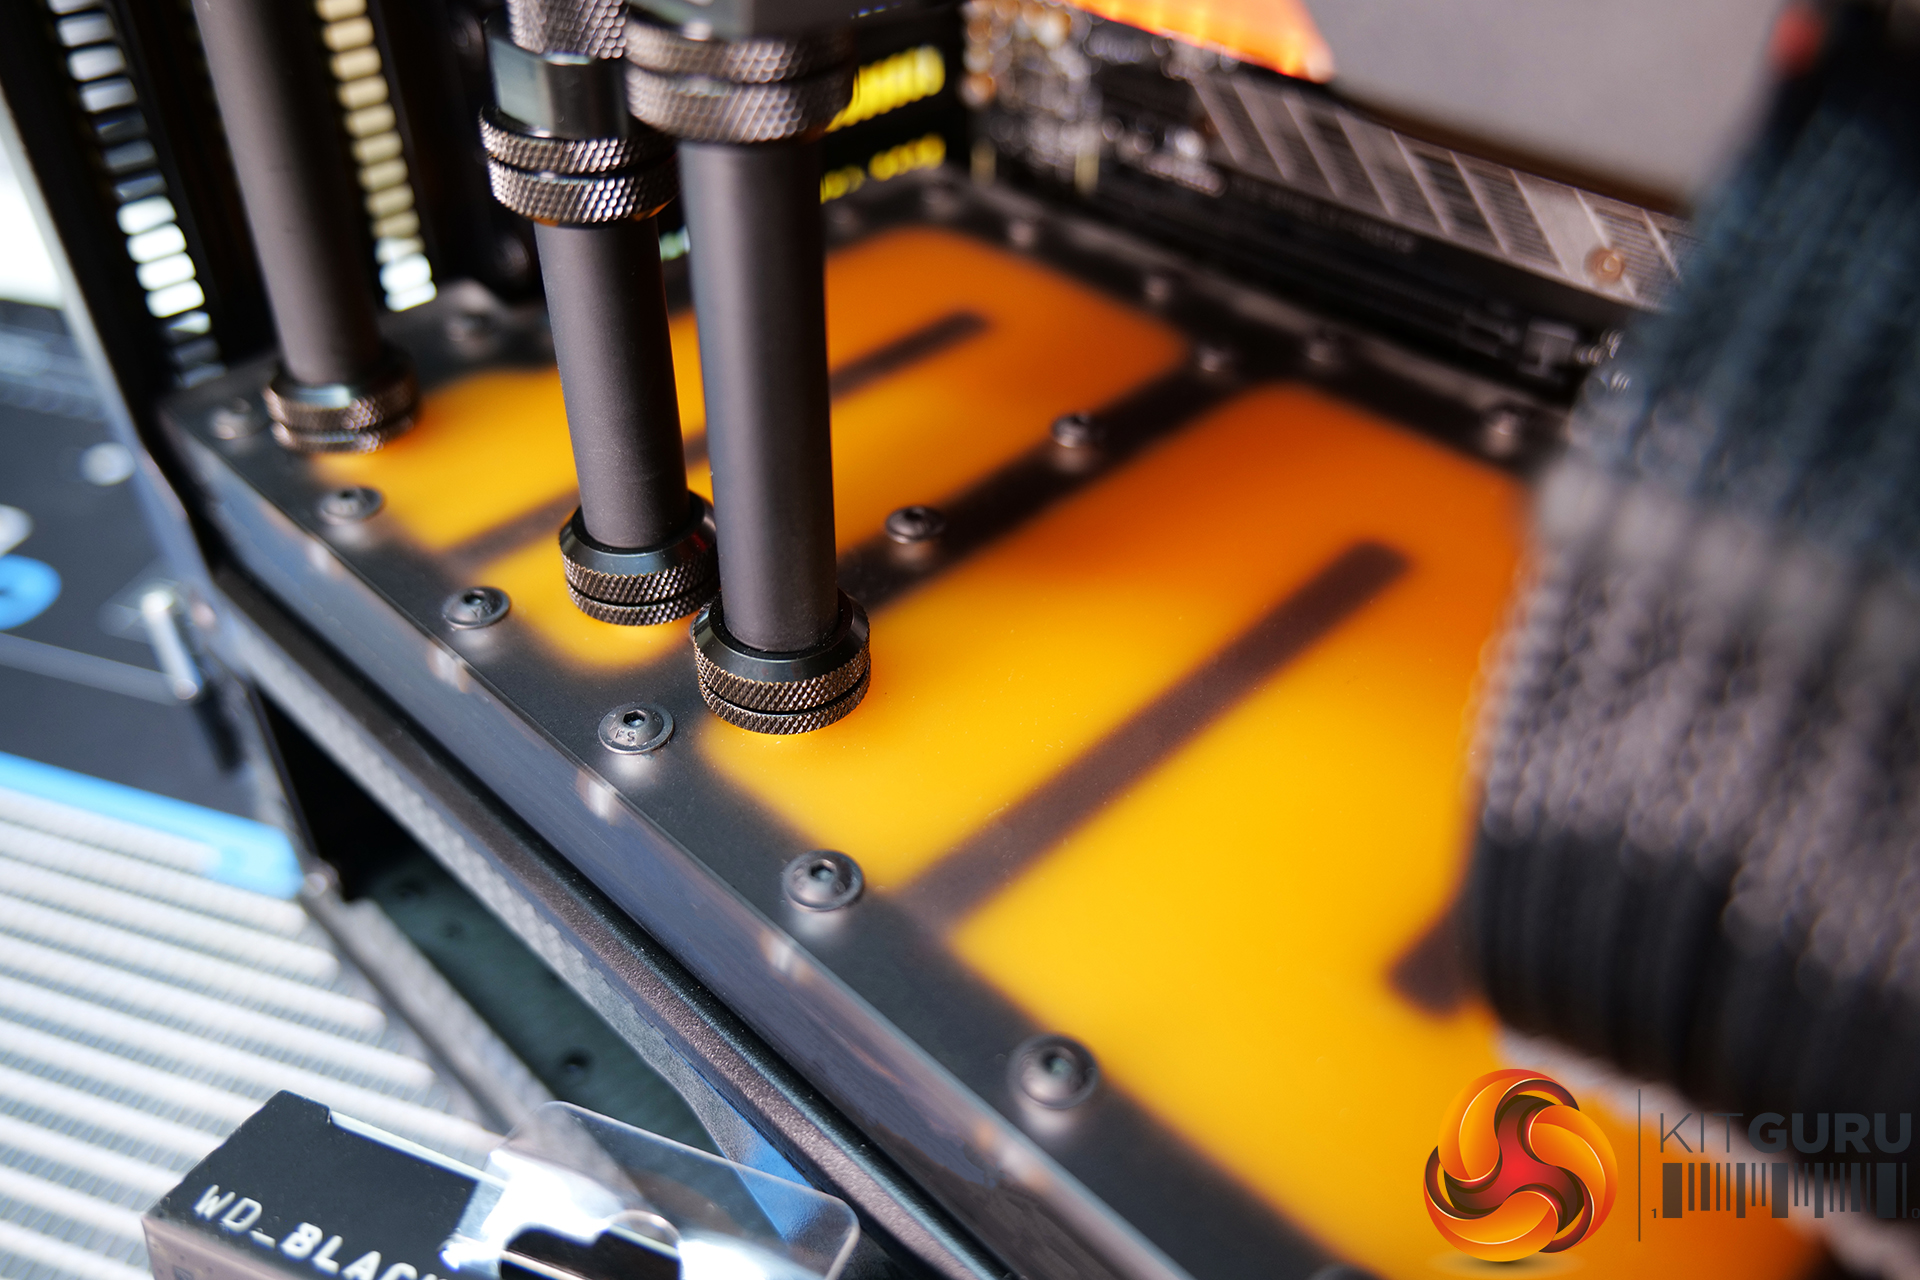
If you saw the previous video from this series you will know that I had planned improvements to the custom distro plate that will be fitted to the top of the Phanteks P600S power supply. In the end, I decided on upgraded top and bottom plates, the thickness of these plates has been increased from 5mm in the original design to 8mm in this final version. This increase in plate thickness is for added rigidity to hopefully improve the seal rather than for an improvement in aesthetics.
As well as upgrading the thickness of the top and bottom plates, for Distro Plate 2.0 I chose to permanently seal the top and centre plates using a special adhesive designed specifically for bonding acrylic to acrylic. However, I still wanted to keep one of the plates semi-permanently sealed in case the distro plate needed to be disassembled for servicing in the future. I tested a stack of different sealants and settled on using a brand named Tiger Seal which gives a strong flexible seal and turned out to perform best for this application.
Lightly sanding the mating surfaces of the plates also improved the adhesion since the smooth surface of cast acrylic is difficult to bond to. Another addition to the final version of our custom distro plate was creating baffles in the large water channels. In the two main water channels, the original distro plate had areas of stagnant liquid while the pump was running due to the coolant finding its easiest route from inlet to outlet.
This issue was easily resolved by adding baffles to the large channels which improved the flow path and eliminated the areas of stagnant water, which in turn could also positively affect the cooling efficiency since technically more coolant would be flowing through the system.
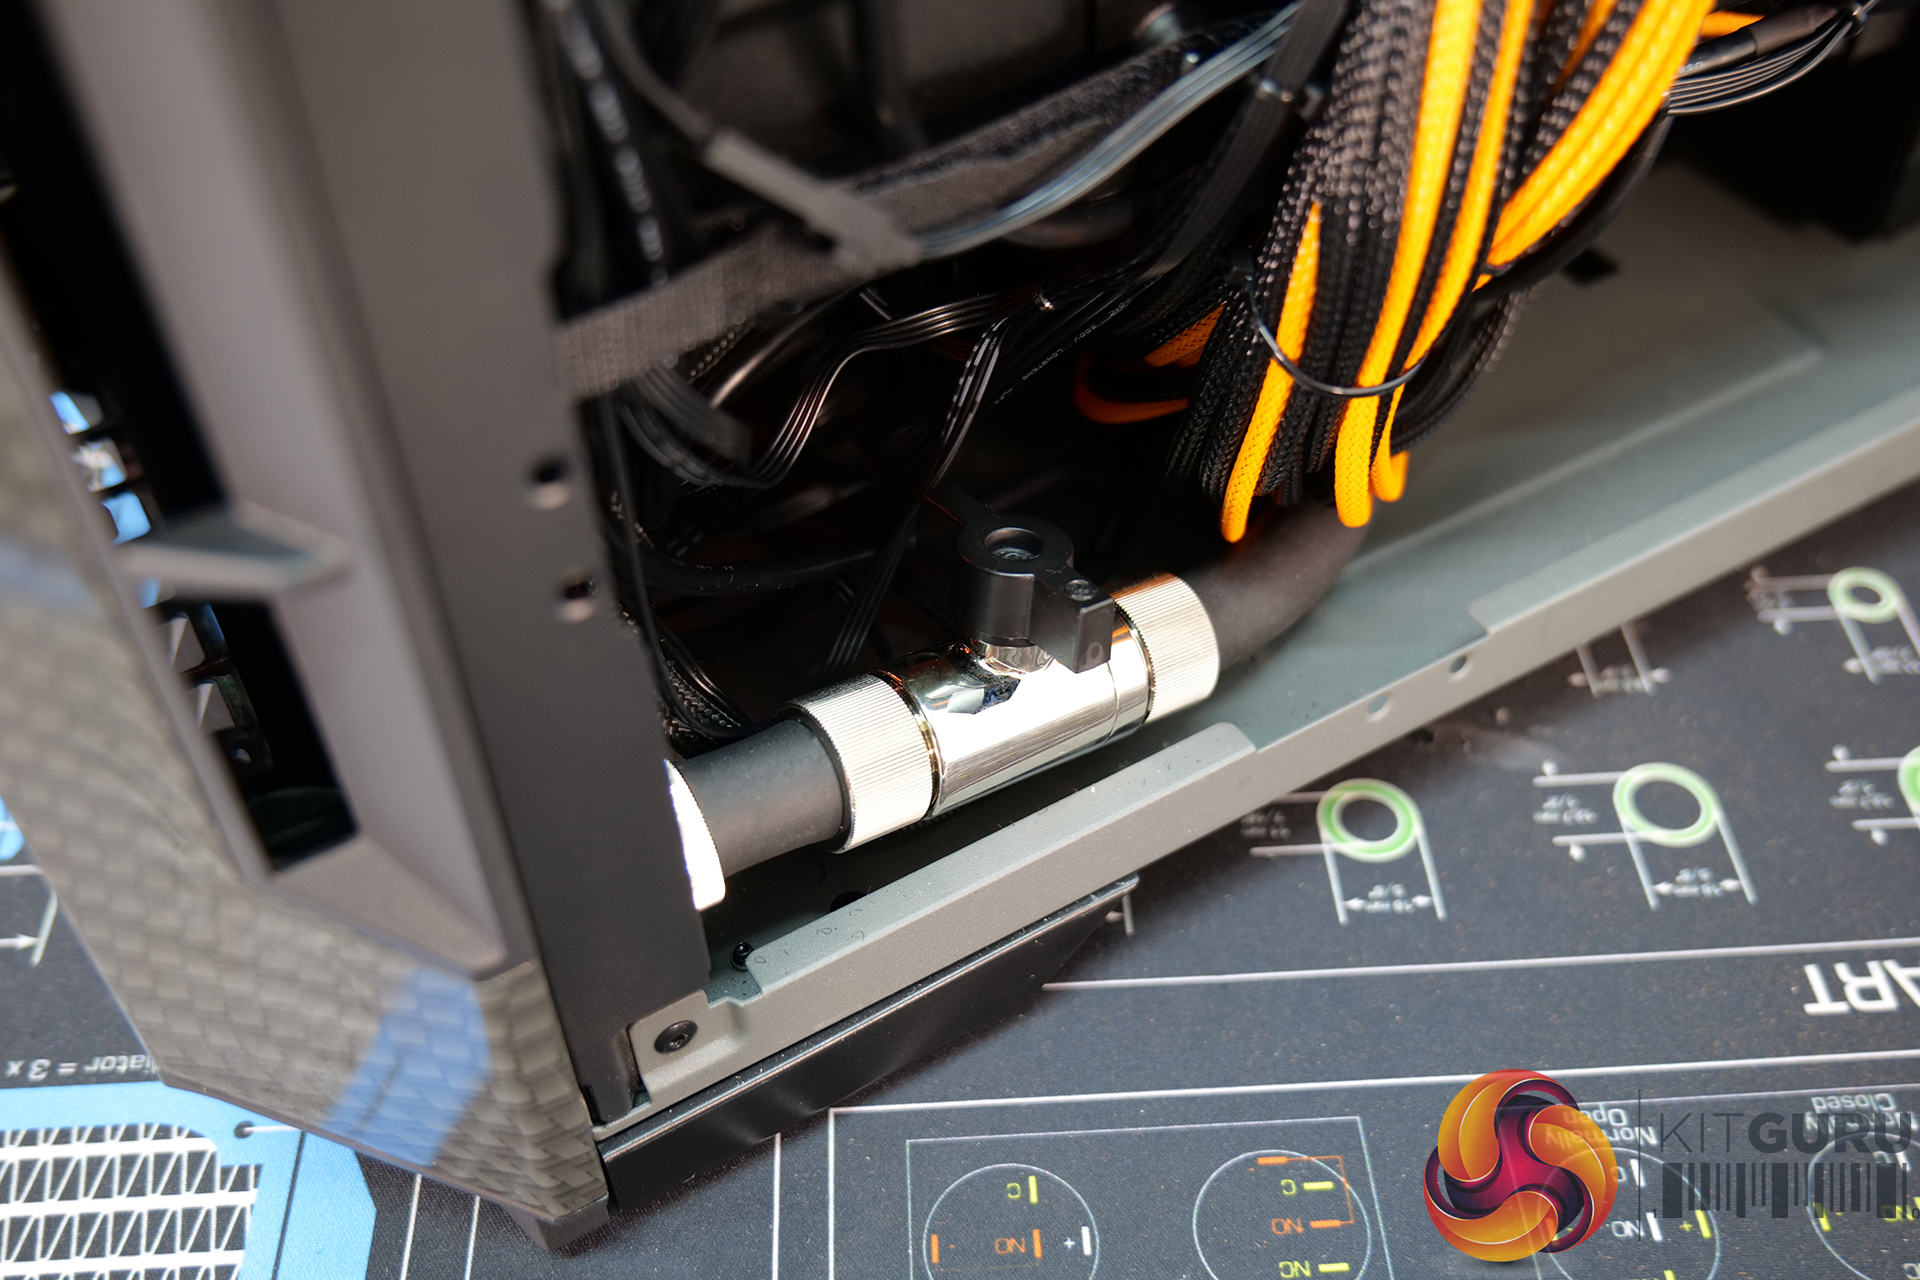
I also exchanged the 18mm long stainless steel button head screws (that hold the three plates together) with longer, 25mm high tensile black button head flange screws which add a visual improvement to the distro plate. The final improvement was to fit a G1/4 drain port to the base plate which can connect up to the drain port on the front of the Phanteks P600S chassis, for easy draining of the system.
Final System Specification:
- CPU: Intel Core i5-11600K
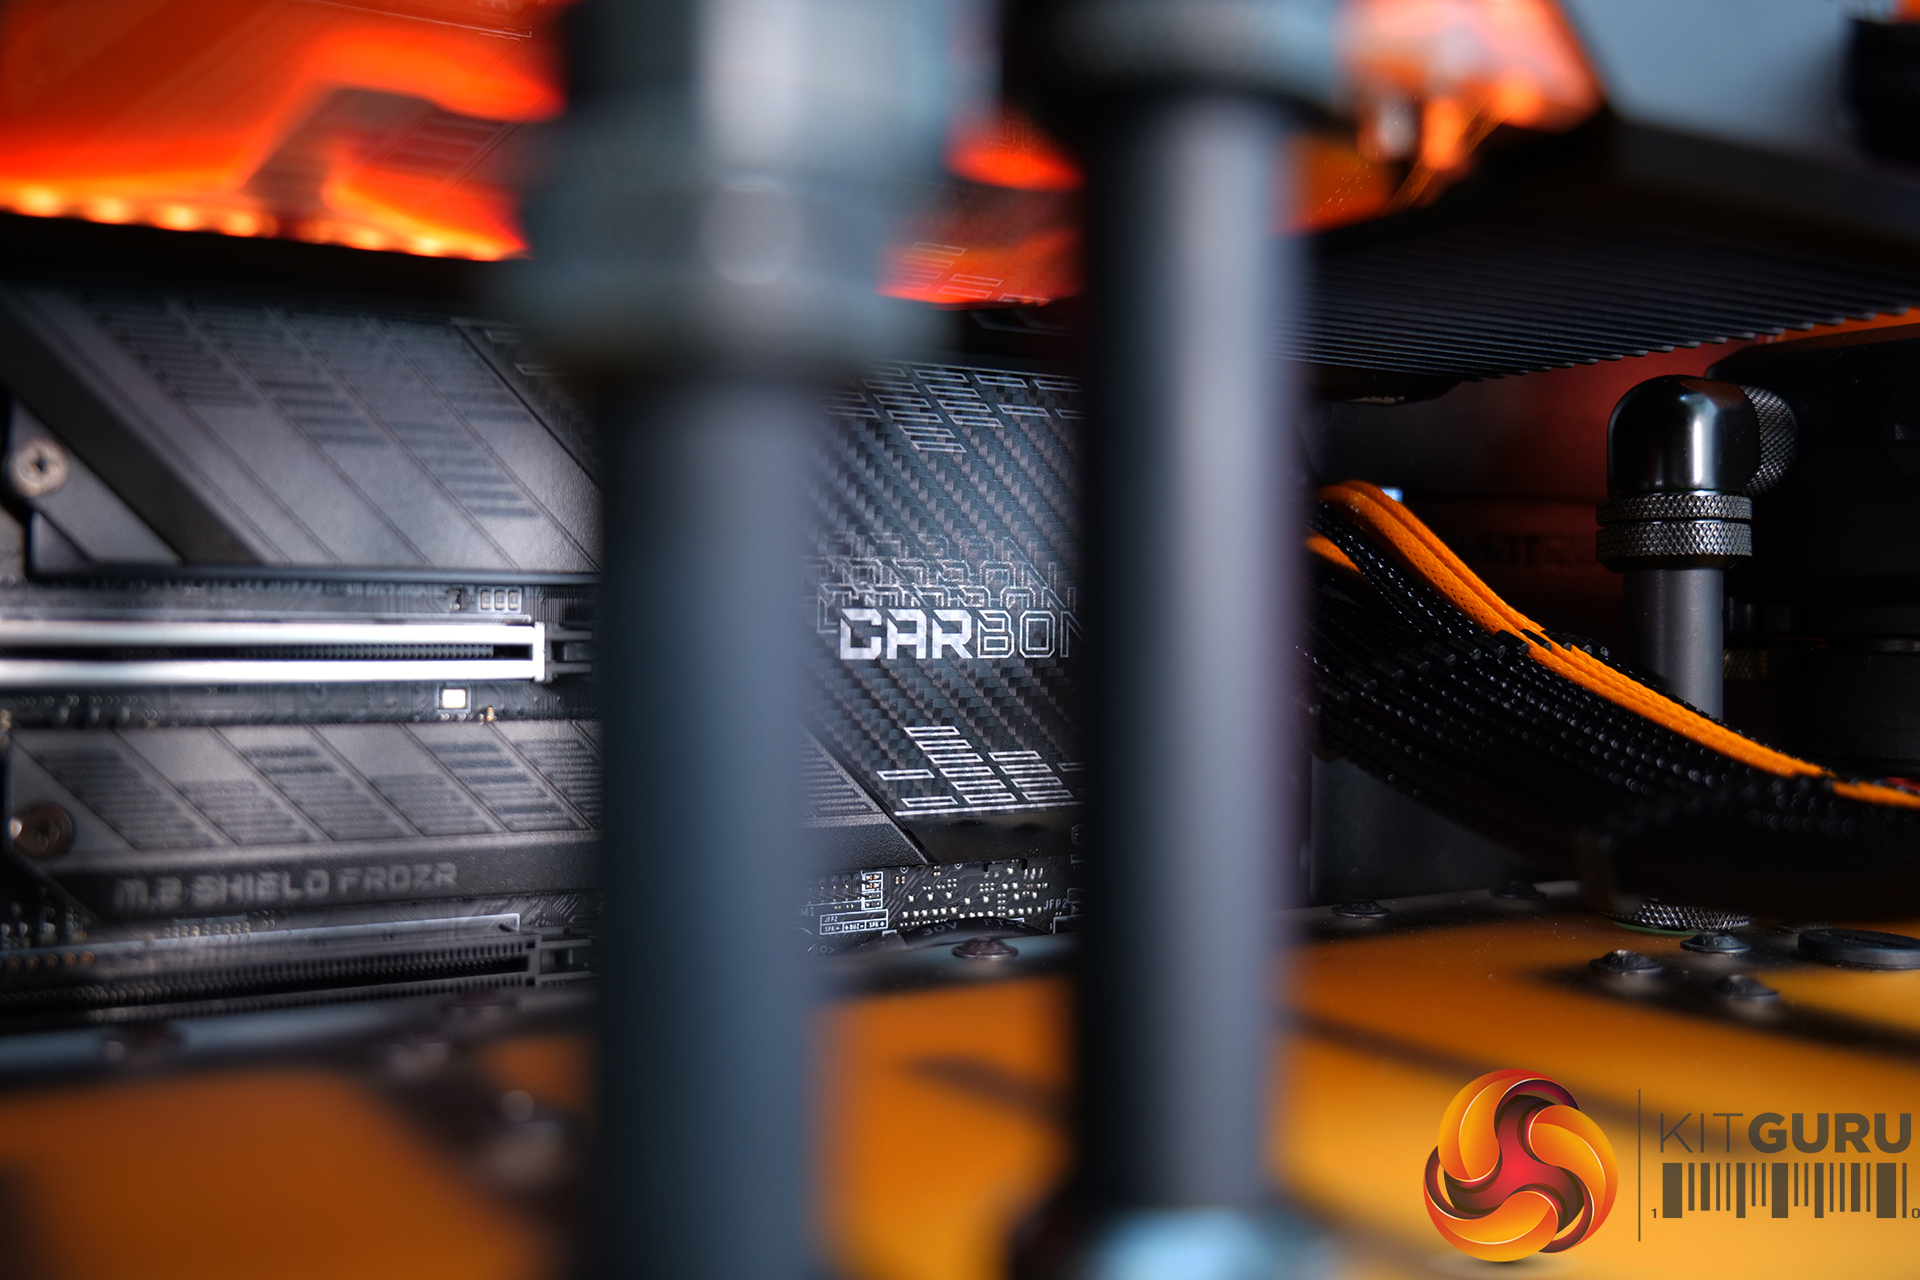
- Motherboard: MSI MPG Z590 Gaming Carbon WiFi
- Memory: 16GB (2x8GB modules) Corsair Dominator RGB DDR4-3600
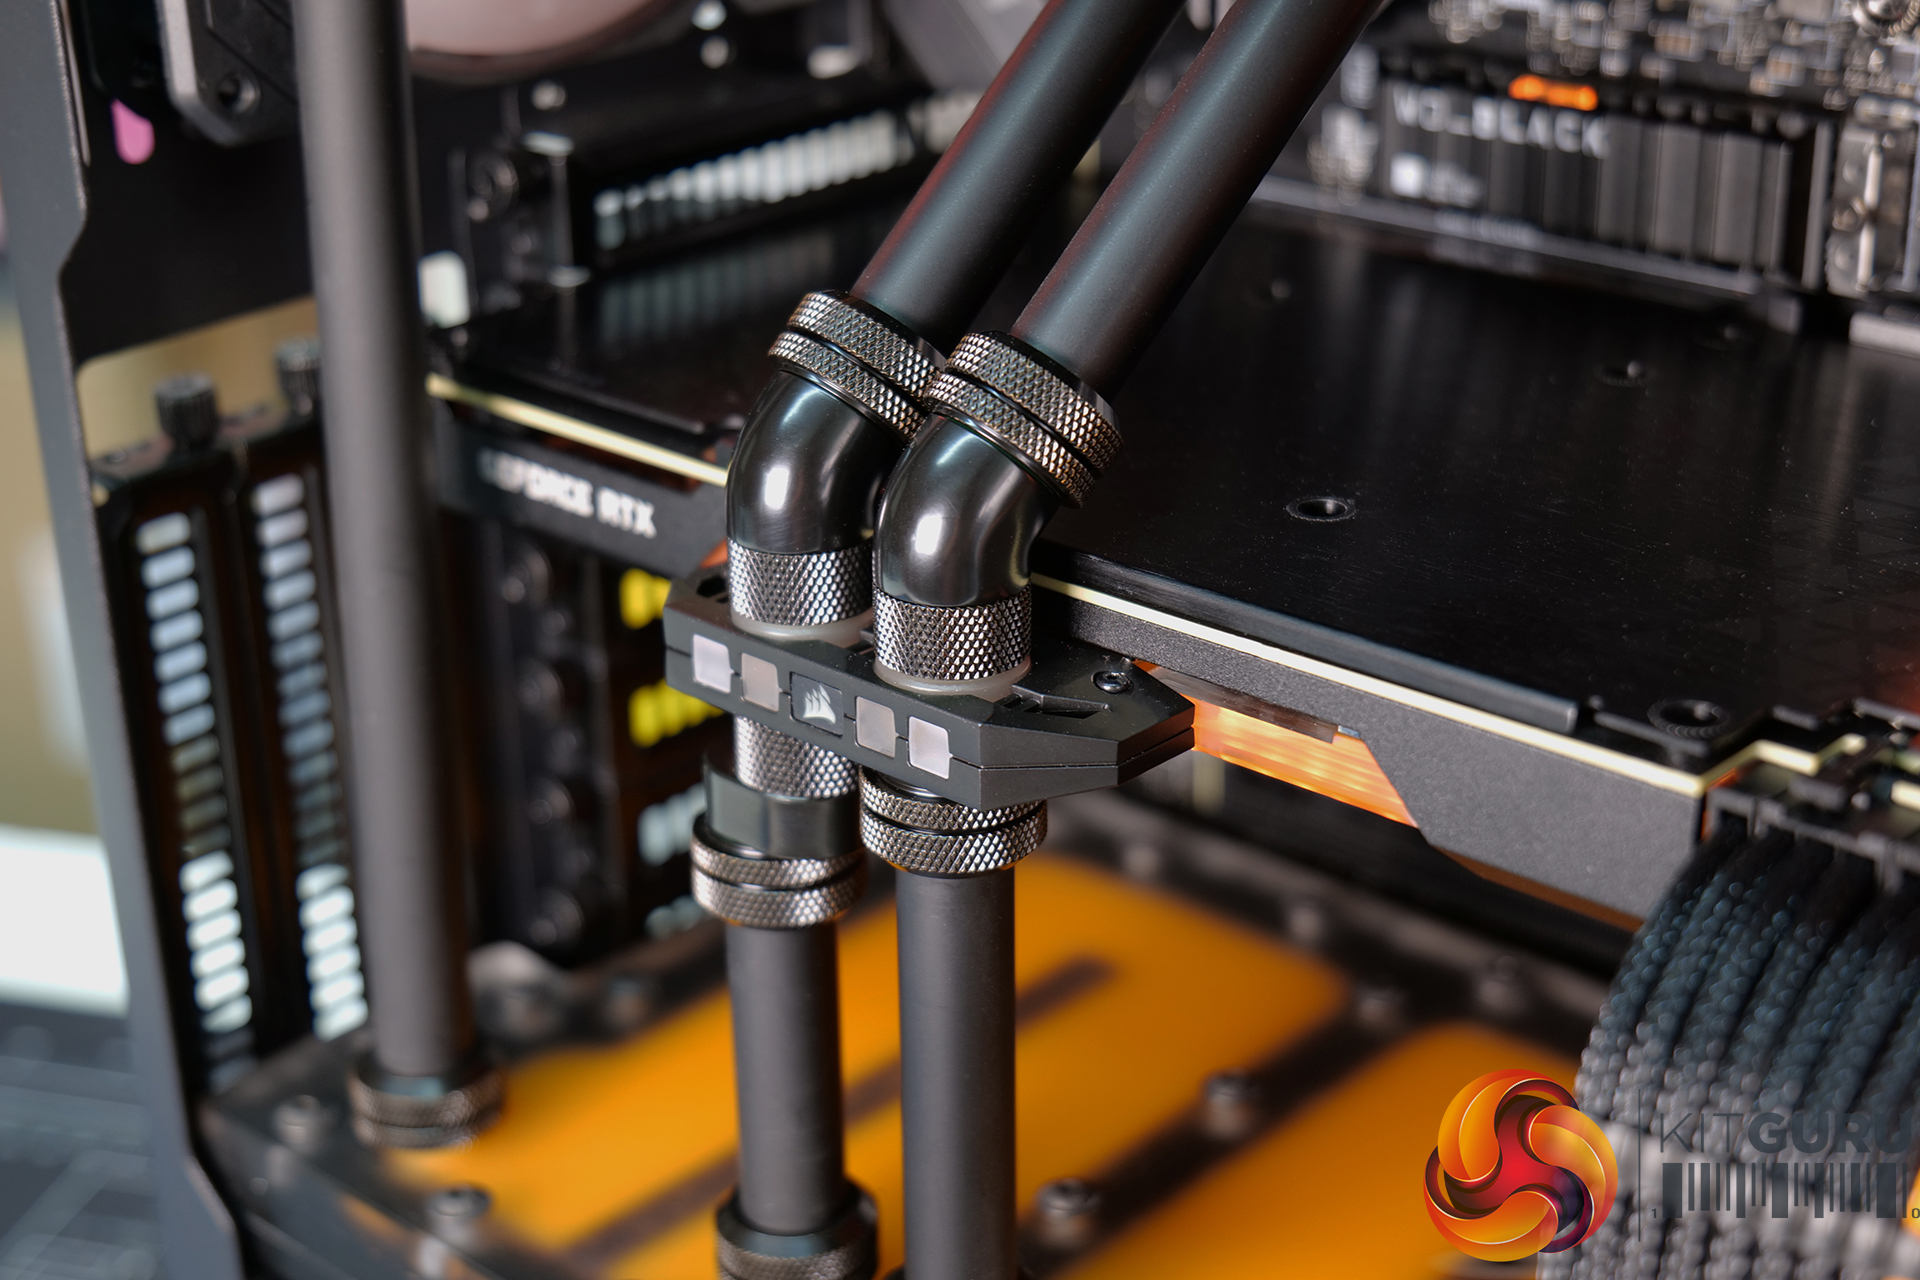
- Graphics Card: Asus ROG Strix RTX 3080
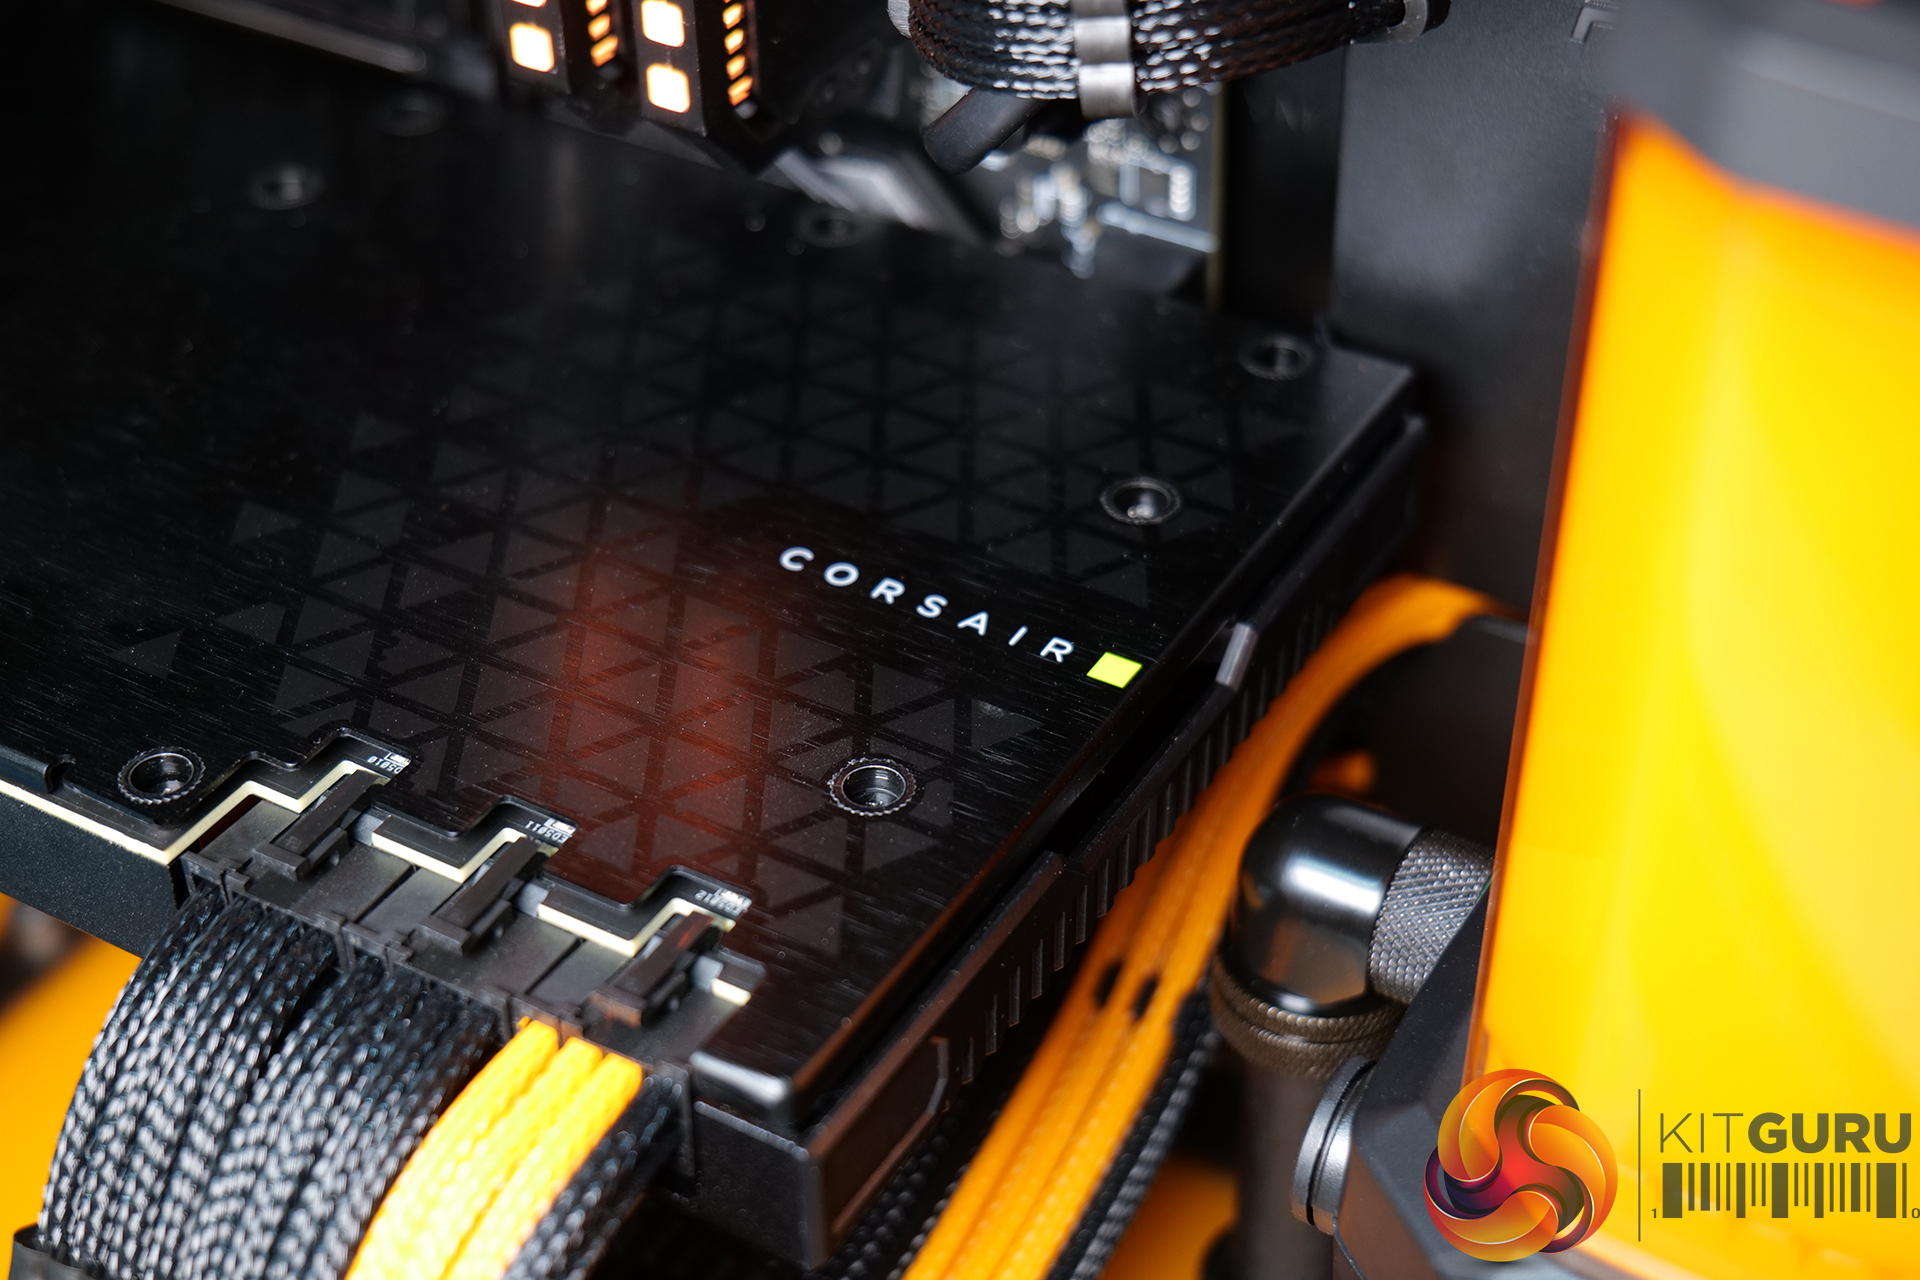
- Storage 1: 1TB WD Black SN850 NVMe M.2 SSD
- Storage 2: 2TB WD Blue SN550 NVMe M.2 SSD
- Case: Phanteks Eclipse P600S
- Power Supply: Corsair RM850 850W 80+Gold
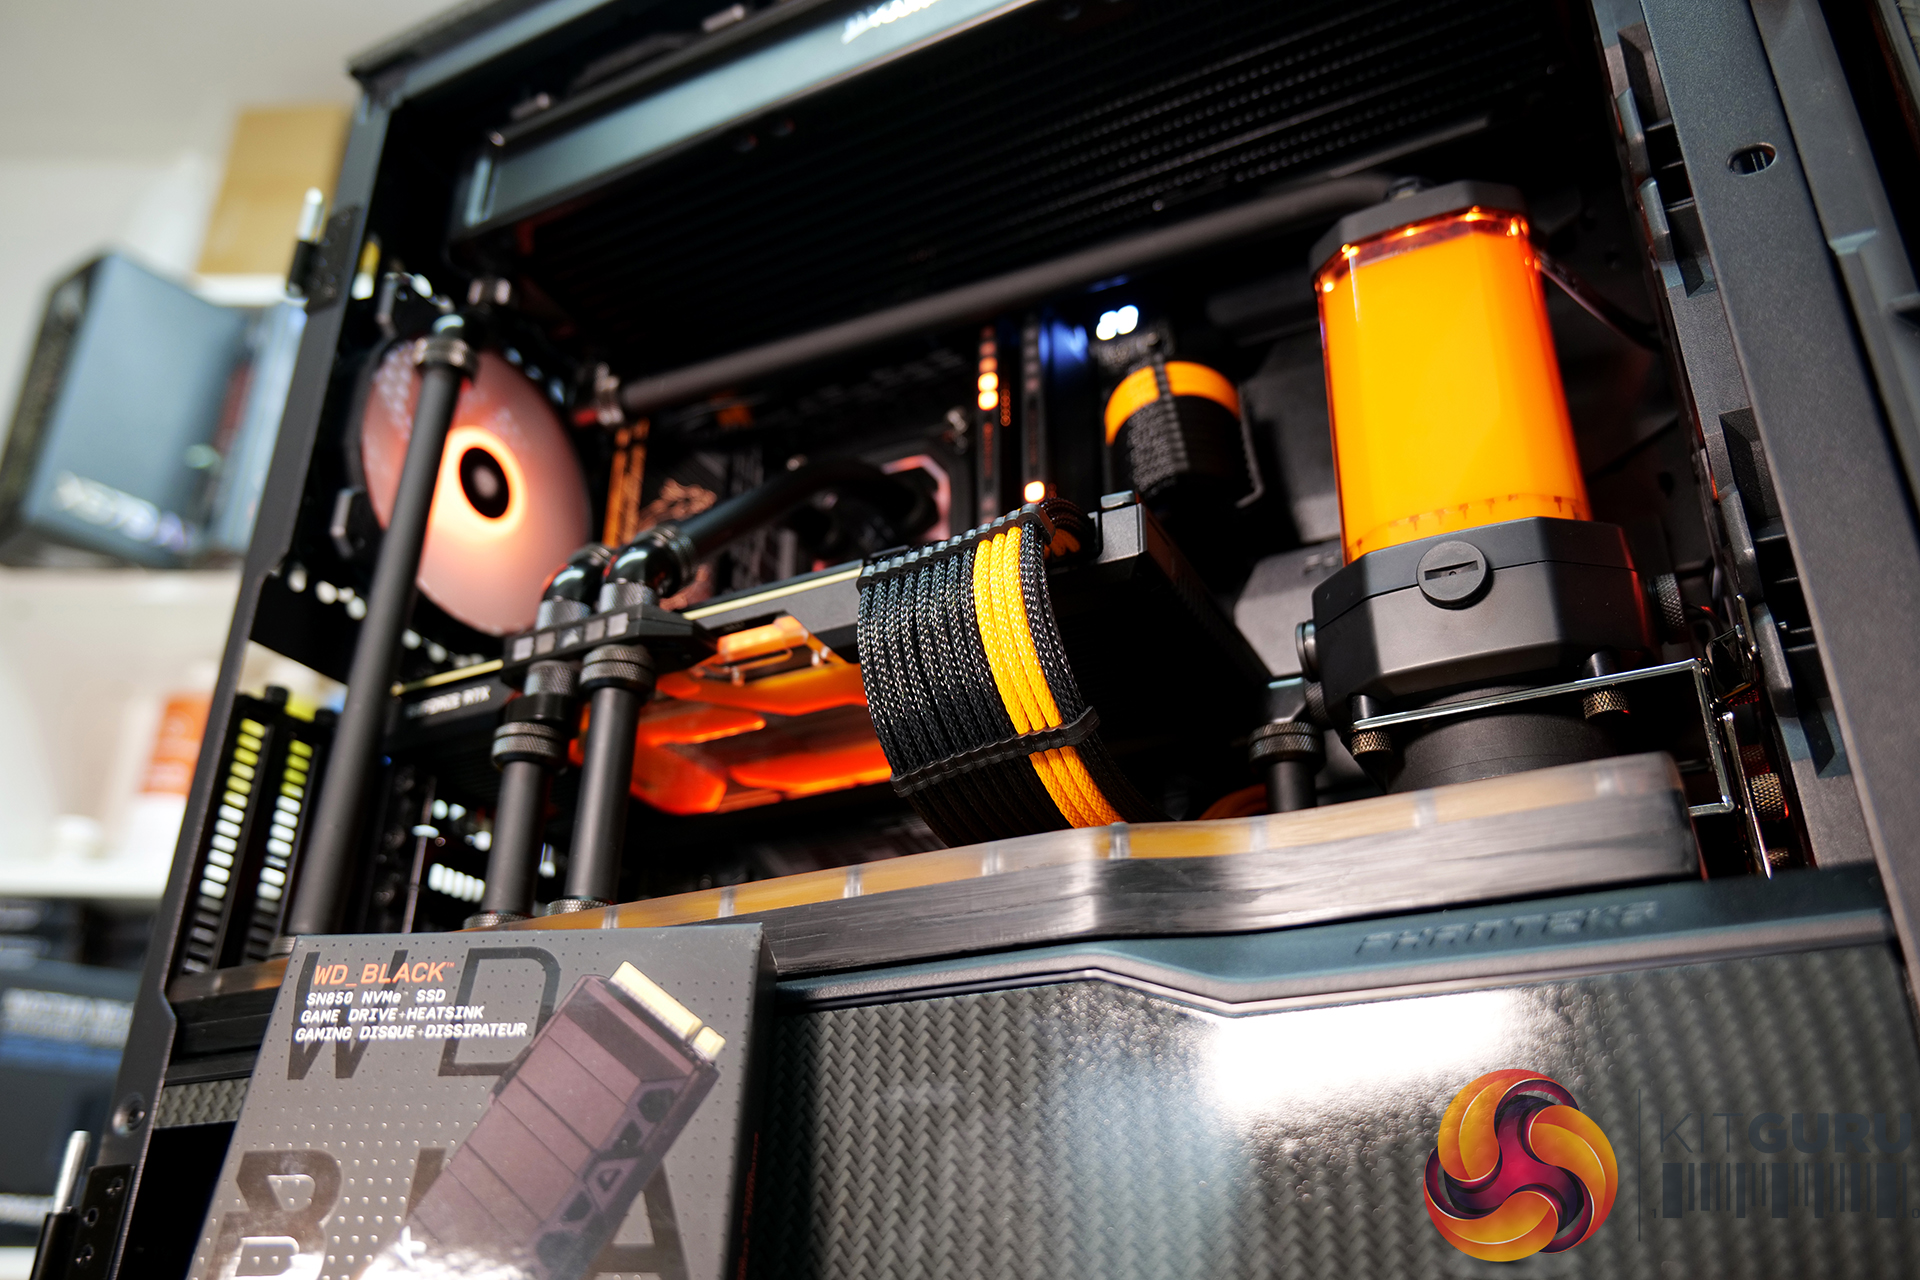
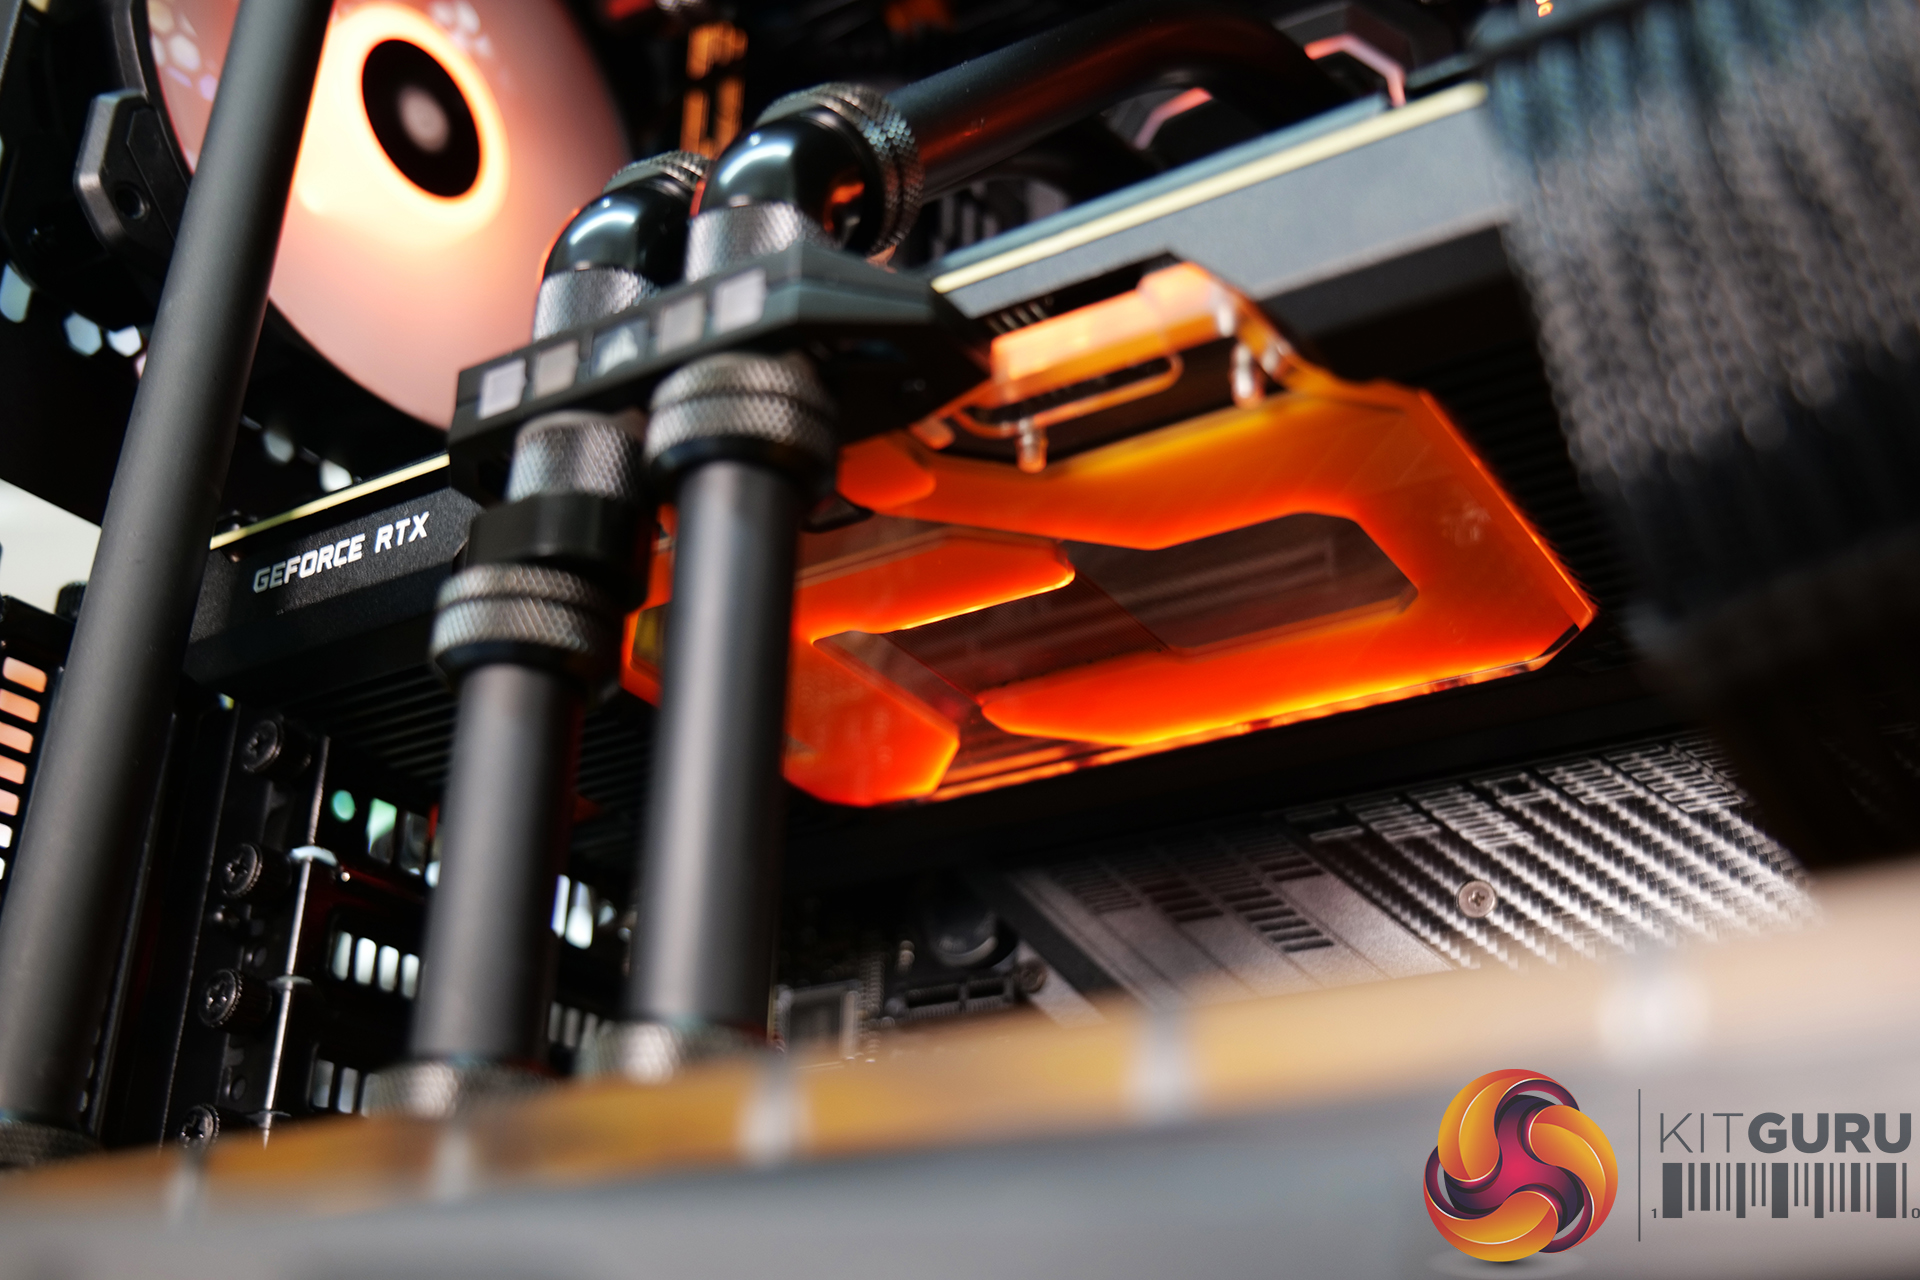
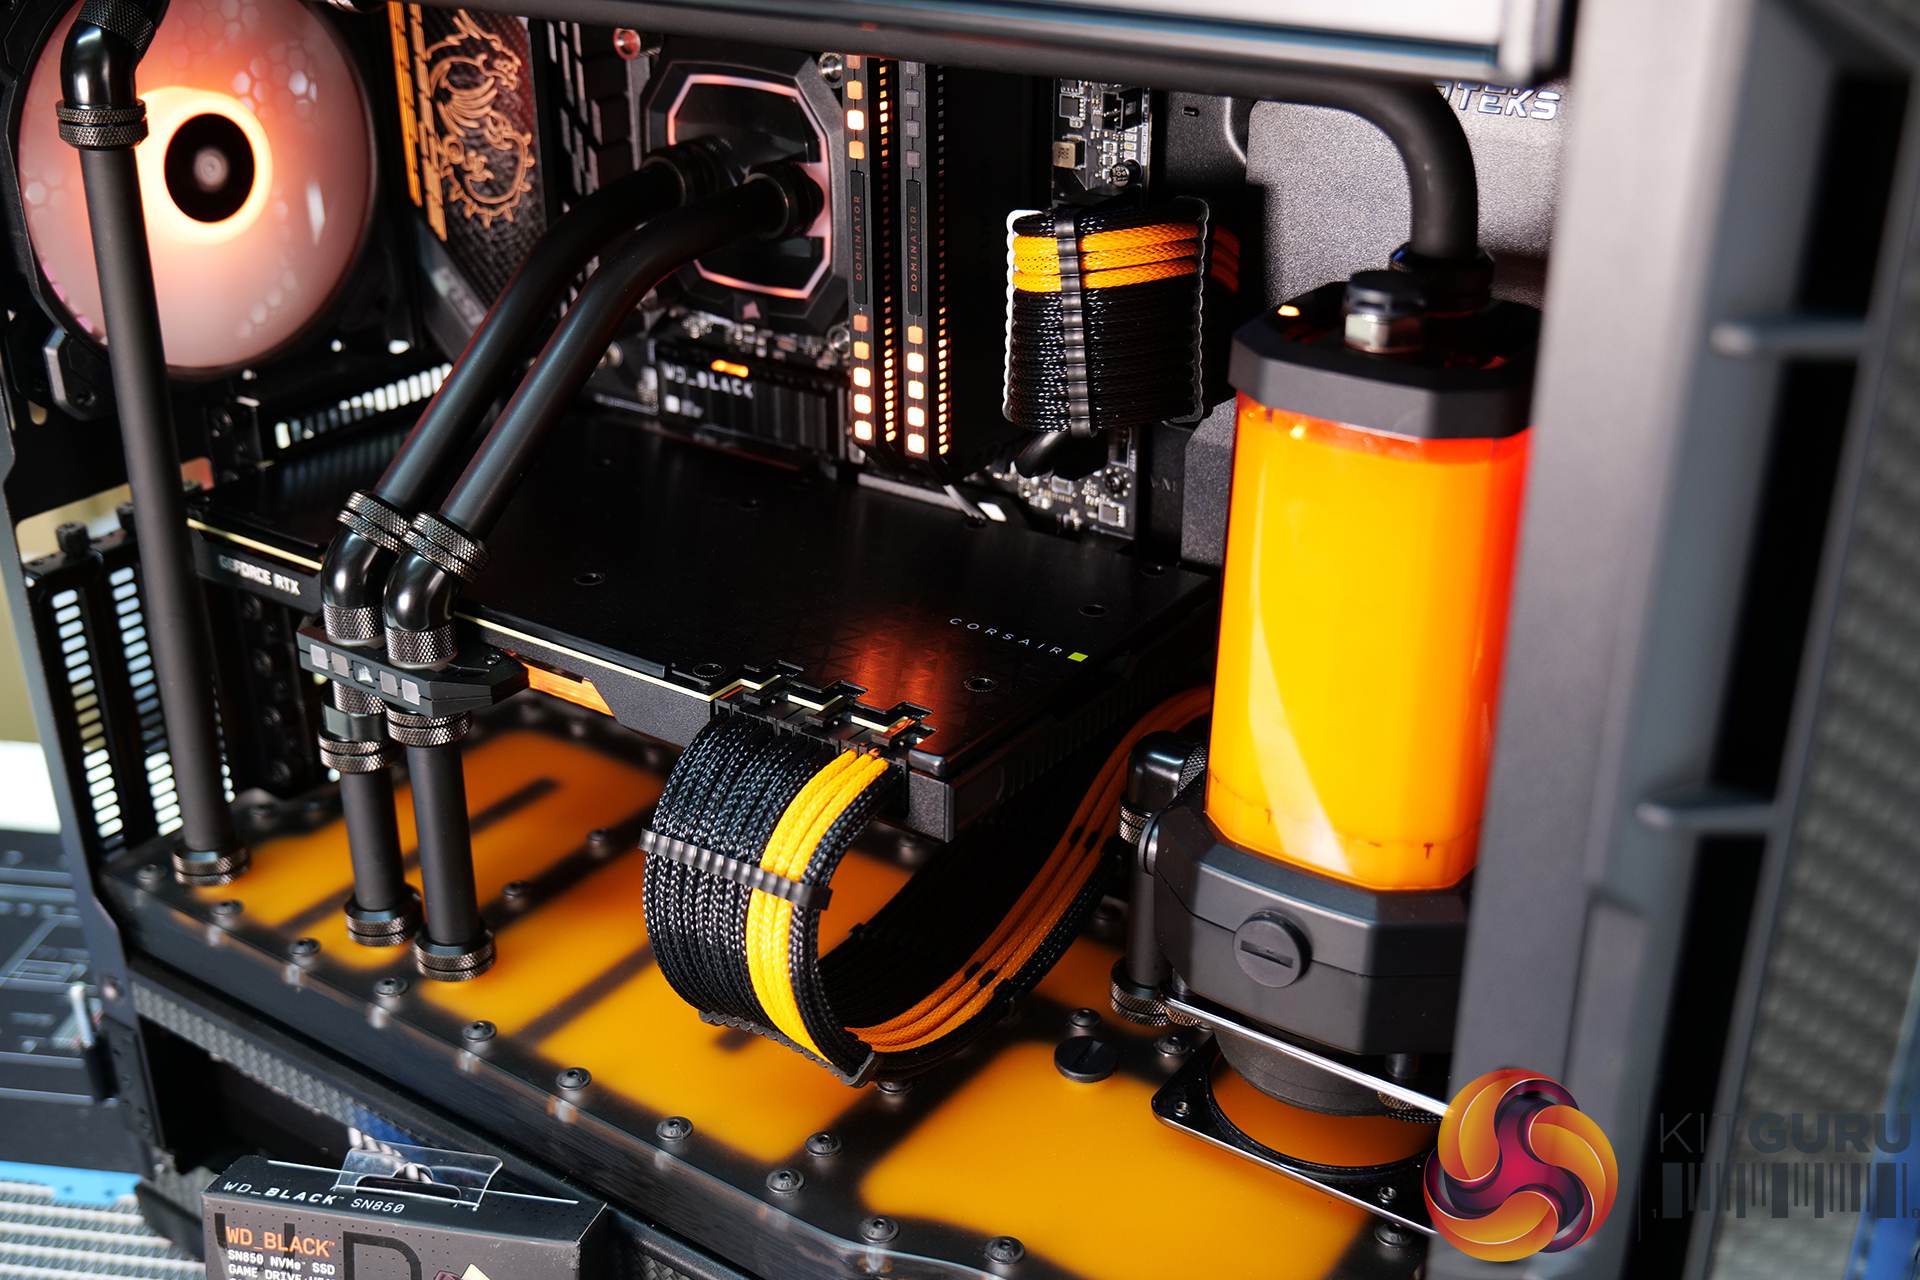
Cooling – Corsair Hydro X Custom cooling
- Pump/res: XD5 RGB Pump/Reservoir Combo
- CPU block: XC5 RGB
- GPU Water block: XG7 RGB 3070/3080/3090 Asus Strix
- Radiator: XR7 360mm Water Cooling Radiator
- Fittings: XF Hardline 14mm OD
- Tubing: XT Hardline 14mm Tubing — Satin Black
- System Fans: 7 x Corsair SP120 RGB Elite Performance
- Distro plate: Custom Made PSU Shroud Mounted
System Mods
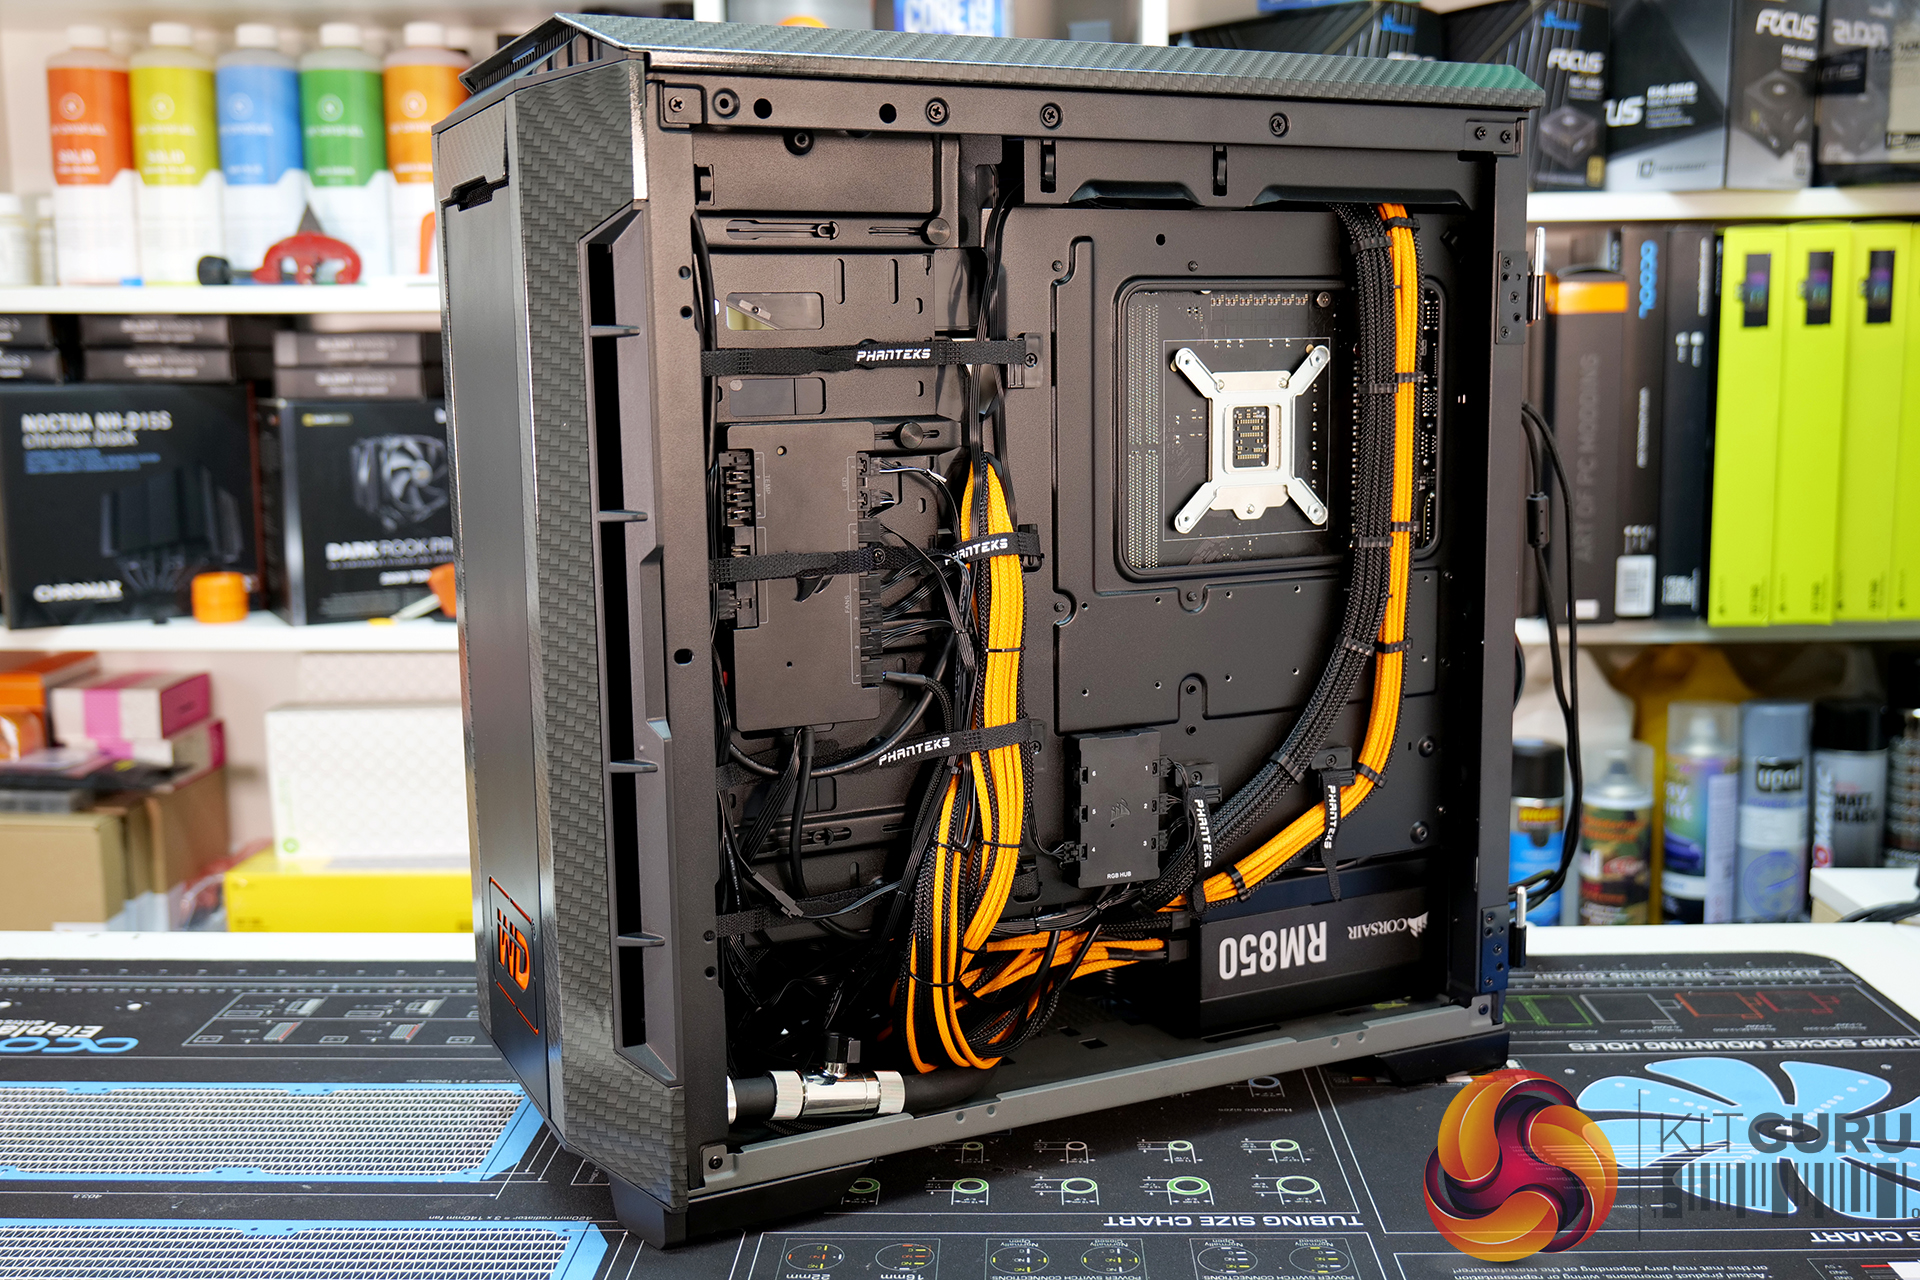
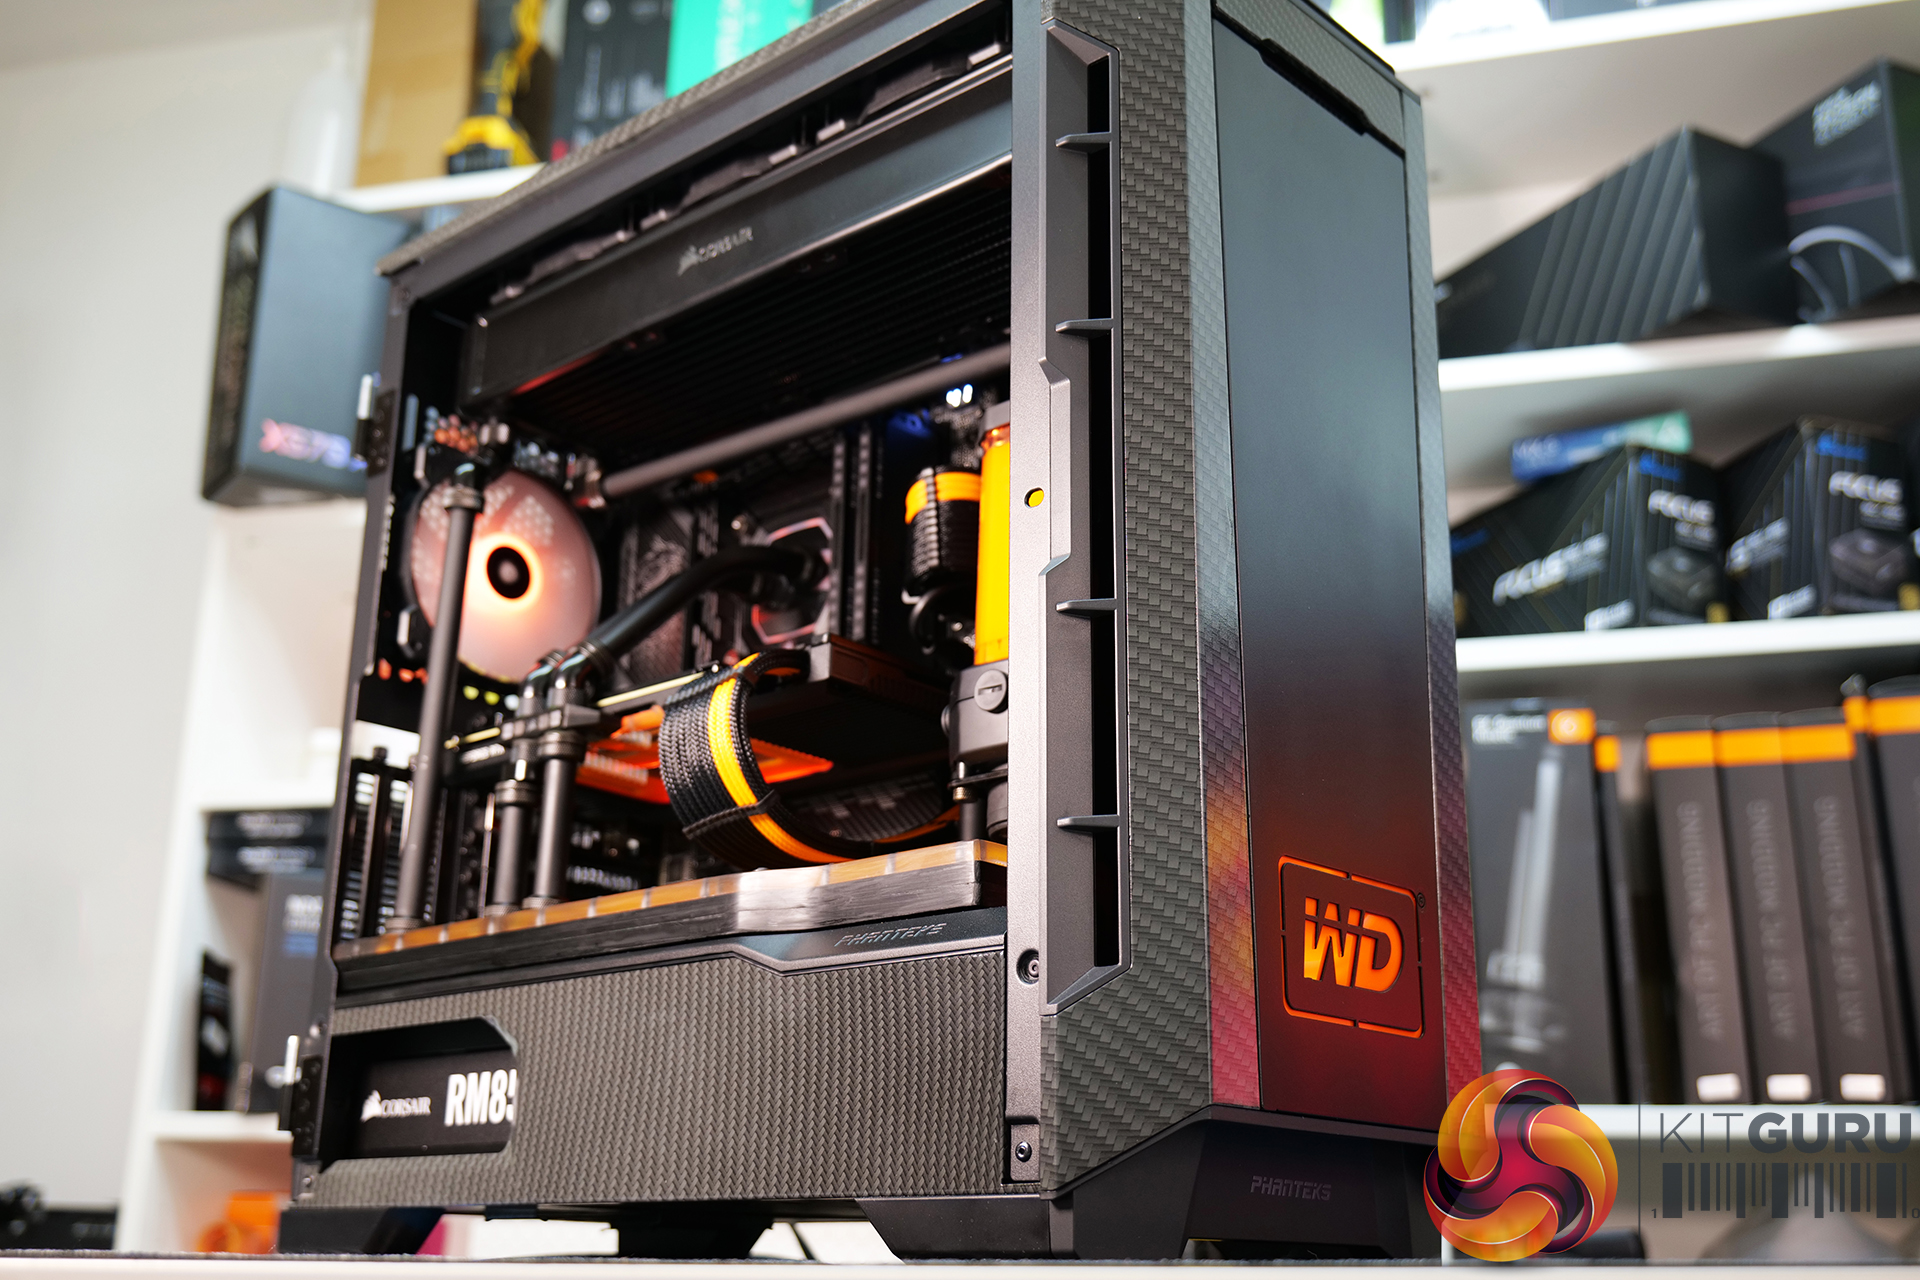
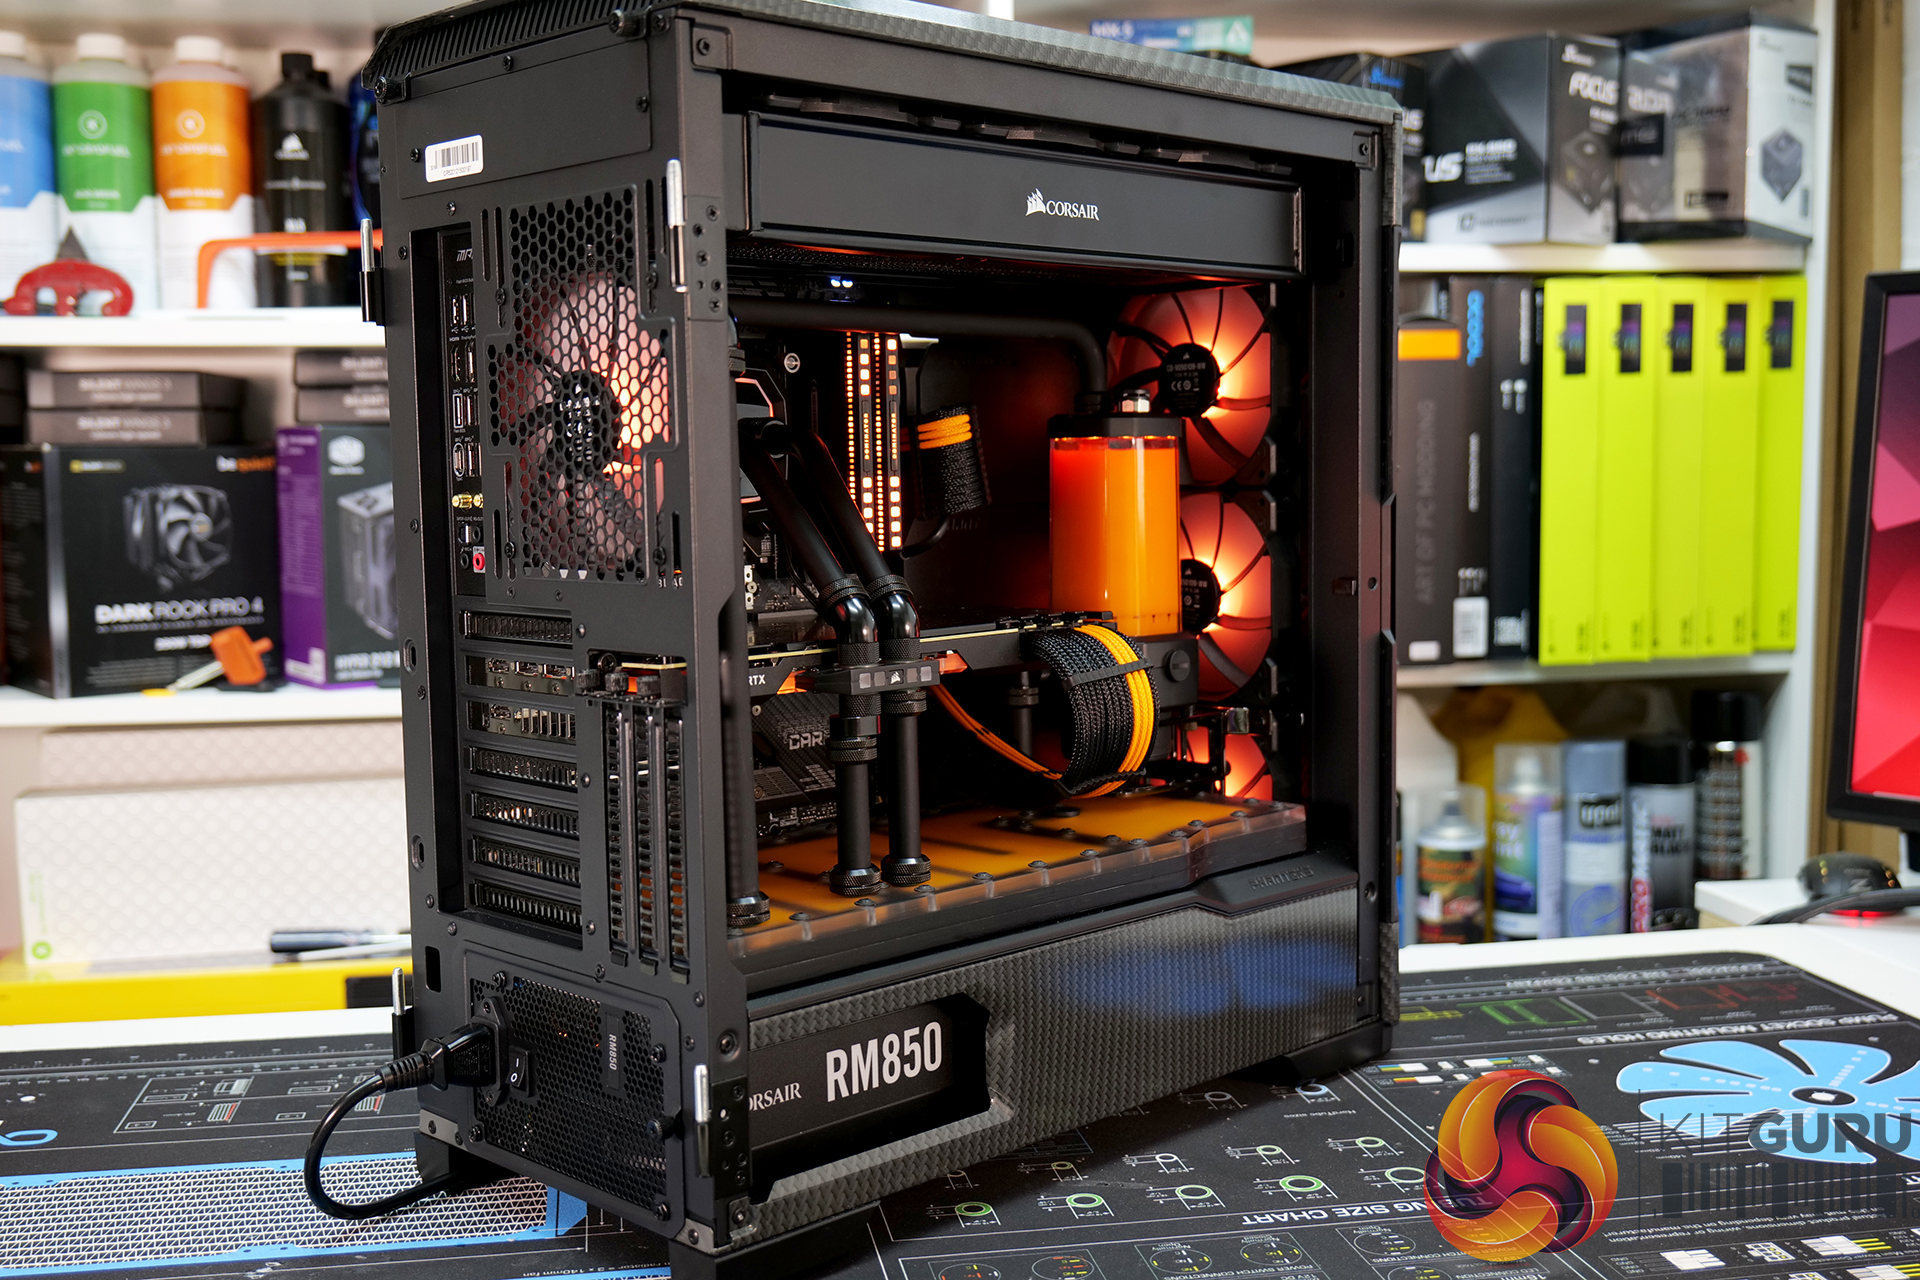
- Hand made PSU shroud mounted custom distro plate.
- Blackout interior.
- Custom cooling loop using satin black tubing.
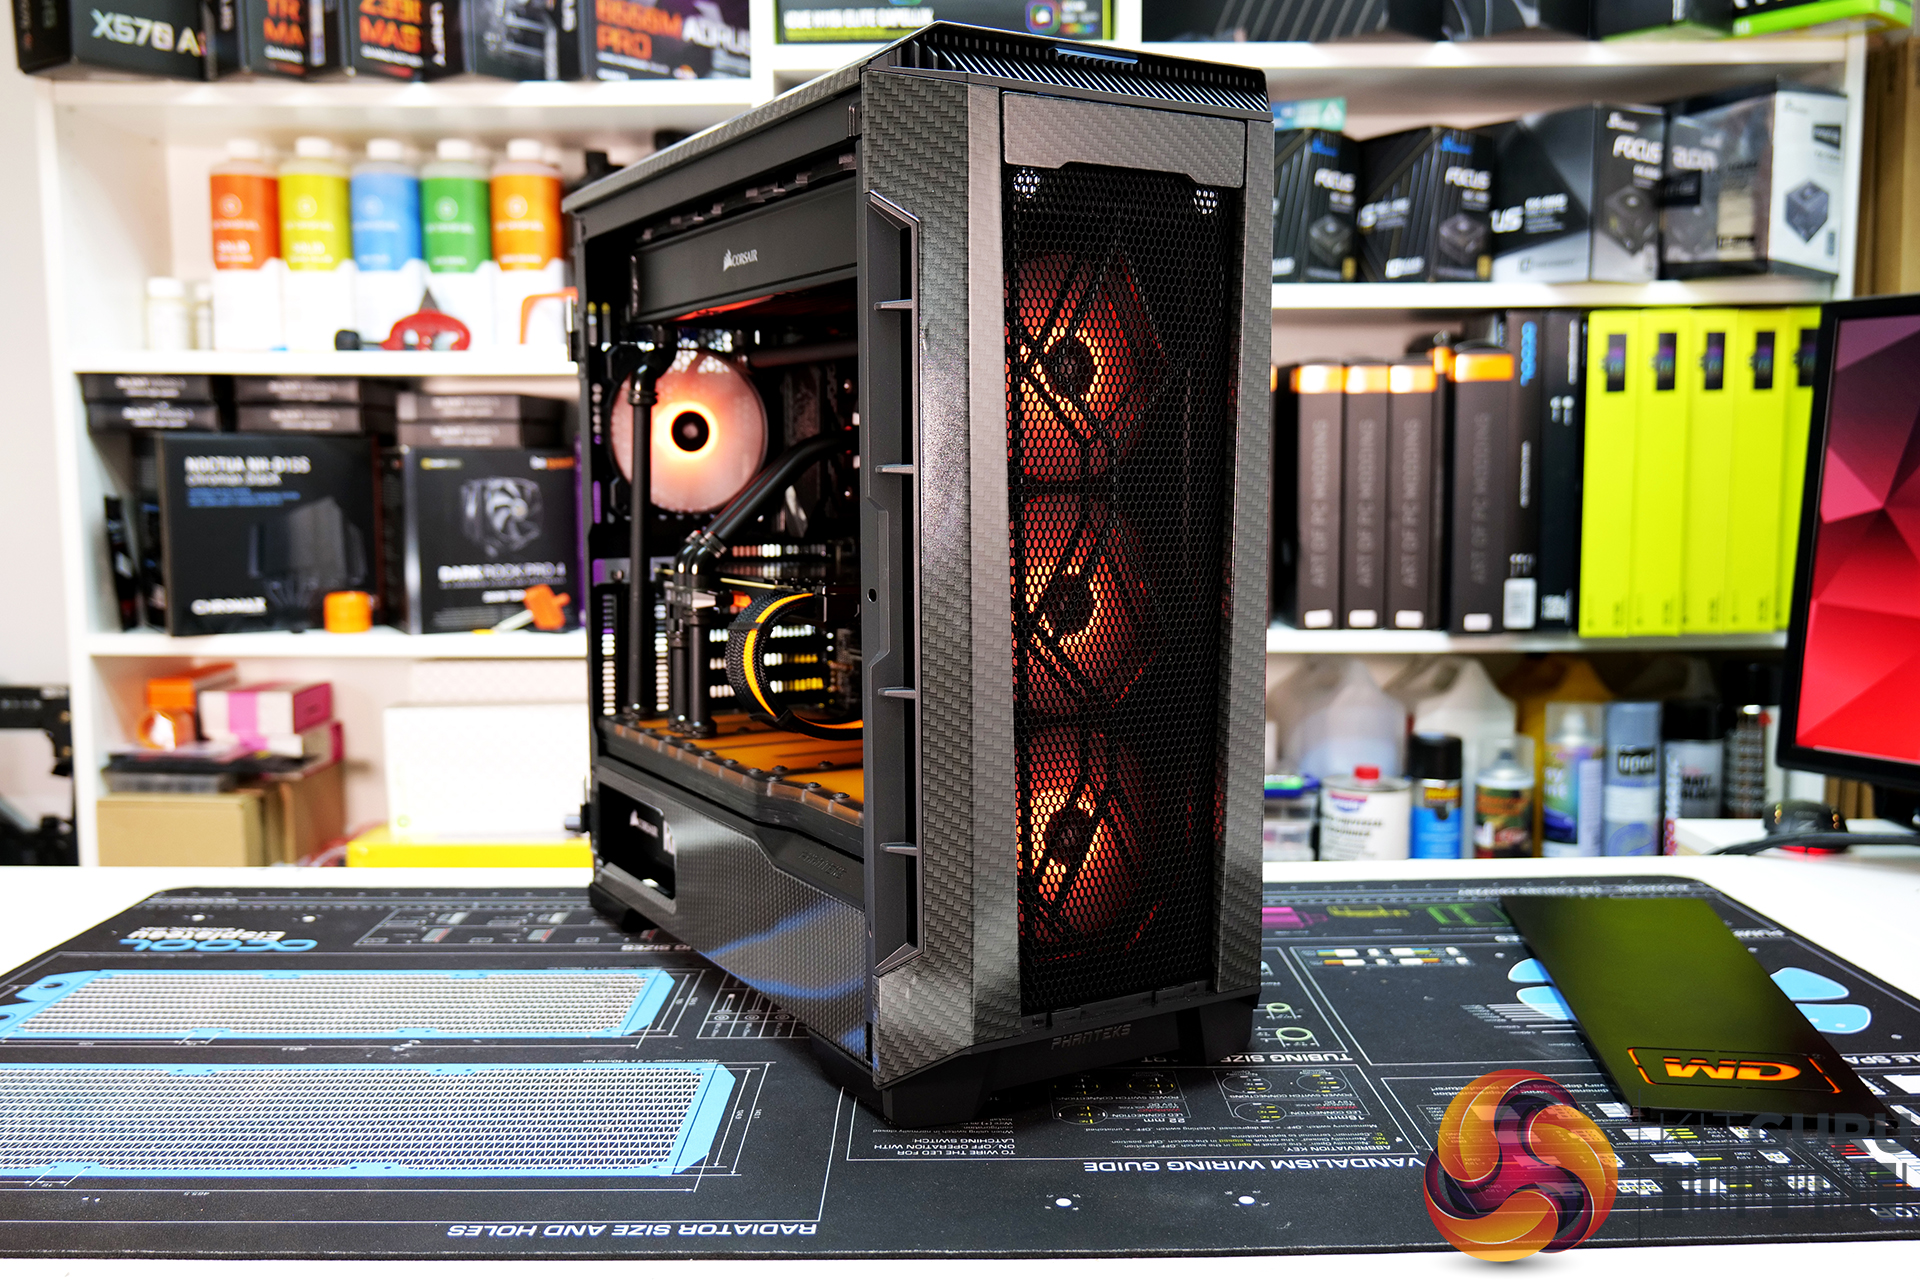
- Block carbon effect hydro dipped case panels.
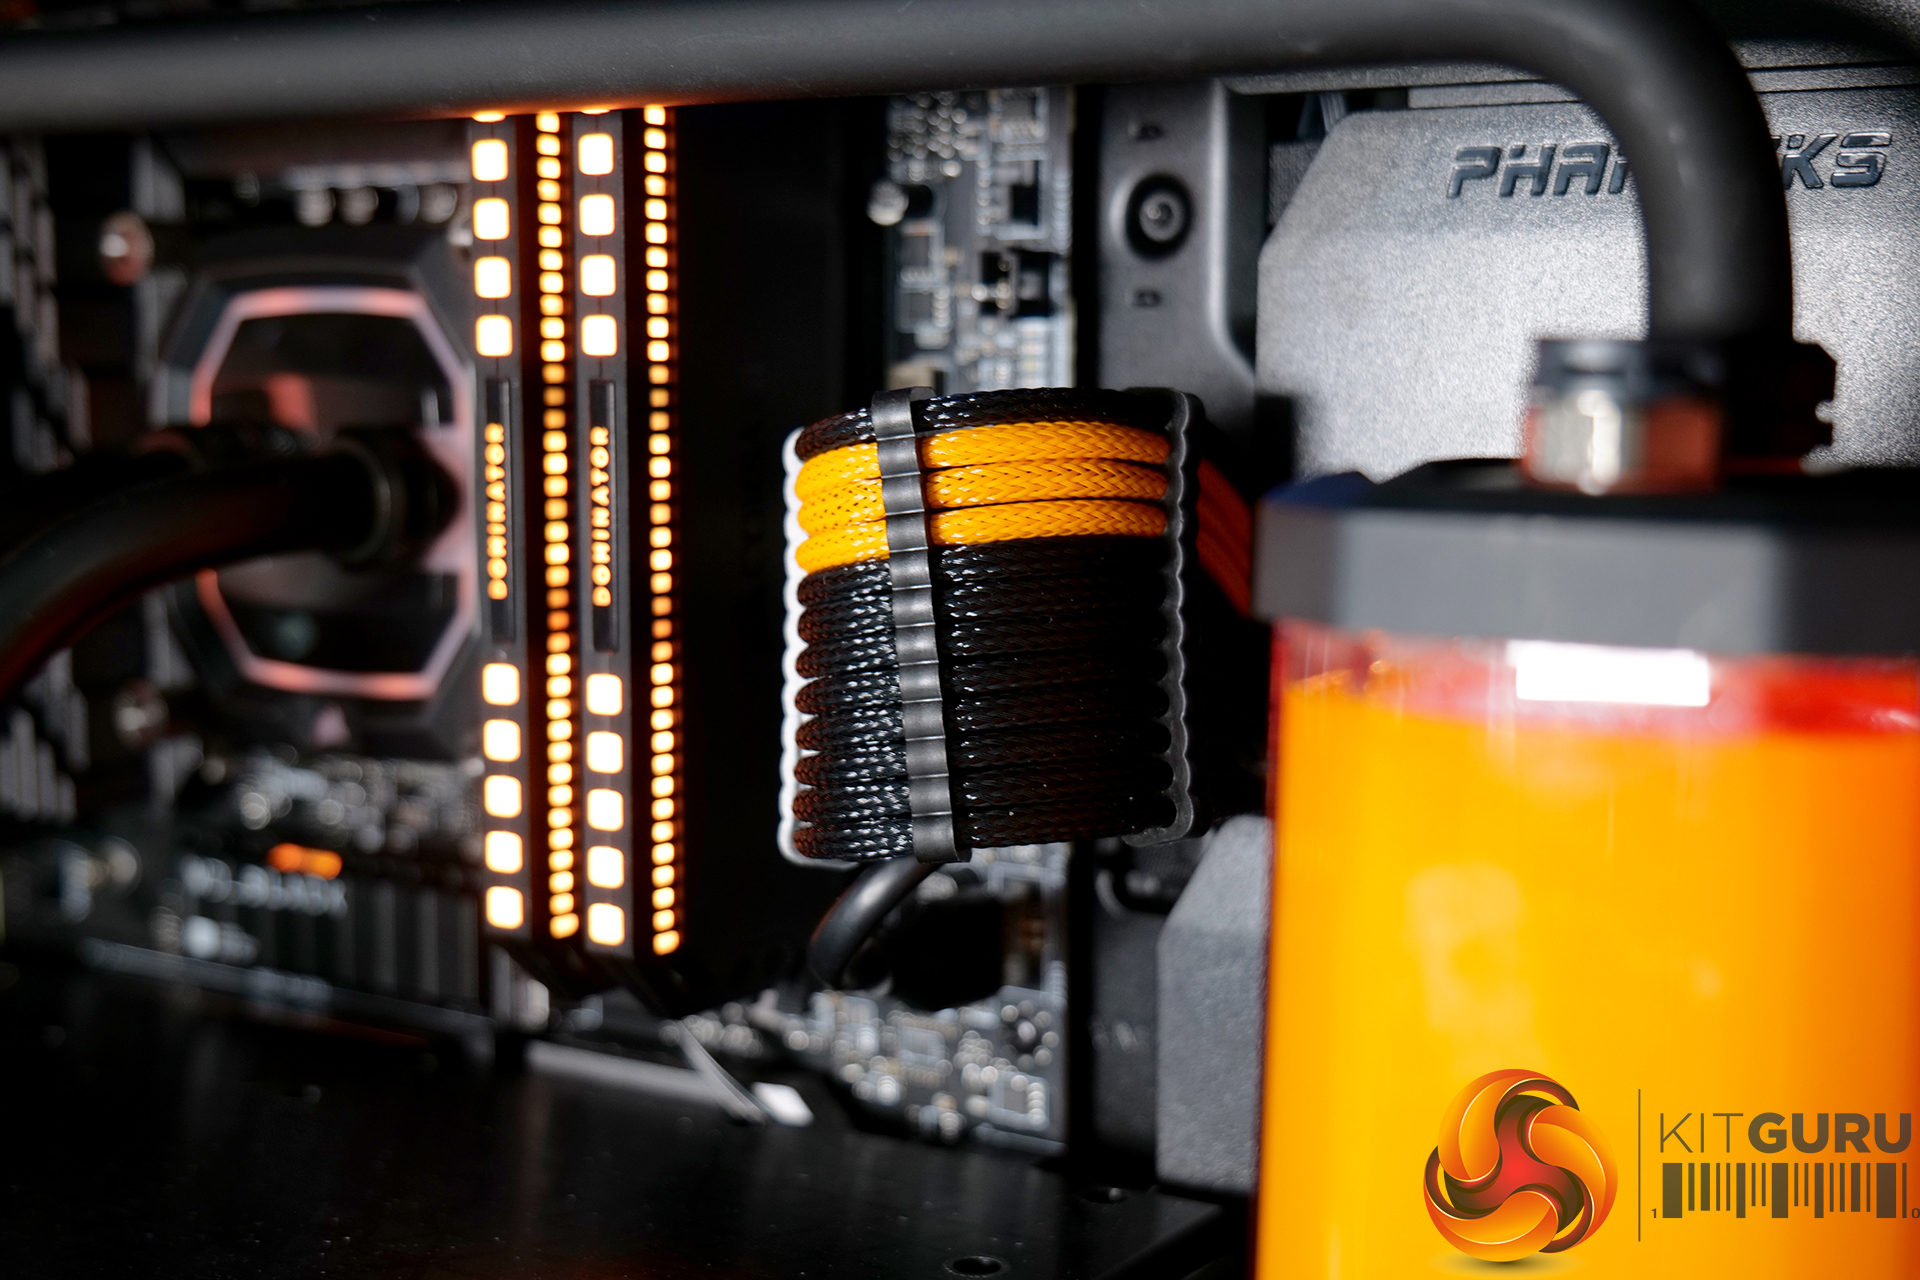
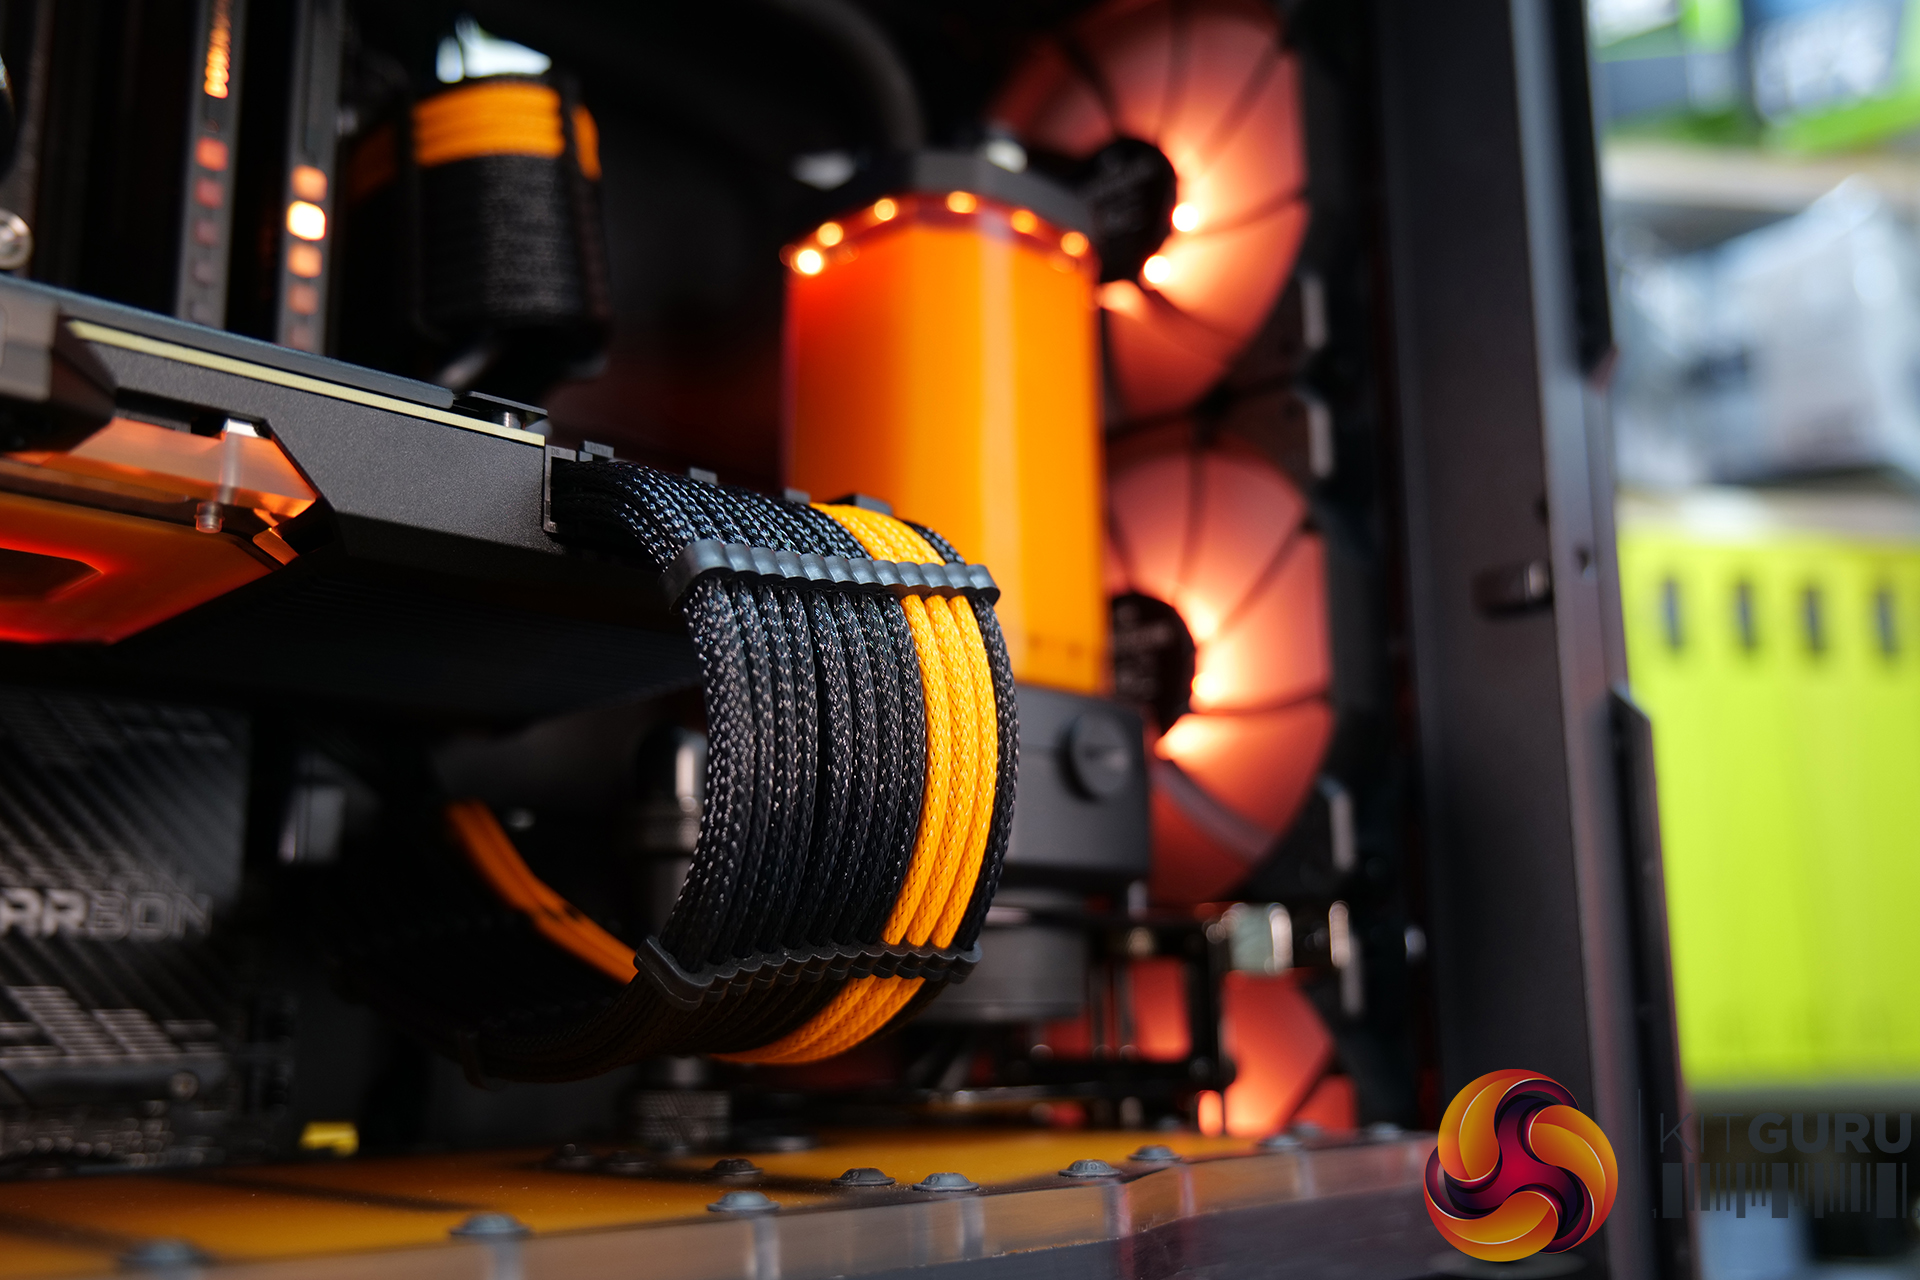
- Custom black/orange sleeved power cables.
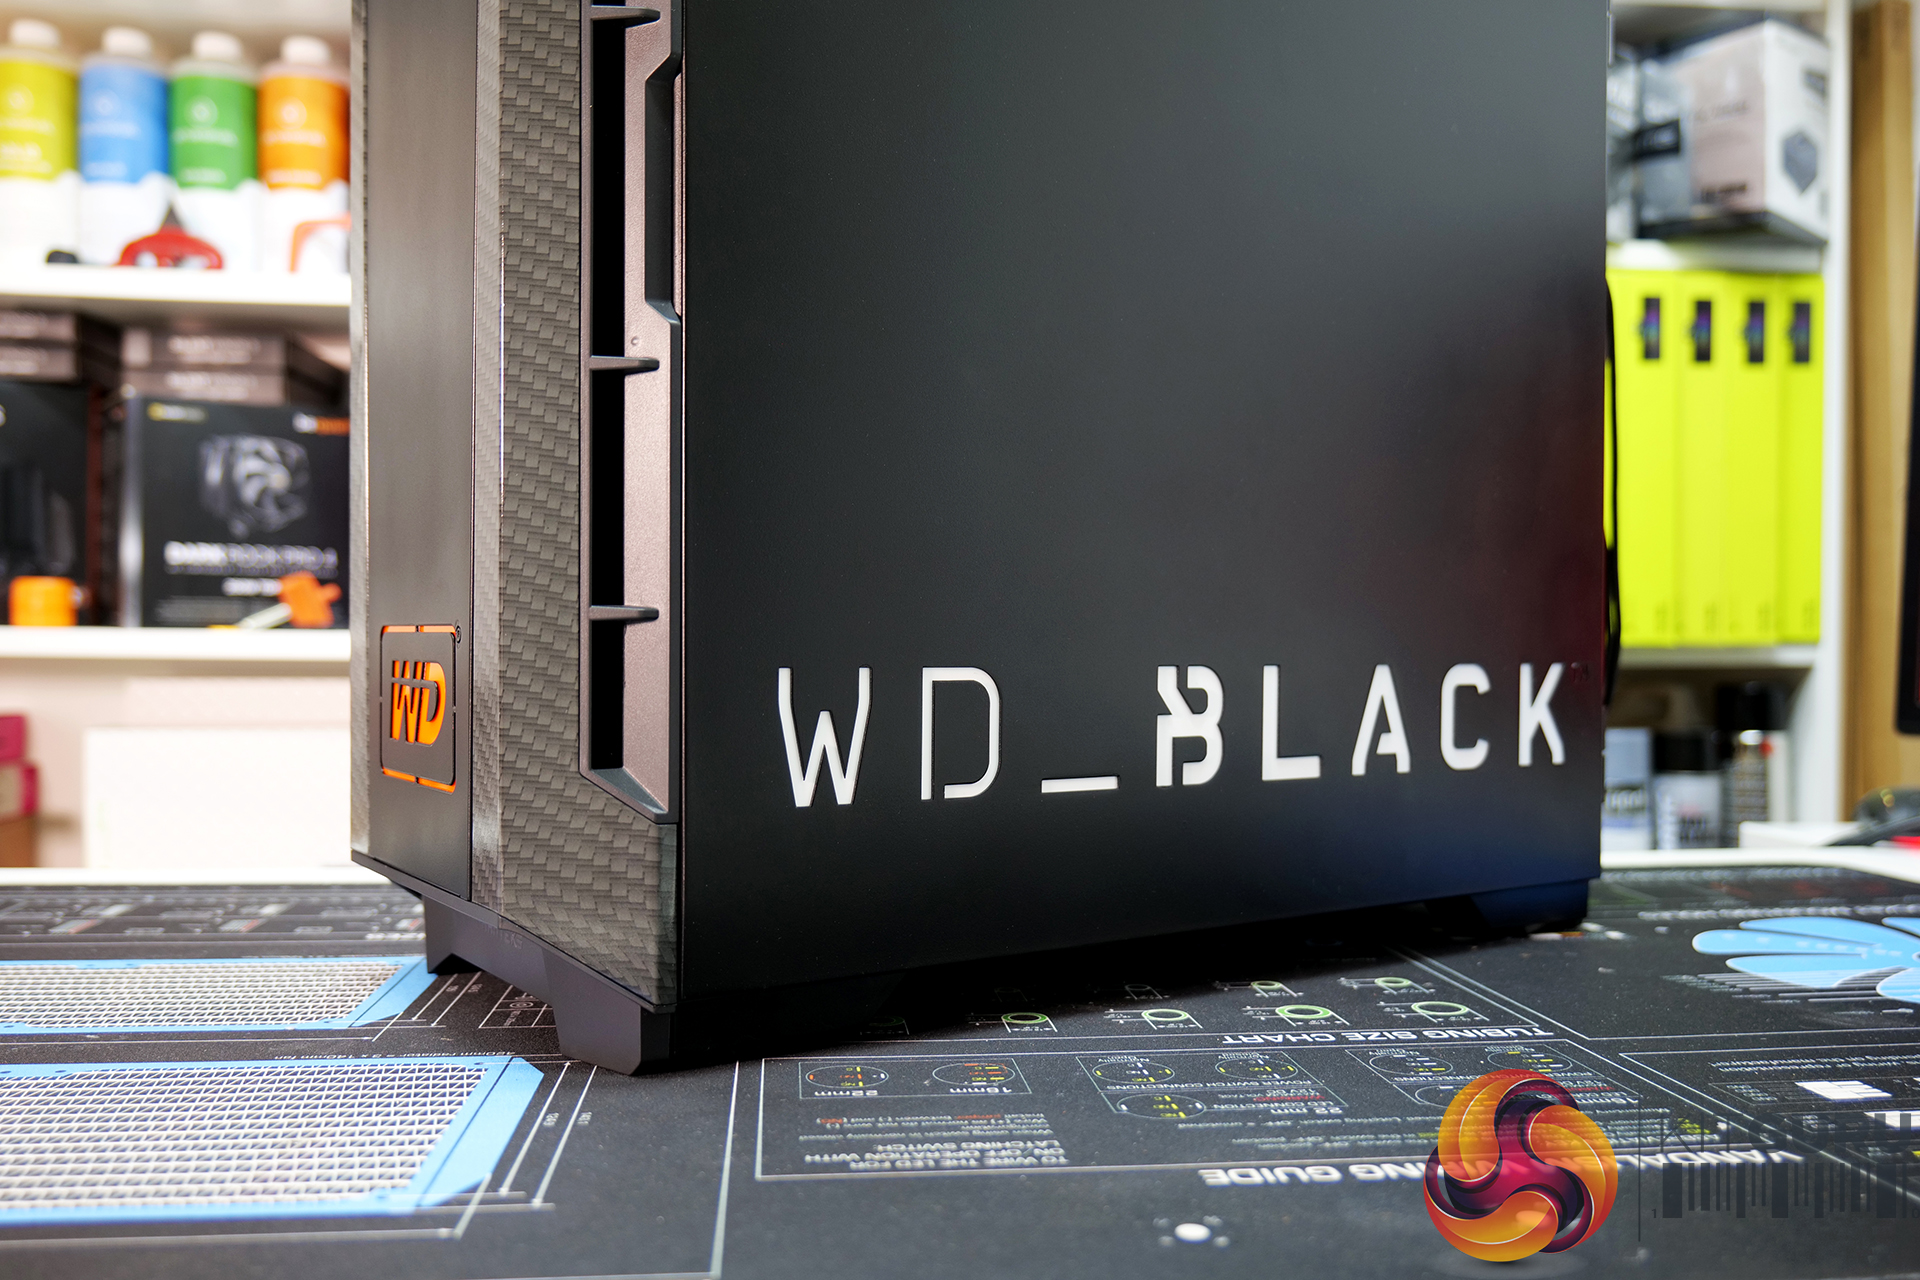
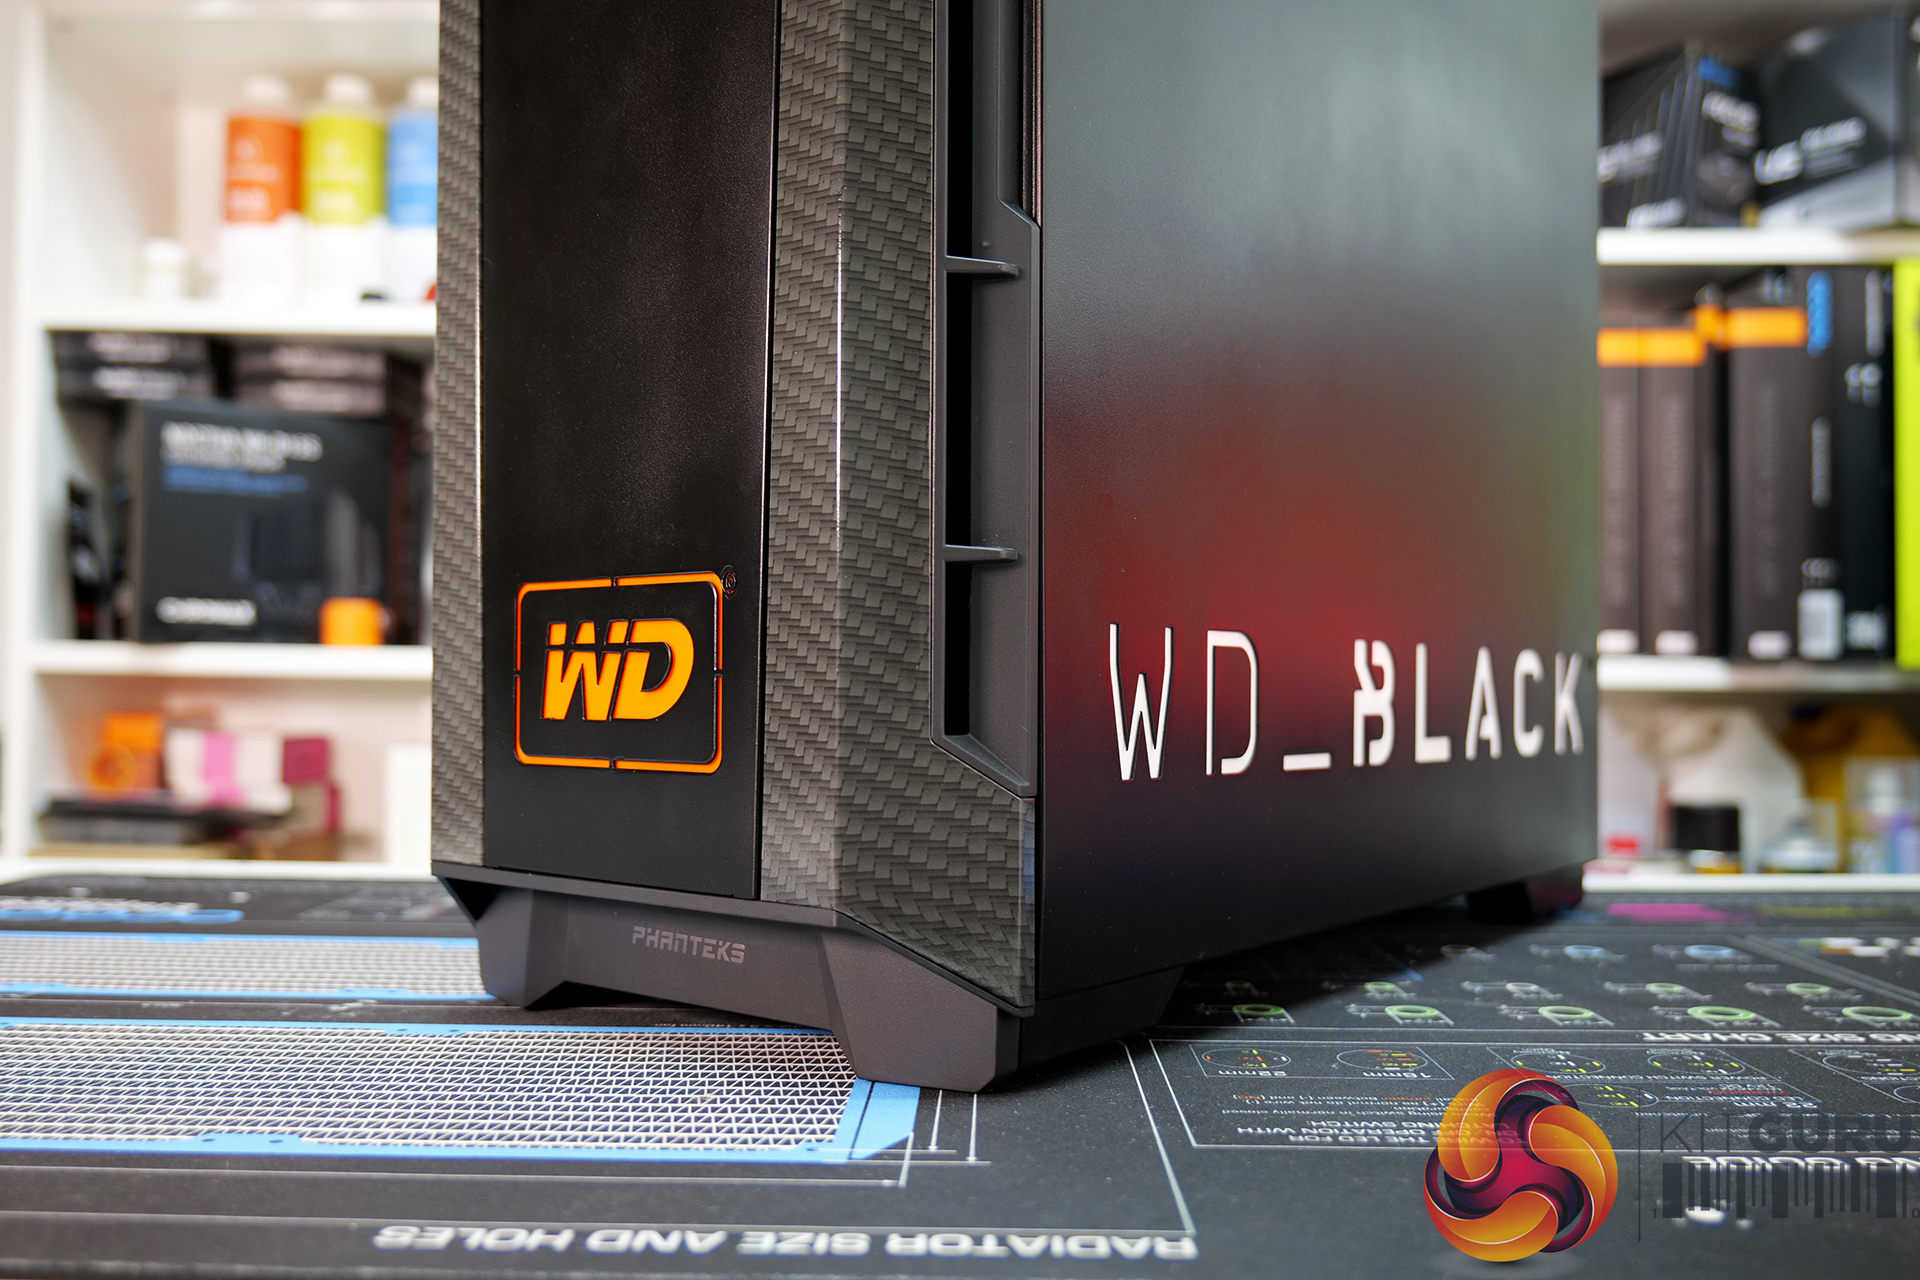
- Laser-cut WD logos on the front and side panels.
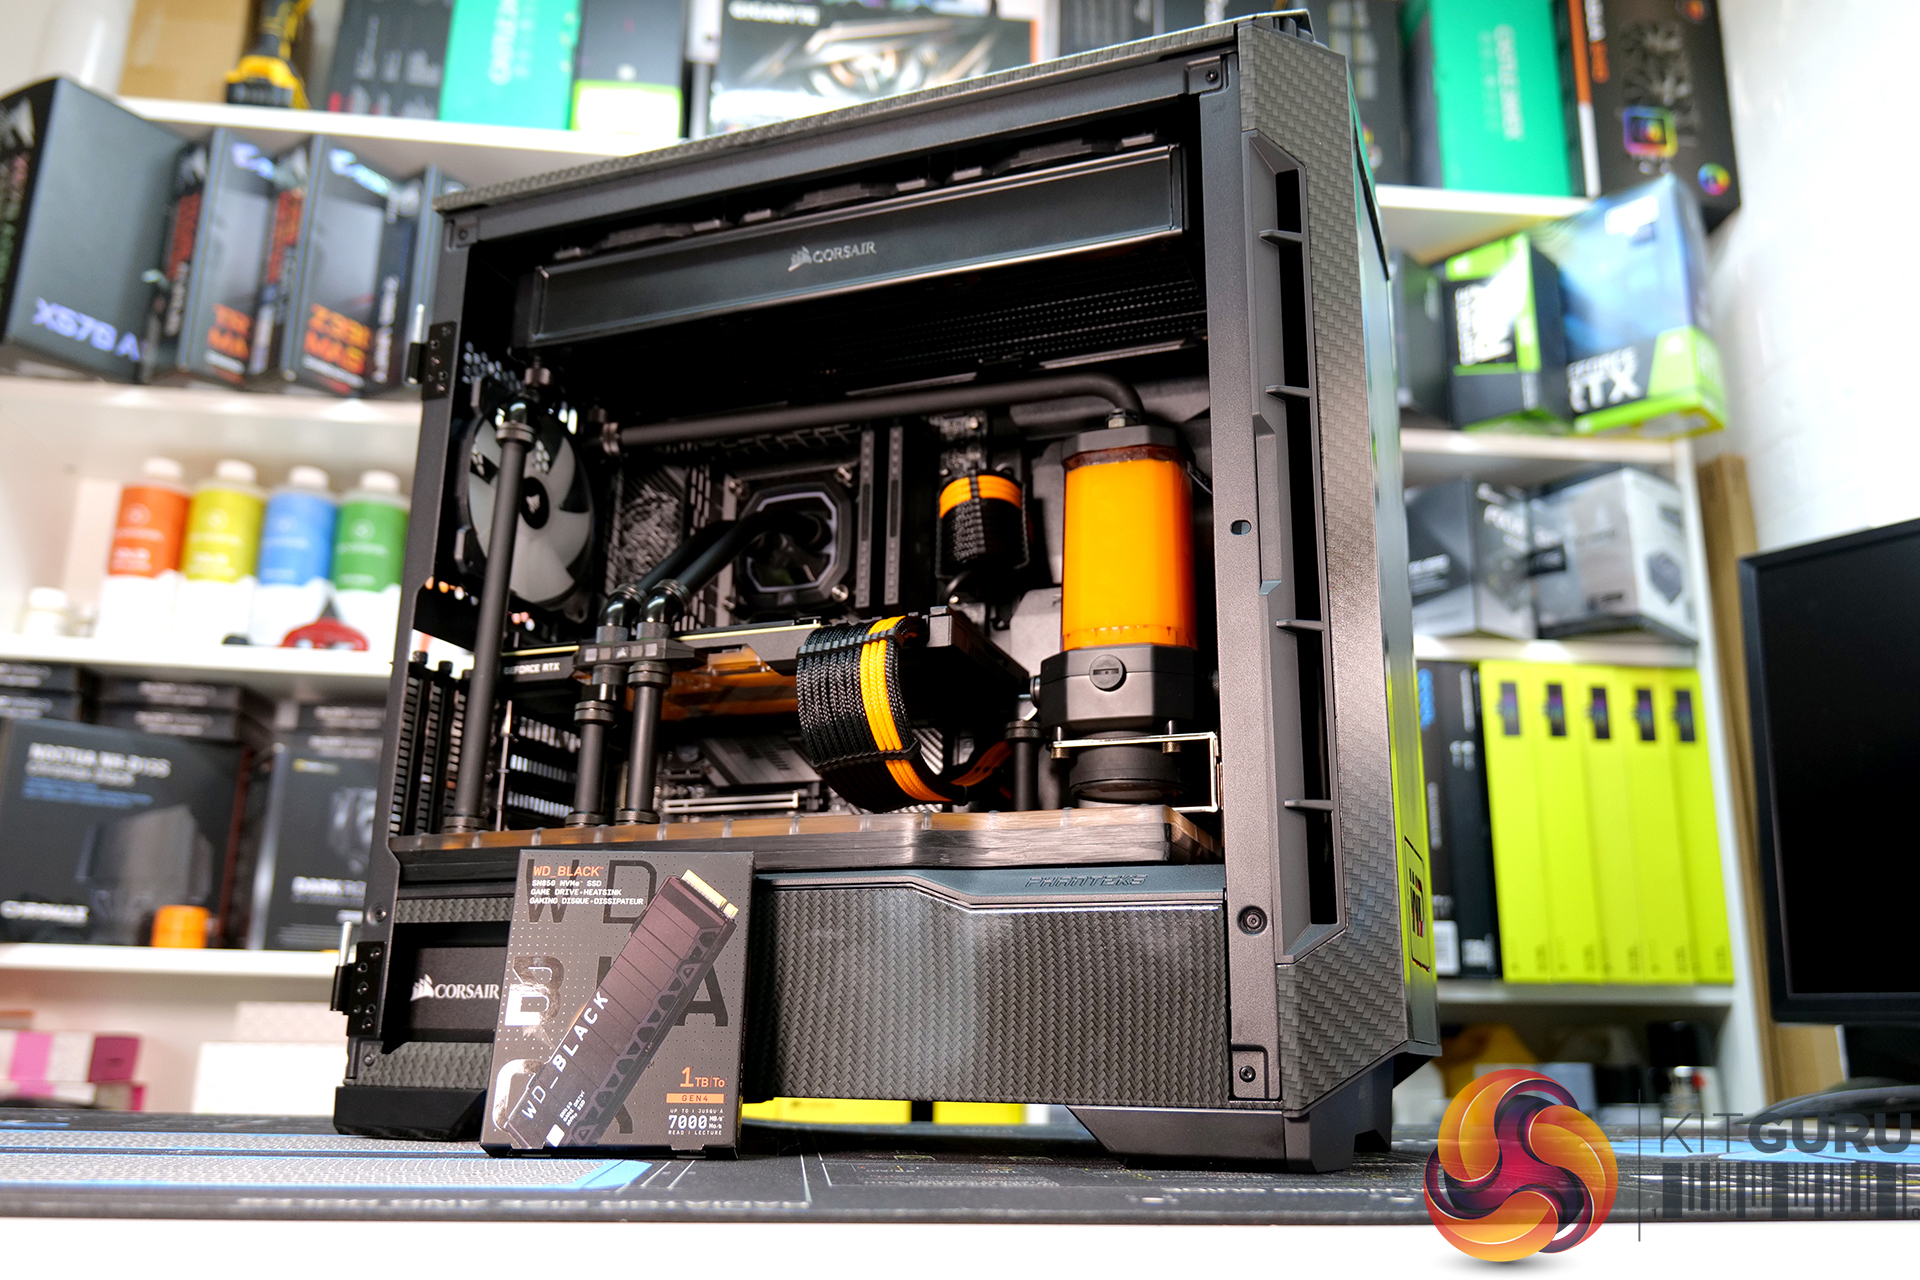
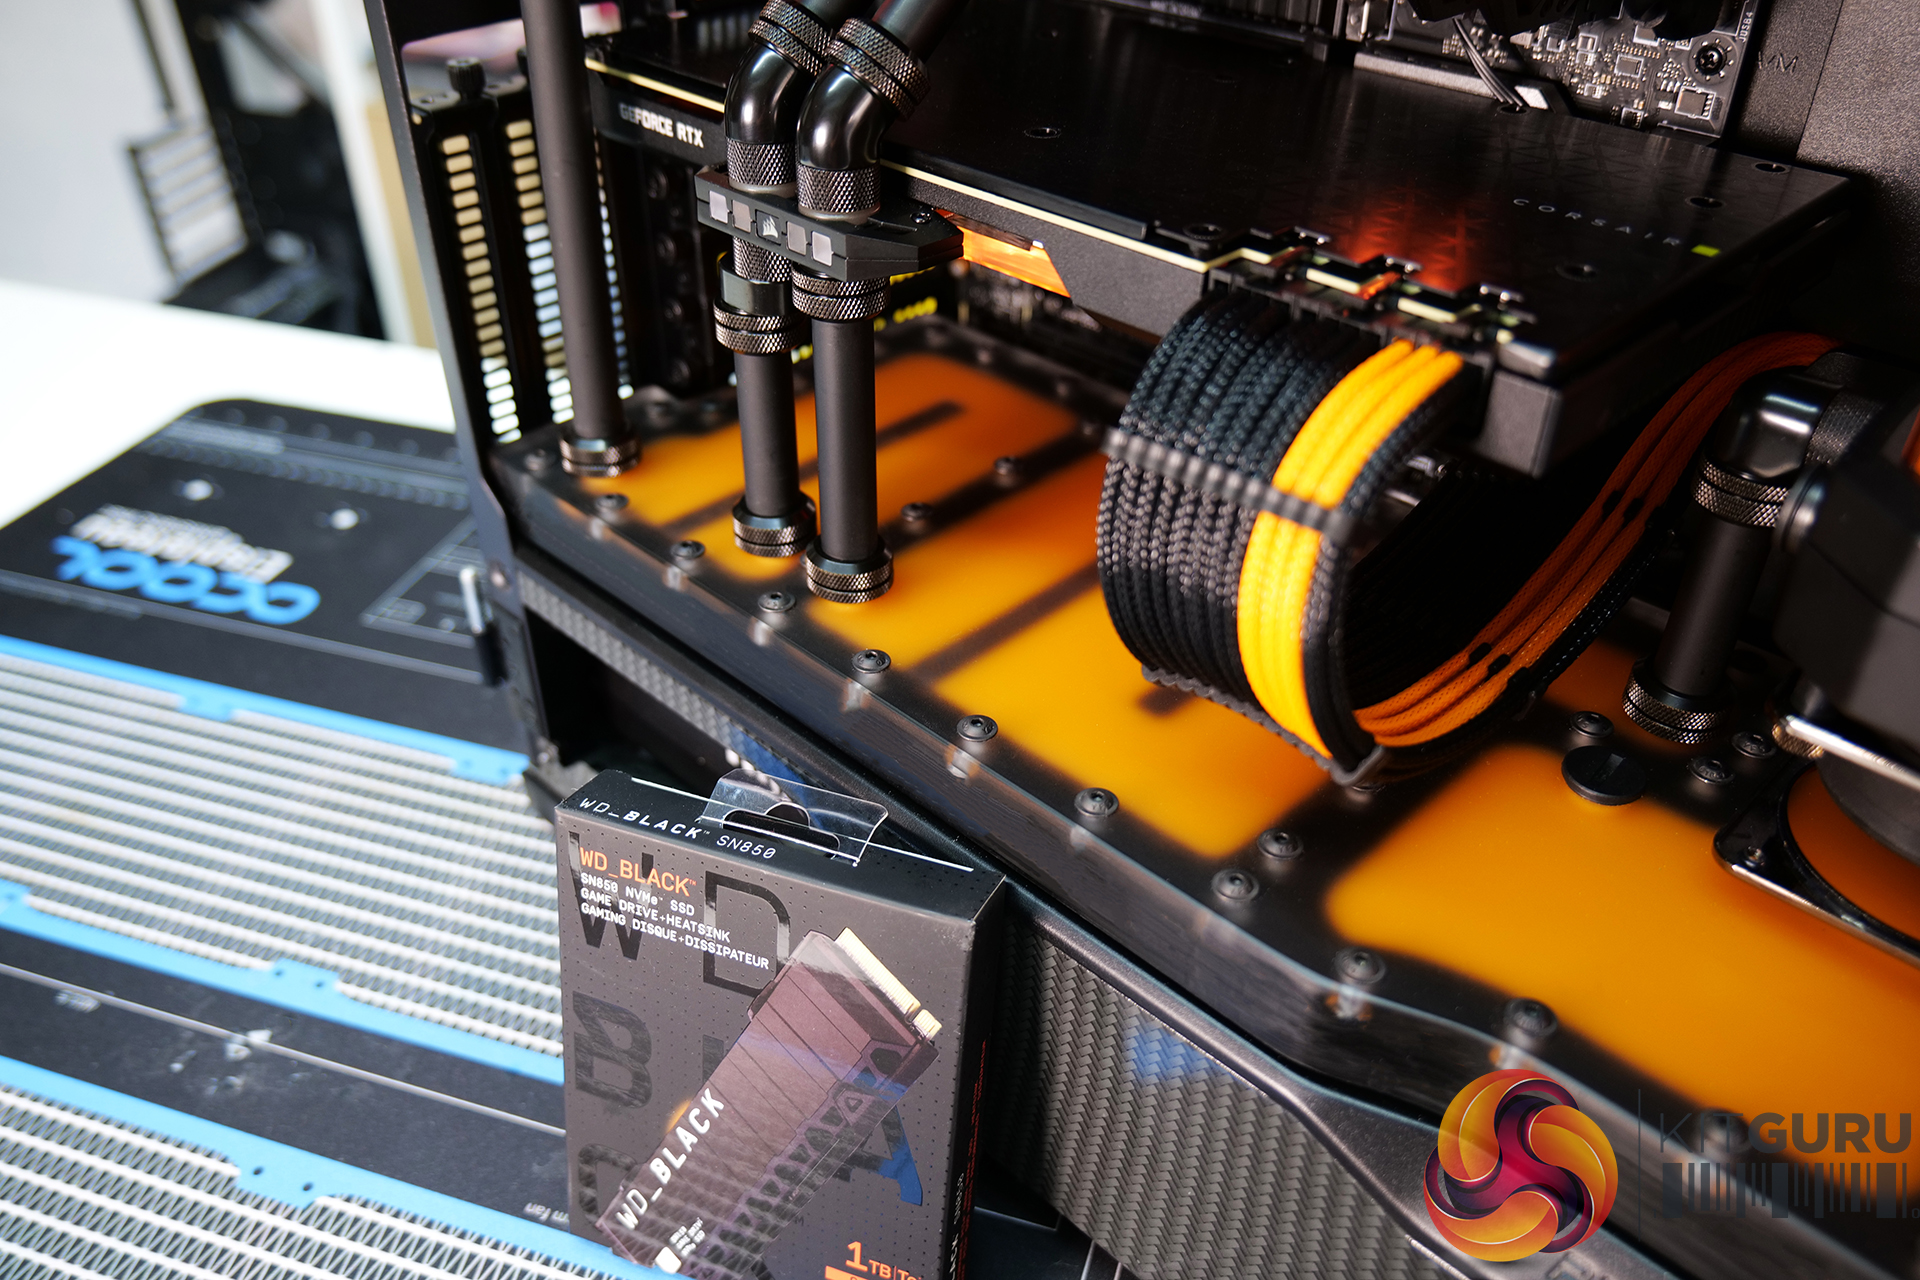
All these improvements mean that the finished distro plate is leak-free, it fits perfectly on top of the Phanteks P600S power supply shroud and all the inlet/outlet ports line up as they should. This leads me on nicely to the final build which is what we have all been waiting for. Because of the distro plate fitting and lining up with system components perfectly, it made building the system and the custom loop extremely simple, only three bends were needed in the satin black tubing which produced a very clean looking design.
The combination of a blackout interior and subtle orange highlights in the custom sleeved cables, the coolant and the orange lighting on various components work great together. The only part of the system that needed changing from the original design was the memory – the Corsair Vengeance Pro RGB SL that I had originally planned to use in the system was a little too bright, so I switch it for some Corsair Dominator RGB which I think complements the system aesthetics very well.
Discuss on our Facebook page HERE.
KitGuru says: What do you guys think of the completed WD_Blackout system? Would this be the kind of system any you guys would like to build or would is the lack of RGB bling an issue for you? We certainly think it looks great!