Part 4 of our Intel NUC 9 Extreme water cooling project turns our attention away from water cooling to concentrate on case mods. We overhaul the appearance of the Cooler Master NC100 with a whole new and unique look, using a combination of paint, laser-cut aluminium, acrylic and a bit of imagination.
During the first three parts of our Intel NUC 9 Extreme water cooling project, the focus has been on modifying the internals of the system, but this video is all about the case mods. If you have ever thought about jazzing up your case with a custom paint job but you have not been sure where to start, don't miss this video as we go over what materials are needed and walk you through all the steps required to give your case the custom look.
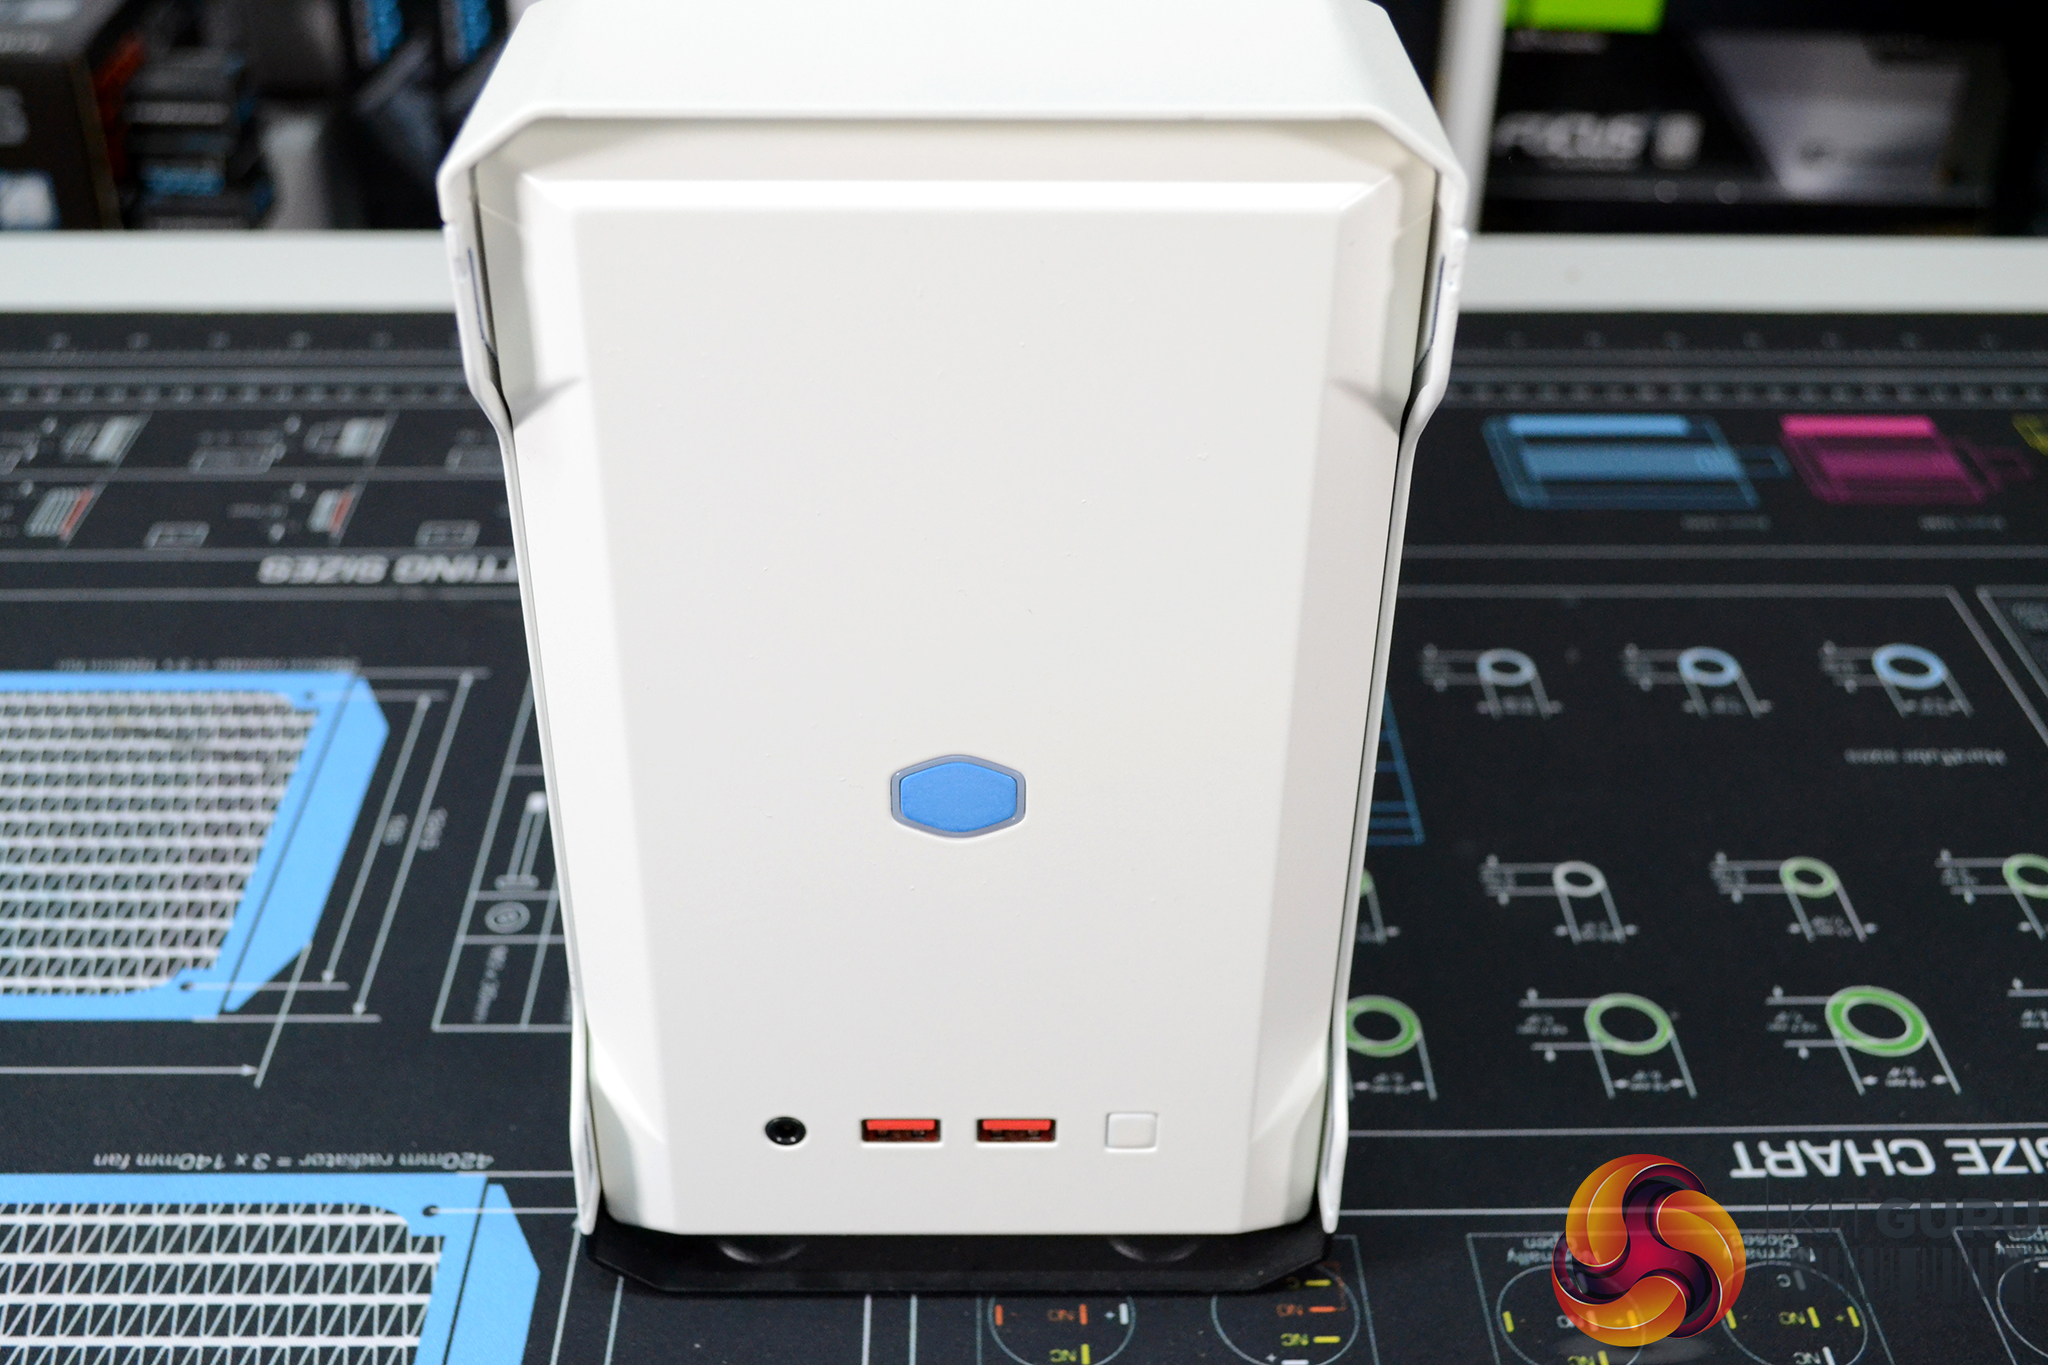
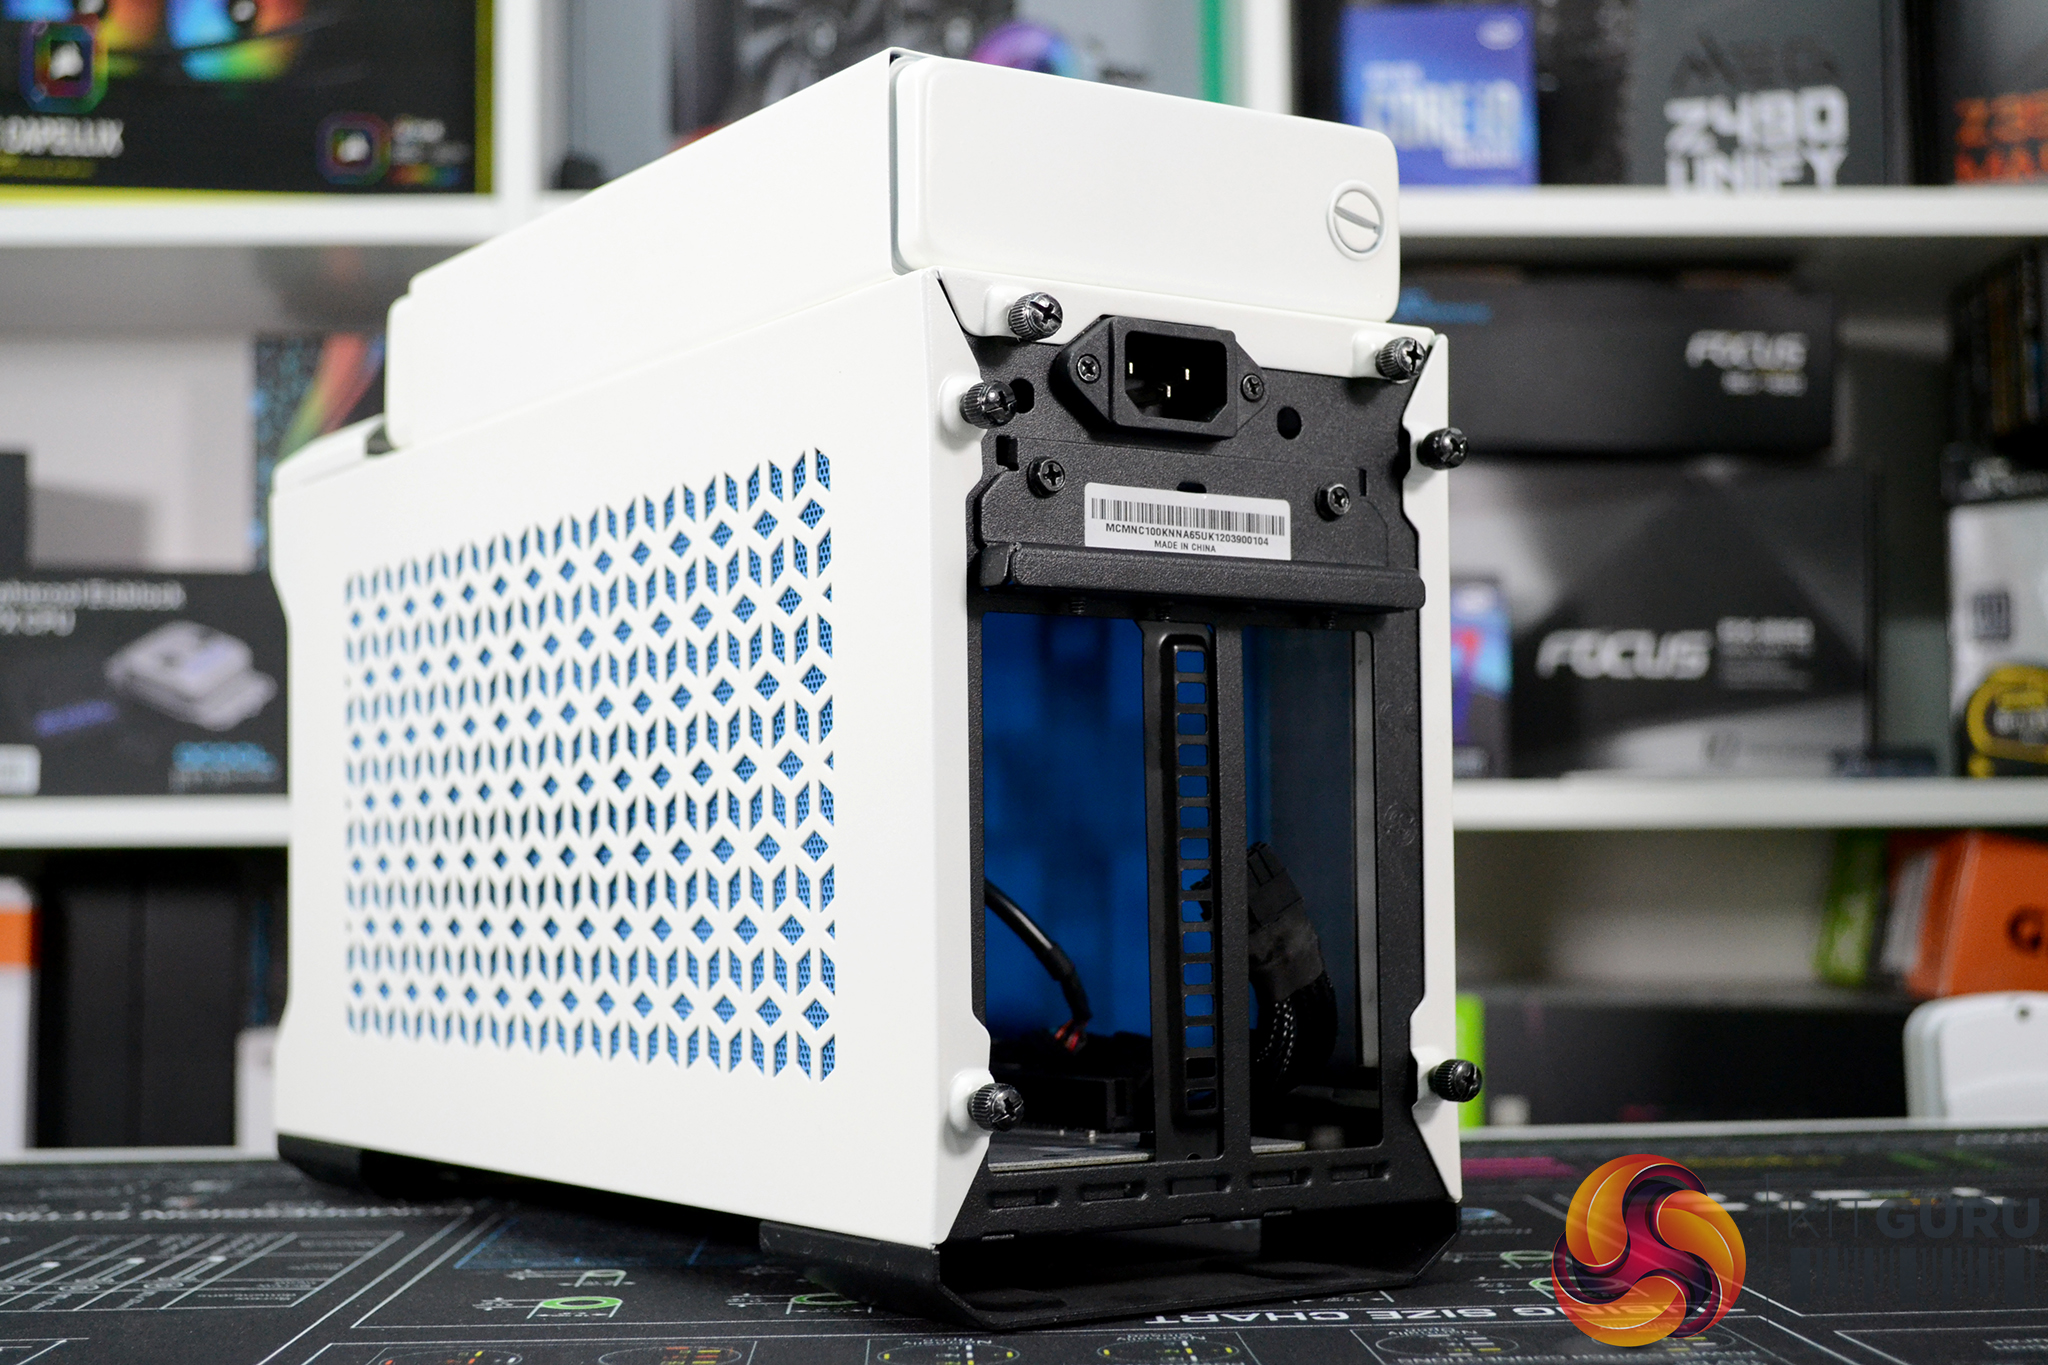
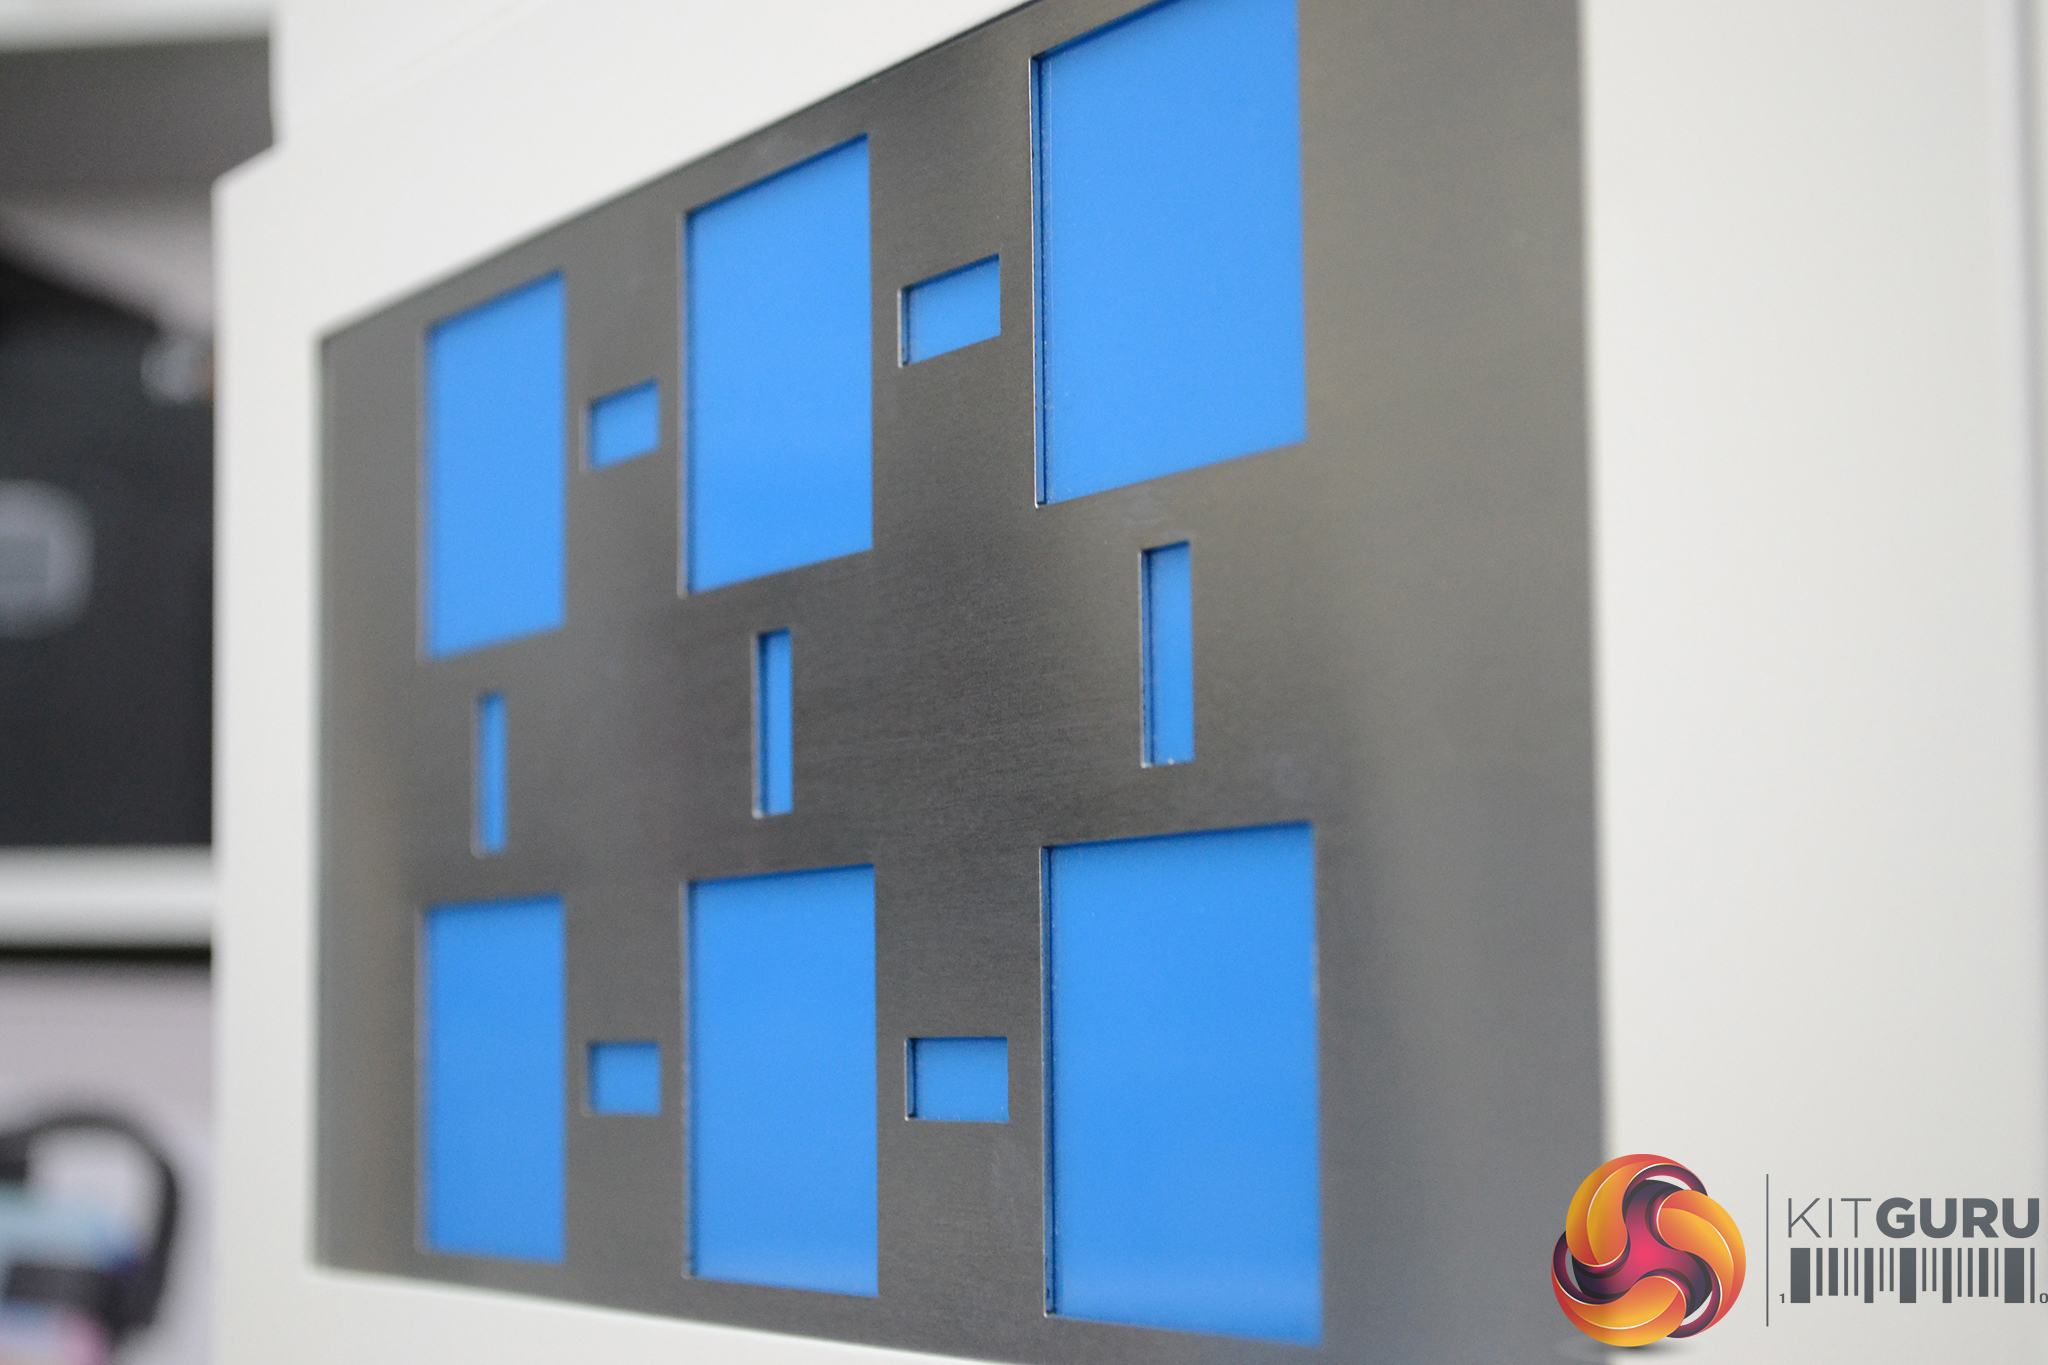
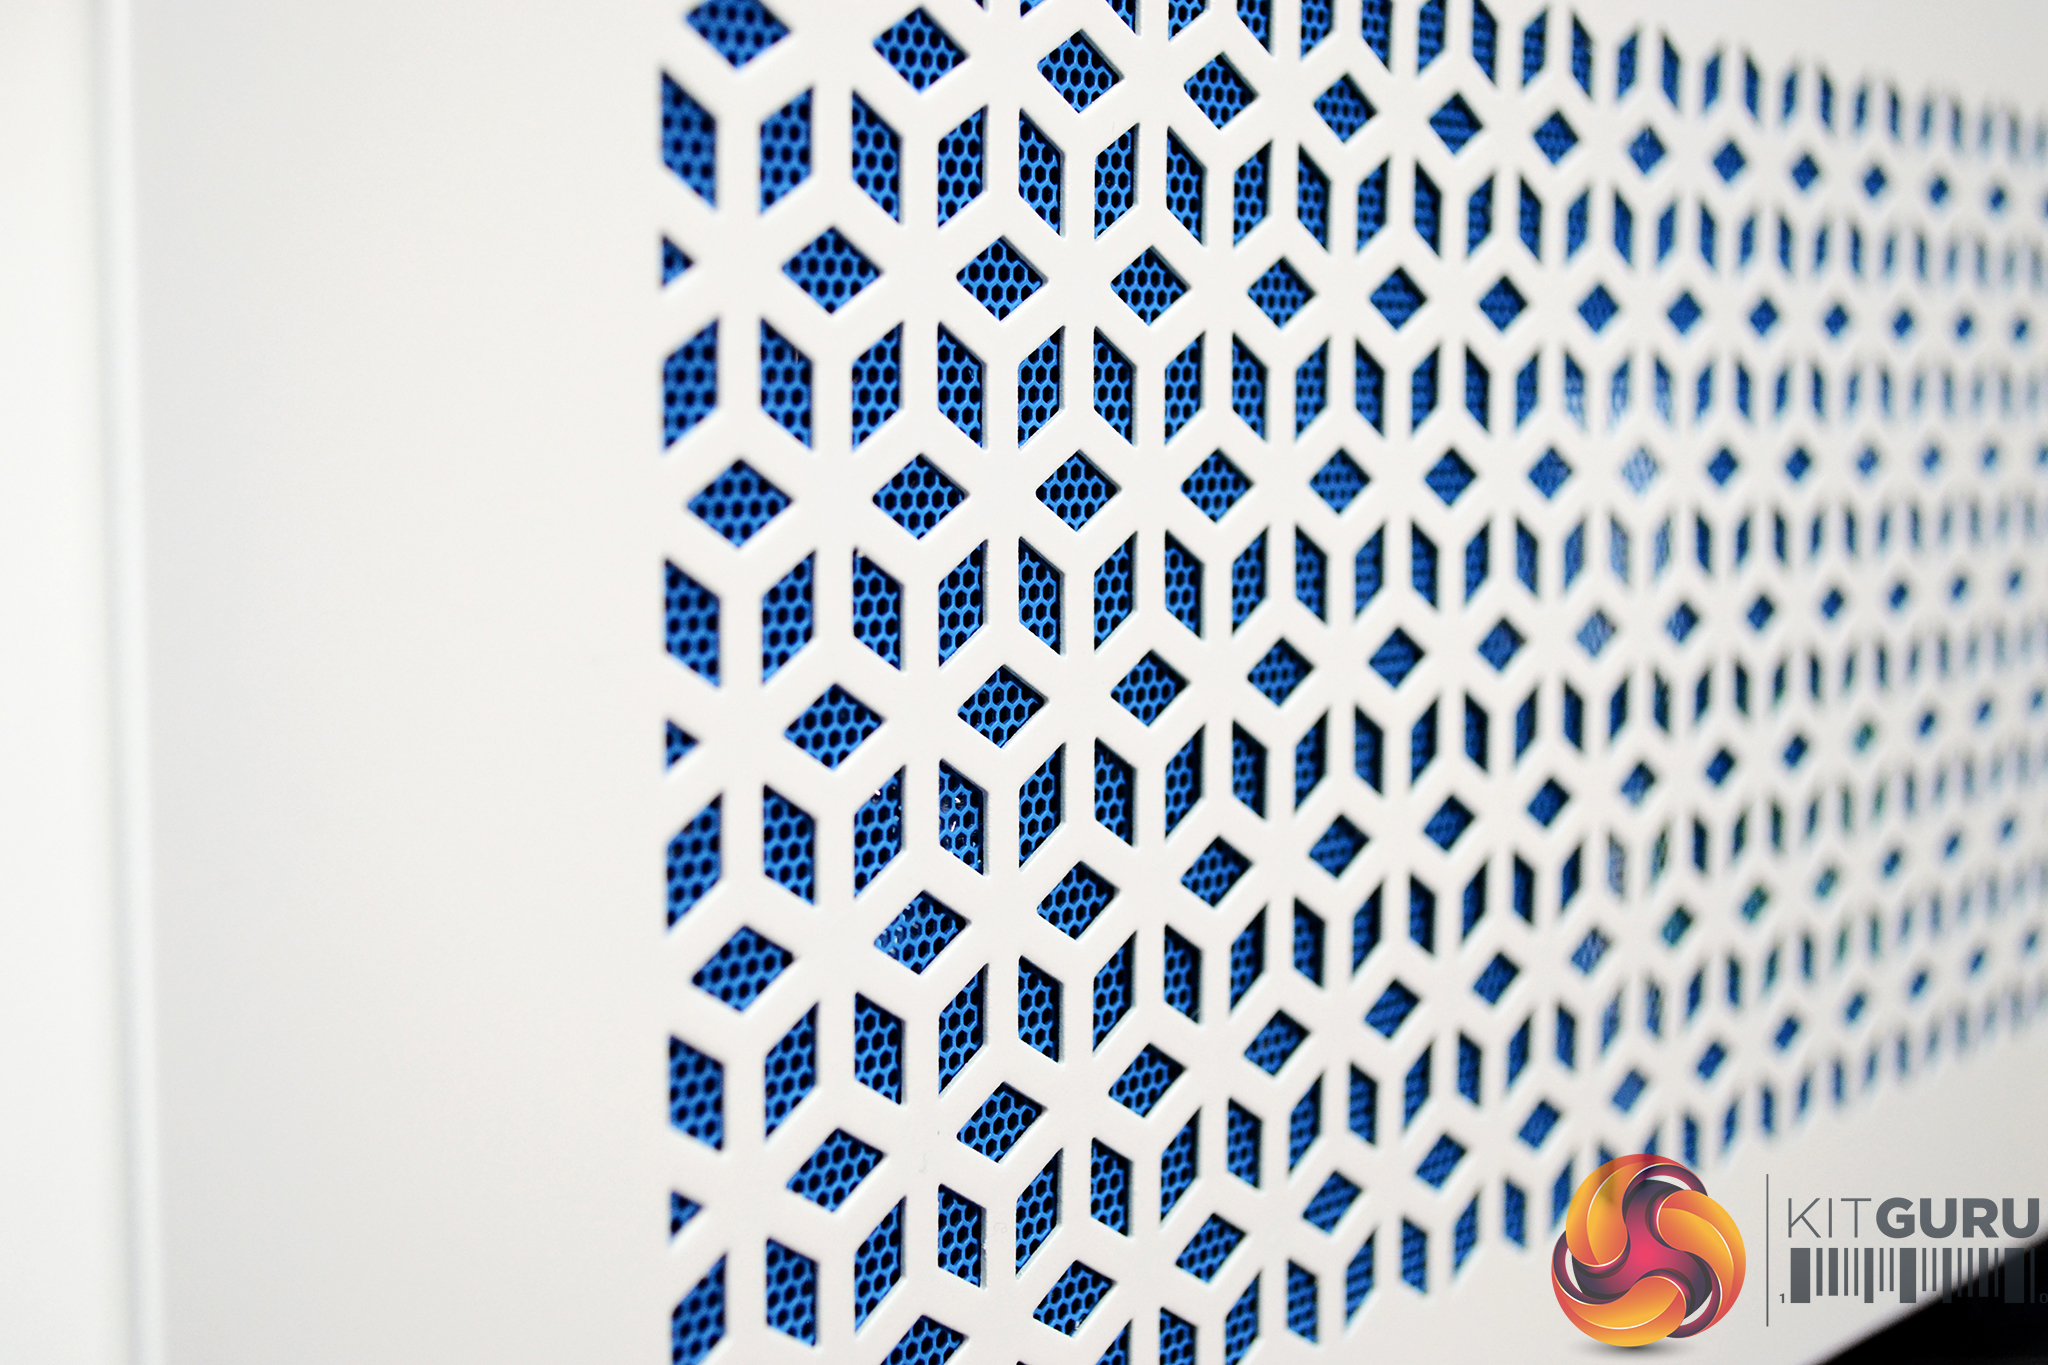
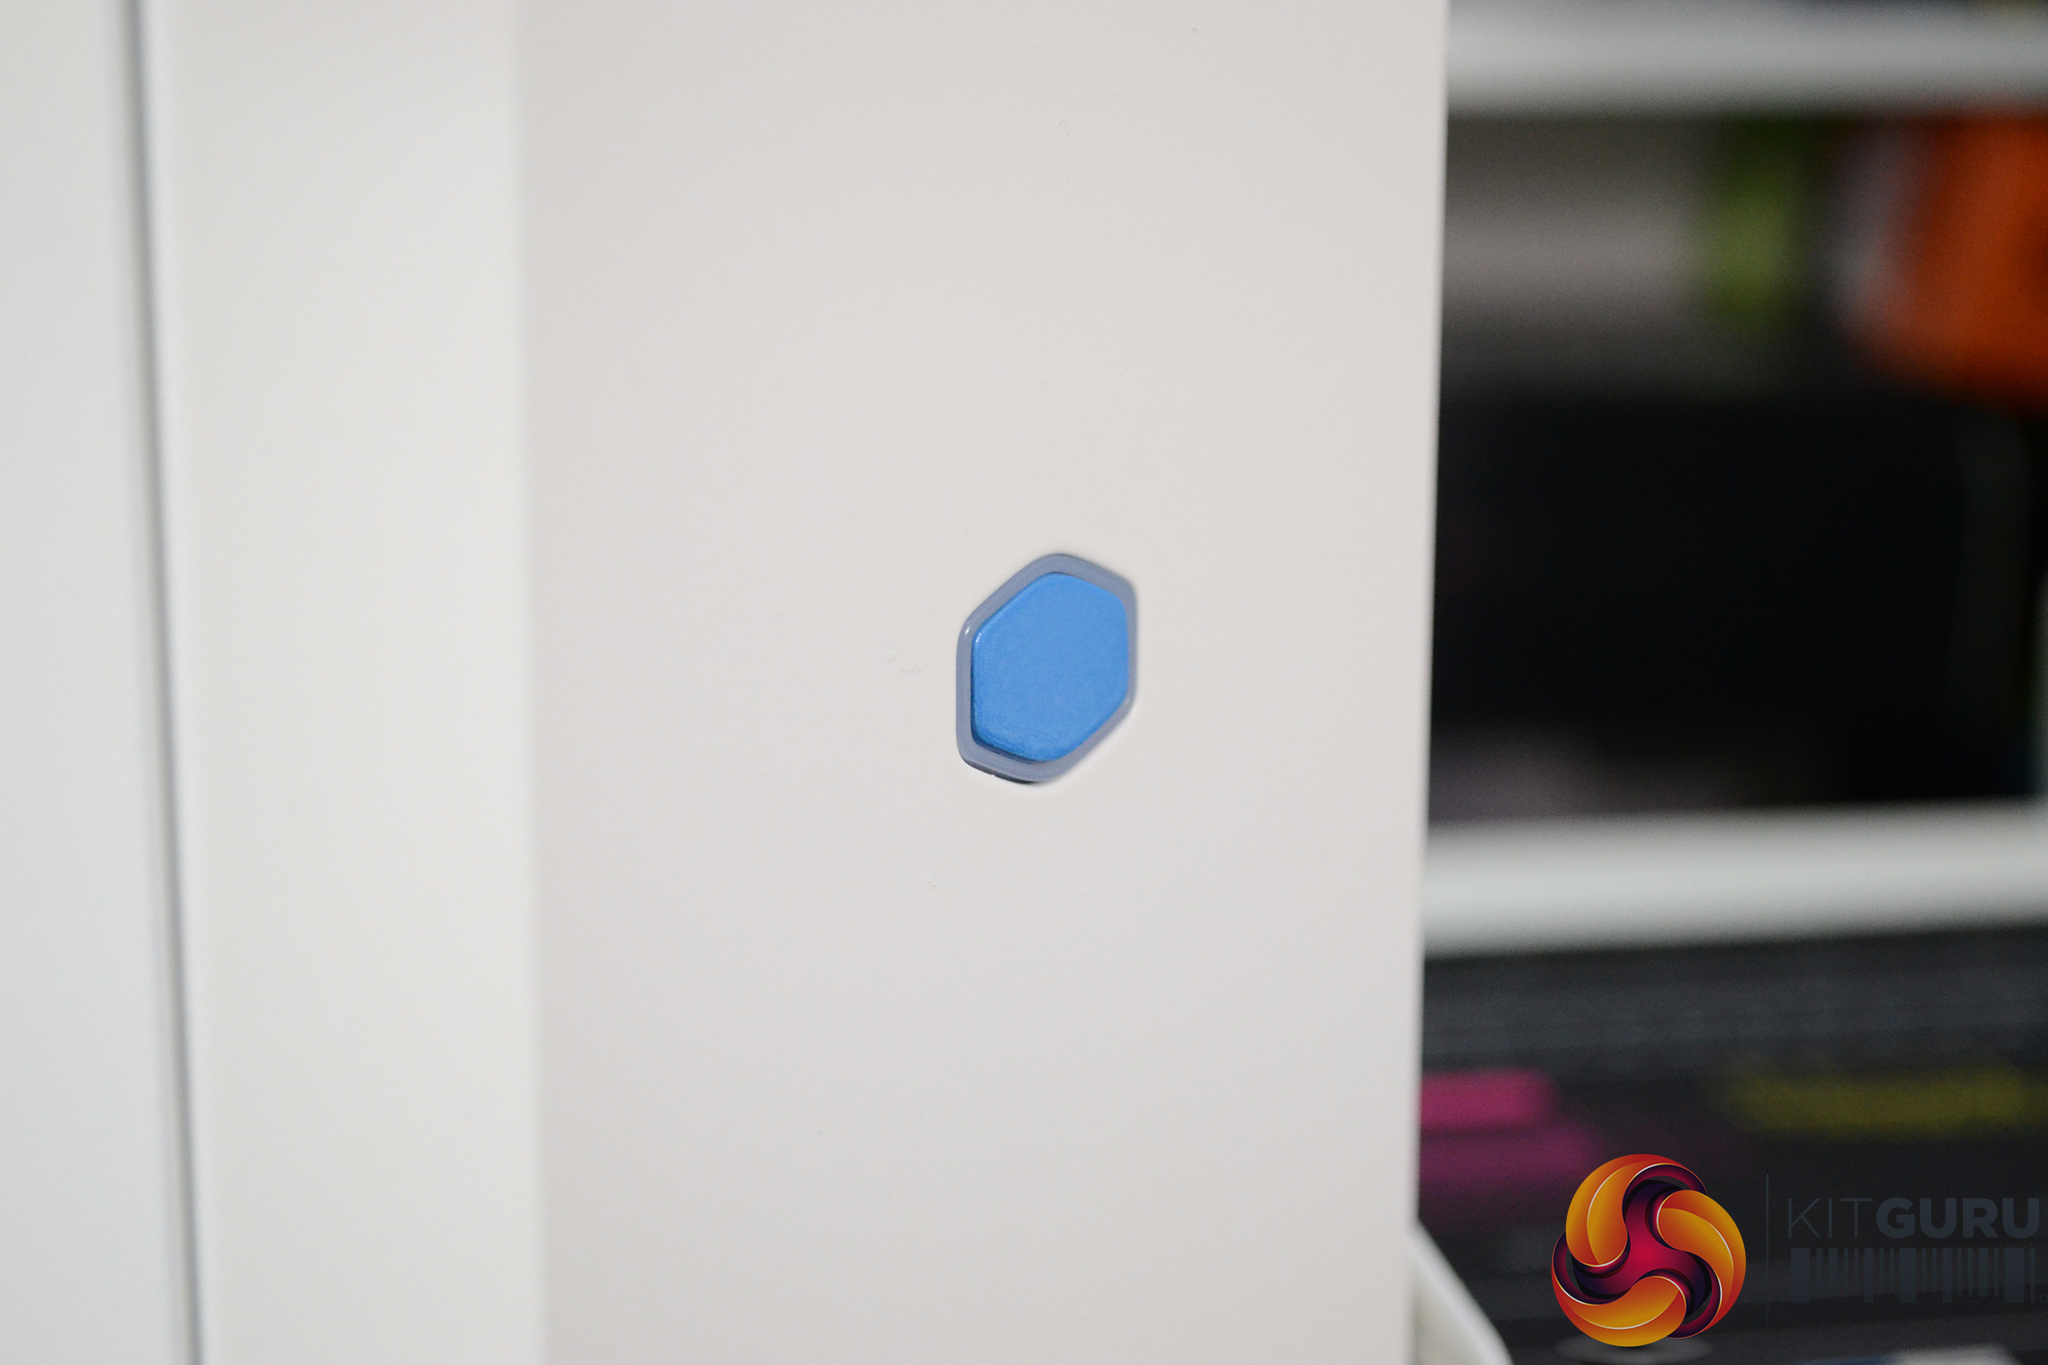
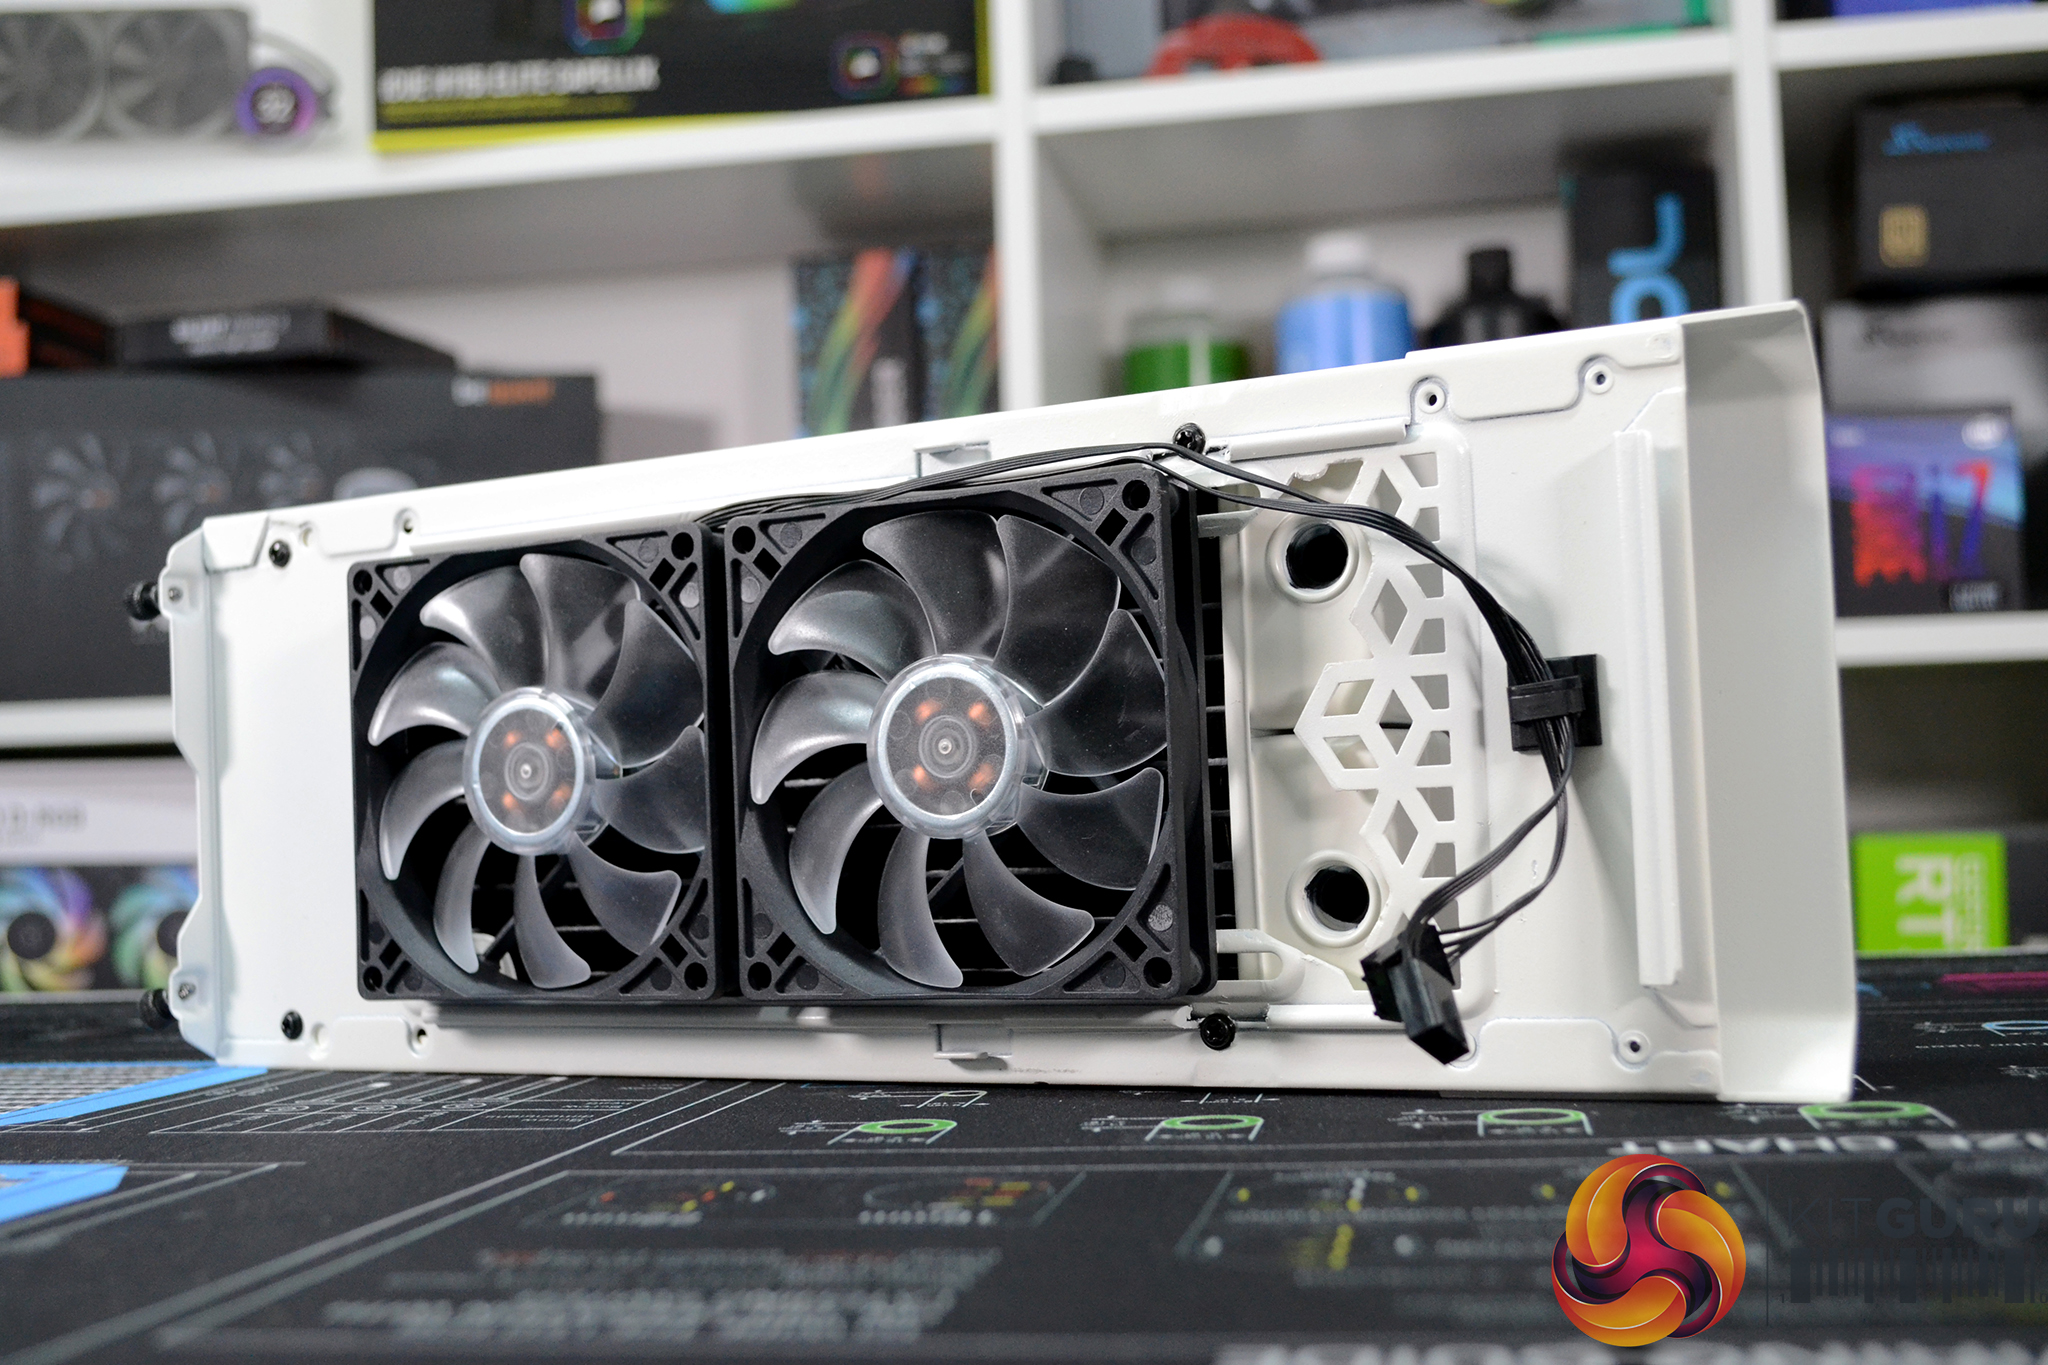
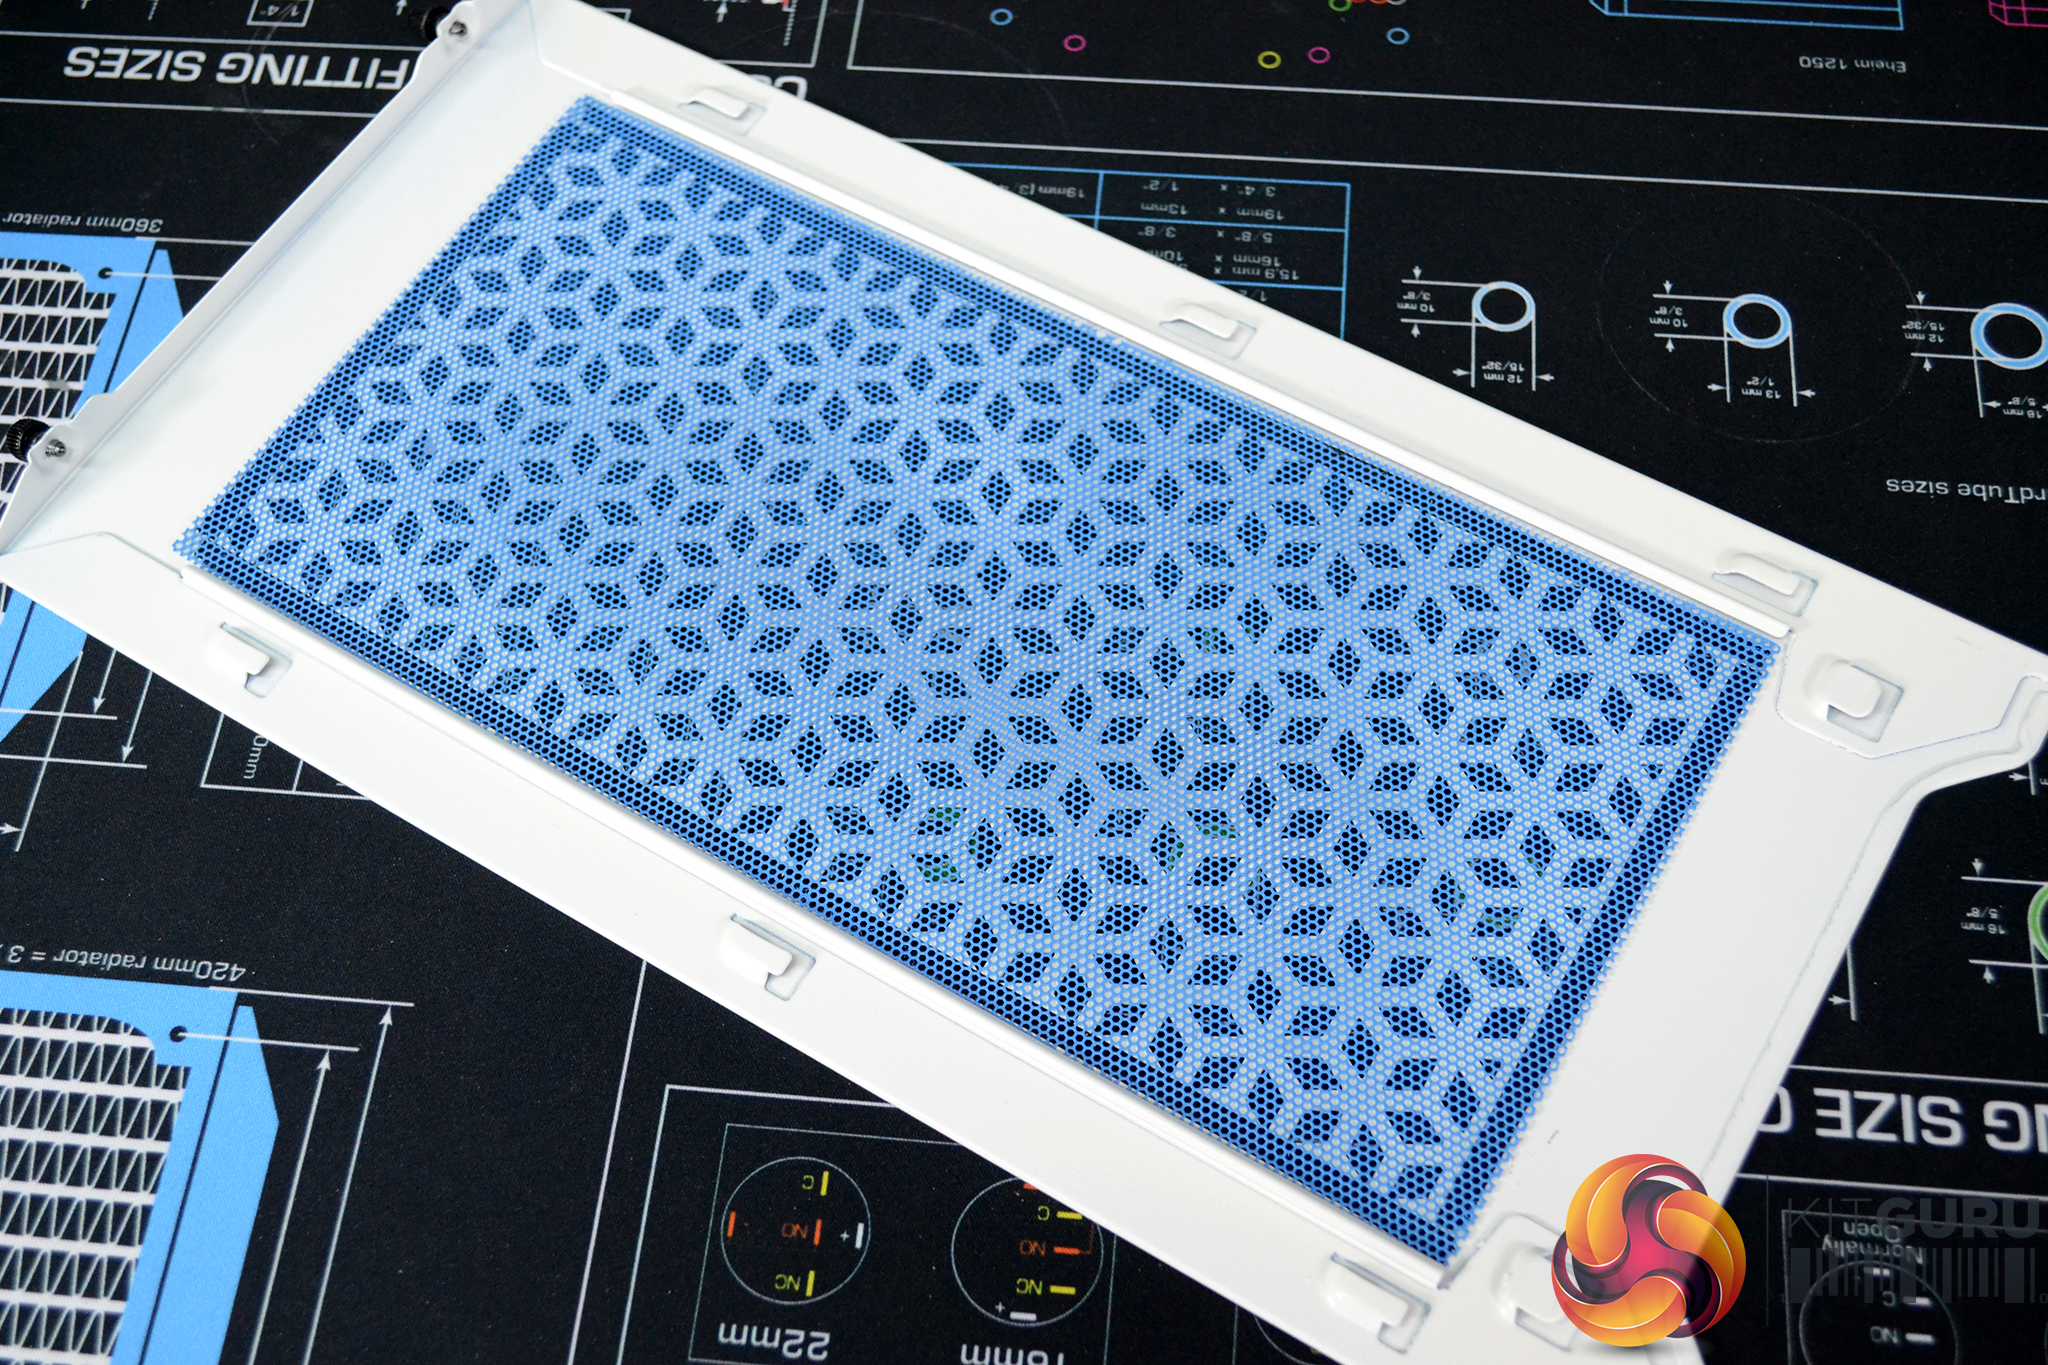
As well as the subtle custom paint job, I modded the case top panel to accept a 240mm radiator for improved heat dissipation along with the addition of a custom laser cut side panel. The Intel Six Pillars logo has been laser cut from aluminium plate and then backed with a sheet of blue acrylic to synchronise with a blue power button and blue mesh on the opposing right-hand side panel.
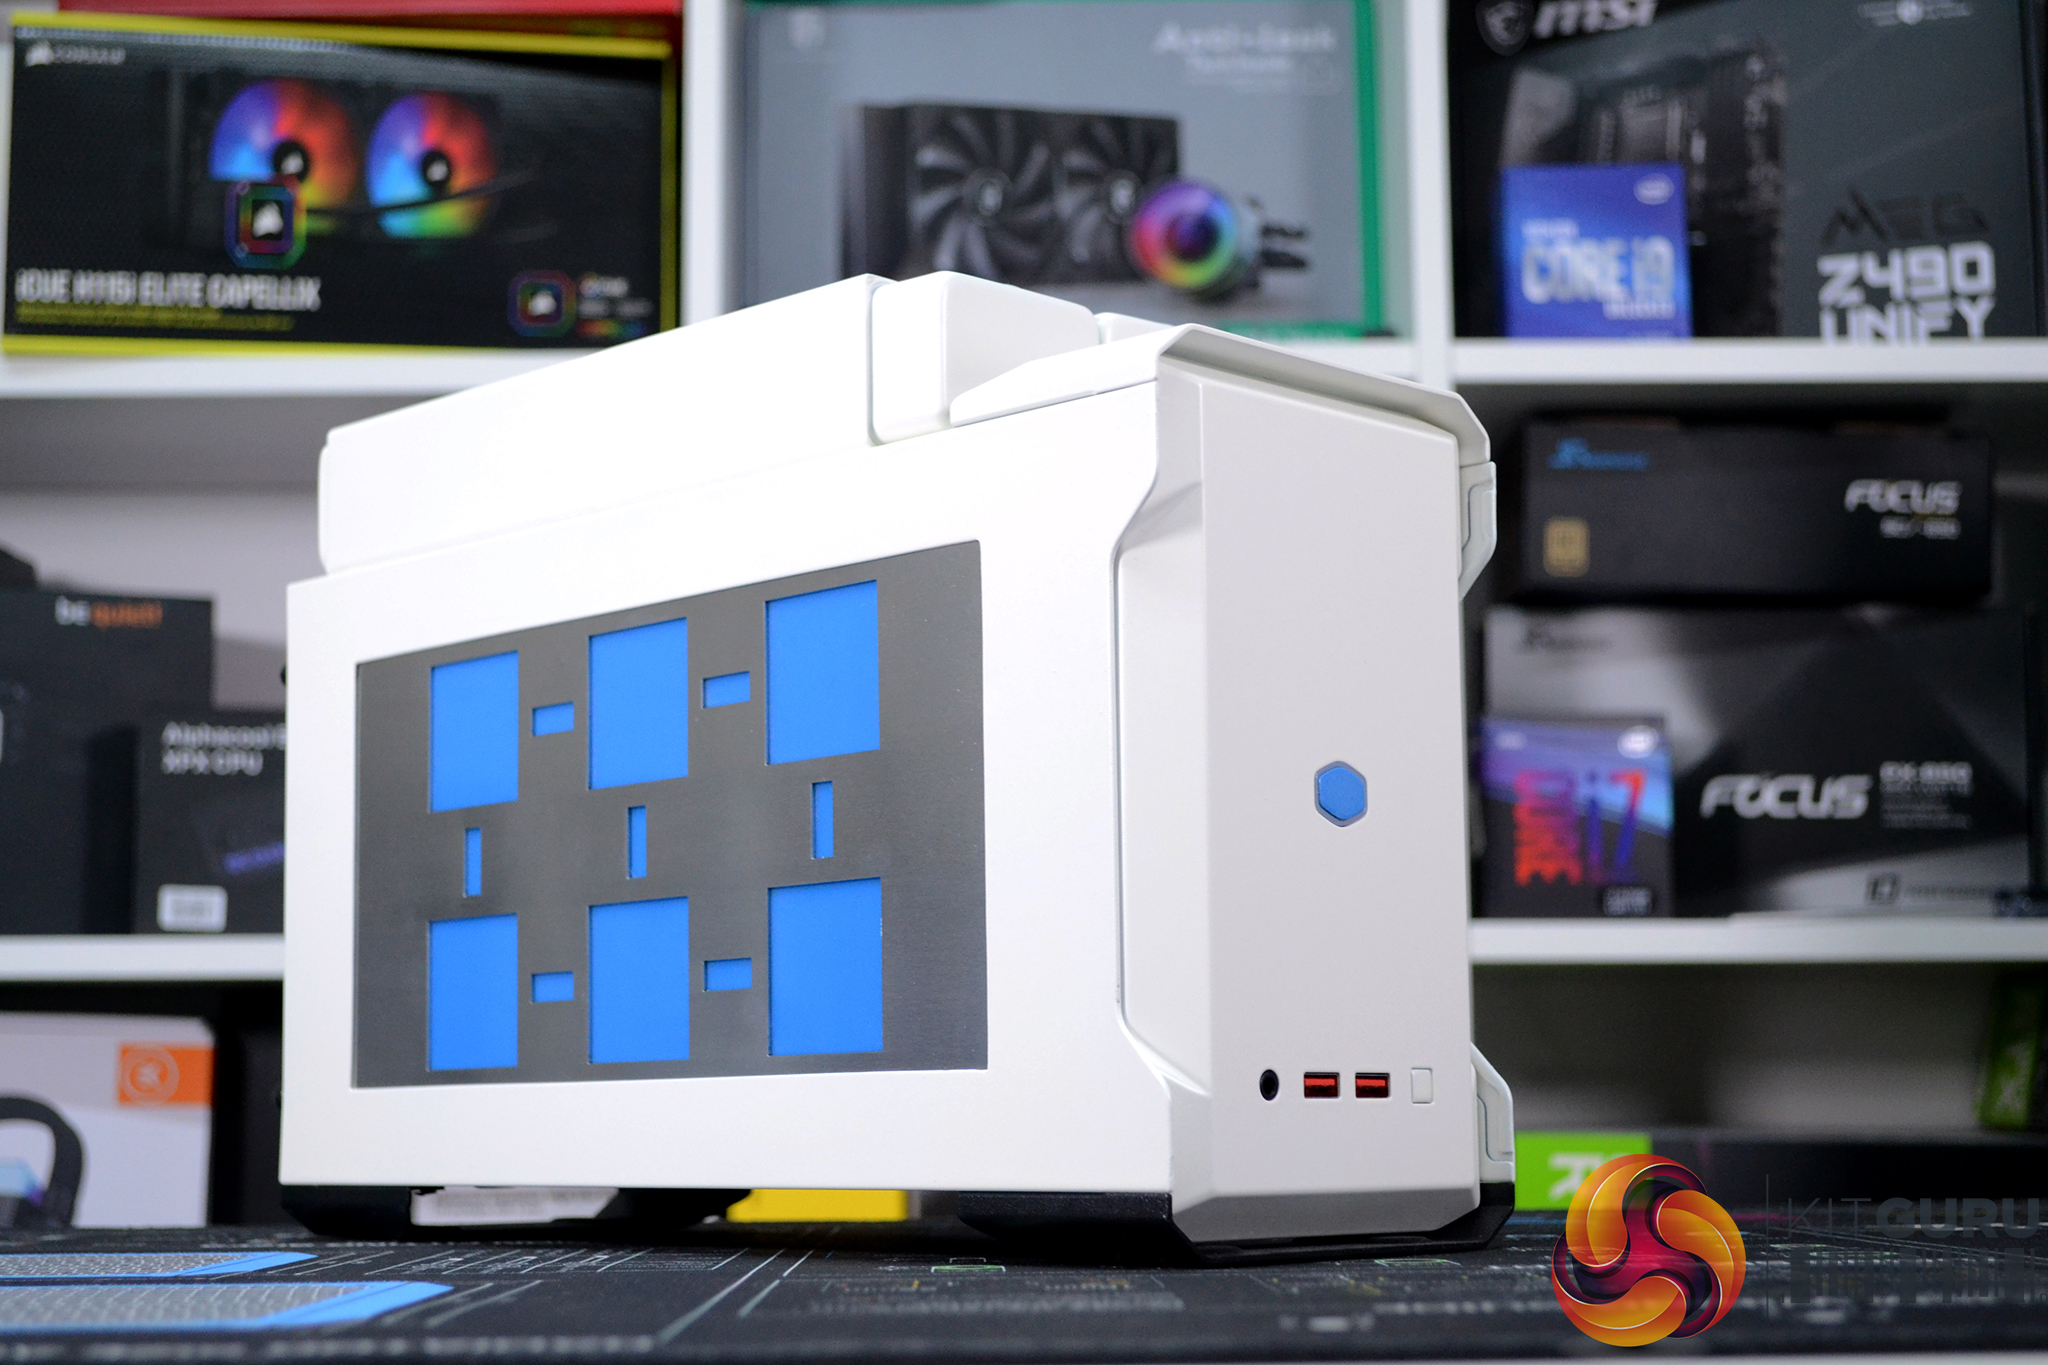
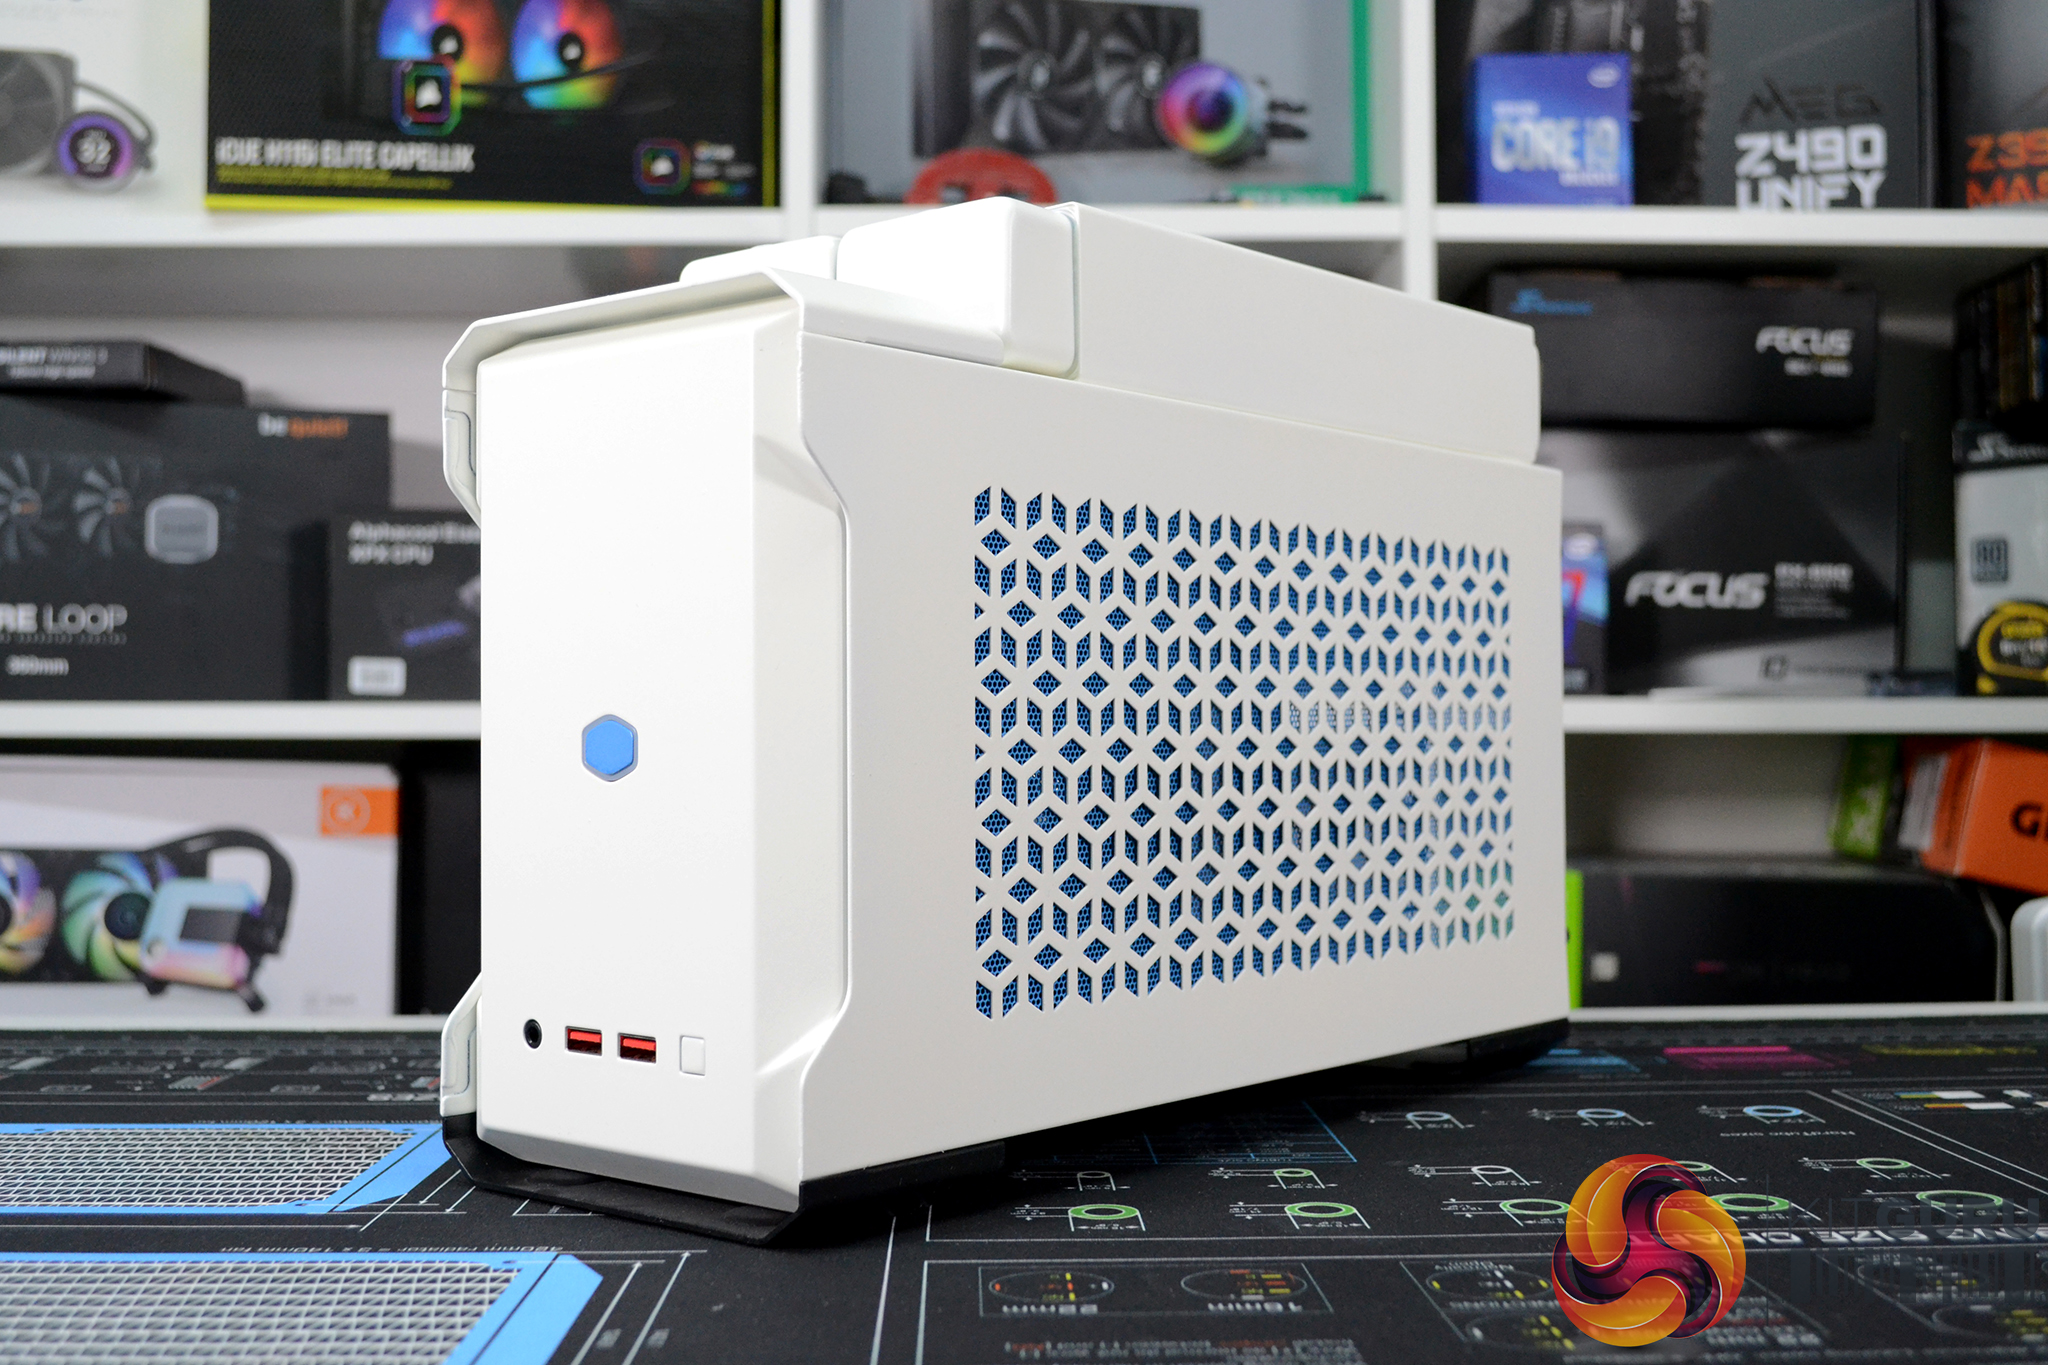
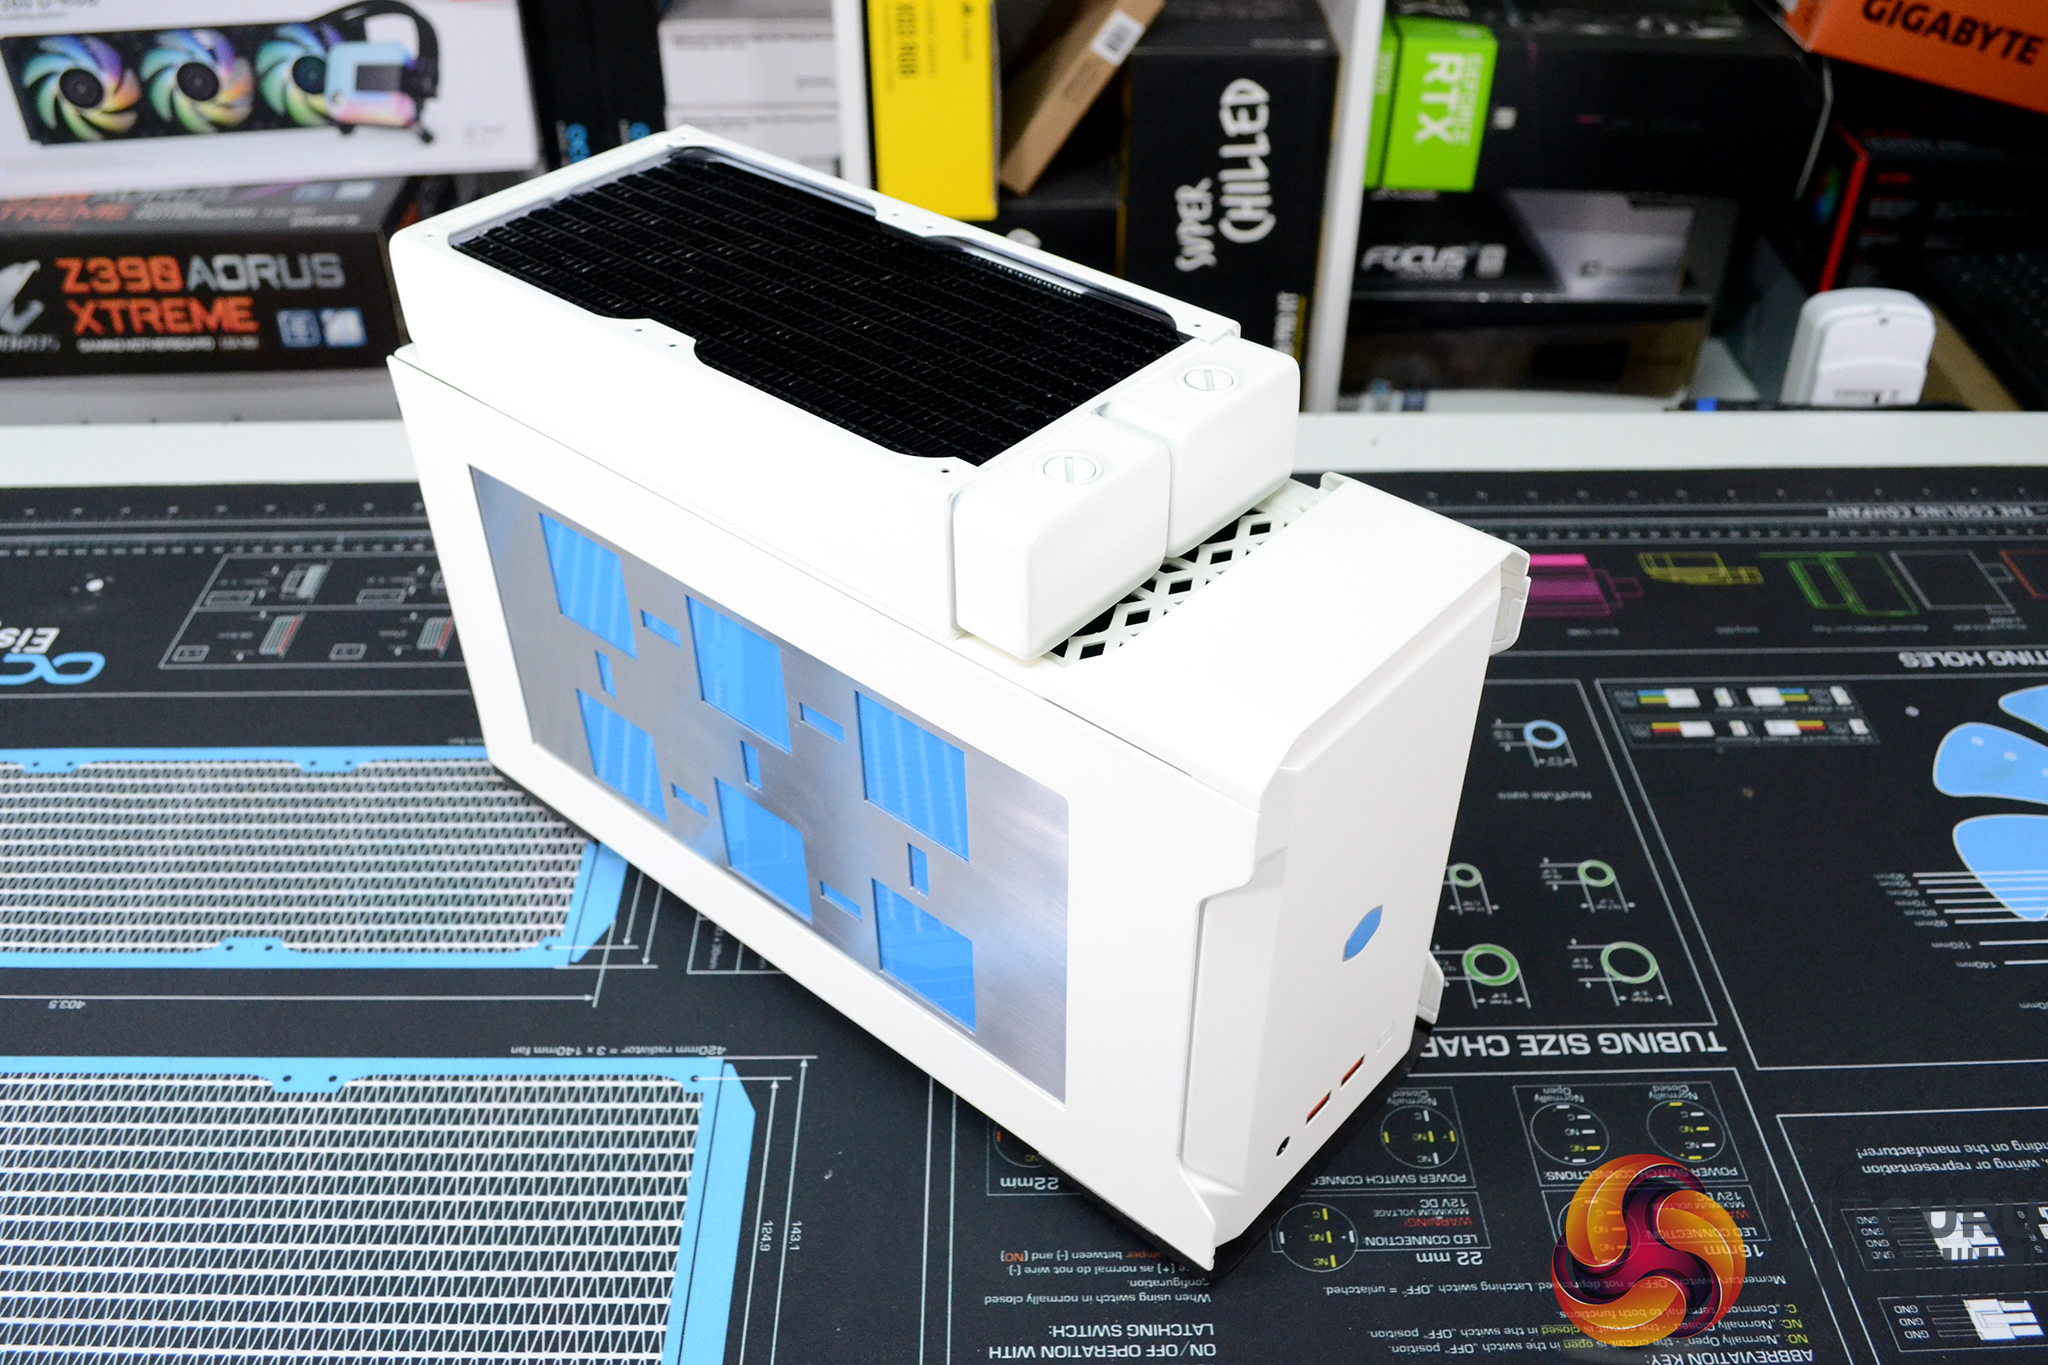
With the radiator mounted to the top of the case and the custom paint job applied, the case certainly has a unique appearance, it reminds me of something from a sci-fi movie but I'm not sure, what do you guys think?
If you have been tempted to paint your PC case in the past and wondered what is involved, it really isn't too difficult. With this paint job, the most demanding task was removing the plastic welded buttons from the front panel, and even that didn’t turn out to be too complicated by using a soldering iron to soften up the plastic. I have compiled a list of useful materials below that should help you through your first custom spray job.
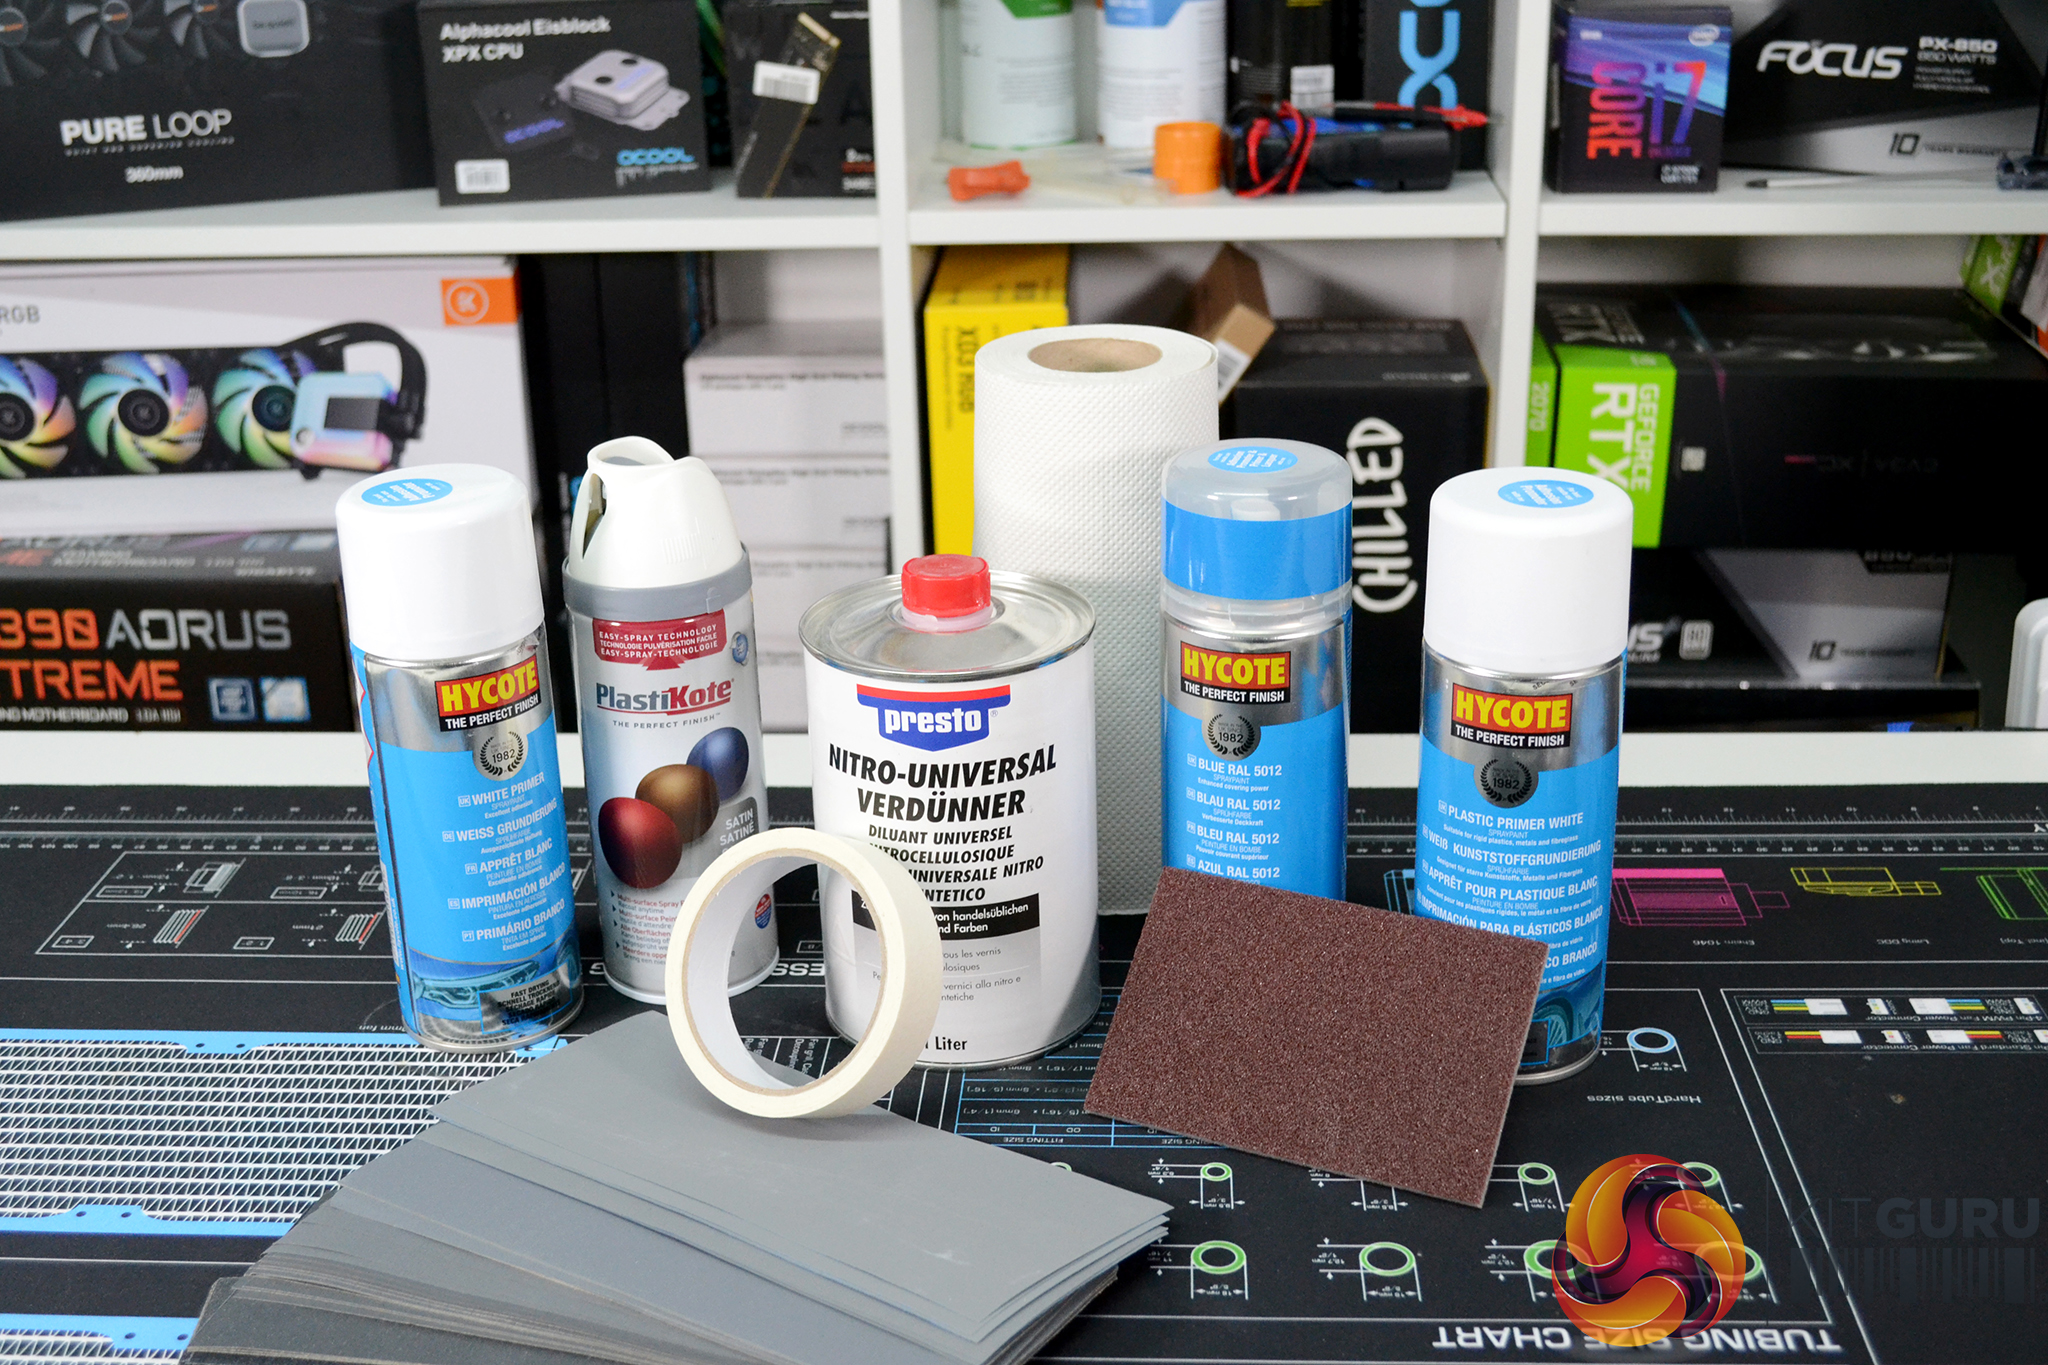
Materials List
- Abrasive pads for roughing up the panel surface to create a key for the paint to adhere to, wet and dry sandpaper could also be used.
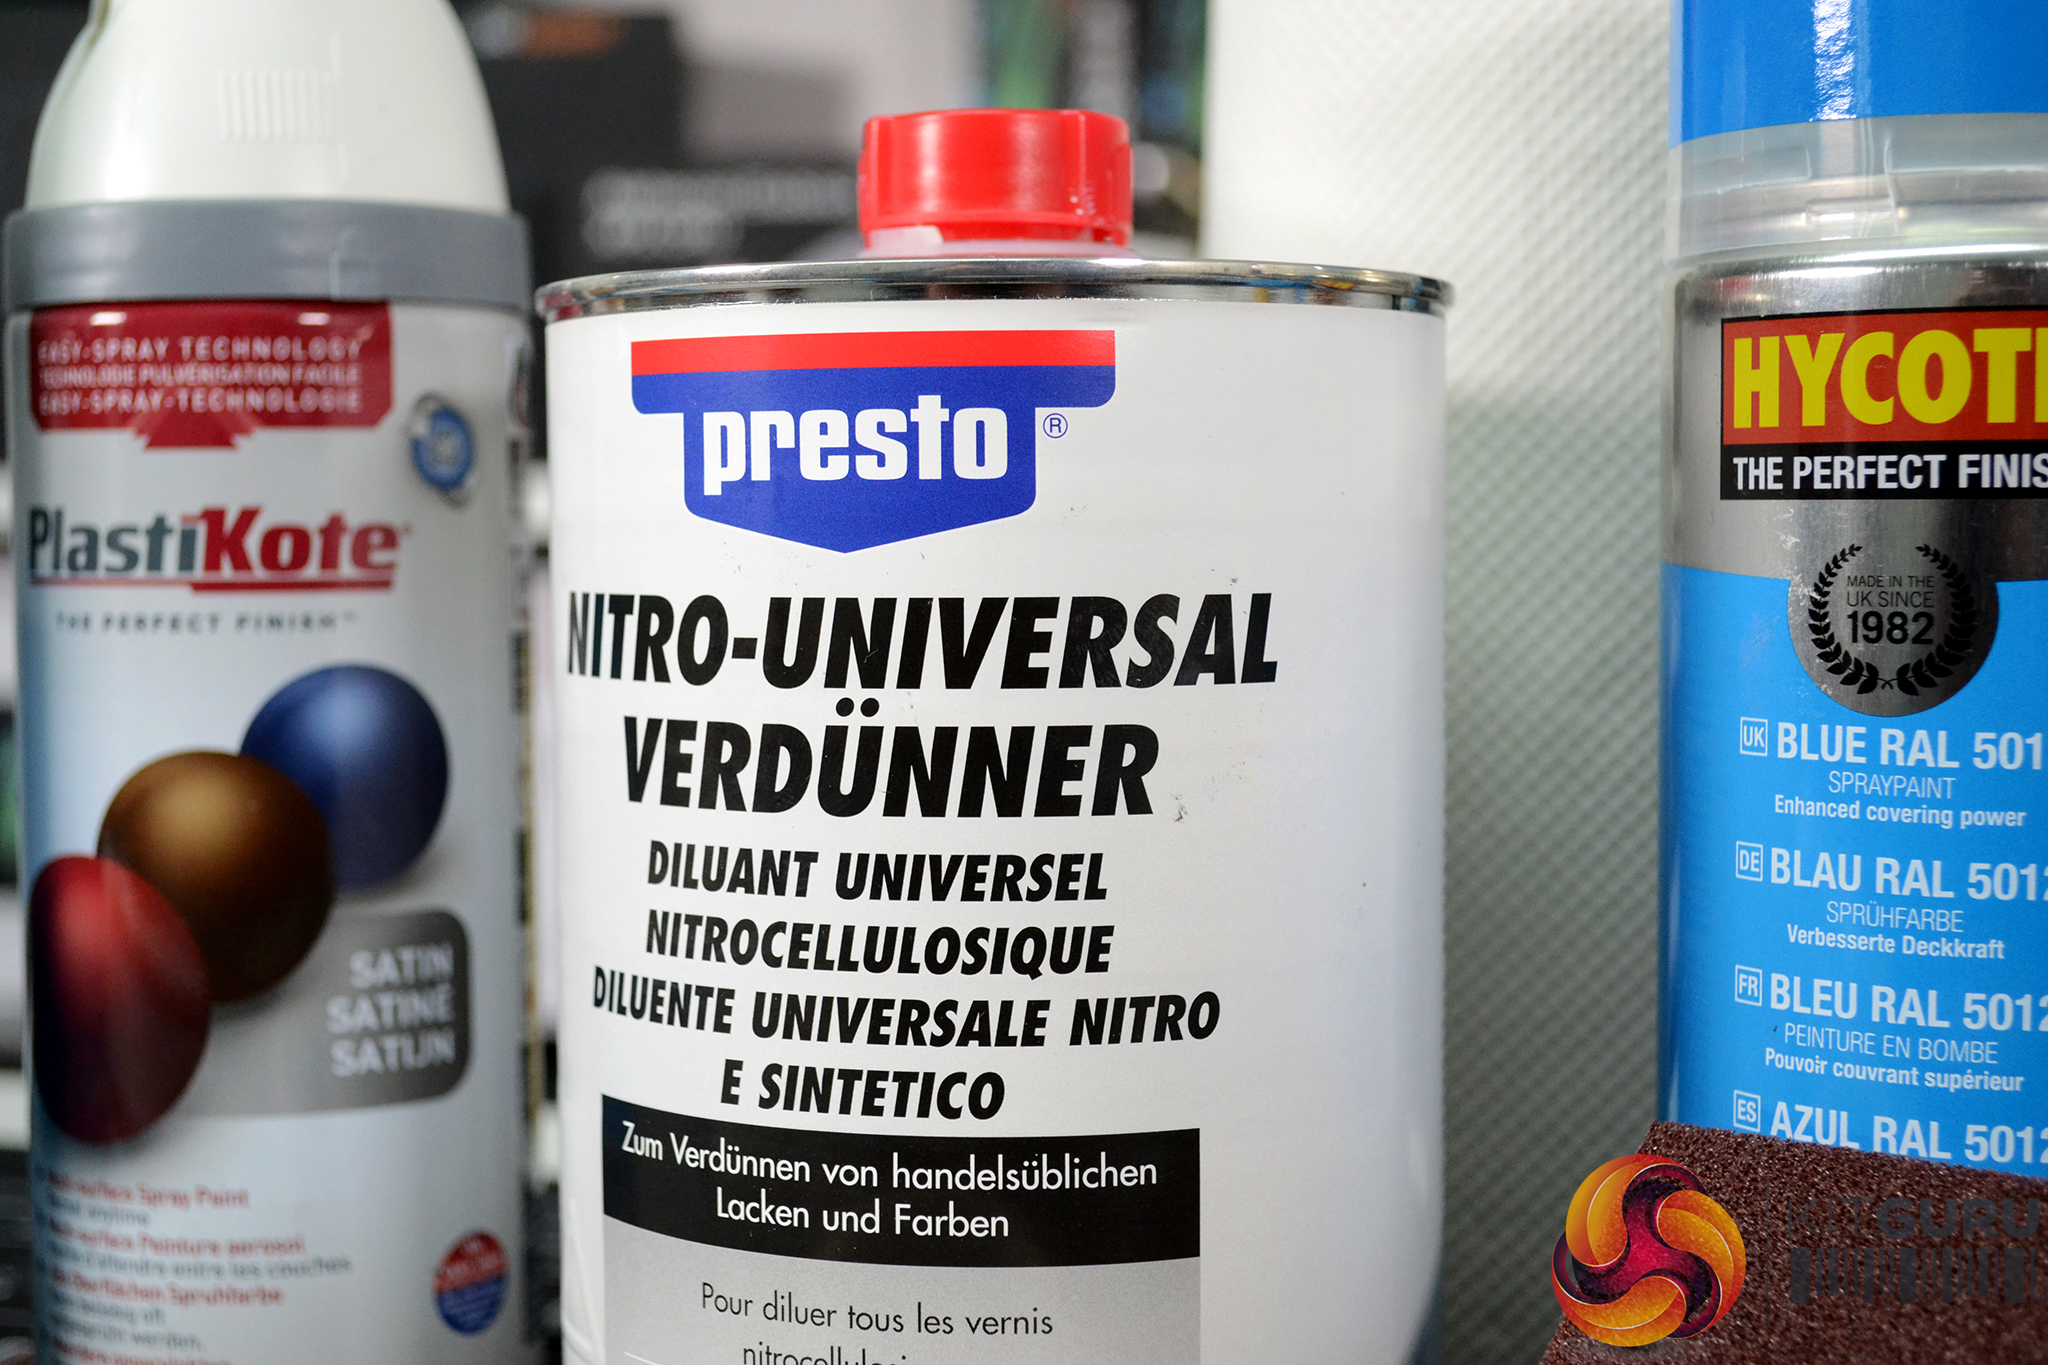
- Cellulose thinners for cleaning parts, cleaning spray can nozzles after use.
- Cloths or rags for cleaning.
- Masking tape to cover up any areas that you don’t want to paint.
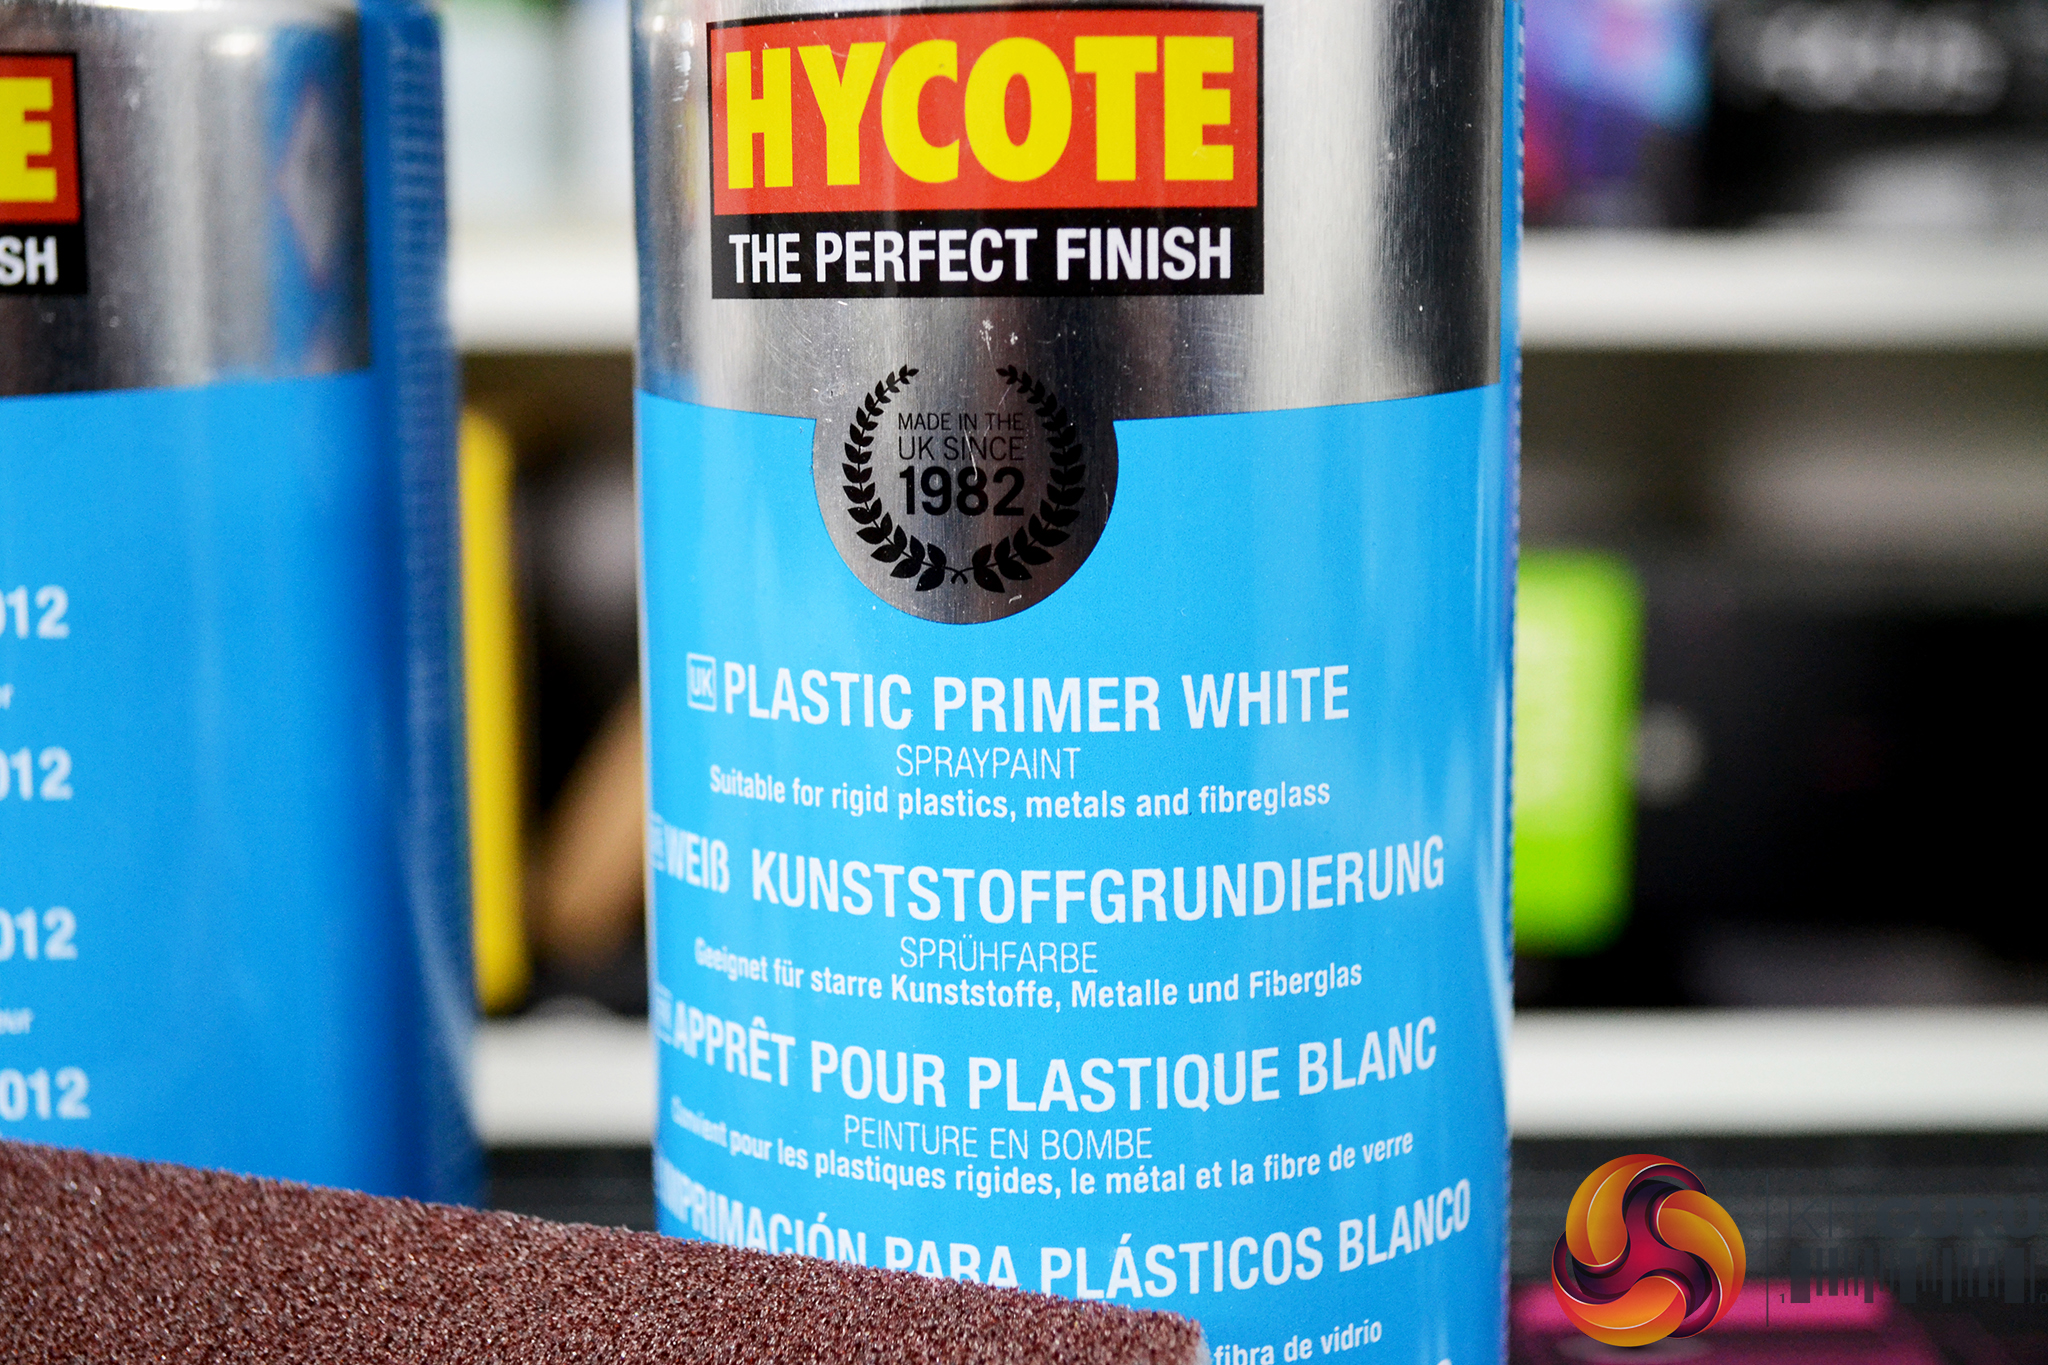
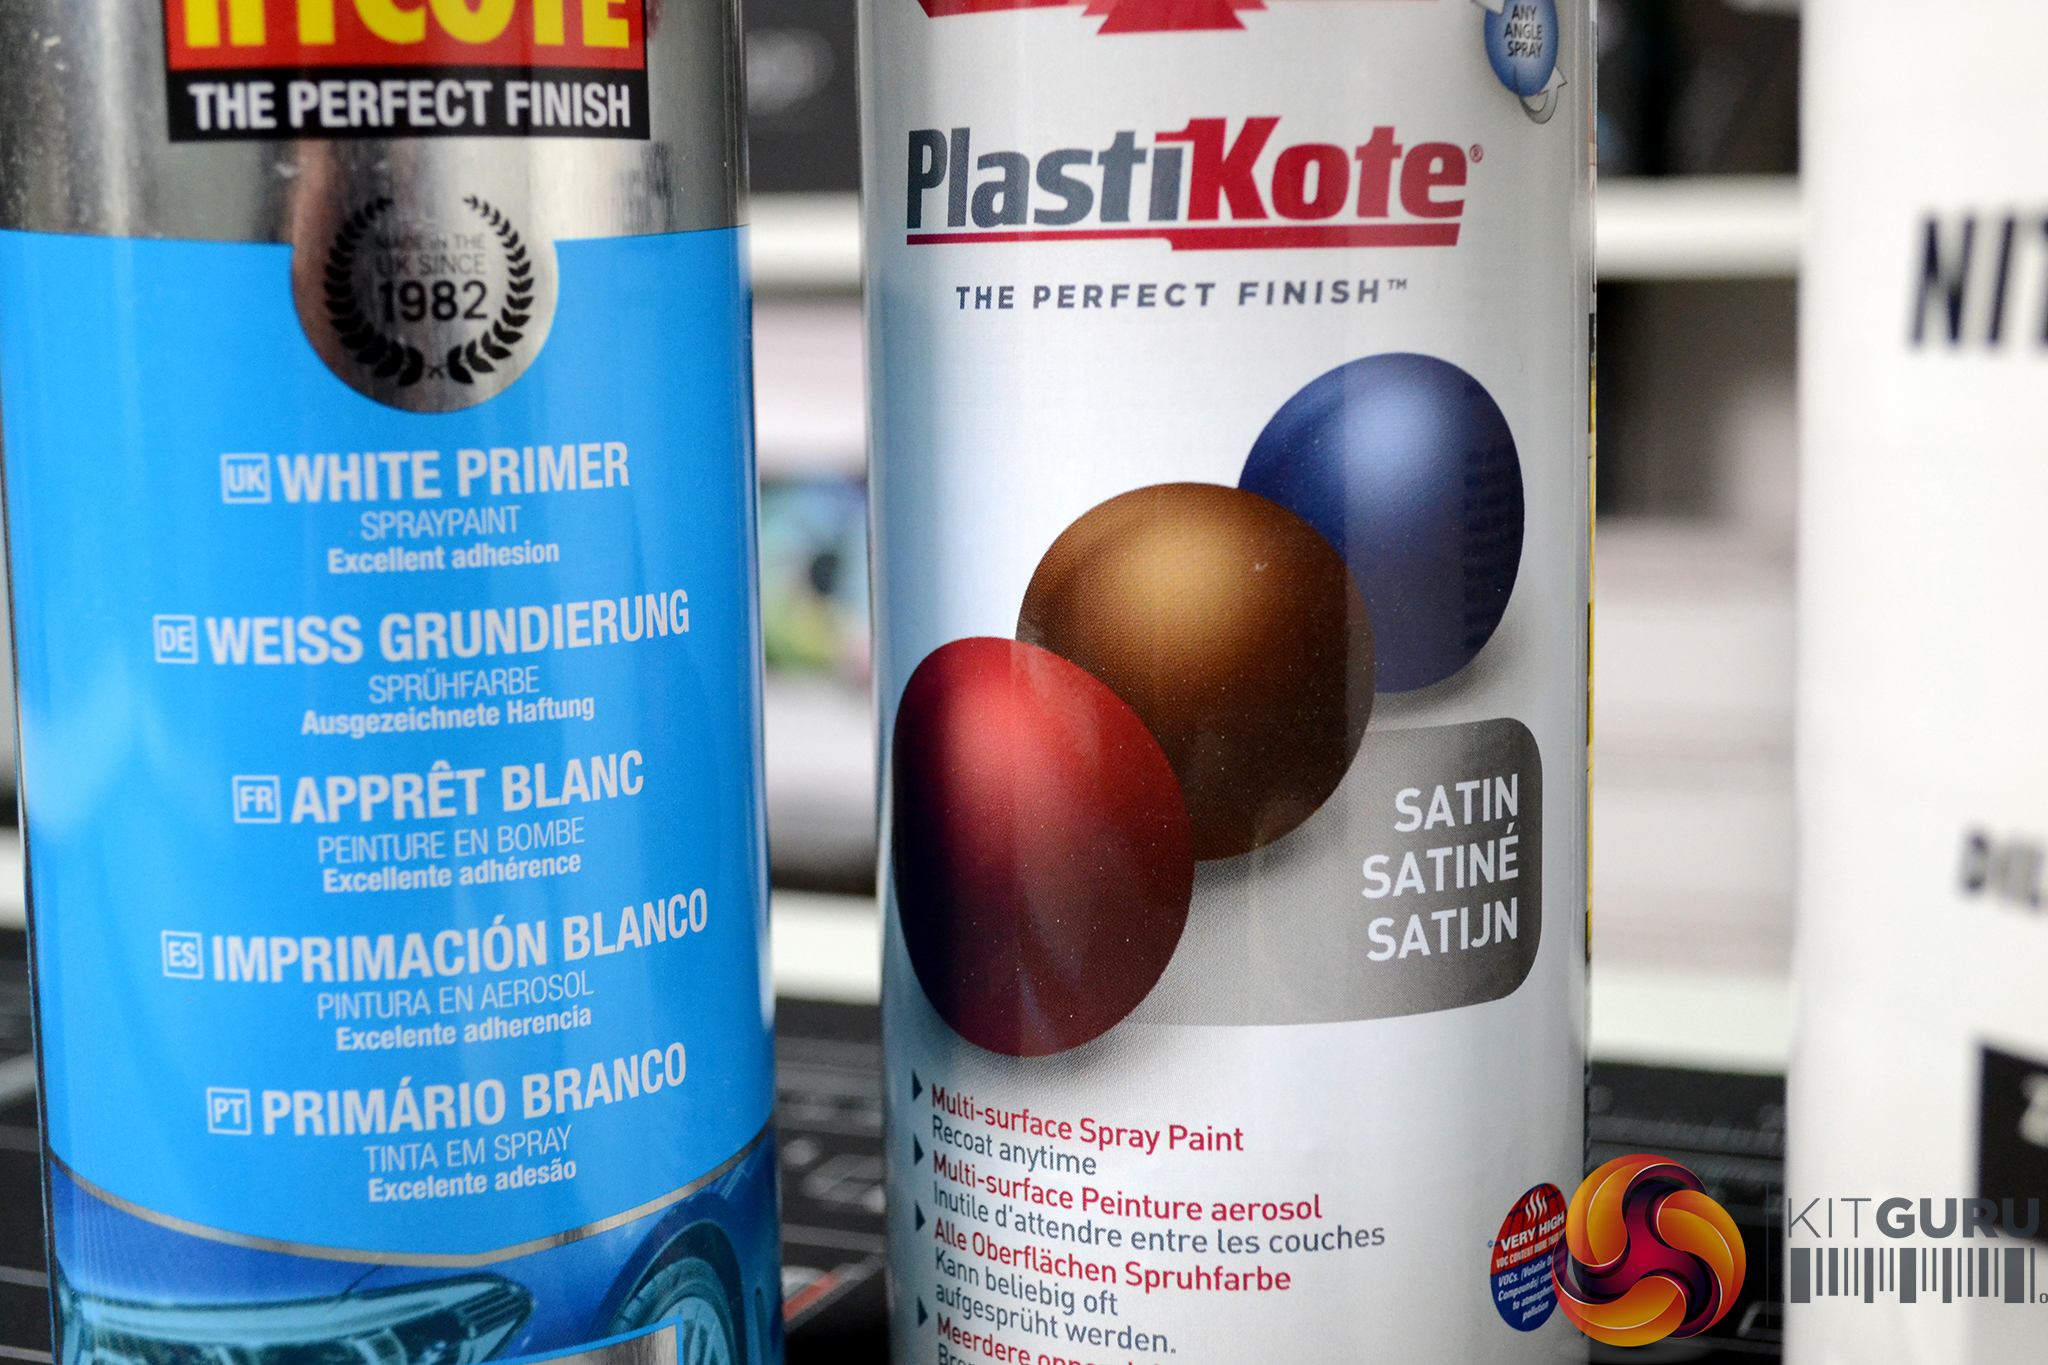
- Undercoat Primer, we used white primer because our top coat is white, plastic primer is required for undercoating plastic parts.
- Spray cans containing the top coat, we used a satin white from PlastiKote for the main panel colour and Hycote Blue RAL 5012 for the mesh and power button.
- A respirator or disposable mask to protect yourself from inhaling paint fumes.
- Basic tools for disassembly of the case or other small parts.
- Soldering iron to detach the plastic welded front panel buttons.
- Cardboard or sheets to mask off an area to spray paint in.
- Blu Tac and nails to hold and rotate small parts while painting.
- Double-sided tape for sticking mesh back to the side panels if required.
The process of painting case panels isn't as difficult as it may seem. The key is to take your time, ensure you prepare the panels as thoroughly as possible (especially on older, beat up panels) by sanding down and cleaning. Any dirt dust or grease will compromise the adhesion of the paint so make sure the panels are clean before painting.
Less preparation is required with new case panels but the surface should be roughed up with an abrasive pad or Scotch-Brite scouring pad to give the surface a key for the paint or primer to bond to. Once the surface is prepared and clean, apply two or three coats of primer, build up the coats in thin layers and leave 15-20 minutes between coats for the primer to cure. After 24 hours the primer should be hard enough to start applying the top coat.
The top coat is applied in the same way as the primer, you can afford to lay a slightly thicker top coat but if it is too thick, the paint will run which is not good. Again at least two or three top coats will be needed to get a good even finish, our top coat is a satin finish, other paints may need a clear lacquer on top if a glossy finish is needed. Once you have applied your top coats, leave the paint to harden for 24 hours before reassembling the case.
Find out more here:
INTEL INNOVATION: intel.com/innovation
VISIT INTEL: https://www.youtube.com/channel/UCk7SjrXVXAj8m8BLgzh6dGA
VISIT INTEL TECHNOLOGY: https://www.youtube.com/channel/UC_9tBCeHdBG13If451X7FRw
GHOST CANYON: https://simplynuc.co.uk/ghost-canyon/
SCAN: https://www.scan.co.uk/shops/intel/ghost-canyon-nuc
EBUYER: https://www.ebuyer.com/store/Components/cat/Barebones/Intel
KitGuru says: The next video should be the last for this series. The finishing touches will be put on the final build such as lighting, some minor cable mods and our custom water cooling solution will be tested to see if an improvement in performance has been made, make sure you don't miss it!