The Touch 2100 is supplied in an compact box which features an attractive black livery. The front of the box features an image of the touch display of the fan controller.

Turning the box around reveals a breakdown of the features of the fan controller, illustrated with another image of the fan controller display itself.

Inside the box we find a user guide alongside the thermal probe cables.

The front fascia of the fan controller is finished in brushed aluminium and looks and feels very well made indeed. It should fit in aesthetically with most high-end cases, provided that they are dark. It spans two 5.25″ drive bays and should be compatible with most cases.

Aerocool have thoughtfully included some front panel connectors on the front of the unit. There are two USB 3.0 connectors alongside headphone and microphone jacks.

Turning the unit around reveals an expanse of cables which are required to connect the fan controller to your system.

There are five 3-pin fan headers to connect the fans.

There are USB3.0, USB2.0 and HD Audio headers for the front panel connectors.

There are also five temperature probes which you can use to record ambient temperature in different areas of your case.

The unit is powered by a 4-pin molex connector.

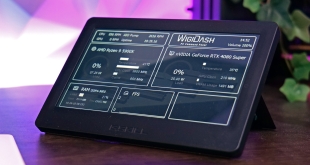
The touch screen fills most of the front panel of the unit, measuring 113 x 57 mm. There are five rows of data on the screen which display all the information available at the same time. For each channel, both the fan speed and temperature readout are displayed. The fan speeds can then be easily adjusted by touching the one you want to change and then using the large button on the left to increase or decrease it.

The colour of the LCD screen can be changed at the touch of a button to match the colour scheme of your desktop. This is likely to entice those enthusiasts who like to colour co-ordinate their rigs. This button is located below the temperature adjustment buttons on the left side of the touch screen. There is a fourth and final button in this area which switches the temperature readouts from Celsius to Fahrenheit.

We noticed that the viewing angle of the screen is quite limited, as it can only be viewed clearly from above. Those that have their case beside their monitor on the desk may struggle to read the display accurately.

Installing the unit is fairly simple, requiring a couple of screws on either side to secure it into your drive bays. The most difficult aspect of installation is finding space for all the cables which can create quite a mess!