

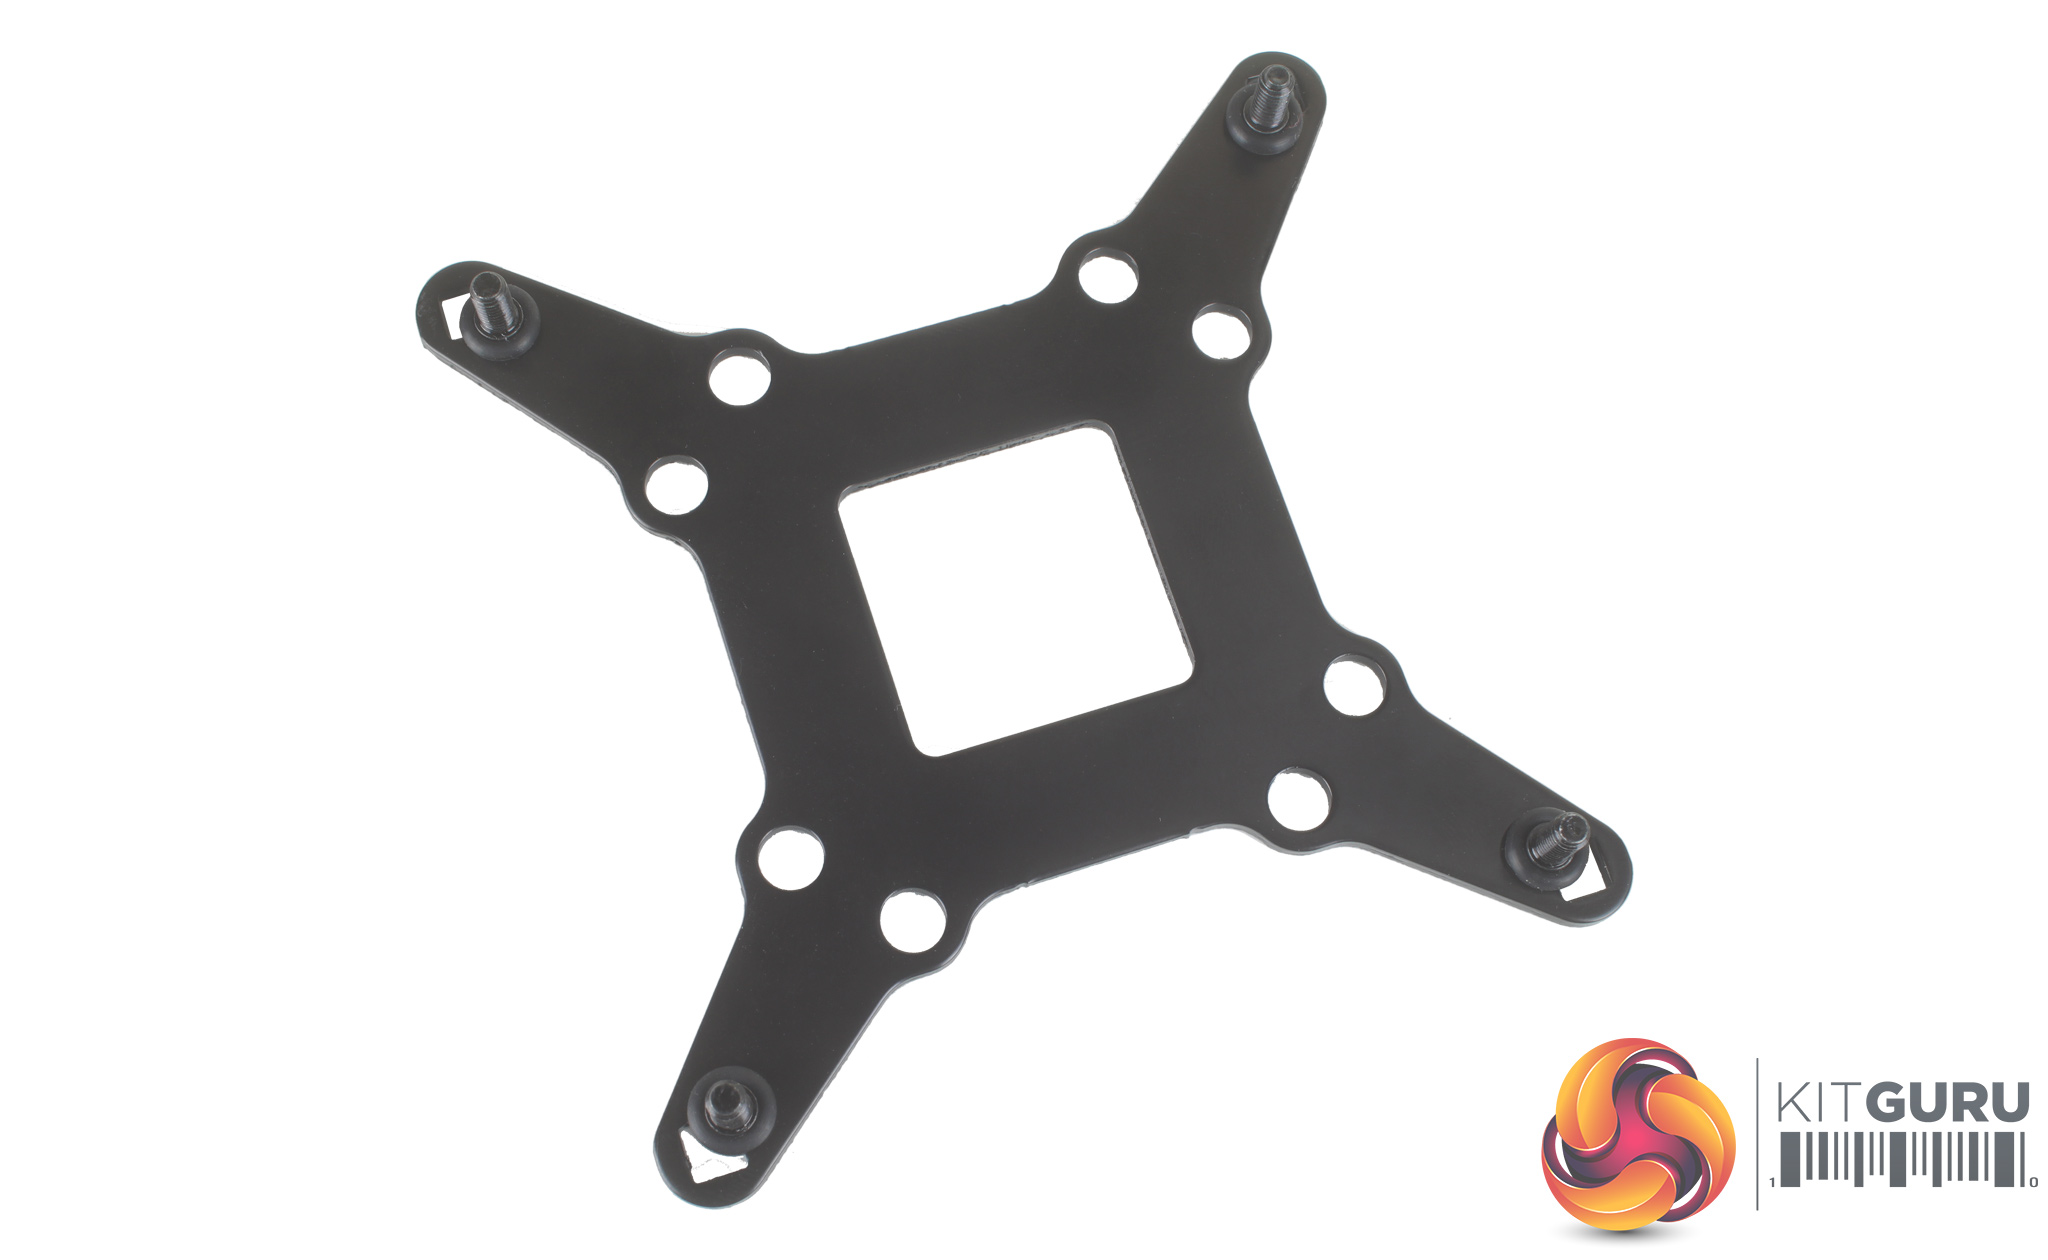
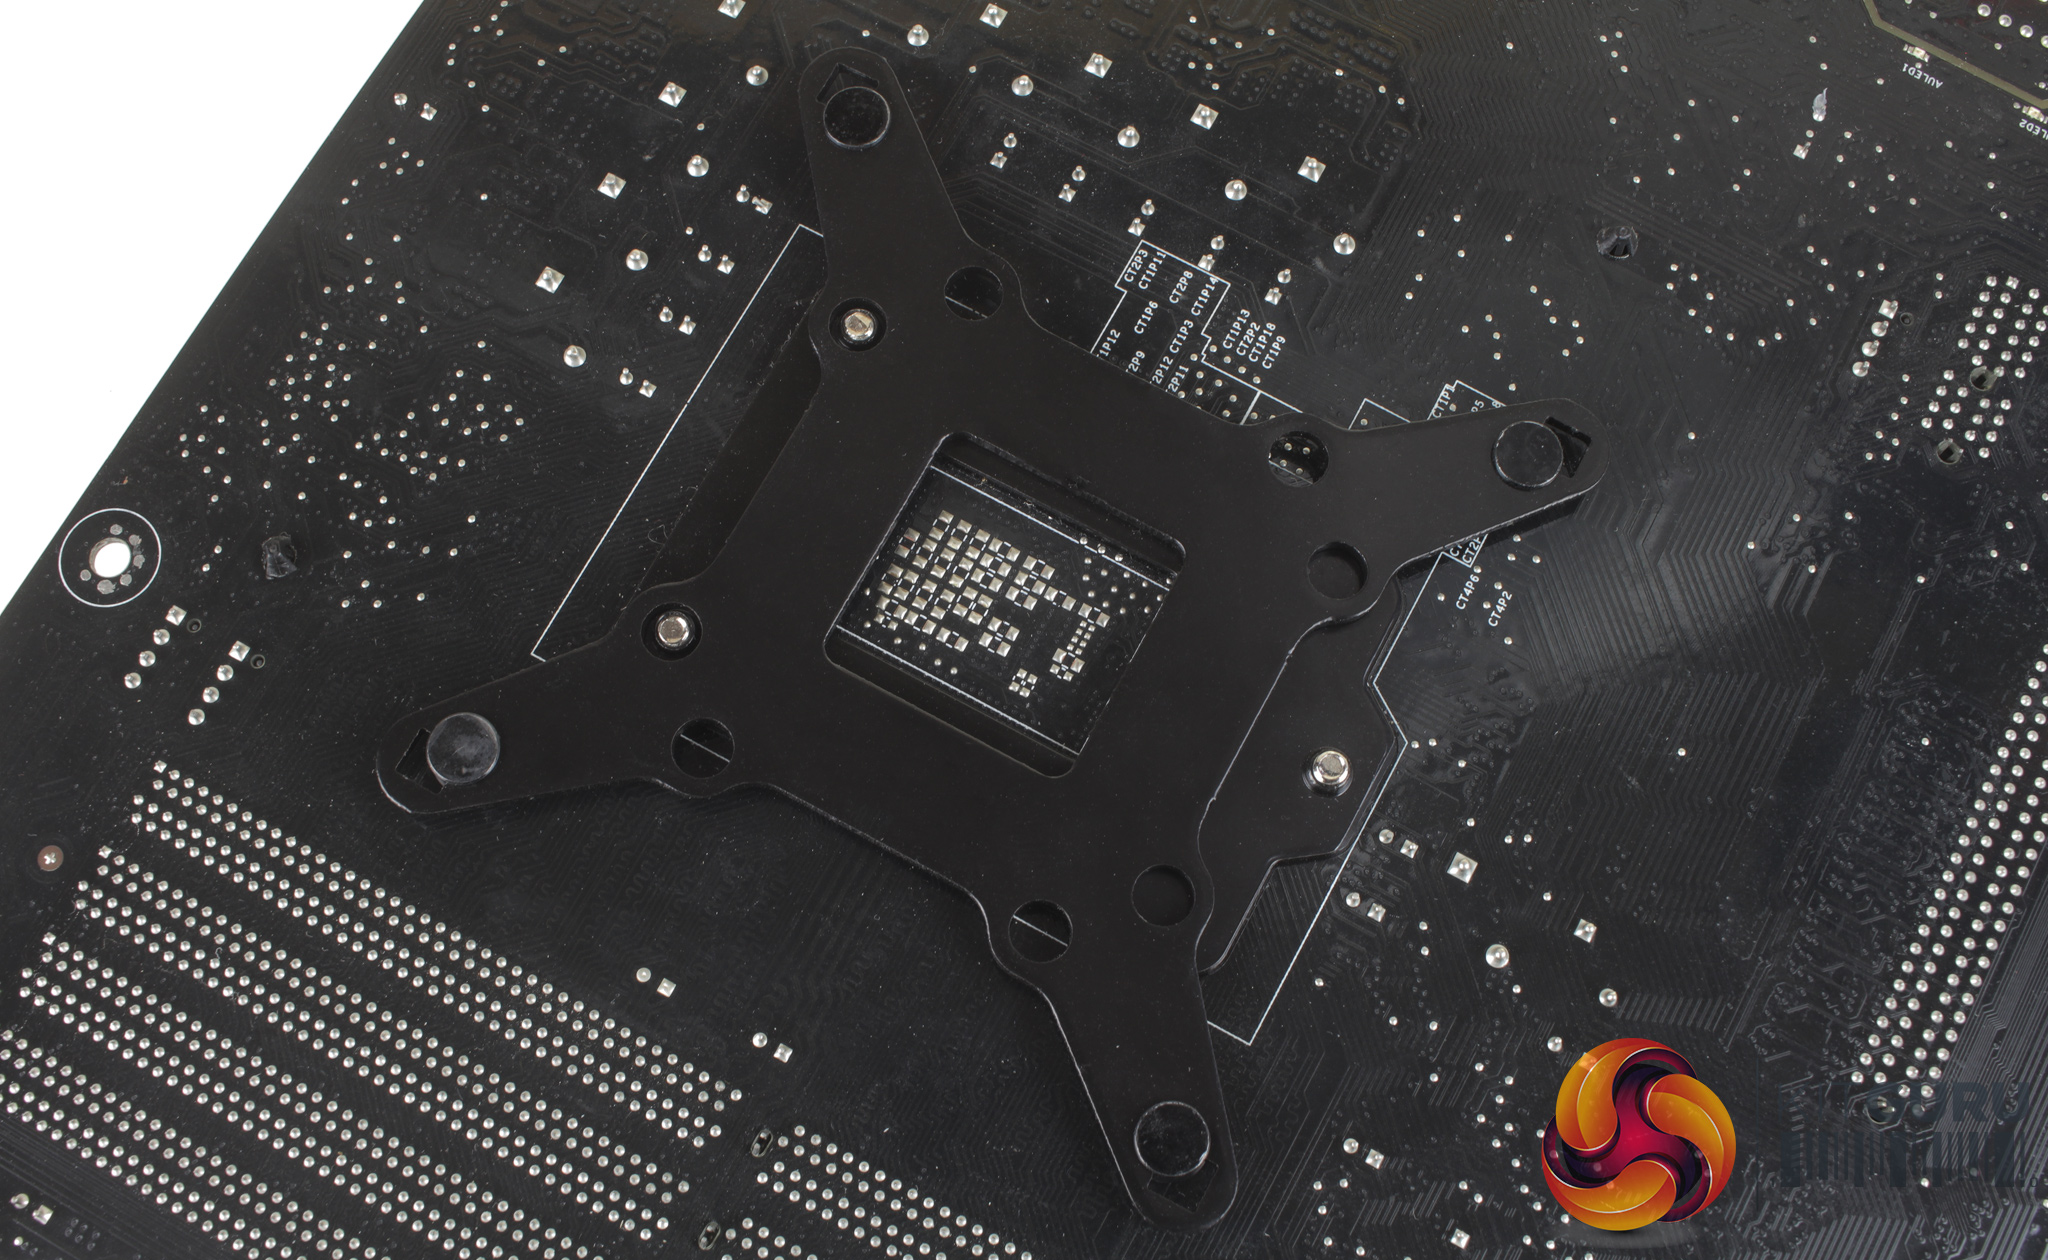
As we test CPU coolers on the Z170 platform, we'll be following the Intel installation instructions. Starting with the backplate, there are four longer screws which need to be passed through each corner of the backplate ,and these are held in place with four rubber O rings. With the backplate prepared, it can be fitted to the rear of your motherboard.

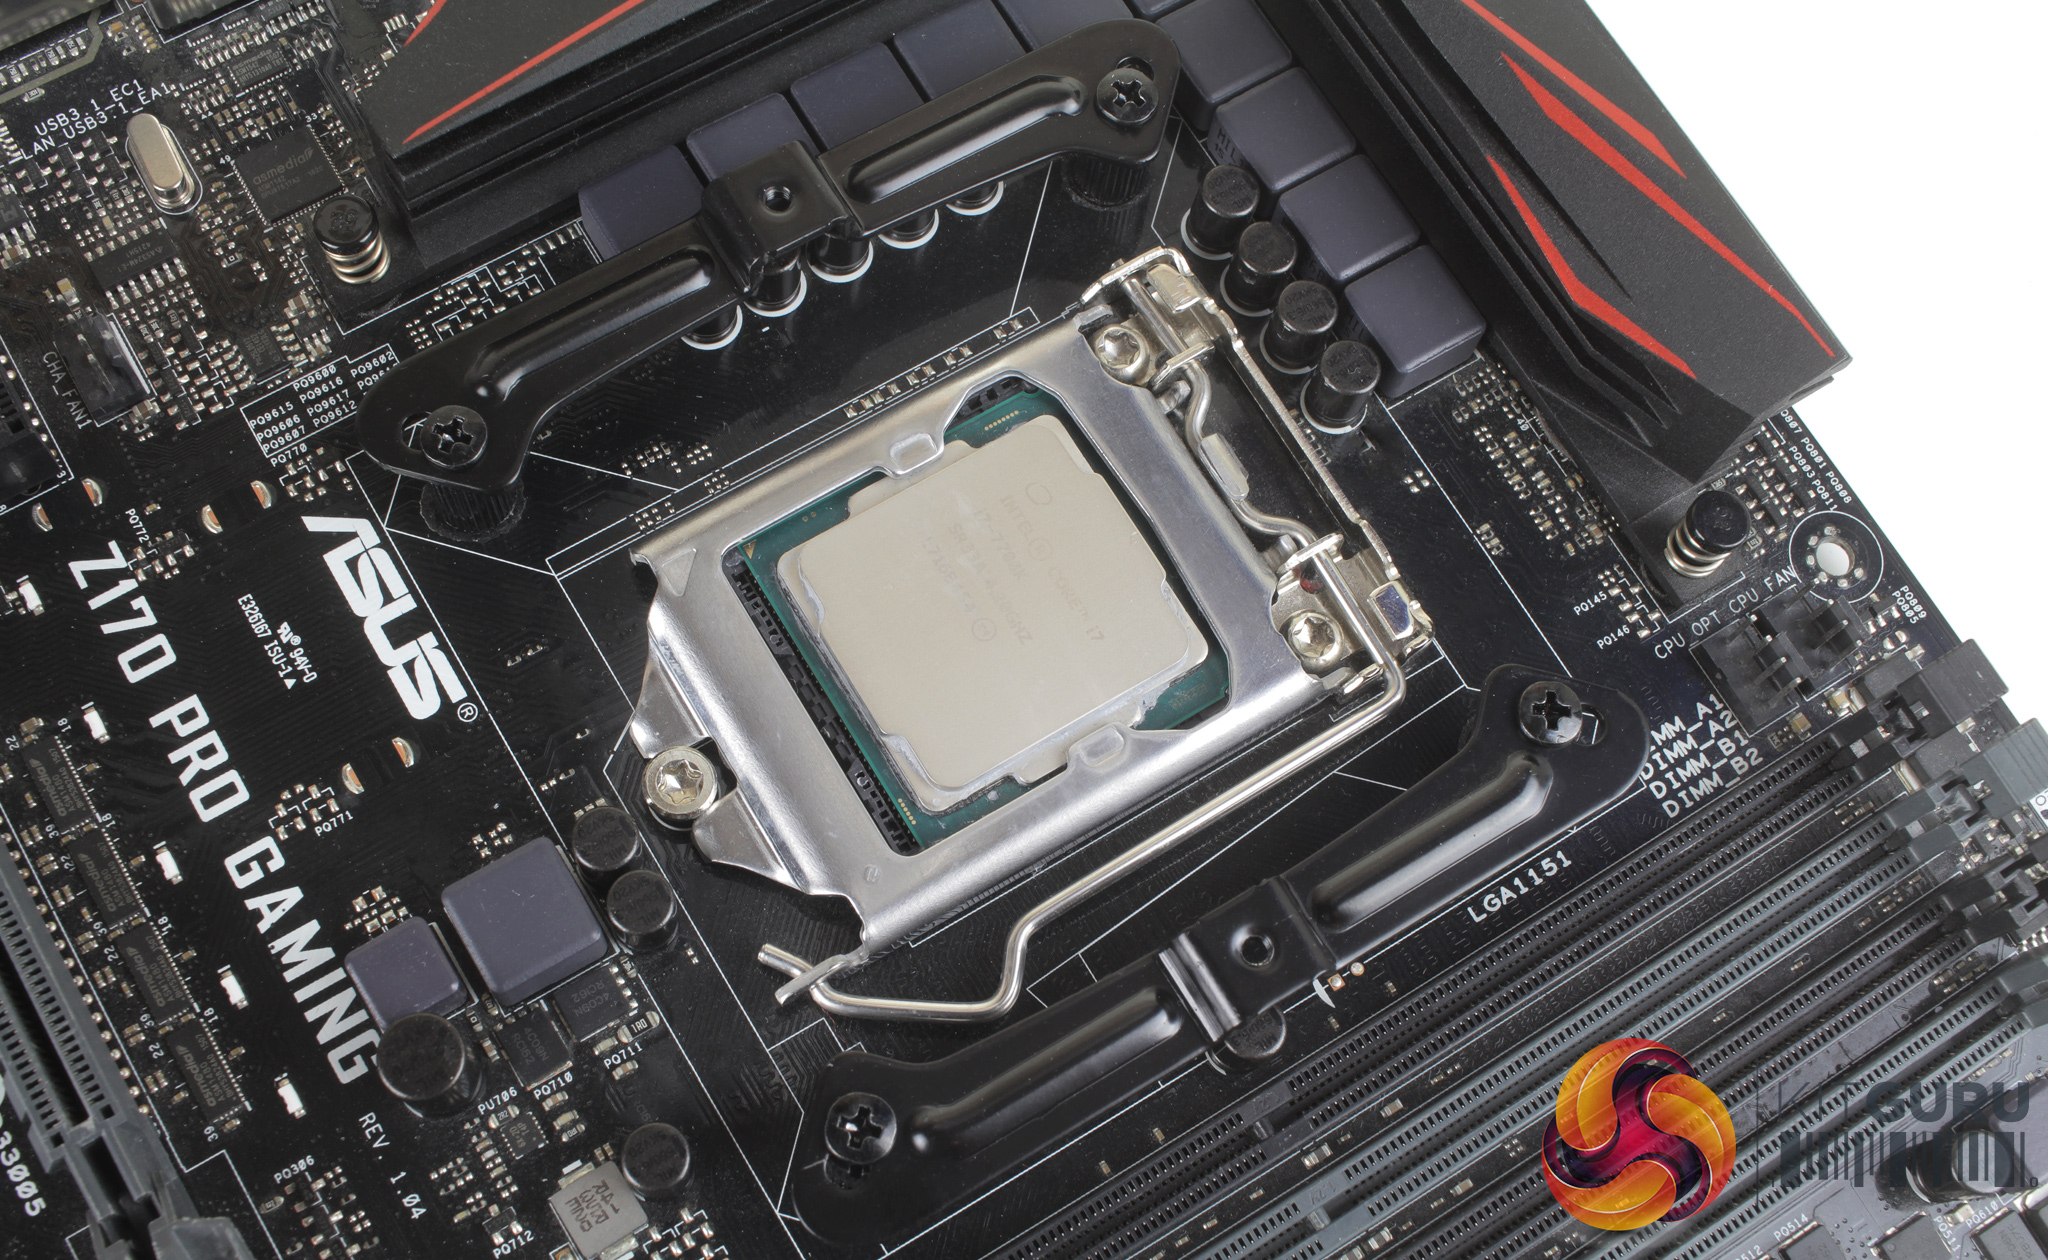
The backplate can then be mounted to the motherboard, with four threaded standoffs which need to be screwed onto each of the corner screws. There are two further brackets which then need to be fitted. It’s worth noting that these brackets orientation will dictate which direction the cooler will face. These two brackets sit atop the four threaded standoffs and are mounted using four small screws.
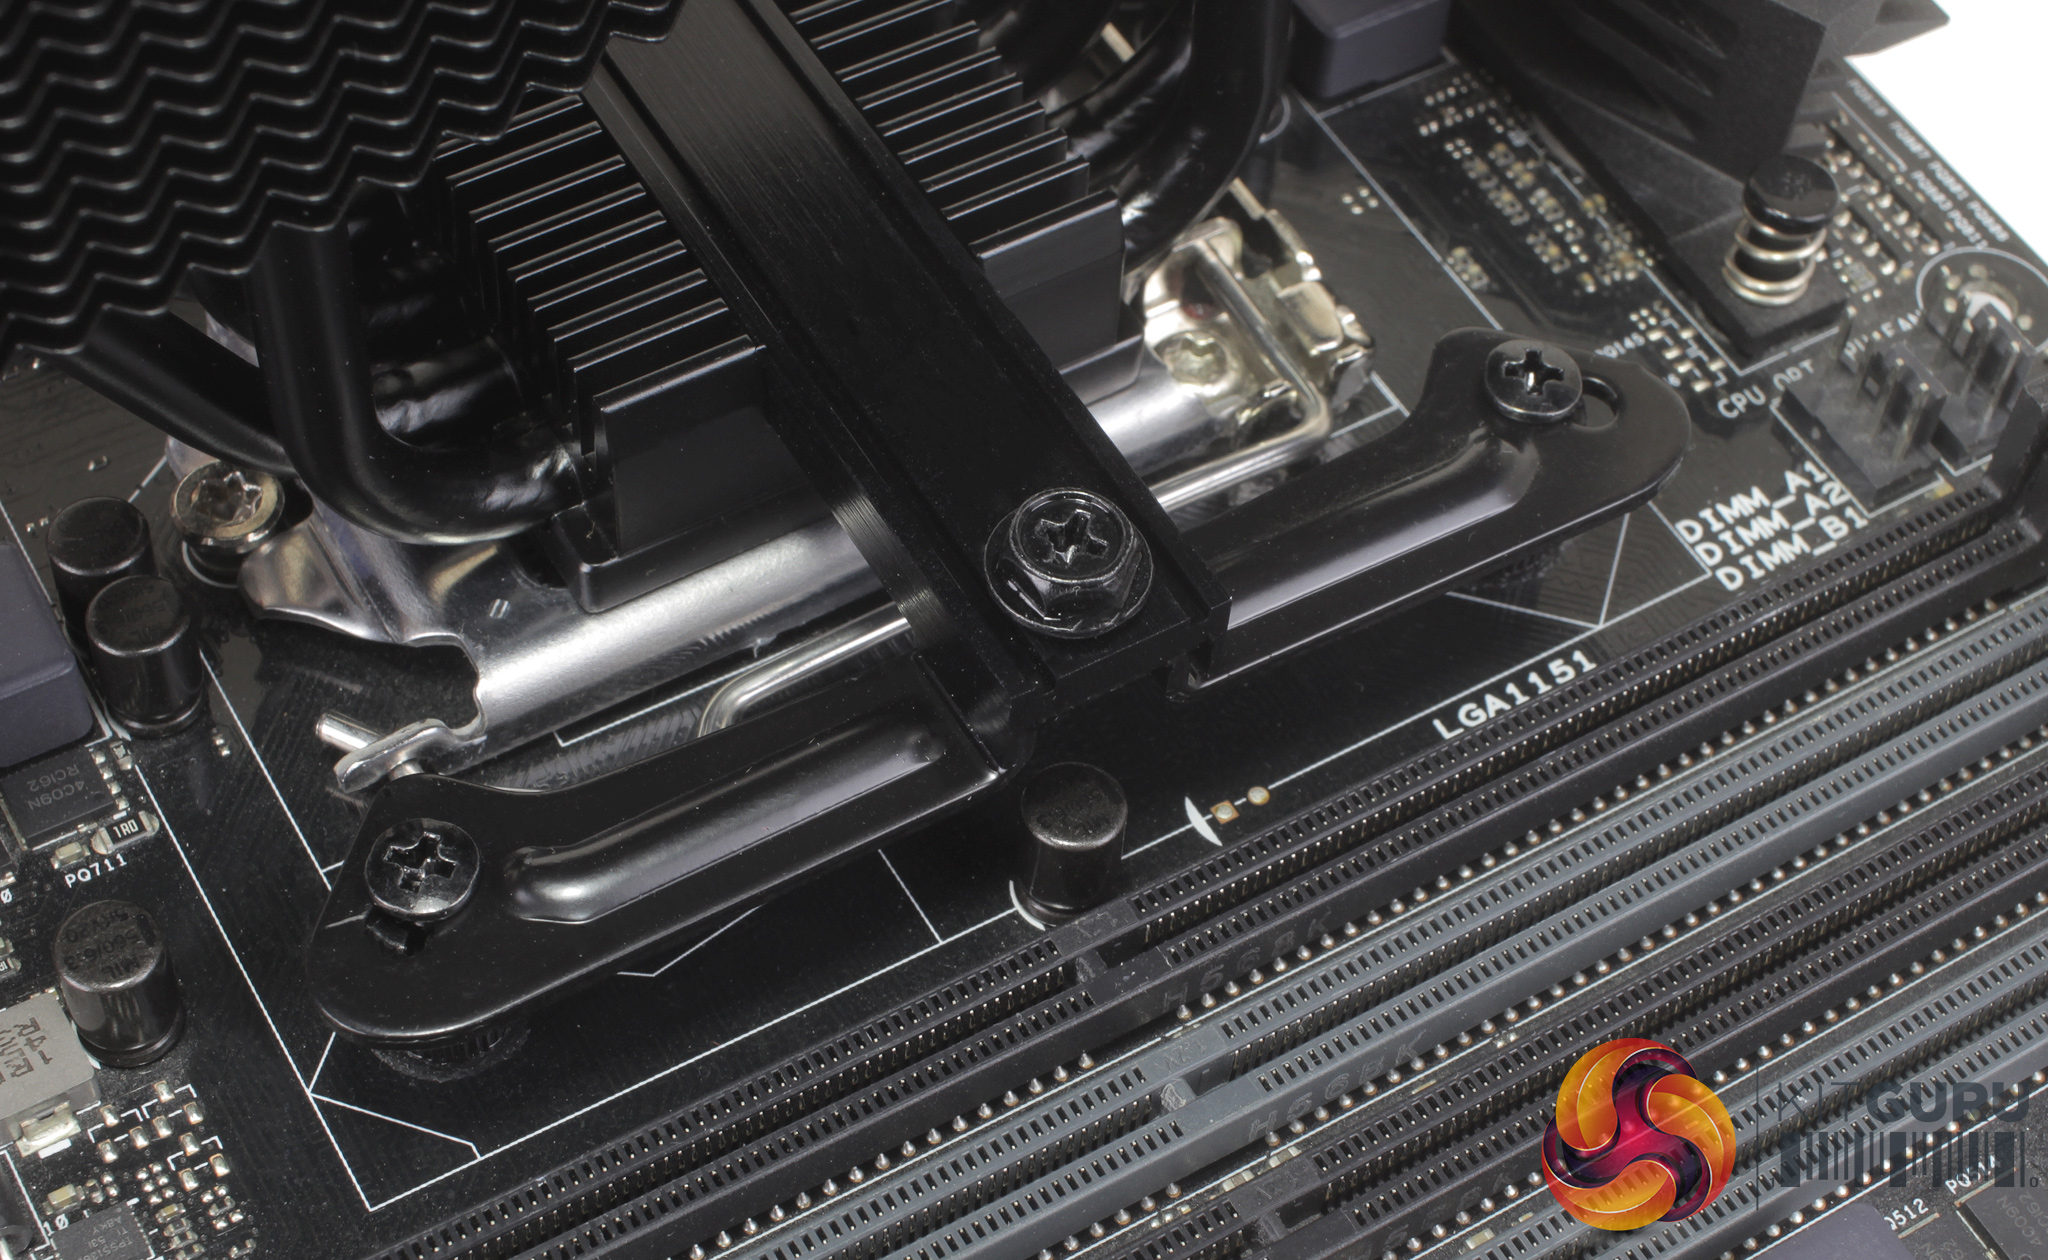
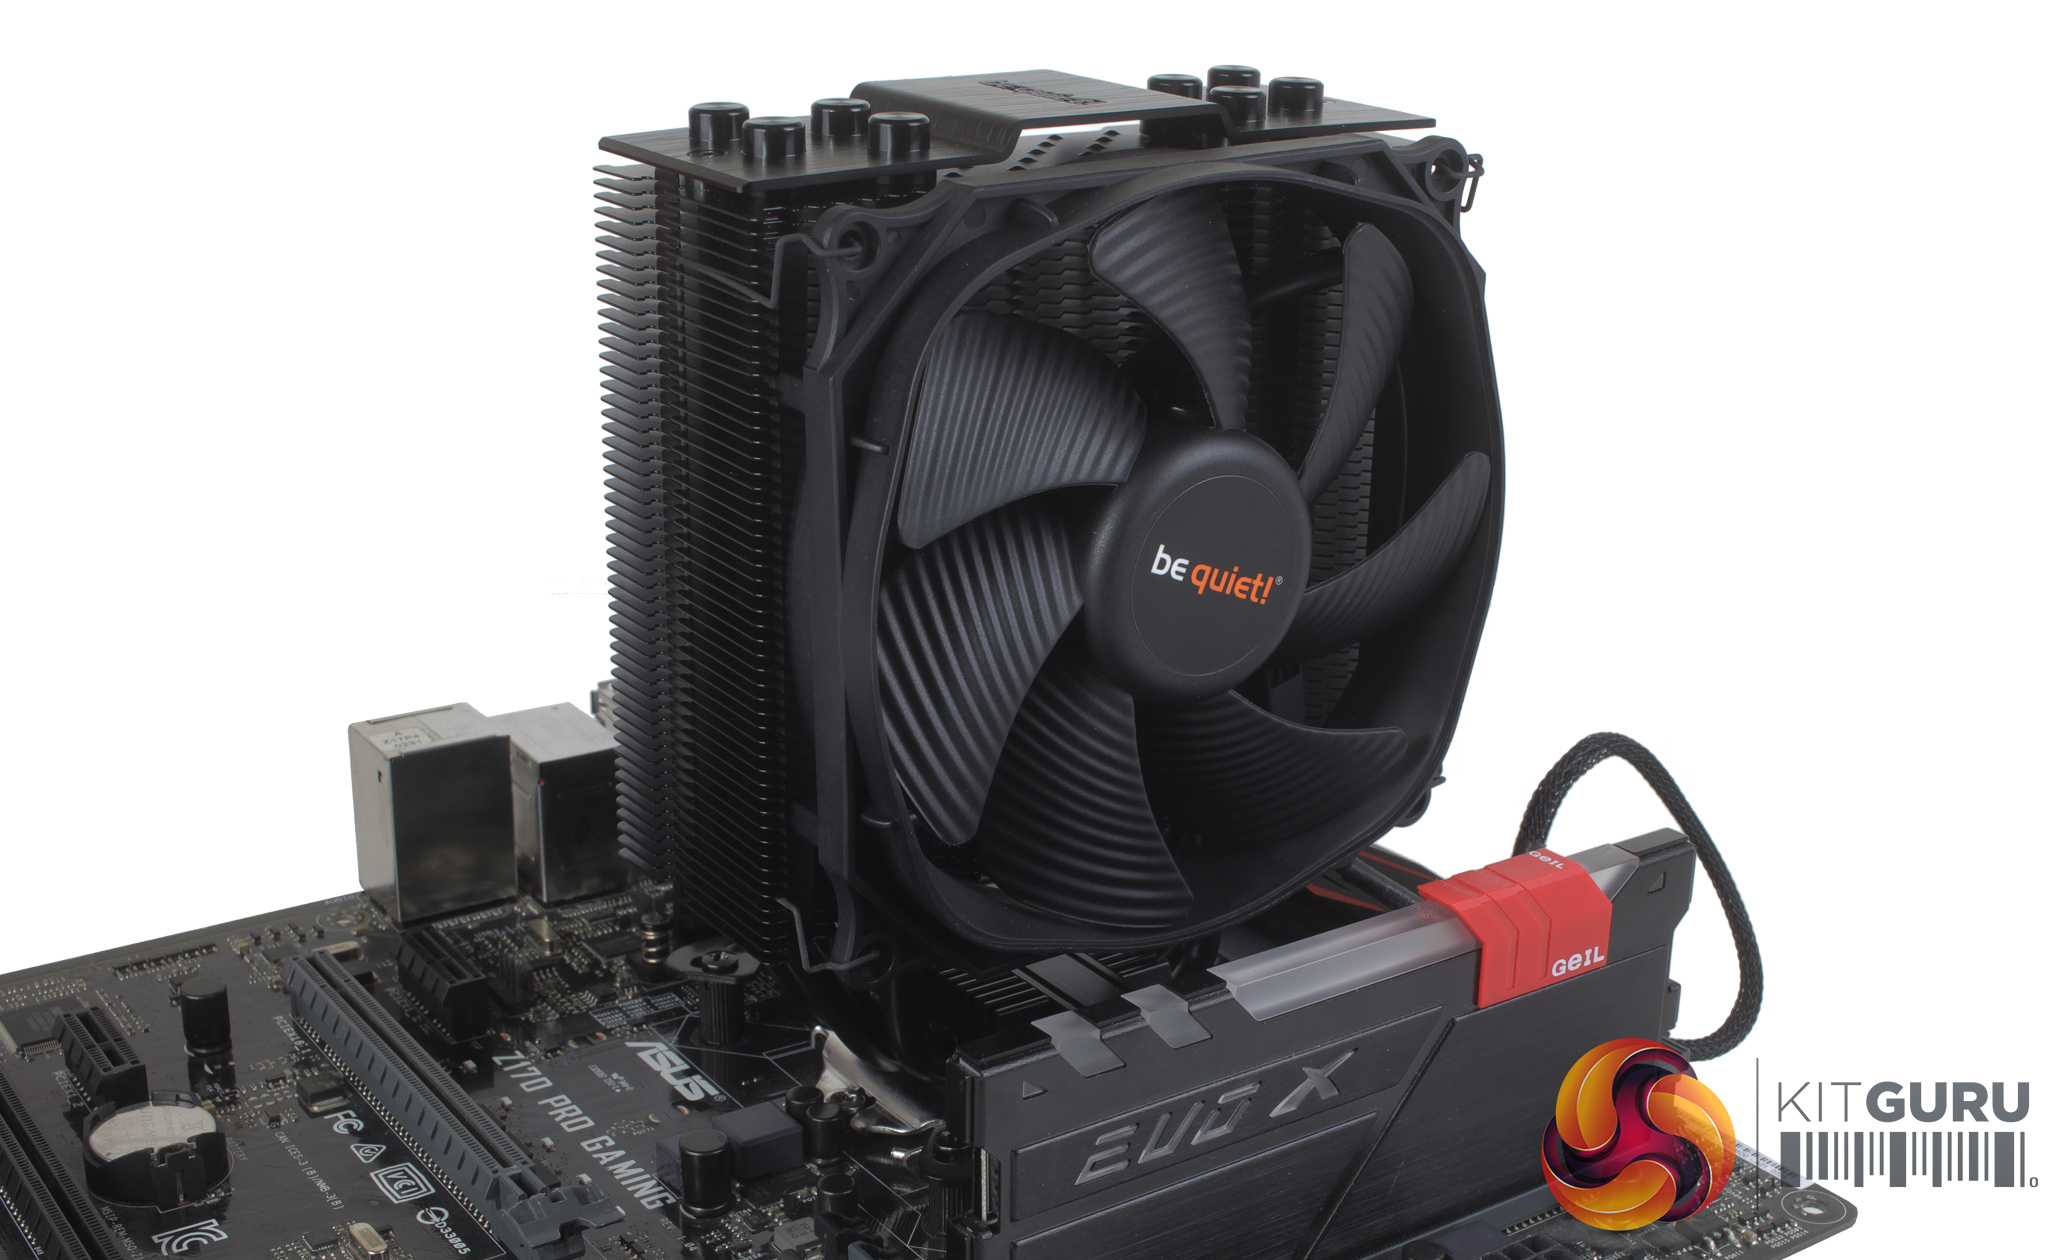
With the bracket fitted to your motherboard, the cooler itself can then be mounted starting with the cooler mounting bridge. This bridge needs to be passed through the bottom of the cooler and with this in place, you can apply your thermal compound, place the cooler atop your CPU and screw the cooler down using a further two screws.
With the cooler mounted, you can then attach the included Silent Wings 3 fan with two of the included wire clips, and plug the 4-pin PWM cable into your CPU fan header. The installation process does have a few stages to it and took roughly 10 minutes, though it is pretty straightforward and follows the same process as other be quiet! coolers I’ve tested recently like the Dark Rock Pro.
