The top panel is removed with three screws, giving access to the insides of the case. It slides back around an inch, and then can be lifted vertically upwards.

To minimise the impact on physical footprint, the interior of the case features various frame sections, which have to be individually removed. Even if you aren't fitting an optical drive for instance, you still need to remove the frame section to get access underneath.

There are two screws at the side, and two at the top, holding this section in place.


Once this section is removed, access to the two 120mm side fans and motherboard mounting area is easy enough. The cable from the front panel is feed through several holes in the chassis into this area, as seen above.


The 3.5 inch docking bay is very intelligent and while we have removed it entirely to show you how it works, it never needs to be taken out of the case. Hard drives can be fed in from the front panel of the case then locked into place.


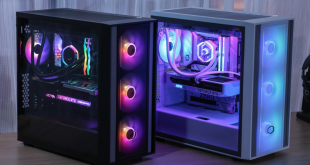
When all the sections are removed, we can admire the ‘naked' GD06. It isn't painted black inside, but this is the kind of system you will build once anyway.


We fitted an OCZ 450W power supply into the case as shown above. There is nothing complex about the install procedure, just a simple set of four locking screws, from the rear.

For the review today we settled on using an AMD A8-3870K processor with Asus F1A75-M Pro motherboard, paired up with some ADATA performance memory.


Fitting the motherboard is also very straightforward and all the holes were perfectly aligned. The images above show the hard drive bay completely removed above the power supply.

Next we installed a 120GB Pyro Solid State Drive. There are several positions for 2.5 inch drives but we used the underside of the main drive bay section (shown earlier), keeping the SSD safely out of view when refitted.

We refitted the drive bay section and connected all the headers. We would advise you test that the system will boot at this stage, before attaching the other sections and resealing the GD06 chassis.

Next we refit the optical drive tray as shown above. If the system successfully has posted then you can tidy the cable routing and close the case completely.