 KitGuru KitGuru.net – Tech News | Hardware News | Hardware Reviews | IOS | Mobile | Gaming | Graphics Cards


Our test system uses an AMD AM5 platform, so here we run you through the installation on AM5.
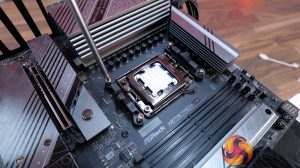
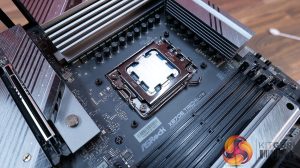
First, remove the stock motherboard plastic upper AM5 mounting brackets and install the included Arctic AM4/AM5 upper mounting brackets and fix them in place using the supplied screws.
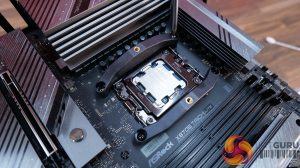
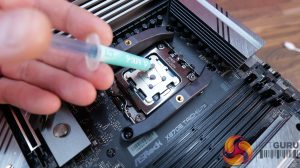
Then apply some thermal compound to the CPU IHS. For CPU cooler reviews, we use Arctic MX-6 on all coolers to ensure continuity. I like to use the five-dot application method for even coverage.
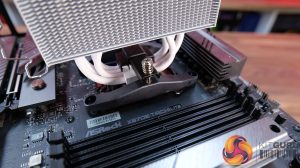
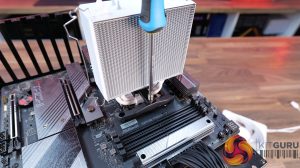
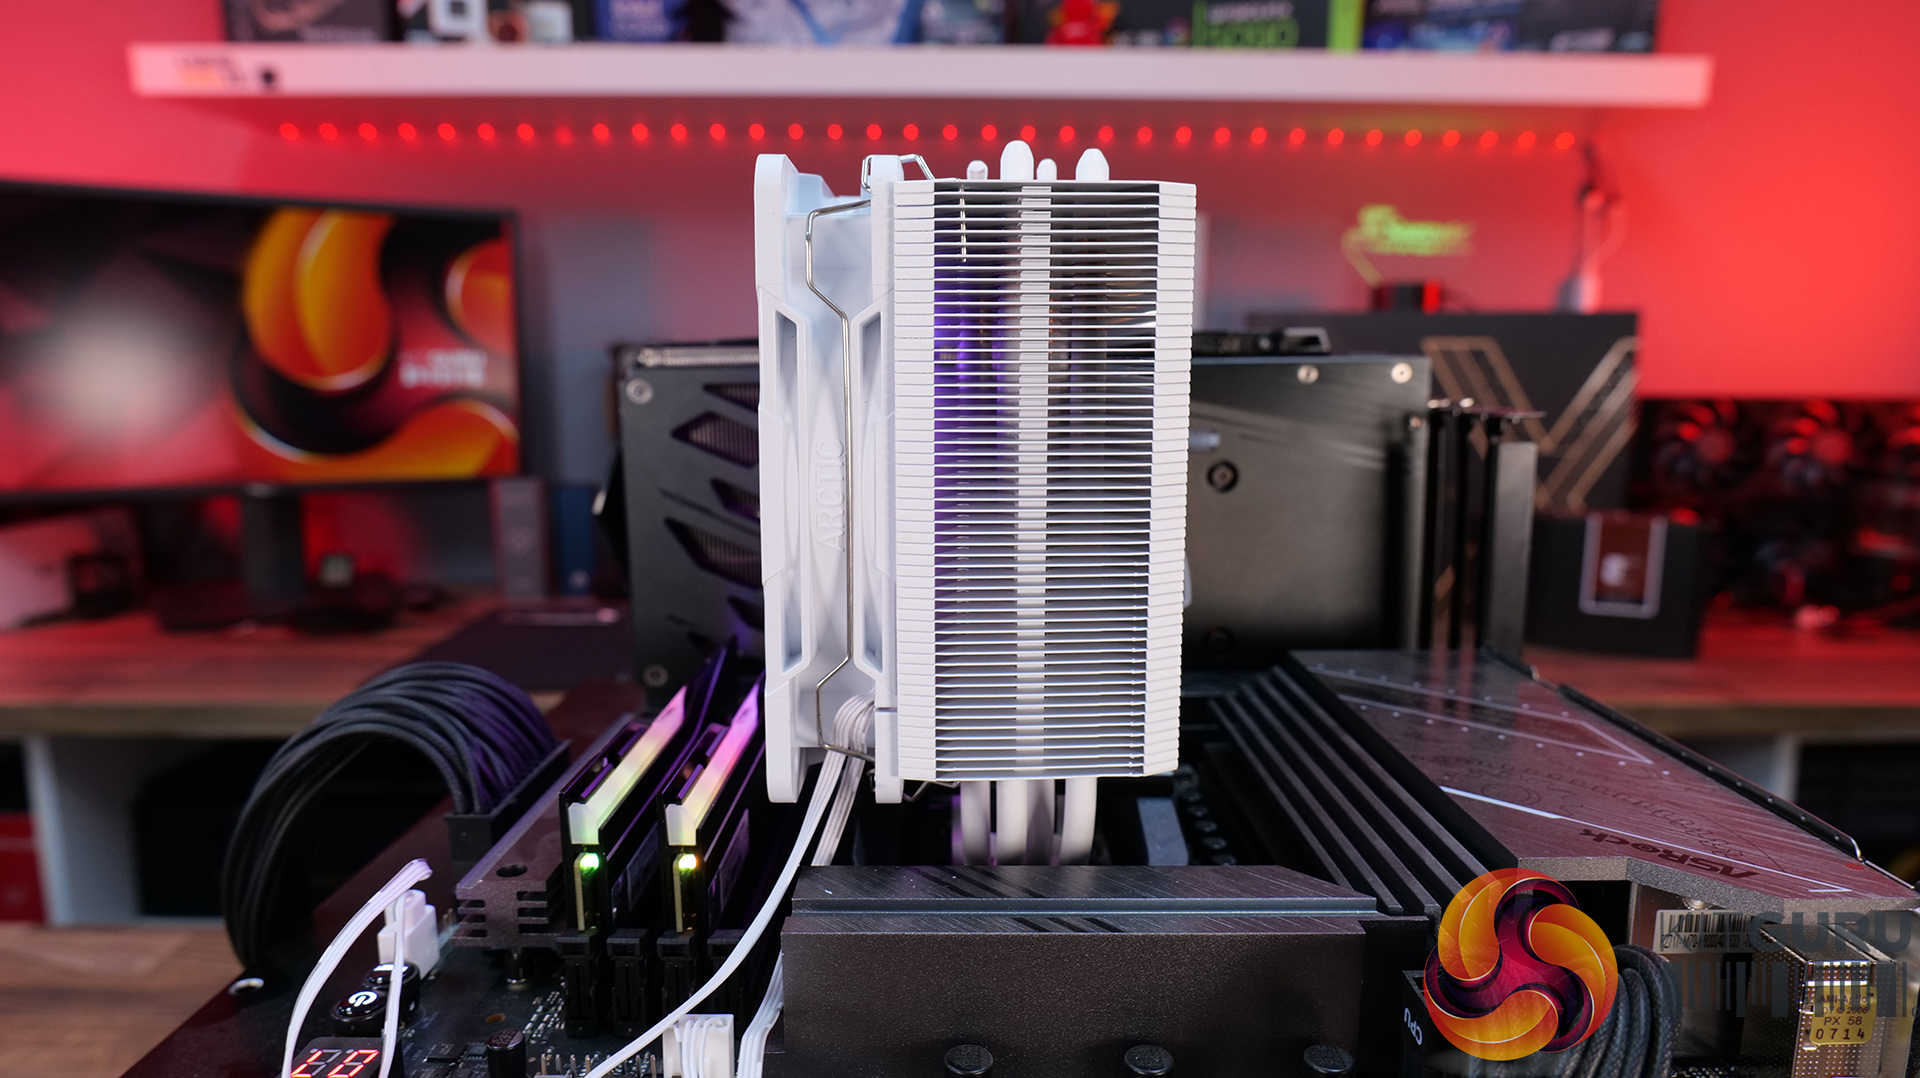
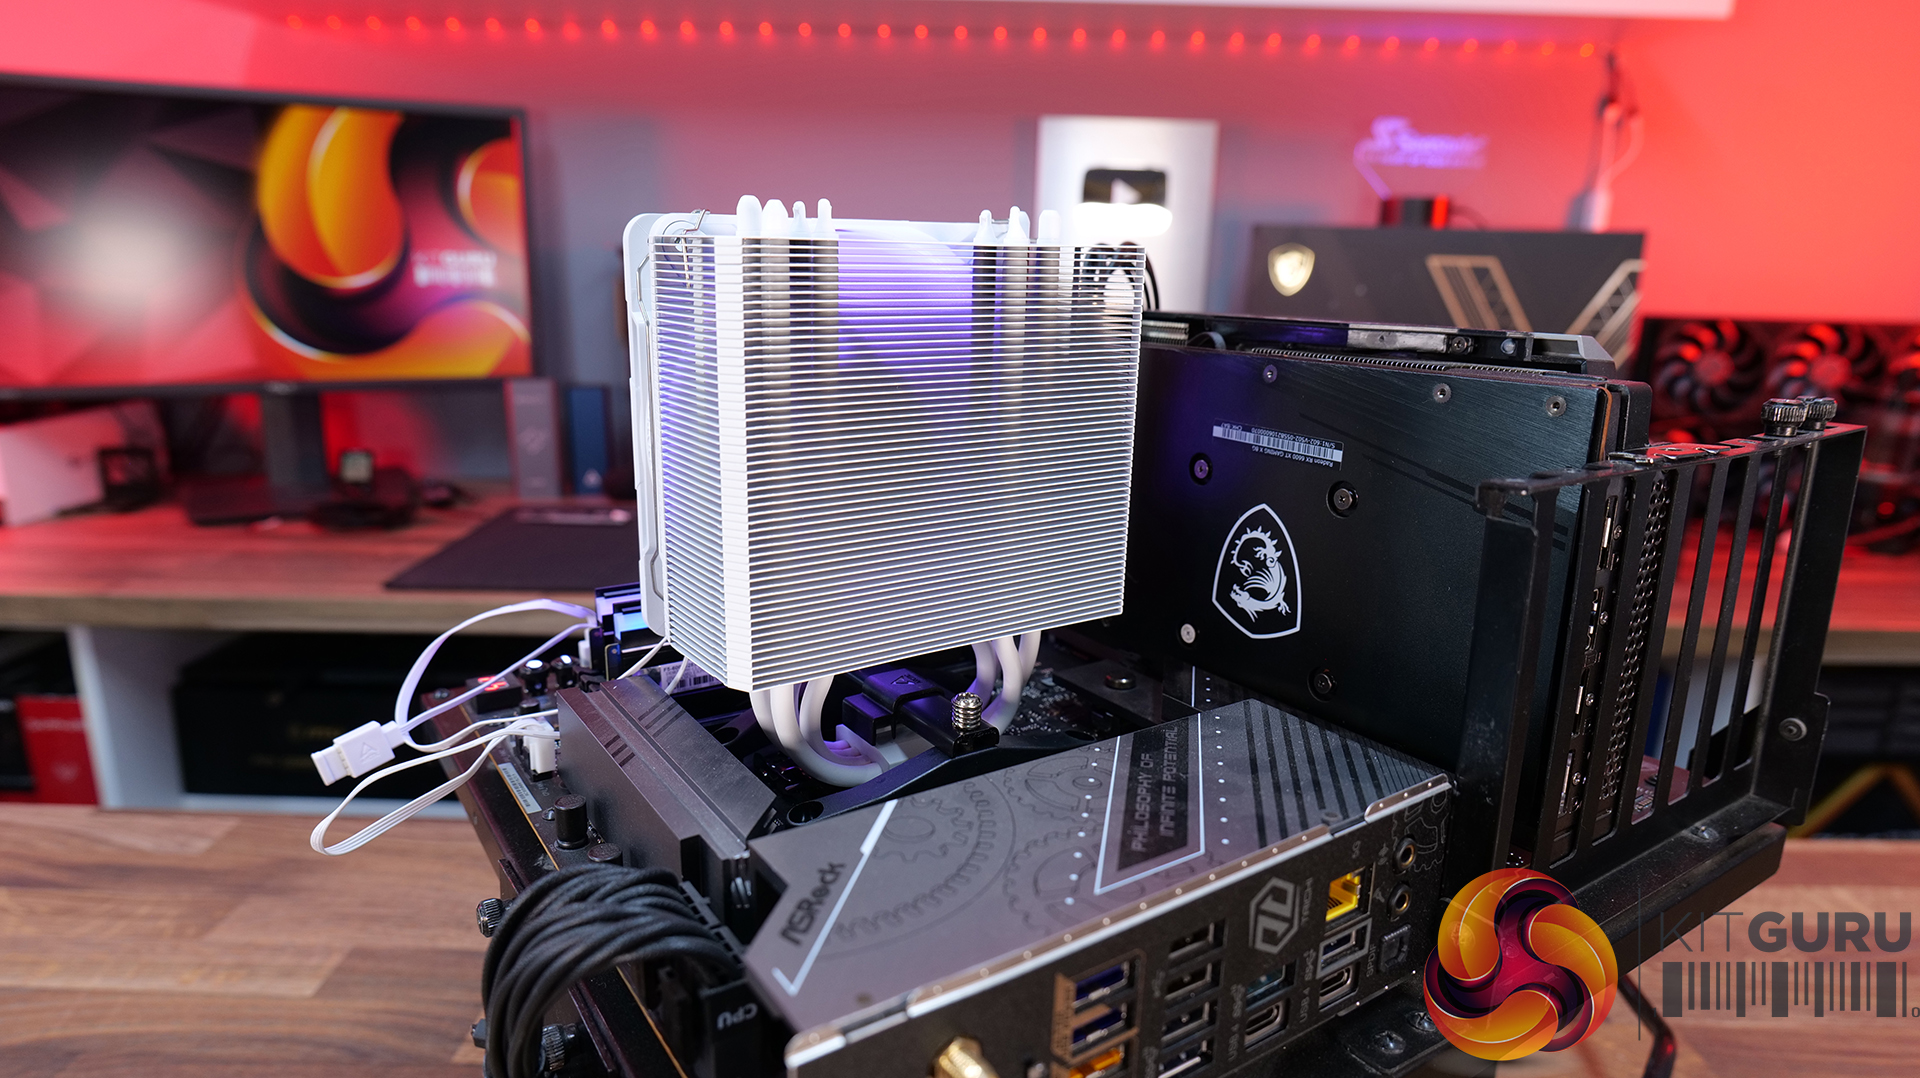
Now lower the Freezer 36-S in position over the CPU and align the spring-loaded mounting screws with the threaded inserts on the upper mounting brackets, then tighten the cooler in place using the two spring-loaded screws, tightening each screw a little at a time for optimal contact.
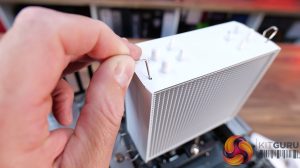
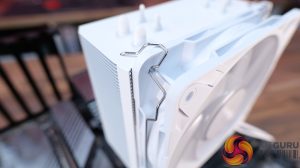
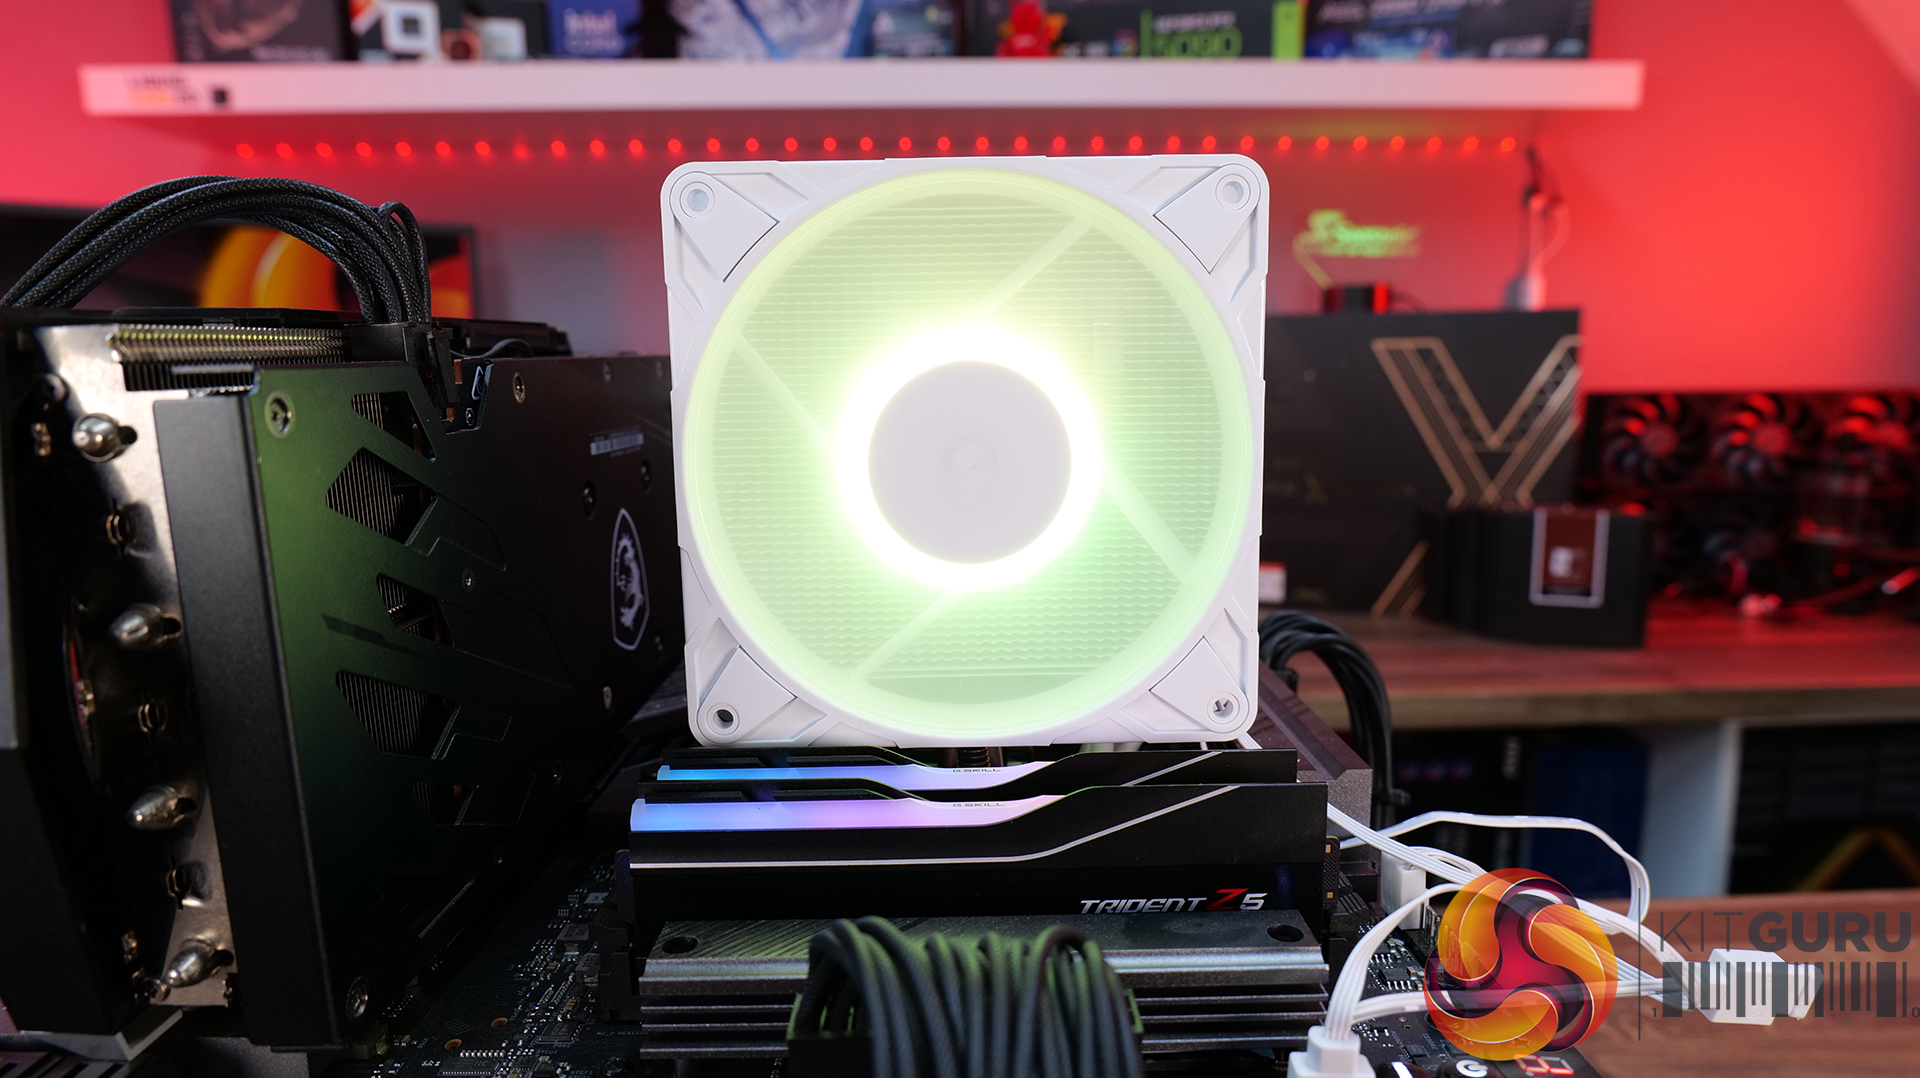
Next, to install the fan to the cooler, insert the fan retaining springs into the small holes in the top and bottom heat sink fin, place the fan in position on the front of the heat sink and rotate the clip towards the fan until the spring clip seats into the fan mount holes.
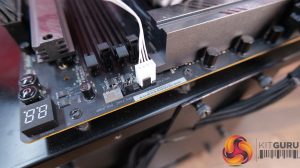
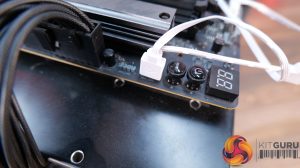
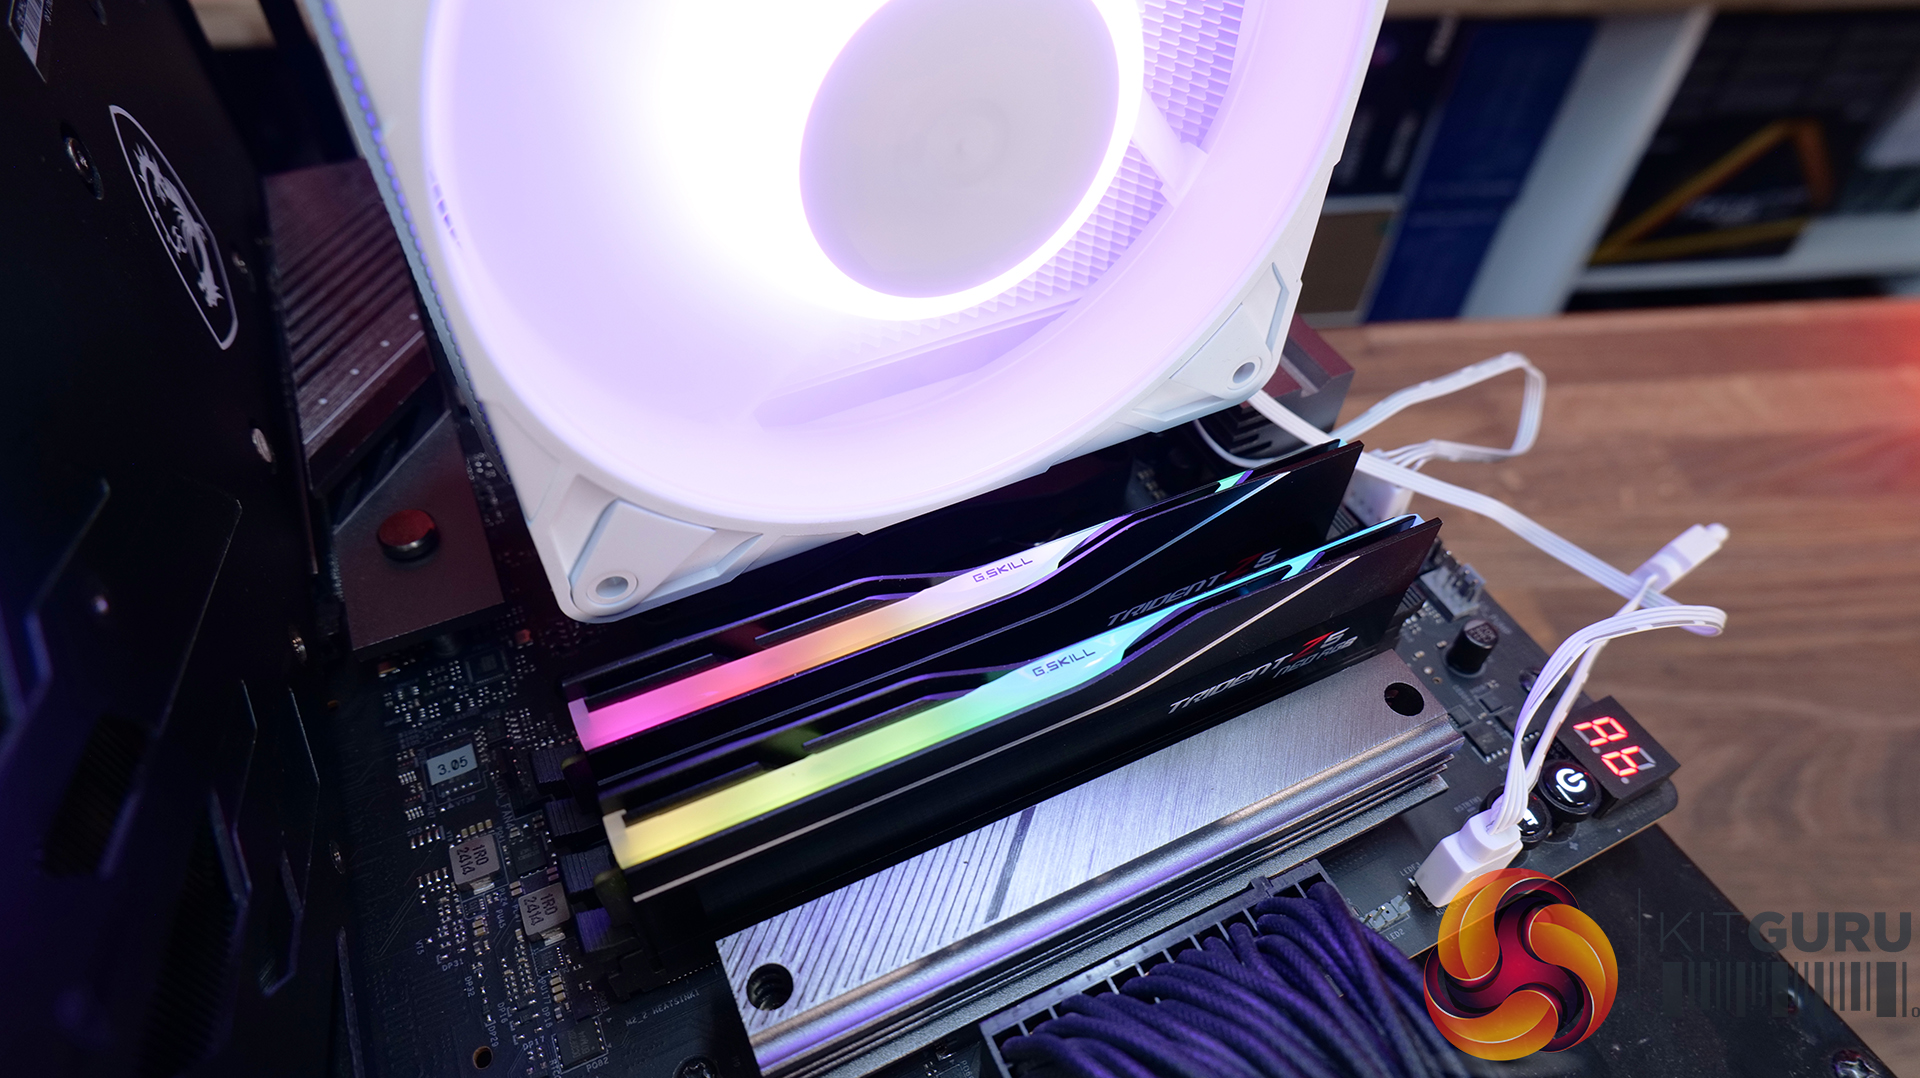
Now connect up the fan wiring by plugging the 4-pin PWM speed control cable into a motherboard PWM header (usually labelled CPU-FAN) and connect the fan lighting cable to a 3-pin 5V ARGB header either directly on the motherboard or to an RGB control hub.