

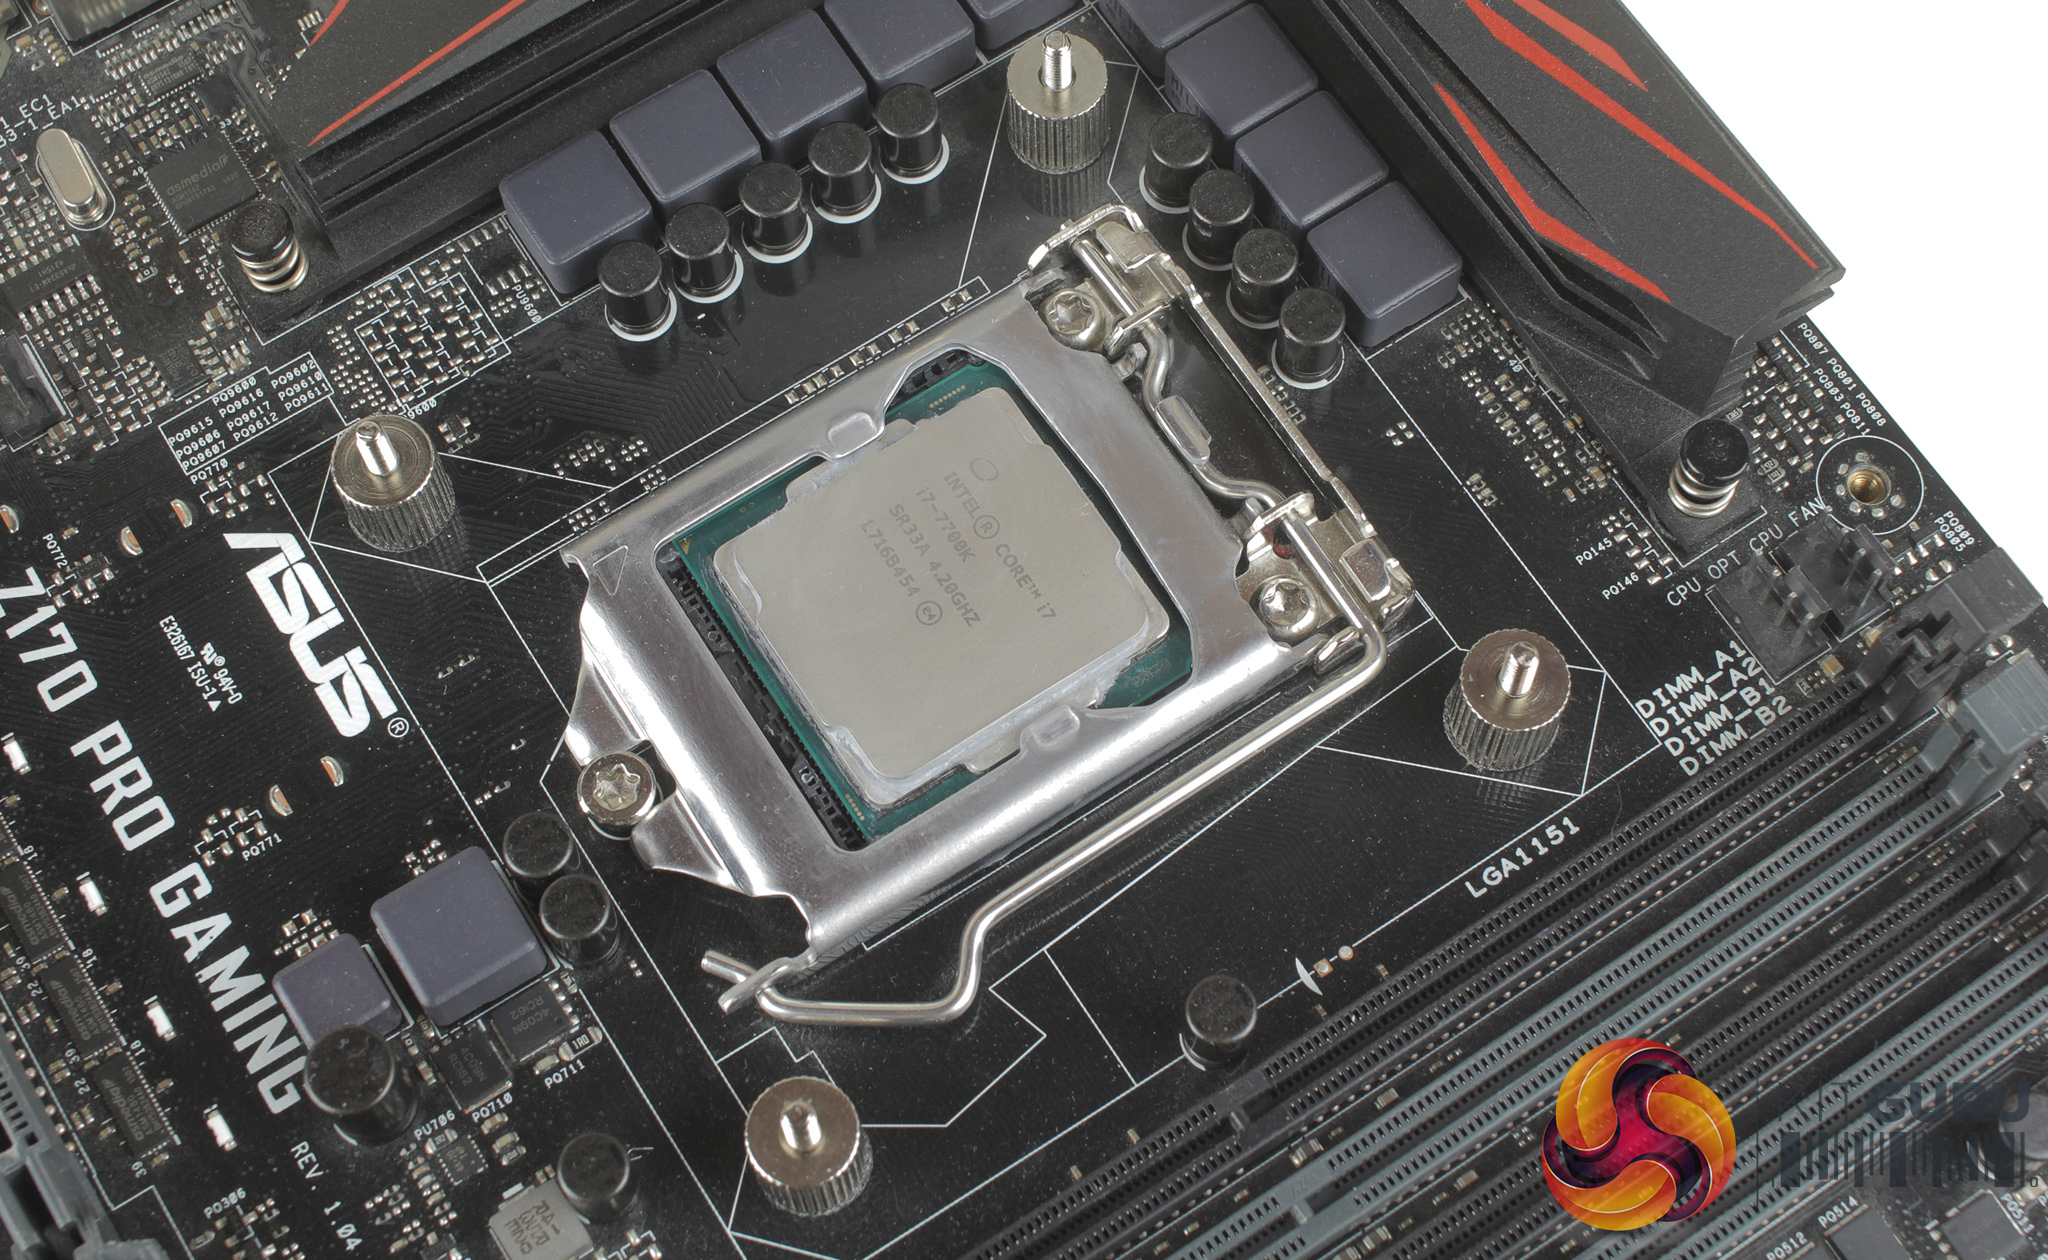
As we now test using a Z170 motherboard socket LGA1151, the installation process below reflects this.
Installation does require a few stages but is overall a relatively simple process.
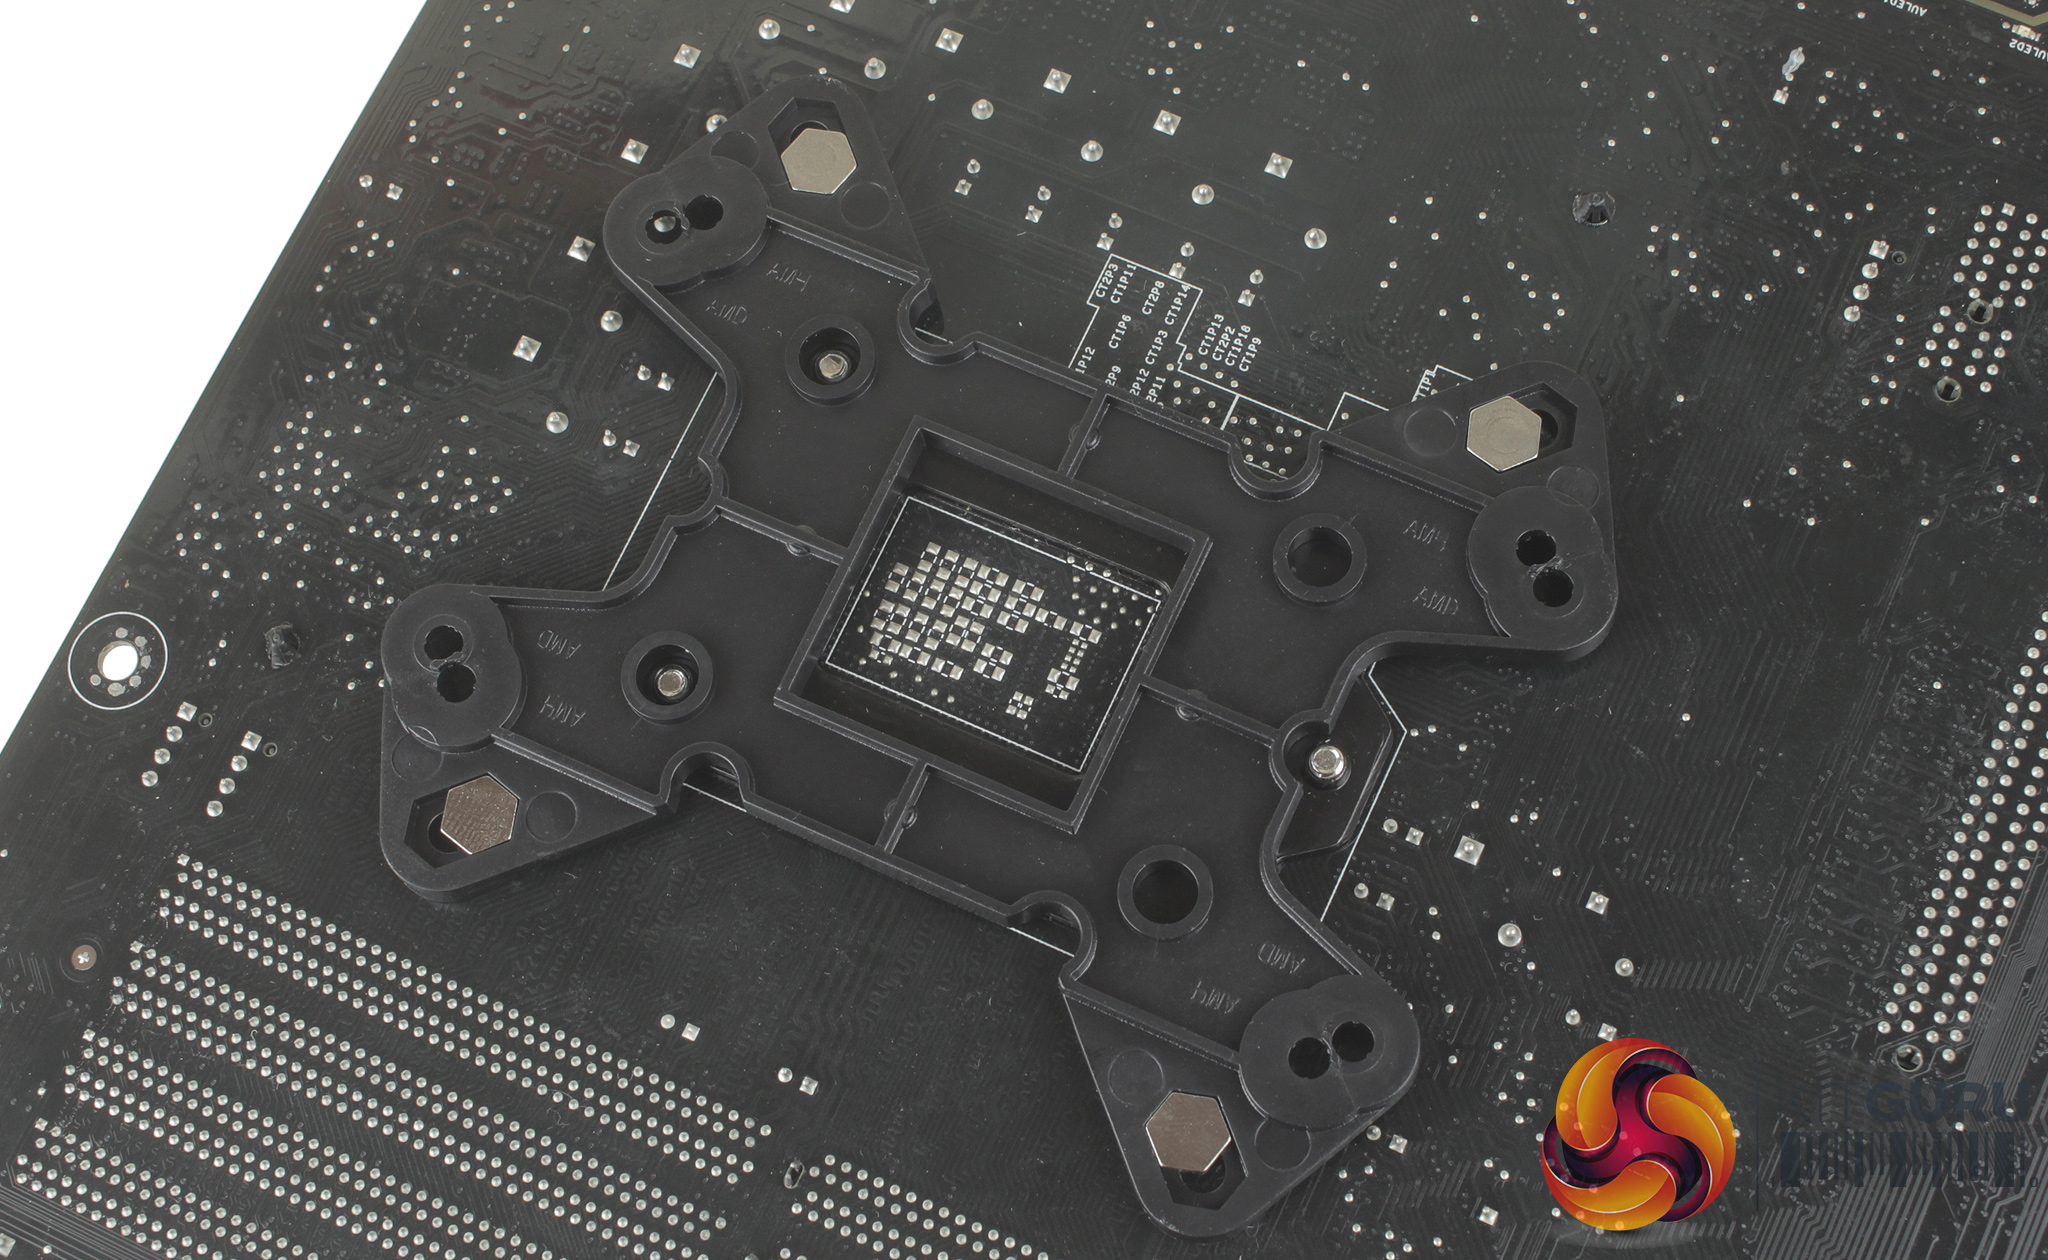
Starting with the backplate, you simply pass the long hex screws through the backplate's designated spaces and firmly push them into place. With the backplate prepared, you can slot it into the rear of your motherboard, and using the four screw down spacers, firmly fix it in place.
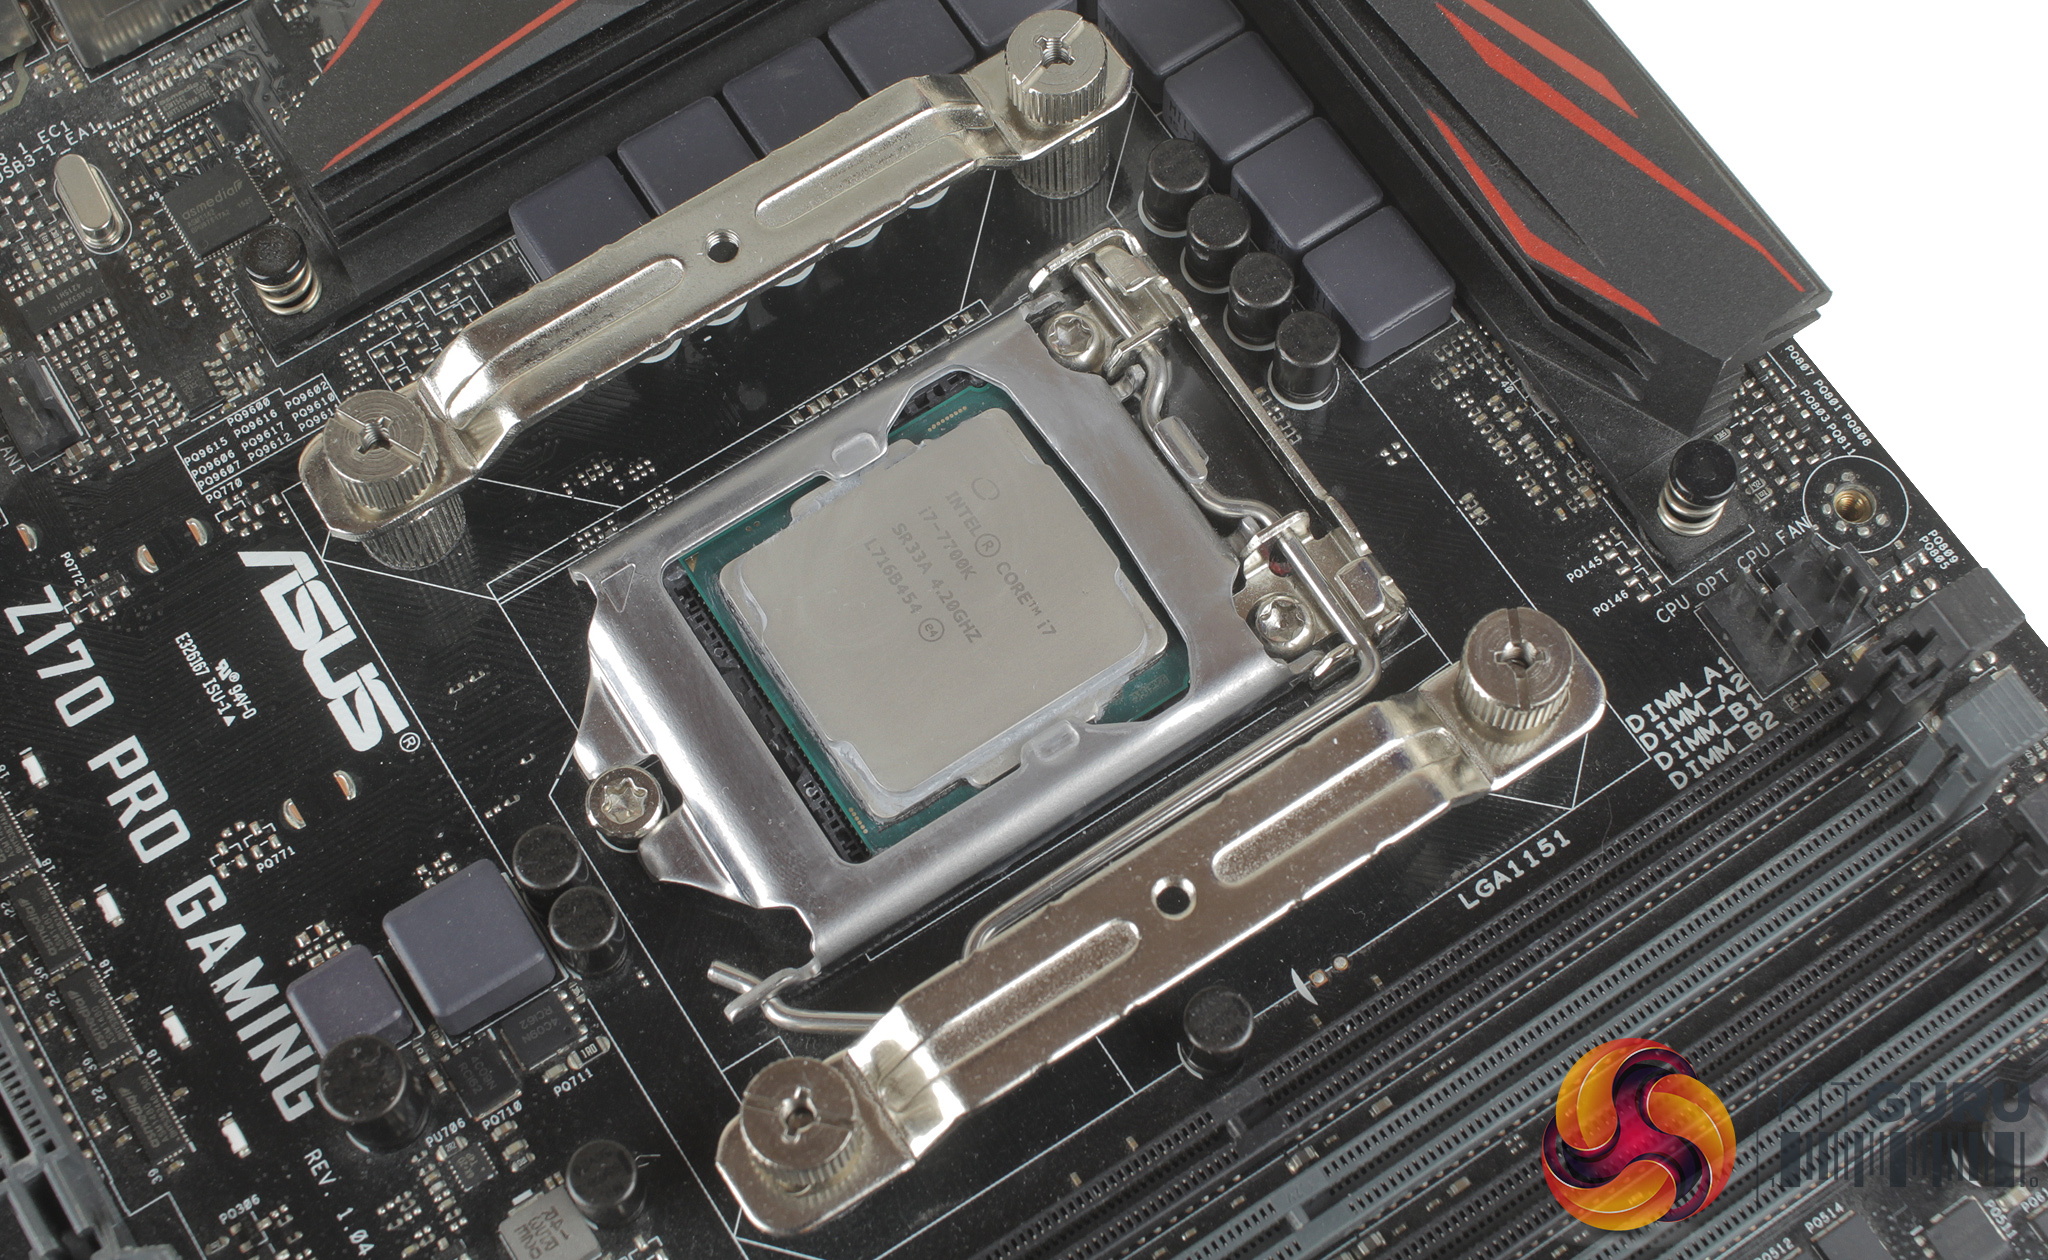
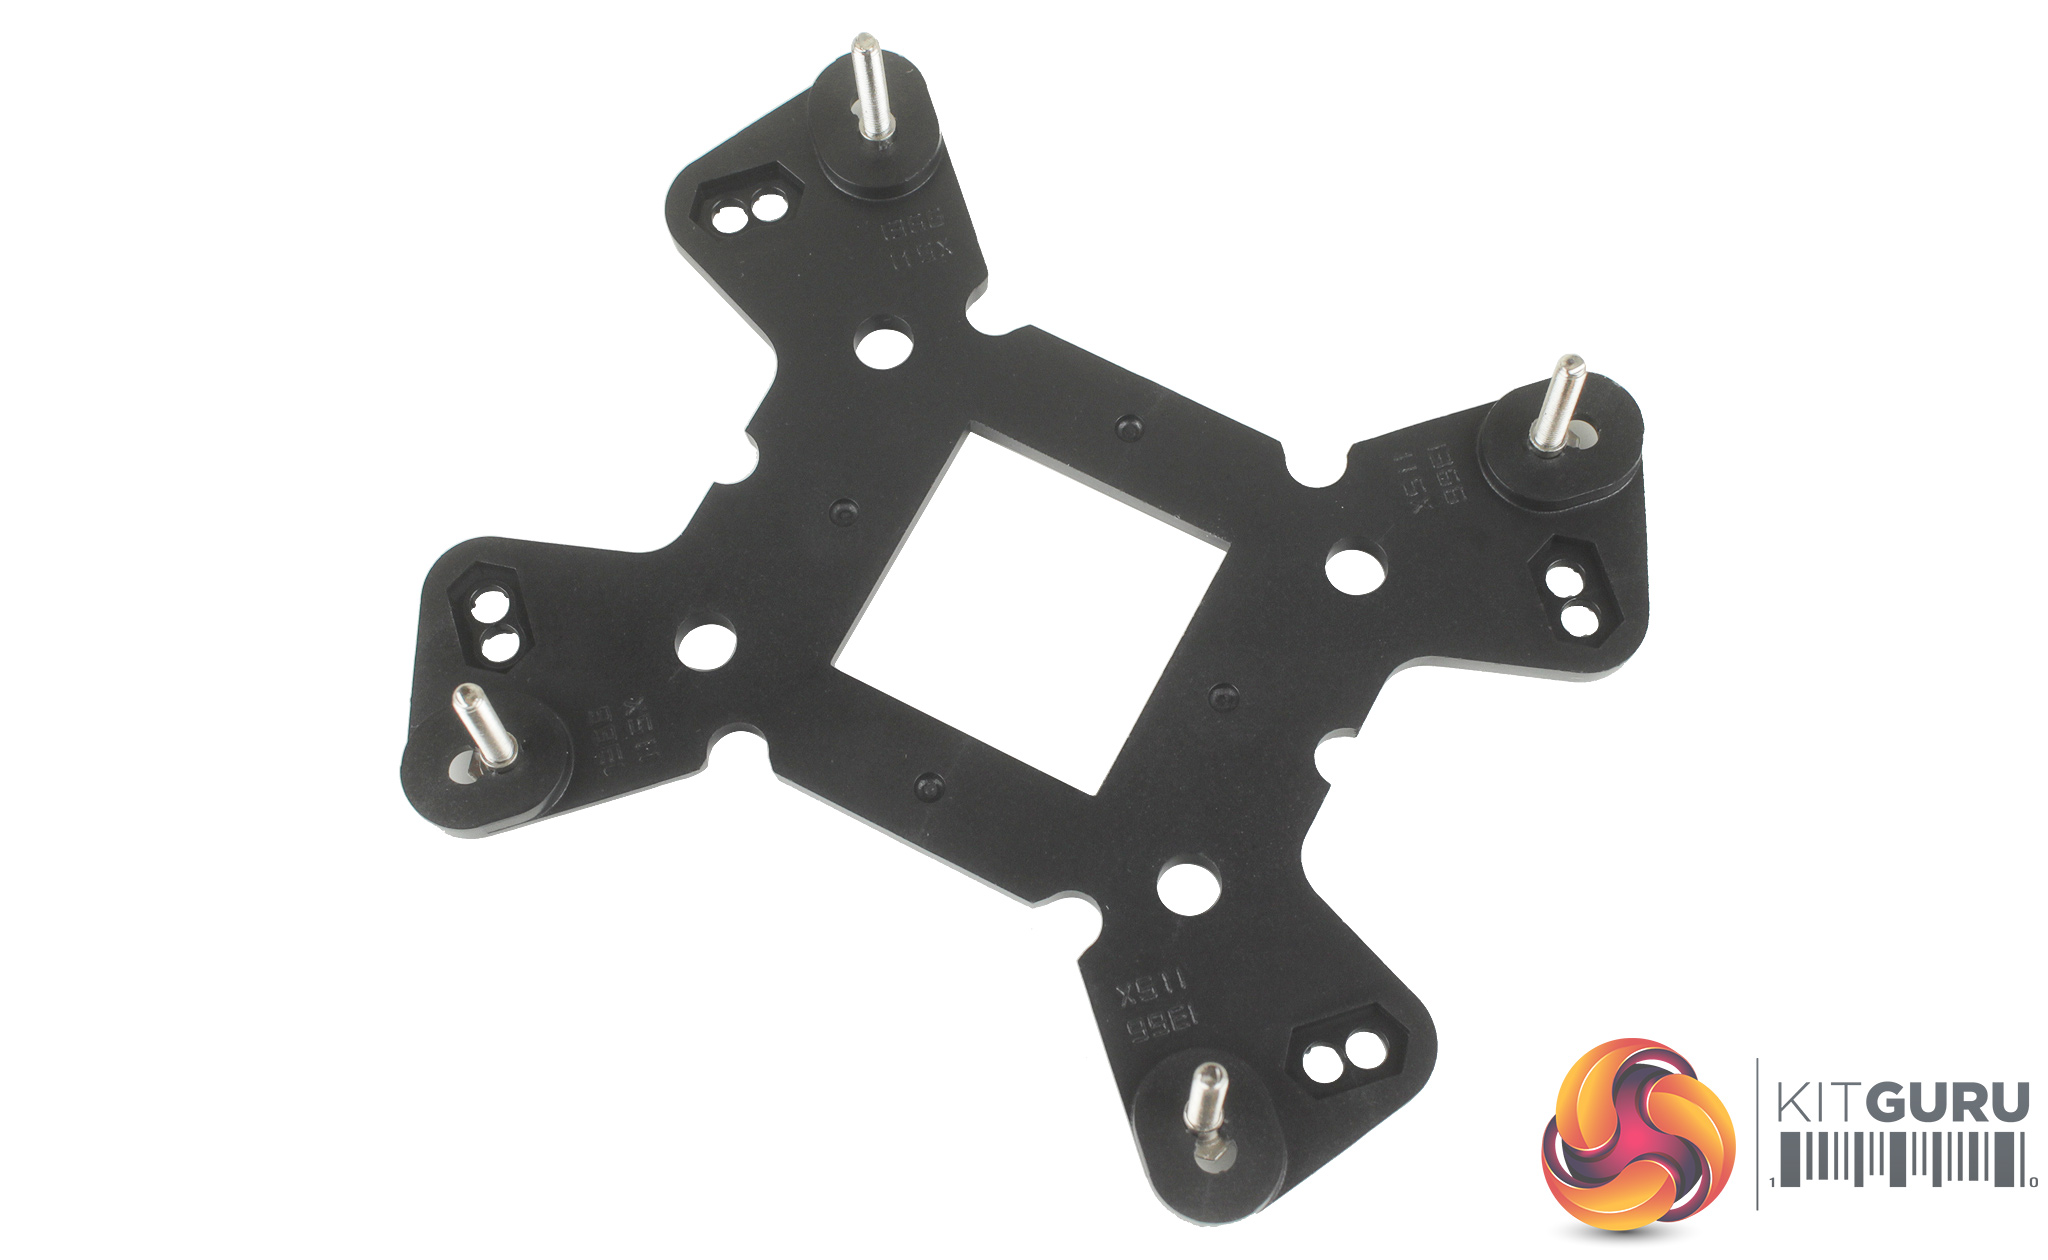
With the backplate in place, you can install the Intel or AMD specific mounting brackets. Once these are in place, four smaller thumbscrews can be installed to hold these brackets in place. It is worth noting at this stage that the orientation of these brackets will dictate which way the CPU block will be installed.
You can then apply your thermal paste, of which a small tube is included, and firmly secure the CPU block with the pre-installed sprung retention screws.
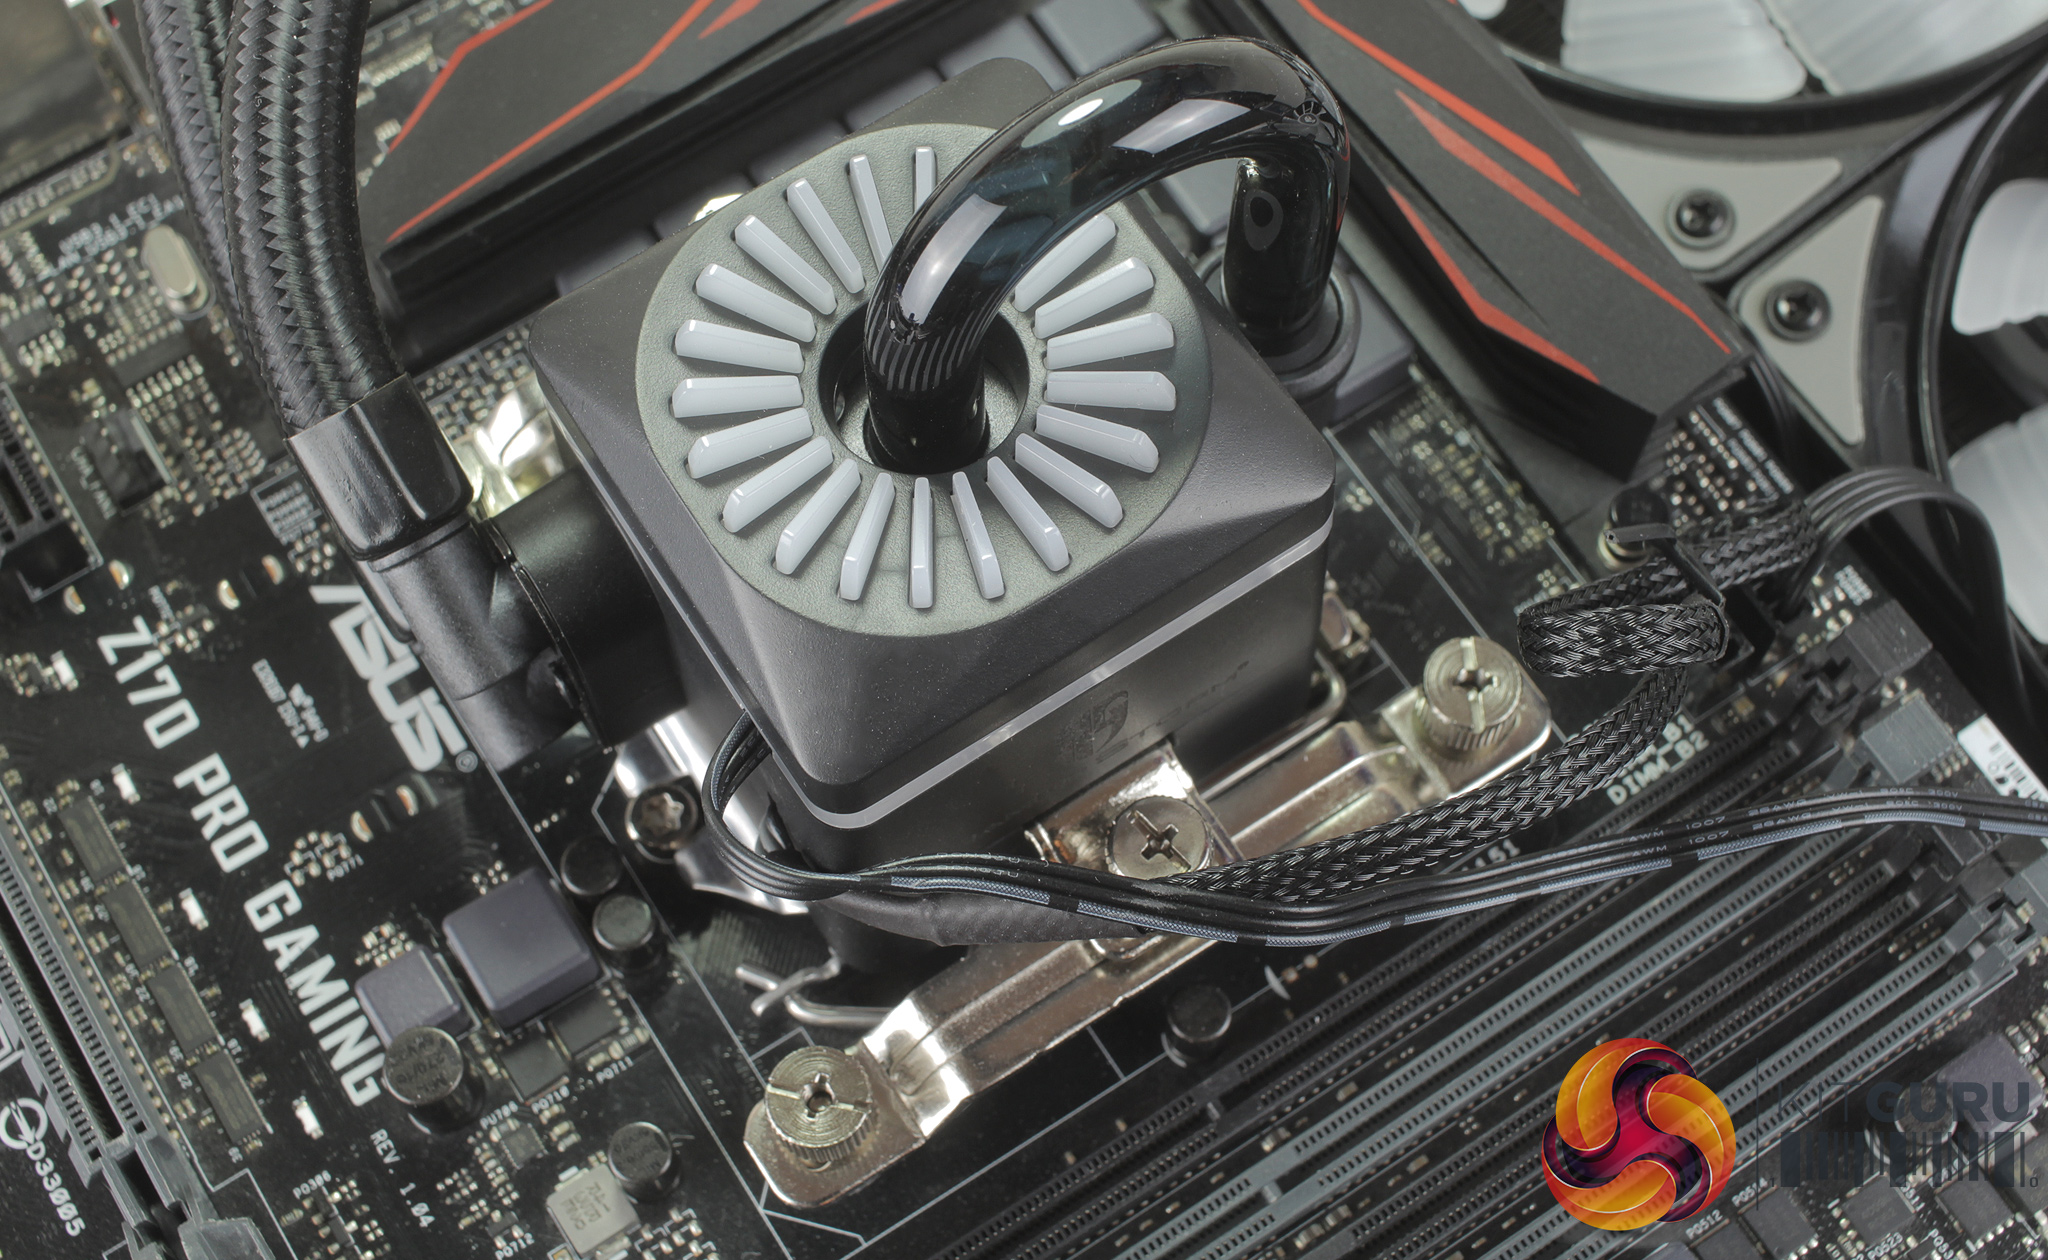
Taking a quick look at the lighting, you have access to a number of different effects such as static, pulsing, spiralling, and a series of dual-colour spiral effects that are made up of complementing colours. Lighting on the CPU block is split into two zones, both the top blades on the block and a second LED ring running around the sides of the block.
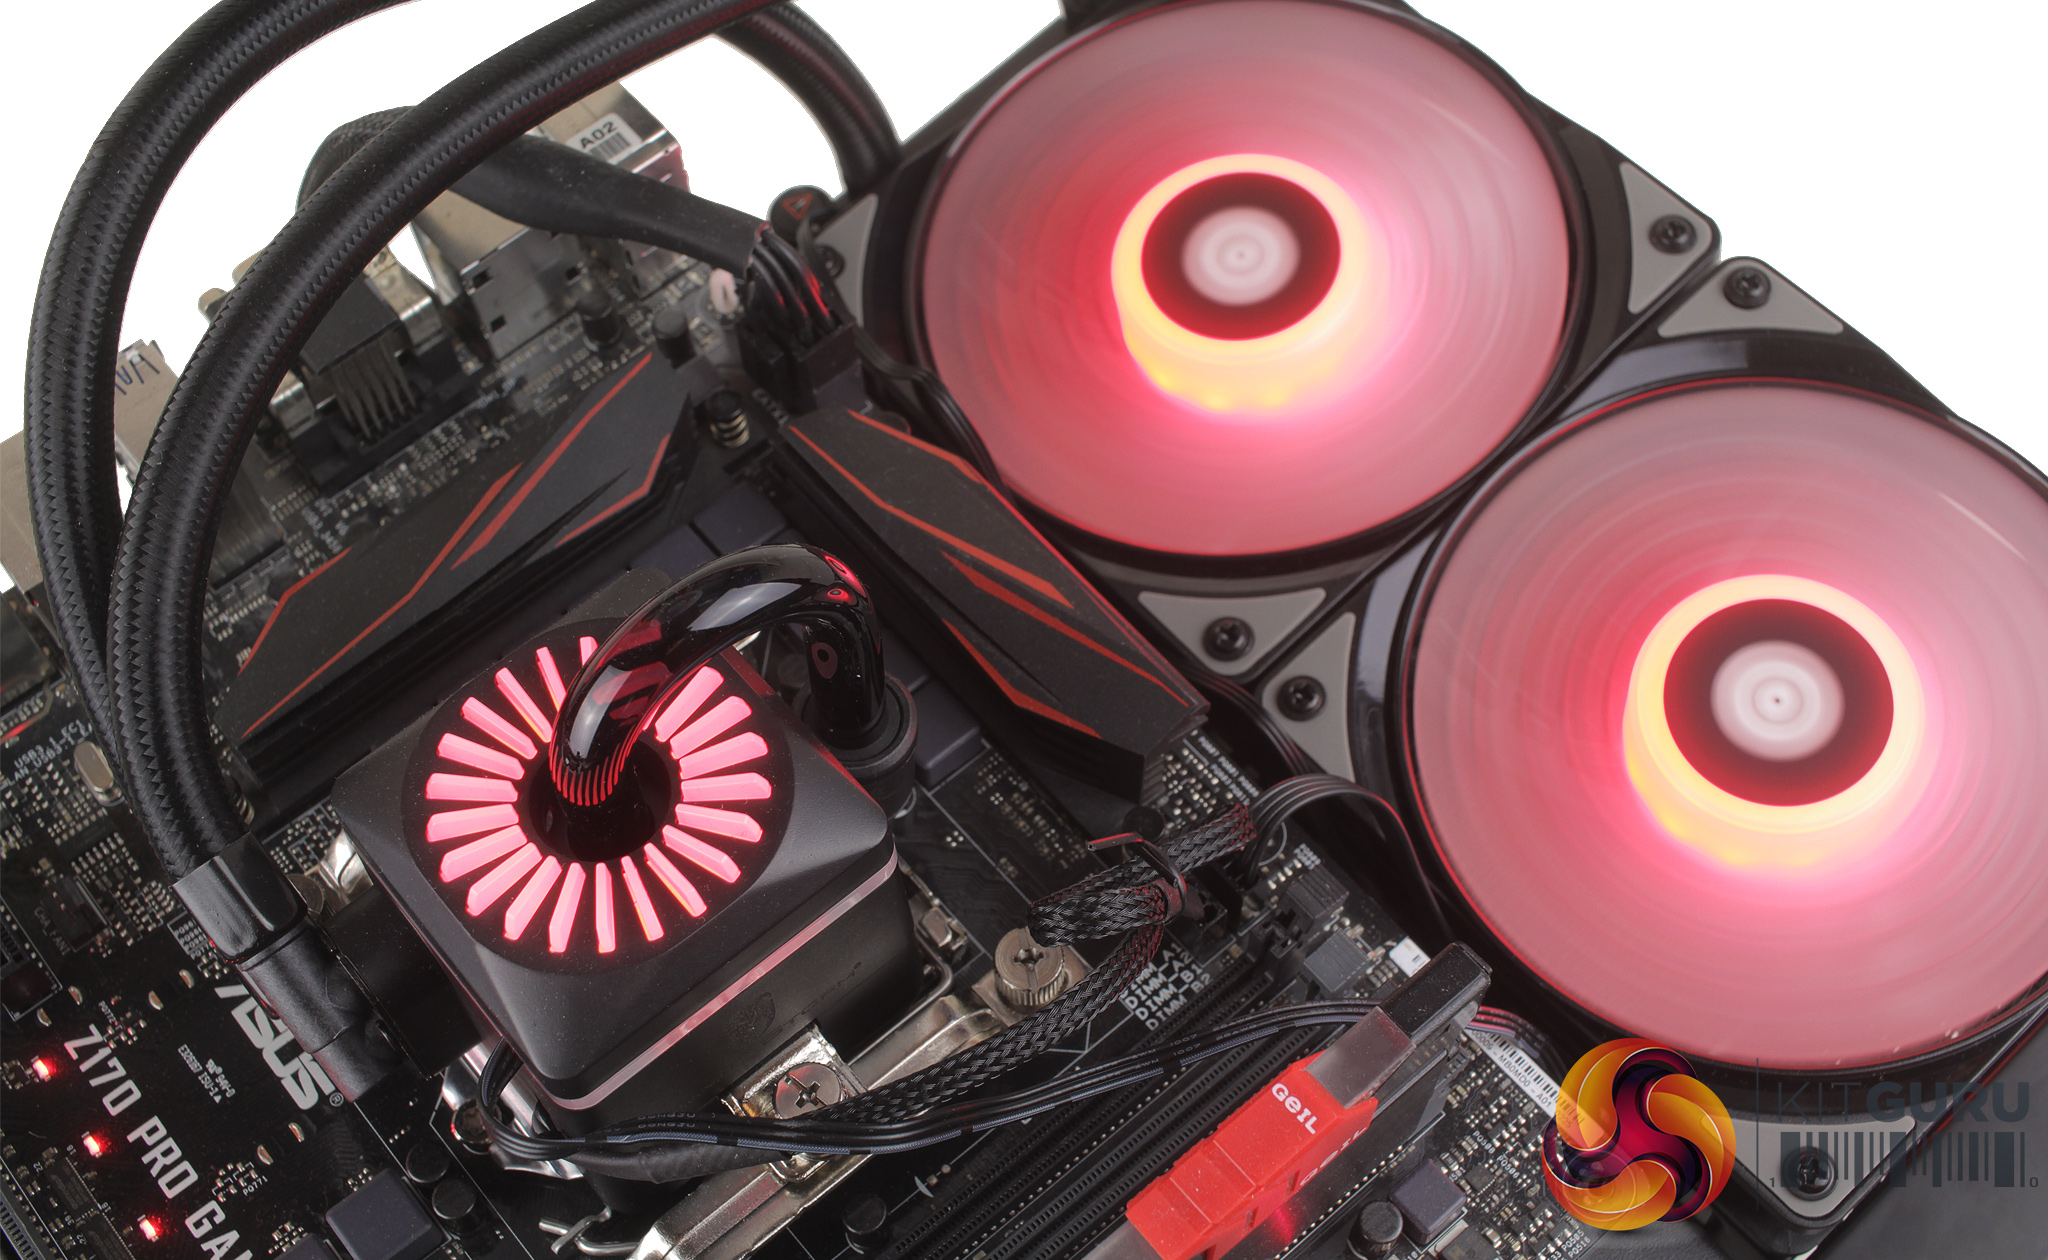
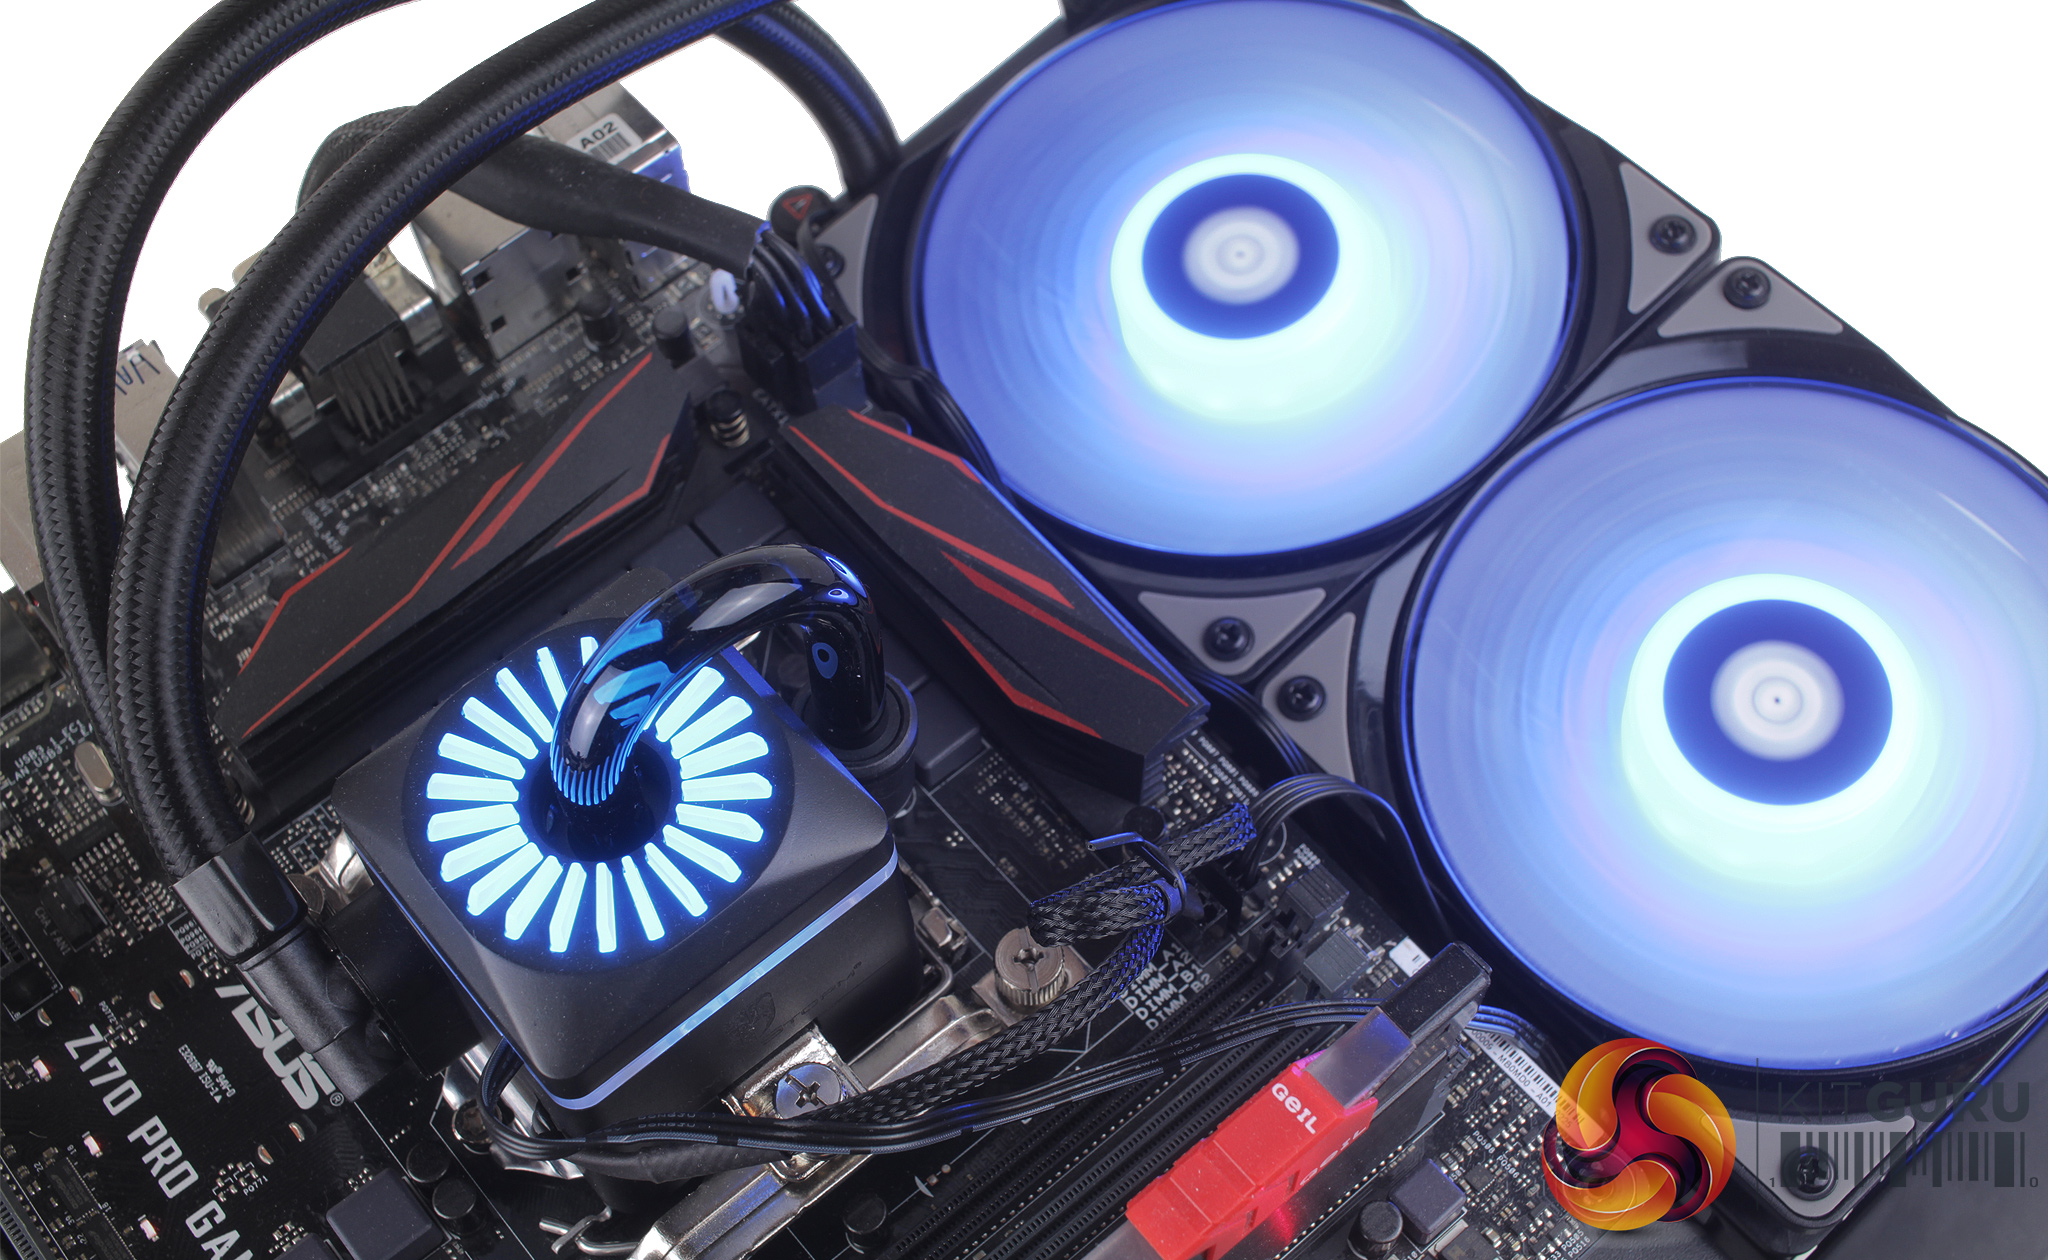
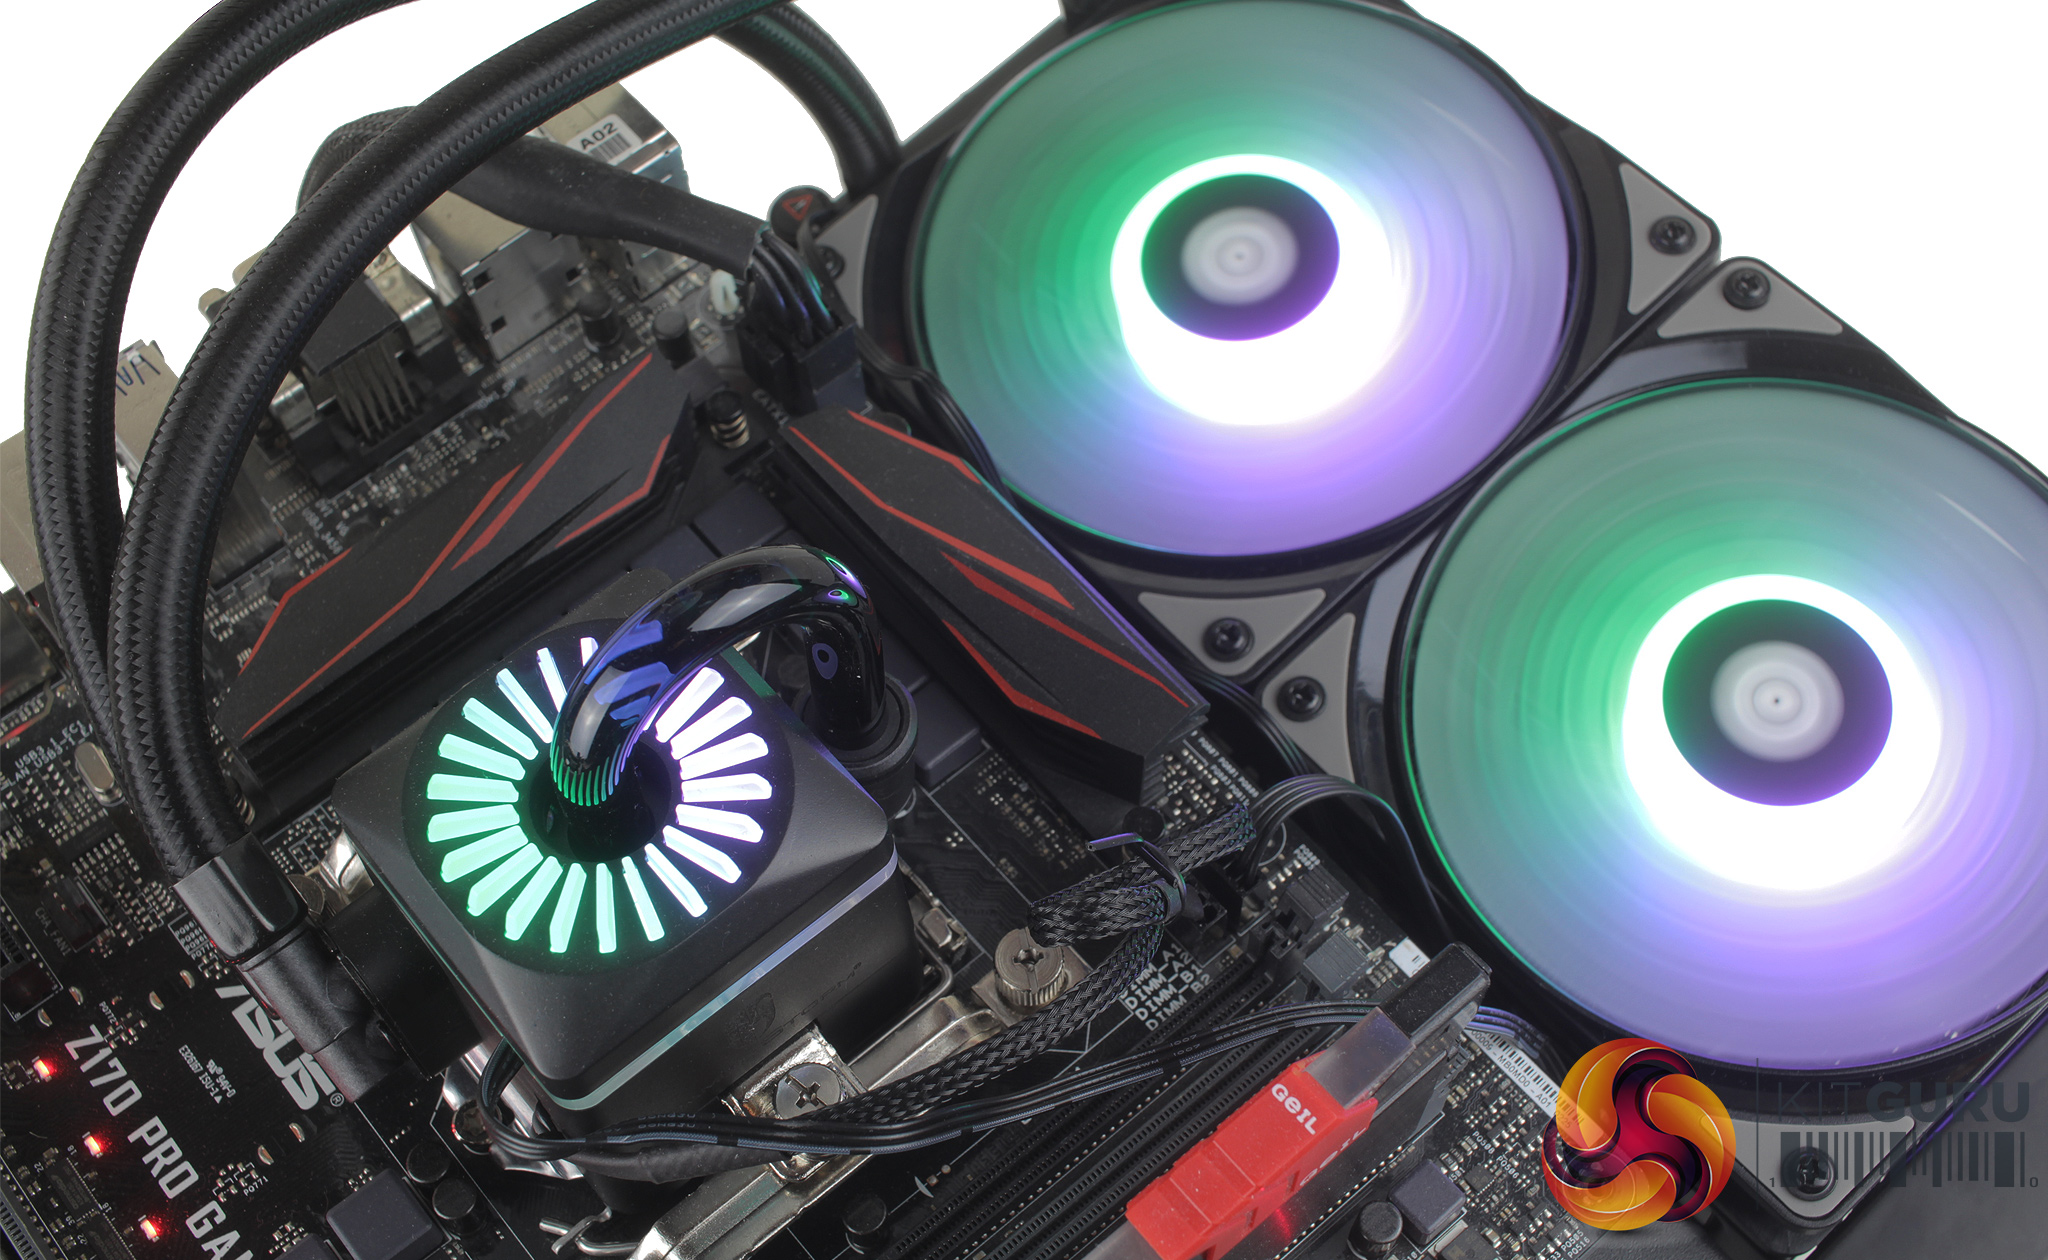

The full RGB rainbow mode transitions from colour to colour smoothly thanks to the addressable nature of the installed RGB LEDs, and you can adjust the speed of these transitions using the controller.
The controller itself is simple enough to use – you cycle forward and backward through the available effects, using the top and bottom buttons, with the centre button controlling speed.
