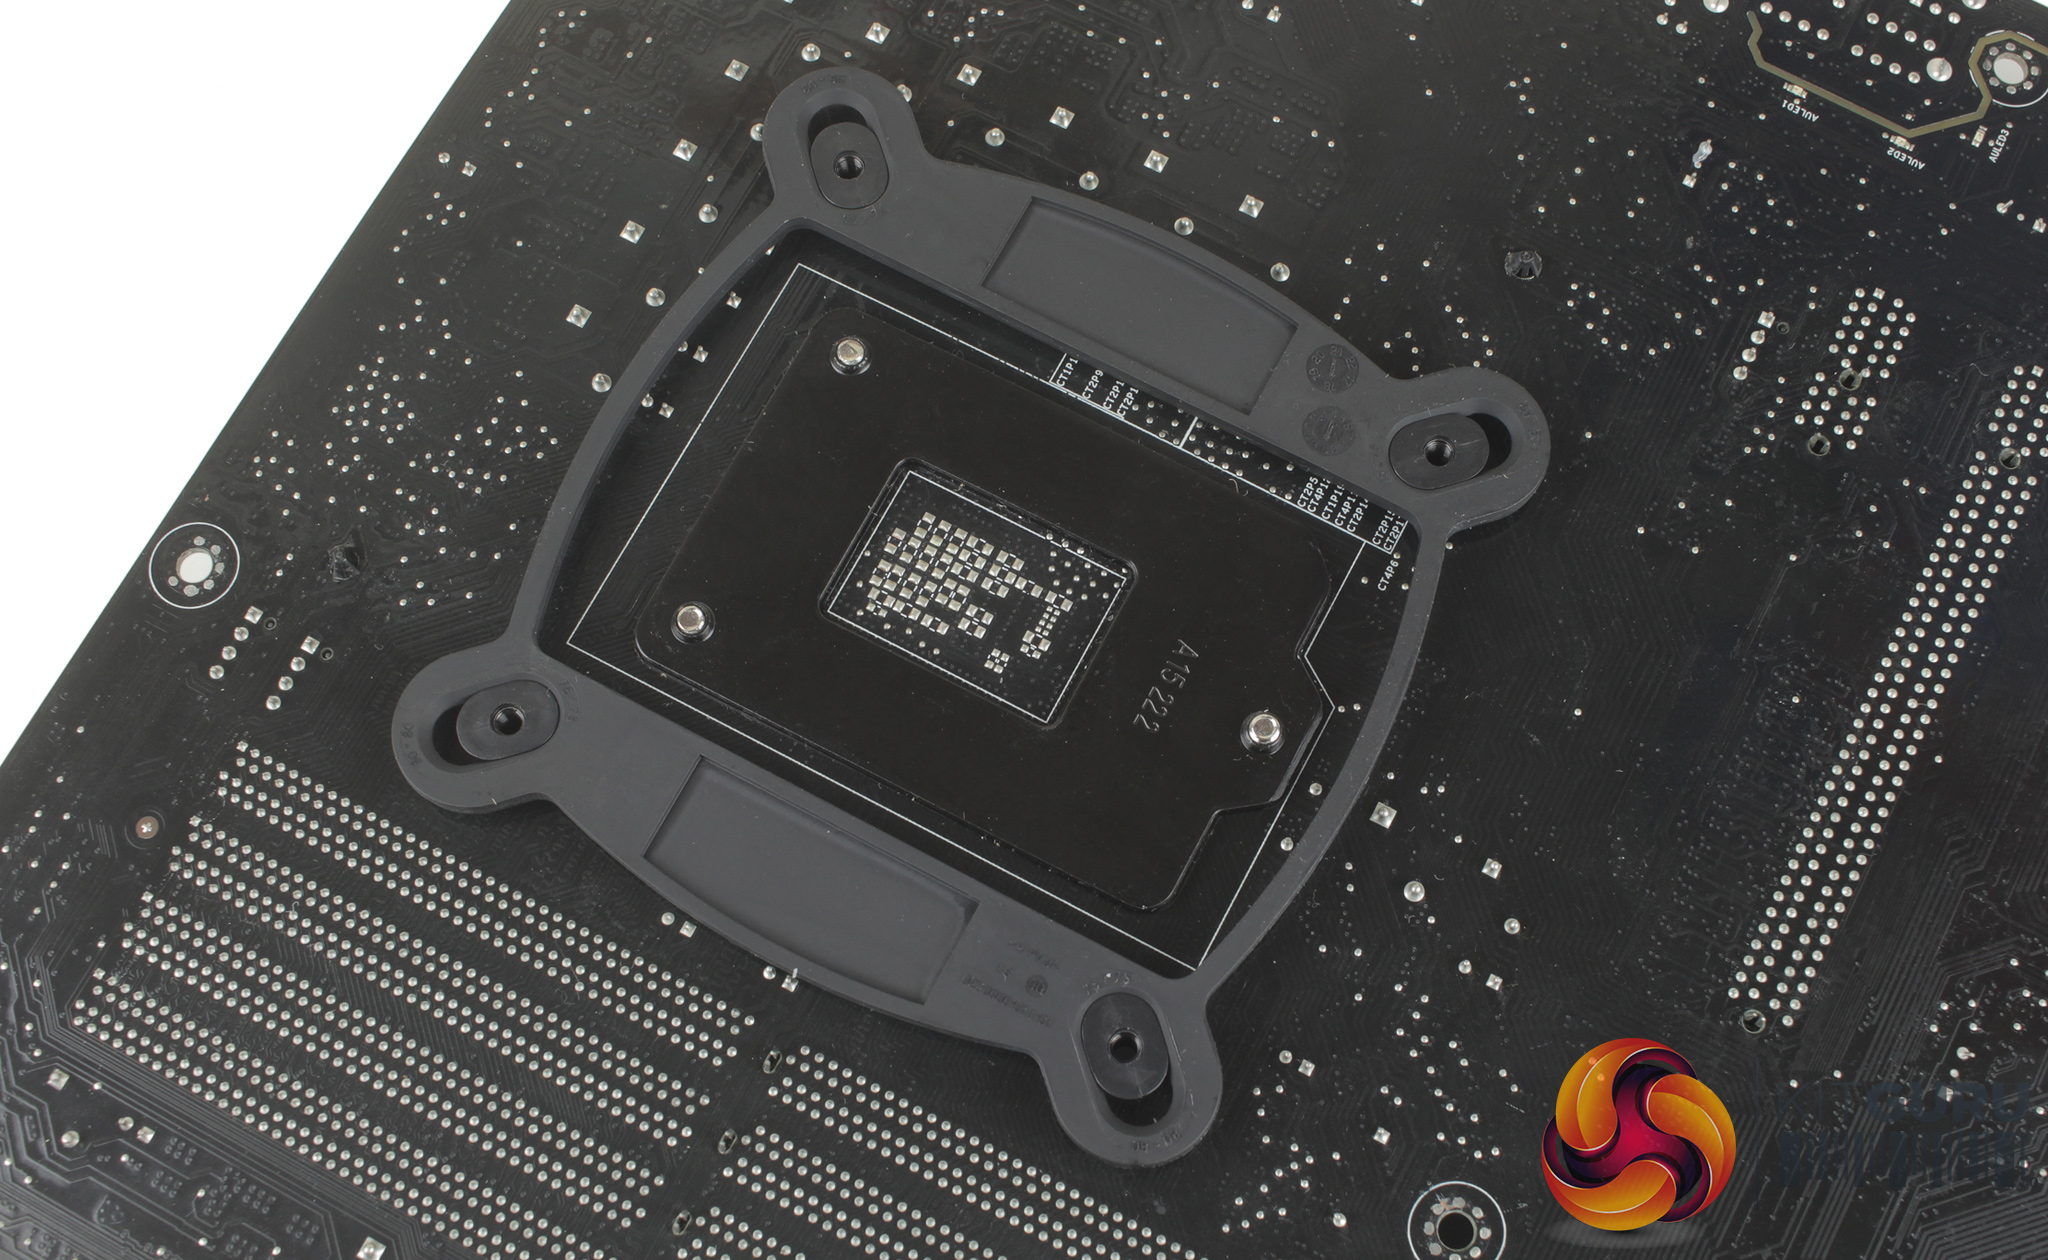
As we now test using a Z170 motherboard socket LGA1151, the installation process below reflects this.
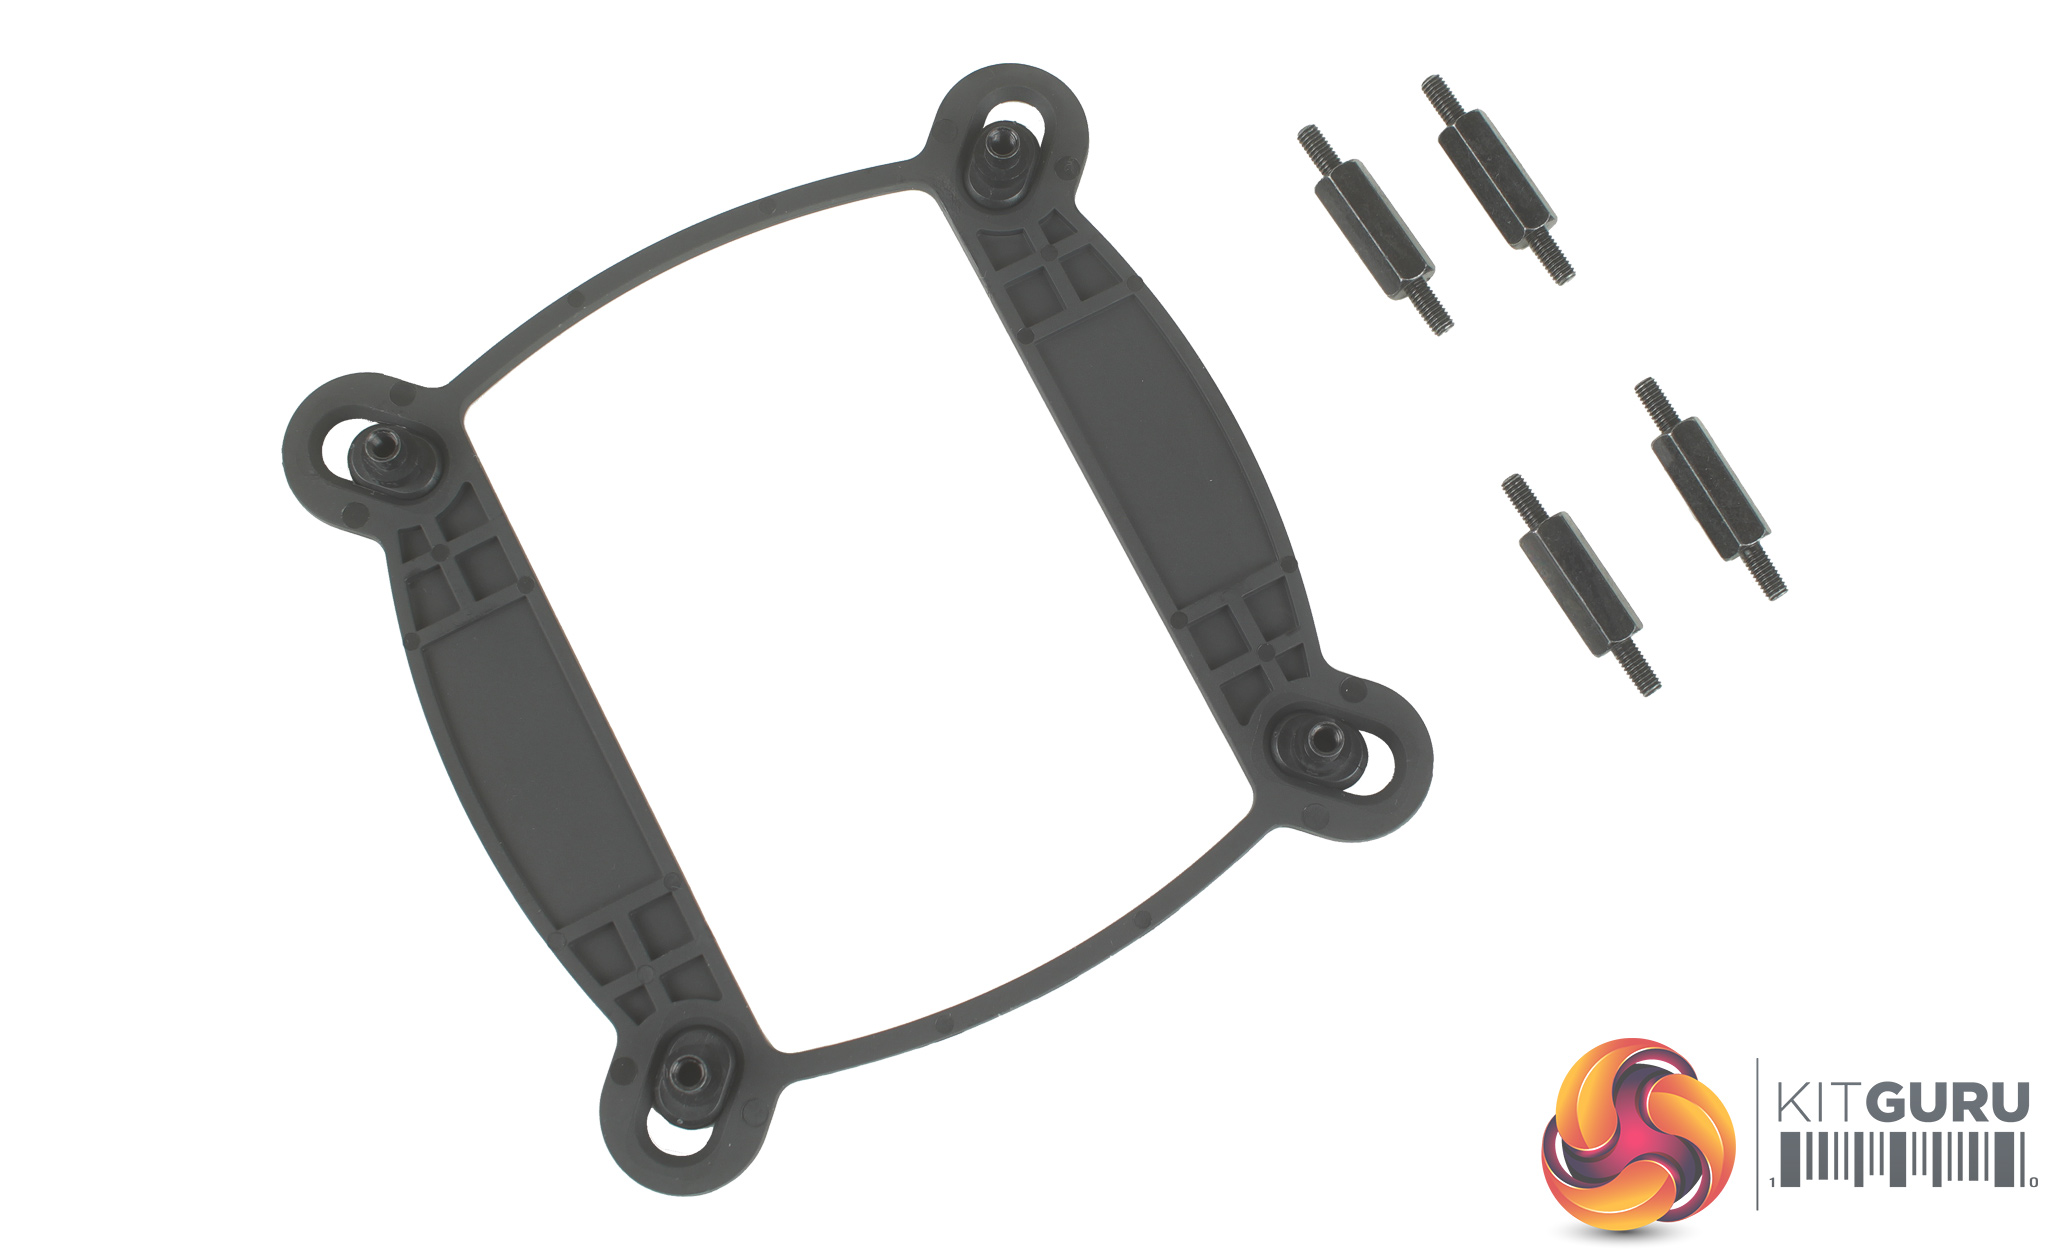
For installation, all you need to do is adjust the mounts on the backplate to ensure they will pass through the motherboard mounting holes, and sit the backplate in place.
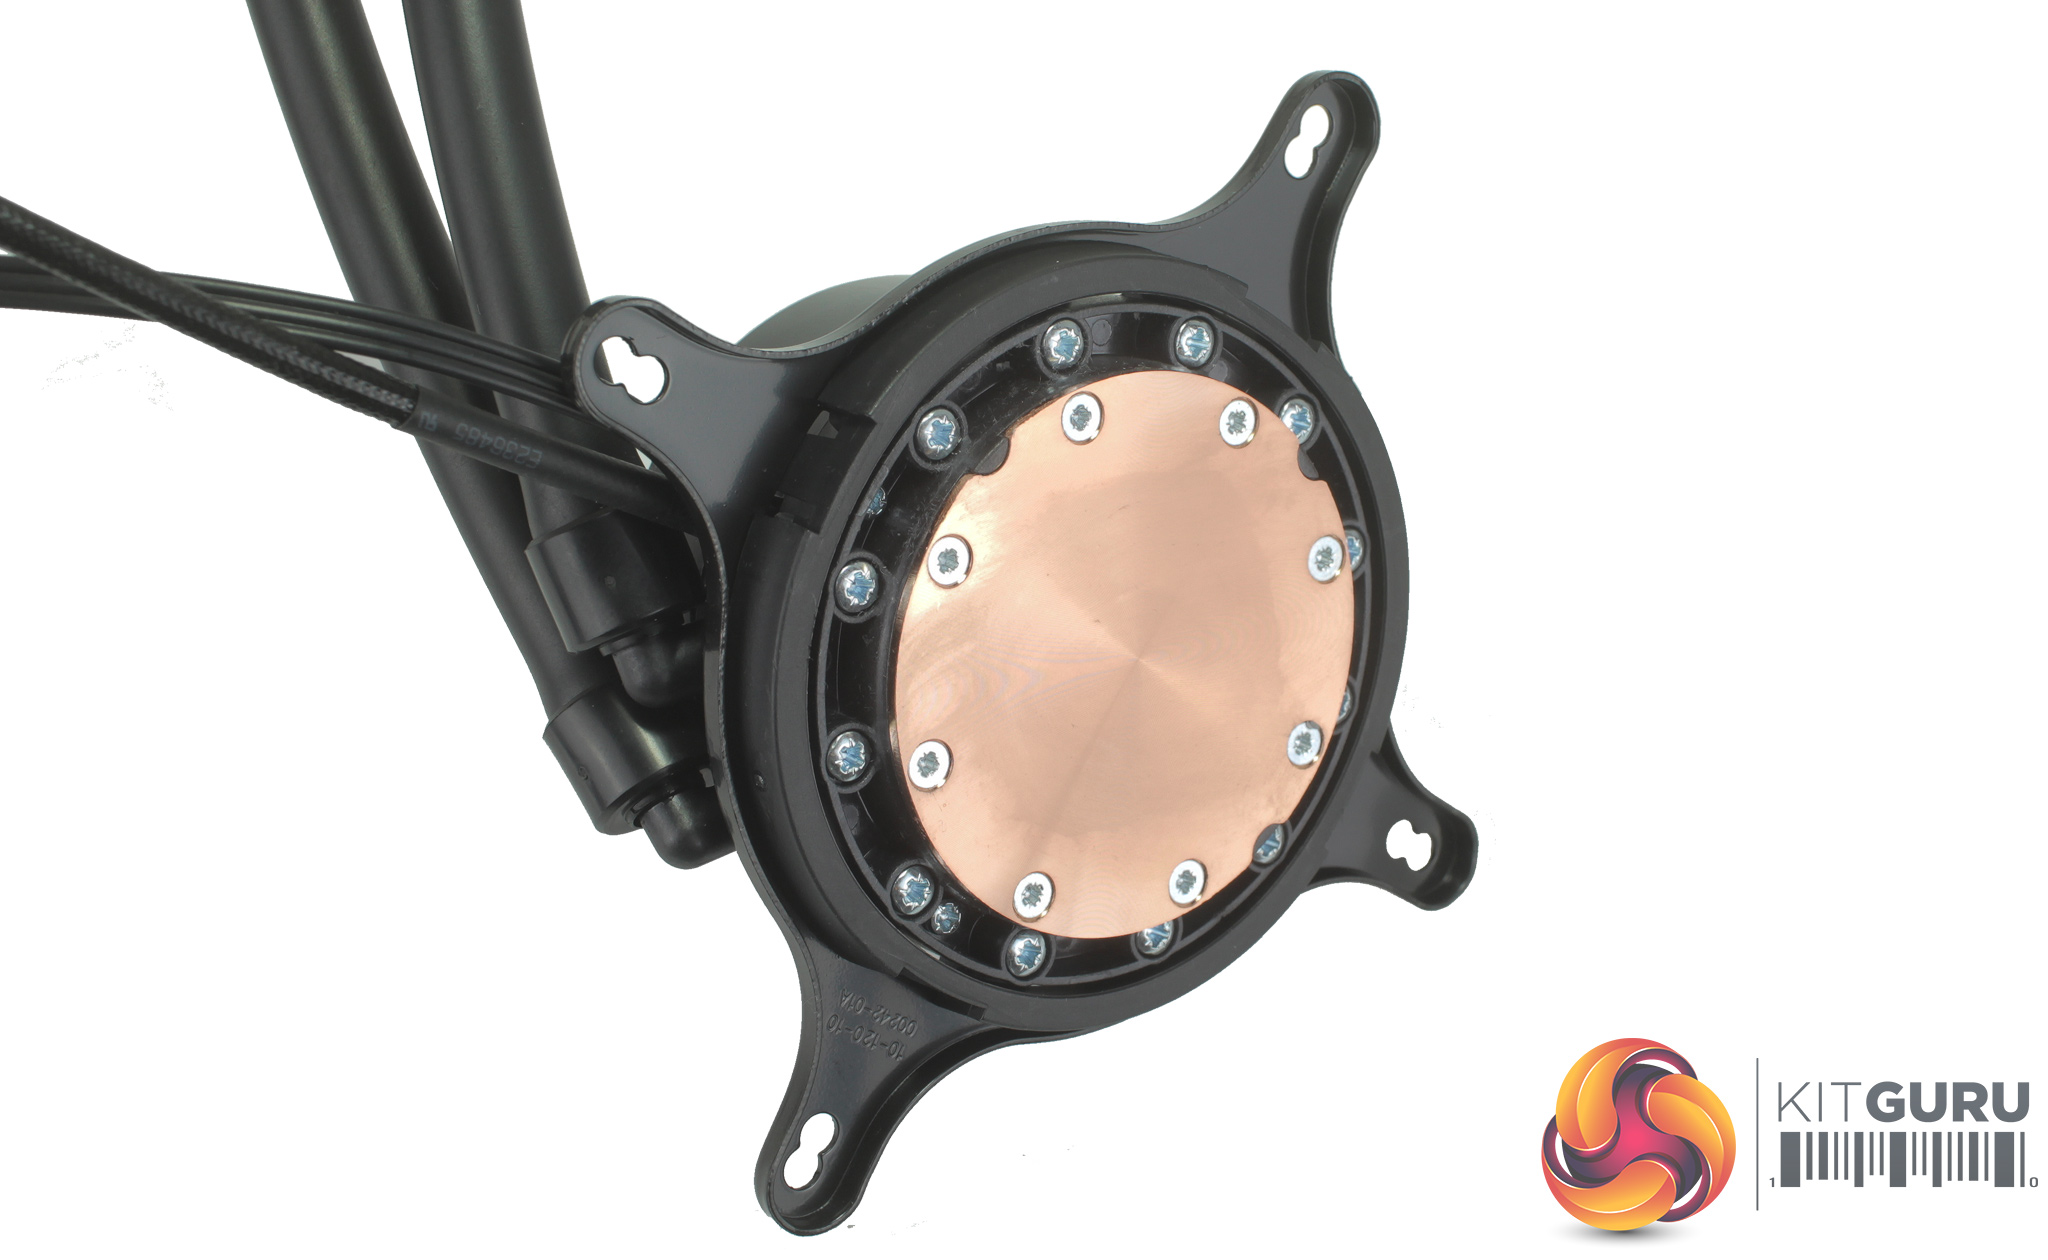
Four double threaded standoffs can then be screwed in to hold the backplate in place. You then need to attach the mounting bracket to the CPU block itself, with options for Intel and for AMD, and the bracket is clipped on using a plastic retention mount.
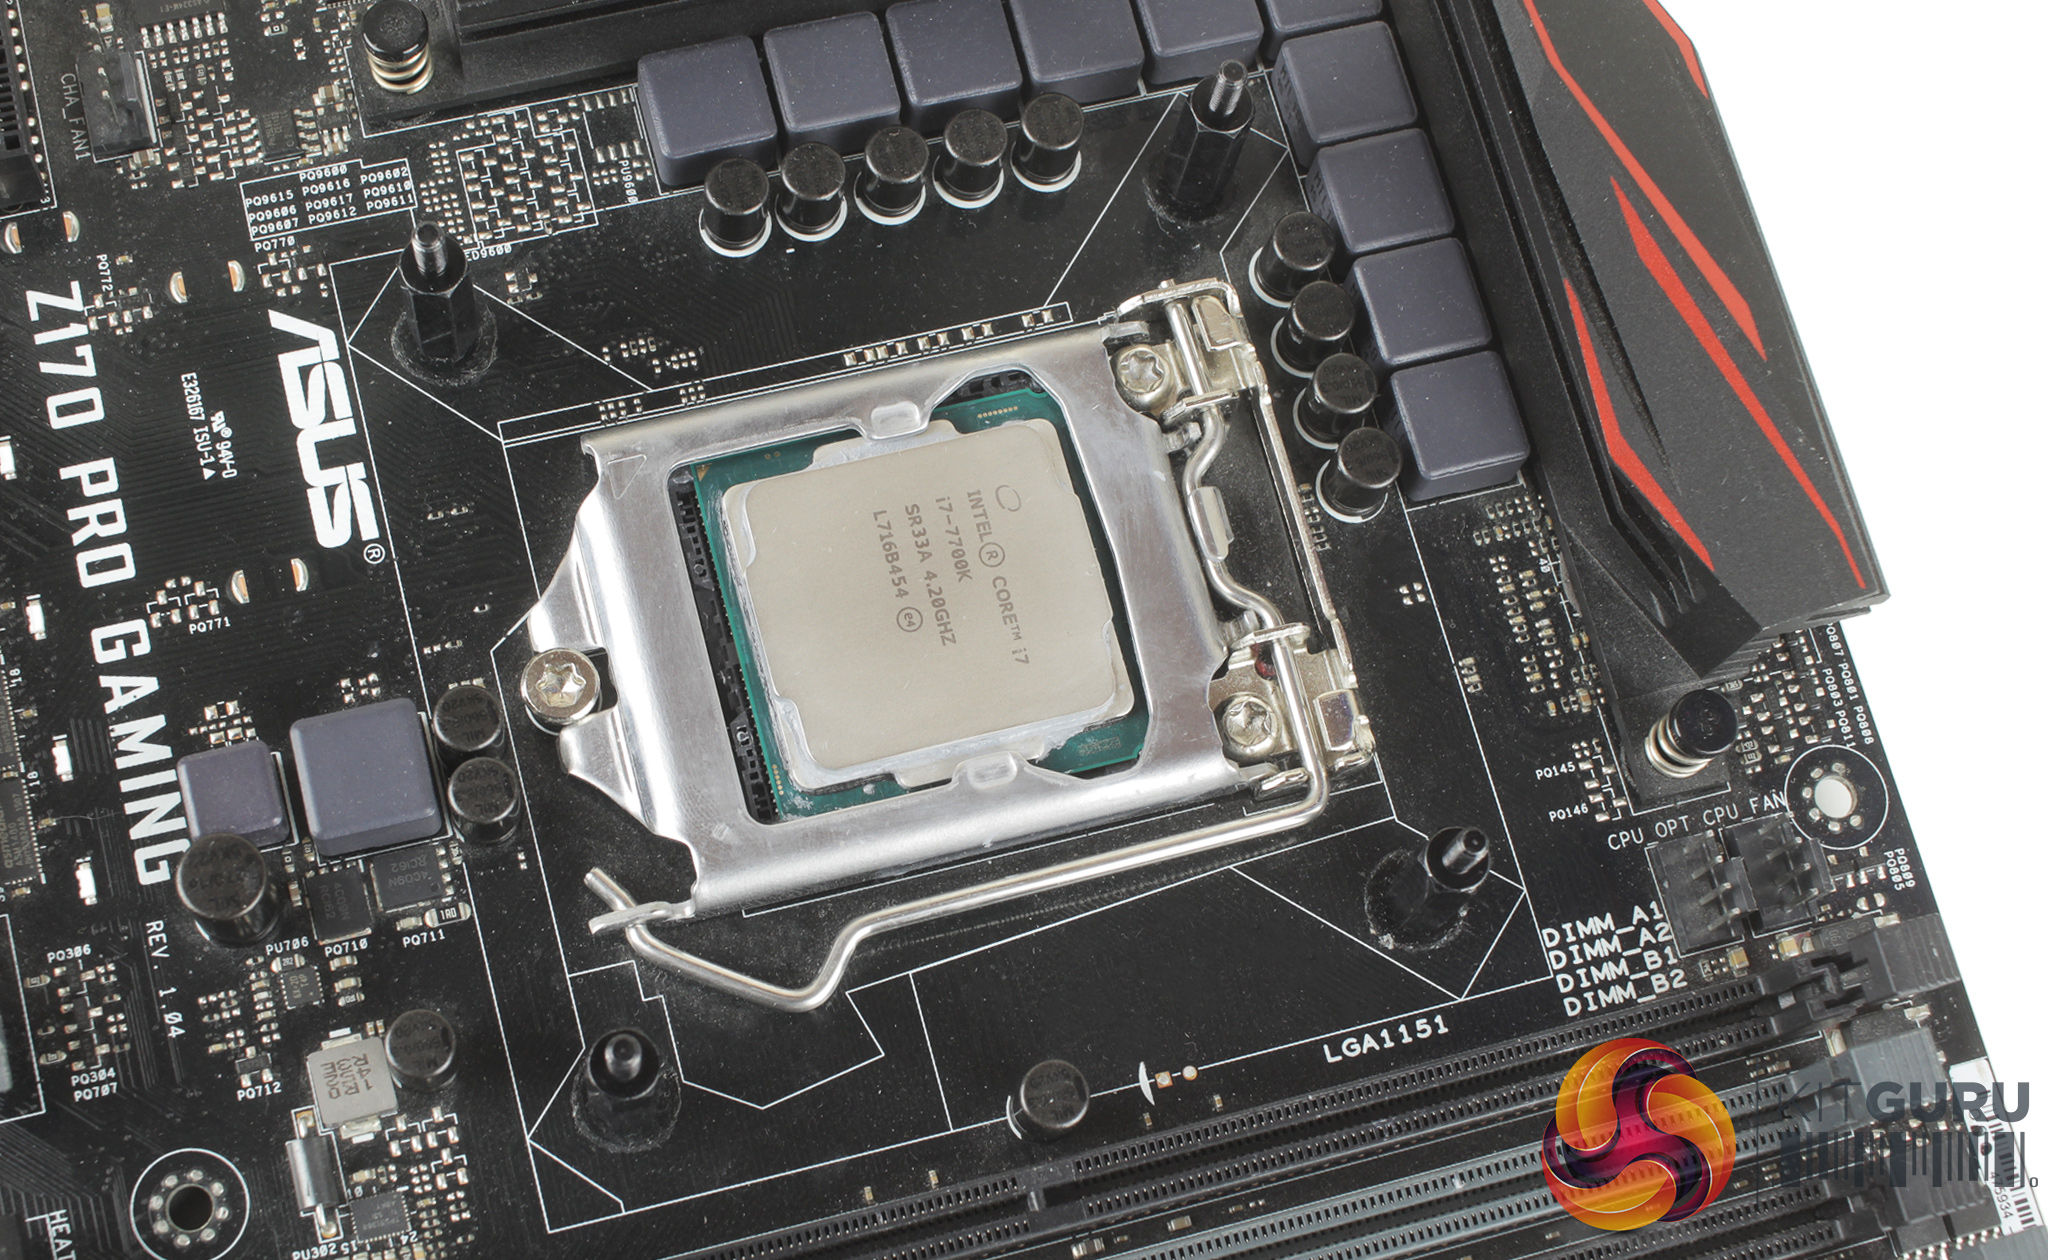
Thermal compound is included and pre-applied, but as per usual this was removed and replaced to ensure consistency with our testing. With our thermal paste applied, mounting the block is just a simple case of placing it atop your CPU, and firmly tightening it down with the four included thumbscrews.
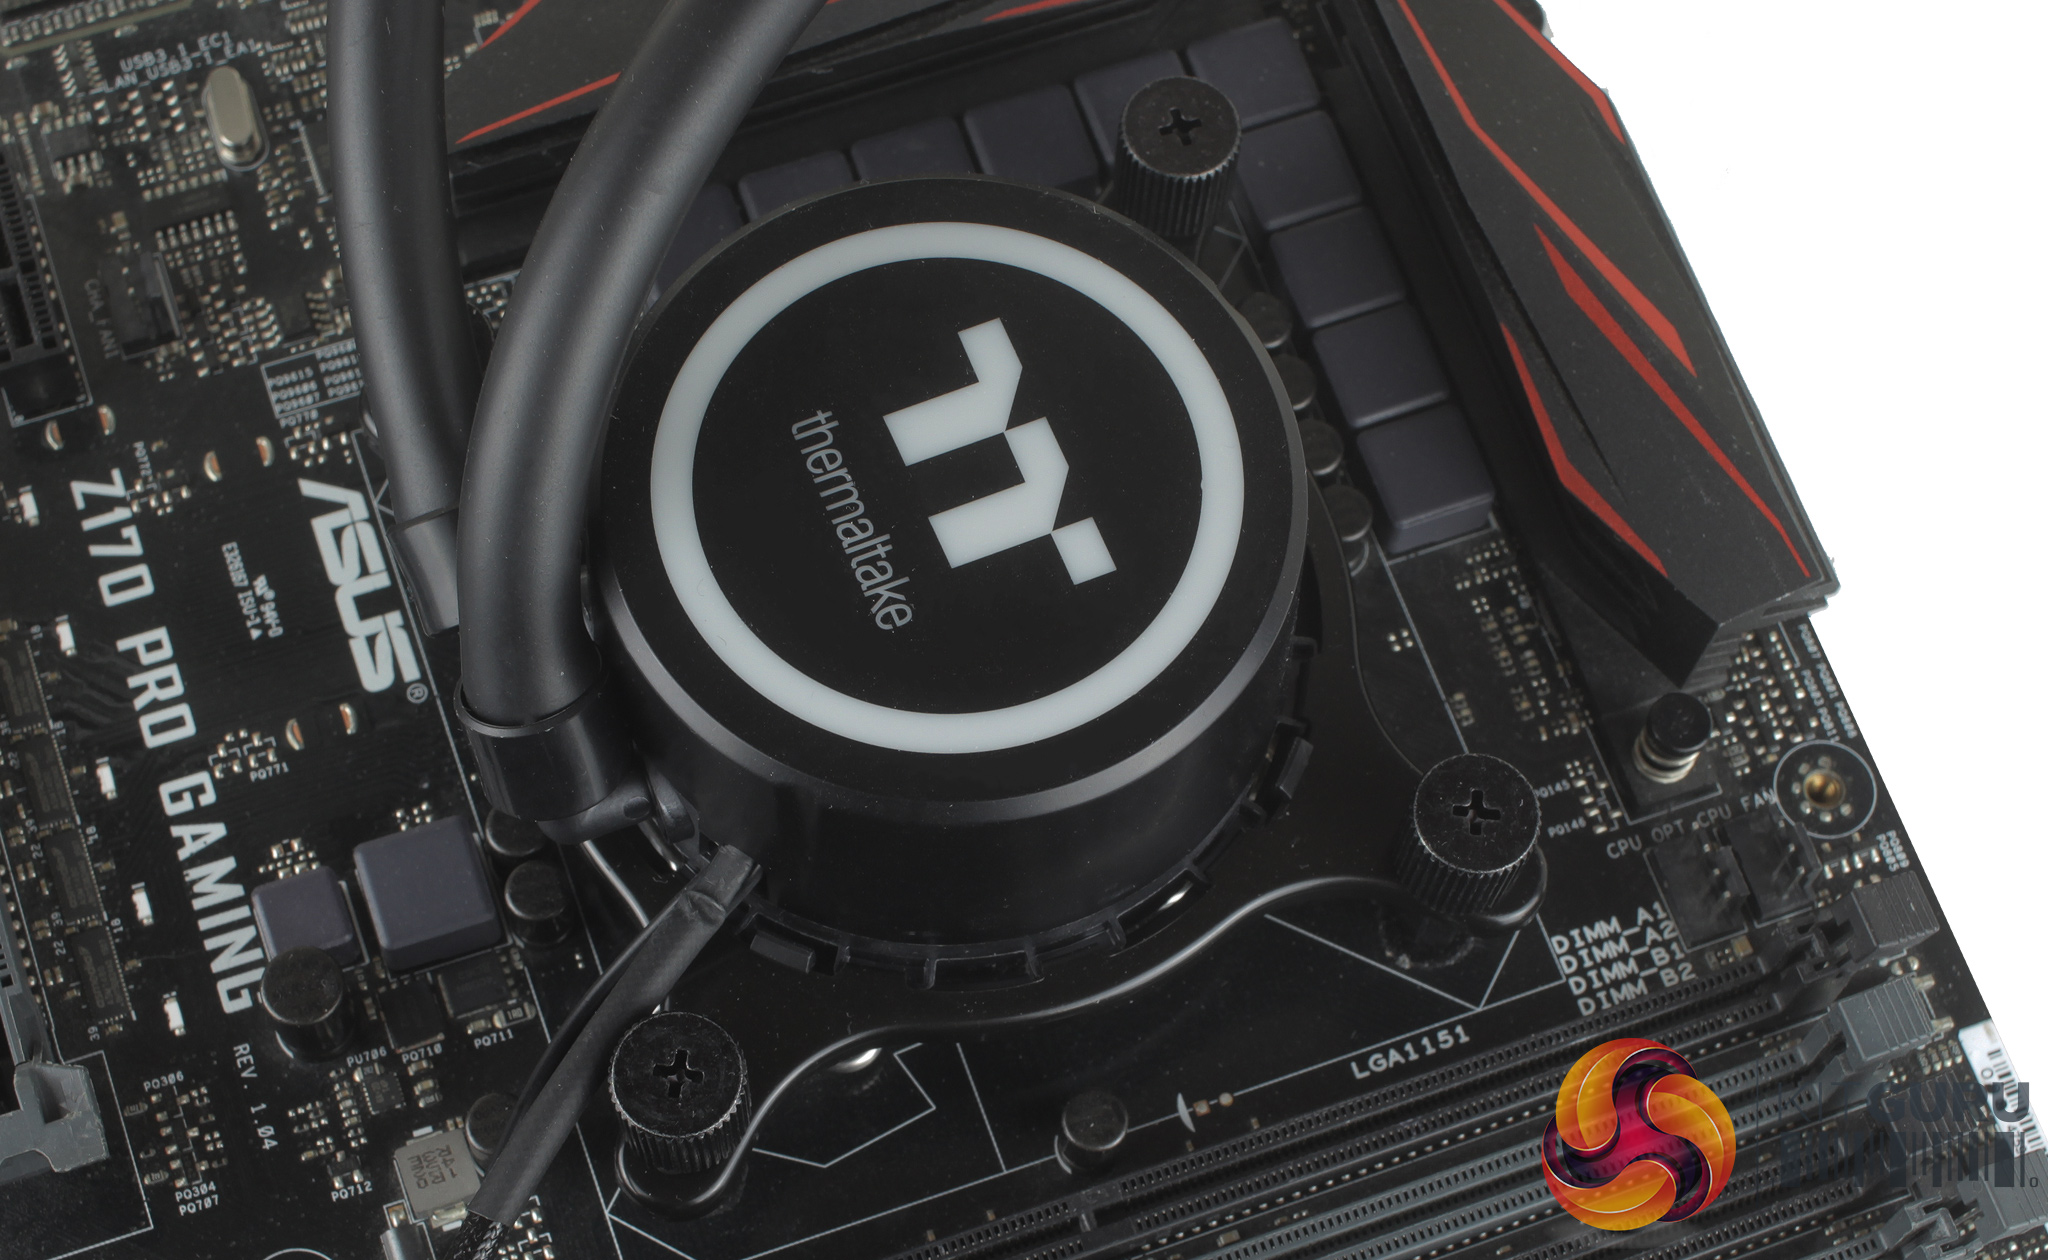
It is overall a very simple and straightforward process which barely takes 5 minutes.
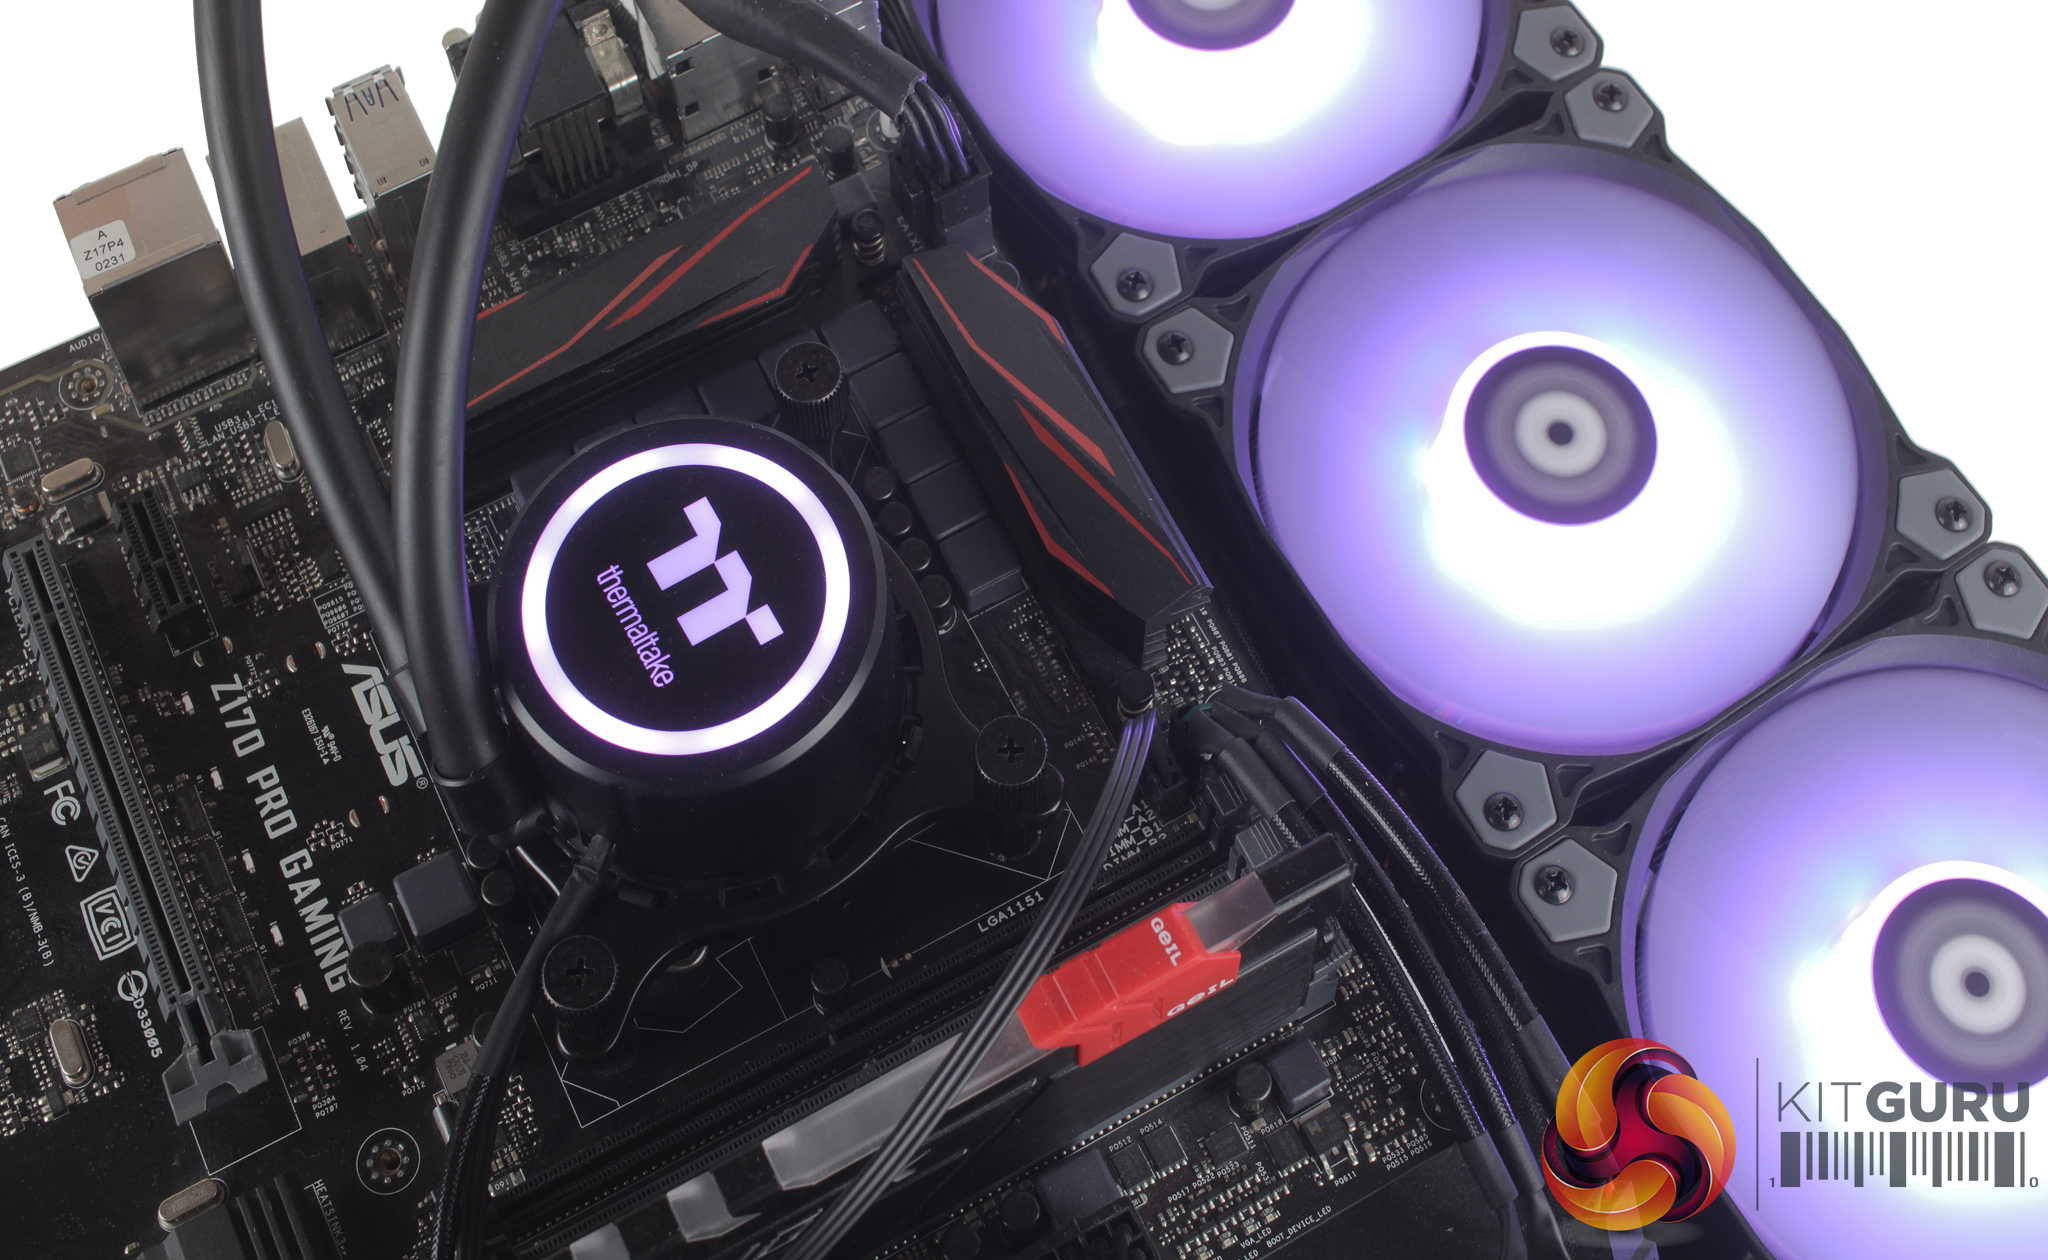
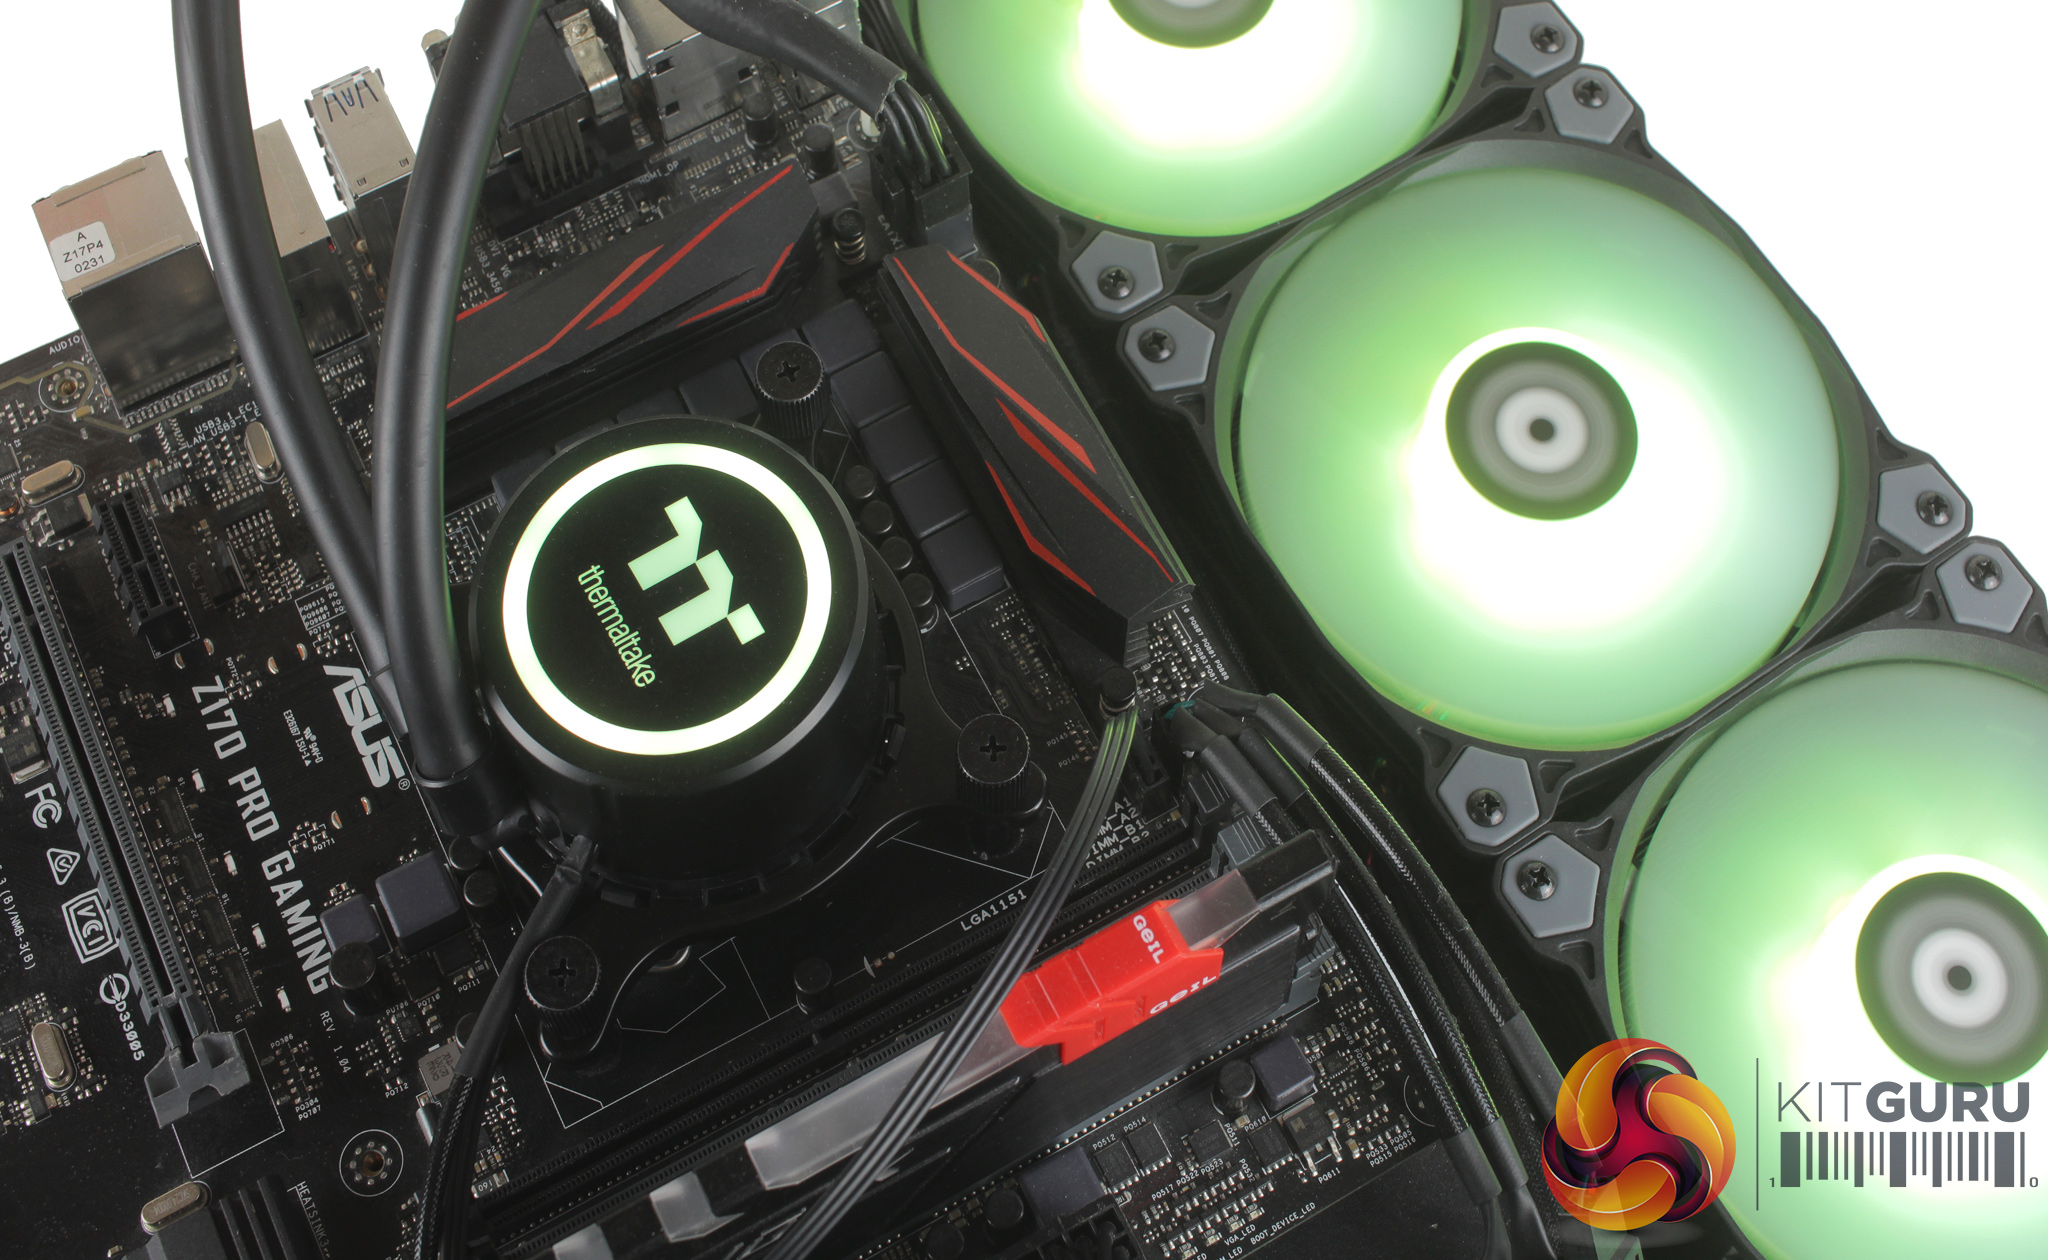
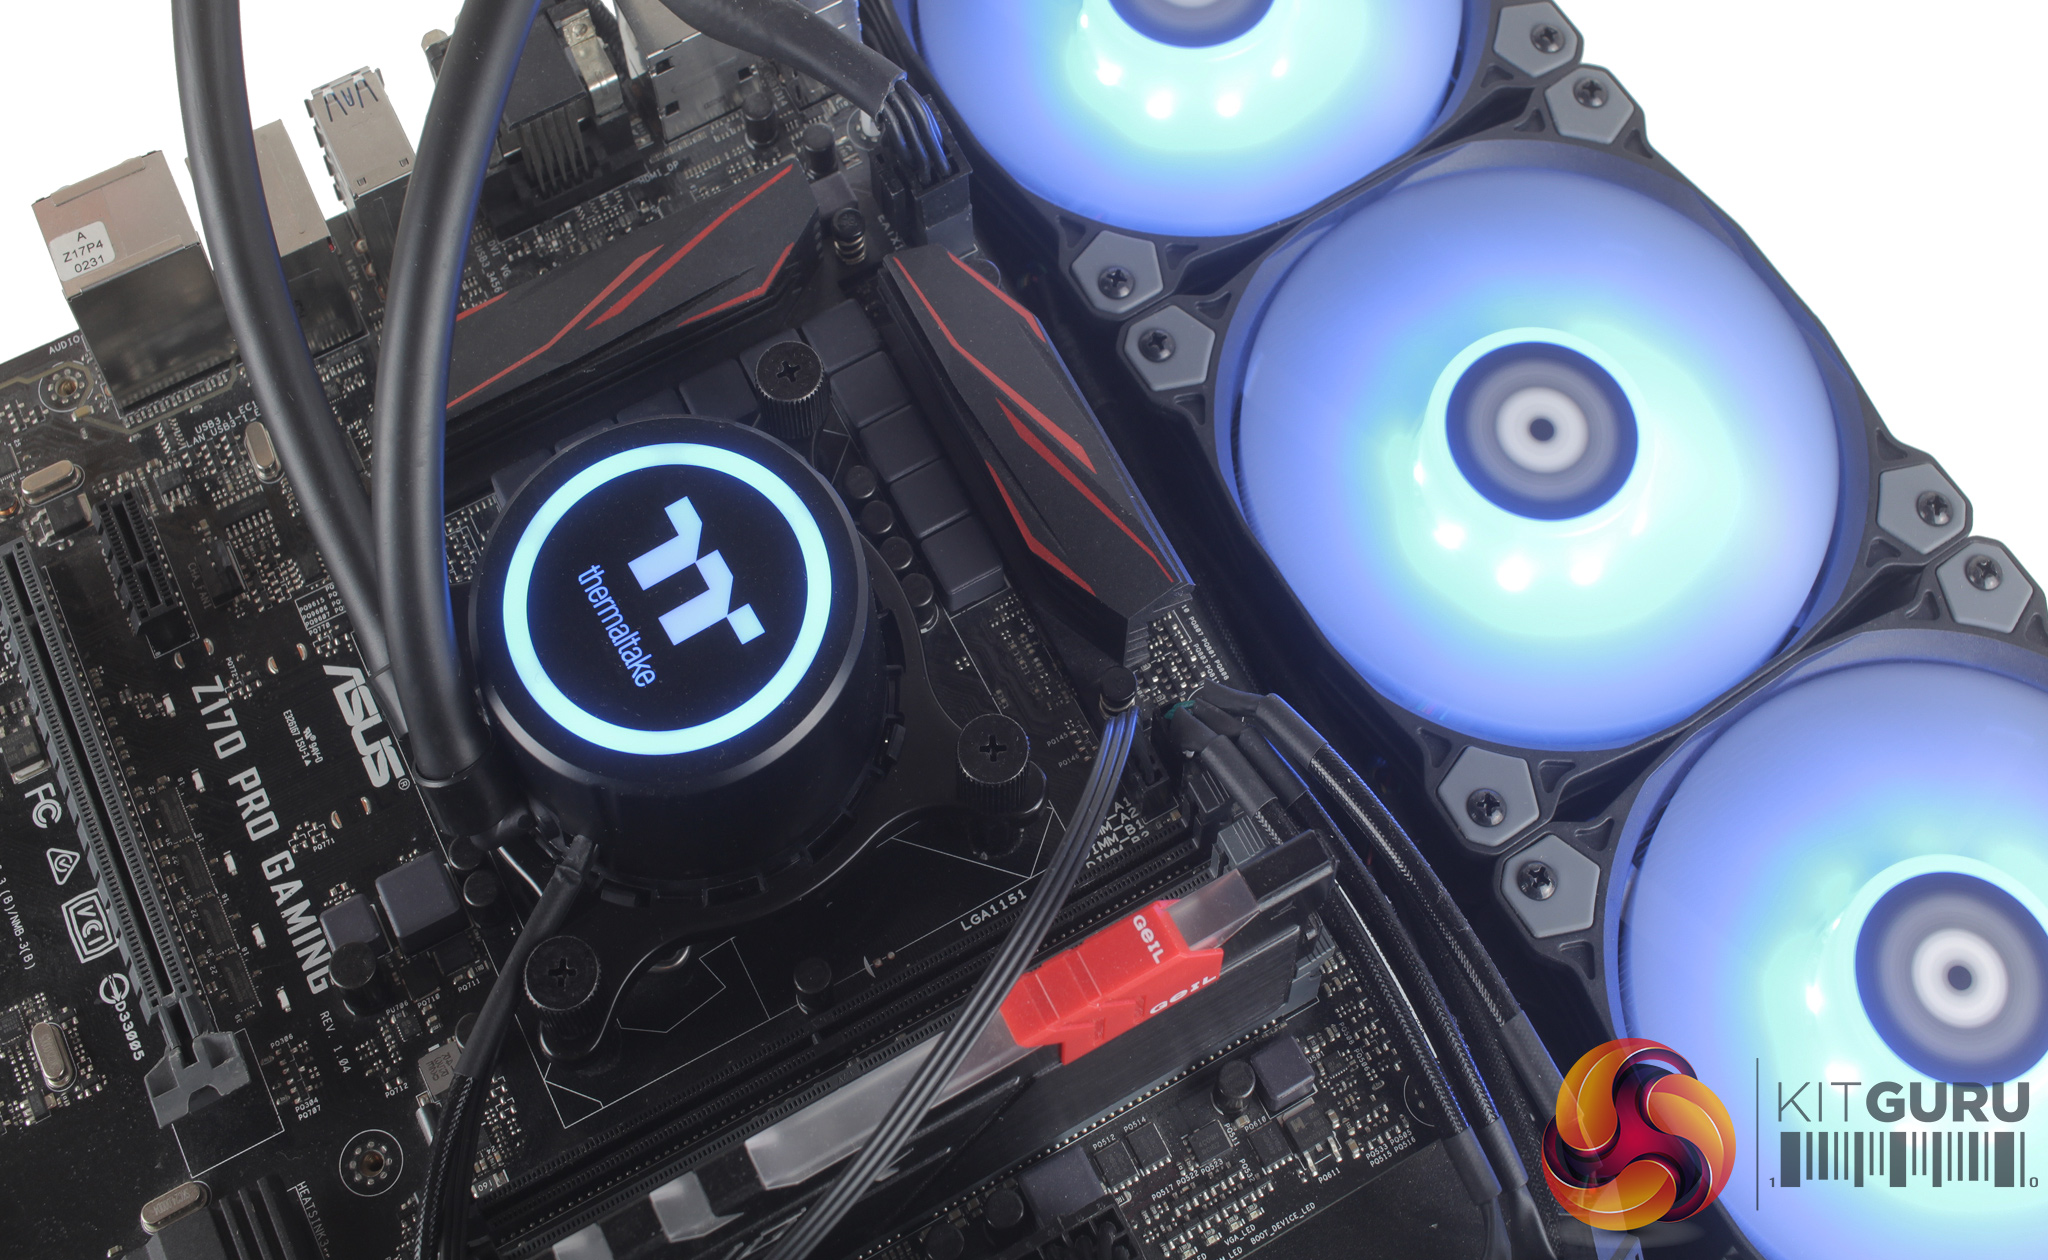
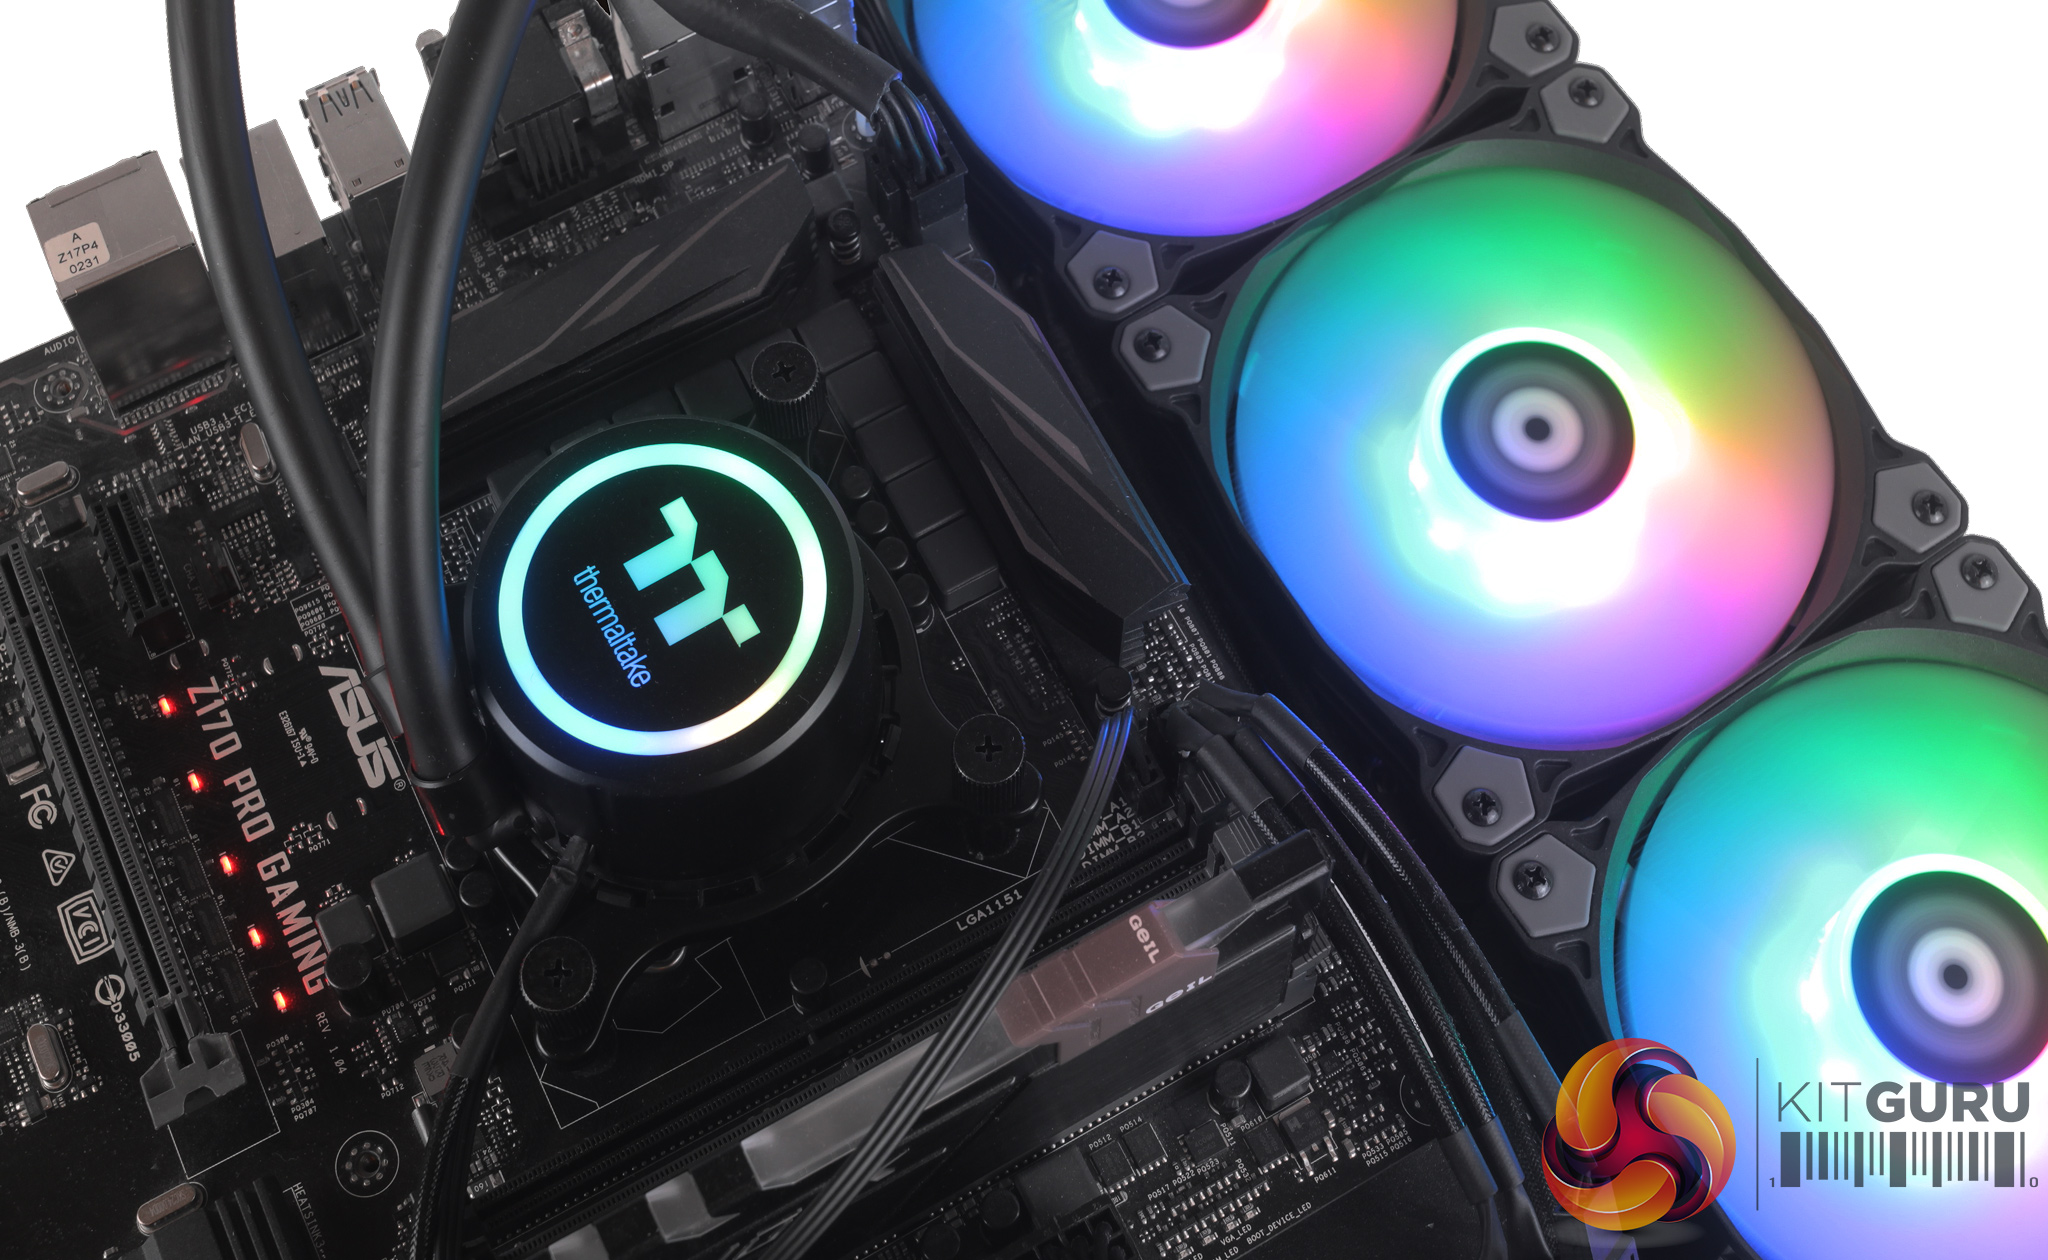
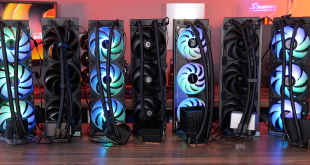
Each fan features a male and female proprietary connection for RGB lighting, so you can daisy-chain them together which is good if you are looking to expand your LED setup by adding additional Thermaltake fans.
For our testing, the lighting was controlled through the included controller, and the first thing to say is that there are a number of different preset effects to choose from – including flow, ripple, pulse, blink, wave, static and the full RGB spectrum. Transitions, thanks to the addressable nature of the RGB LEDs, are nice and smooth, and pretty seamless really. The sheer number of LEDs – across the pump and three fans – definitely gives the cooler a wow-factor.