

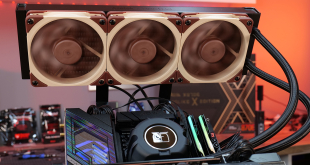
The installation process is simplified greatly by the excellent guide provided by Coolink. This contains both detailed instructions and large diagrams of the process.


Firstly, we are required to remove the stock cooler from the card. This is a simple matter of unscrewing the four screws on the underside and removing the fan header. We also have to remove the existing thermal paste and clean the die ready for the new paste.

Then we have to measure the distance between the four screw holes on the card and consult the diagrams to see which holes in the mounting bracket we need to use. Then we have to screw the pins into the bracket and place a washer on each one.


Next we are instructed to stick down the small heatsinks to the RAM and then the voltage regulators. One thing we weren't instructed to do was to use the lower-height heatsinks for the RAM chips which sit under the heatpipes so the cooler can lie flat – something we didn't discover until we reached the next step of the process.

The final step is to apply the thermal compound and then place the cooler on top of the GPU. Then it is a simple matter of securing it down with the provided spring-screws.


Might work better on a hotter core, but its cheap enough. shame its so ugly mind you.
I would say anyone aiming to cool a high end board would spend more on a cooler like this ?
That has to be the most ugly looking cooler i have seen in recent years. Looks like they forgot to paint it. an airfix kit.
Seems to be priced more for low end cards so I think the fact you tested it on a mass market card is a good idea rather than a 5870 or something. I agree though, its extremely ugly looking, not exactly primed for a case mod window system.
Might be a good deal for someone who has spend say 120 quid on a card or less and wants to improve the cooling. I cant see anyone with a high end board getting this when artic cooling have such brilliant third party coolers out now. price is good, looks arent. Isnt that part of the reason of getting a third party cooler to get something that looks wicked and also cools well?
Not a bad product, but quite fugly!