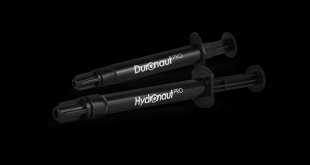
Water cooling a system can be a daunting task if it’s something you have never attempted before. If you've built your own PC and felt comfortable doing that however, then taking that next step isn’t as hard as it seems. Today, we will showing you how to take a standard build and converting it over to a full soft tubing loop so you can see just how easy it can be!
Timestamps
00:00 Start/Recap
00:36 Introduction
01:04 The basics
03:13 Selecting the right case
03:54 Other hardware
05:16 Corsair watercooling guide for 5000 series
05:36 Kris thoughts (1)
06:04 Watercooling hardware
09:16 Coolant
09:51 Loop Order
10:42 Building the system
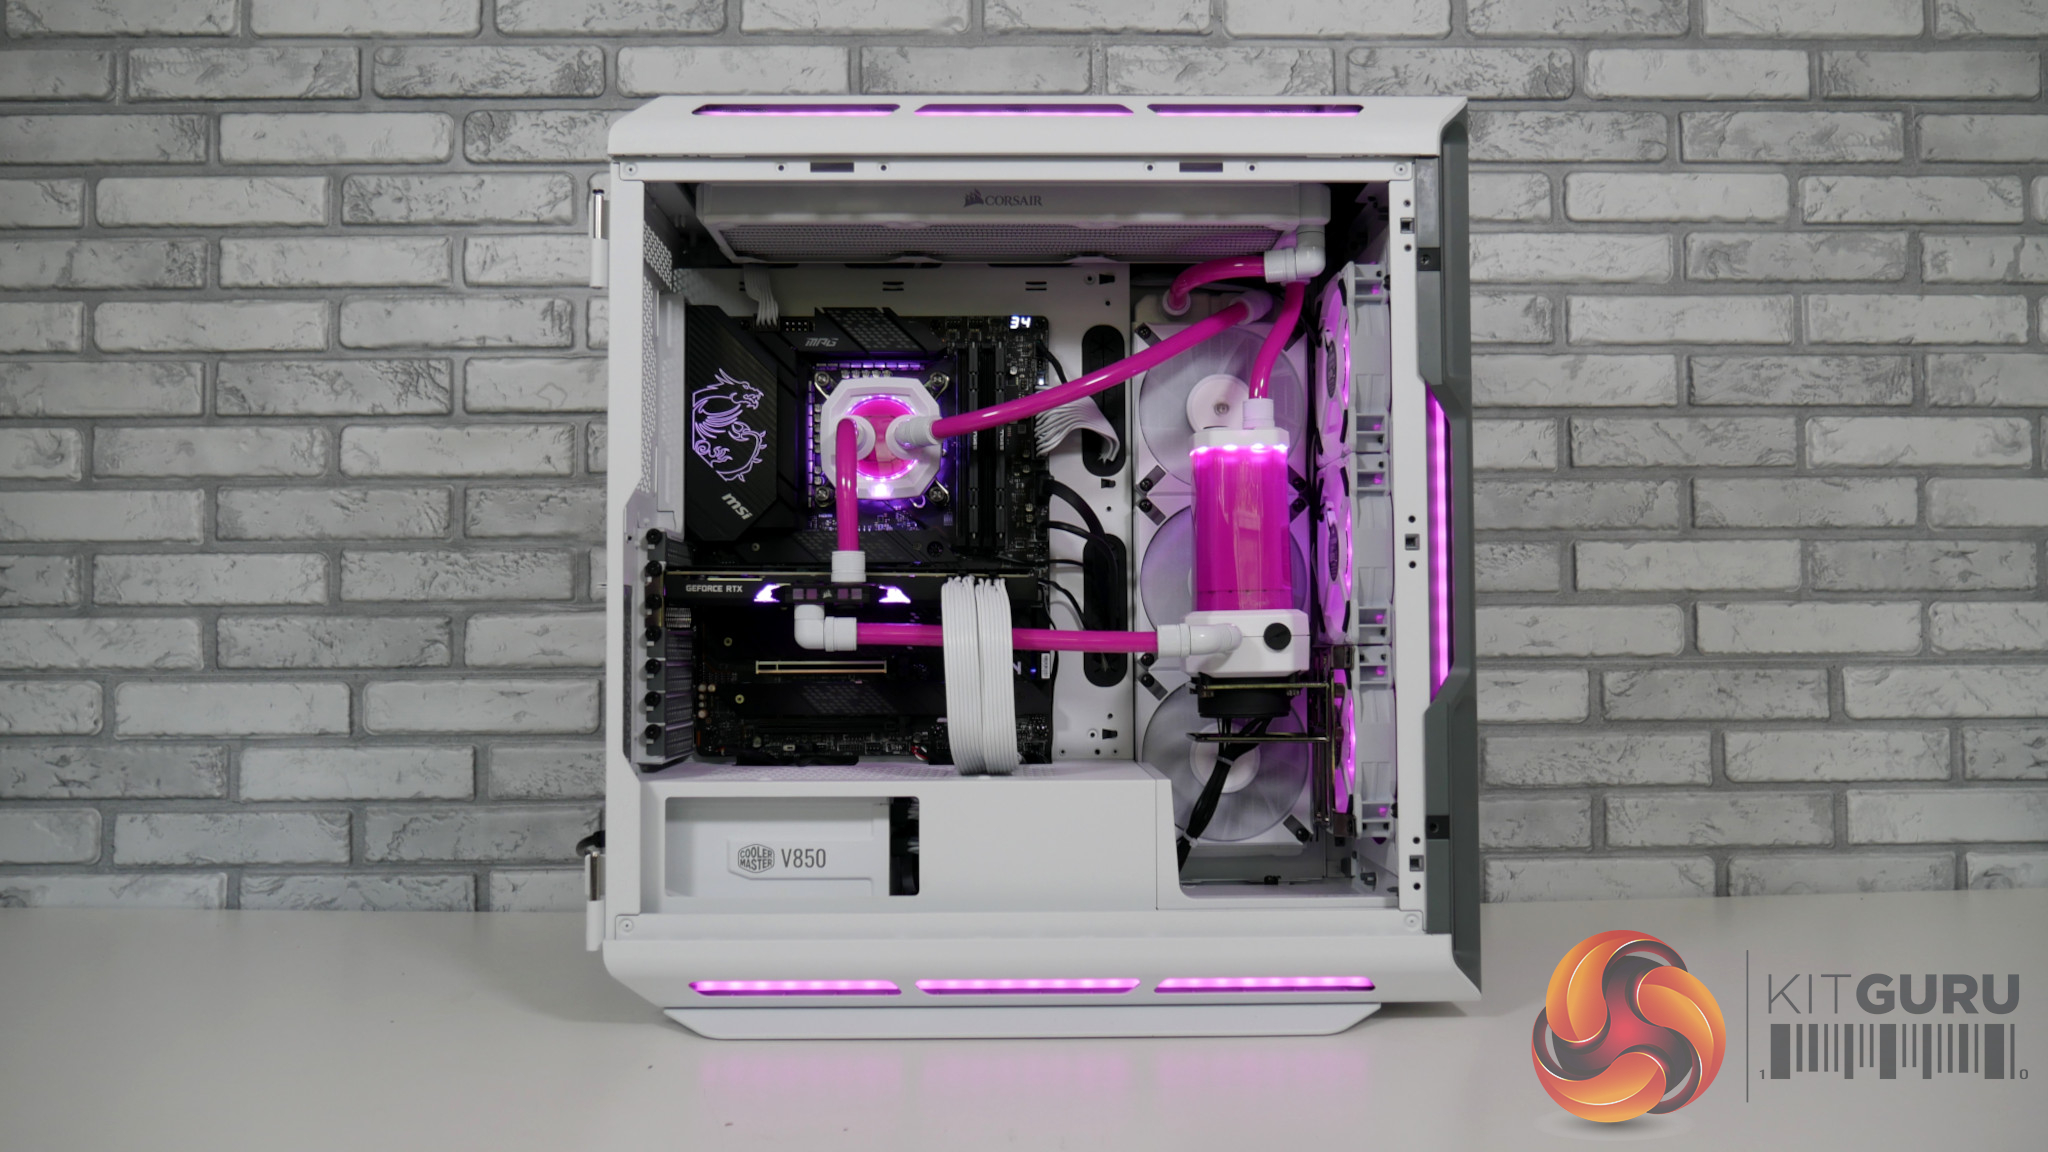
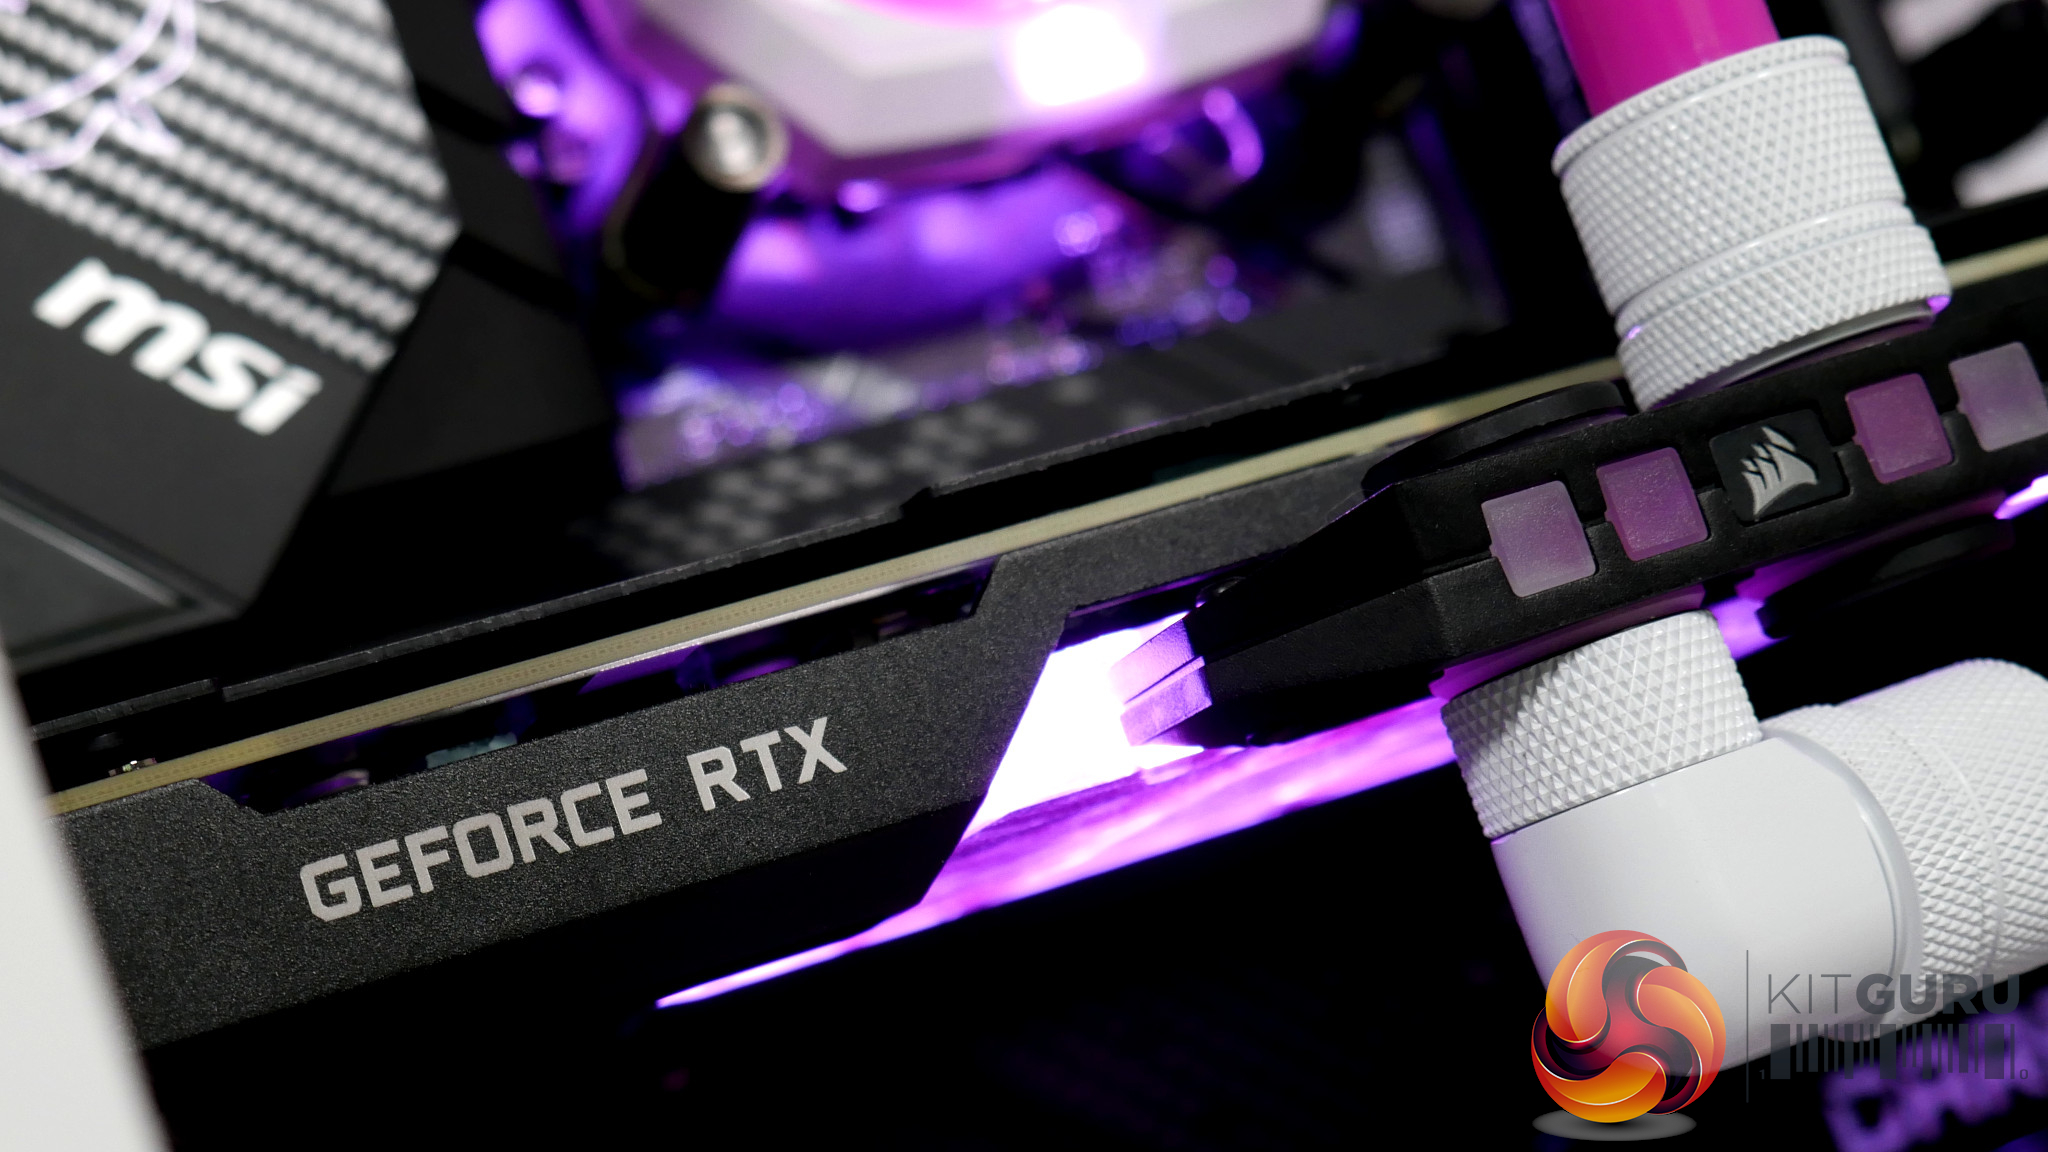
13:47 GPU Waterblock fitting and guidance
16:15 Fittings
17:20 Soft tubing benefits
17:47 Fittings and tube cuts – install
19:33 Pressure testing
20:19 Adding Coolant – getting air out
21:30 Kris thoughts (2)
22:23 Testing and results
23:42 Closing thoughts
PC Specification:
- Corsair 5000T
- Intel i9-12900K
- MSI Z690 Carbon WiFi
- Zotac RTX 3080 Amp Holo
- Cooler Master V850
- Seagate FireCuda 510 NVME 1TB
- G.Skill Ripjaws S5 32GB 5200Mhz
- Corsair H150i Elite Capellix 360mm AIO
Custom Cooling Parts:
- Corsair Hydro X Series XC7 RGB Pro CPU Block
- Corsair Hydro X Series XG7 RGB 30 Series GPU Block
- Corsair Hydro X Series XR5 360mm Radiators x2
- Corsair Hydro X Series XD5 RGB Pump Reservoir Combo
- Corsair Hydro X Series XT Soft Line 13mm/10mm Tubing
- Corsair Hydro X Series XF Compression Fittings 10mm/13mm
- Corsair Hydro X Series XF 45 Rotary Adapter Fittings 10mm/13mm
- Corsair Hydro X Series XF 90 Rotary Adapter Fittings 10mm/13mm
Testing
With my testing I ran two configurations, using the balanced and extreme fan profiles within the Corsair iCUE software. Everything else has been left default in order to ensure our results are as comparable as possible.
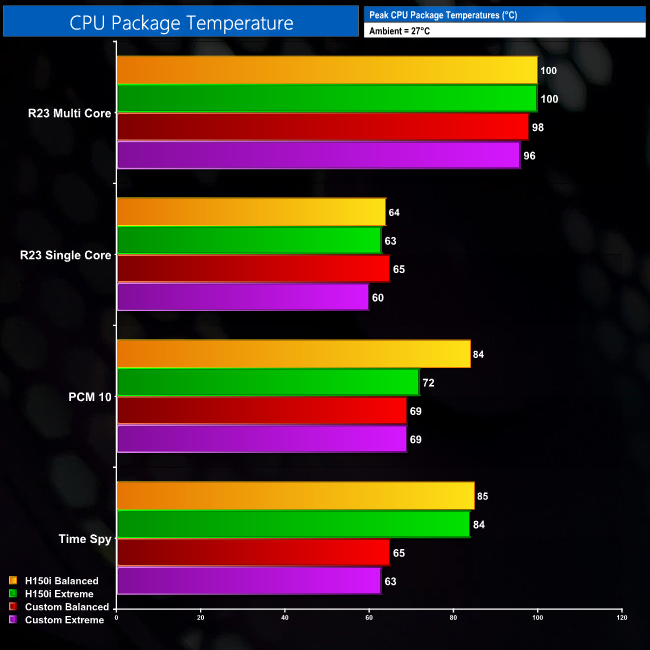
CPU Package temperature was measured within a number of the tests that I ran. The 12900K is a hot chip and so the R23 temperatures here reflect that in both single and multi-core and also between our AIO and custom loop. PCMark 10 did see some good improvements once we moved from the balanced profile on the AIO while in Time Spy, our custom loop really did help to knock those temperatures down considerably.
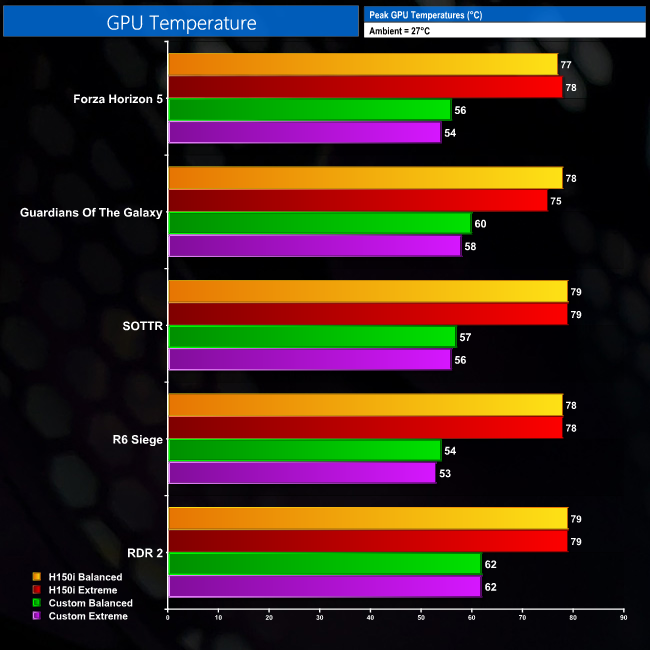
On GPU temperatures when running our benchmarks, across the board we have around a 30 percent reduction on average, so now we have some headroom to look at overclocking our GPU to help improve frame rates. This is really where water cooling does start to come into its own, and gives you the flexibility to overclock or set up custom fan profiles for a quieter system or increased performance.
Whatever you are using your system for, then the benefits are there when it comes to water cooling, and now you can see that building a loop isn’t as hard as you may have first thought. If you are looking to build a loop then I hope that this guide has helped you in some way. Before I go I just want to say a huge thank you to Corsair for making this project possible, sending over everything that was needed to put it together, along with MSI and Zotac for supplying the motherboard and graphics card.
Discuss on our Facebook page HERE.
KitGuru says: Hopefully you found this video guide useful – and be sure to let us know if you put together a custom loop in the future!