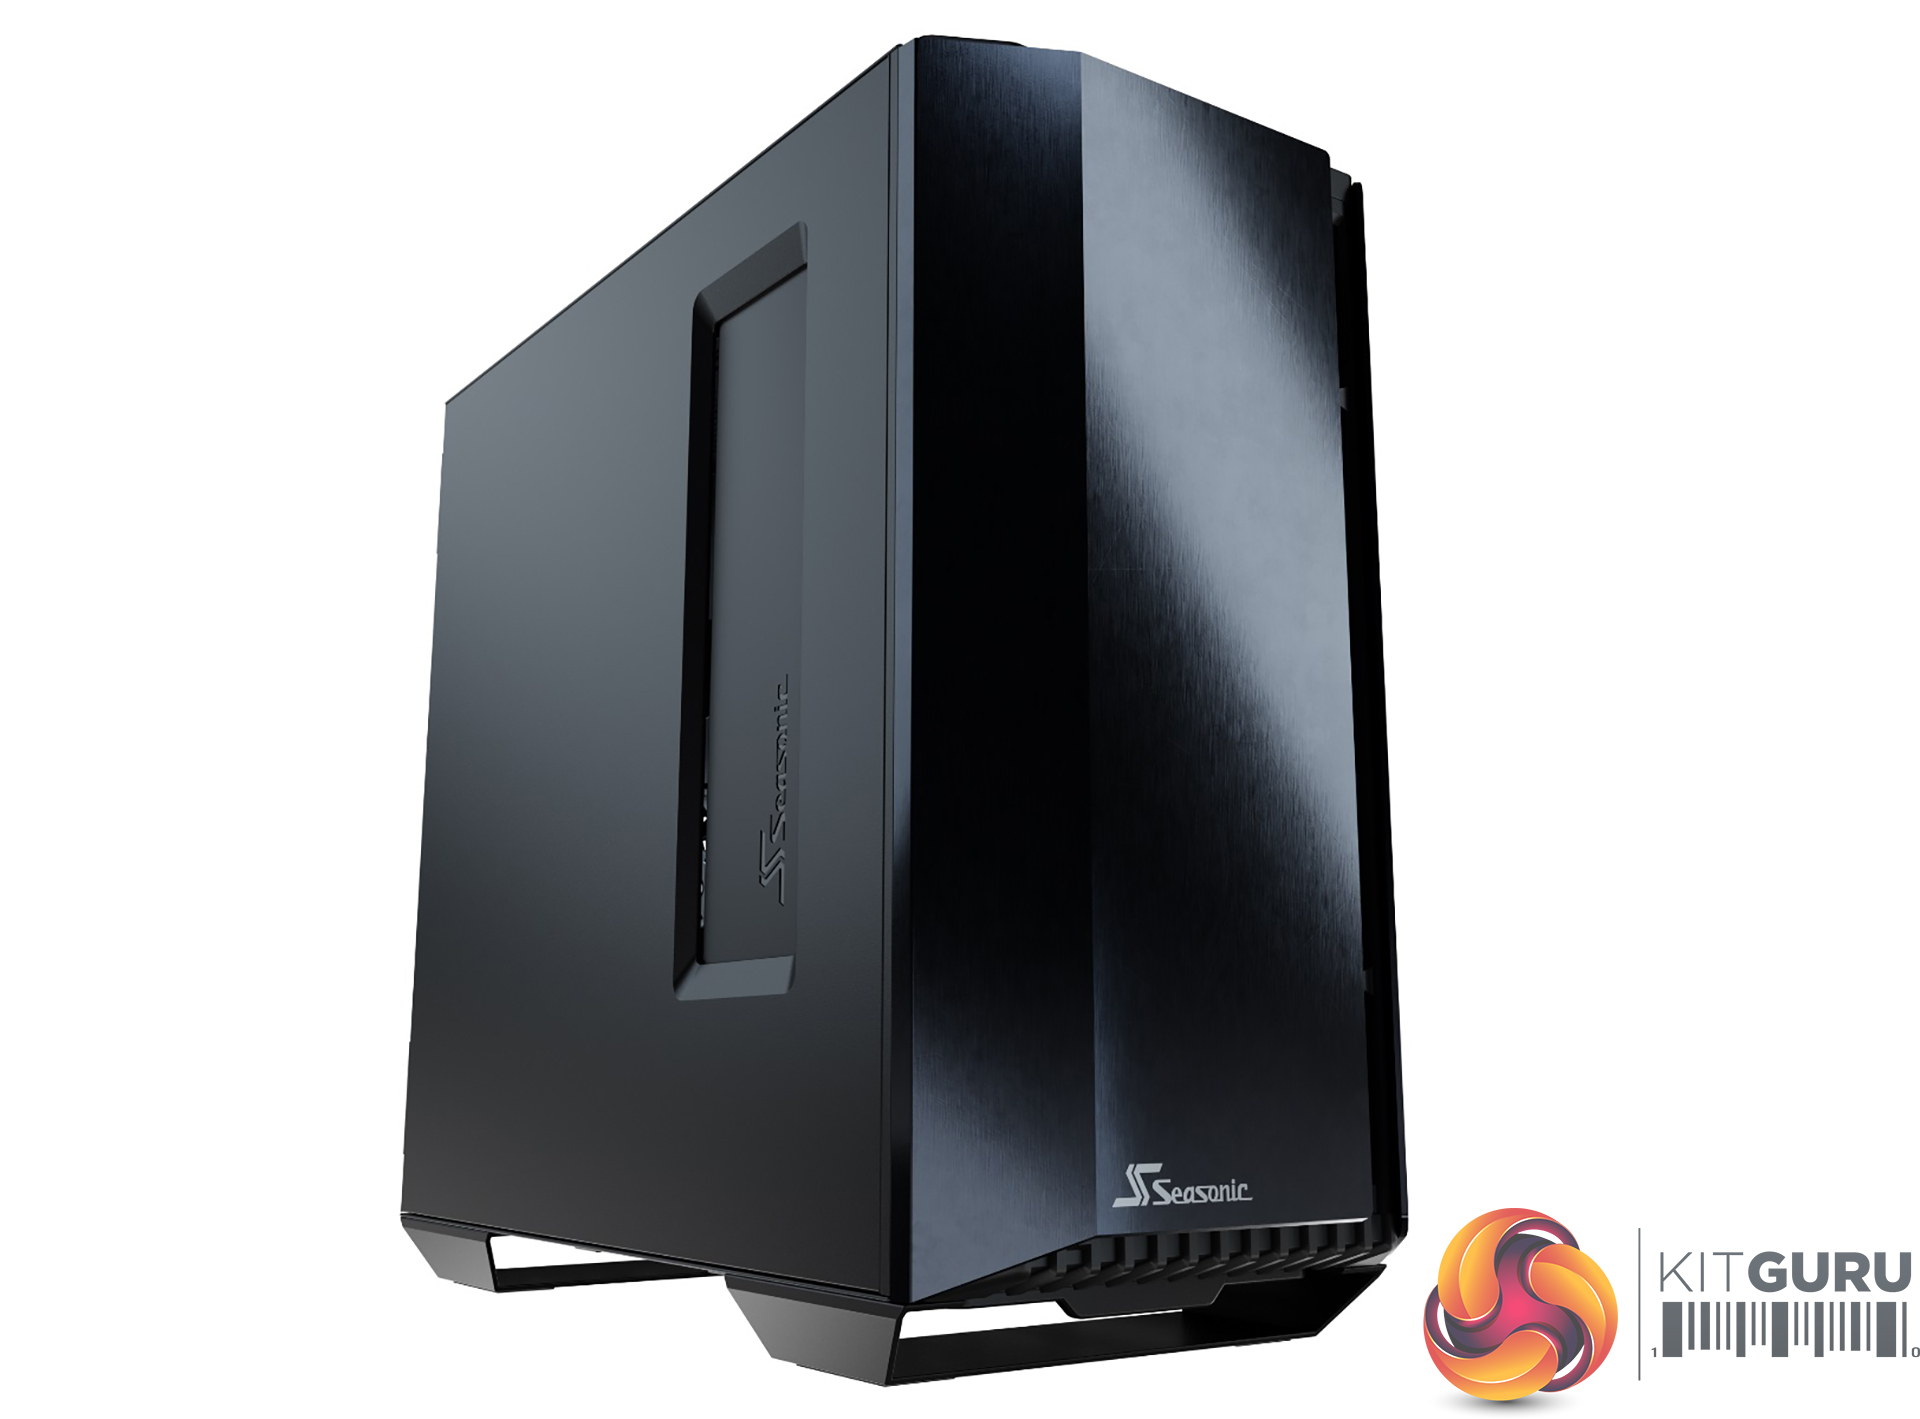
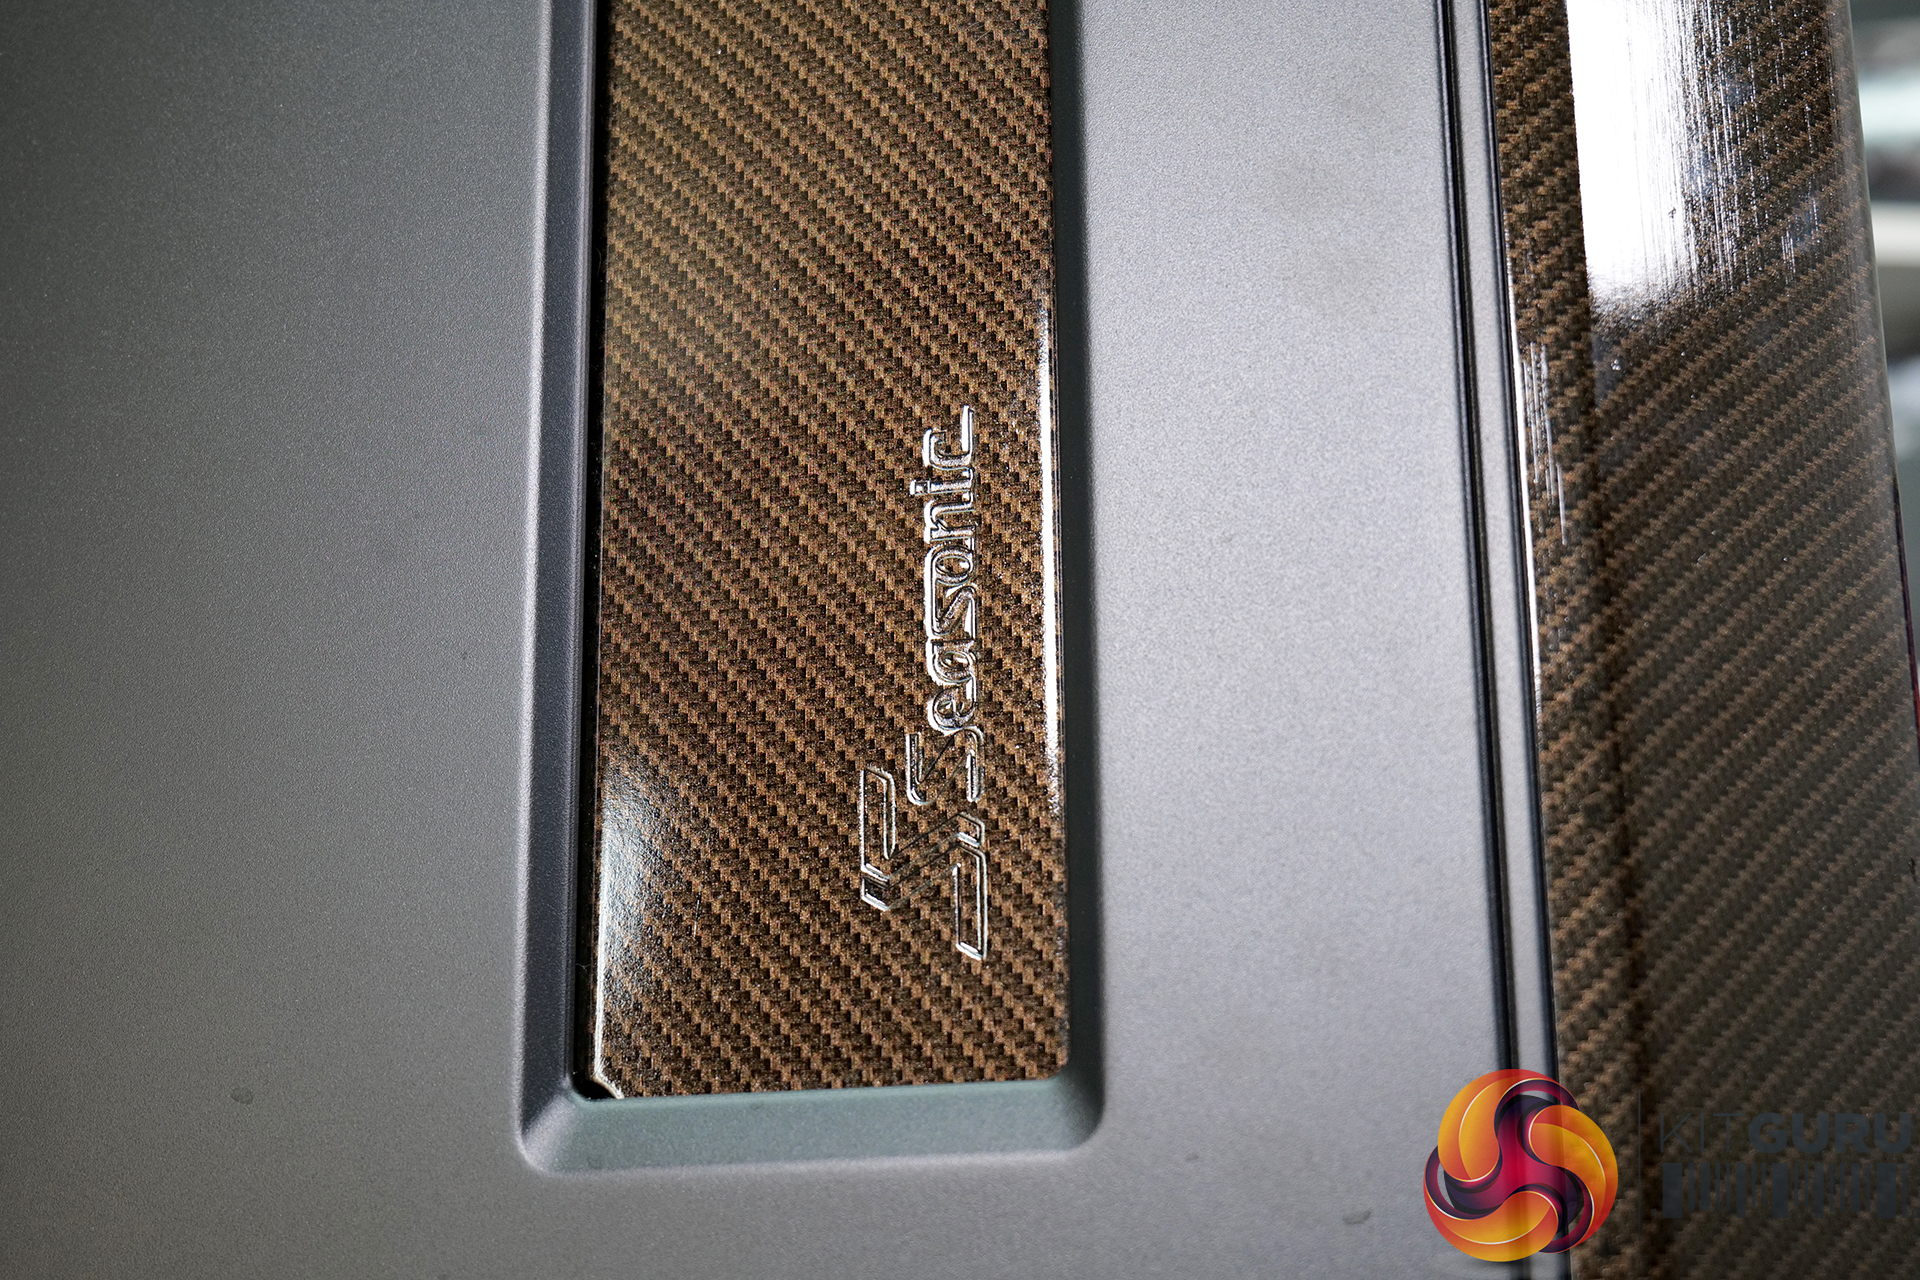
If you are a regular to the KitGuru website or YouTube channel, you will have seen some of the custom builds and modding projects of ours over the past five or six months. Today, my task is to build a new system inside the Seasonic SYNCRO Q704 chassis – a unique case featuring an inverted internal layout that also comes bundled with a Seasonic power supply, as well as the CONNECT Module that functions as a cable management hub.
A process I have been interested in for a while but never found the time to try out is hydro dipping, so I’m going to take this opportunity during this build to practice this new modding technique. In the video, I walk through the process from start to finish to give you guys an idea of how to set up hydro dipping, see what is involved and understand how difficult (or easy) it is.
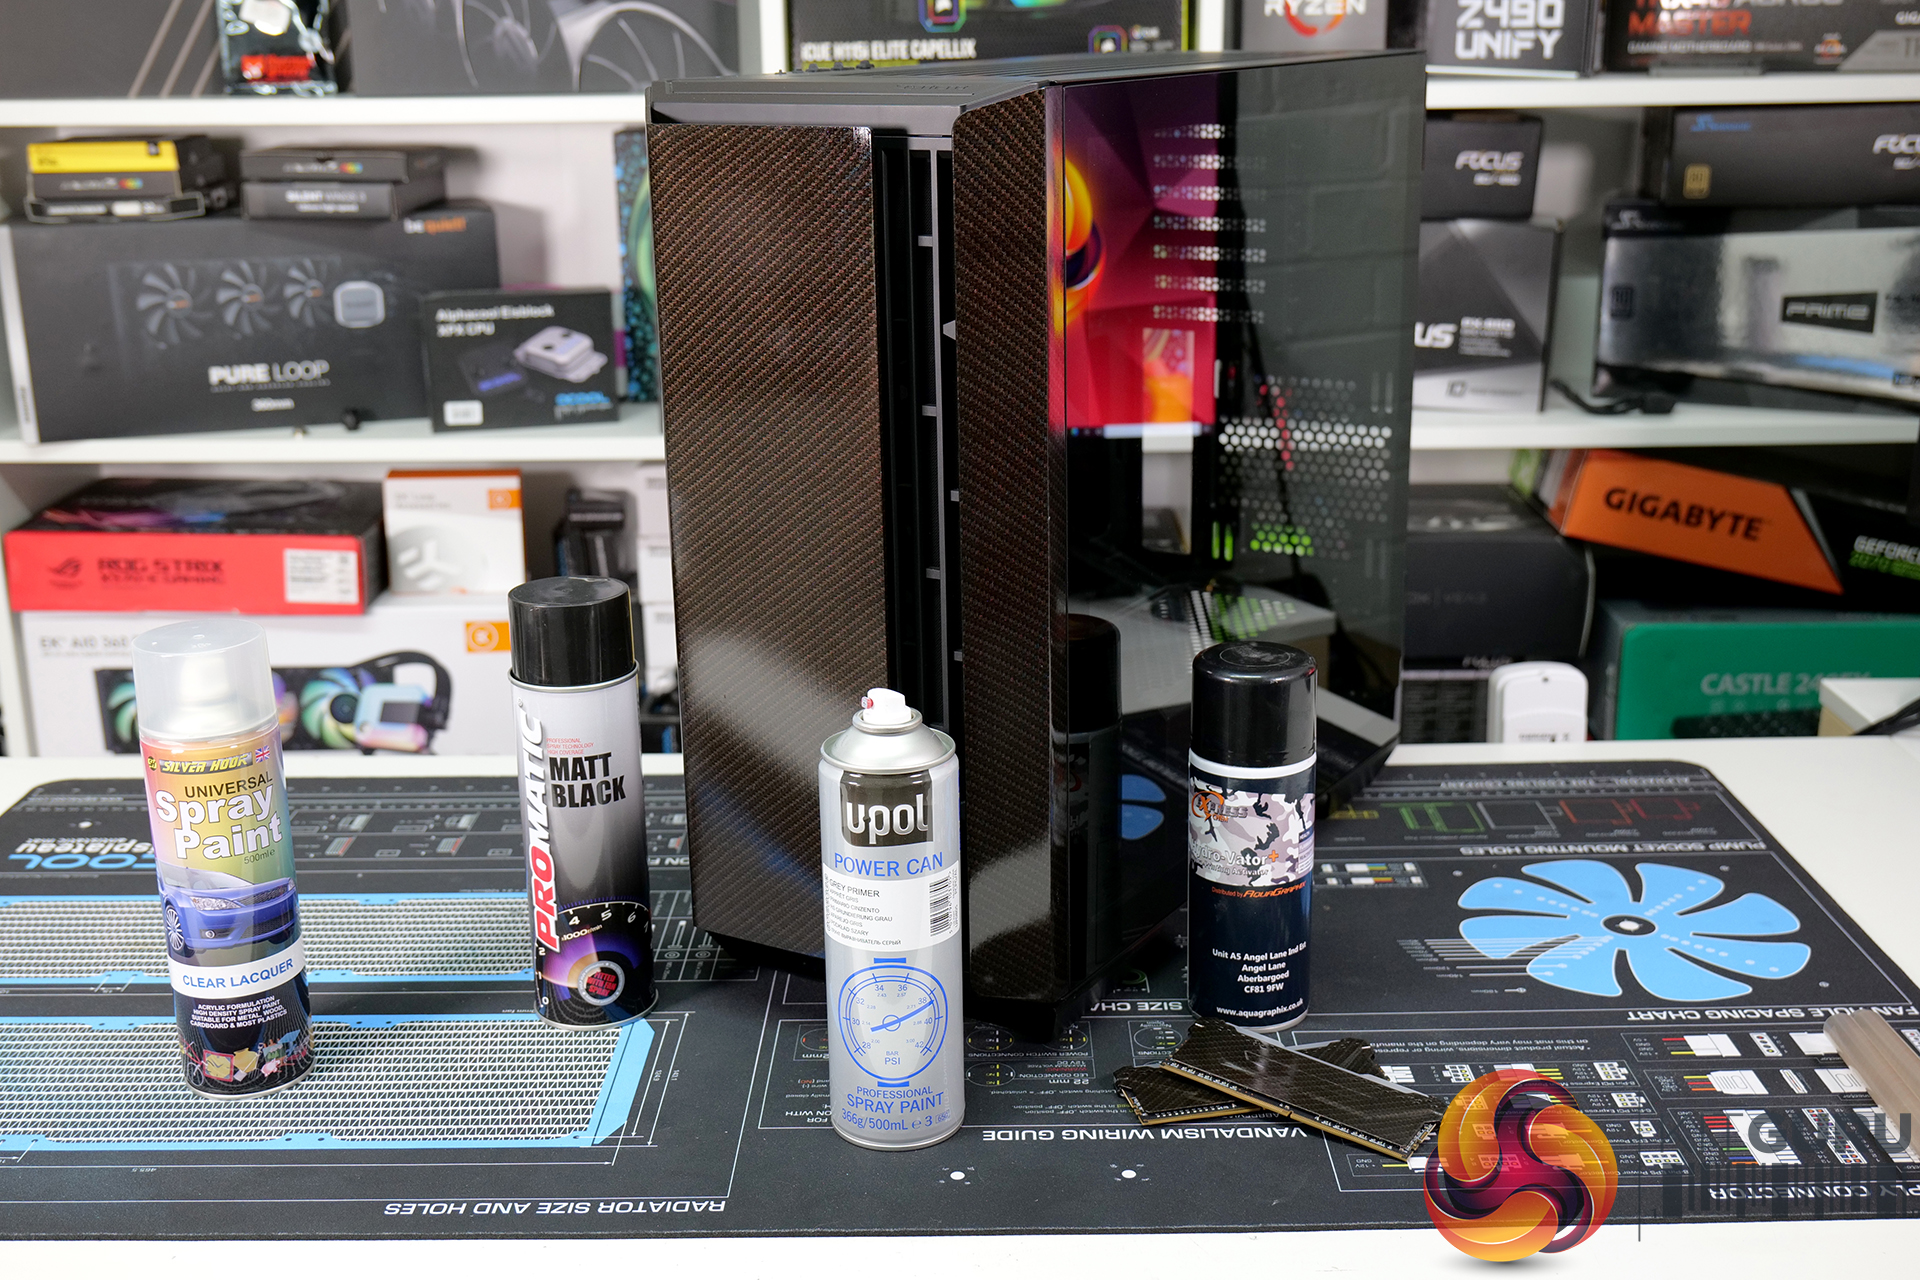
To begin hydro dipping, you will need to invest in some equipment, but none of it is expensive so don’t worry. Hydro dipping is quite an inexpensive hobby, the hydrographic film used in the process costs about £8 per meter but there are a few other things you will need to purchase to get going. You will also need some consumables that will have to be re-stocked regularly too.
To Hydro Dip at home you will need the following:
- The parts you want to Hydro Dip – these can be plastic, metal, wood etc.
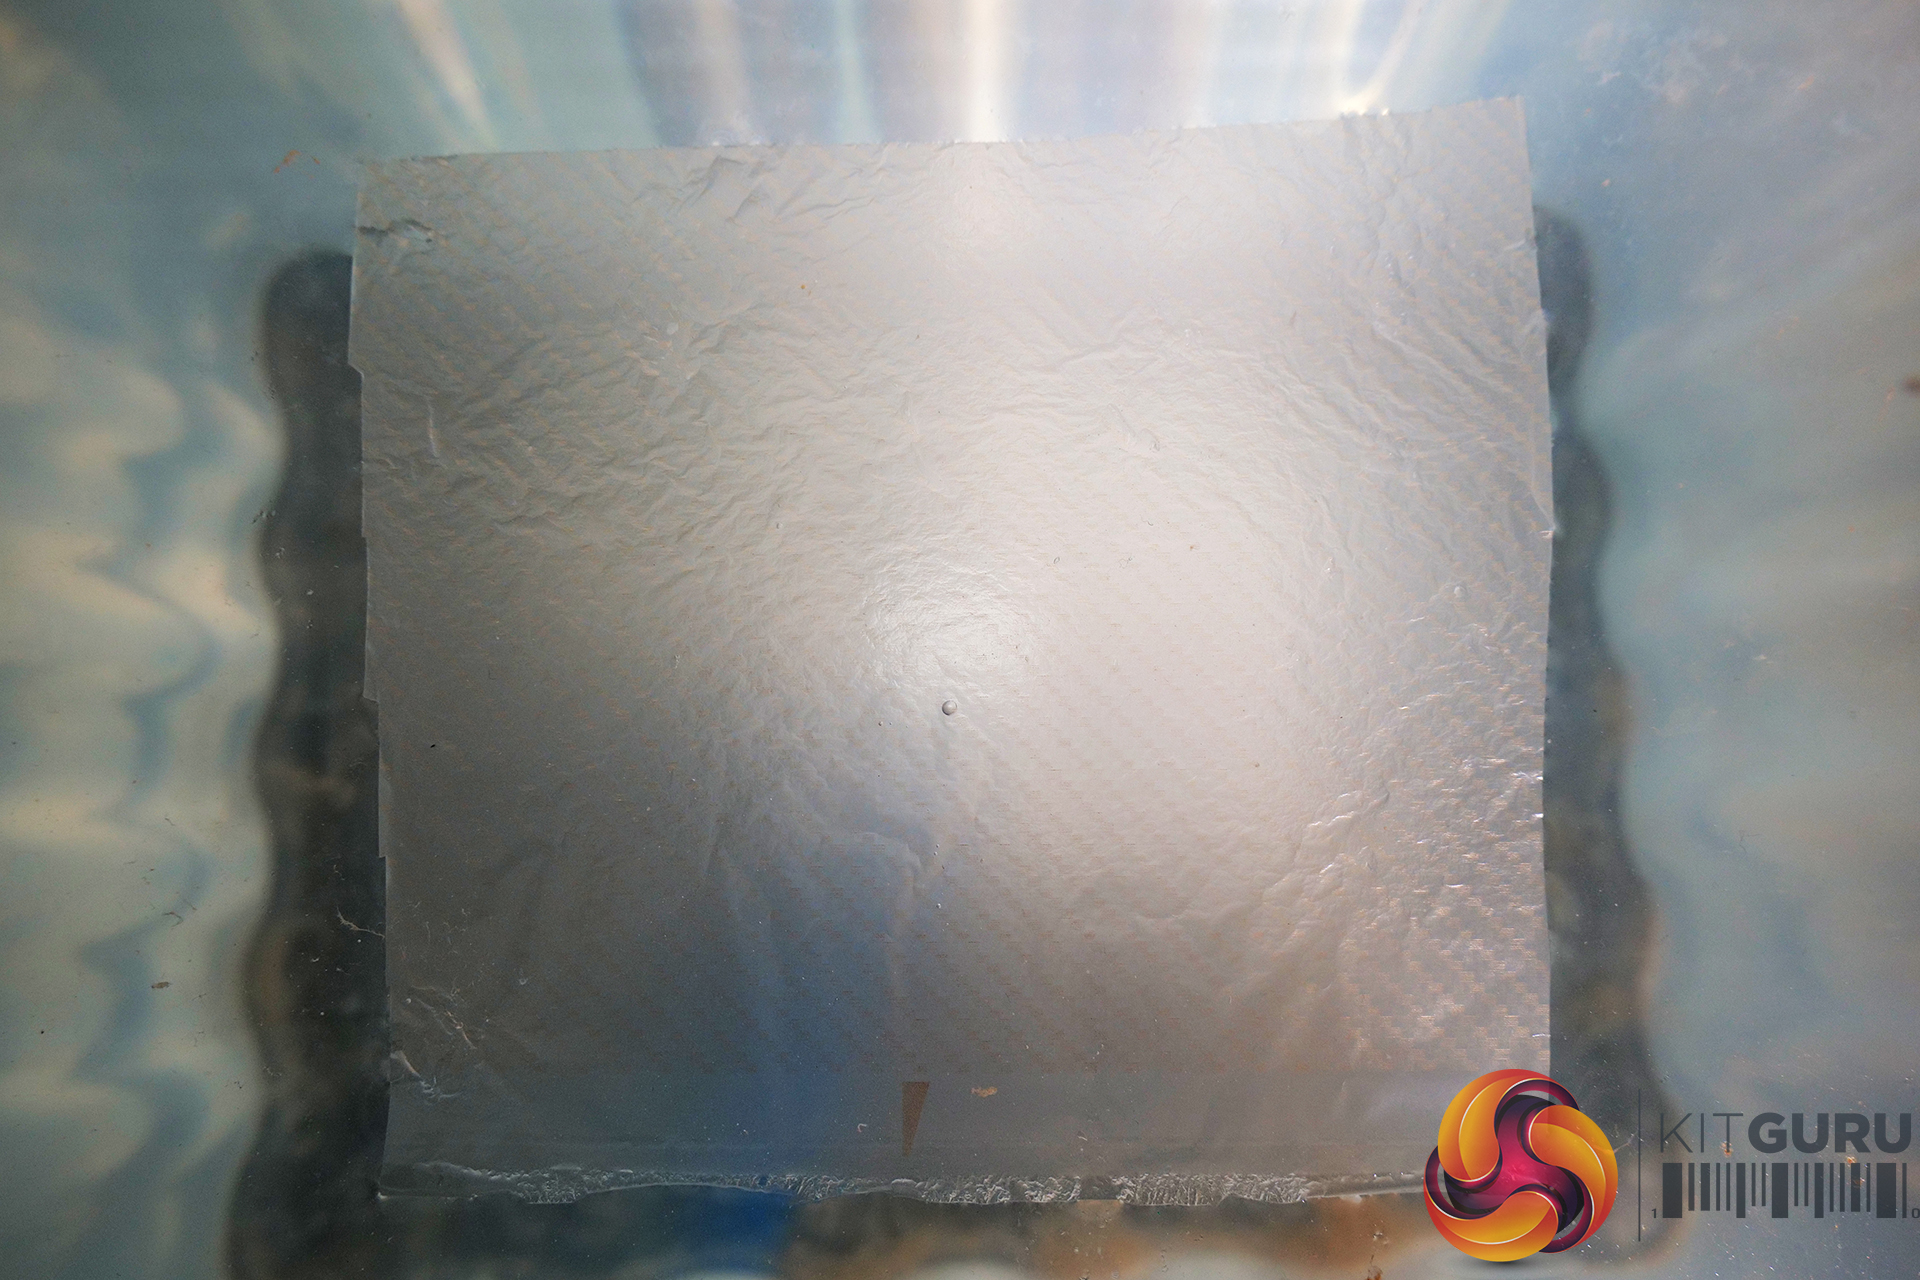
- Hydrographic film.
- Scotch Brite pads or fine sanding pads to rough up the surface of your part.
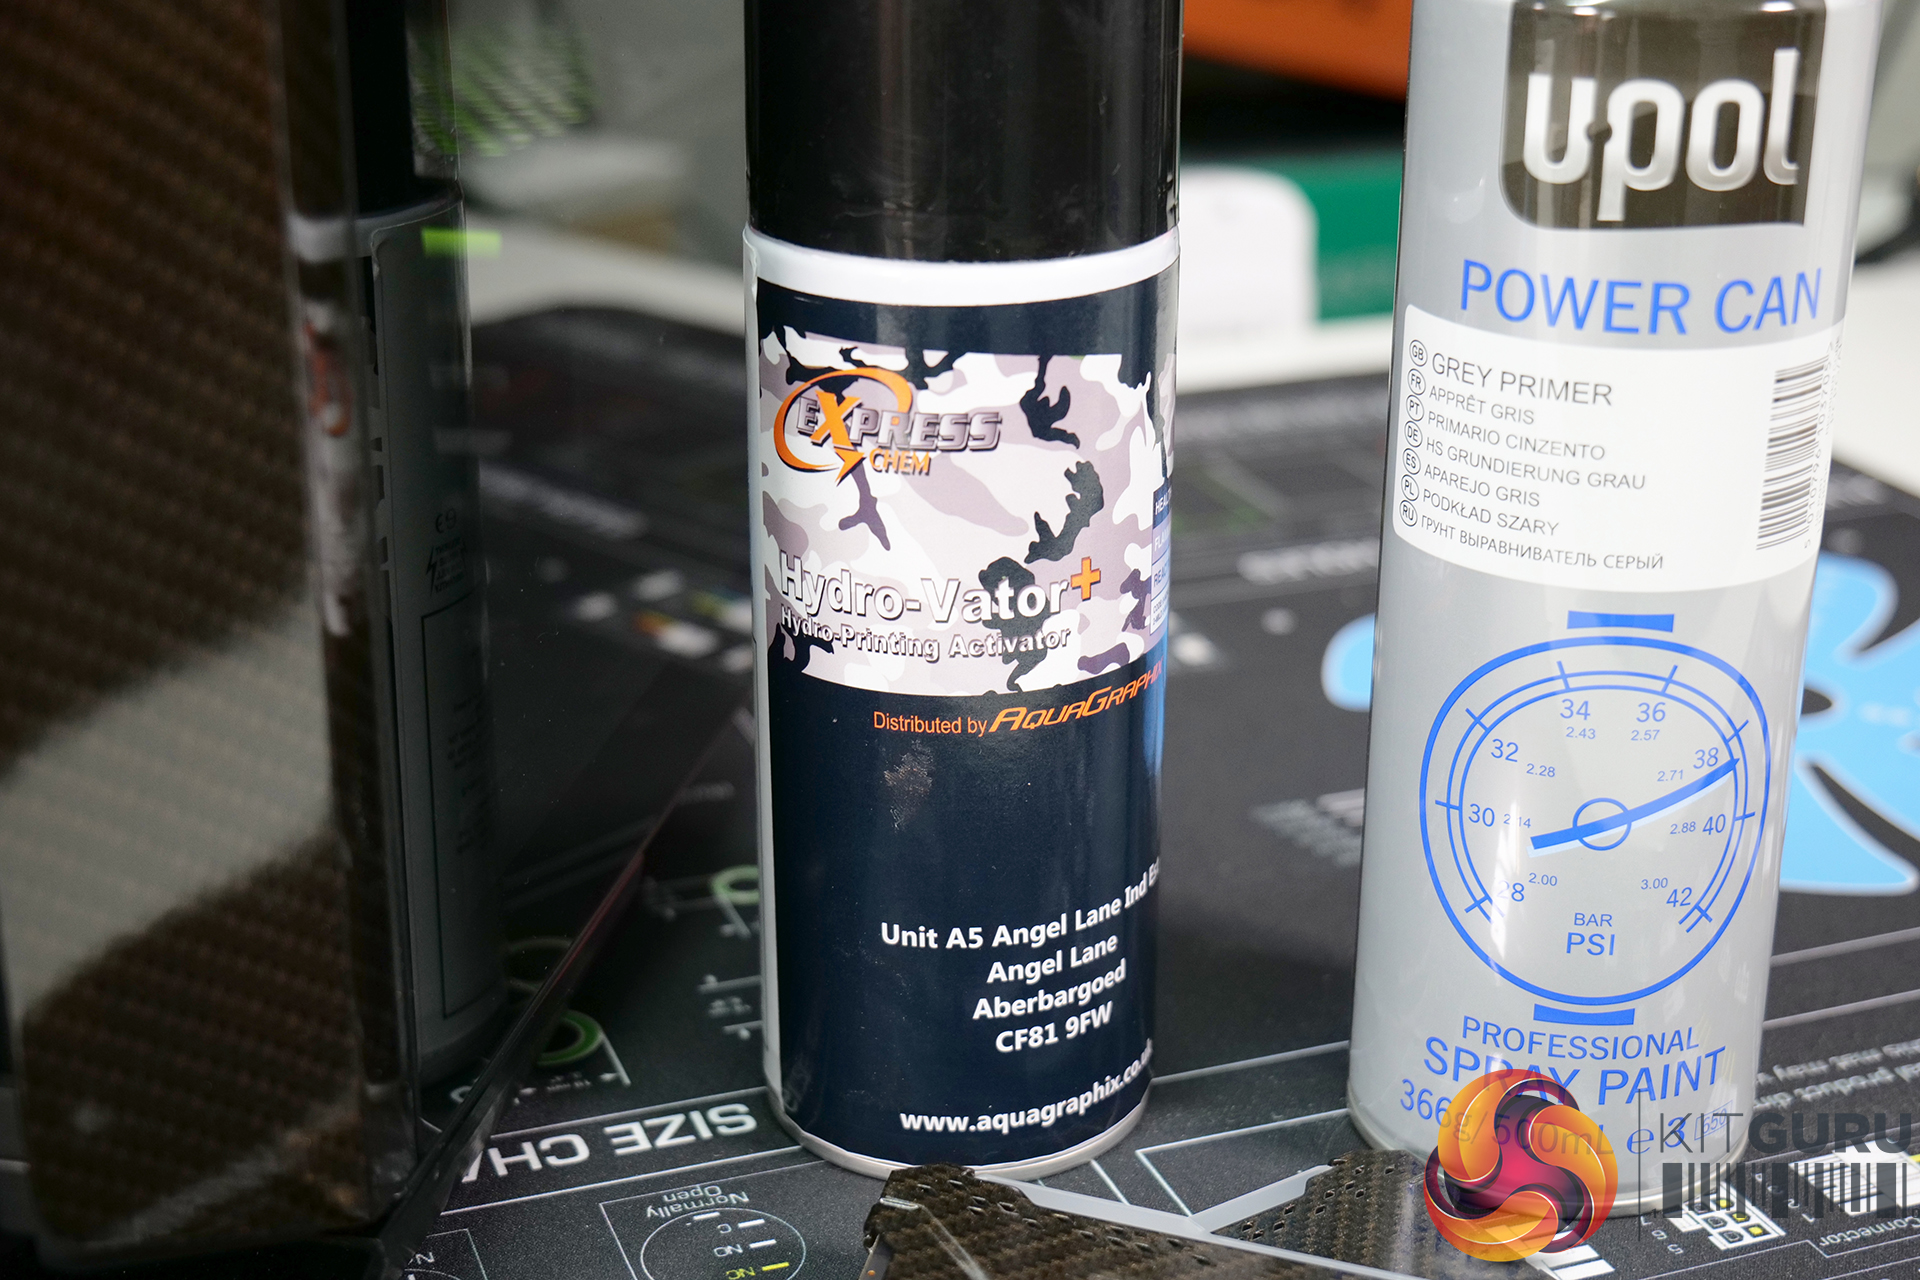
- Spray primer.
- Base coat spray paint.
- Clear coat lacquer.
- Activator for the film.
- A tank or container for the water.
- Water heater such as an aquarium heater.
- Basic tools for dismantling parts if necessary.
- Masking tape for masking off areas that you don’t want to be covered by the Hydro dip.
- Respirator face mask.
- Disposable nitrile gloves.

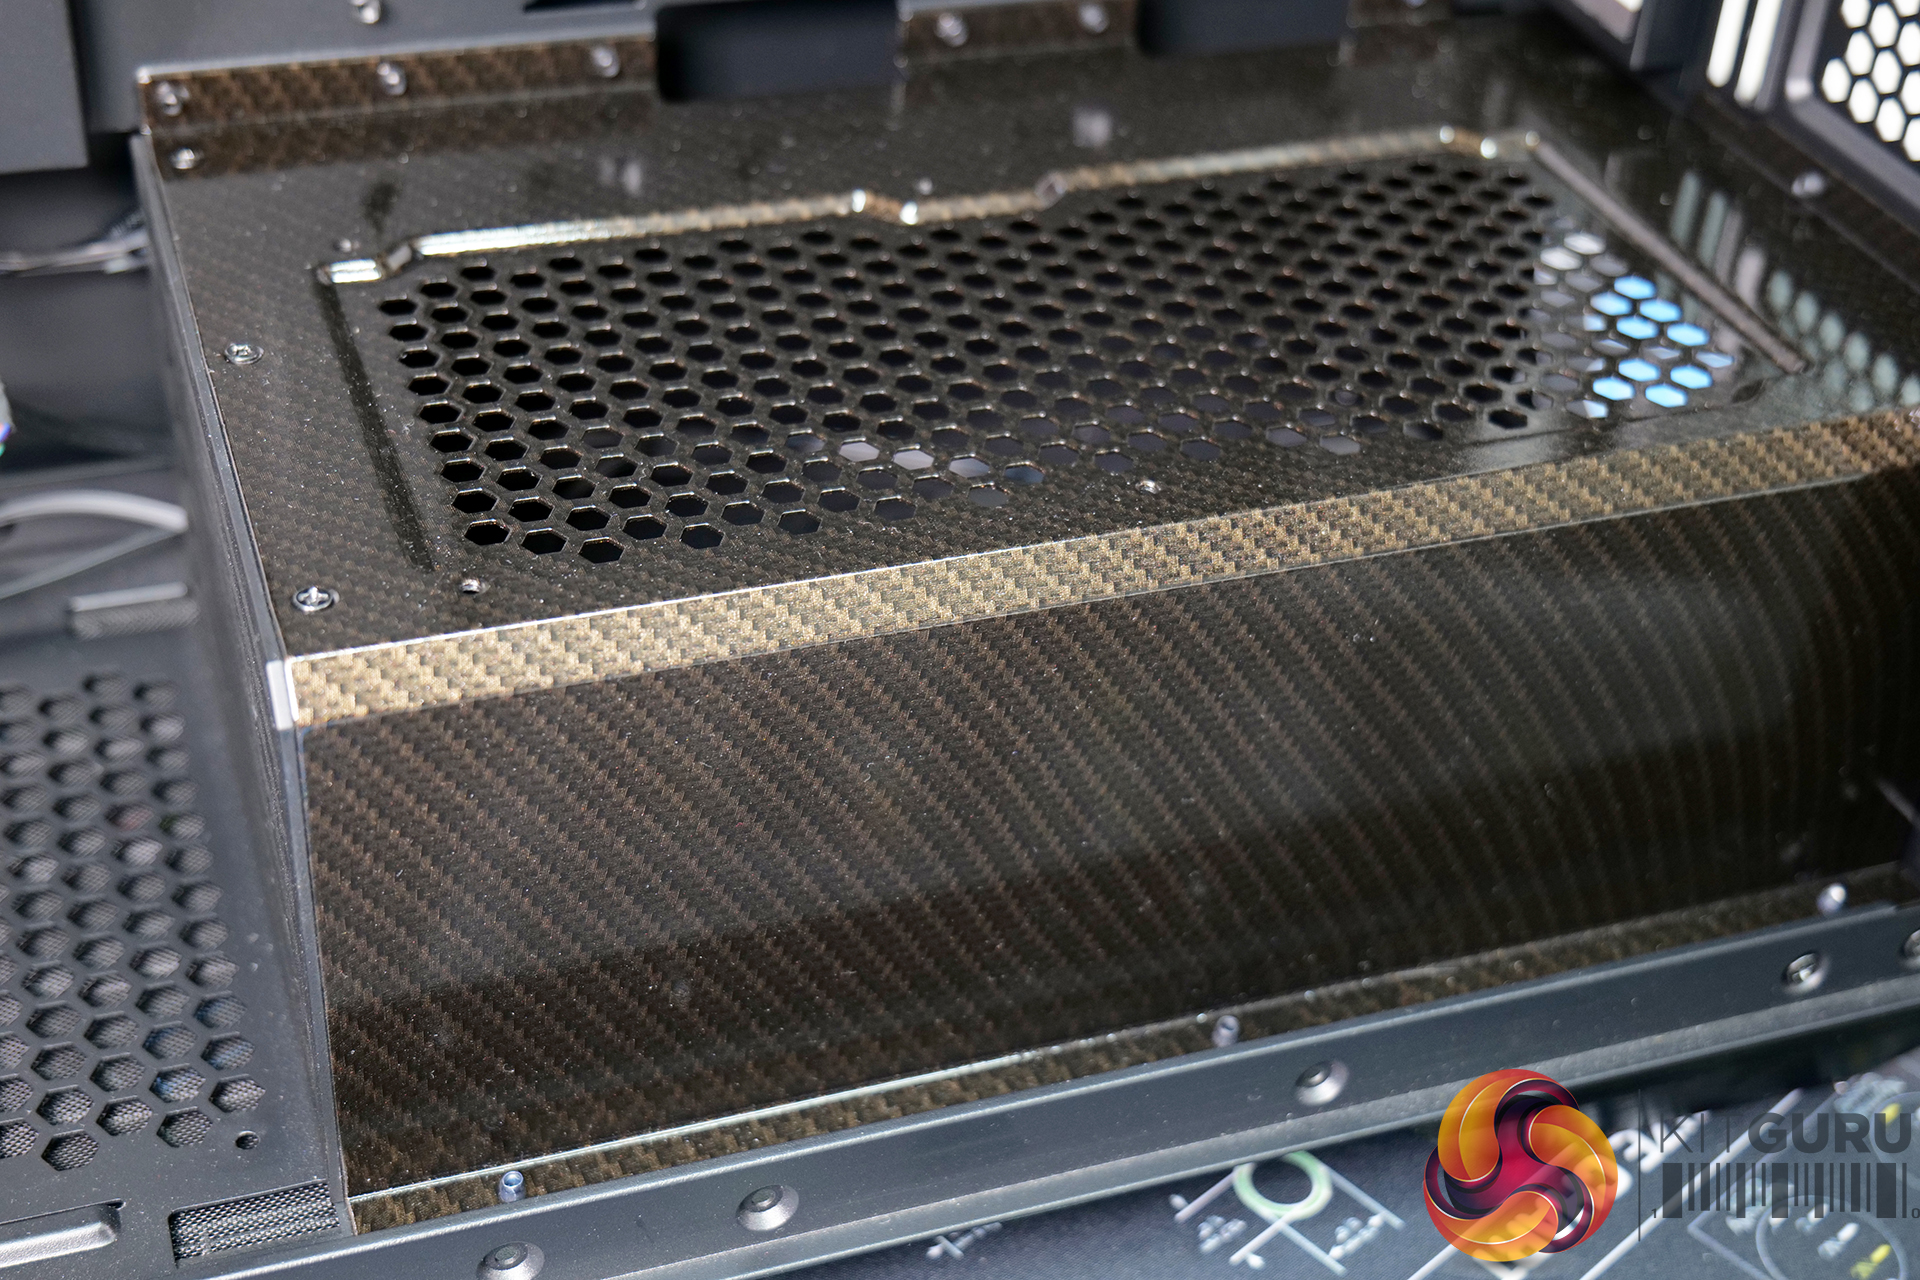
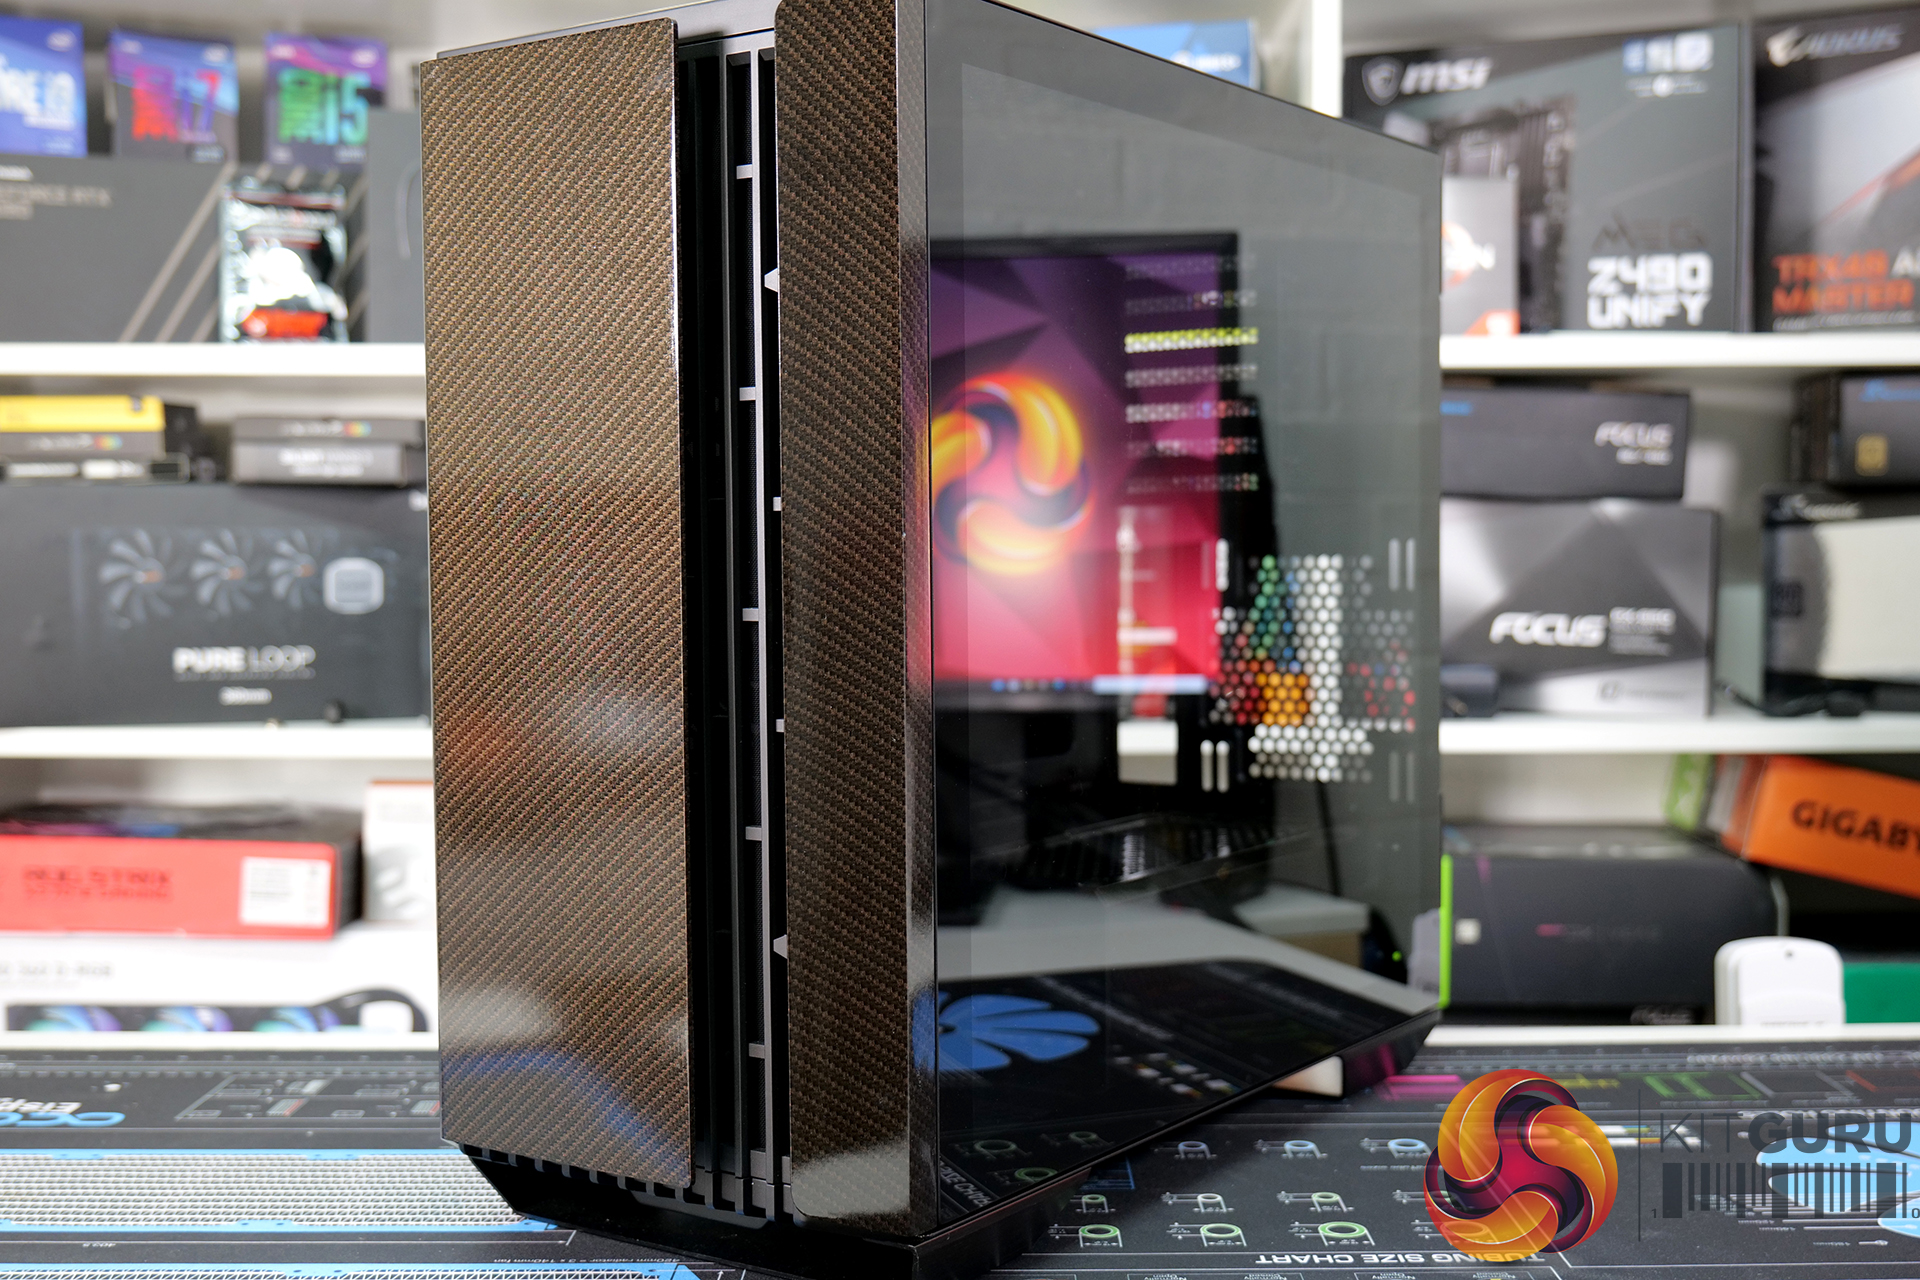
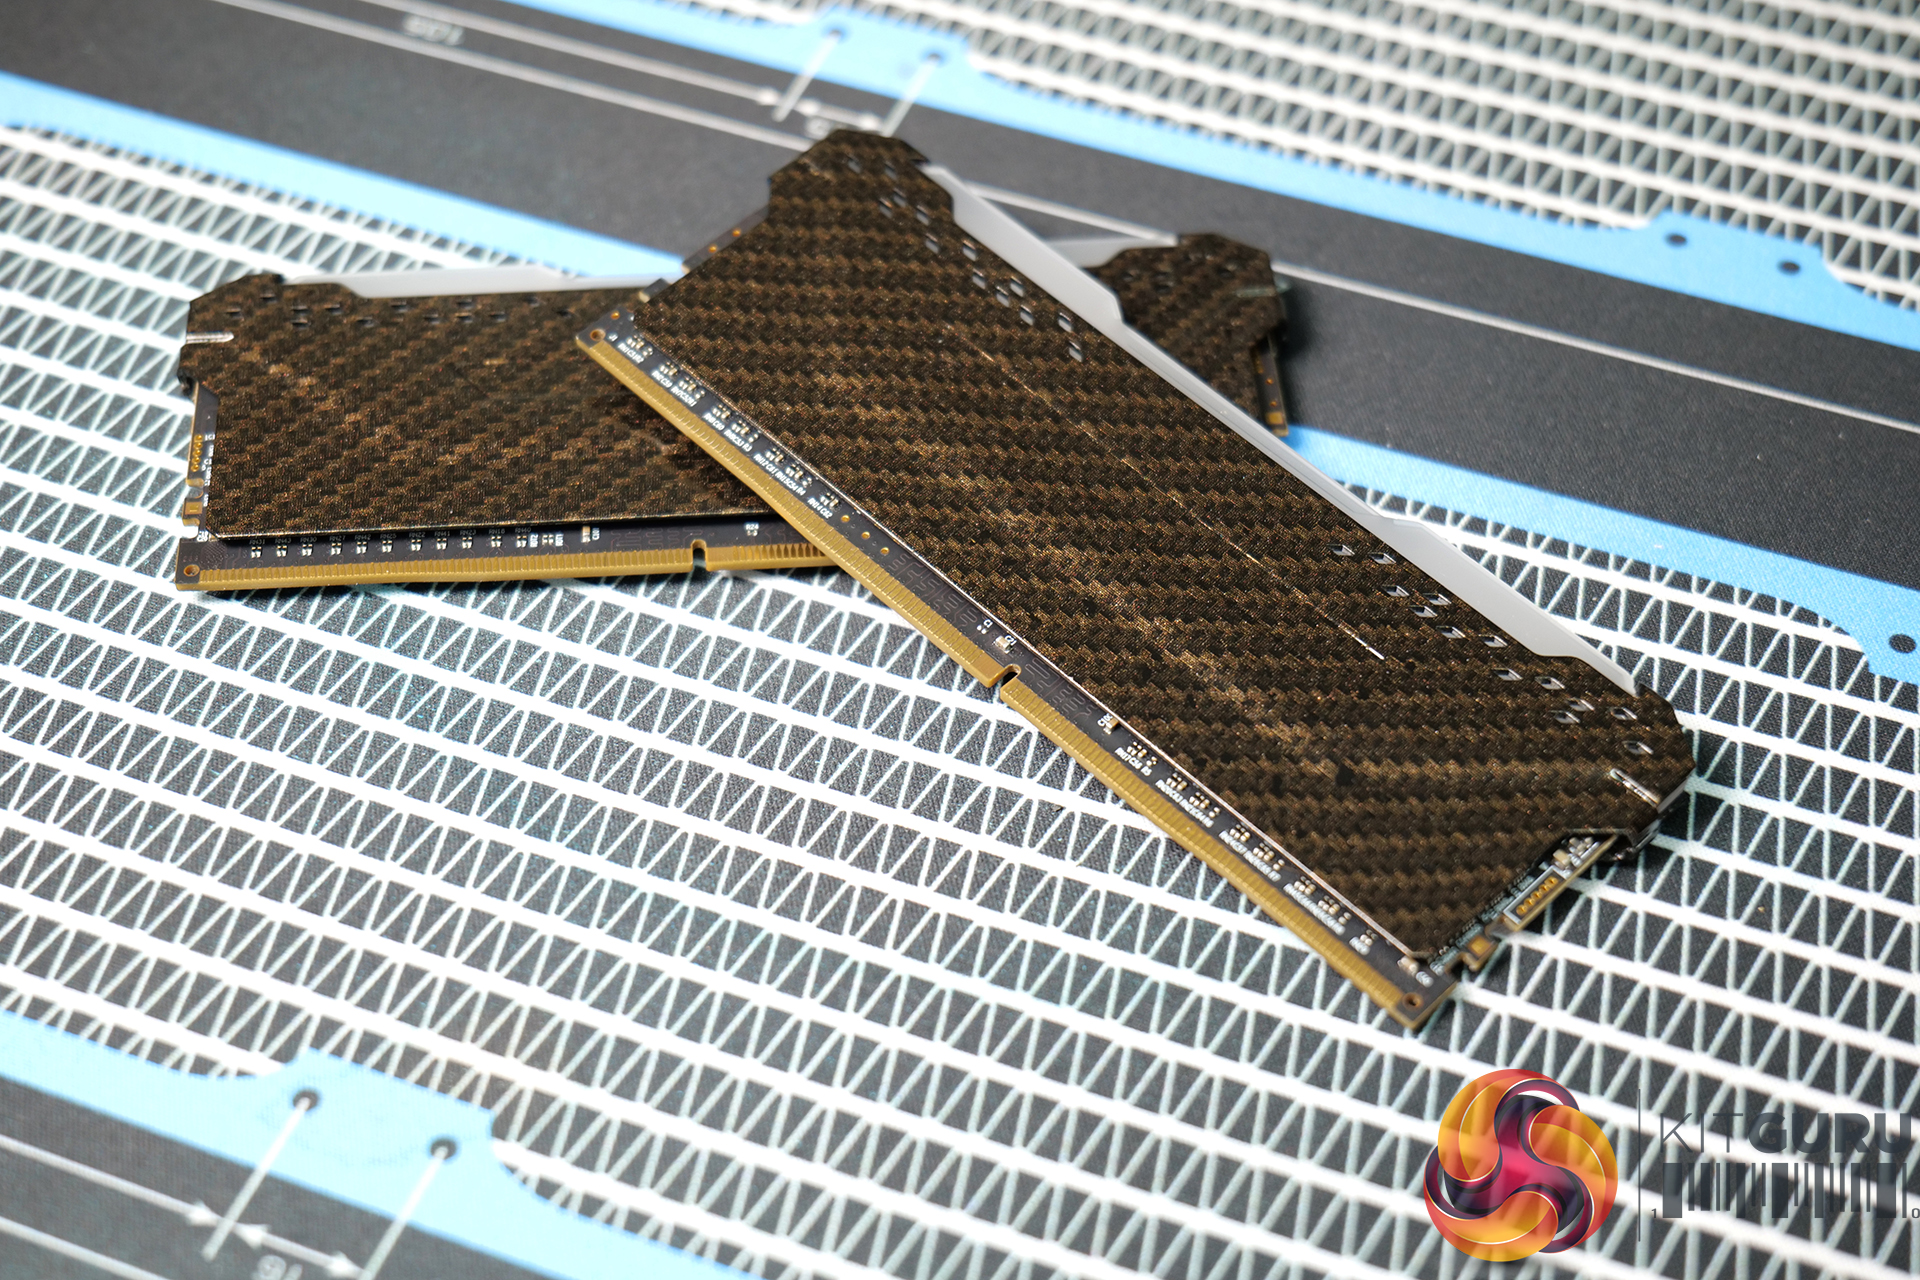
It is possible to hydro dip all kinds of solid materials such as plastic, metal, wood etc. The surface of ABS plastic can be directly hydro dipped, but metal and wood need to be painted first for optimal adhesion of the hydrographic film. Recently, during our Intel NUC 9 mod project, I covered spray painting techniques here, the same method applies for painting parts before hydro dipping.
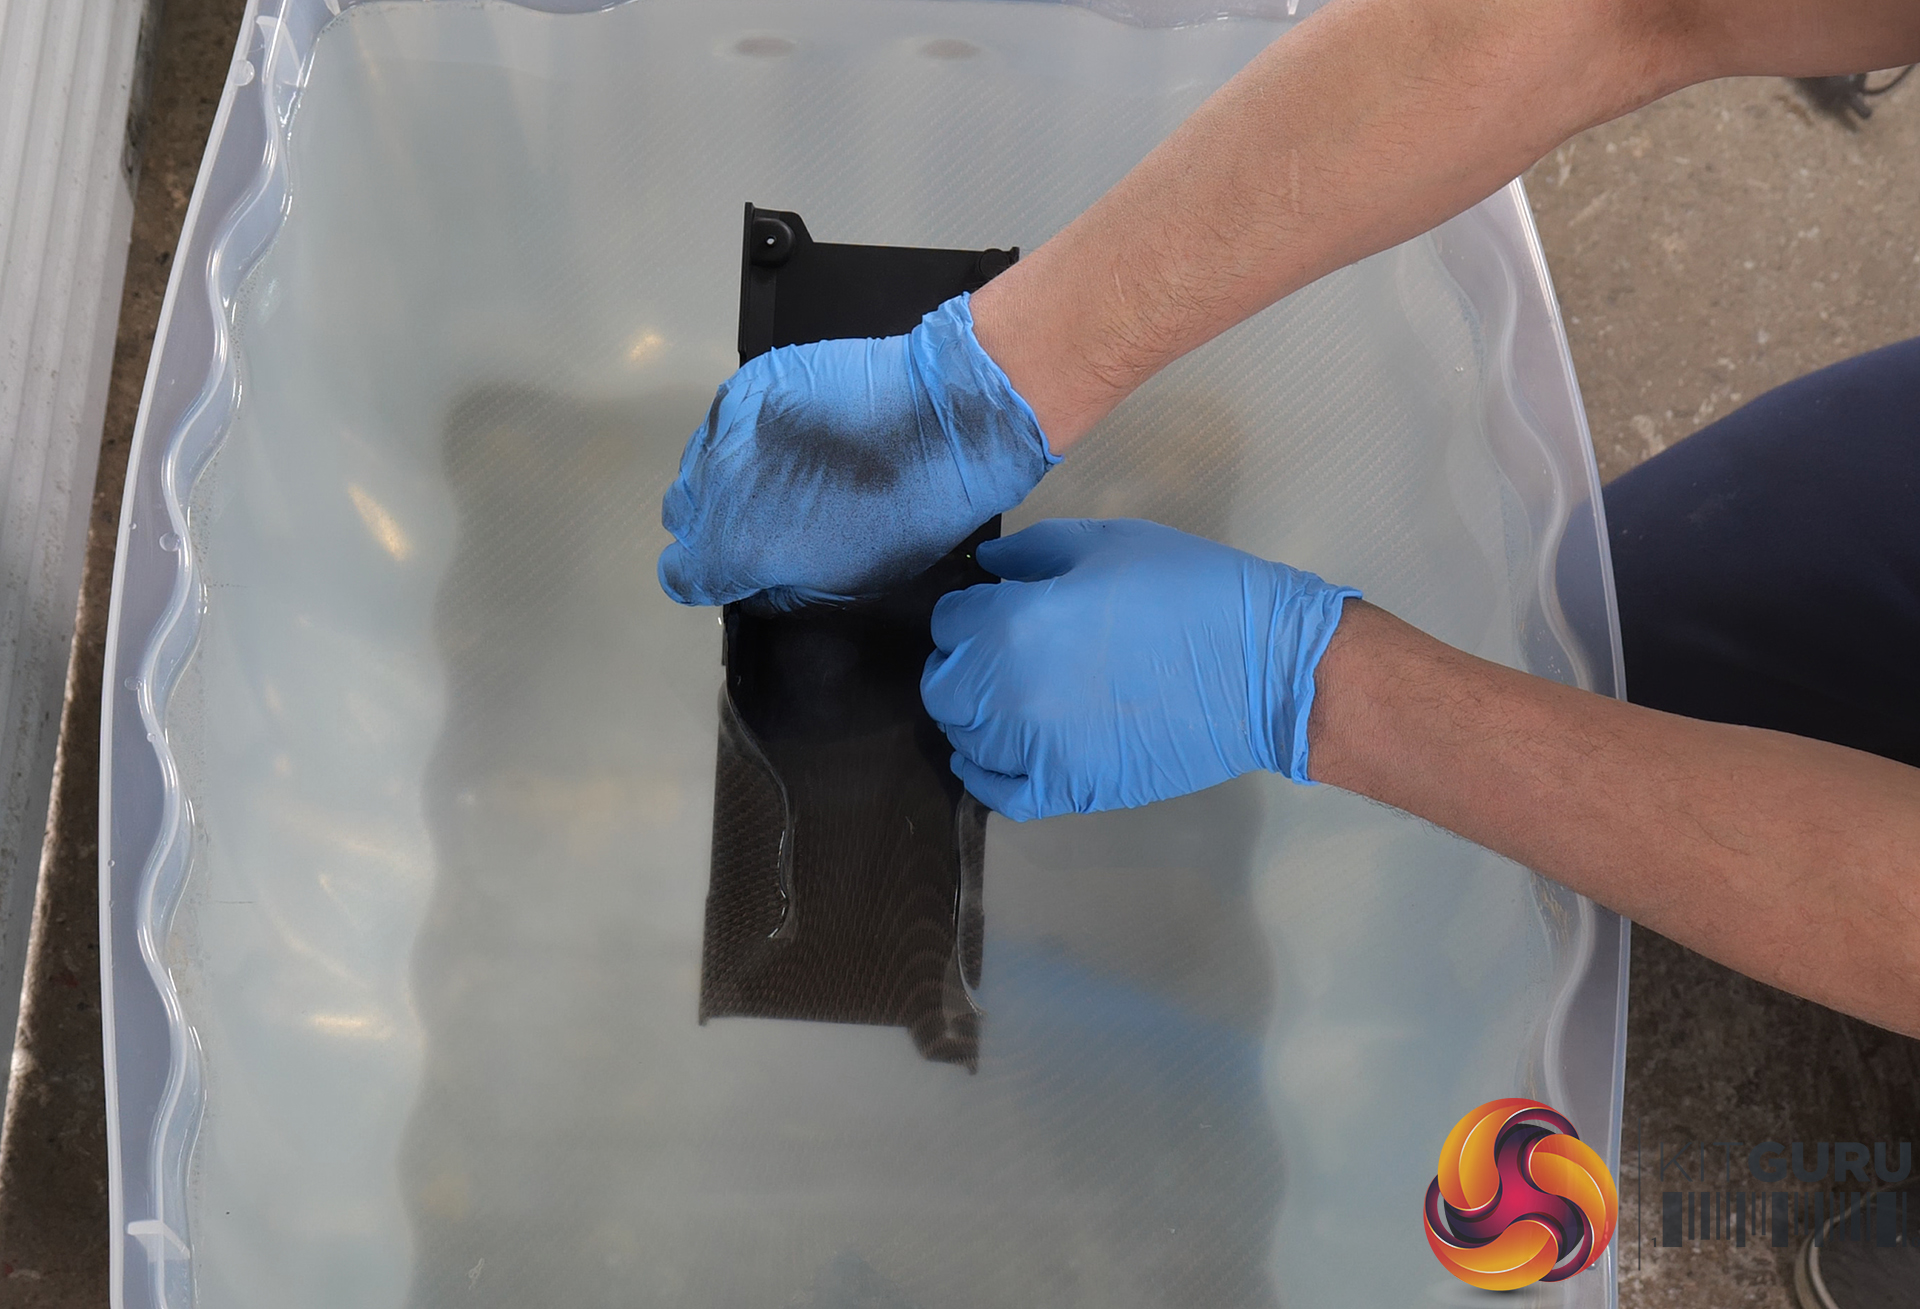
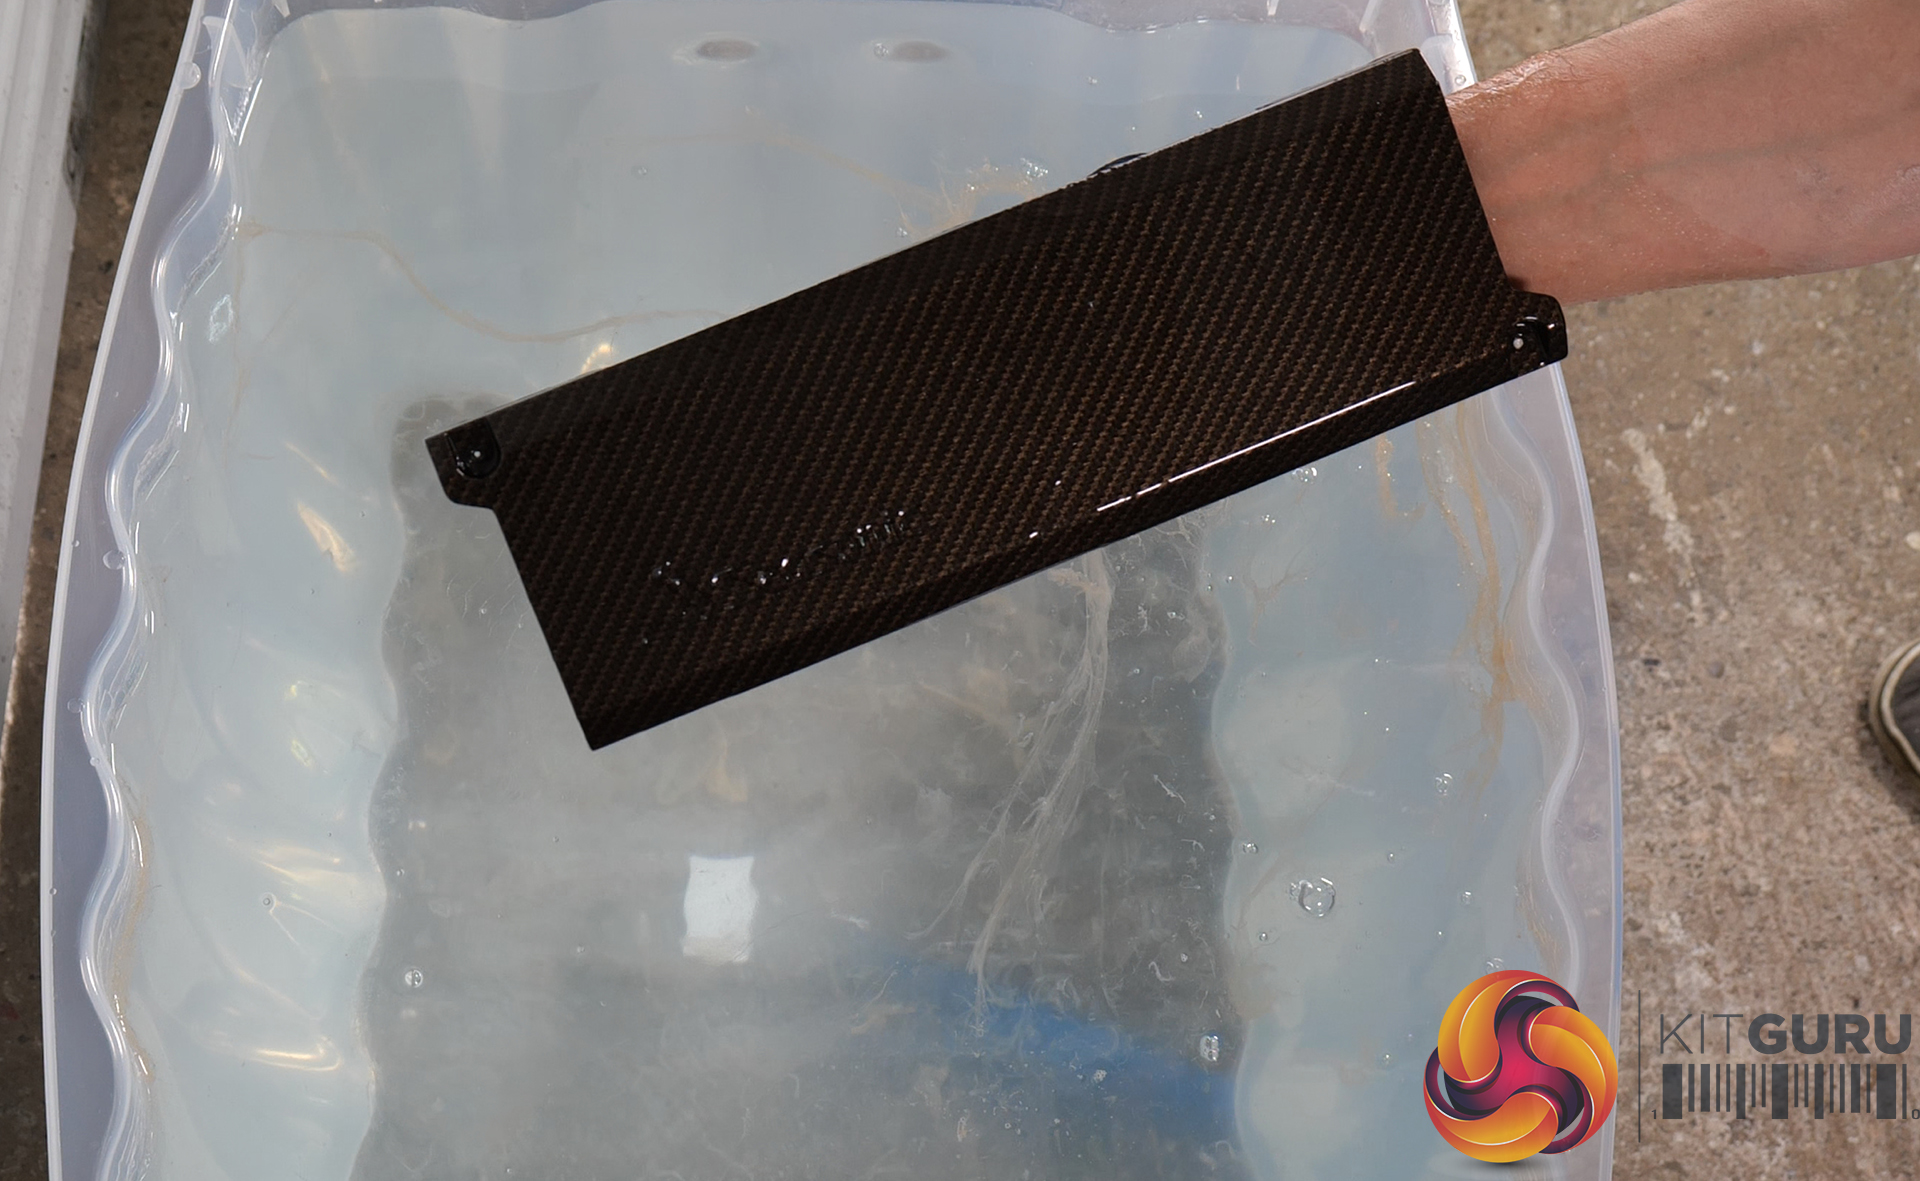
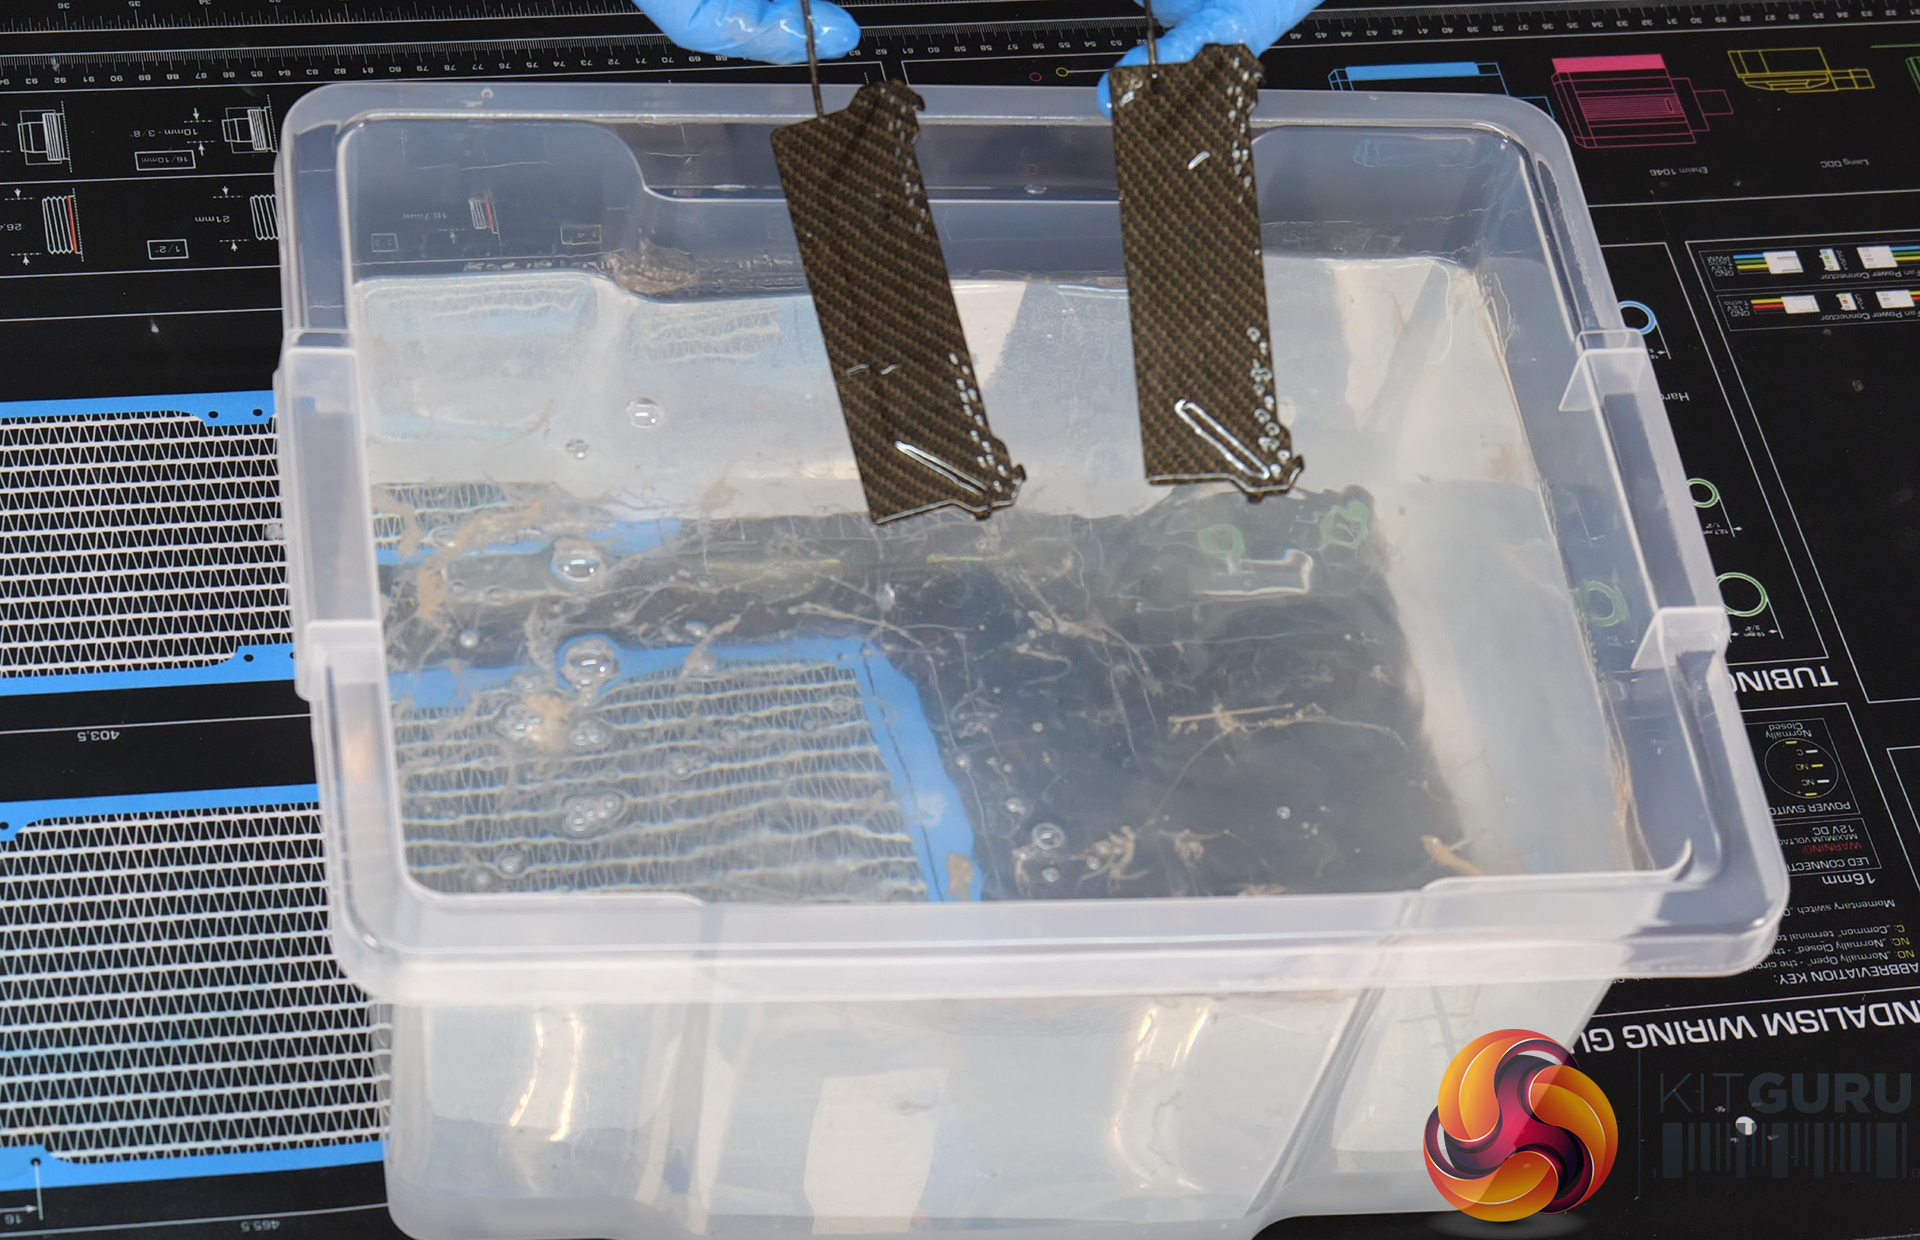
Once you have your parts prepped and painted you are ready to start hydro dipping. To begin, cut the film to a size that will comfortably cover the part you are dipping or just a little smaller than the opening of your tank to allow for expansion fo the film. Very slowly and carefully lower the film into the water, just so that it floats on top, do not let the water go over the top of the film.
You can determine which way around the film should be placed on the water by pinching the film between two wet fingers, the film will stick to one finger, this side of the film should face the water. Leave the film in the water for about a minute to fully hydrate and then liberally spray activator over the film/tank opening until the film turns into a liquid.
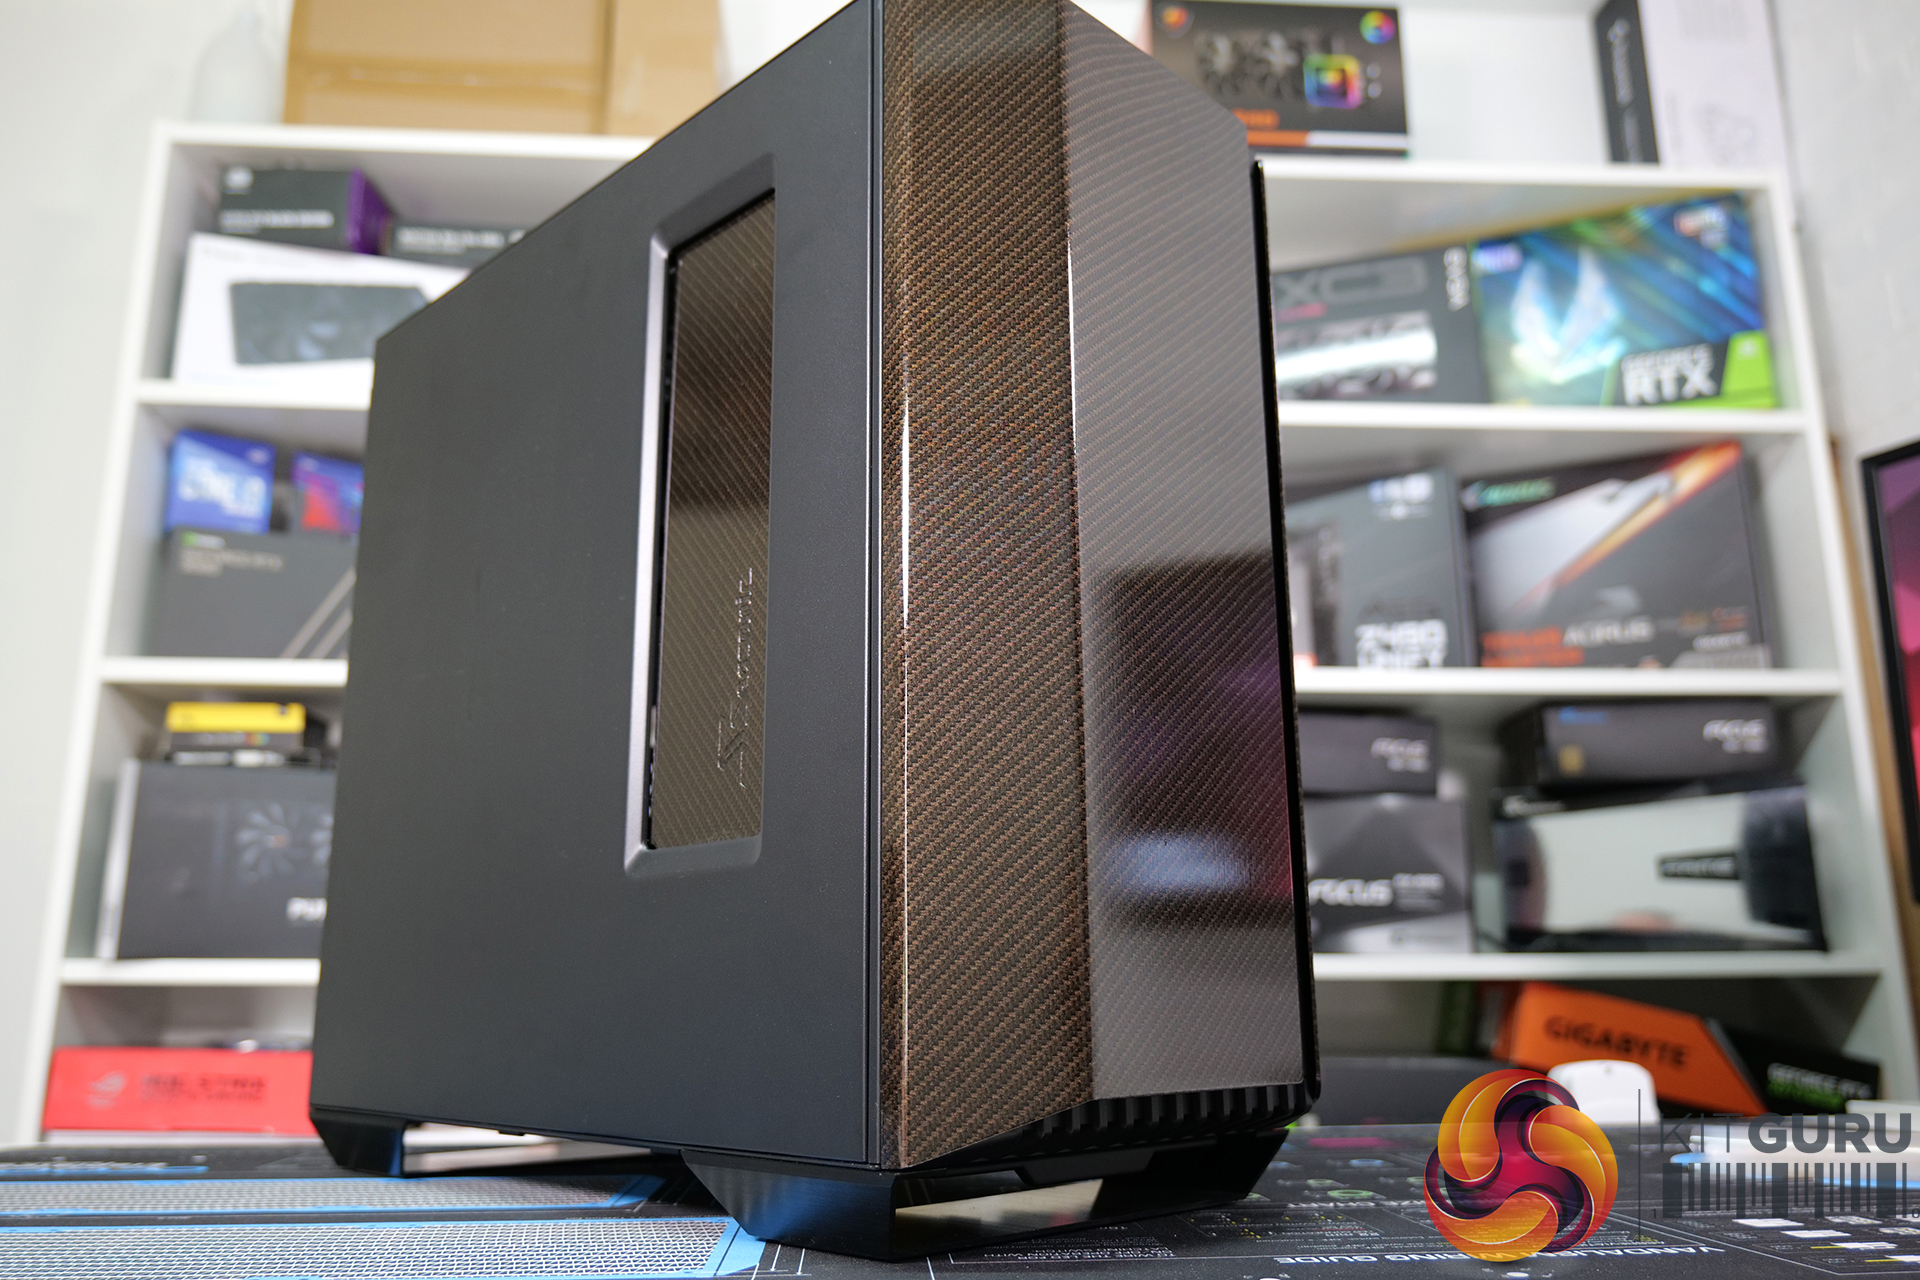
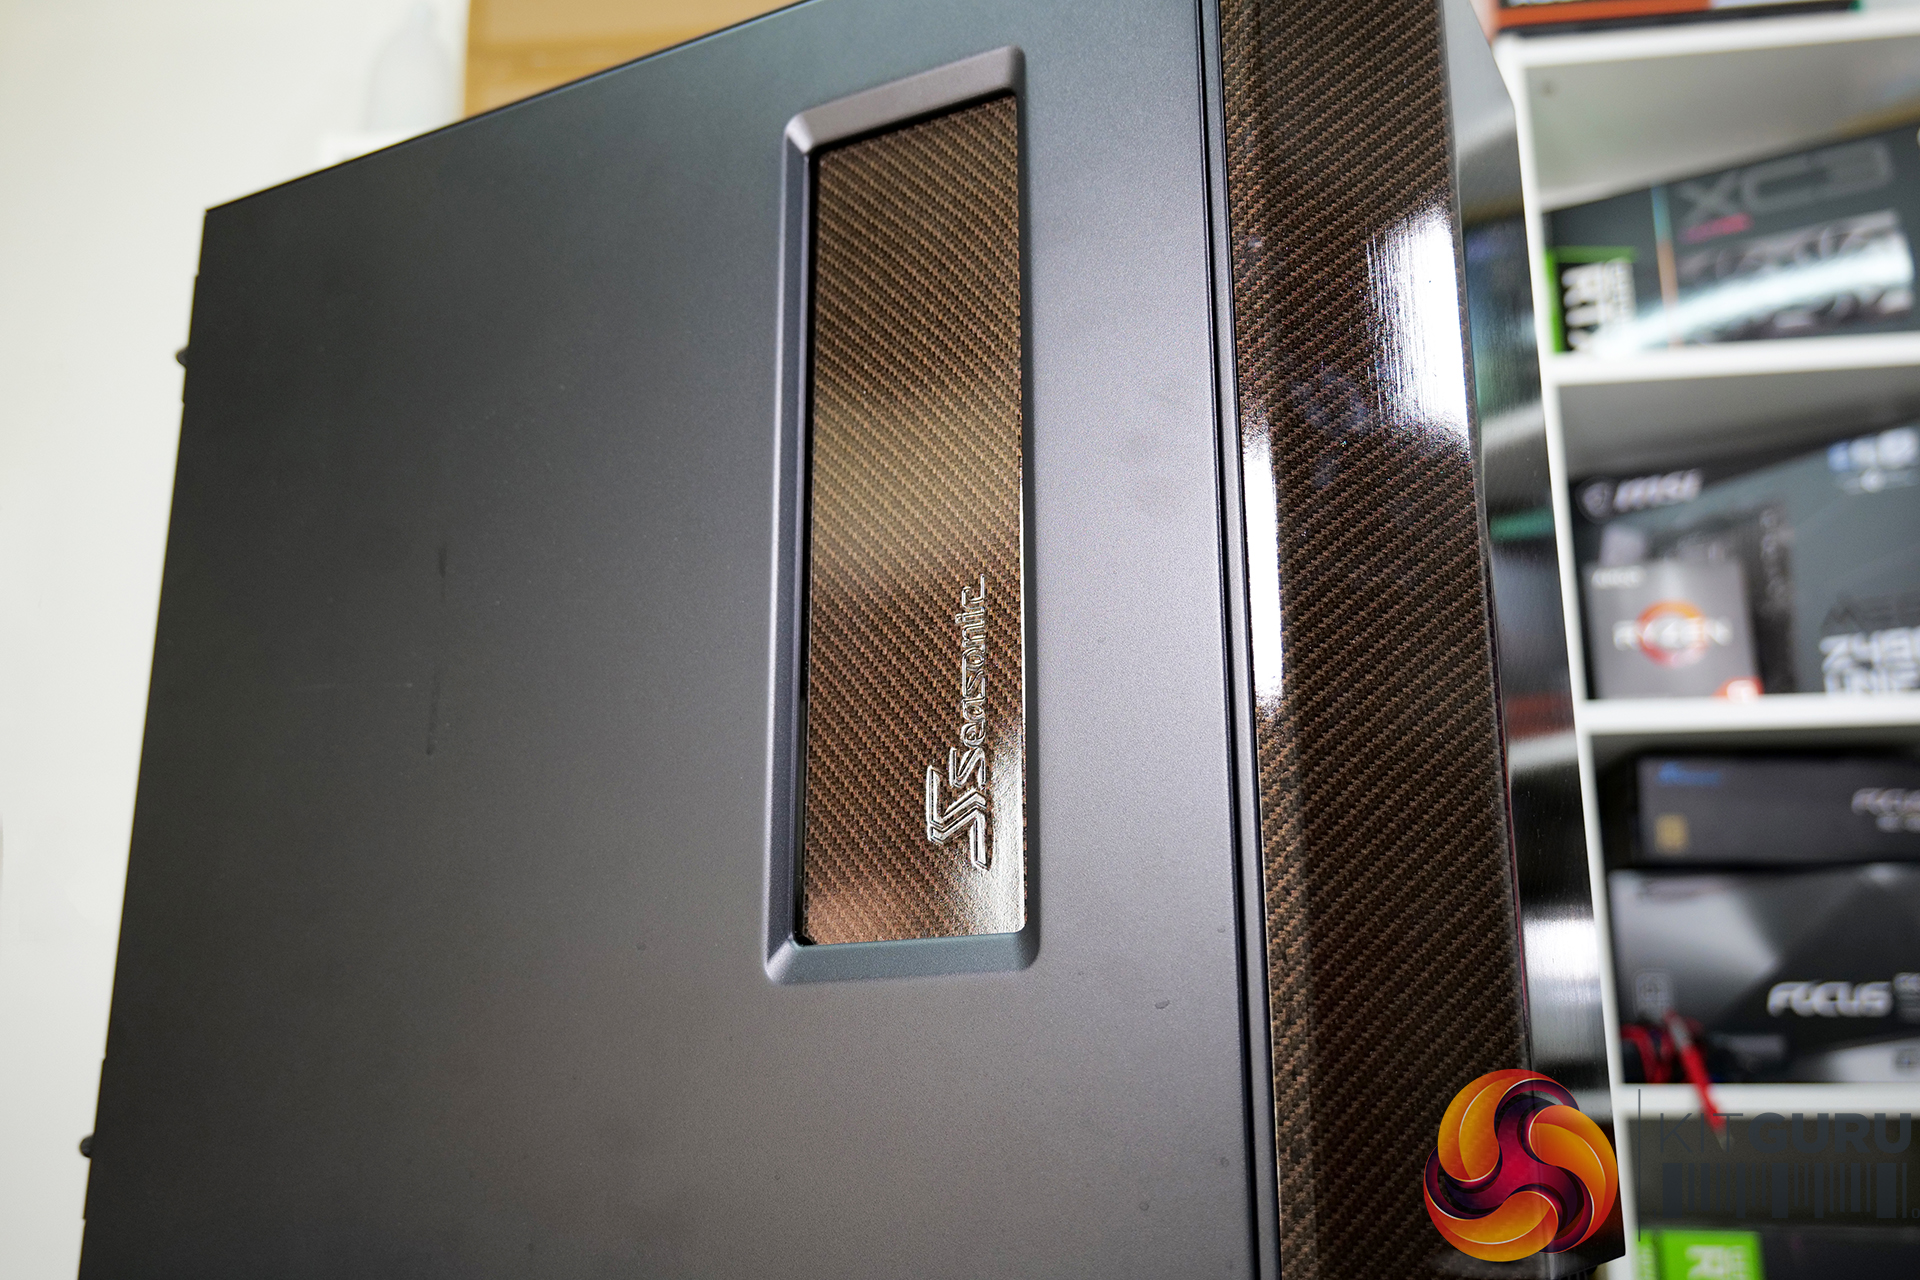
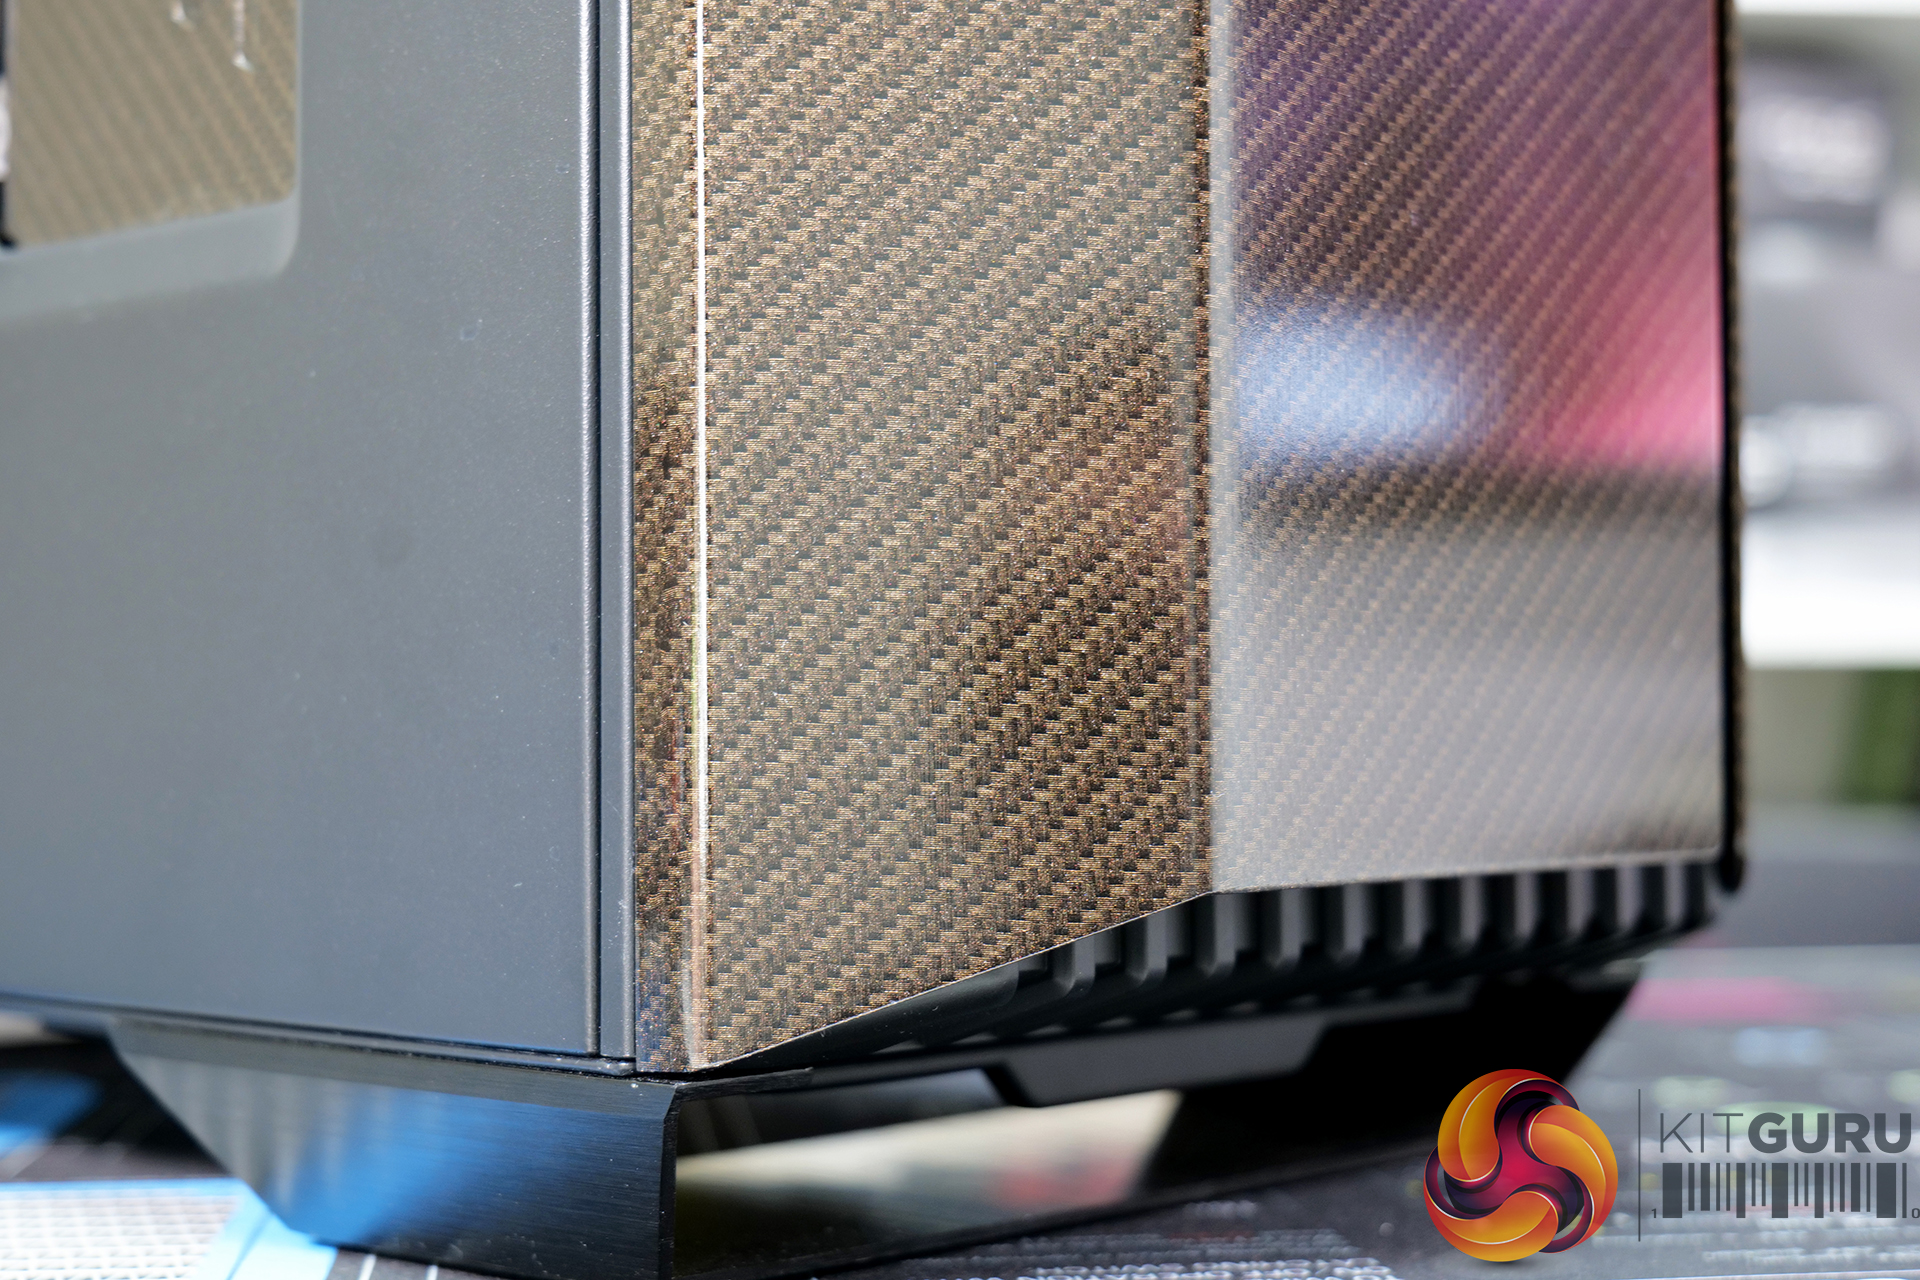
Once the film is activated, very slowly lower the part down into the water at an angle of about 40⁰-45⁰ until fully submerged. Swish the part around under the water to disperse the remaining film, lift the part out and if everything has been done correctly, your part should have the image or pattern from the film transferred to its surface.
When you are happy that the dip has worked, rinse the part under cold water for about 5-10 minutes until all the slime (leftover PVA) has been removed from the surface. To protect the hydro dip print, dry the part fully and apply a clear coat lacquer. Let the lacquer dry and you are done, it really is that easy!
Discuss on our Facebook page HERE.
KitGuru says: Hydro dipping at home can be a success if you follow the steps in this video. Are you tempted to try it out? Make sure you come back for part two to see this build completed.