A single press of the joystick inwards turns the monitor on, while a longer press after that turns it back off again.
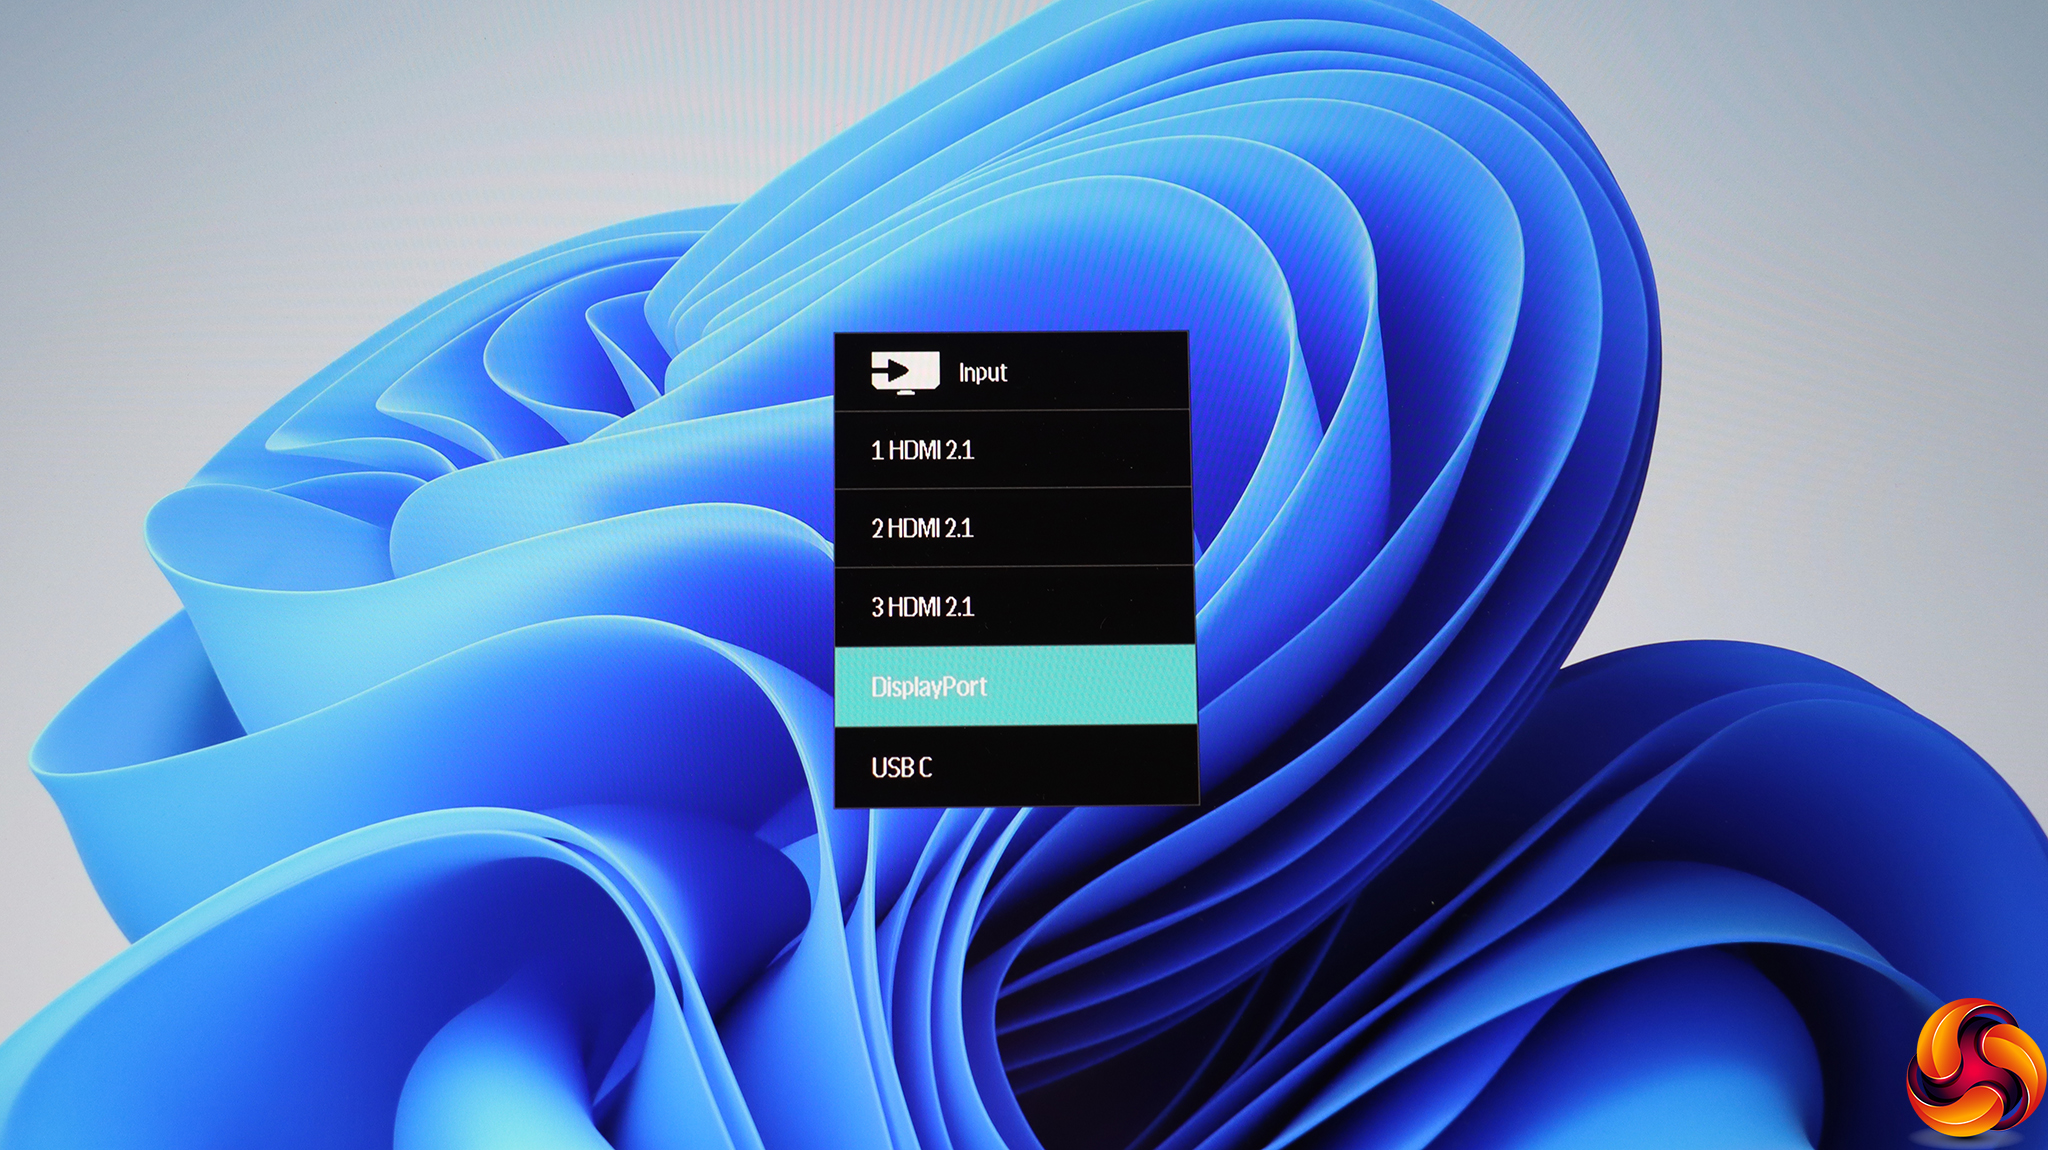
Push the joystick up and you get to choose the video input manually – and there are five possibilities to select from.
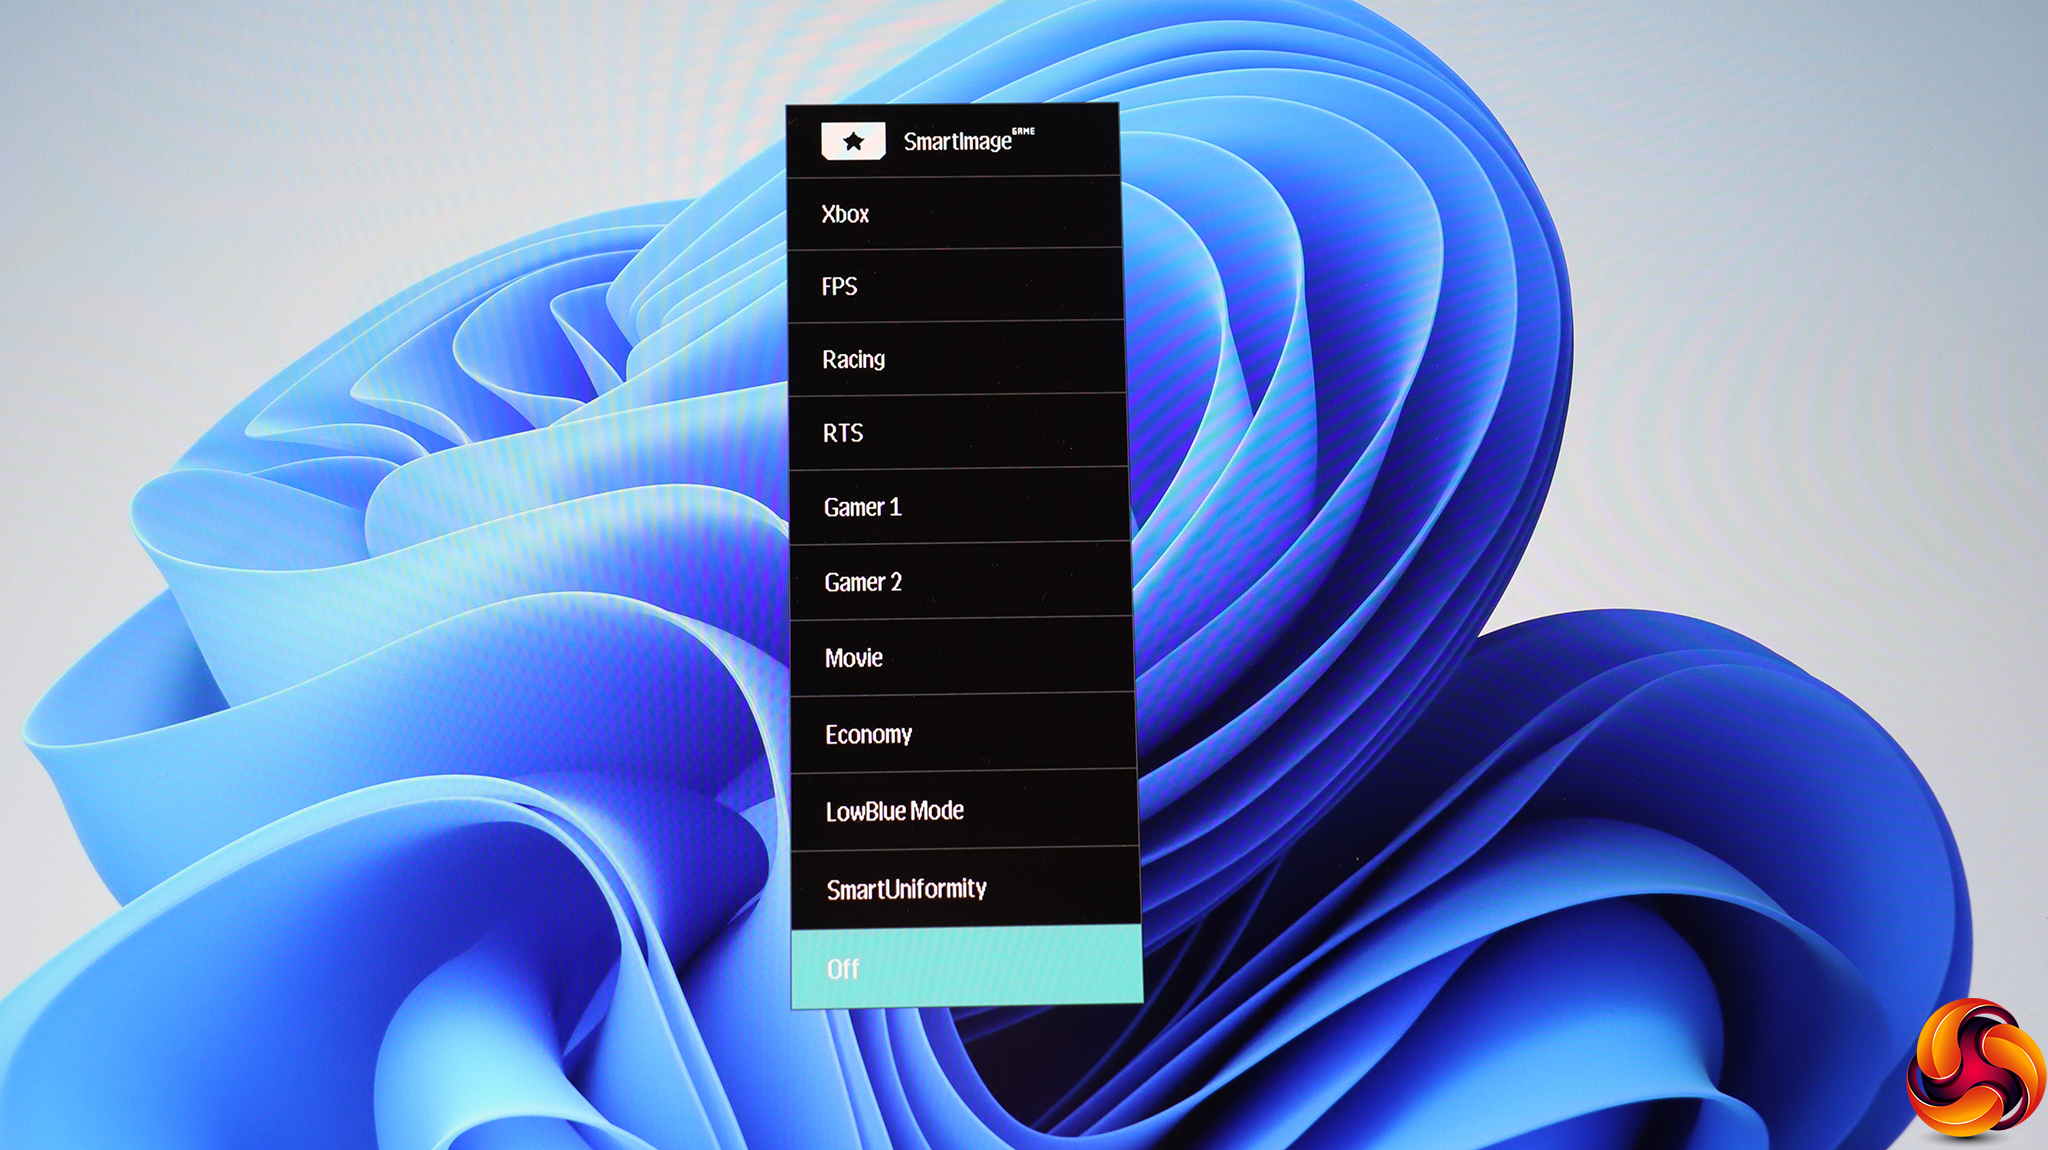
Push the joystick left and you get the Philips SmartImage presets, which include an extra over the regular set. This is an Xbox option. Otherwise, you get FPS, Racing and RTS gaming options, plus two Gamer positions you can store your own settings within. Then there are Movie, Economy, LowBlue Mode and SmartUniformity options, for more everyday activities. There is nothing specifically productivity oriented, however.
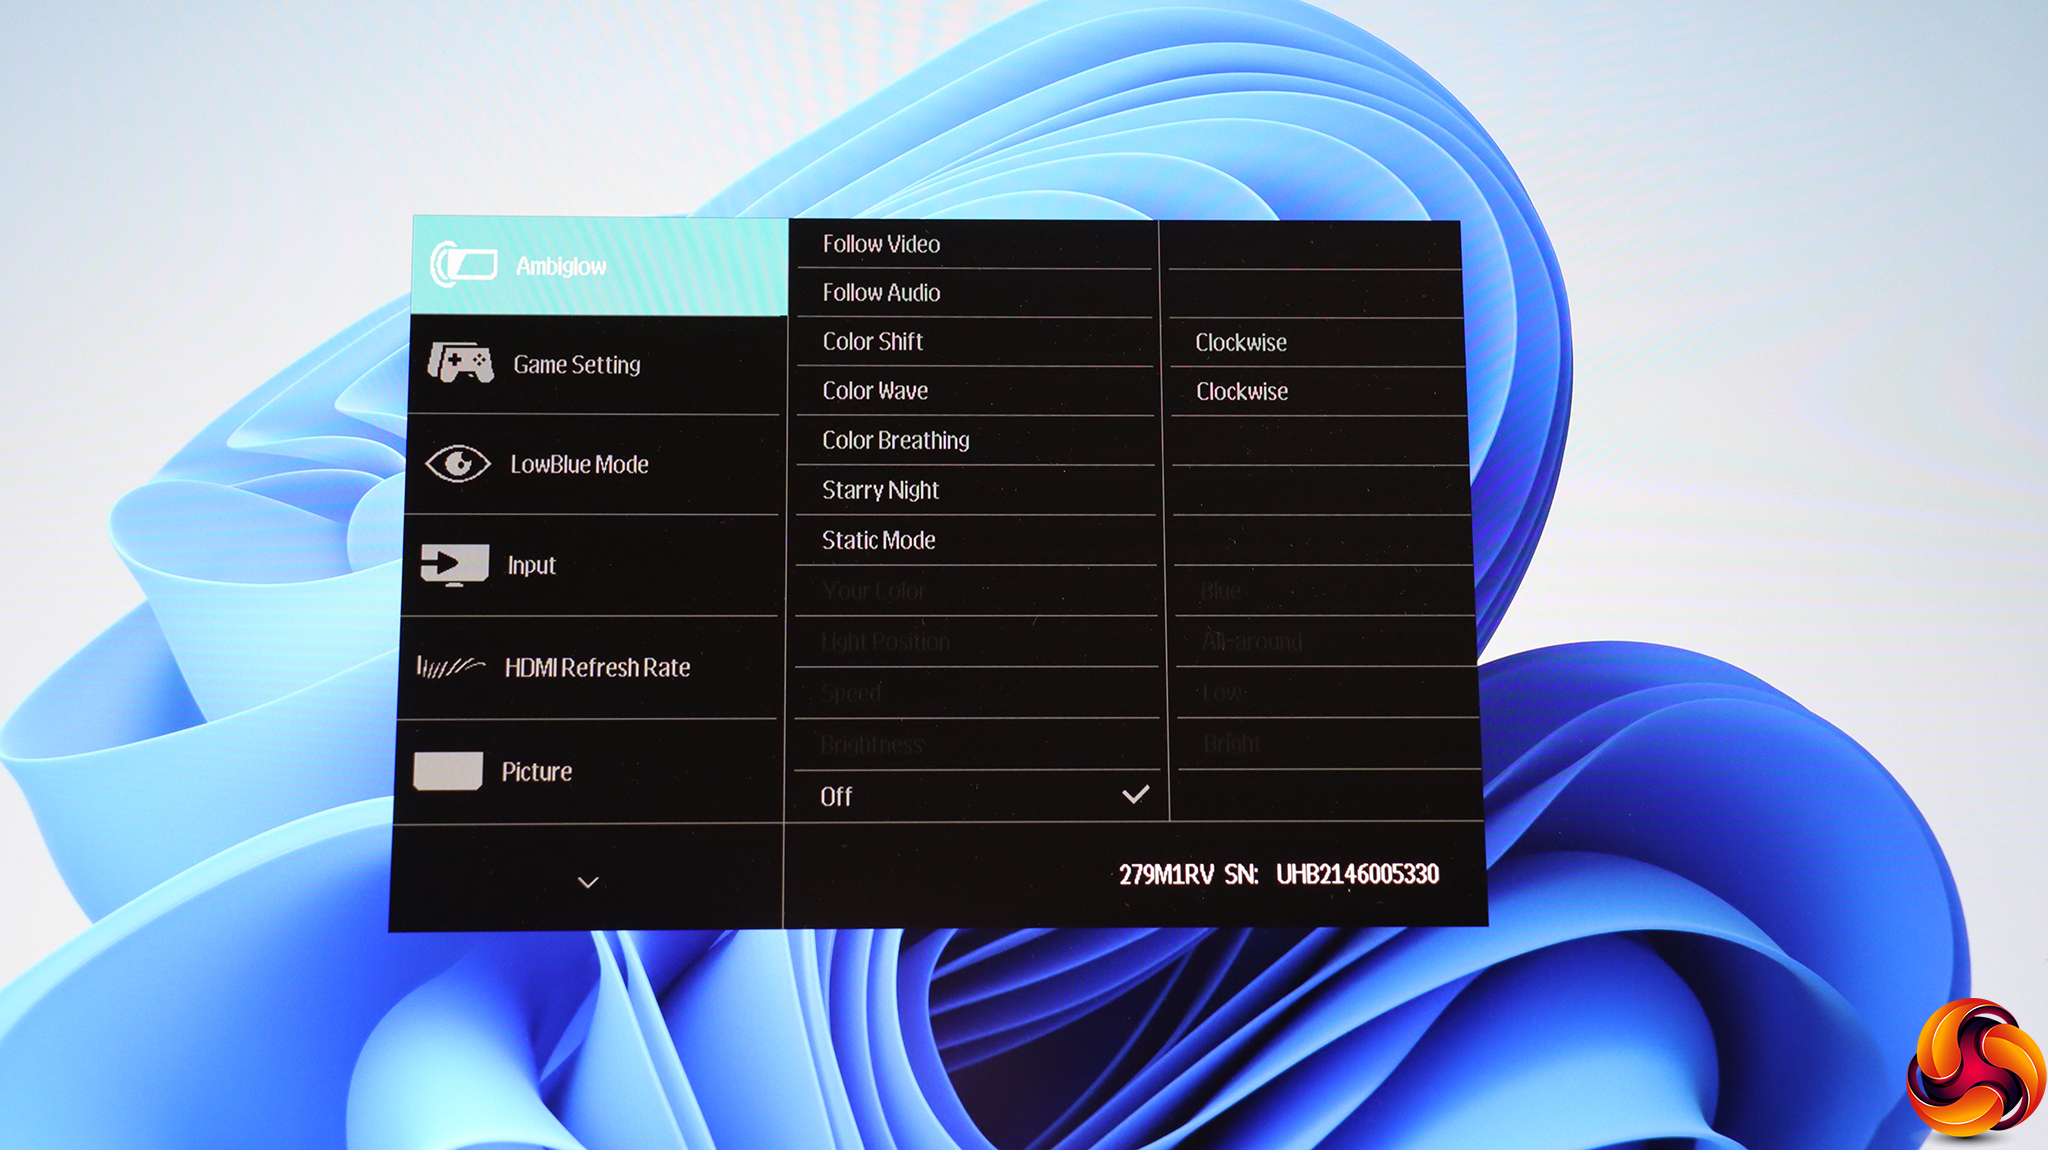
Pulling the joystick right calls up the main menu with the Ambiglow option highlighted. If you haven't experienced Ambiglow, this is Philips's technology for adding a bit of extra immersion to its screens via additional rear lighting. It's a development of Ambilight, which has provided this at a more modest level for some years, including for TVs. Ambiglow has plenty of options, including the ability to follow audio as well as video. If the screen itself is somewhat sober in appearance, Ambiglow adds a bit more pizzazz via dynamic lighting.
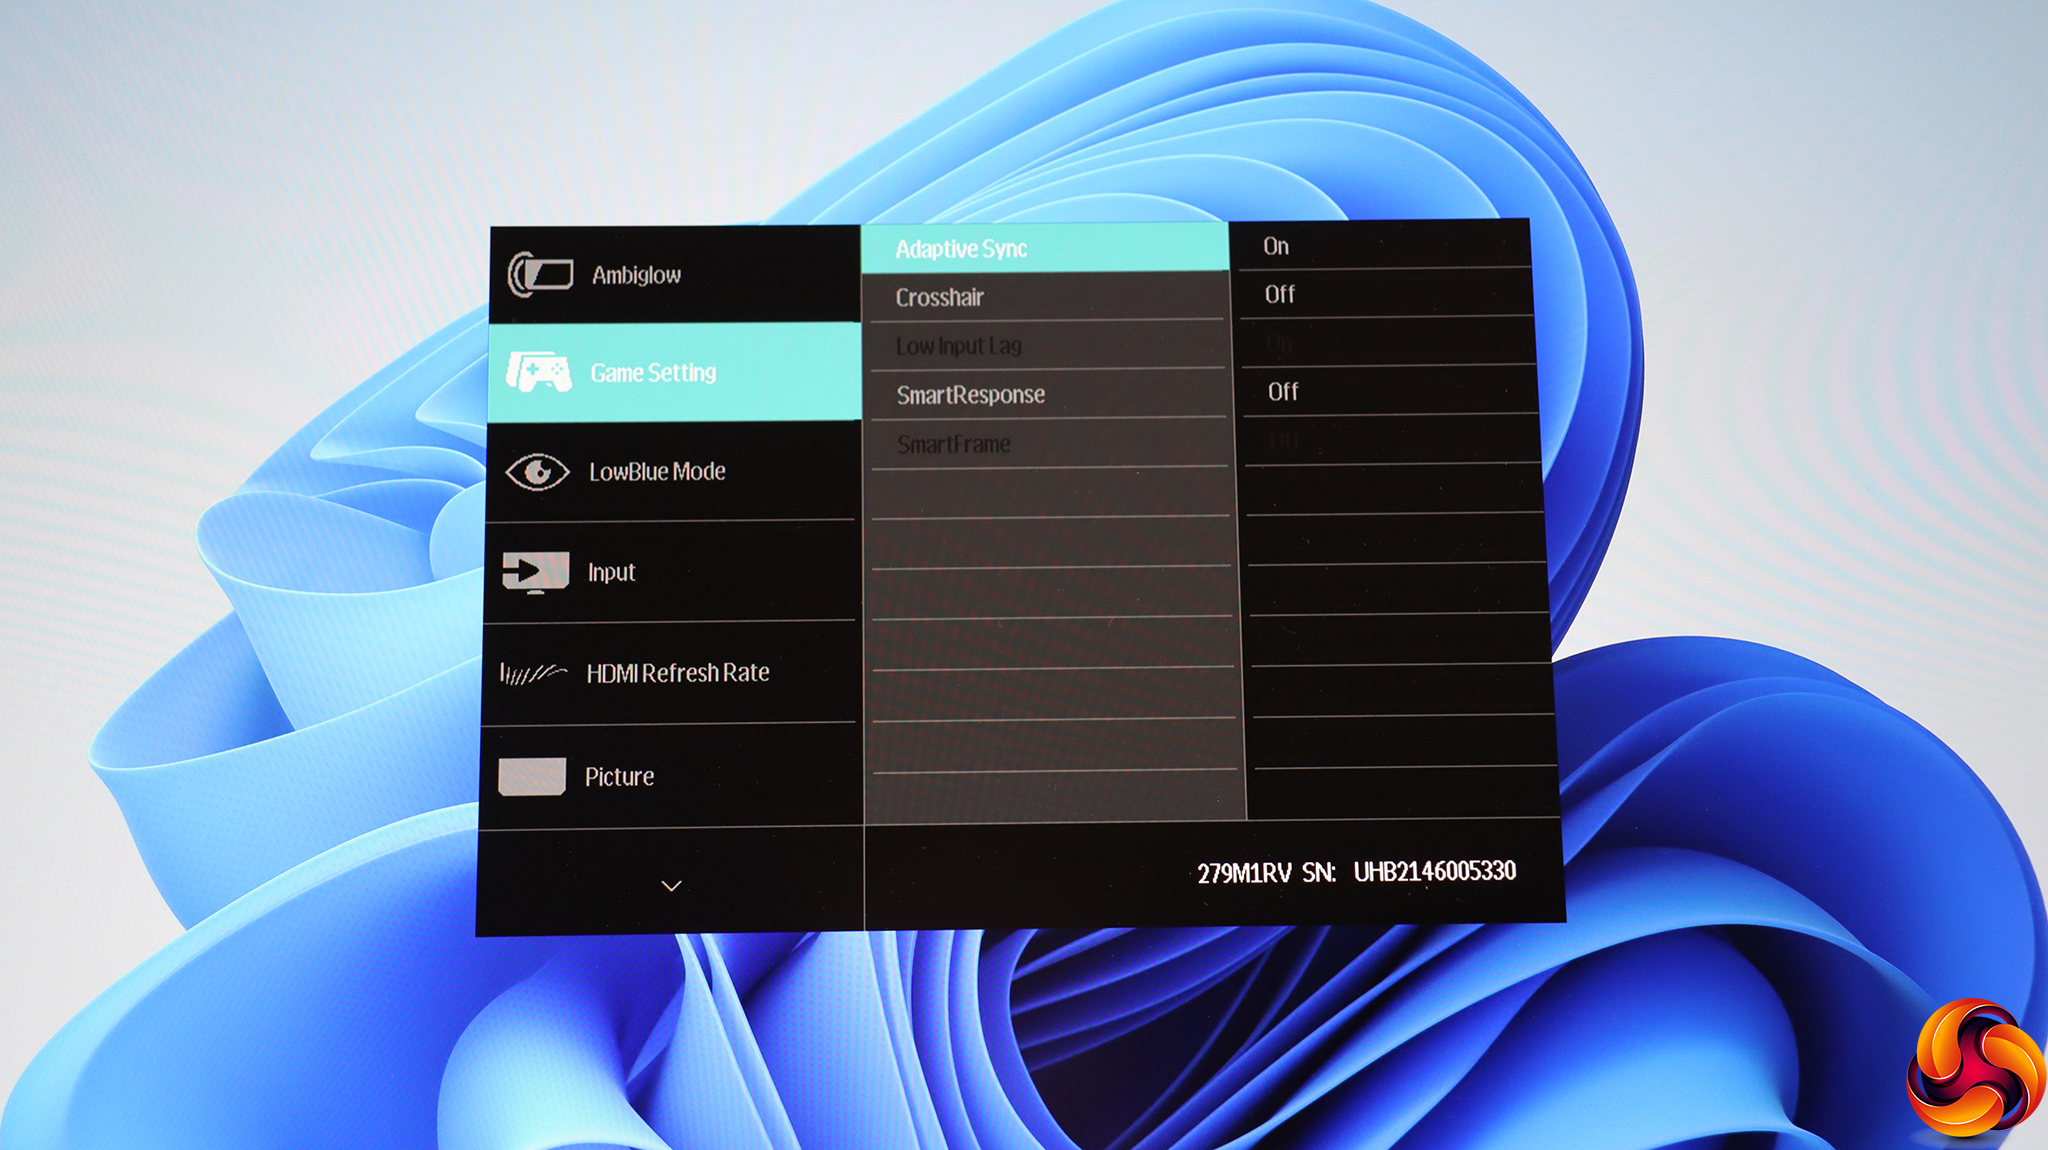
Pulling the joystick down also calls up the main menu, but this time with the Game Setting options highlighted. These including enabling Adaptive Sync, plus an onscreen hardware crosshair and SmartResponse. This is Philips's pixel overdrive system, which you might not need considering this screen has fast response already without it. Depending on the input, you can also enable Low Input Lag and SmartFrame. The latter lets you highlight a specific screen area.
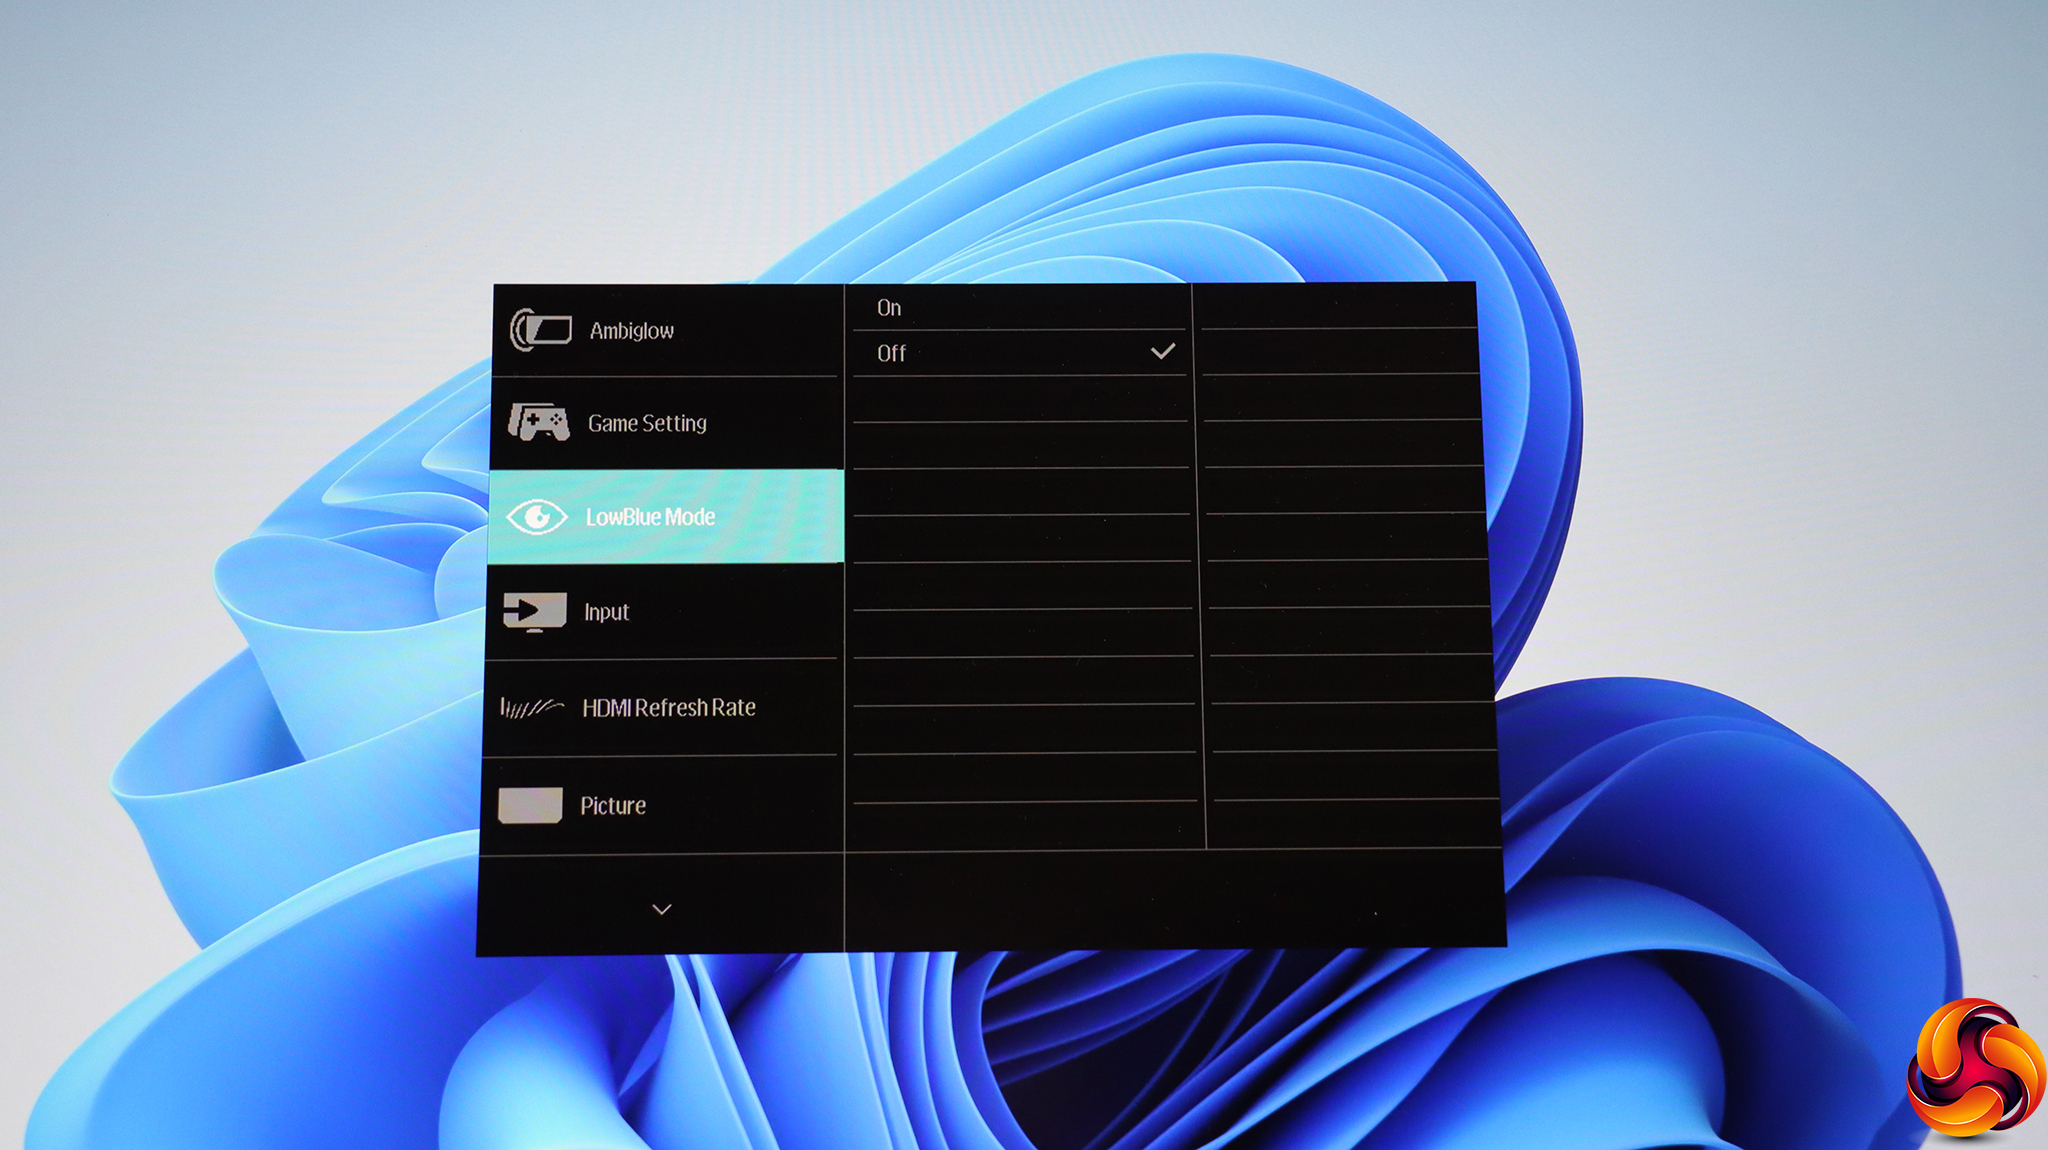
You will need to use the joystick for navigation to get to the other Main Menu tabs. Next down from Game Setting is LowBlue Mode, which is an eye-saving option that is now almost universal.
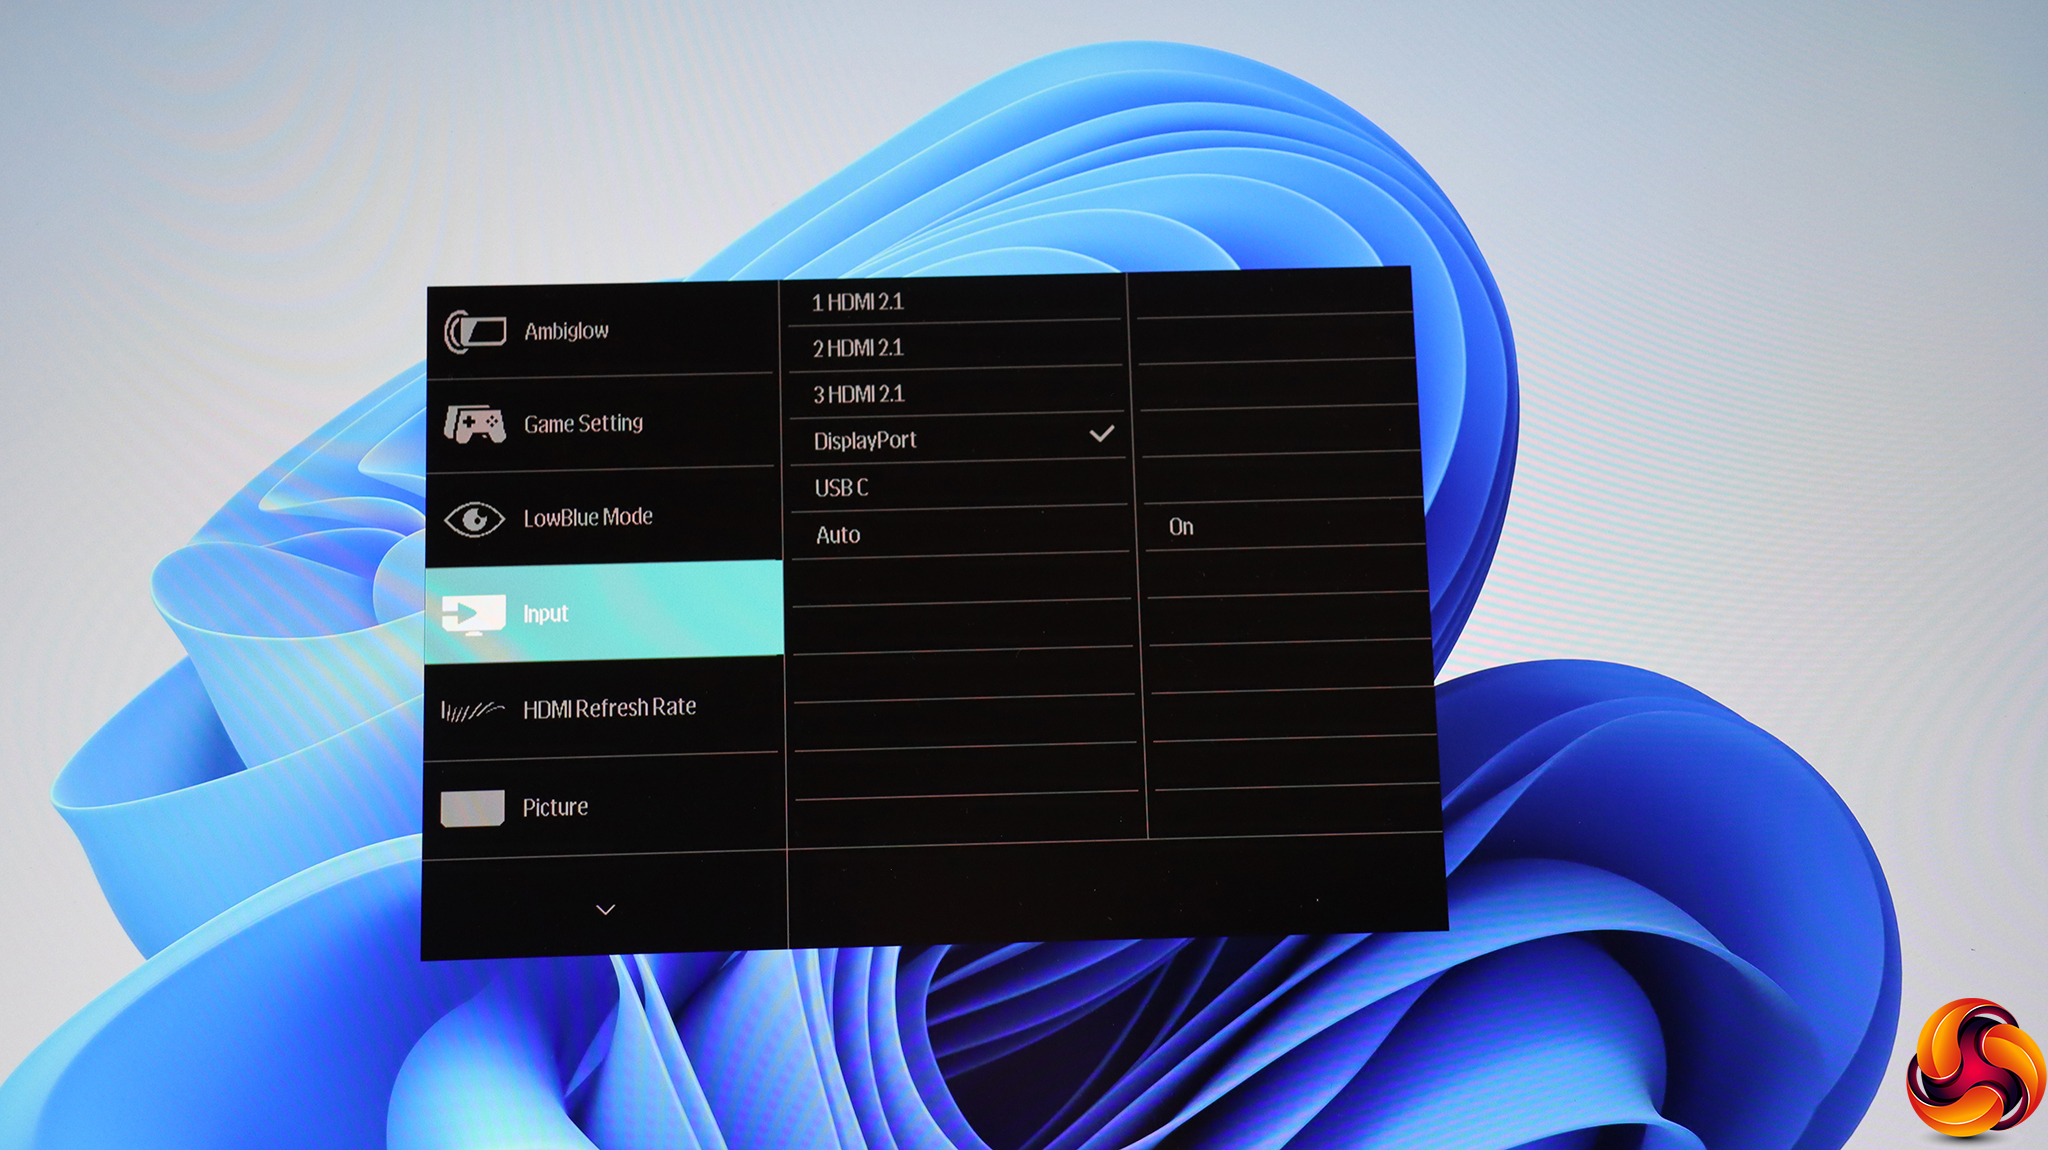
Next down is another route to changing between the five different video inputs manually.
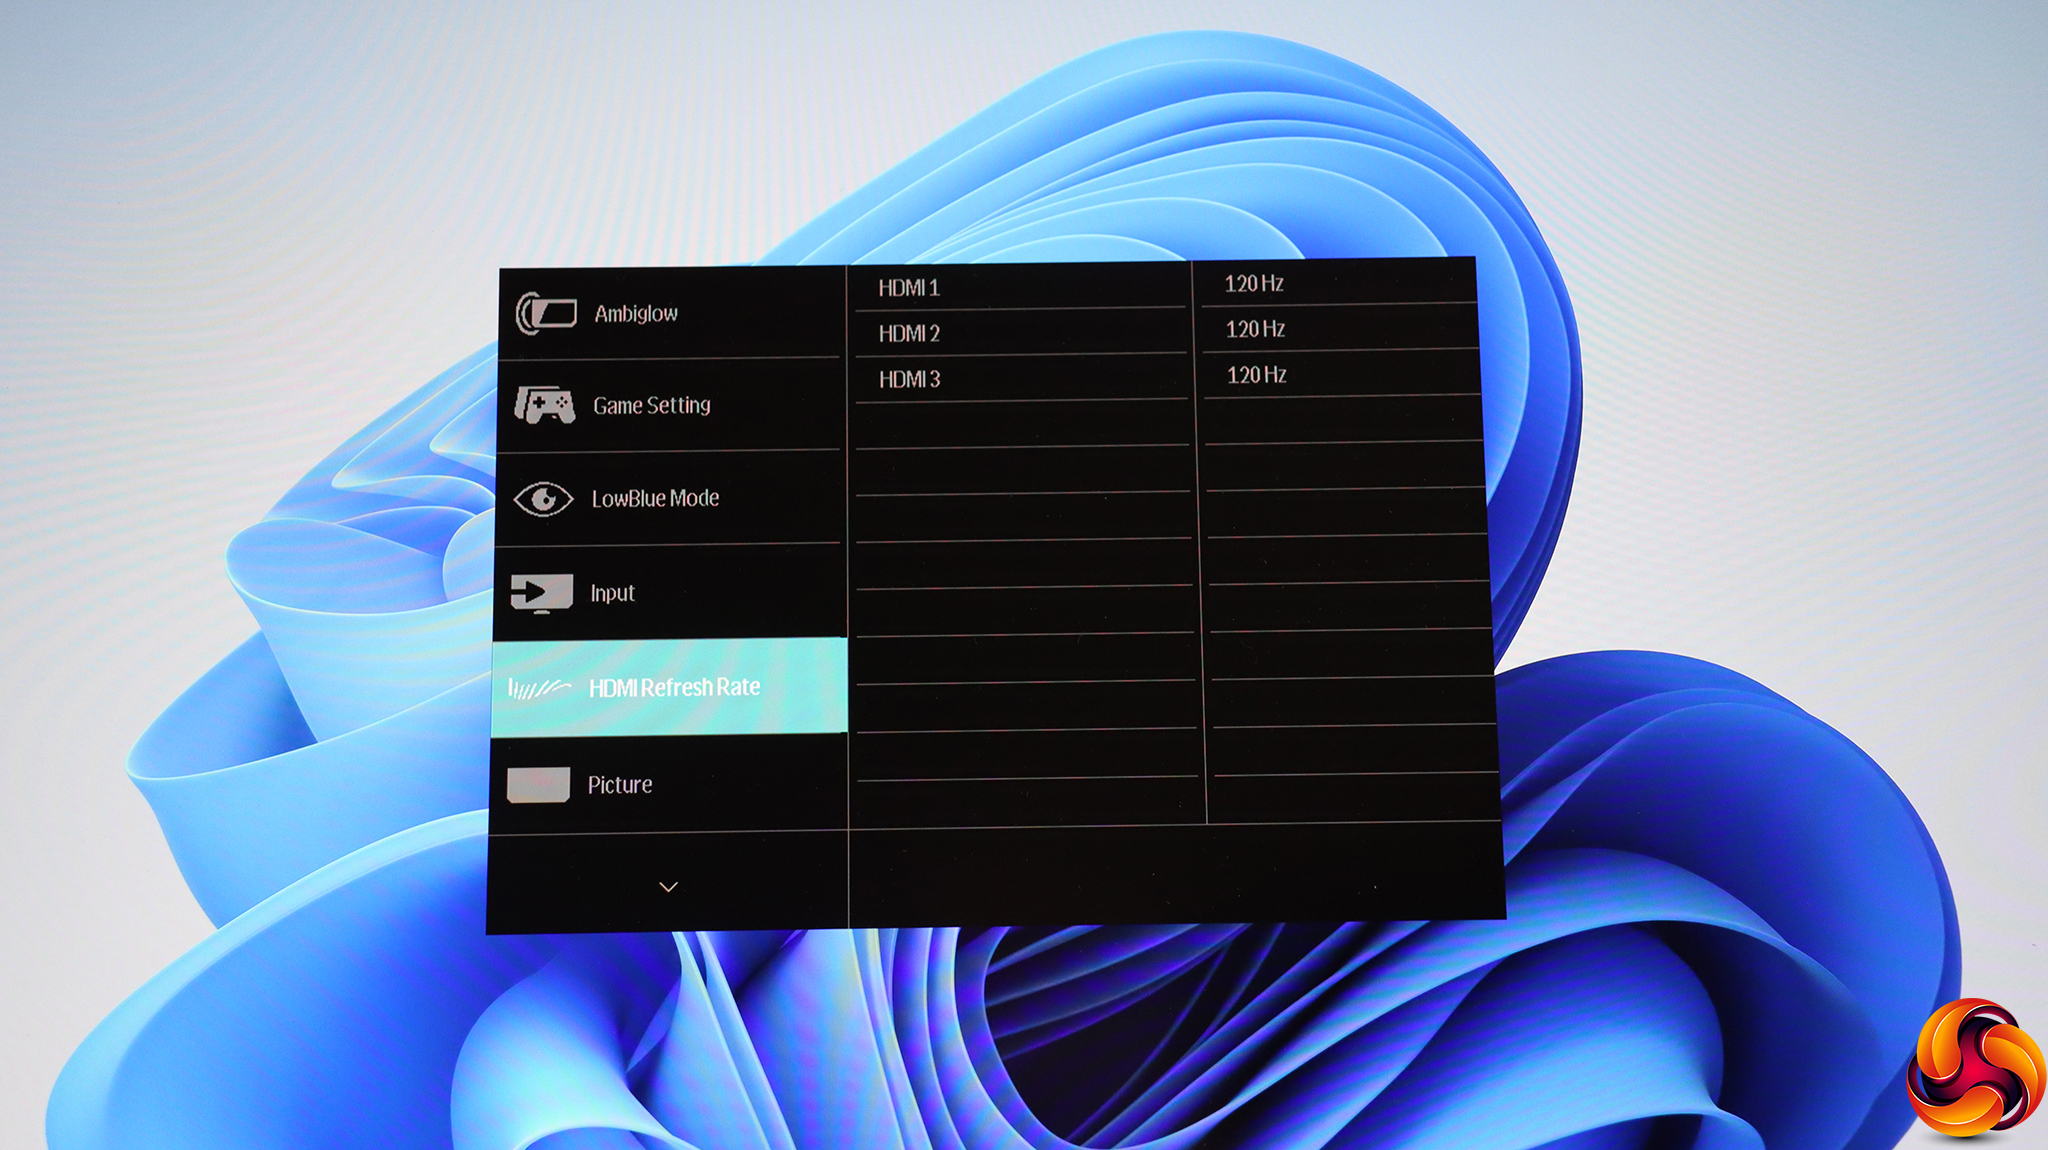
Under HDMI Refresh Rate you can select whether the monitor's HDMI ports are limited to 120Hz or enabled all the way up to 144Hz, which HDMI 2.1 supports at 4K.
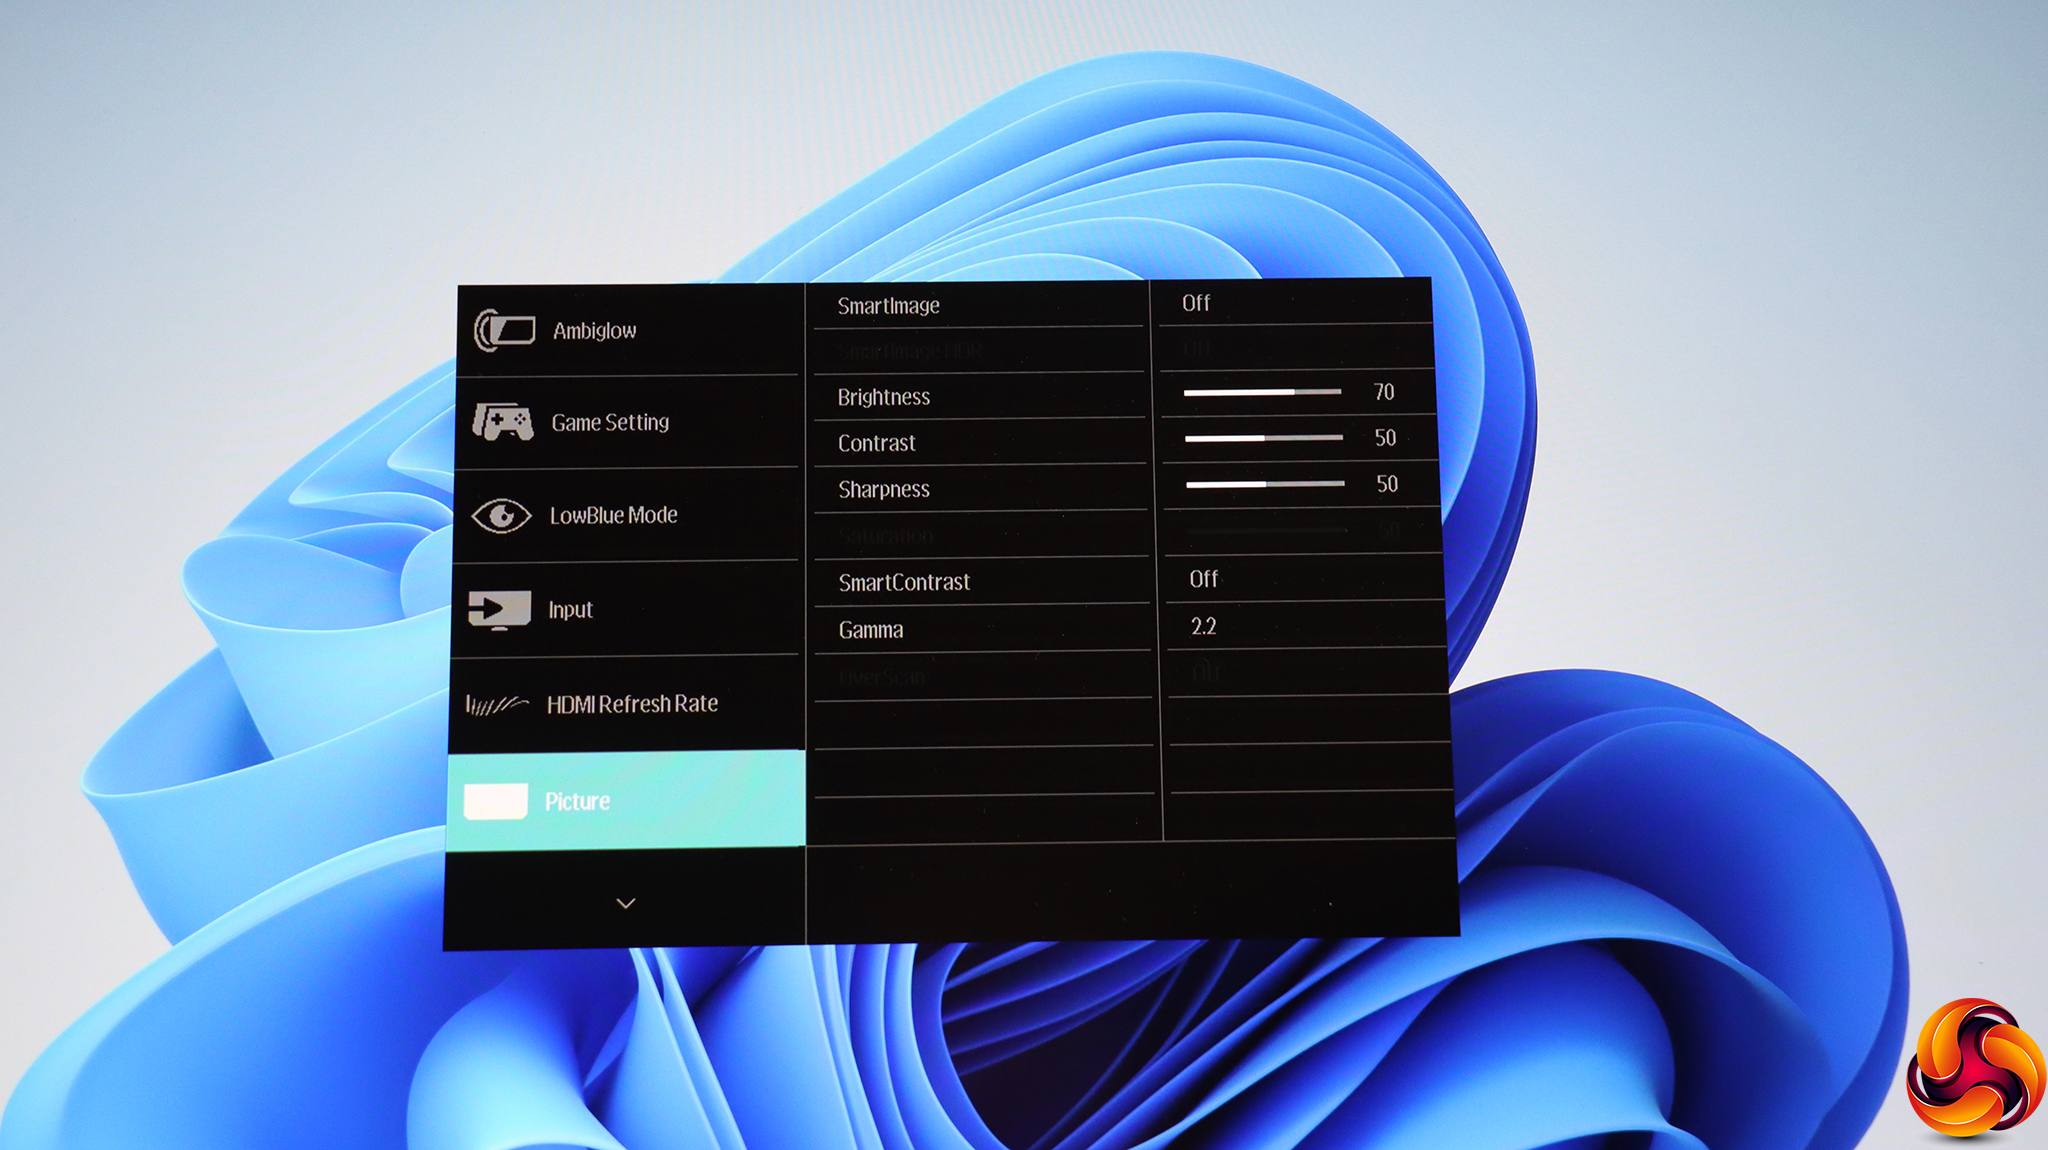
The Picture settings are buried quite far down in this menu. Here you can access the SmartImage presets, adjust brightness, contrast and sharpness, and turn on the dynamic SmartContrast system. You can also select Gamma modes from 1.8 to 2.6 in steps of 0.2. There are some greyed out options here too, barely visible in the image above. These are for adjusting SmartImage HDR, Saturation, and Overscan, but they rely on different input types and other options being enabled.
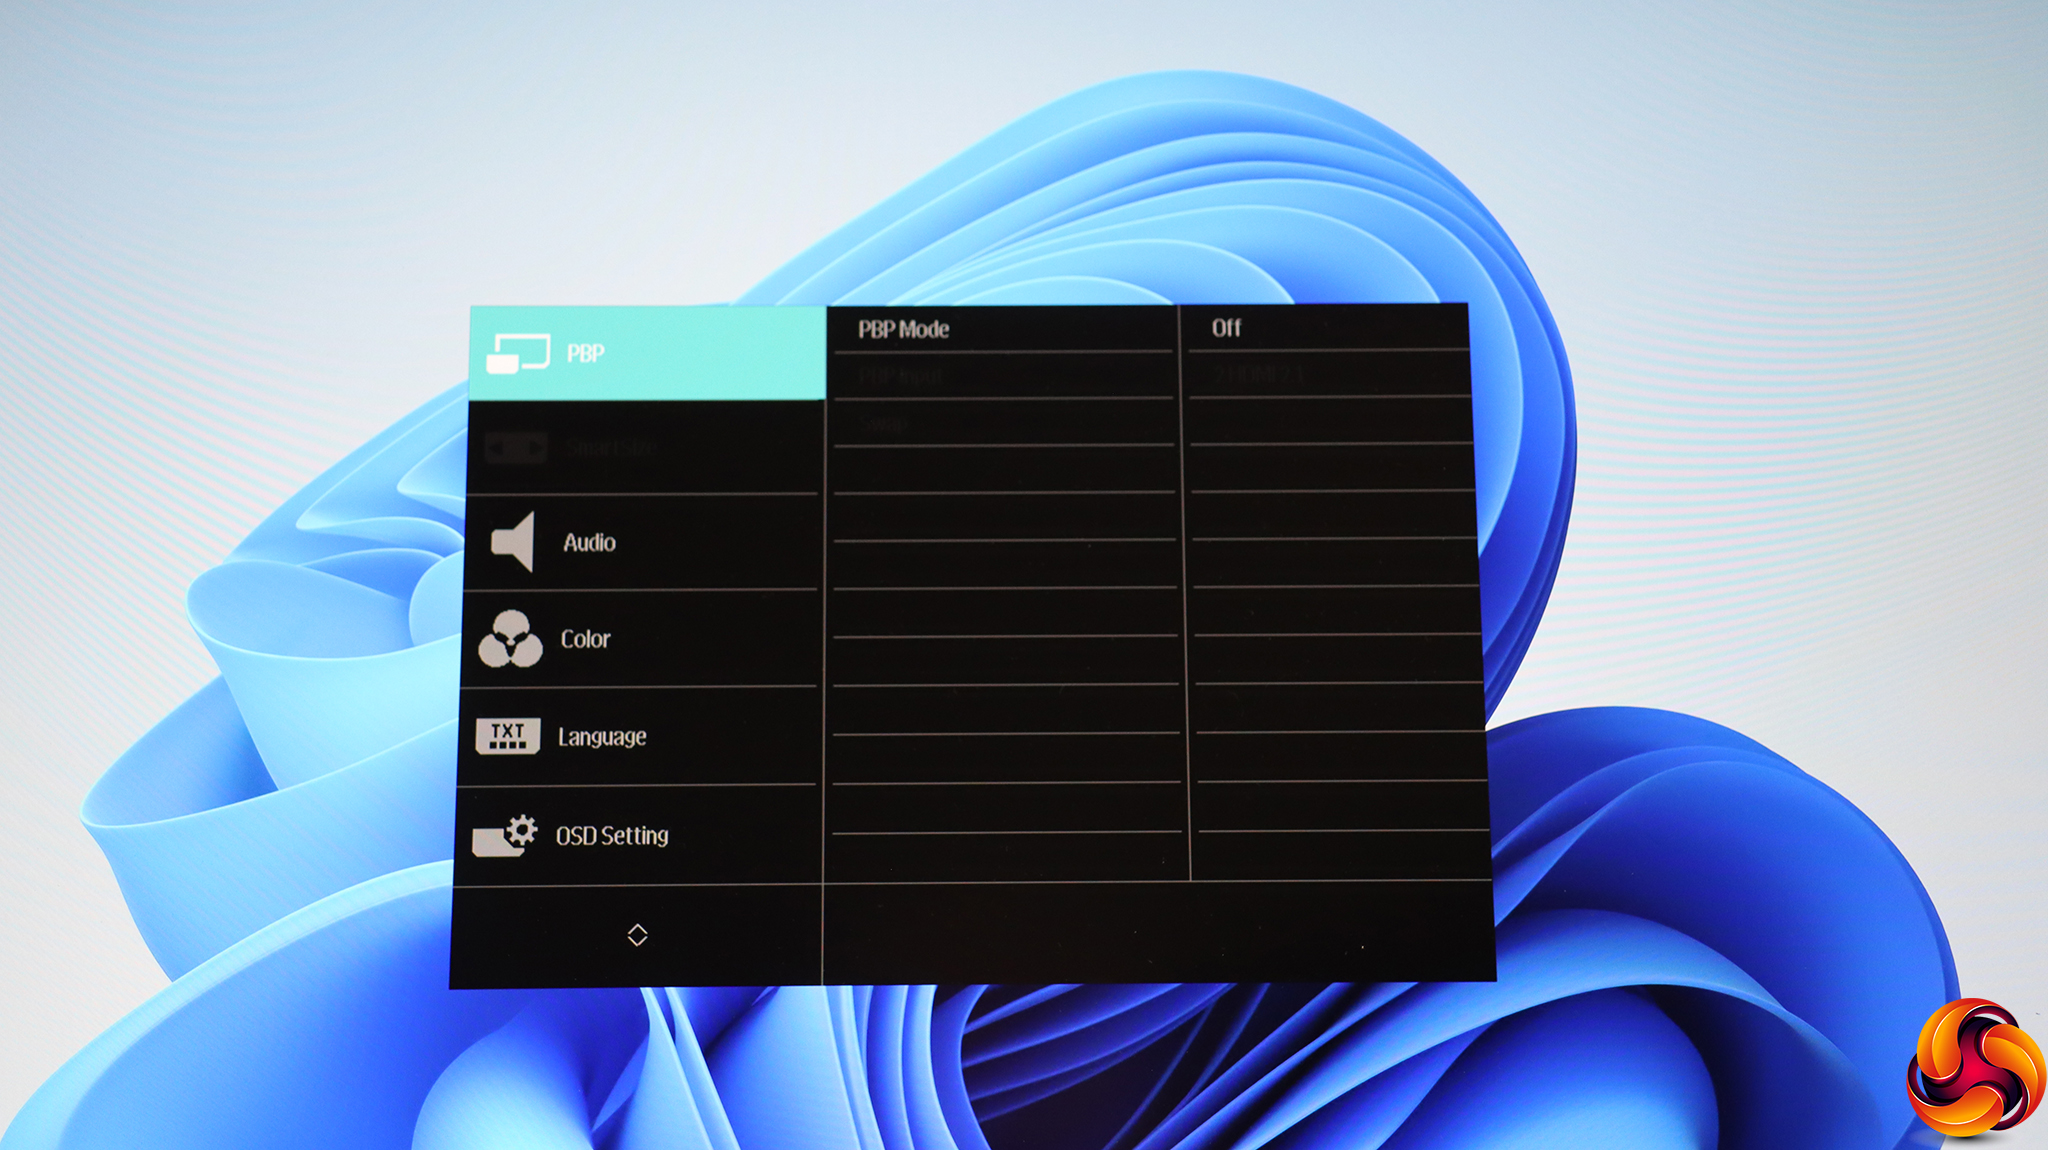
With all those inputs available, it's great to see that you can use Picture-By-Picture to have more than one of them visible onscreen at once.
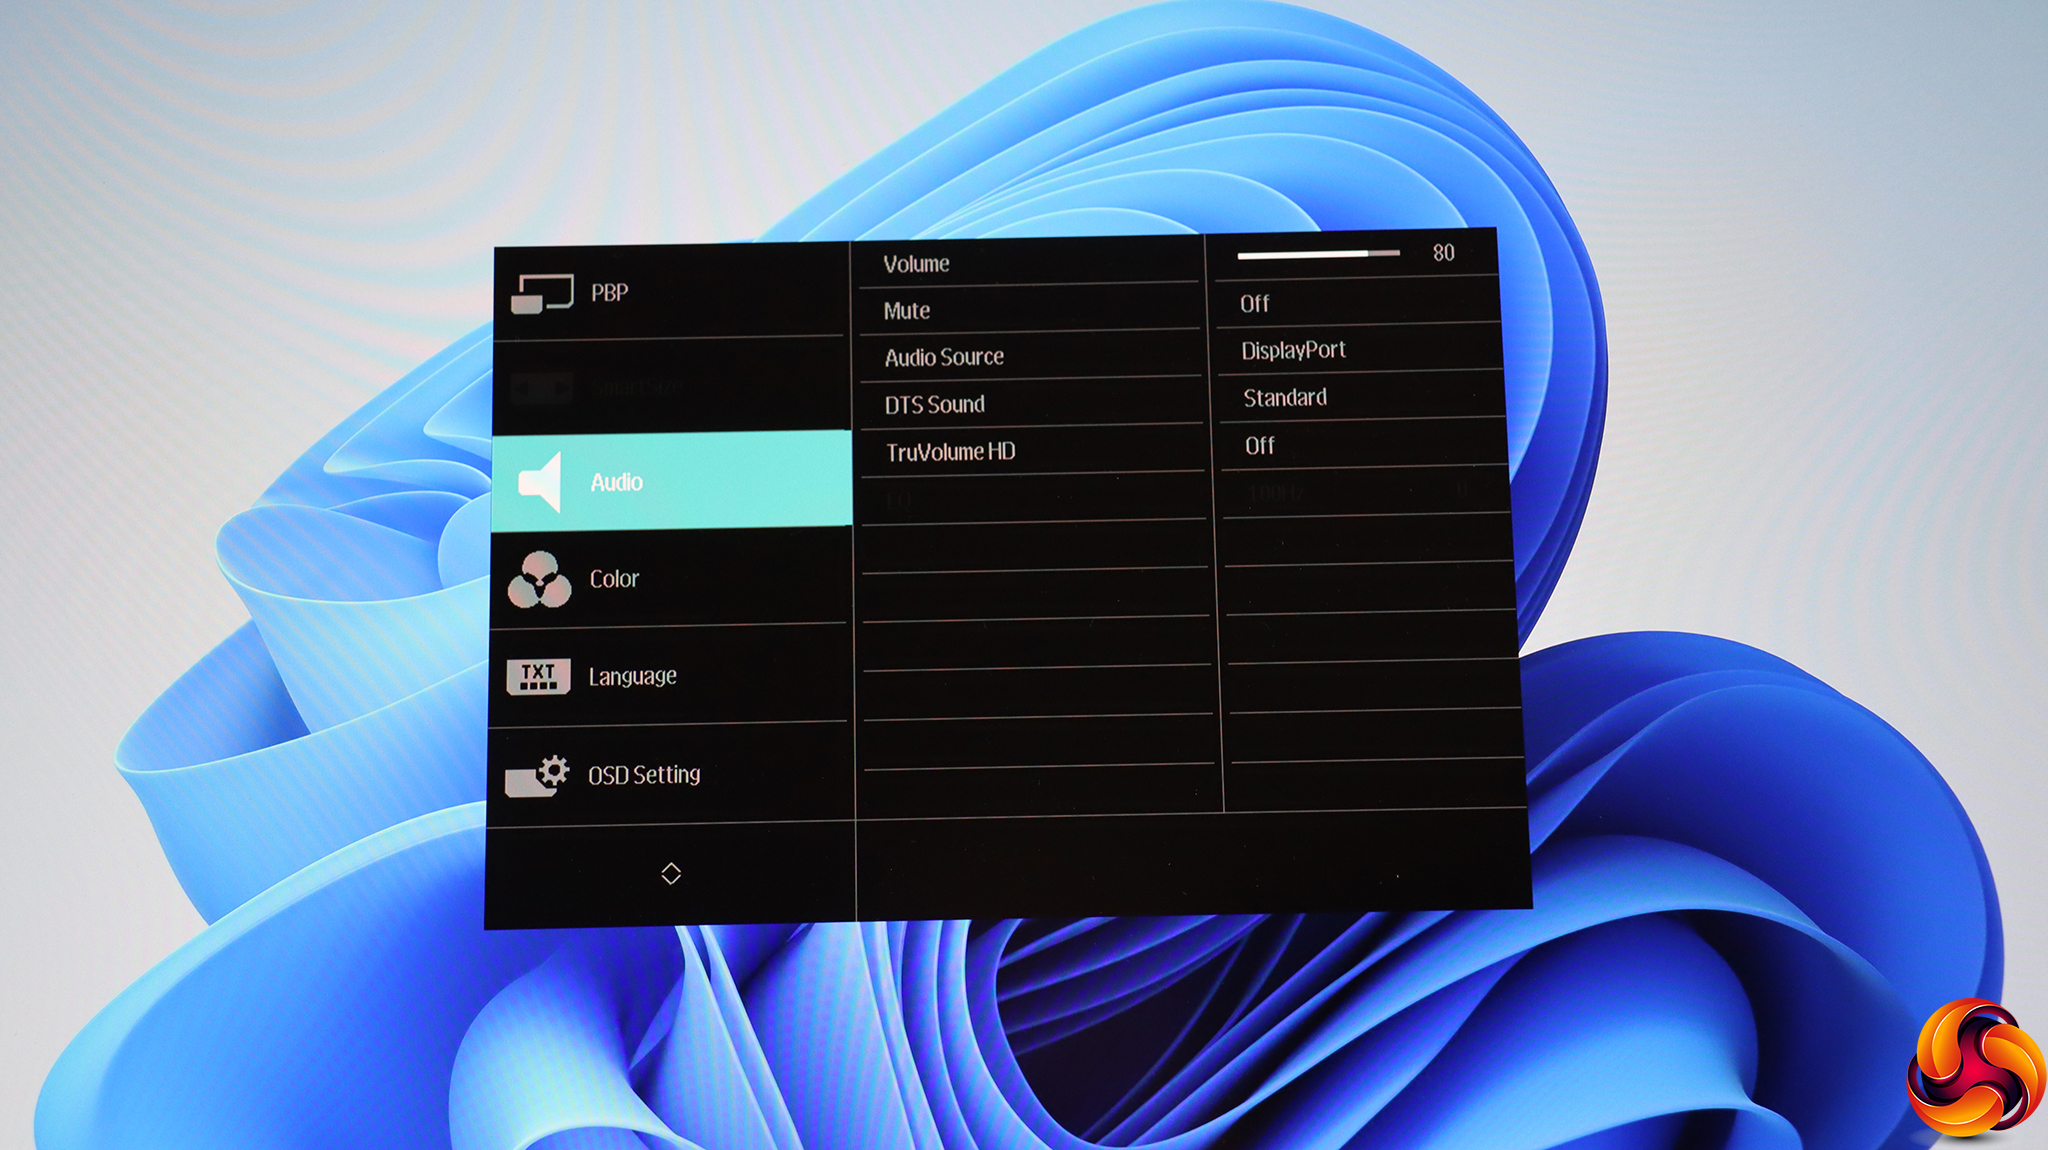
Aside from varying the volume, muting, and choosing which digital source is supplying the sound, you can also enable DTS and TruVolume HD under the Audio settings.
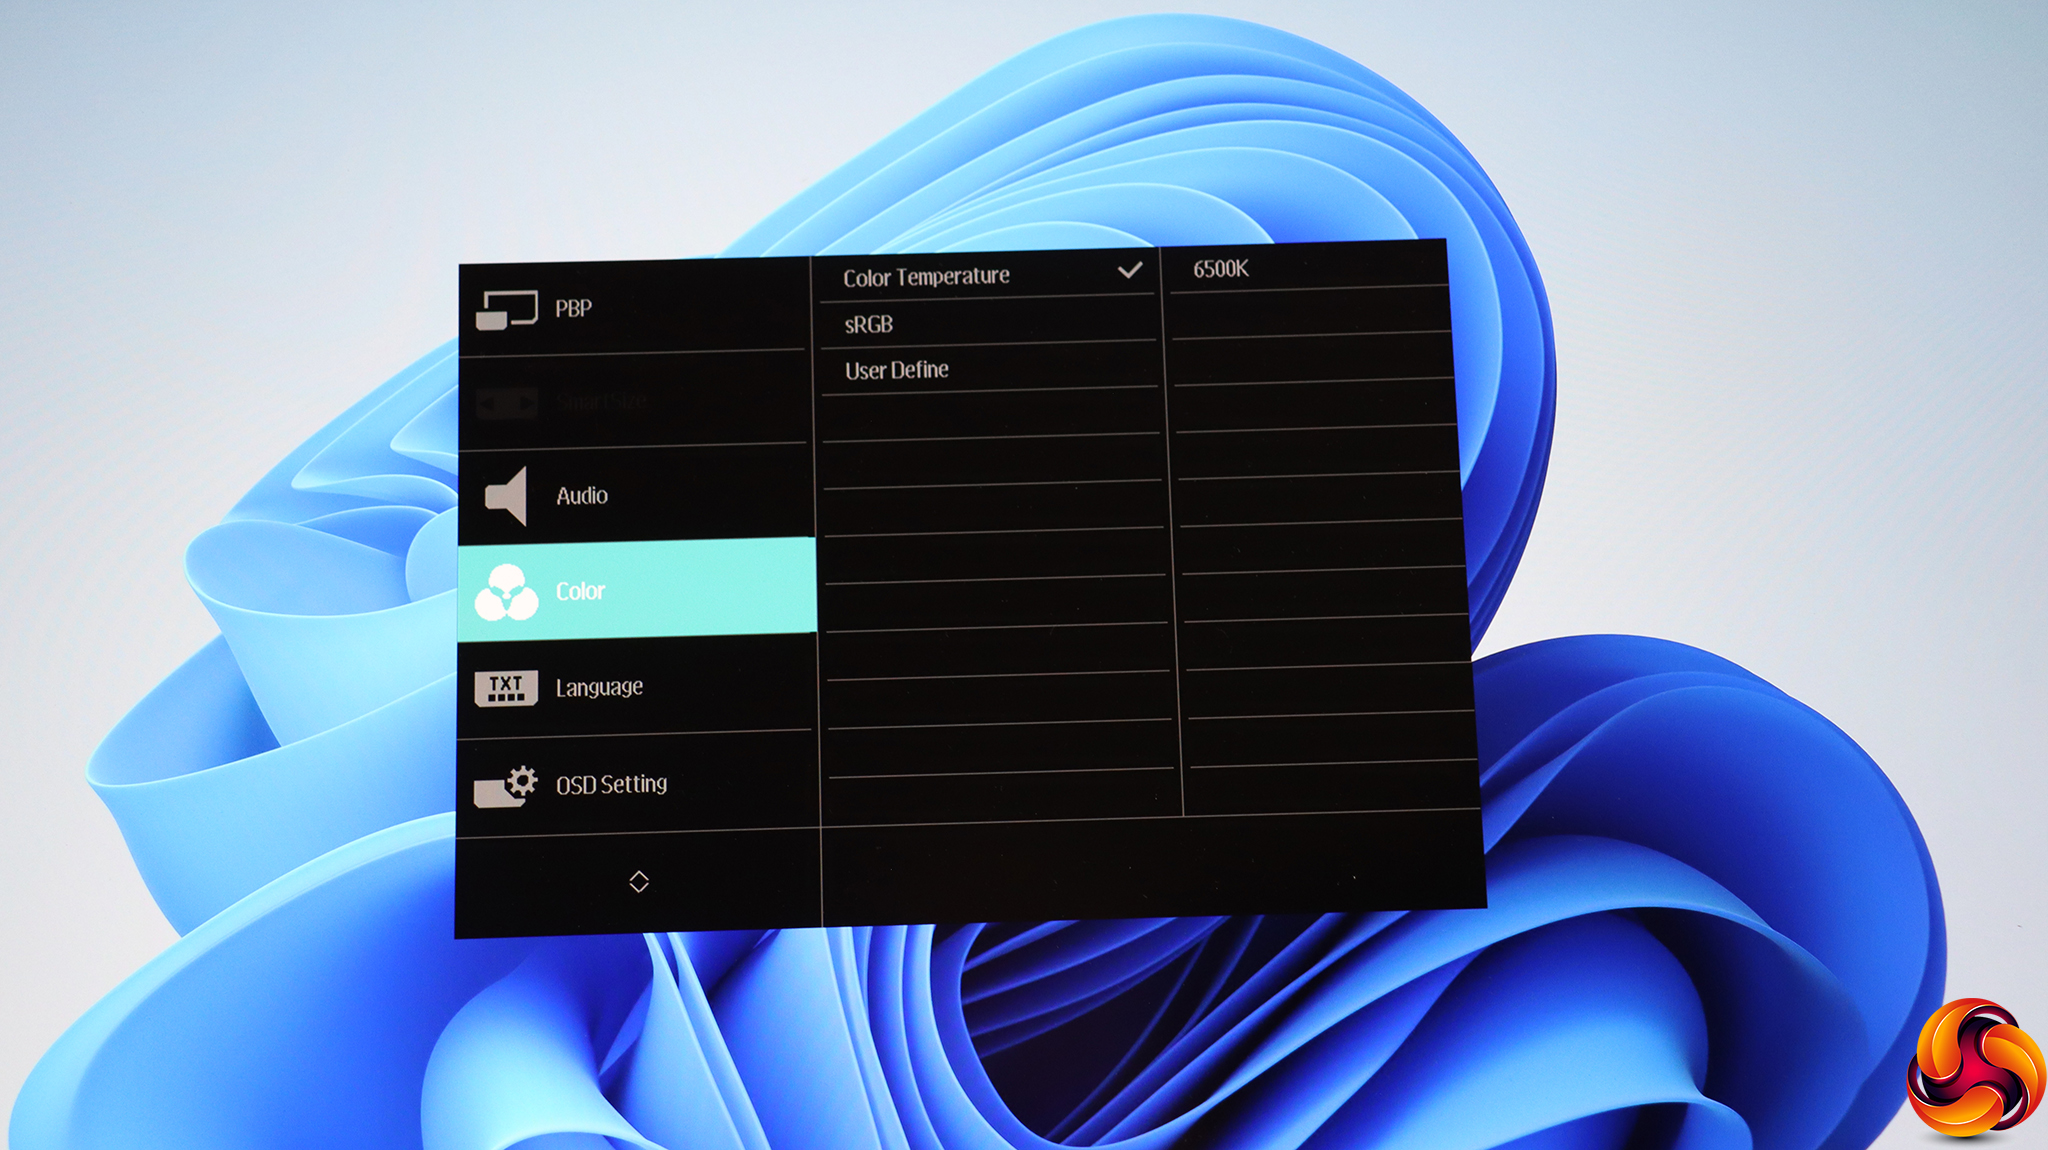
Color options including temperature presets of 5000K, 6500K (the default), 7500K, 8200K, 9300K, or 11500K. Alternatively, you can select sRGB mode or User Define to tweak the red, green and blue values separately.
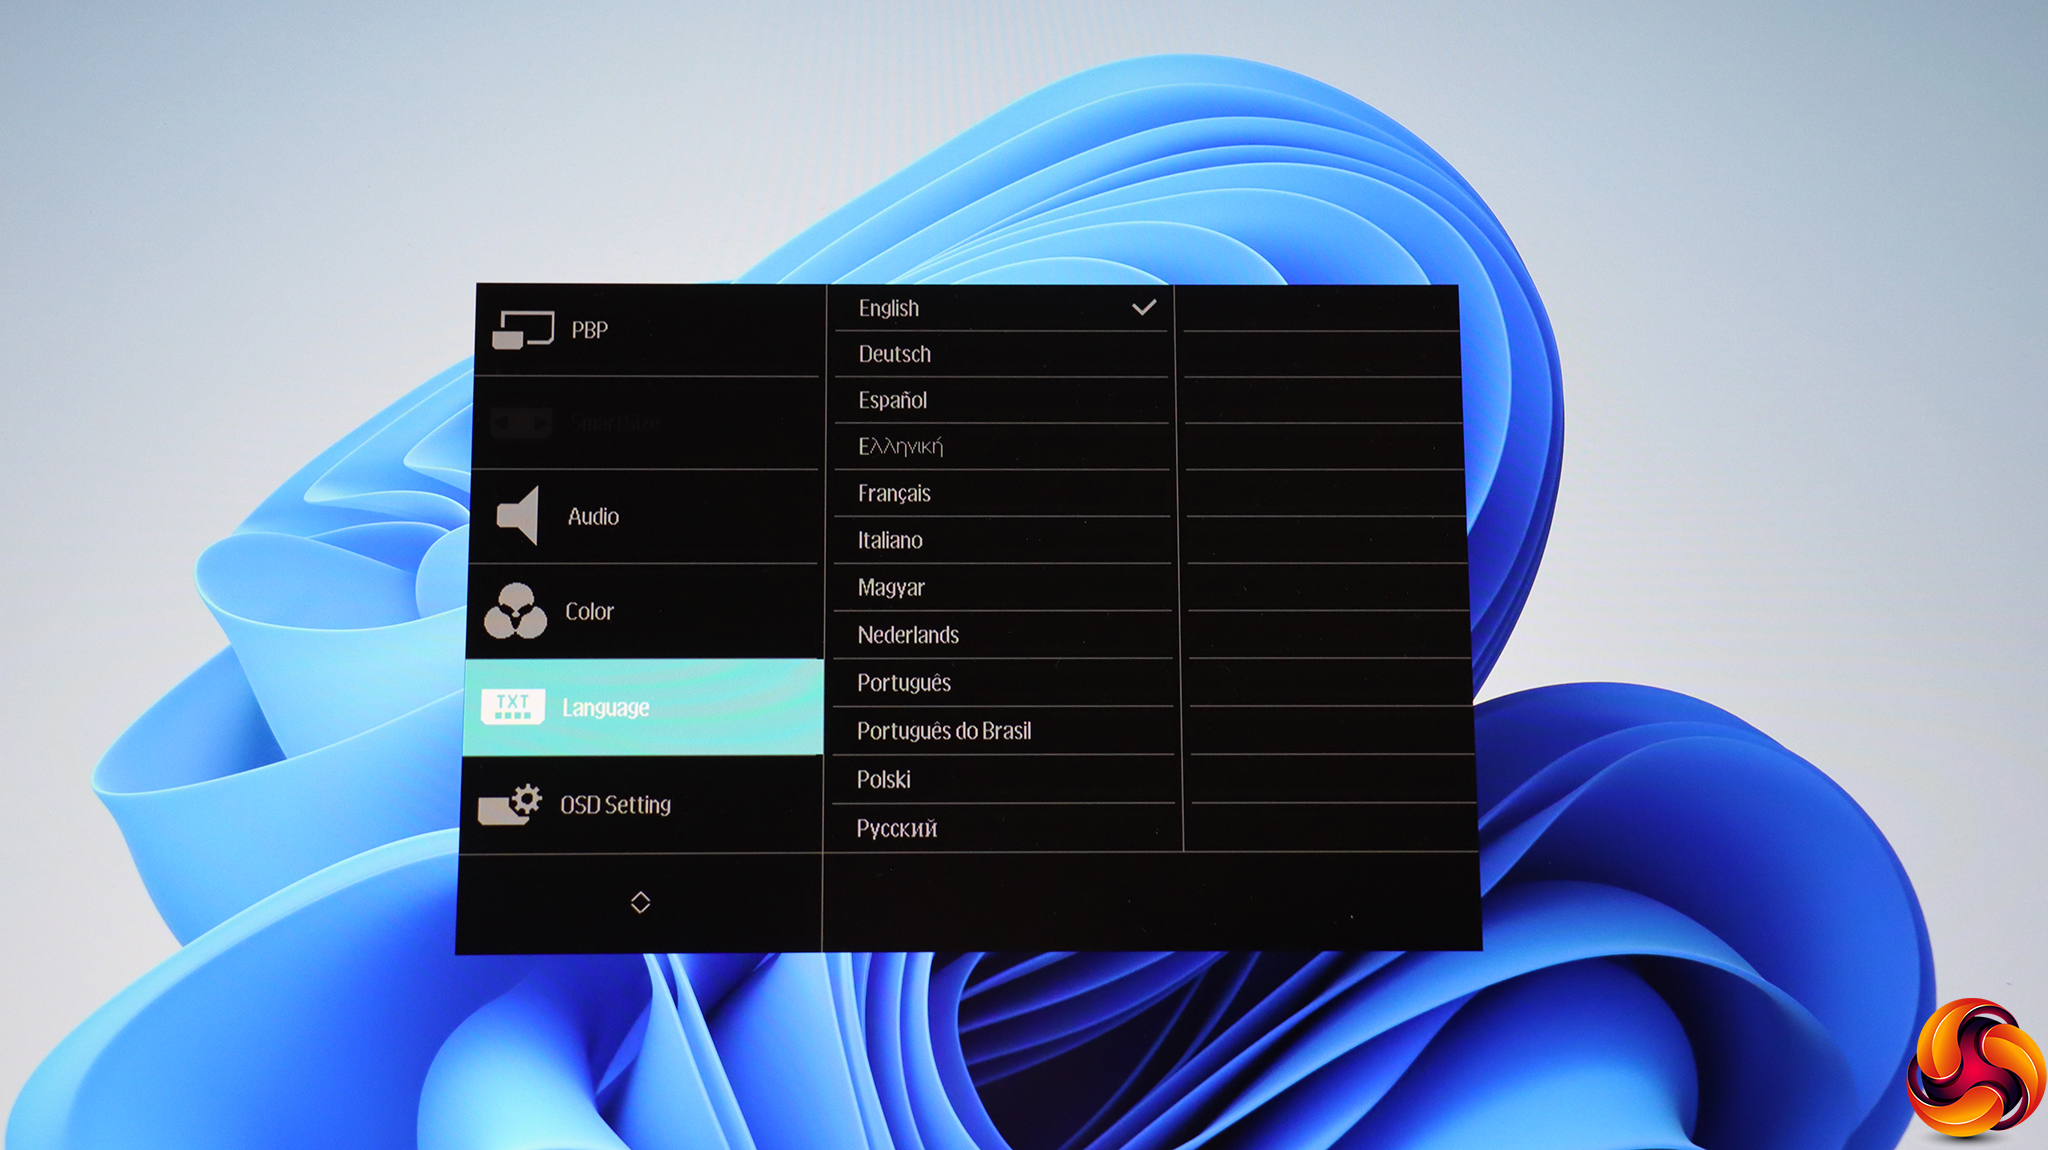
There are plenty of OSD language options available.

The OSD Setting section lets you configure how the menu interface appears, including location, transparency, and timeout period.
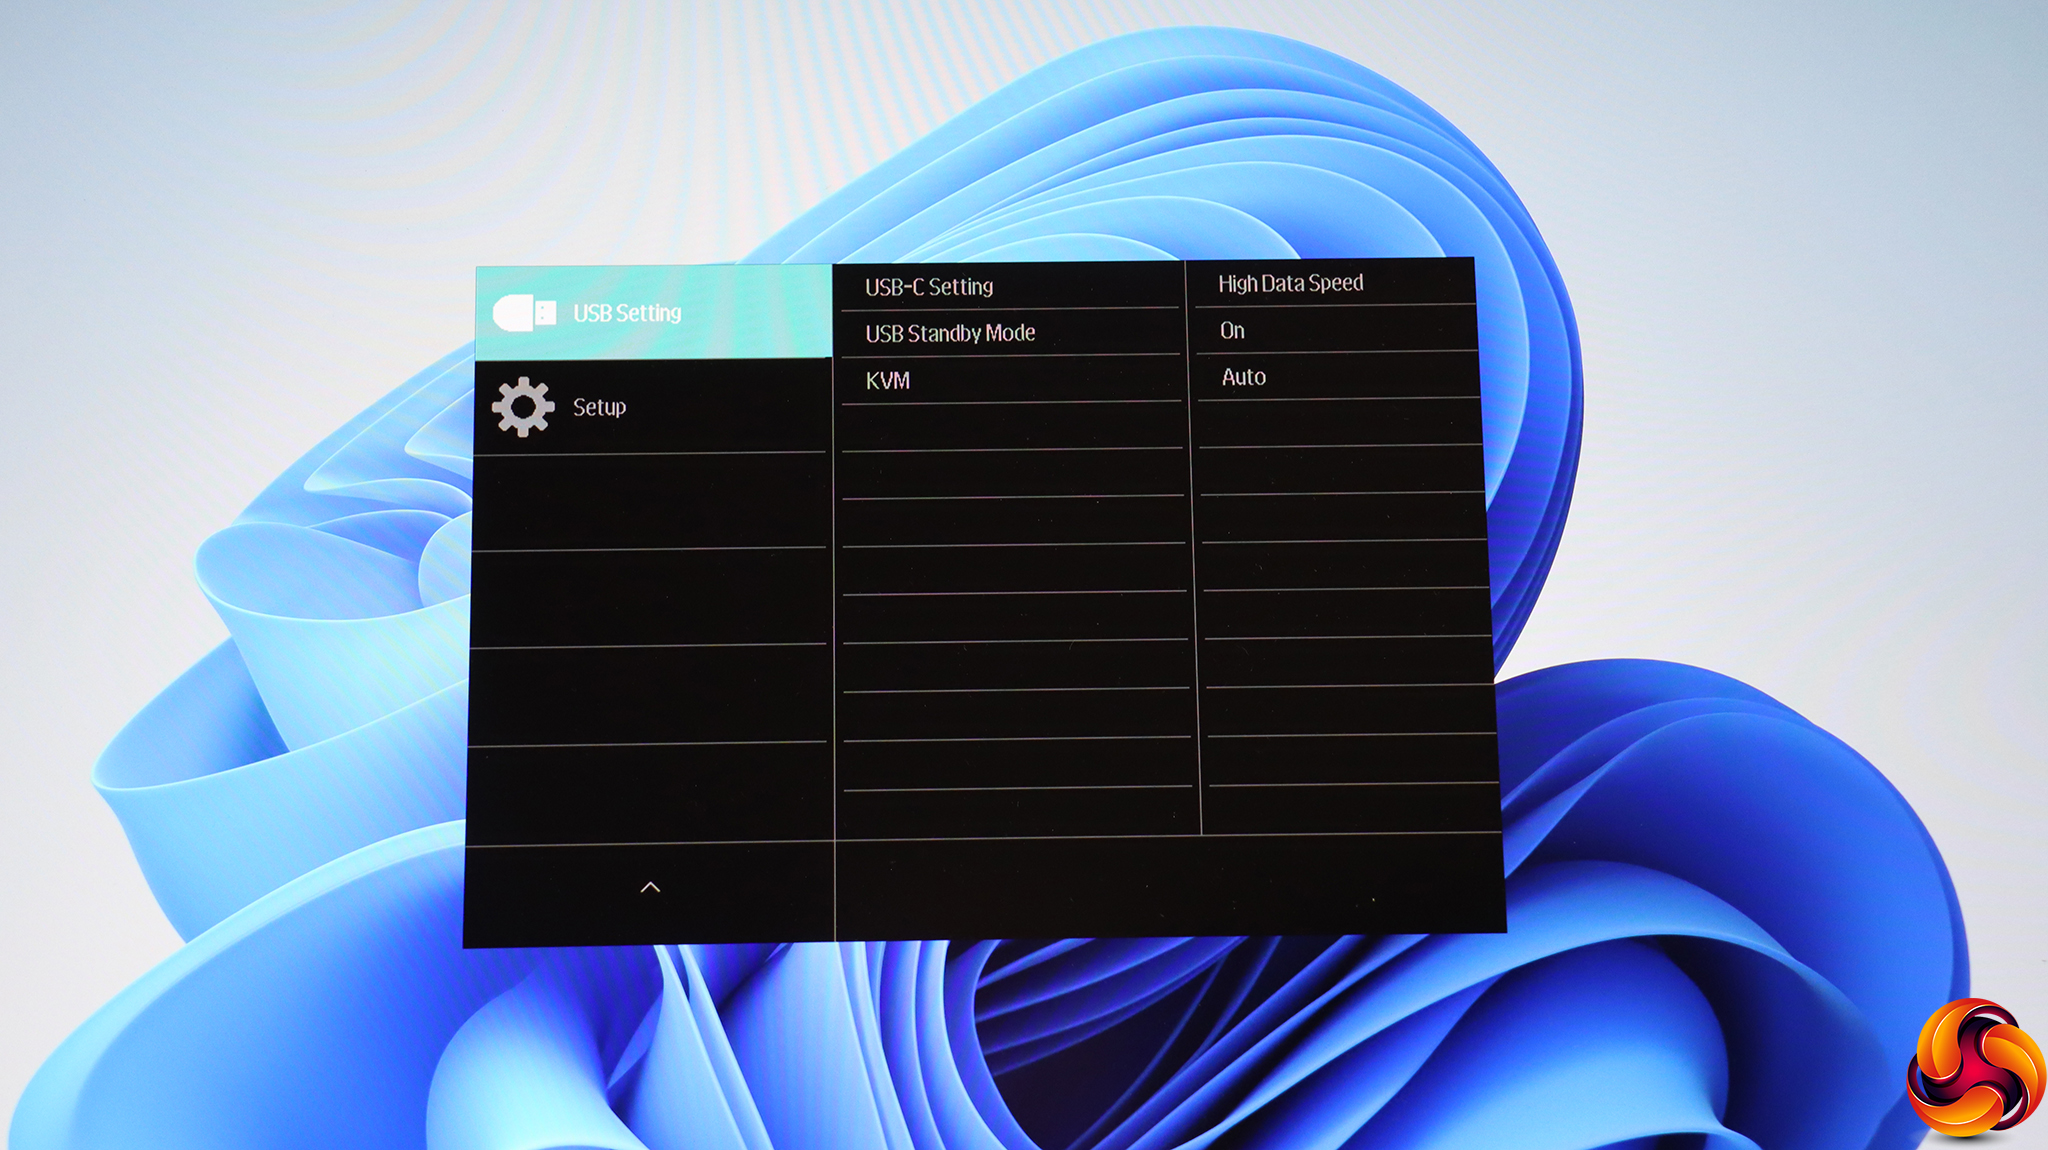
Under USB Setting, you can configure how the USB C connection behaves. Having USB Standby Mode in the “On” position means that there is always power to the USB ports. Finally, the KVM option lets you choose which of the two USB upstream ports connects to keyboards and mice attached to the downstream USB ports.
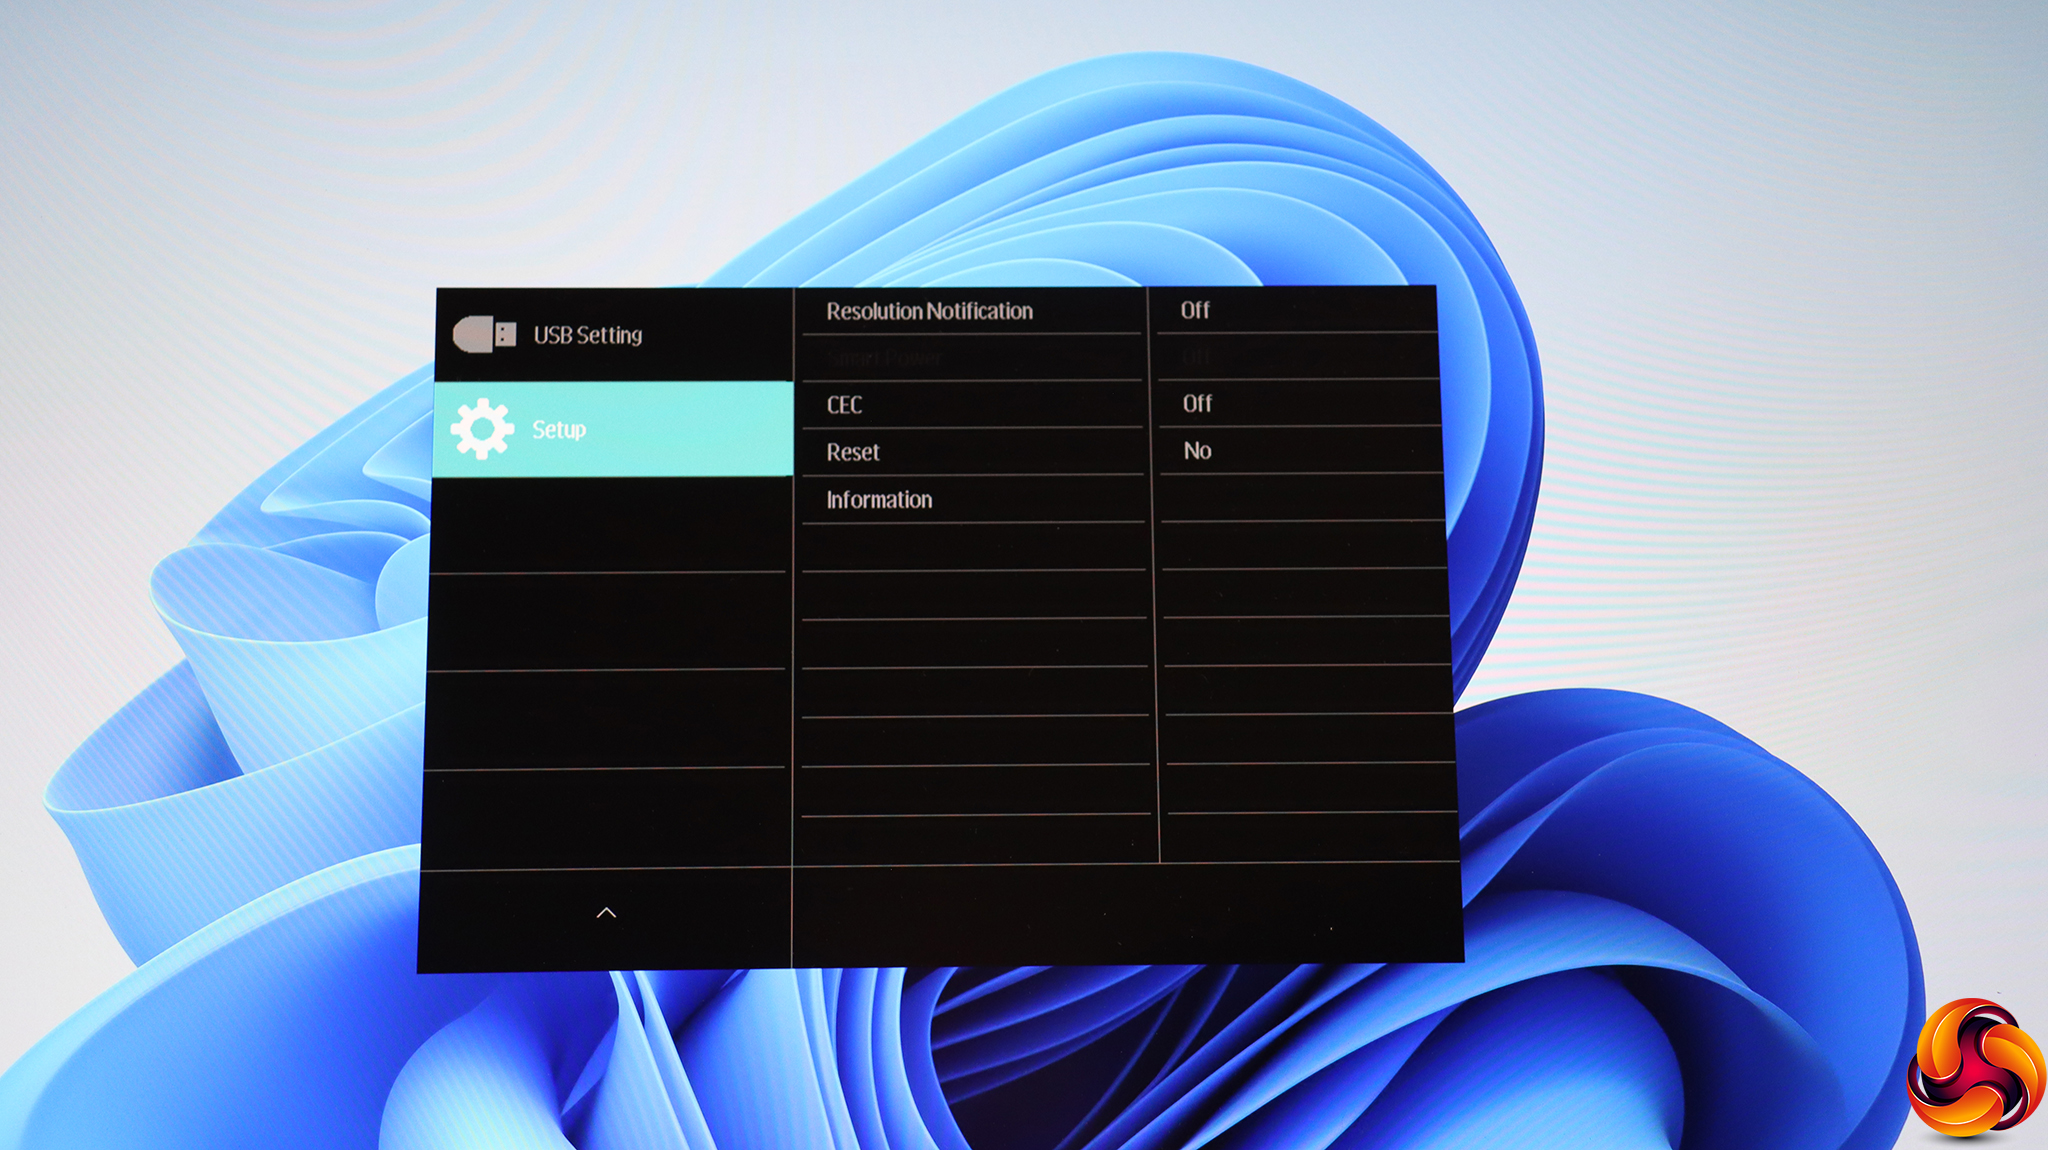
Last but not least, the Setup tab provides sundry extra settings such as onscreen resolution notification.
Overall, this is a huge main menu system packed with features. There are a few gaming-focused widgets not included, such as an onscreen FPS counter, and the lack of more business-focused presets shows just how gaming-oriented this screen is. We would also liked to have been able to configure the joystick, for example to put volume or screen brightness on one of the directions instead of Ambiglow. But otherwise there's plenty of configuration available here.