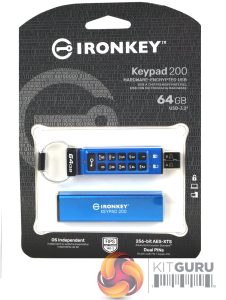
Kingston’s IronKey Keypad 200 drive is packaged in a blister pack with the drive and its outer sleeve sitting in two plastic trays. The cardboard backing is covered in binary code in black while the IronKey logo is picked out in a dark grey with lighter grey text, very neat.
On the top right of the cardboard backing is the drive's capacity along with its interface speed – USB 3.2. Under the blister is a note about it being OS independent, a logo representing FIPS 140-3 Level 3 (Pending Certification) support and then a mention that it has 256-bit AES-XTS encryption and Dual Pin support.
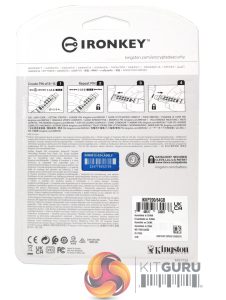
The rear of that packaging has a very useful illustrated quick start guide on how to set up the drive for the first time and some multi-lingual marketing notes.
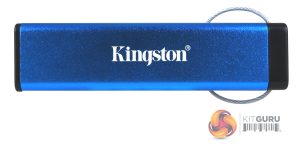
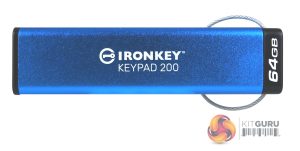
There are two parts to the IronKey Keypad 200, the drive itself and its protective outer sleeve.
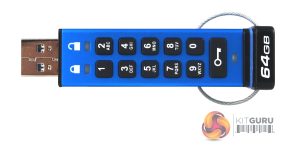
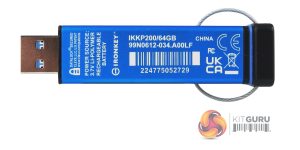
One side of the drive holds the 10-key alphanumeric keypad, a key button and three LEDs. The top two LEDs indicate the state of the drive – red for locked and green for unlocked while the key button at the other end of the drive glows blue when the drive is connected to a USB port. Apart from all the other security features of the drive, the keypad is protected from unwanted fiddling around. It is coated with a layer of polymer that not only protects the keys but also hides any key usage through analysis of fingerprints on the keys. Even the internal circuitry is protected from unwanted admirers by a layer of special epoxy, making it almost impossible to remove components without destroying them in the process.
Out of the box, the drive is in its Initial Shipment State without any pre-set User PIN and cannot be used. Incidentally, you may find that you need to charge the Keypad 200 before use – just stick it in a powered USB port for anything from 30 minutes to an hour and it should be ready to go, well ready to create a user PIN at any rate.
To create a PIN you press the key button once (all three LEDs come on) then you press the key button twice (the LEDs change to flashing blue) and enter your PIN number and double-click the key button (blue LED will change to green). You then re-enter the user PIN and press the key button twice more (the solid red LED will switch to green indicating that the PIN has been created.
There are a couple of rules for PIN creation. It must be between 8-15 digits long and can't contain any repetitive or consecutive numbers. To unlock the drive you press the key button once, enter the User Pin and press the key button again, the drive is unlocked but you need to be a bit quick as you only have 30 seconds to insert the drive into a USB slot to use it. Kingston usefully has a couple of videos on their site to explain setting up the drive.
 KitGuru KitGuru.net – Tech News | Hardware News | Hardware Reviews | IOS | Mobile | Gaming | Graphics Cards


