Following on from the success of the Cryorig H7 and R1 Ultimate coolers, today we are looking at a different beast entirely – the low-profile C7. Designed to fit in the tightest of spaces, the C7 has a total height of just 47mm, and this makes it ideal for use in SFF cases.
The Cryorig C7 is also well priced at £30.95, meaning it is a few pounds cheaper than the similarly-sized Raijintek Pallas. However, until we can assess its installation process and performance, we will draw no conclusions about the value it offers.
Heatsink Specification:
- Dimension ( with fan ): L97 mm x W97 mm x H47 mm
- Weight ( with fan ): 357 g
- Weight ( without fan ): 295 g
- Heat pipes: 6mm heatpipe x 4 units
- Fin: T = 0.4 mm ; Gap = 1.2 mm
- Fin Pcs: 57 pcs
- Copper Base: C1100 Pure copper nickel plated
- RAM Height Limit: Limitless
- TDP: 100 W
Fan Specification:
- Dimension: L92 mm x W92 mm x H15 mm
- Weight: 62 g
- Rated Speed: 600 ~ 2500 RPM ±10 %
- Noise Level: 30 dBA
- Air Flow: 40.5 CFM
- Air Pressure: 2.8 mmH2O
- Ampere: 0.2 A

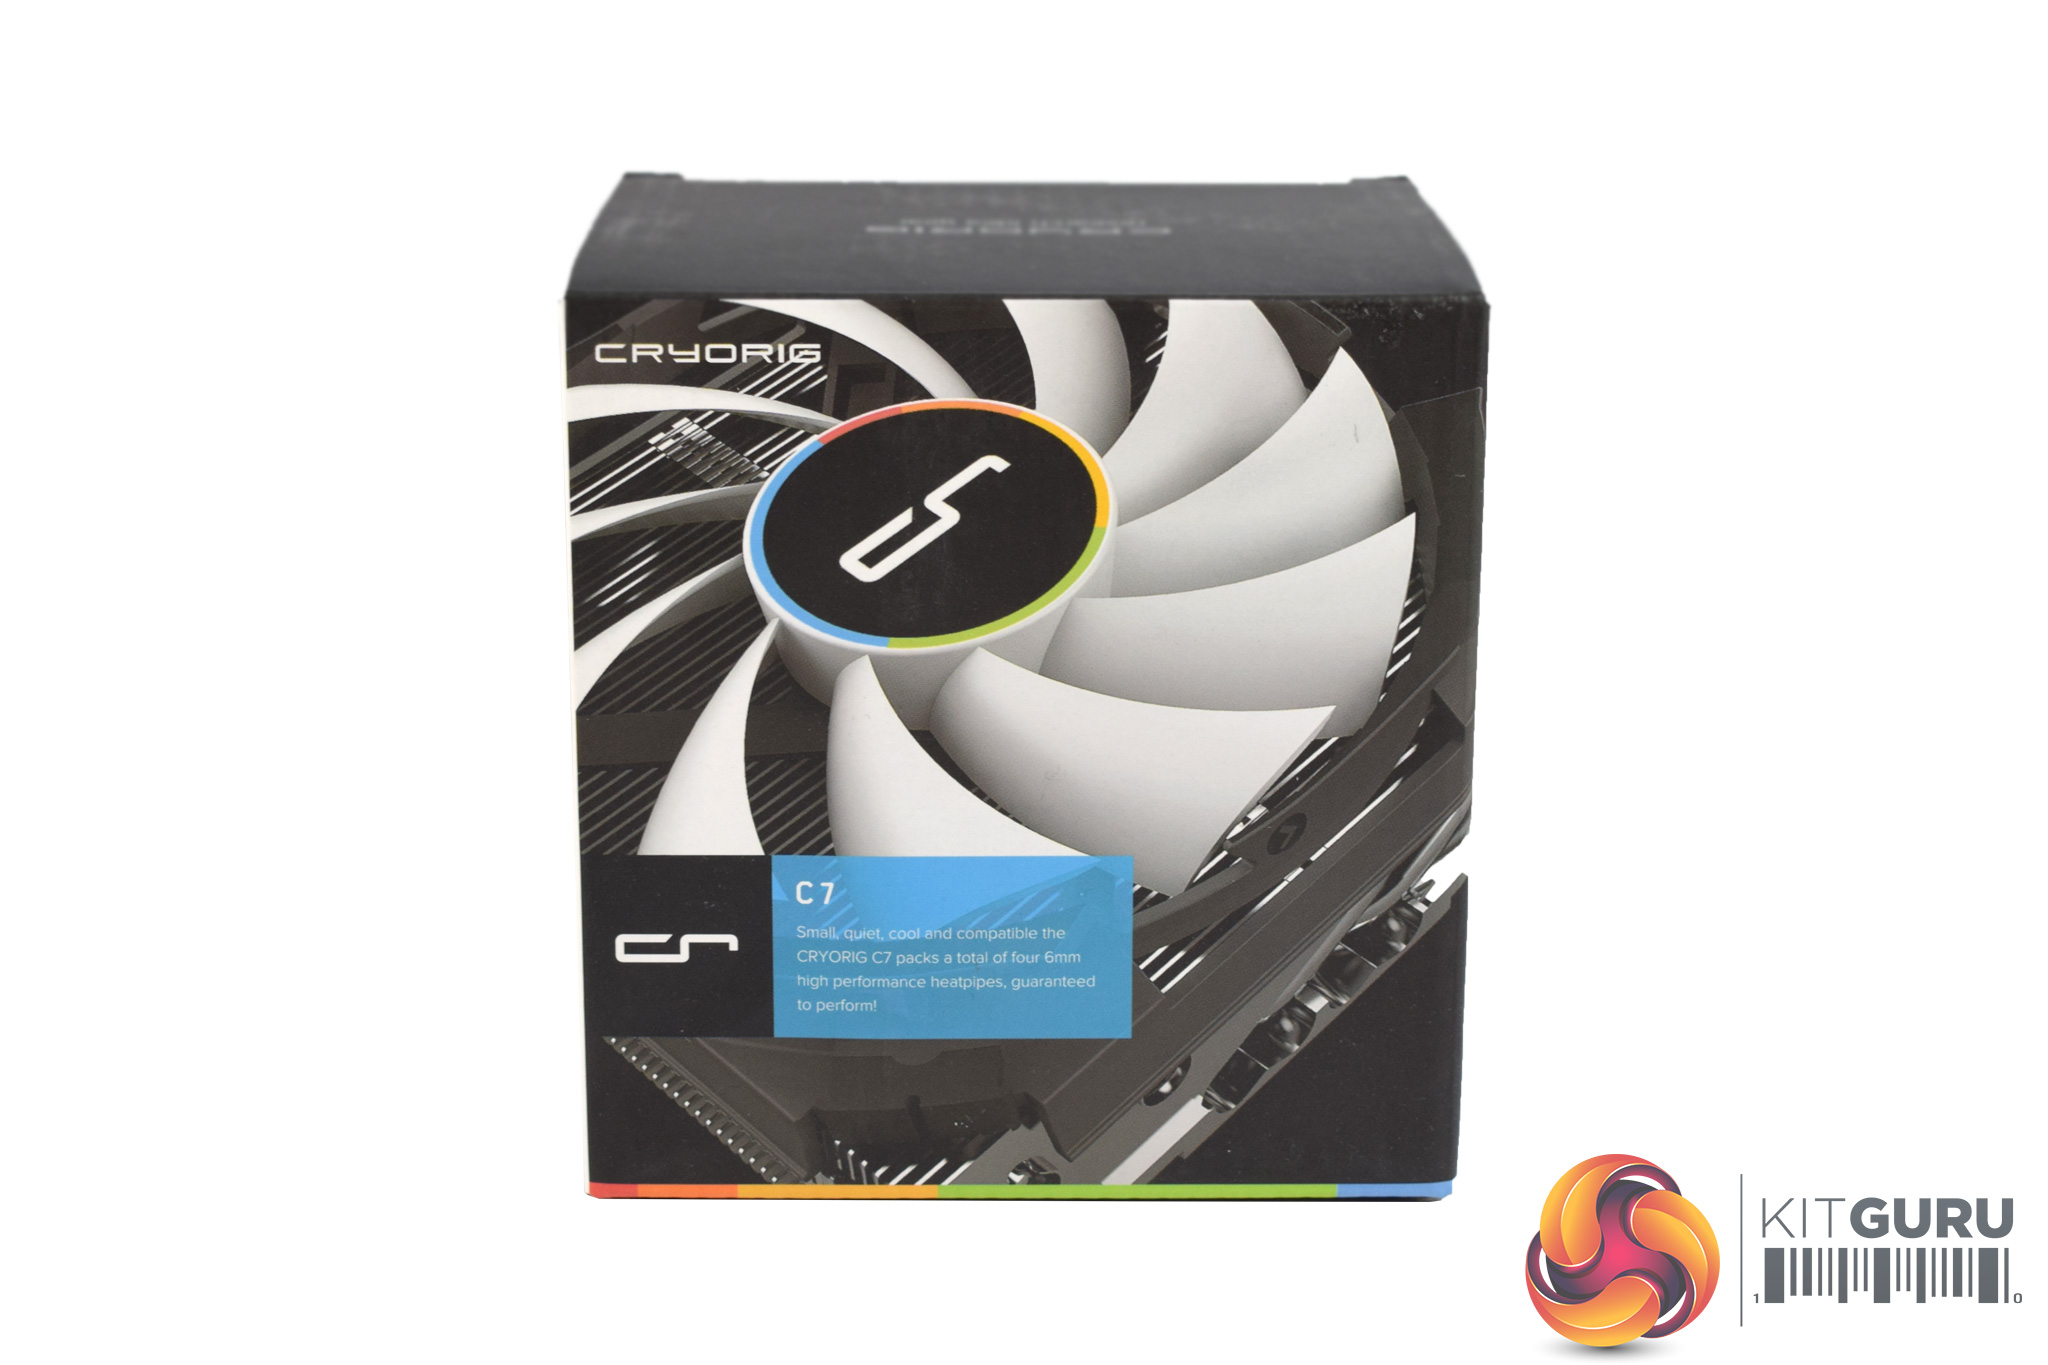

The Cryorig C7 ships in a pretty standard box, and a product photo dominates the front.
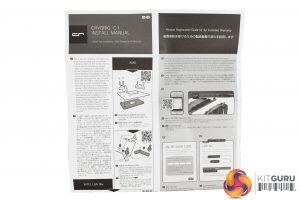
Inside, the manual is excellent (as we would expect from Cryorig) and if you are ever stuck on one step of the process, simply scan the QR code and you will be taken to a video clip of the very step you are struggling with.

There is not a lot of installation hardware for the C7, as all you get is a backplate, some nuts, a special screwdriver and some thermal paste.


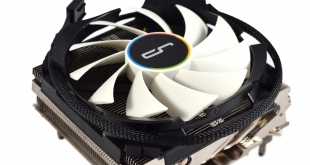
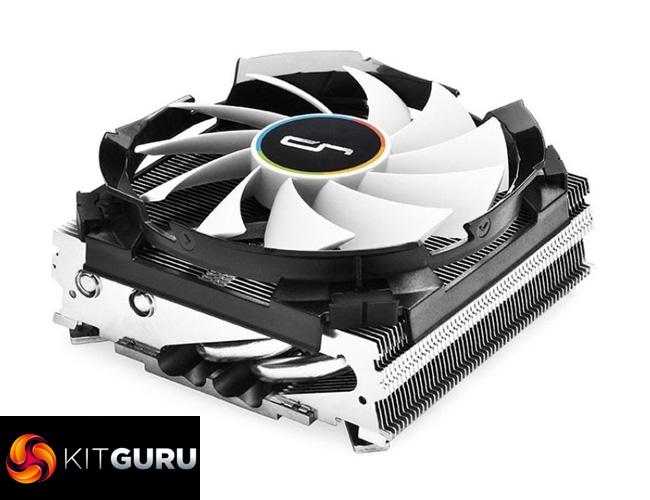
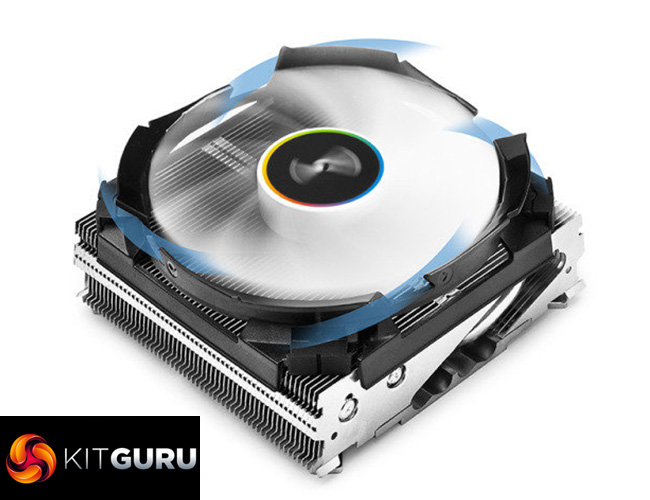
The heatsink itself is a tiny piece of metal, measuring just L97 mm x W97 mm x H47 mm (not including the fan.)
It is quite attractive though, with an aluminium body that contrasts nicely against the black-and-white low-profile fan. The fan also sports a colourful ring around the Cryorig logo which definitely adds some interest.Here I will walk you through the installation process. It is worth noting we test using a Z97 motherboard – socket LGA 1150. The process below reflects that.


The first thing to do is apply thermal paste and mount the cooler. Yes, really – there are pre-installed screws which will slot through the motherboard socket holes.
Once those holes are through, you can flip the motherboard over and place the backplate on-top of these screws.
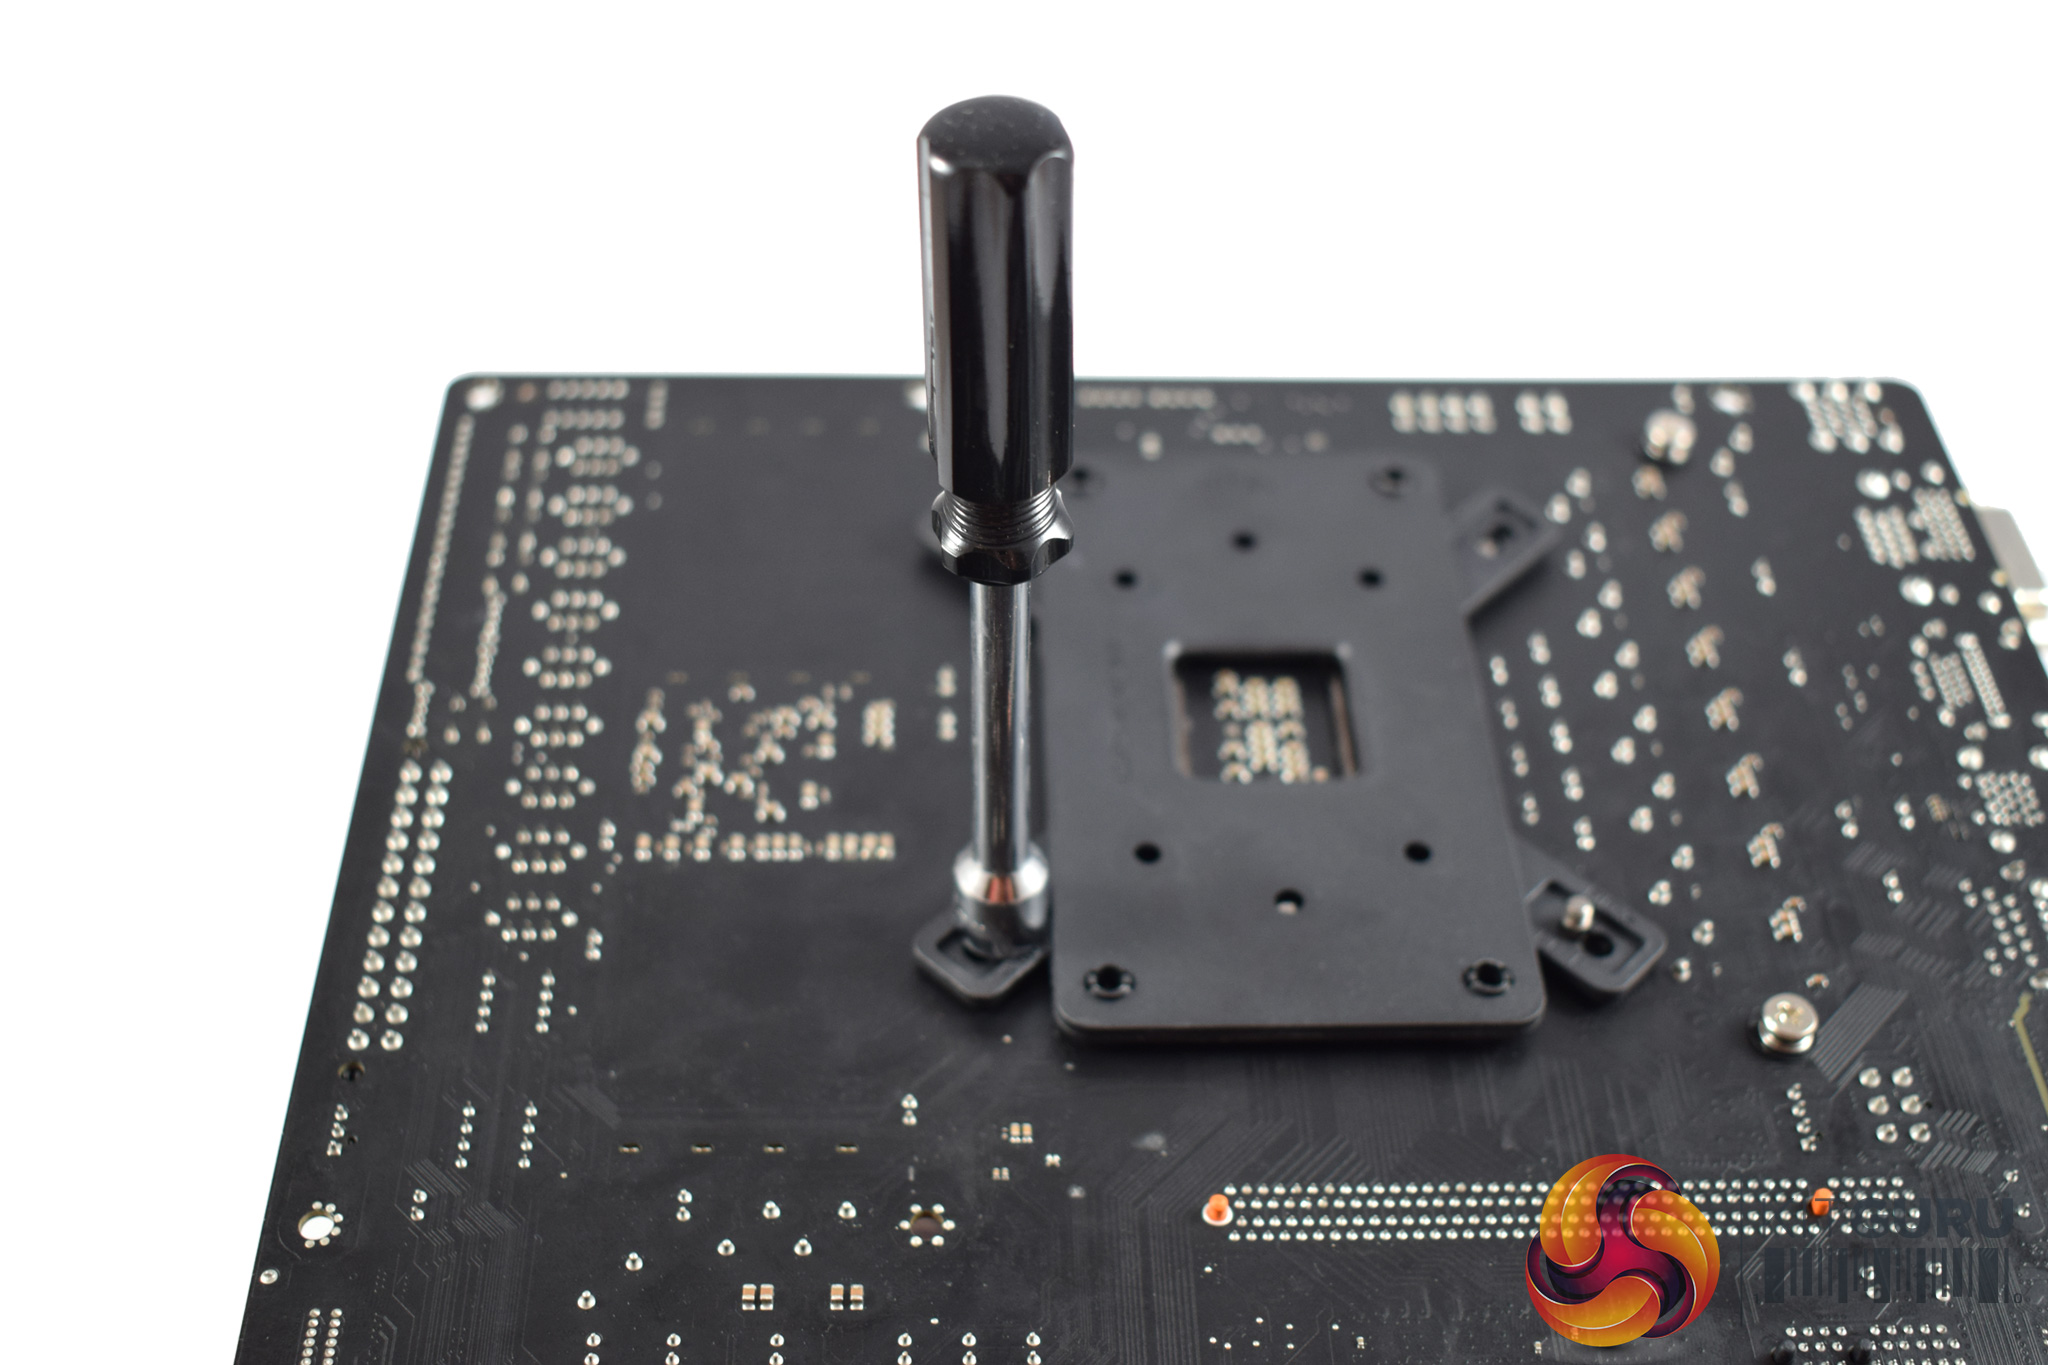

Then, all you need to do is secure the screws to the backplate using four nuts. The supplied screwdriver helps you attach the nuts.
After that, installation is complete, and it really is that easy.To test all CPU coolers, we devised an easily repeatable test with no variables other than the coolers themselves. This ensures that figures from every cooler we test are comparable with each other.
Test rig
Using an open-air test bench, we deploy an Intel Core i7-4790K plugged into a Gigabyte Z97X-SOC Force motherboard. Alongside this is 16GB of 2400MHz Corsair Vengeance DDR3, as well as a 120GB OCZ Trion 150 SSD. Powering everything is a Corsair RM750x PSU.
The test process
Testing coolers involves taking a total of 4 temperature readings per cooler. First, we measure the idle temperature of the i7-4790K at stock speeds (turbo boost disabled), before measuring its temperature under load at stock speeds. Next, we overclock the CPU to 4.5GHz using a 1.3 Vcore, ensuring greater heat output. In its overclocked state we then measure the idle and load temperatures of the CPU again. The figures we present are temperature deltas – meaning we take each temperature reading and minus the ambient temperature from it. This allows us to test in an environment that is not temperature-controlled.
To ward off potential comments or questions, we know 4.5GHz using a 1.3 Vcore is not the ‘best’ overclock – this particular CPU could reach that frequency at closer to 1.25 on the Vcore, which is more efficient. That is not the point, however. We are trying to stress the coolers to see how they deal with excess heat … hence the higher than necessary Vcore.
Where possible, each cooler’s fans are plugged directly into the motherboard using the CPU_Fan or CPU_Opt headers. Some AIOs, however, ship with their own fan controllers or PWM hubs. If we are unable to plug the fans directly into the motherboard, it is specified in the performance section of the review.
An idle reading comes from leaving Windows on the desktop for 15 minutes. A load reading comes from running Prime95’s (version 26.6) Small FFTs test for 15 minutes – enough time for temperatures to plateau.
Noise output
Unfortunately I am unable to properly measure the sound output of CPU coolers using a digital sound meter. This is because I am based alongside a busy road (with high ambient noise levels). Using a sound meter is, as such, not possible as there are variables out of my control. However, I will try my best to subjectively describe the noise output in a helpful manner.Temperatures
All temperature charts are sorted with lowest load temperatures at the top.
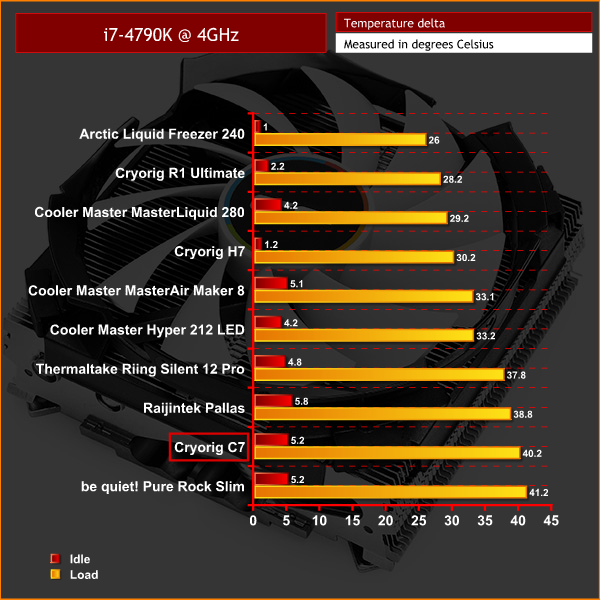
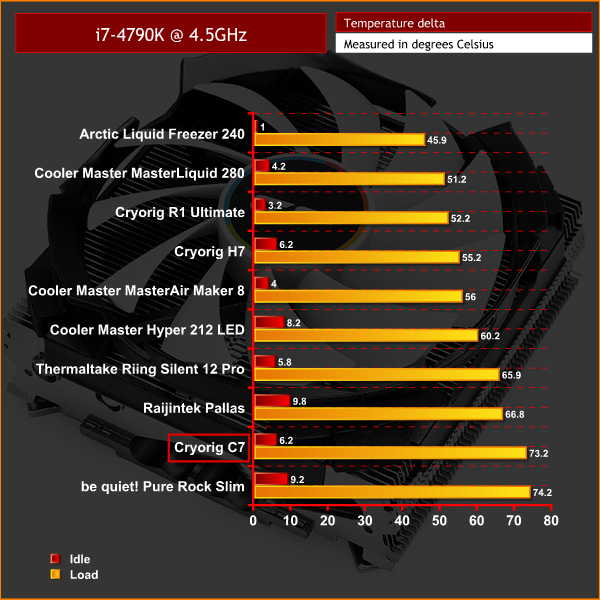
In both tests, the C7 comes in second from the bottom. Most significantly, it is bettered by the similarly-sized Raijintek Pallas by a margin of around 6 degrees when the CPU was overclocked. Considering both are very similar products, this has to go down as a victory for Raijintek.
Acoustics
Acoustically, the C7 performs similarly to the Pallas, which is to say that it is not loud, but at 100% load the fan does become slightly whiny. This is the nature of low-profile fans, though, as they just cannot compete with full-size spinners.
However, I would also say if you are considering the C7 to cool your CPU, it is unlikely you will be running programmes that will push a CPU to 100% load anyway – anyone doing such tasks would be better off with a beefier cooler.Unlike the H7 and the R1 Ultimate, the Cryorig C7 has not been a runway success.
It does look good, and it is very easy to install, with only 3 stages to the installation process. Its design is undoubtedly its biggest asset, as the total height of just 47mm means this cooler should fit just about anywhere.
However, it is bettered by the similarly-sized Raijintek Pallas, which – at just £8 more – does look like a better deal considering both are low-profile coolers. They also emit similar amounts of noise.
There is still a market for the C7 considering it is much easier to install – and is subjectively better-looking than the Pallas, but we recommend shelling out the extra few quid and having a cooler CPU.
![]()
You can buy the Cryorig C7 for £30.95 from Overclockers UK HERE.
Discuss on our Facebook page, HERE.
Pros
- Looks good.
- Easy to install.
- Very small.
Cons
- It does not perform as well as the Raijintek Pallas.
- Fan can get a bit whiny at 100% speed.
KitGuru says: The Cryorig C7 is good-looking and benefits from a dead-easy installation process. However, it does not cool as well as the Raijintek Pallas, and that is the main criteria for a cooler, so we would recommend the Pallas instead.