We got our first glimpse of the Phanteks NV7 chassis at CES earlier this year. Leo was in Vegas to give us an initial rundown of the specifications as well as show off some of the NV7’s quirky new features. However, some questions were left on the table after that video, so today I’ll answer those with a build and full review of the Phanteks NV7 chassis. We have some high-end hardware and a stack of fans to fill this new full-tower chassis, but will it be any good? Let’s find out.
Timestamps:
00:00 Start
00:43 Pricing, versions and accessories
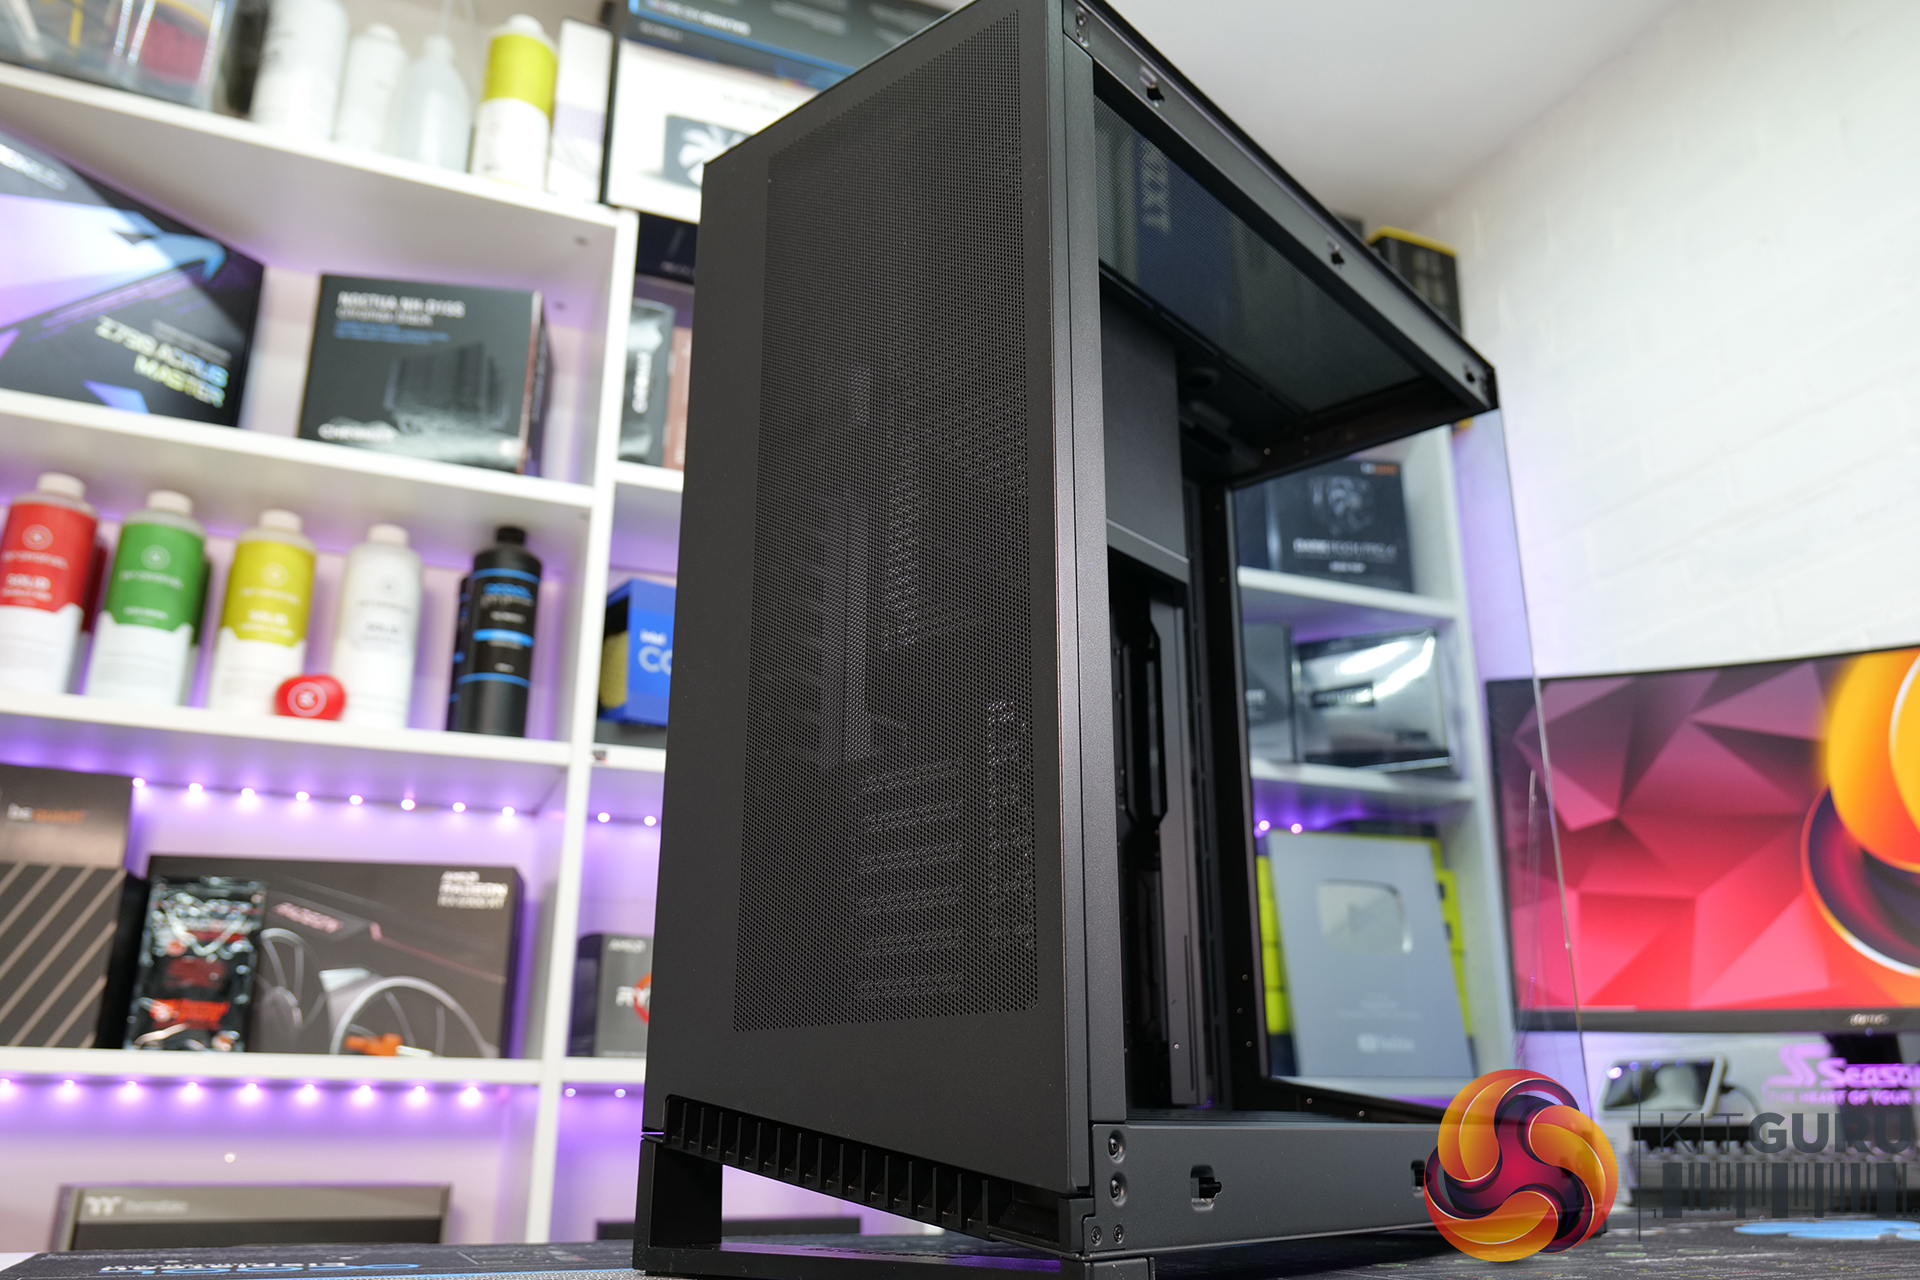
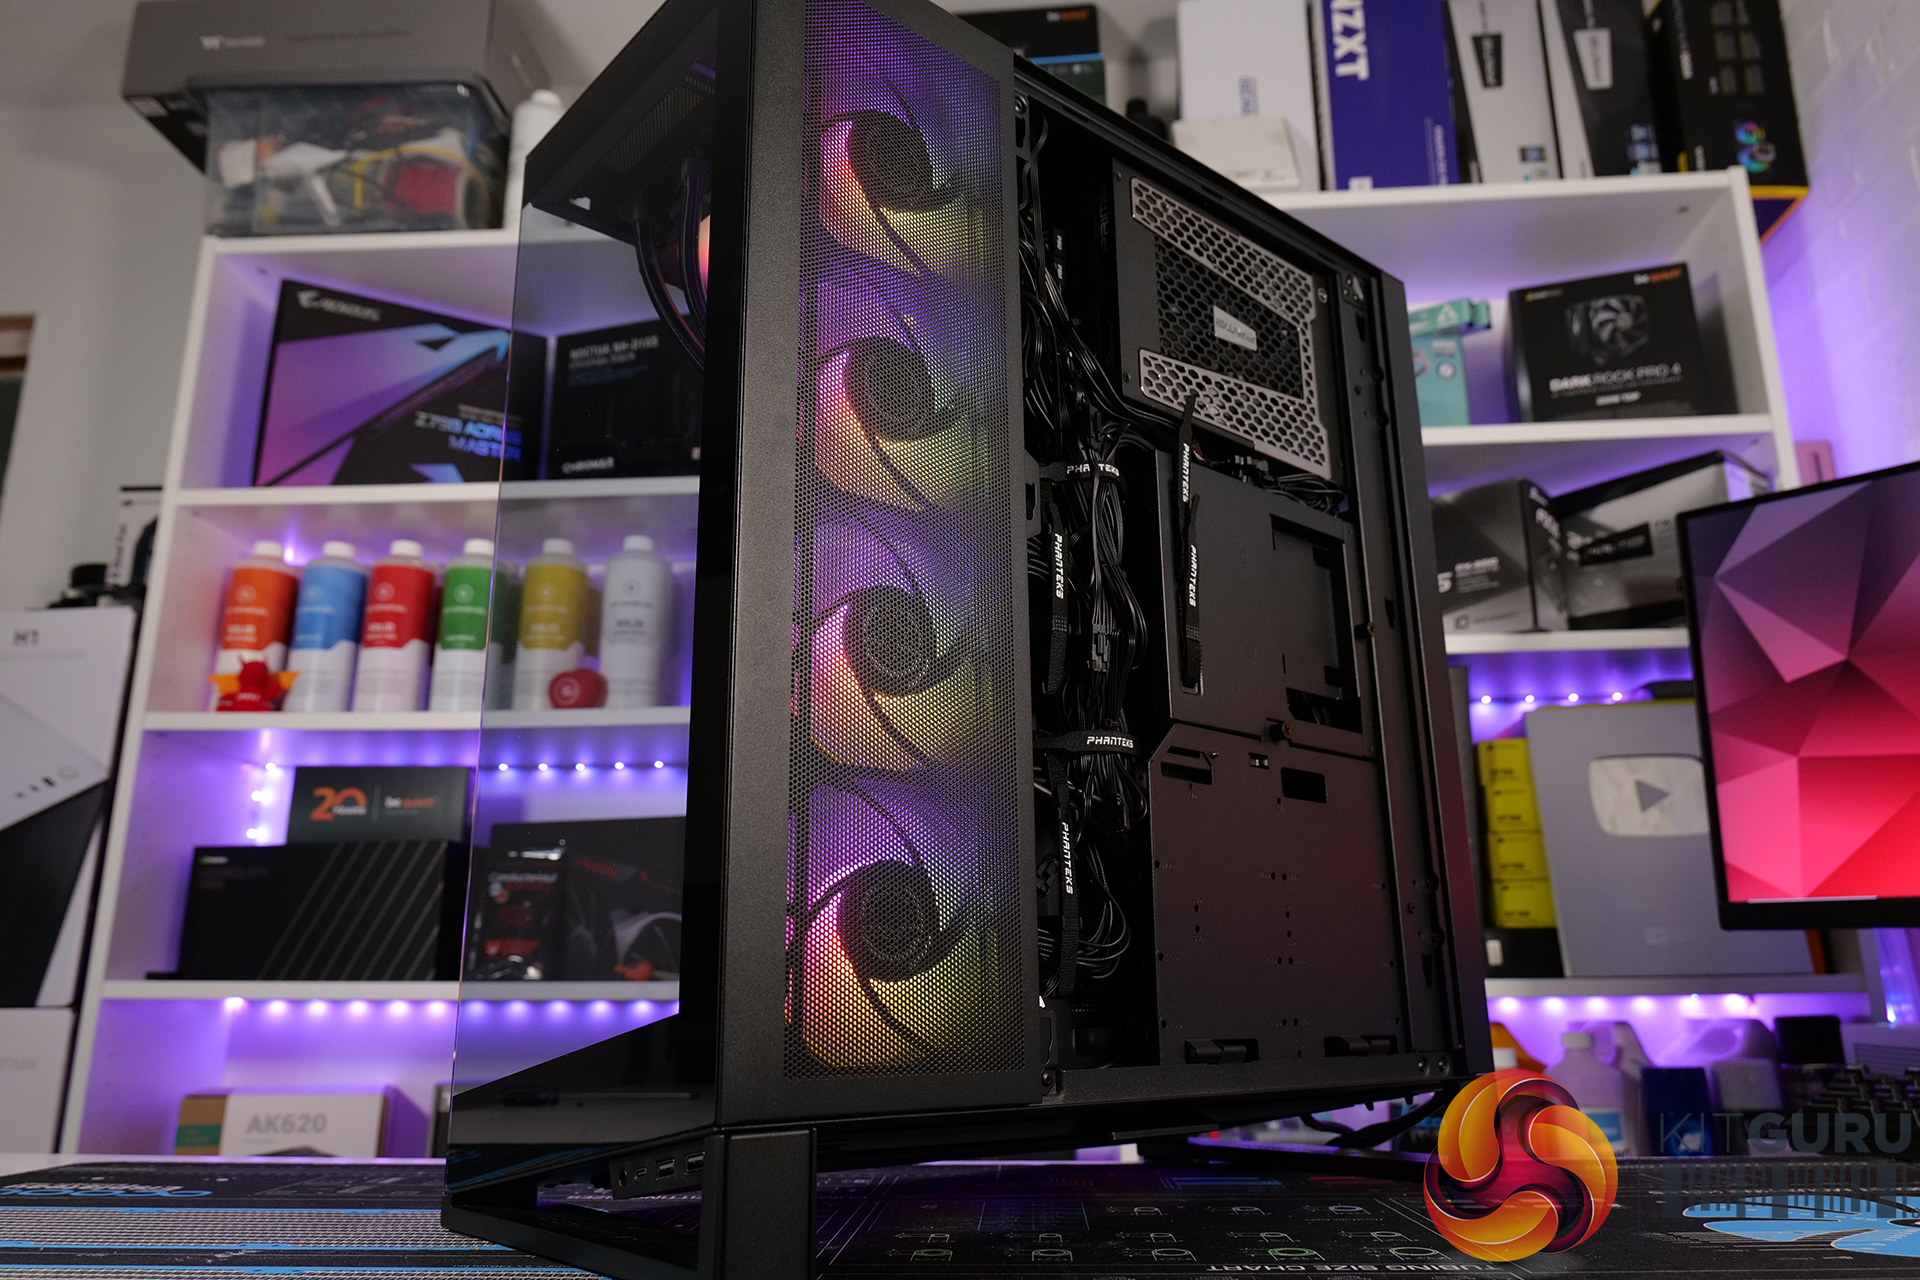
01:31 Close up / design / front I/O
02:40 Controller / management / mounts
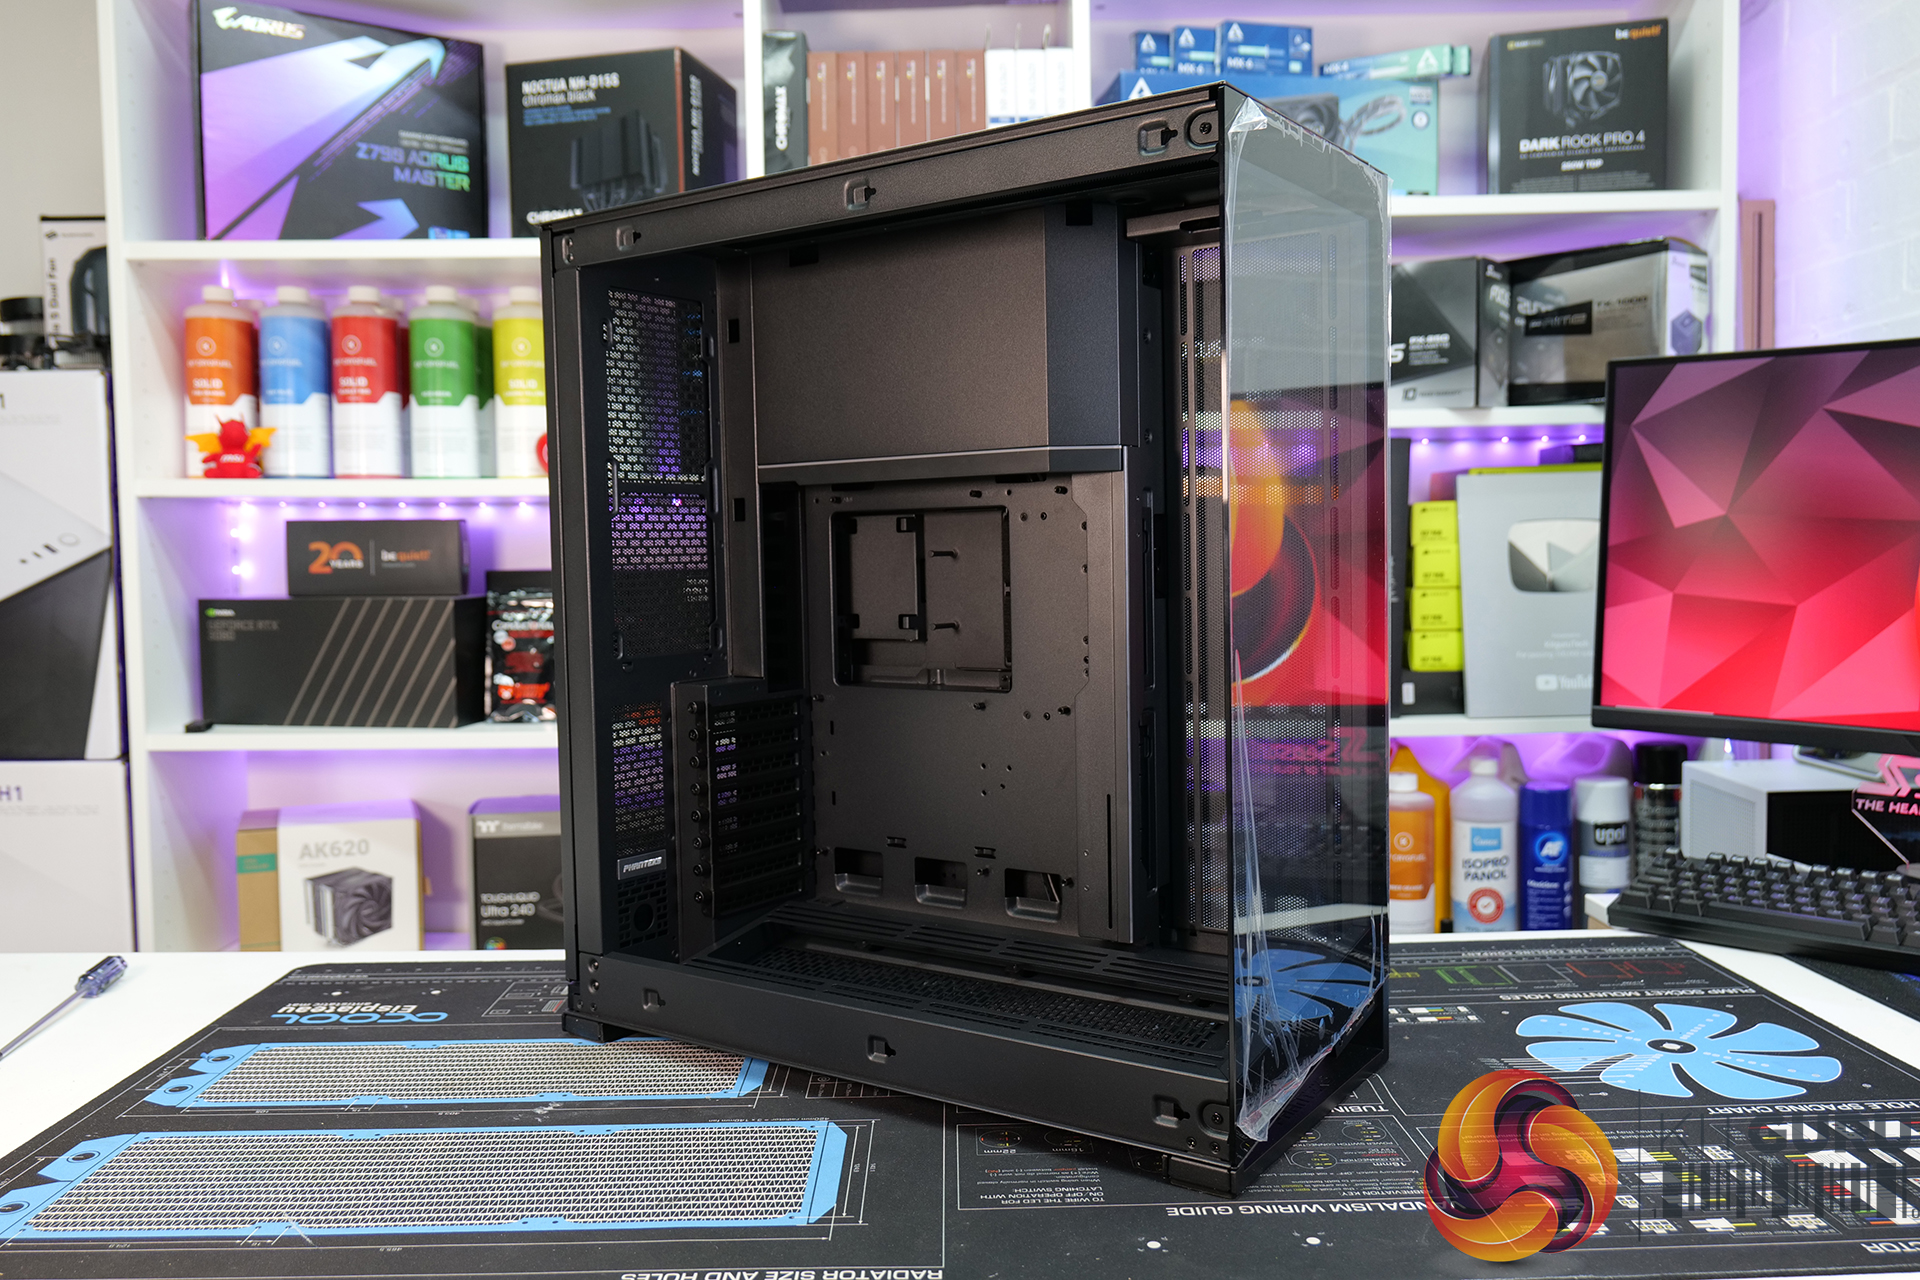
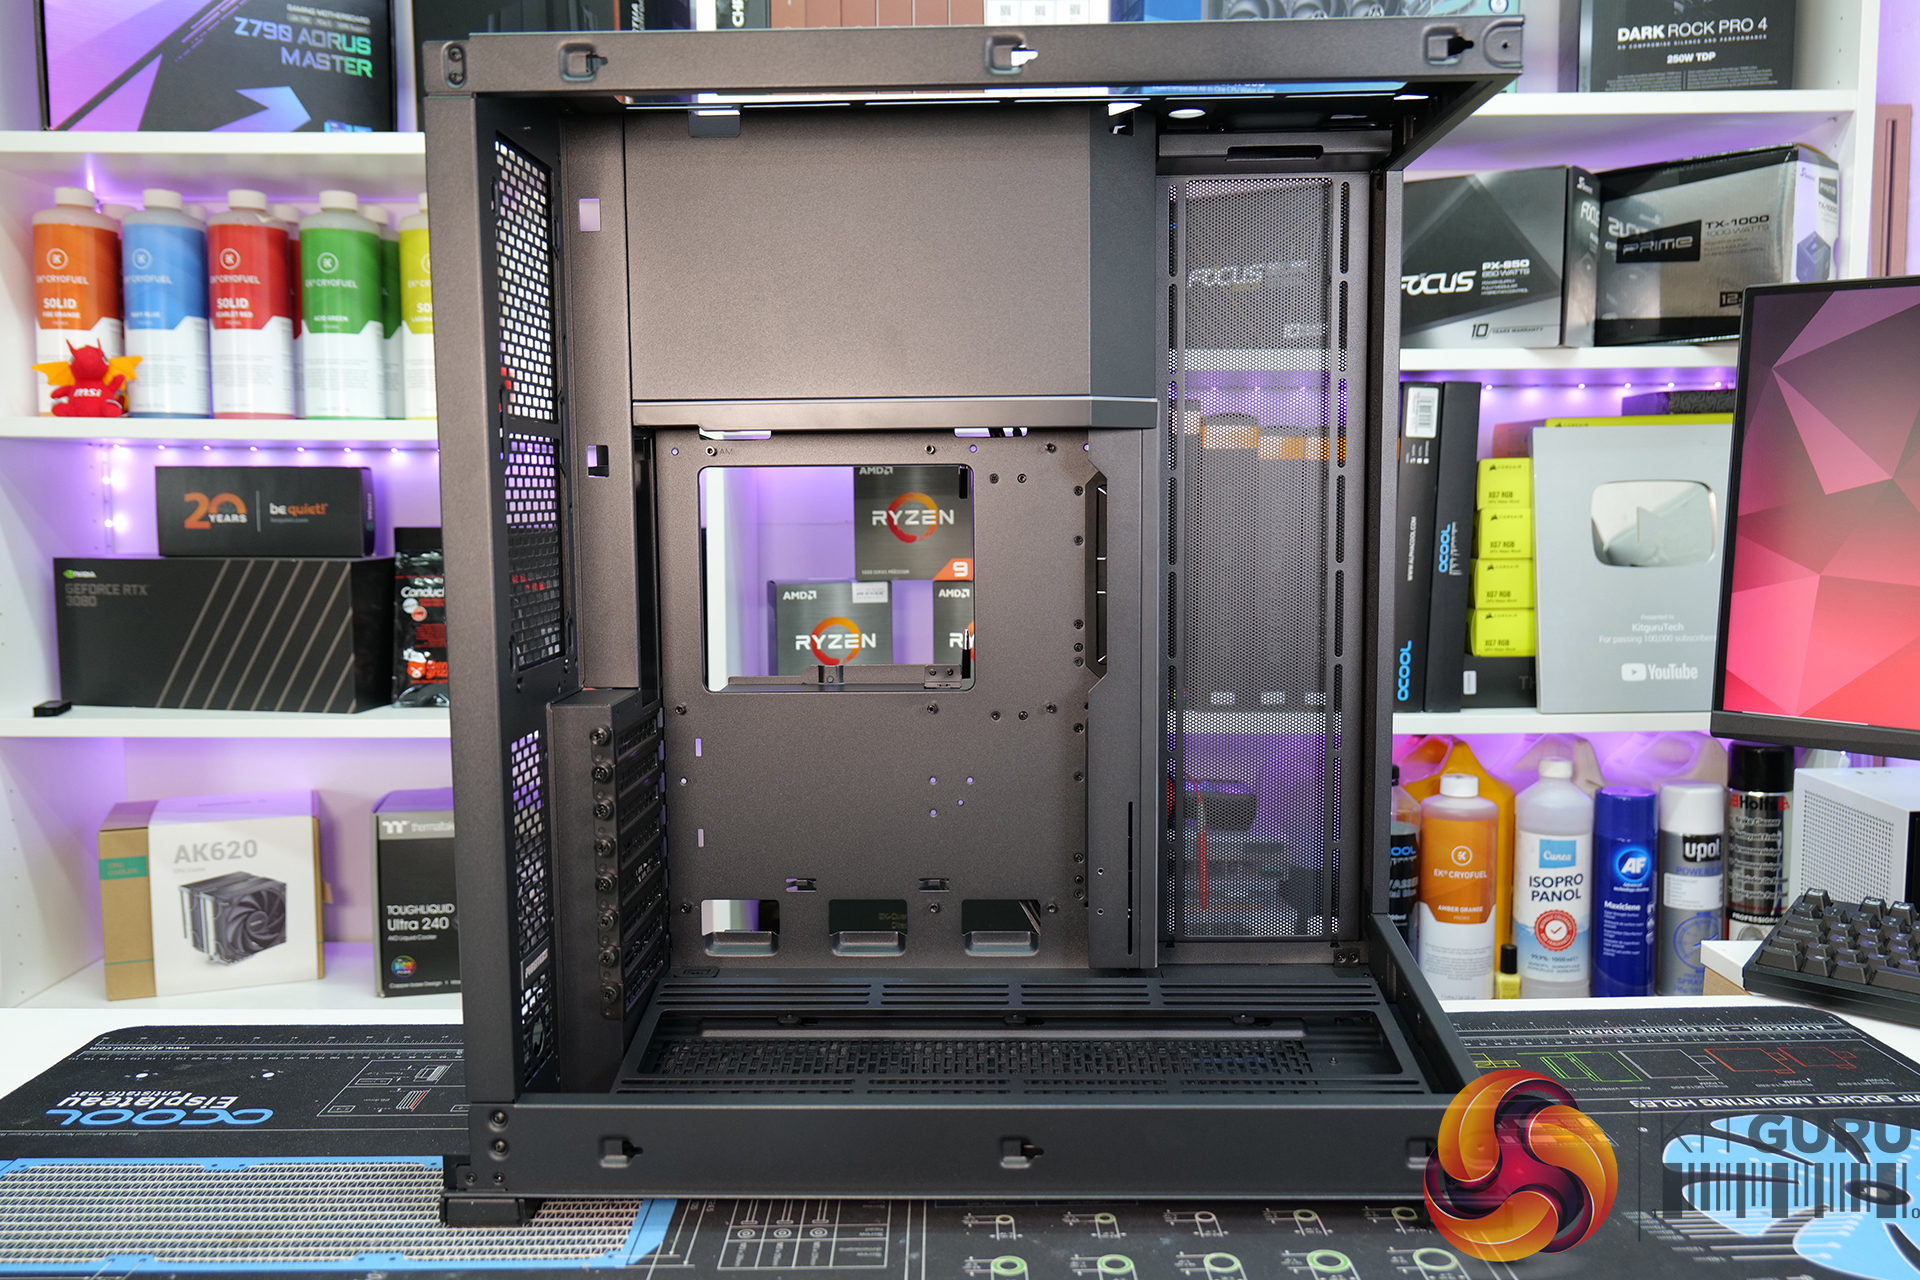
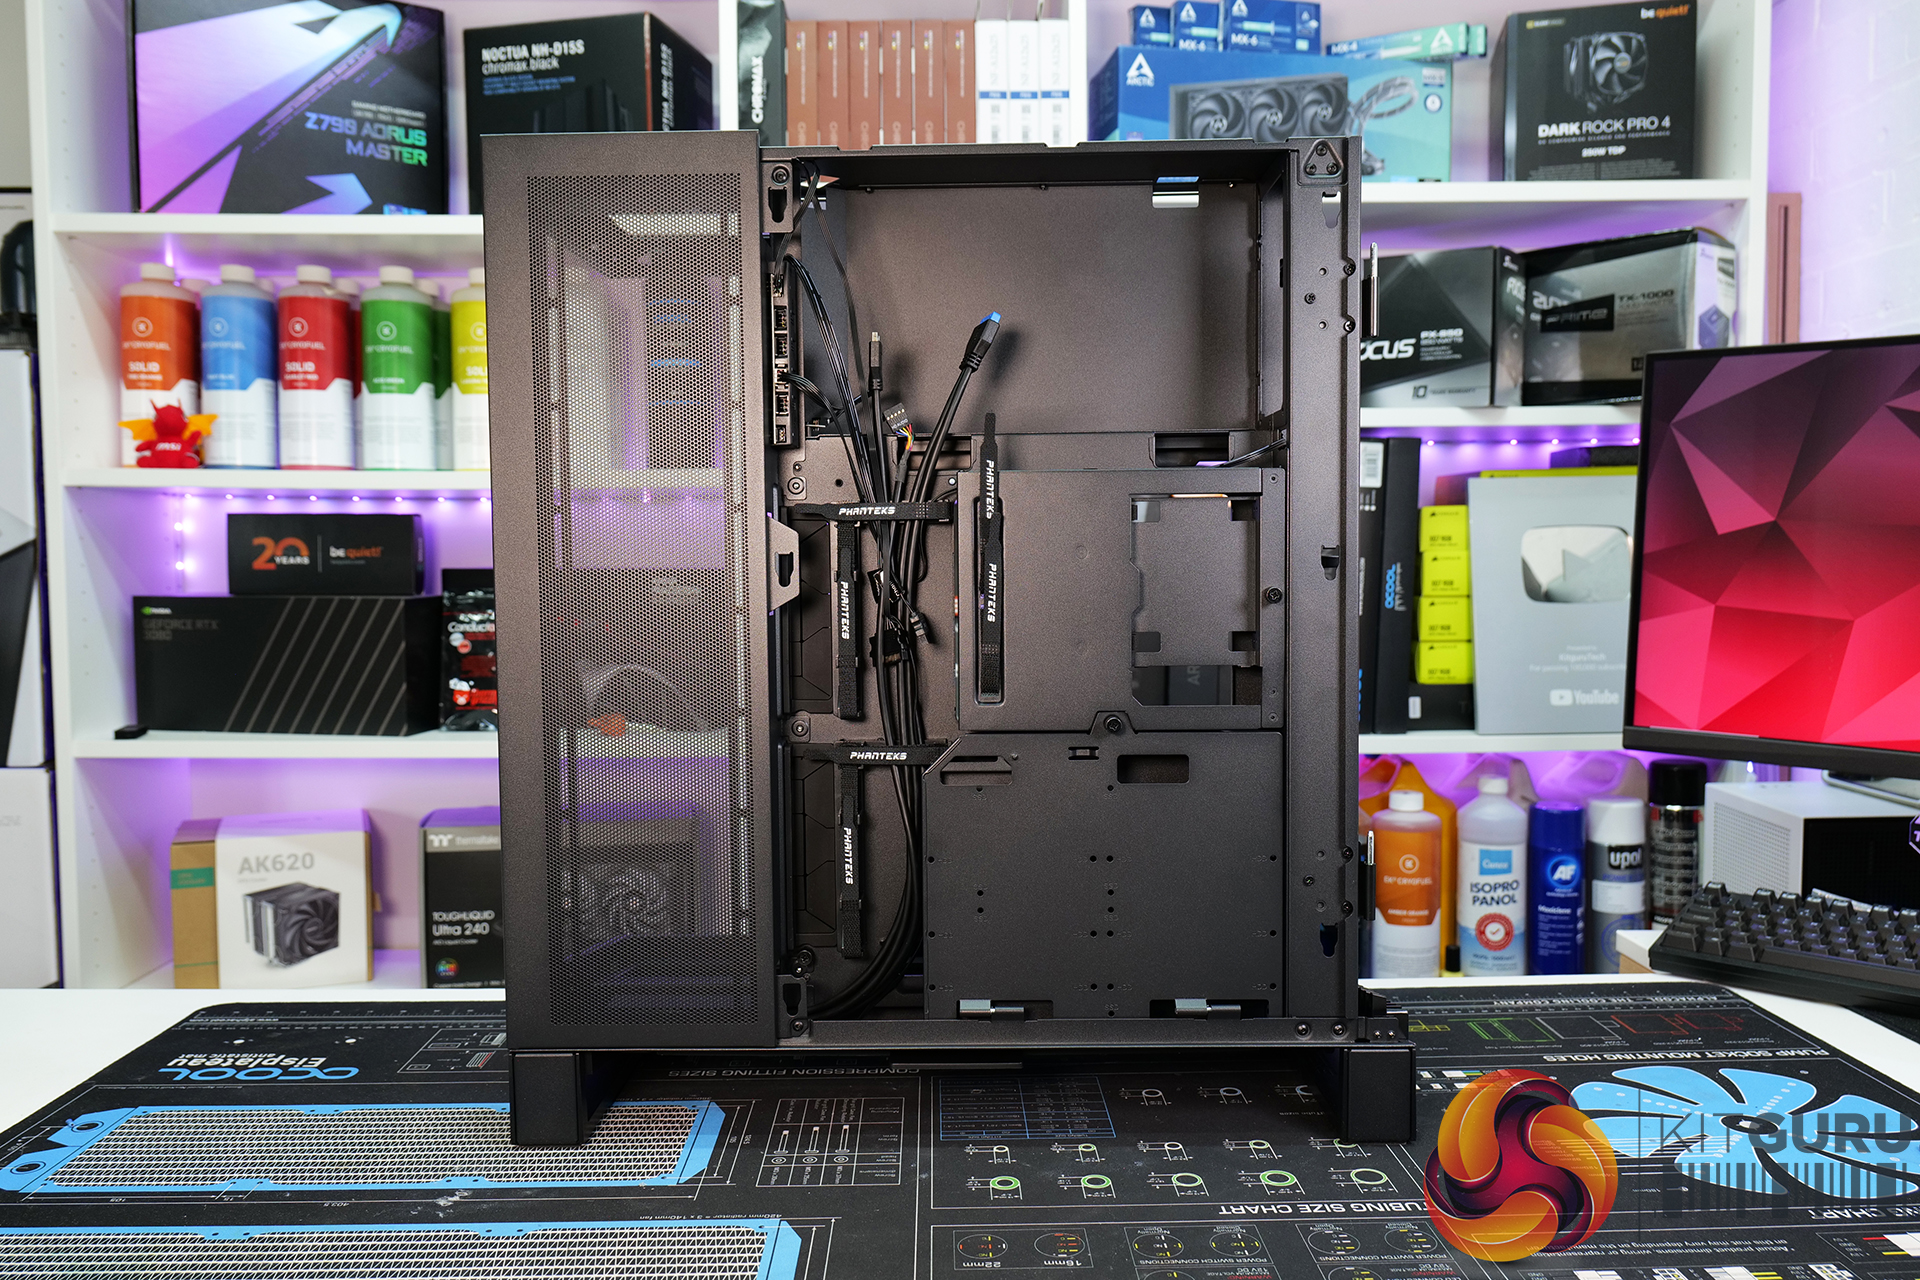
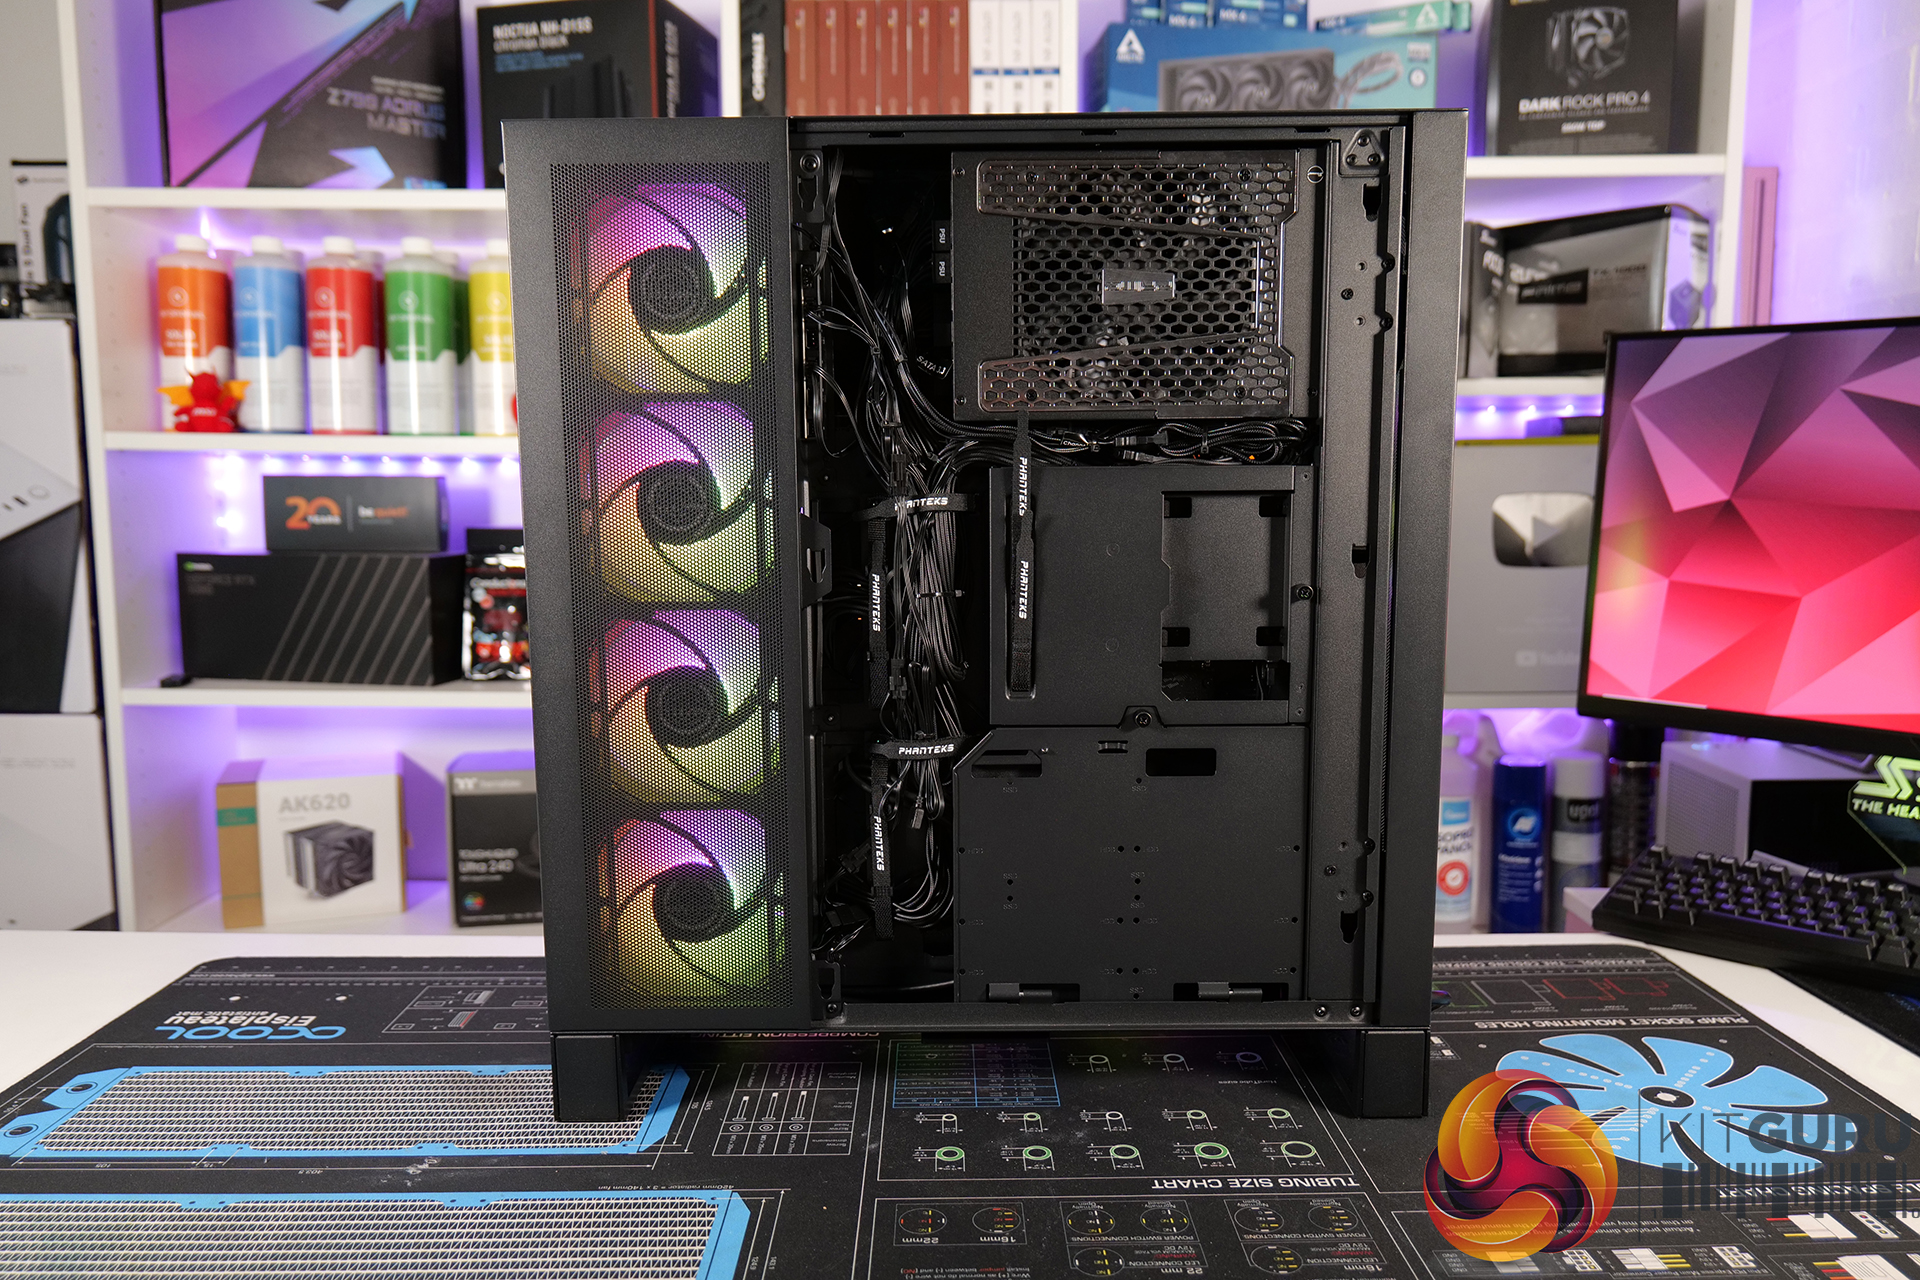
03:06 Taking the panels off / inside
07:07 Radiator support / fan mounts
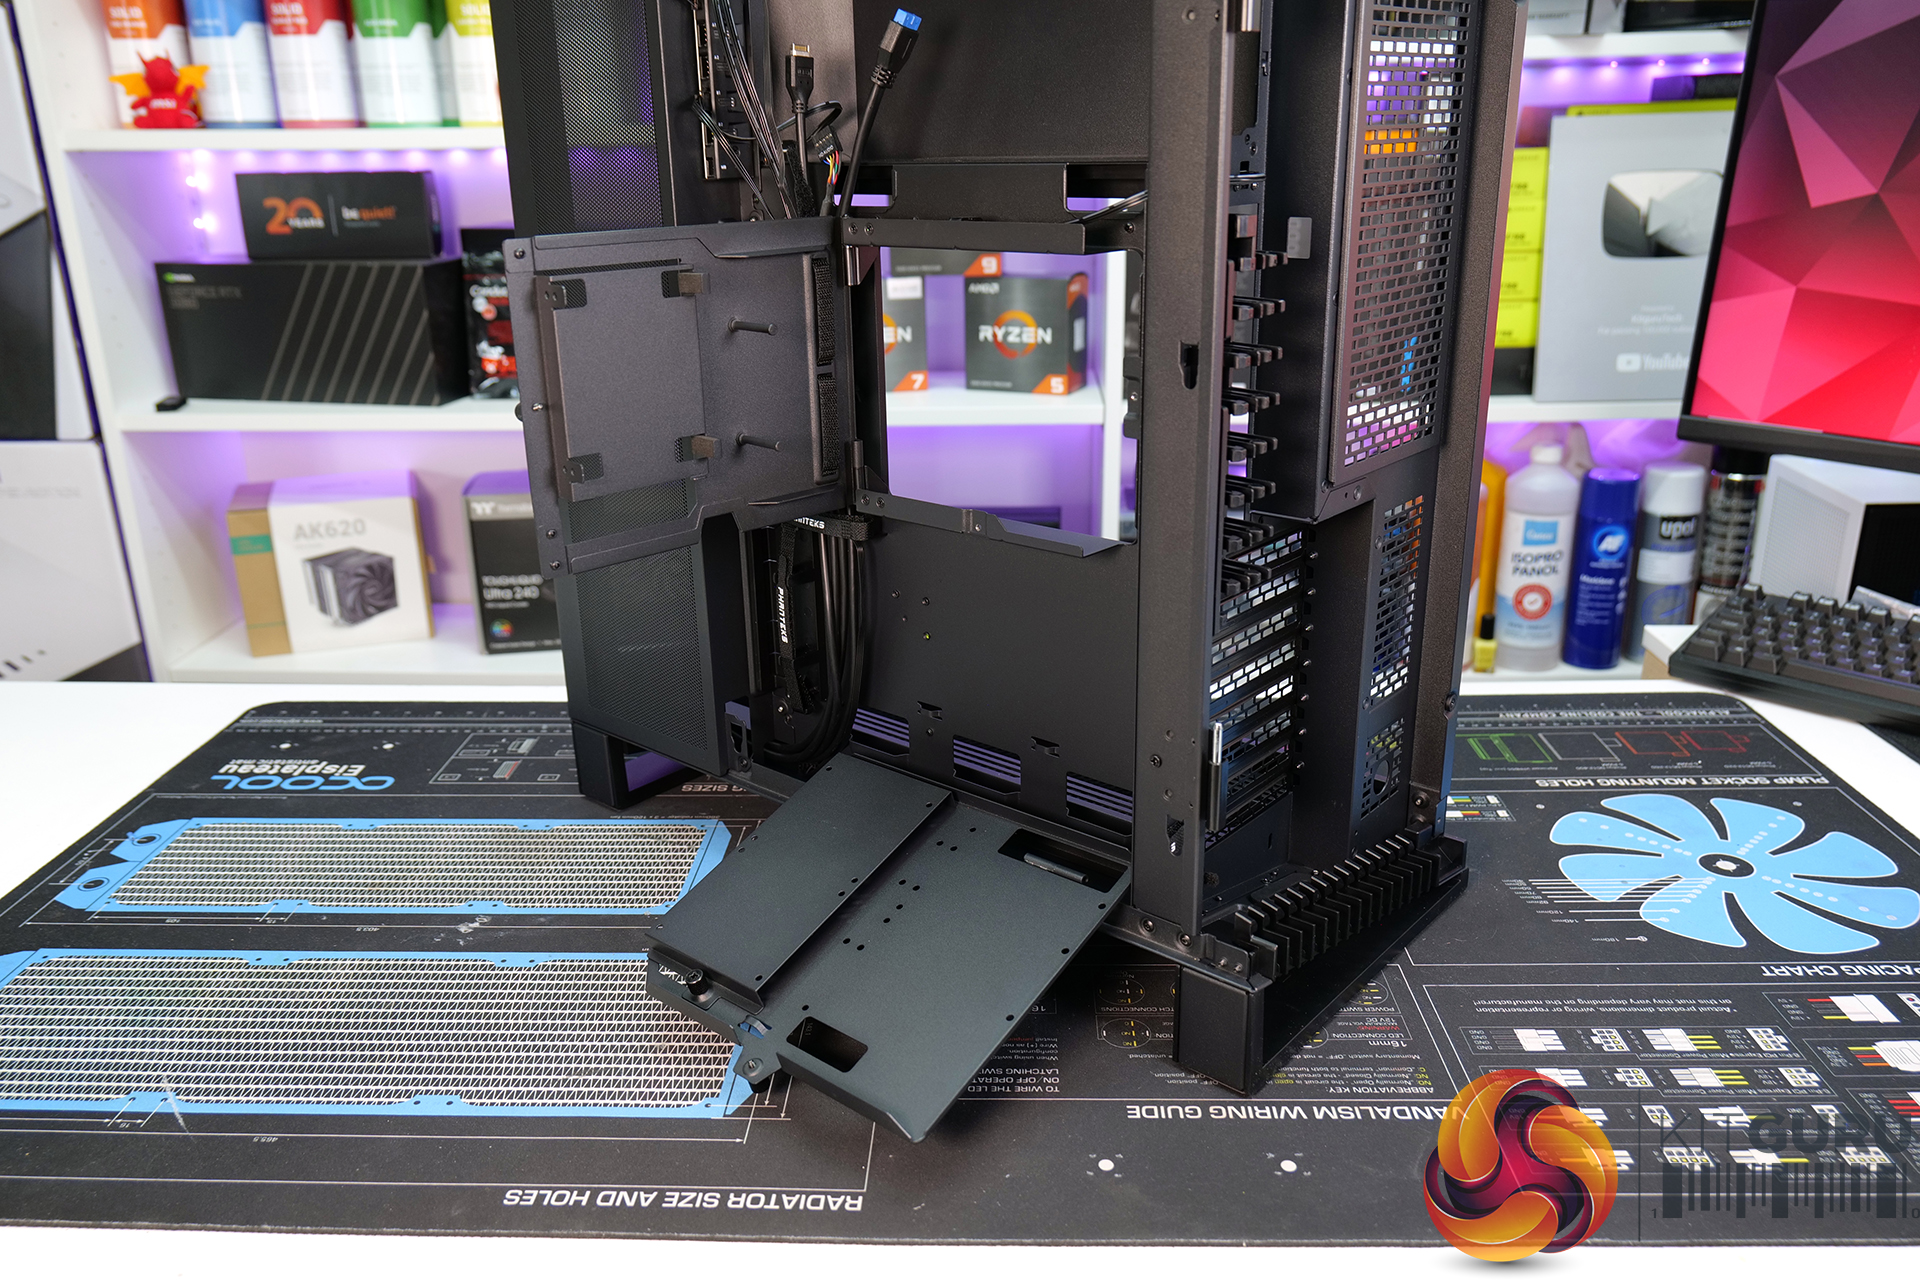
09:12 Removing parts and case support
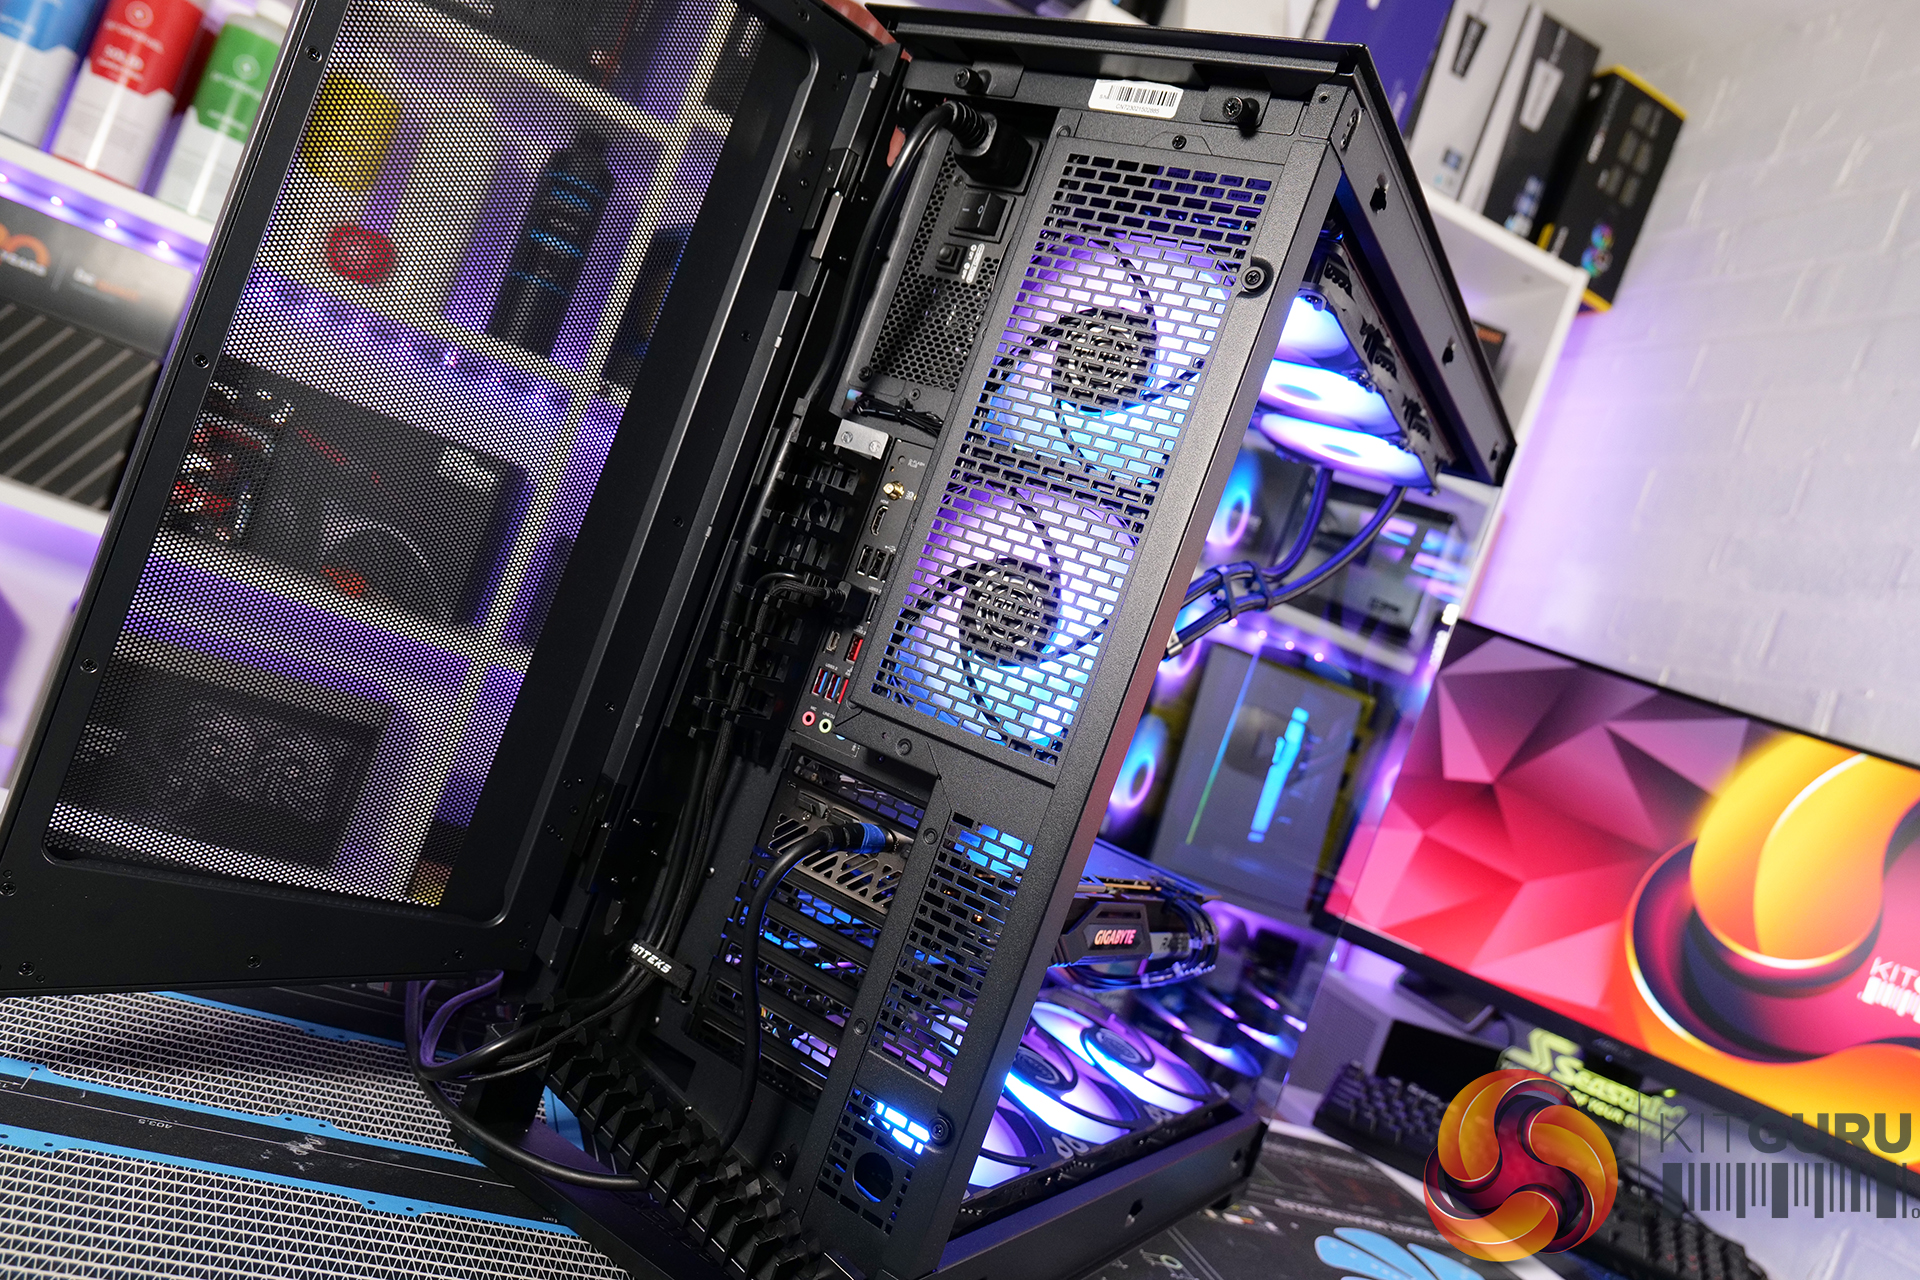
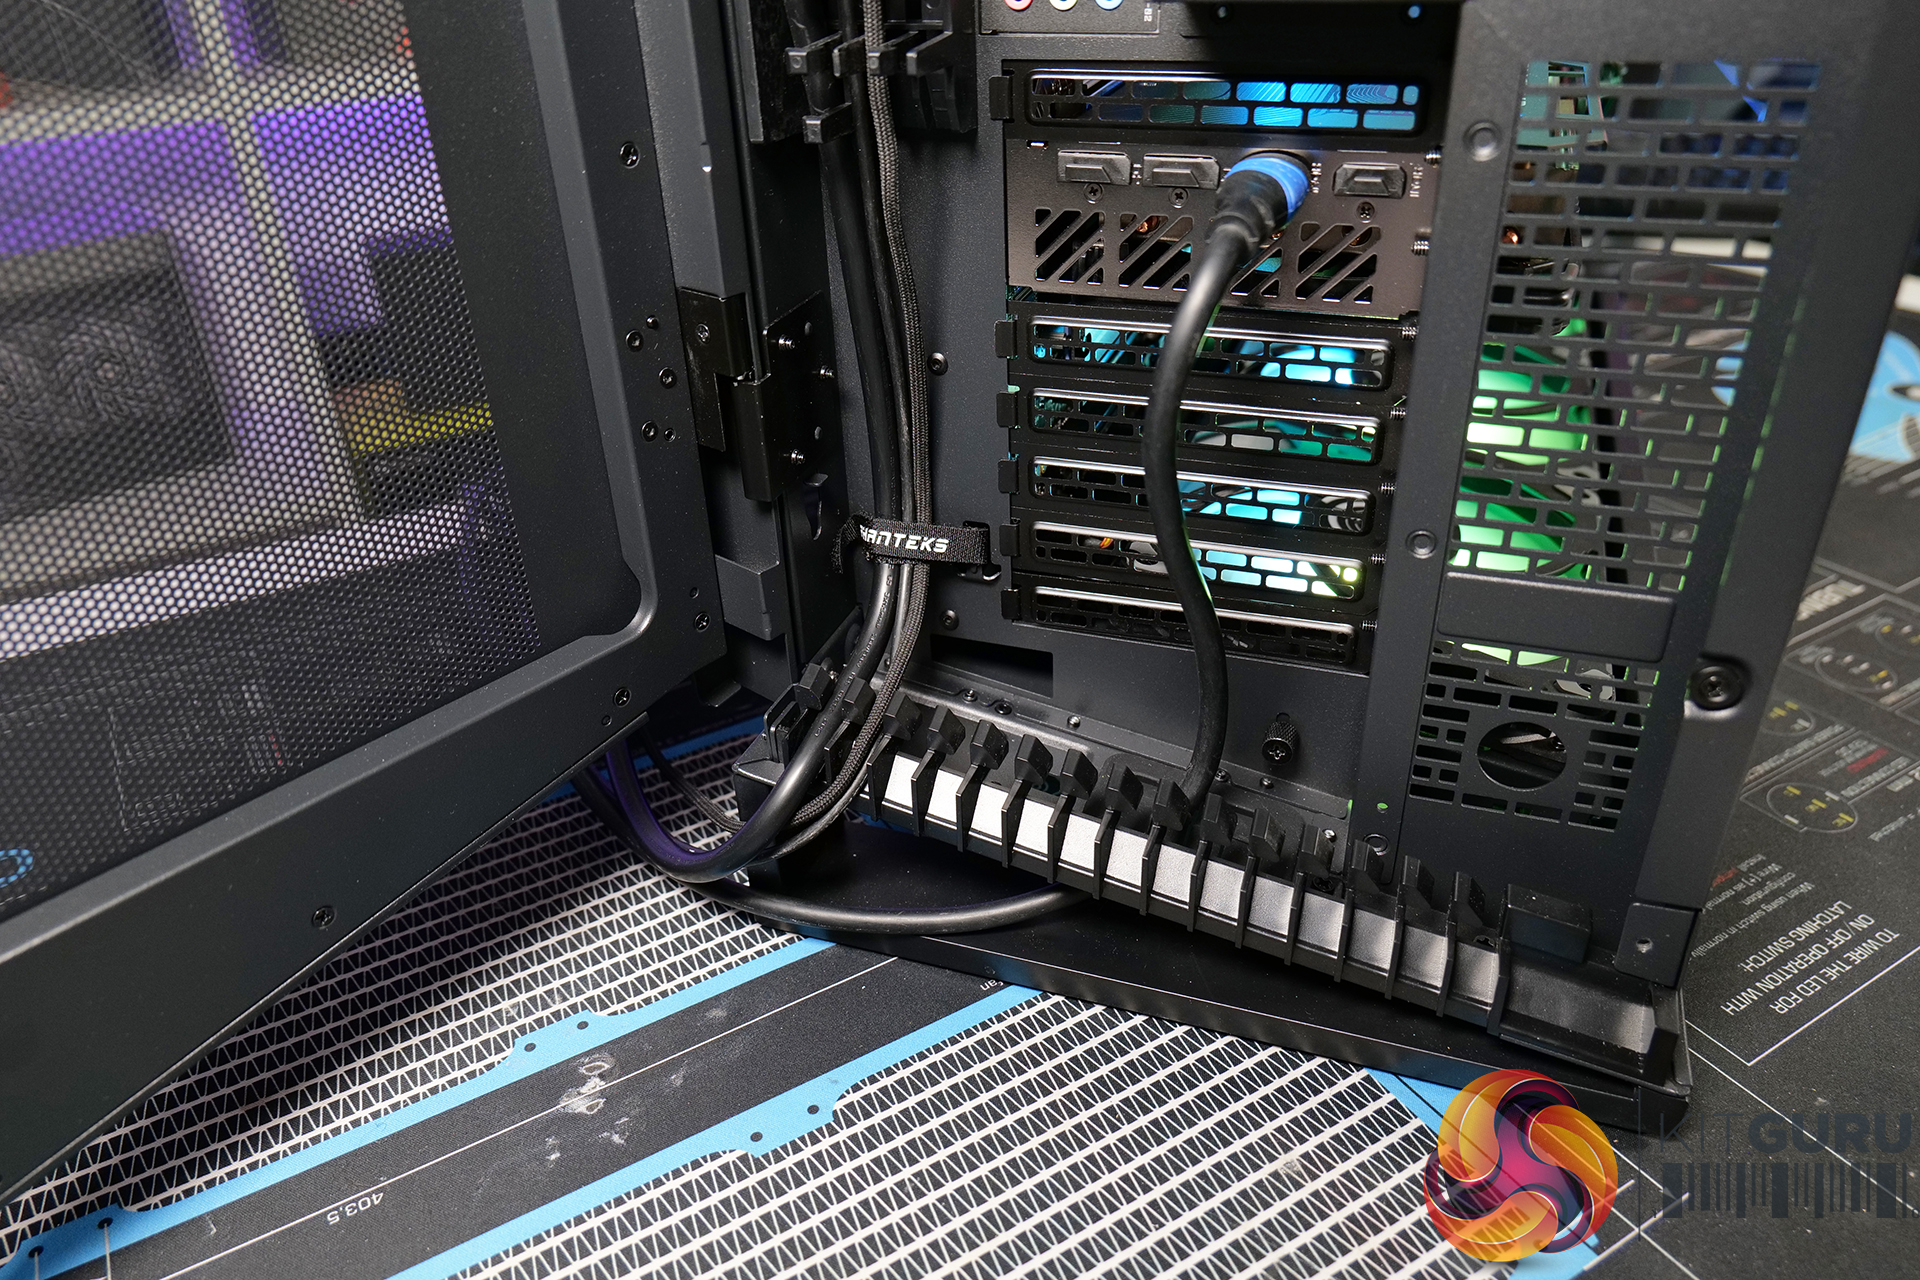
11:19 Back of the case
12:42 Side of the case / cable management
14:39 2nd Gen Phantek DRGB / filters / feet
15:52 The hardware for the build
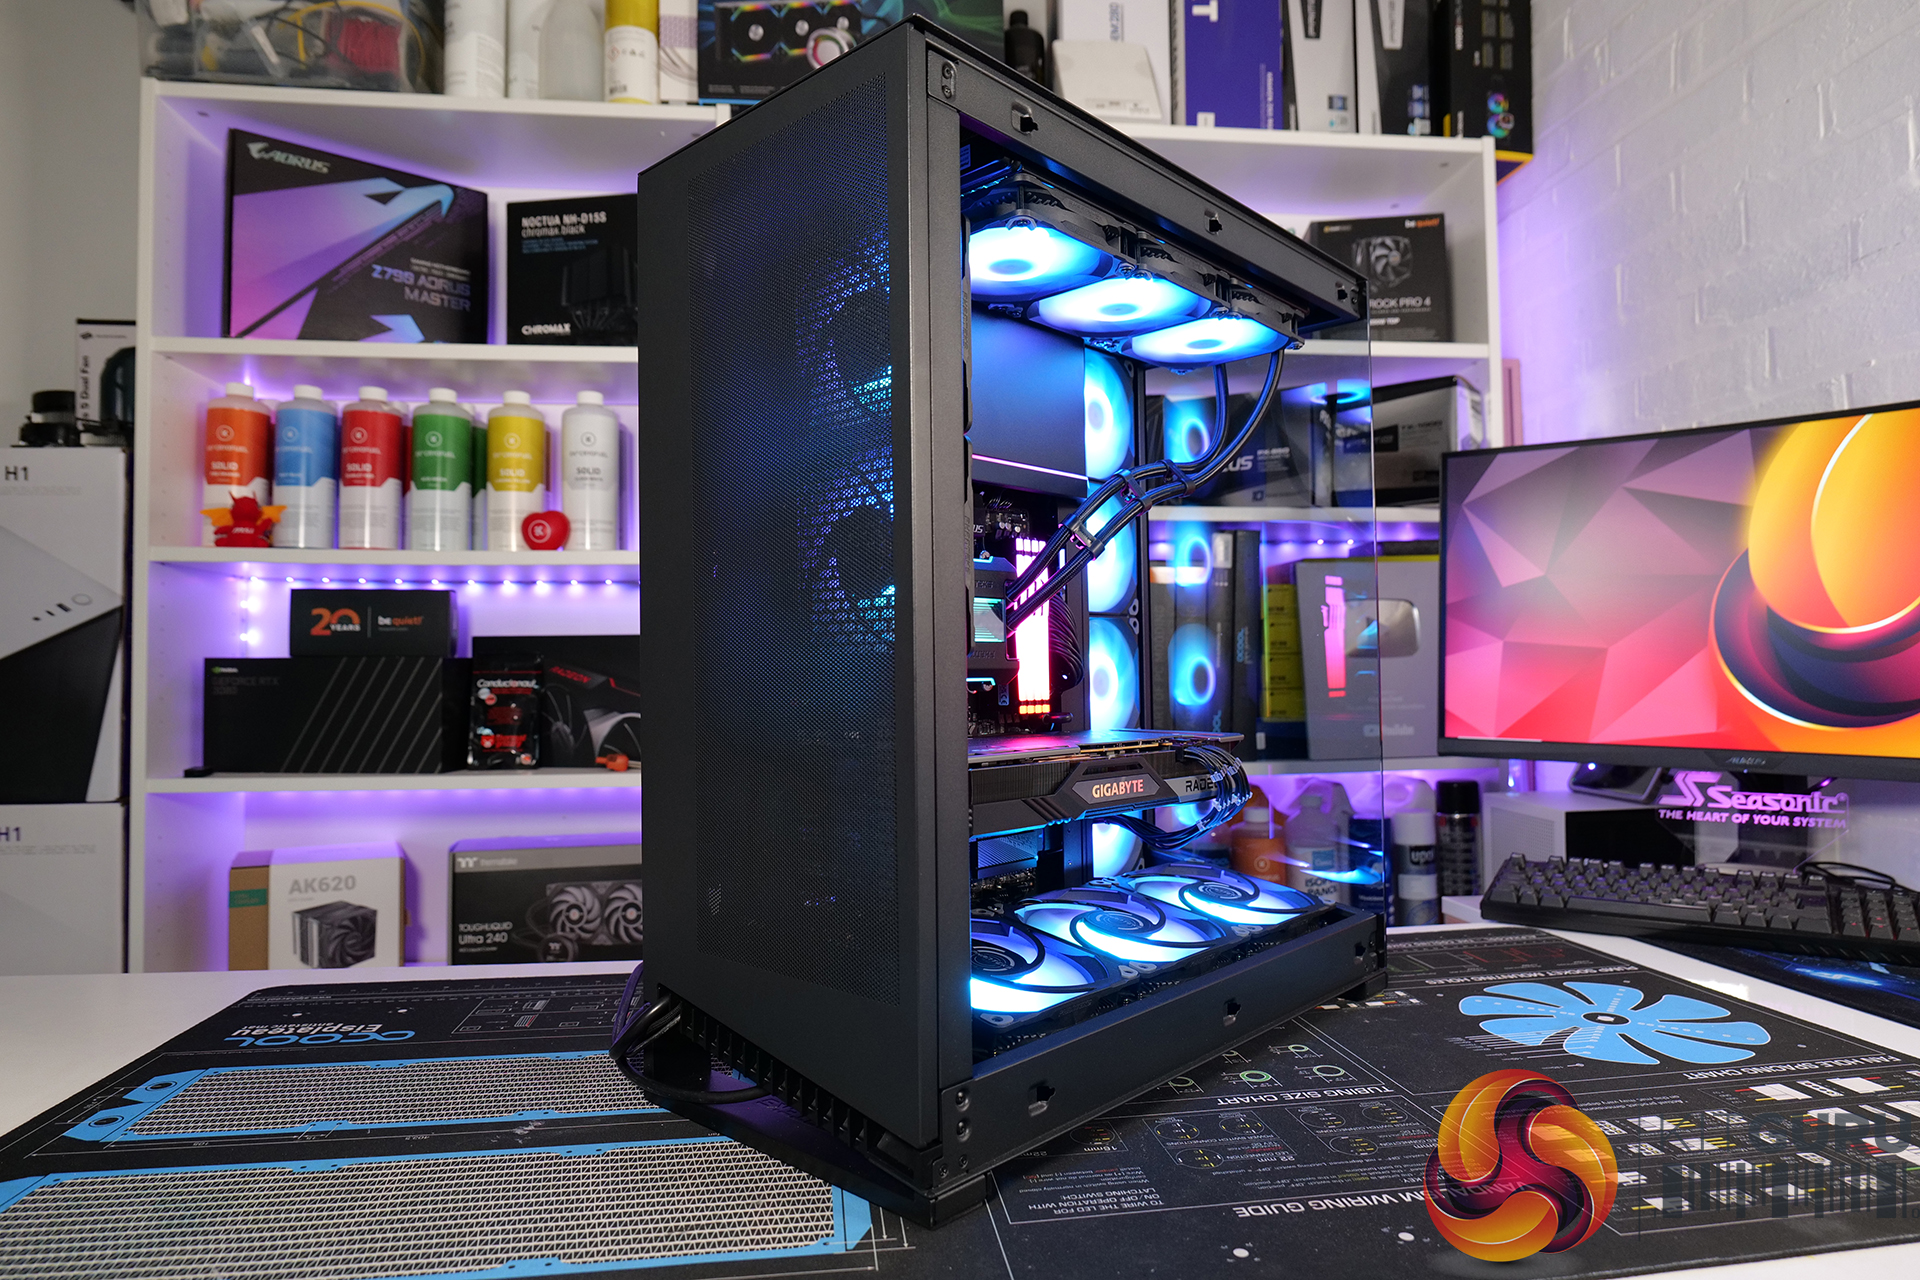
17:26 Build timelapse
25:36 Build done
27:47 James found an issue – Phanteks statement
30:03 Thermals and noise
31:42 Closing Thoughts
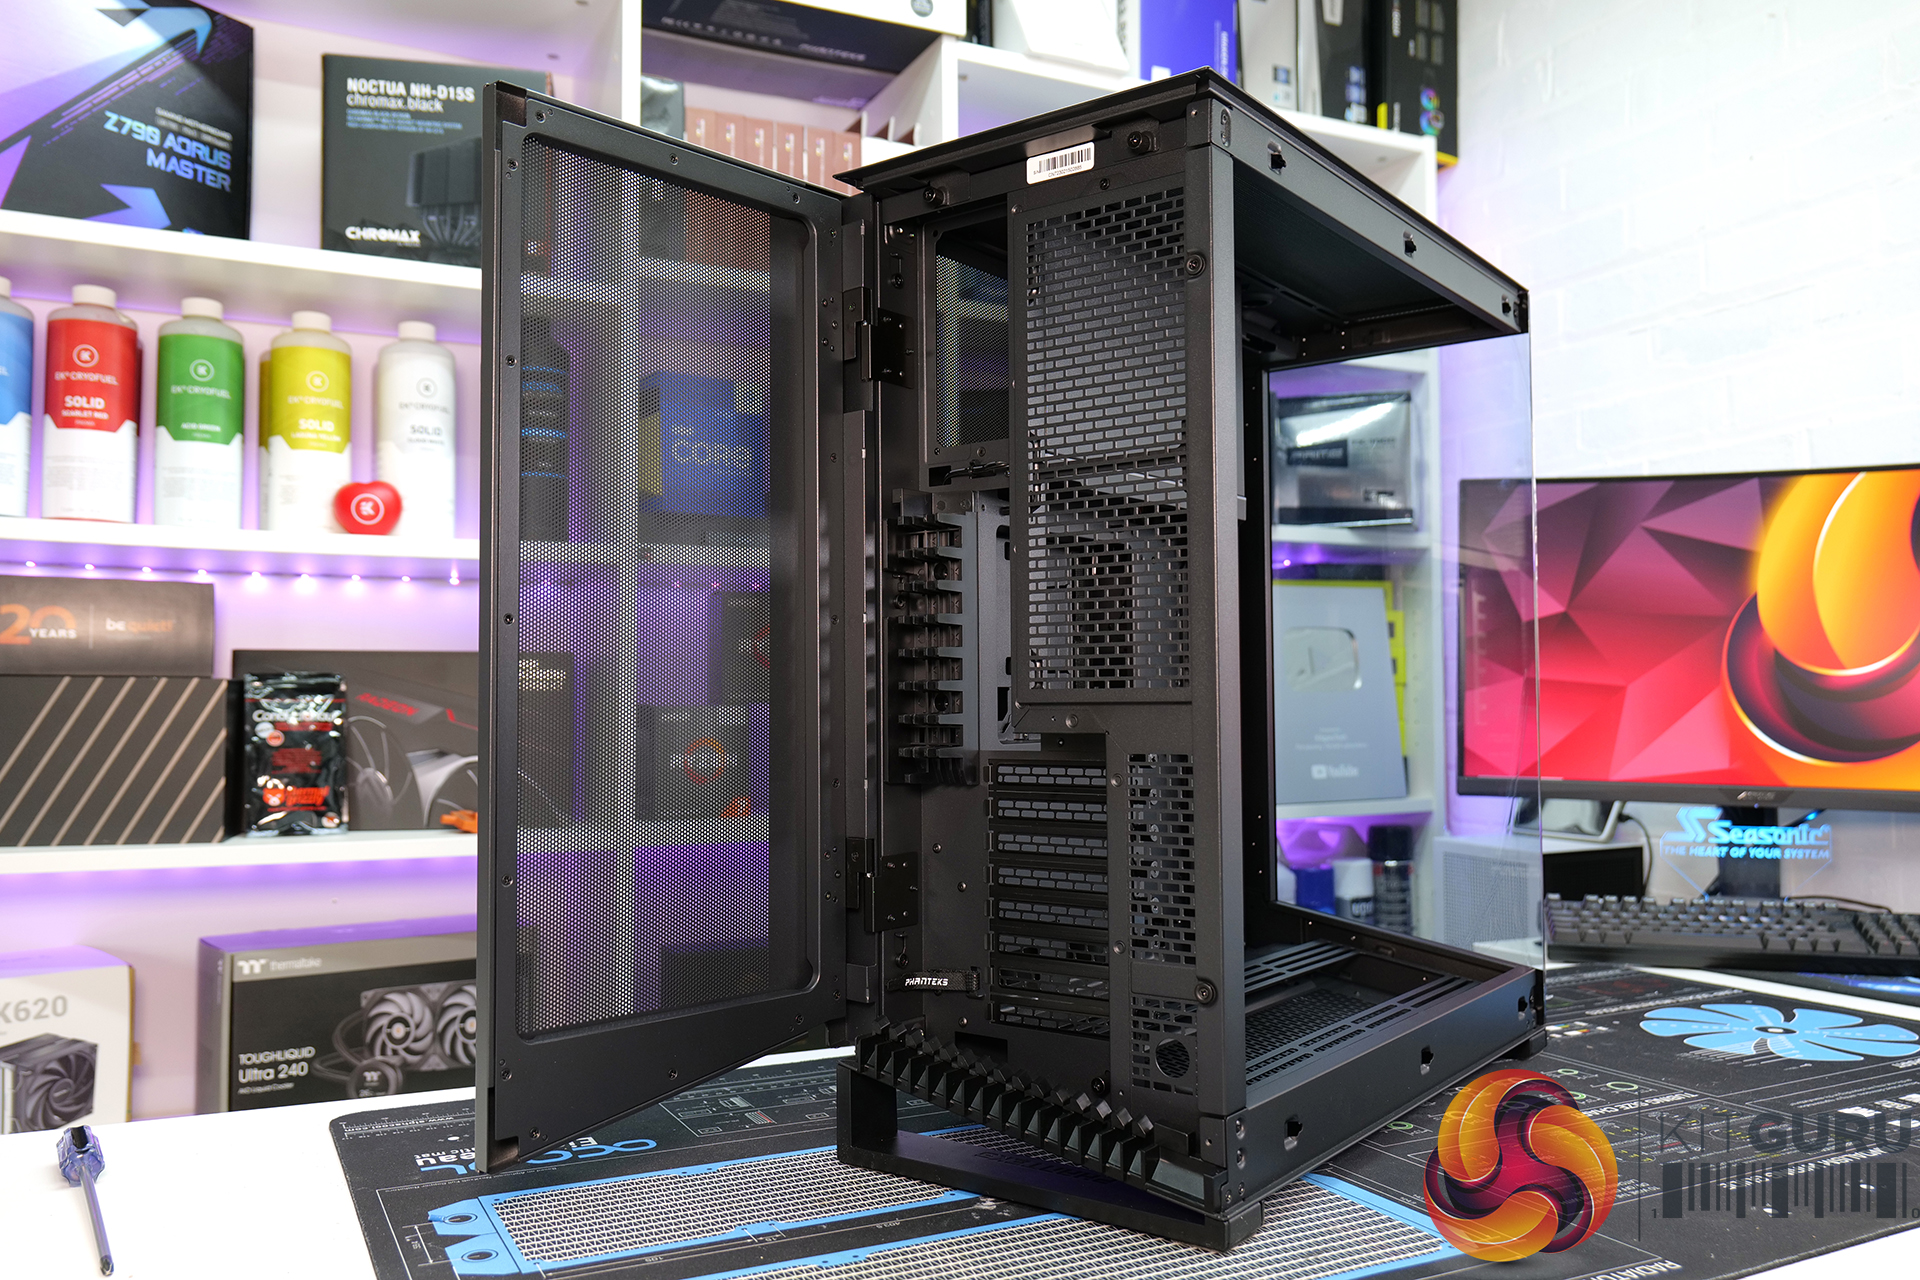
The Phanteks NV7 is the company's first attempt at a dual chamber chassis with bottom airflow intake, so it will be interesting to see if they have pulled it off. Currently, the Lian LI O11D is the benchmark for this type of chassis design so if the NV7 compares closely to the O11D it will be a major success for Phanteks. The NV7 design is similar to the O11D in appearance but it has its own unique features such as modular internal panels and some interesting cable management features at the back, plus a rear mesh door that covers the whole rear panel and more.


Phanteks NV7 Features:
- Tempered glass front and side panels with an almost seamless joint give users a brilliant view of the system’s interior.
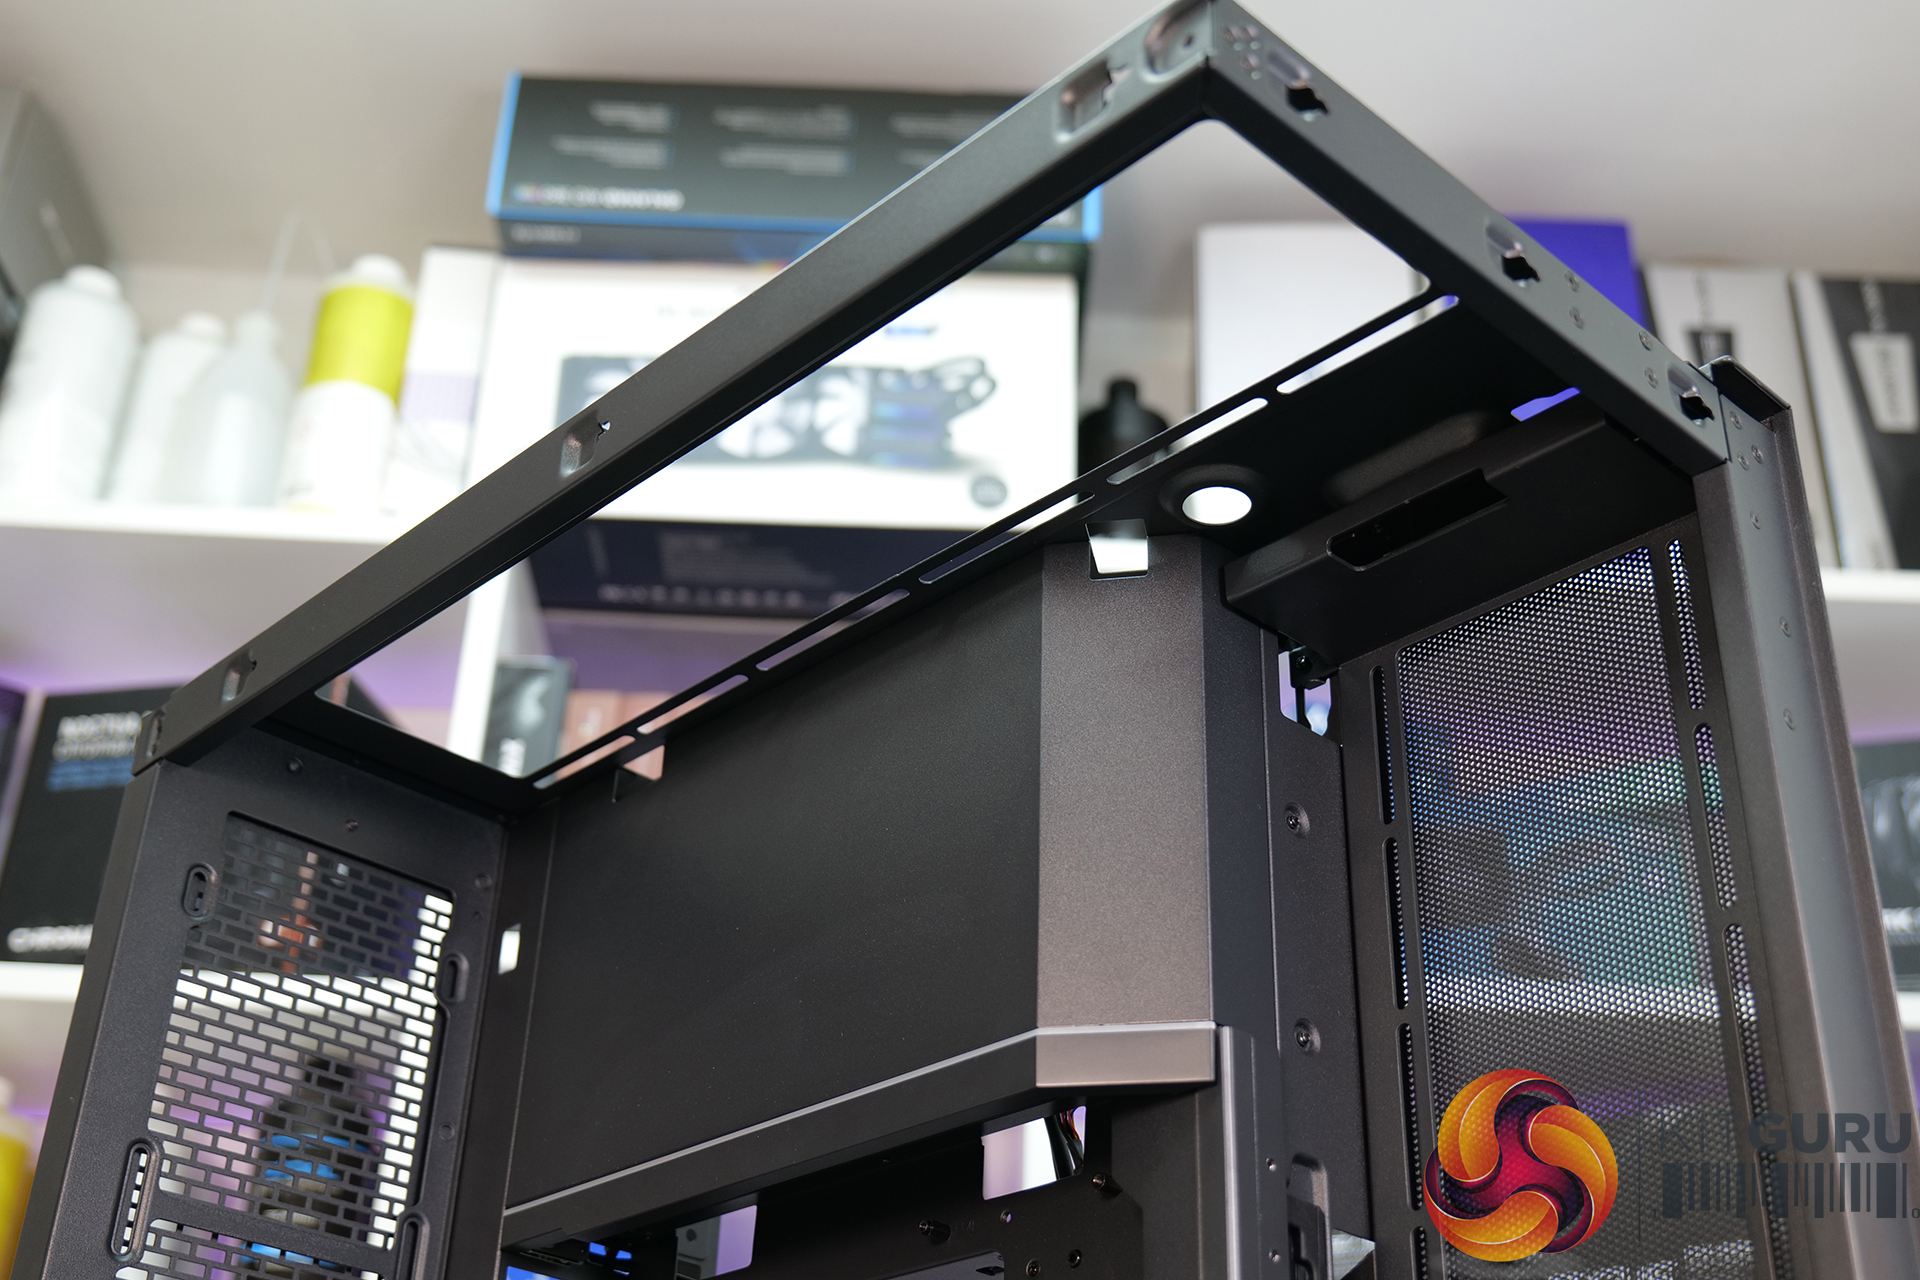
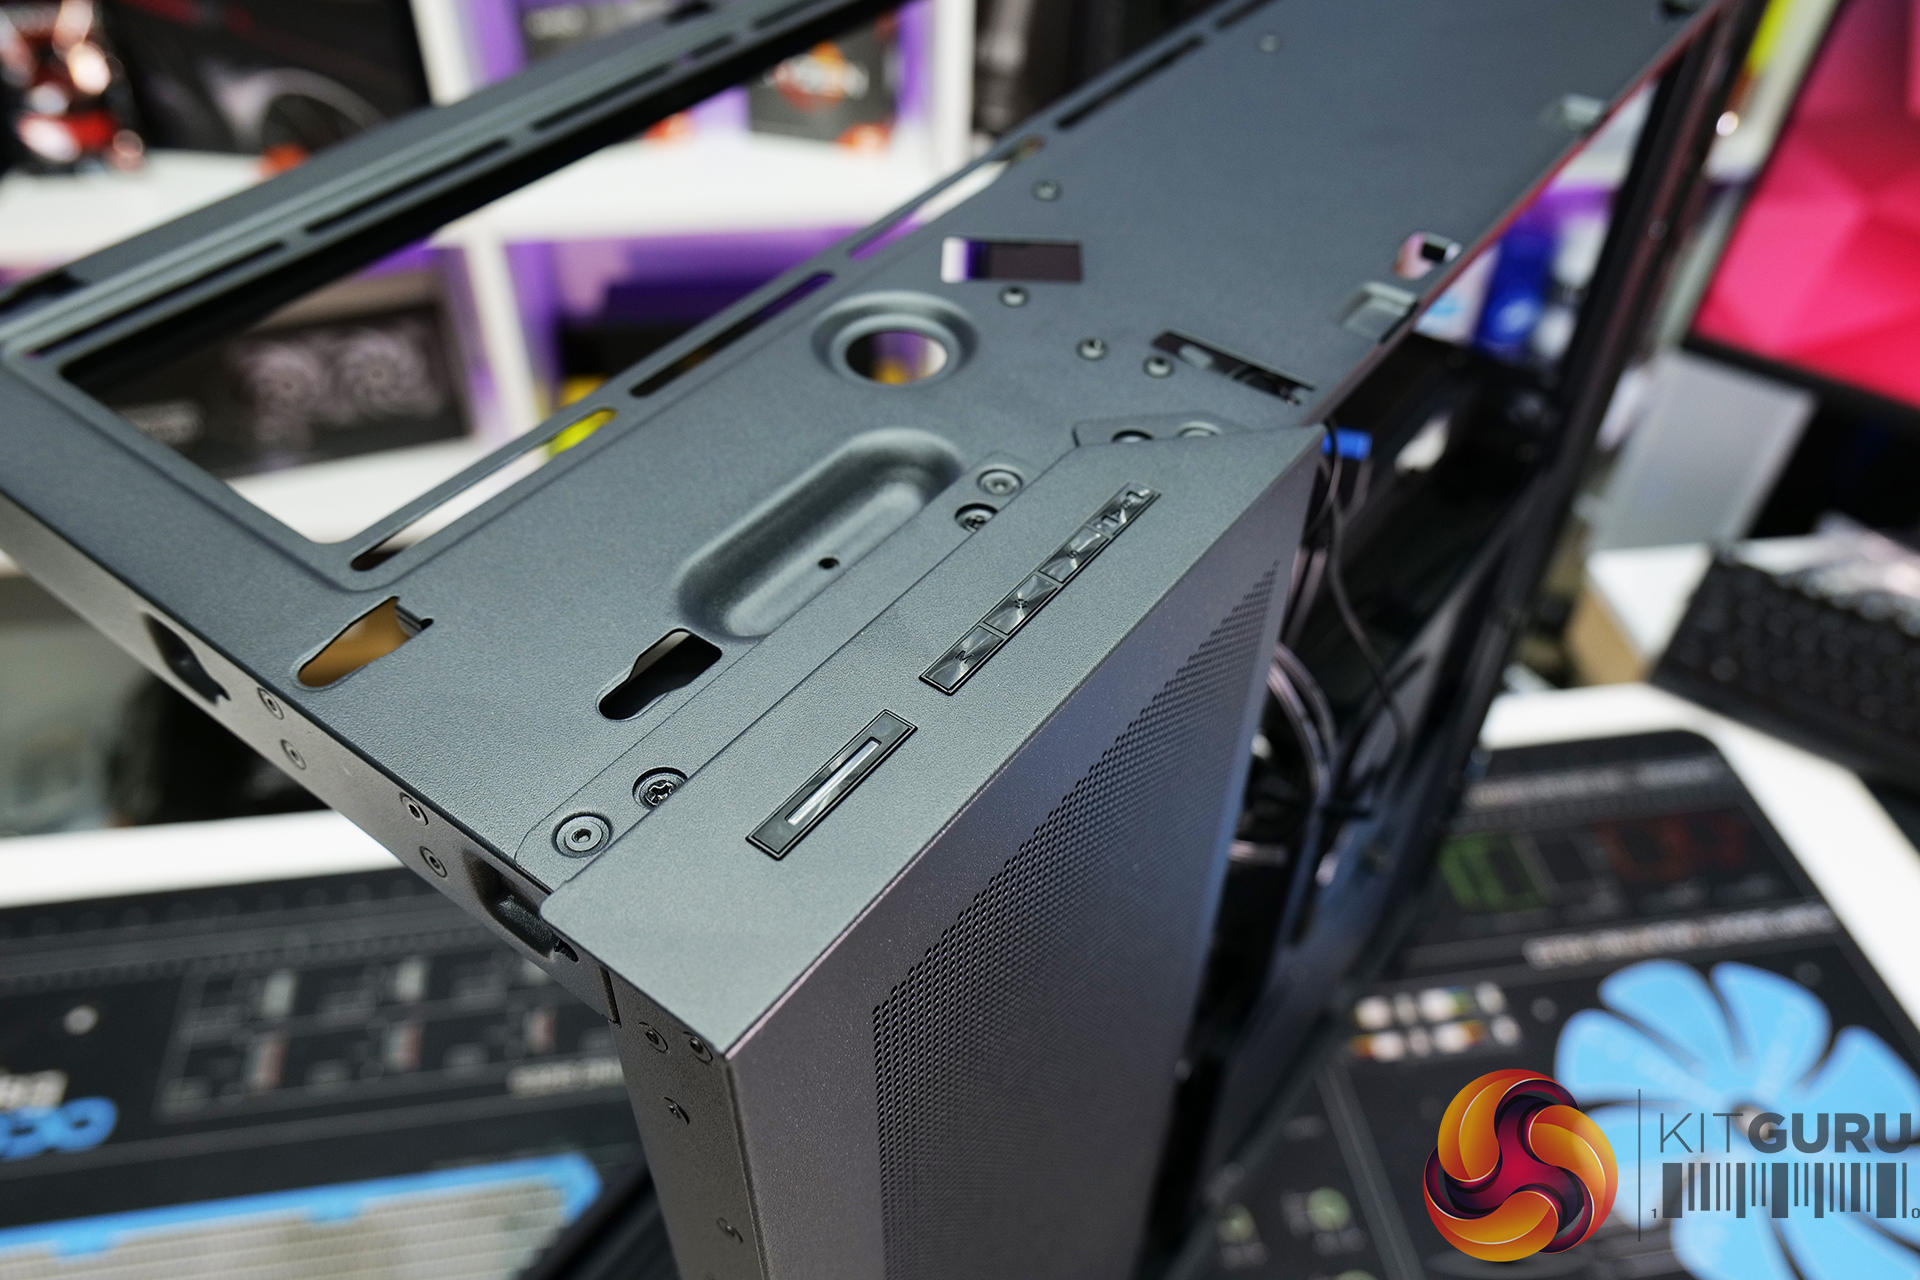
- A very beefy frame design using up to 1.5mm thick steel structure produces a very strong and sturdy feel, even with the front and side glass removed the unsupported top corner feels rigid.
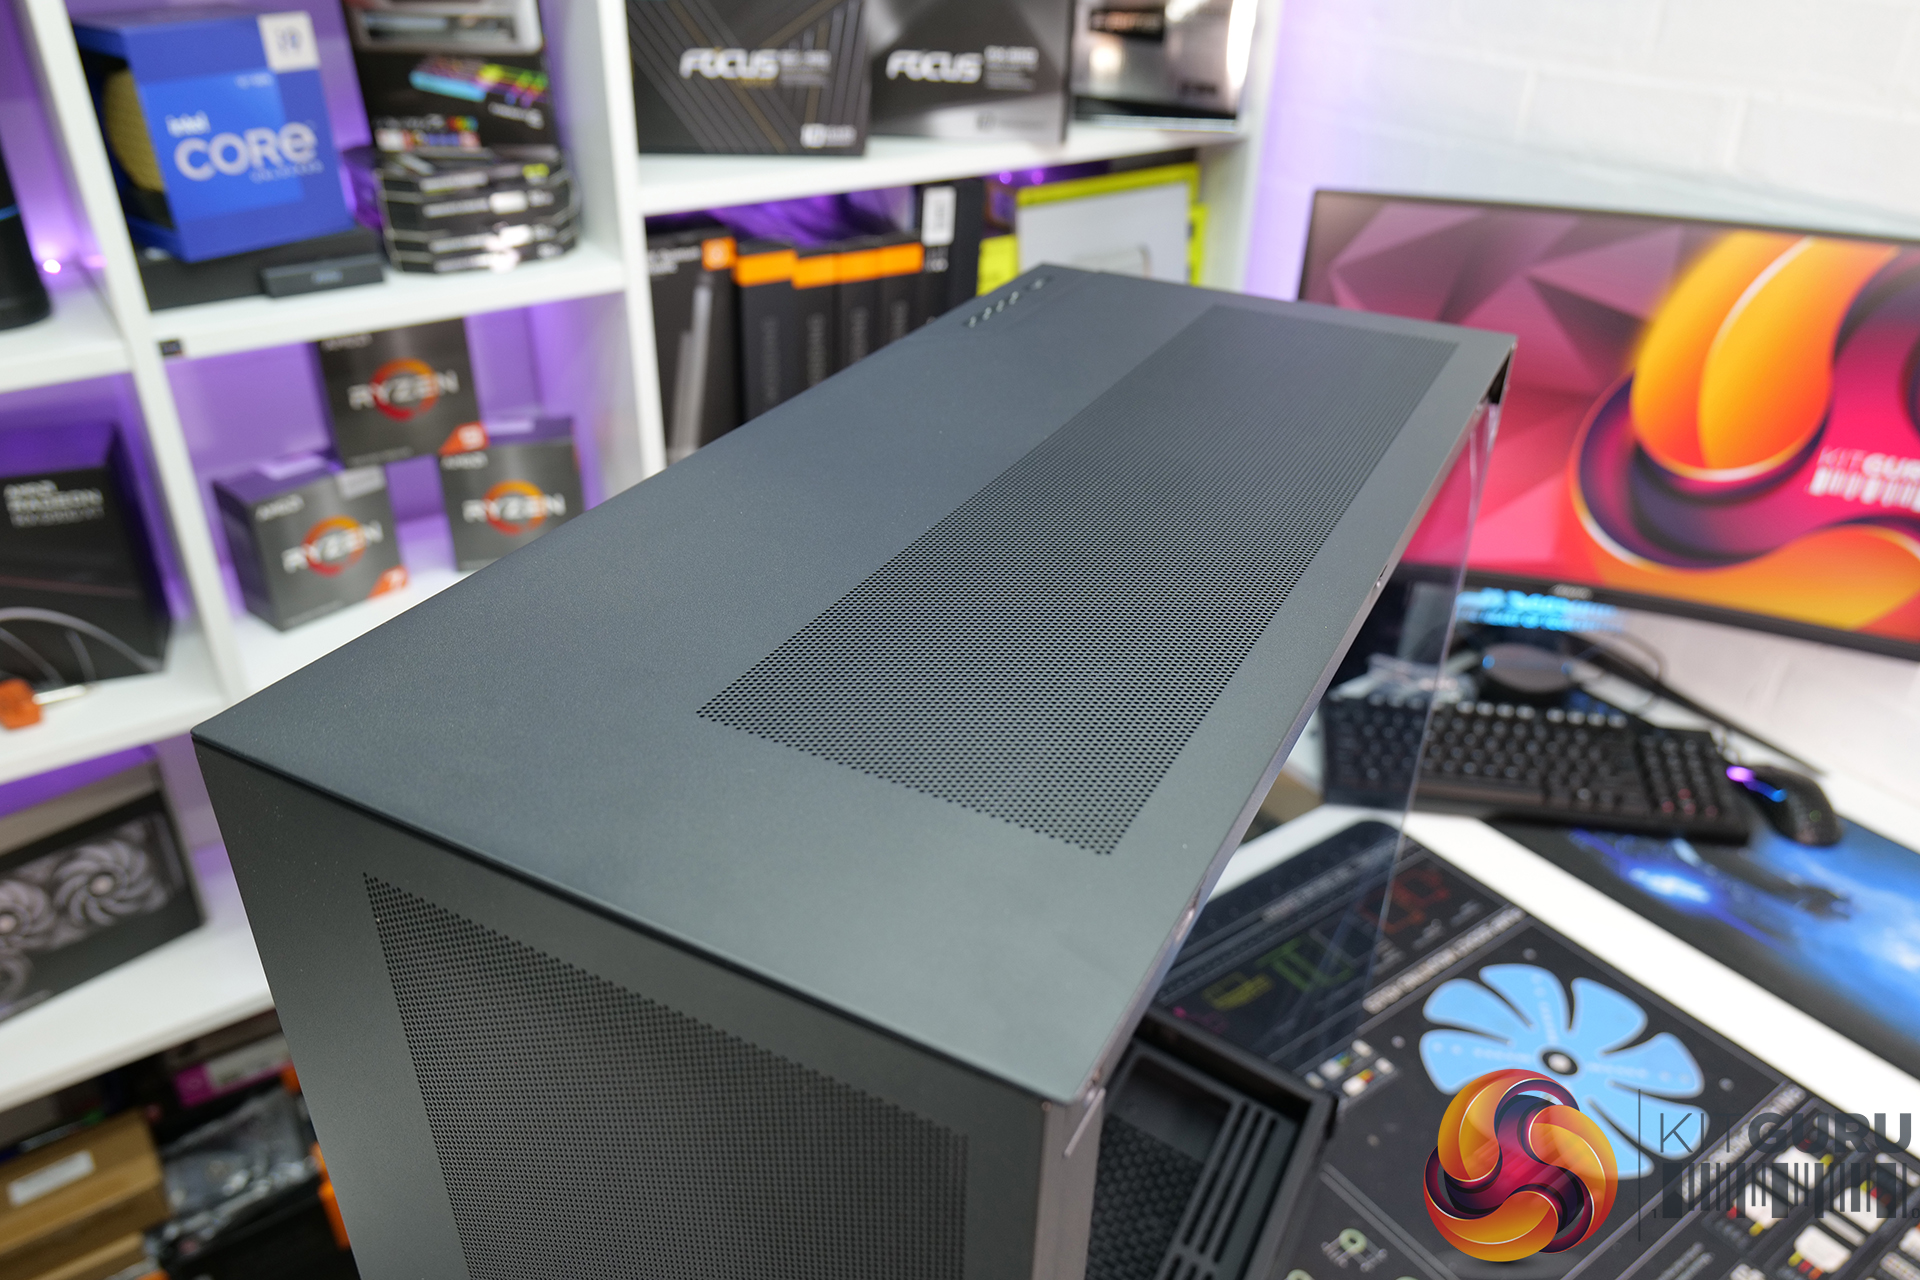
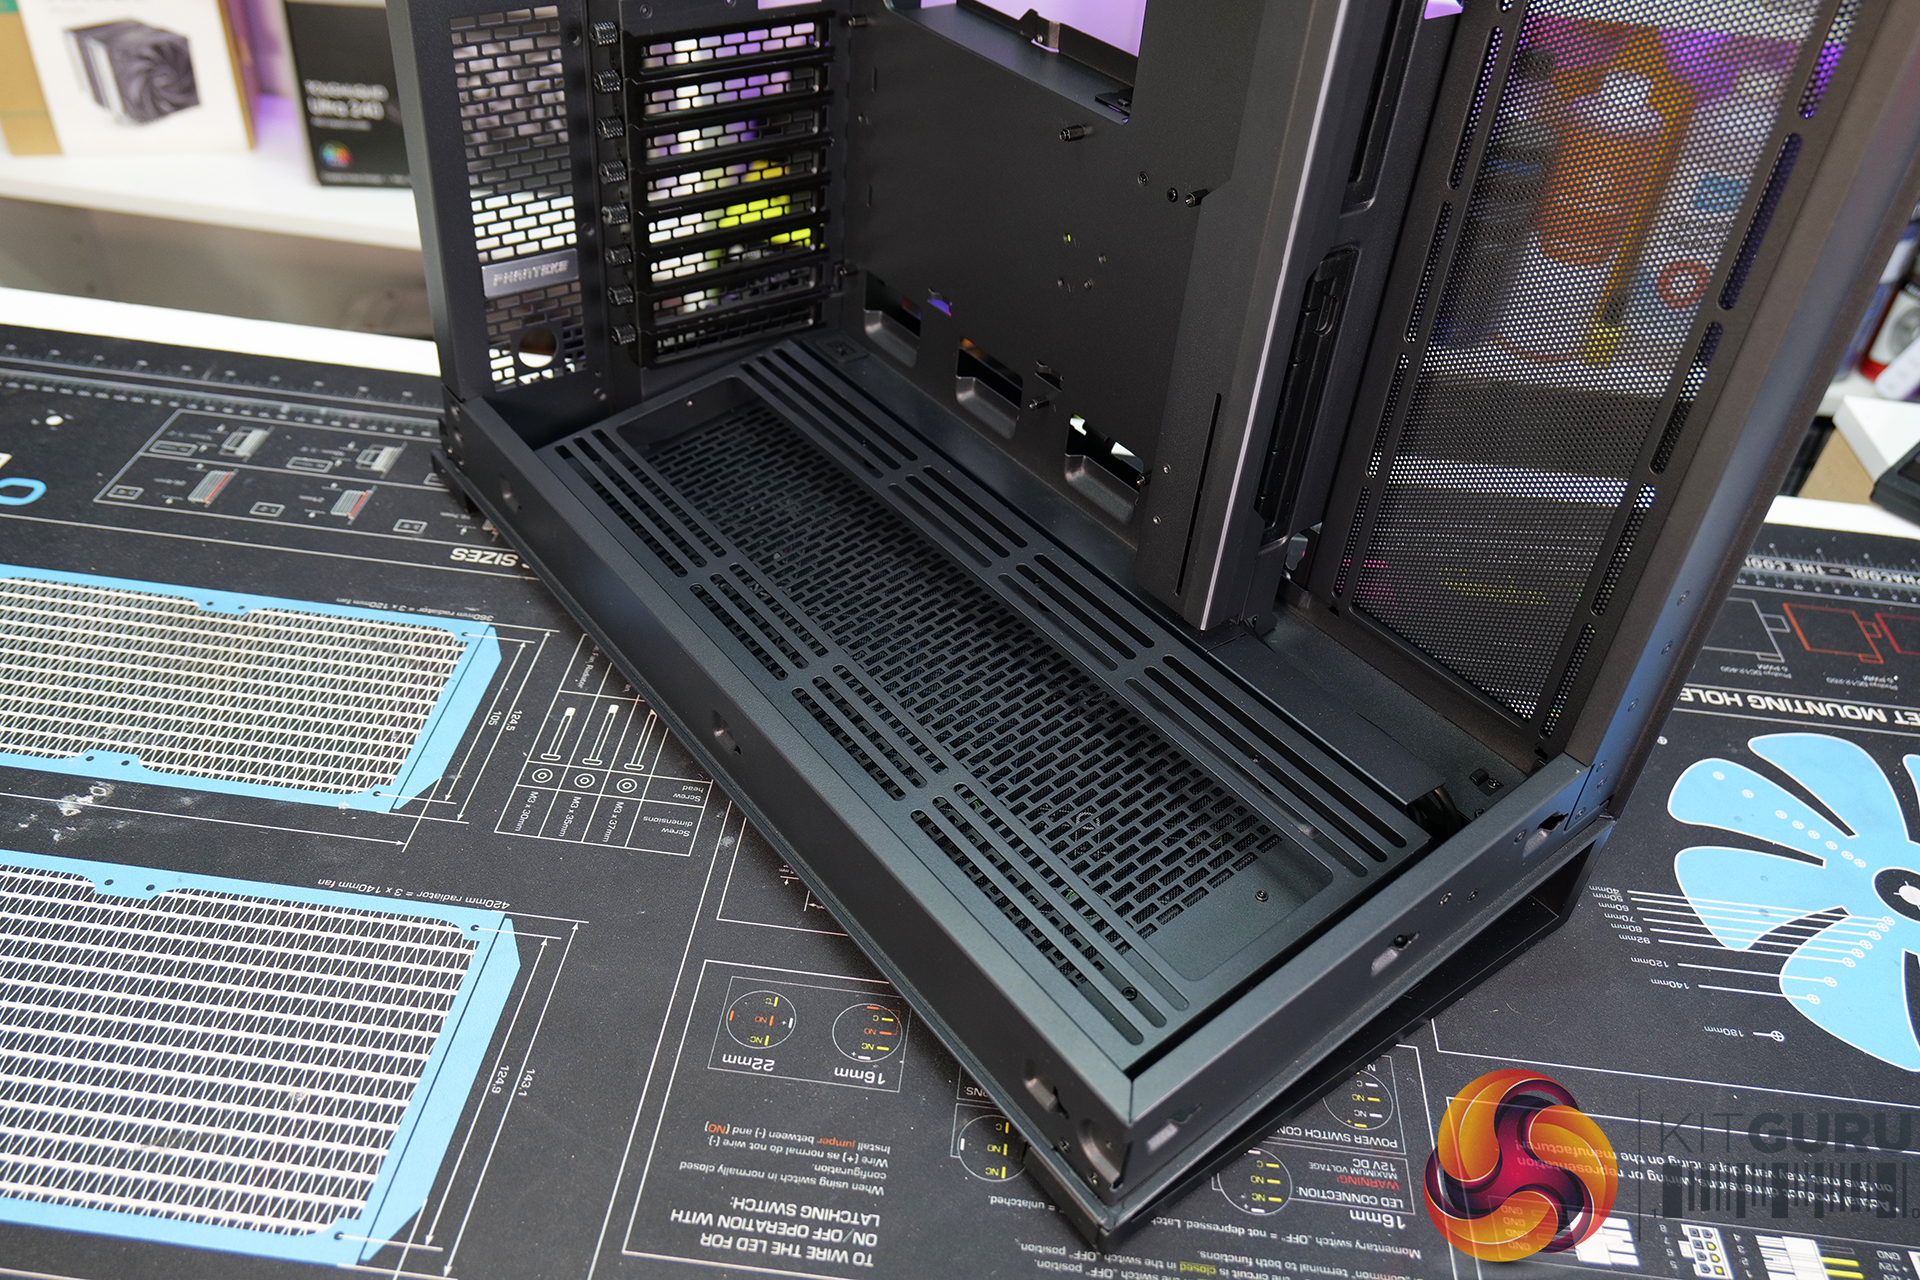
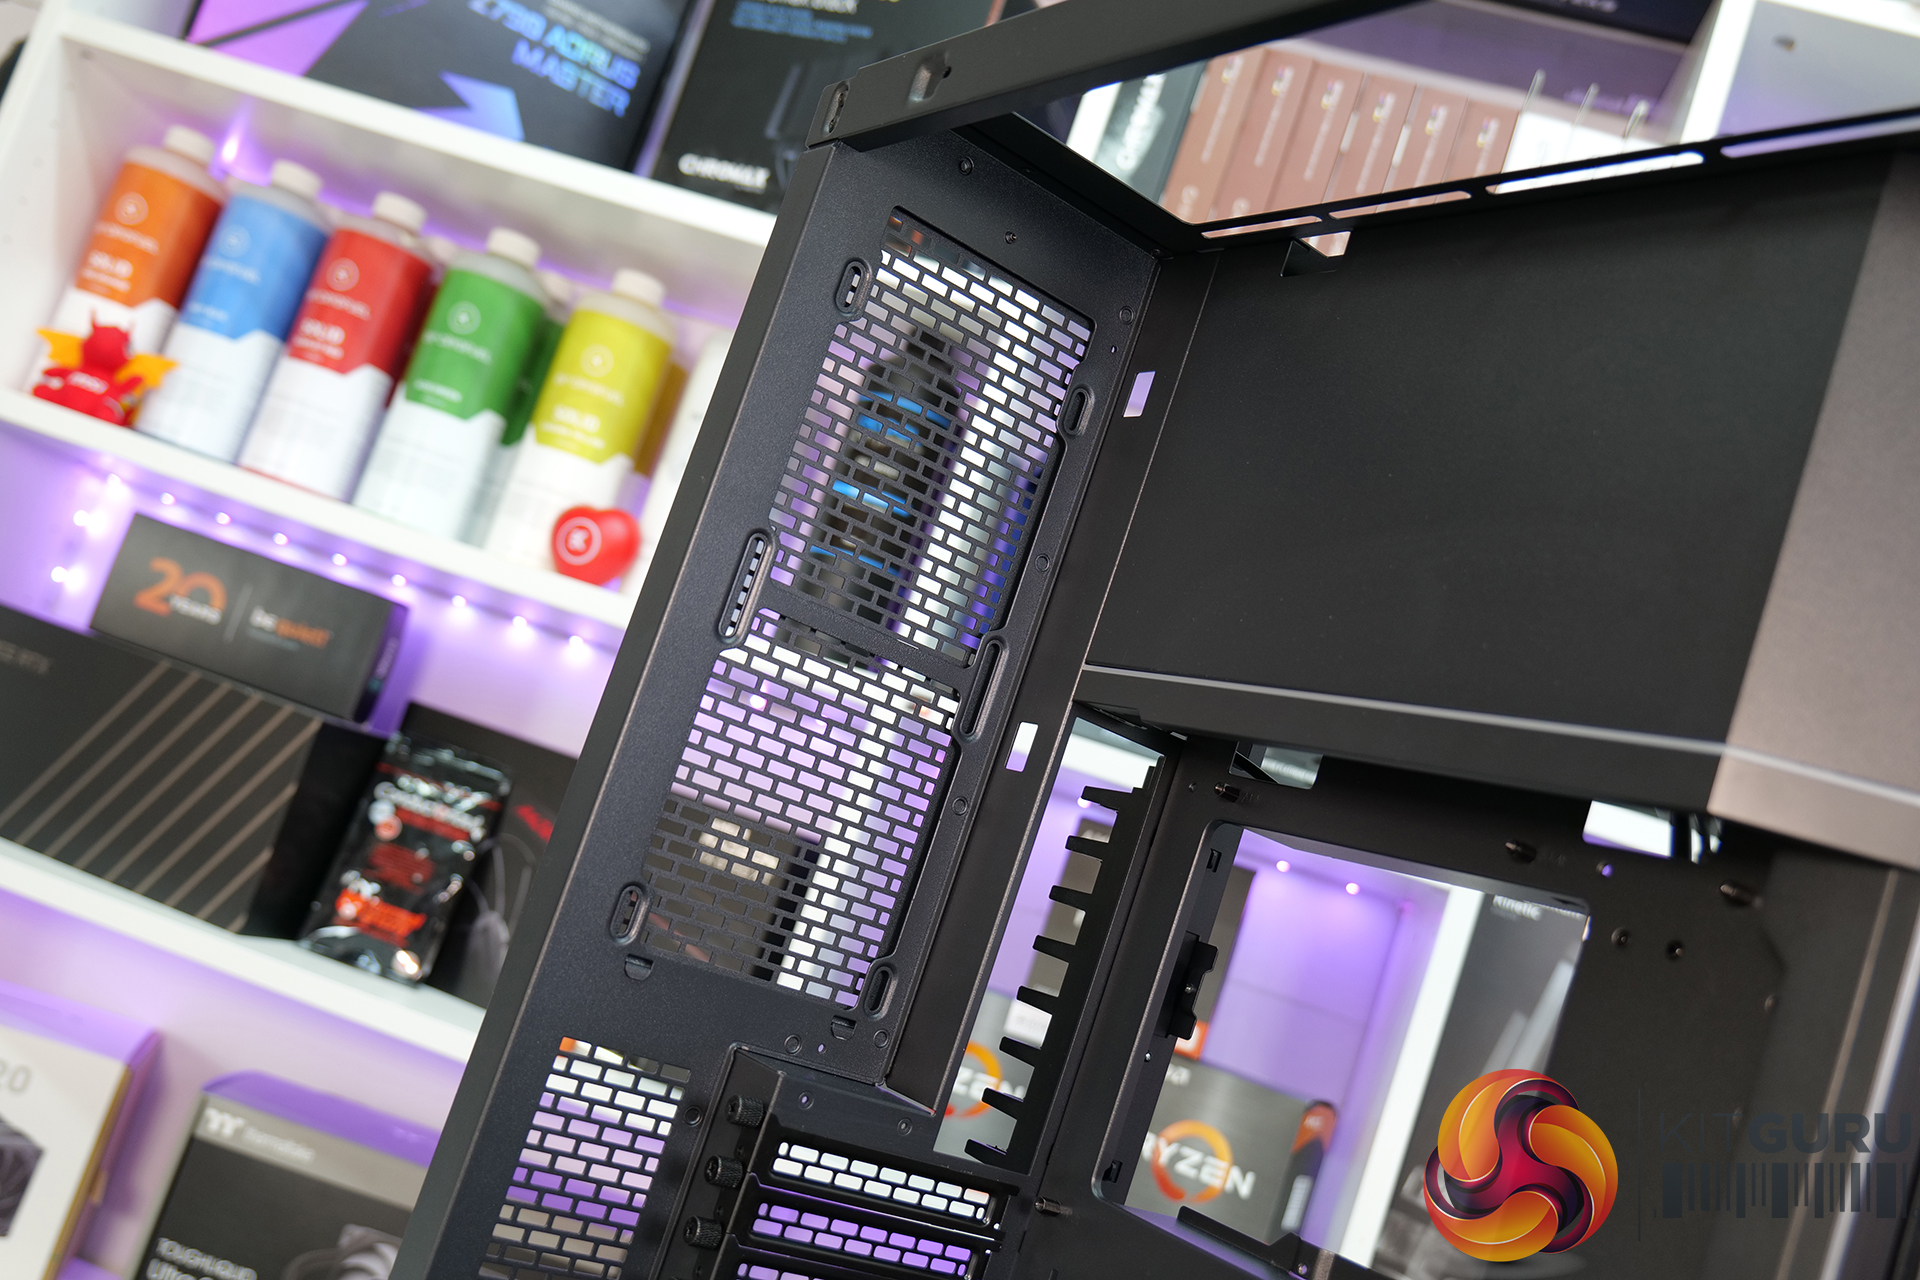
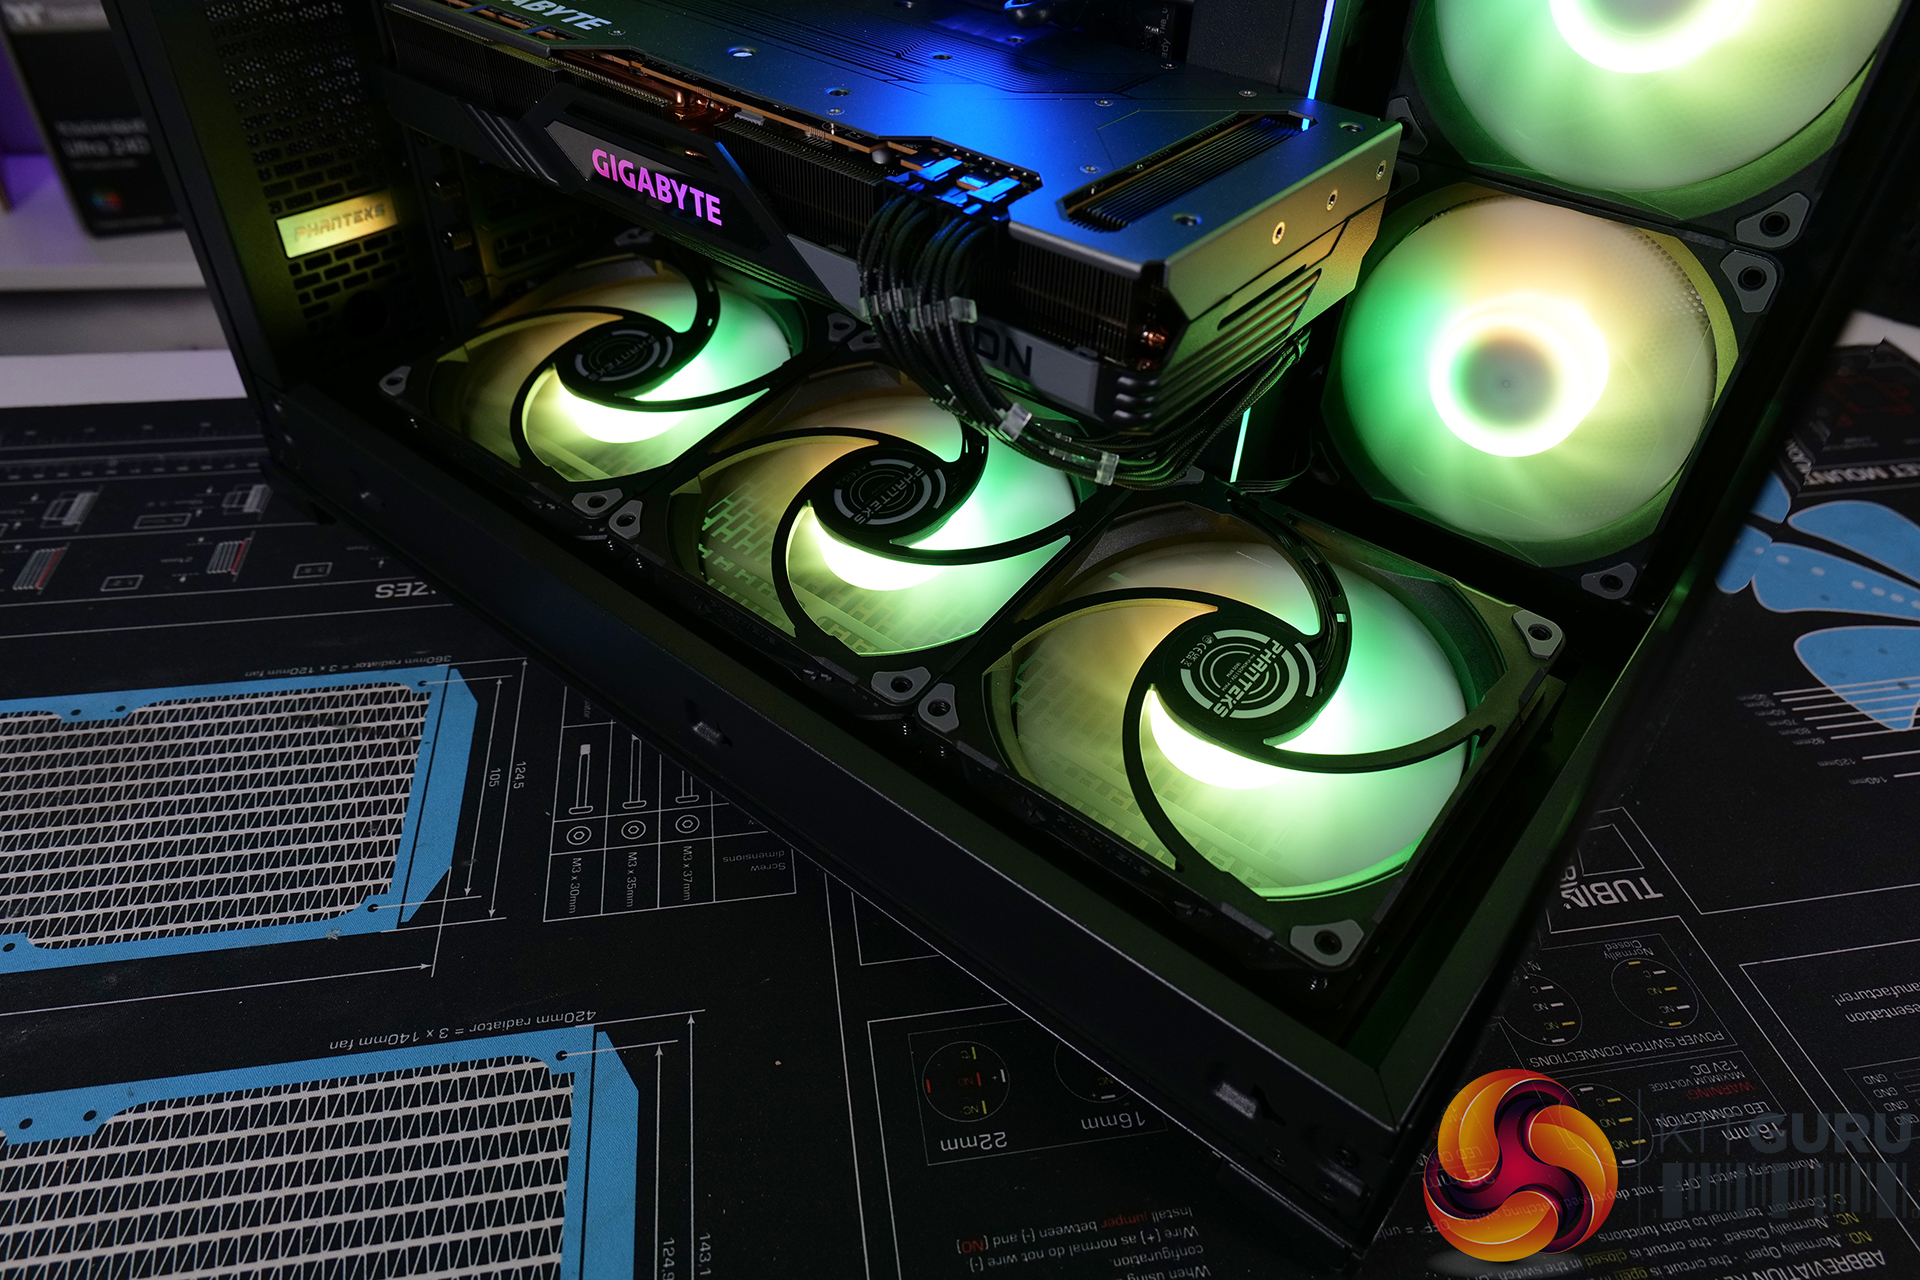
- Airflow enters the system from the bottom with a rotatable fan mount for direct GPU cooling. Mesh top and side panels create free-flowing openings for additional intake/exhaust fans.
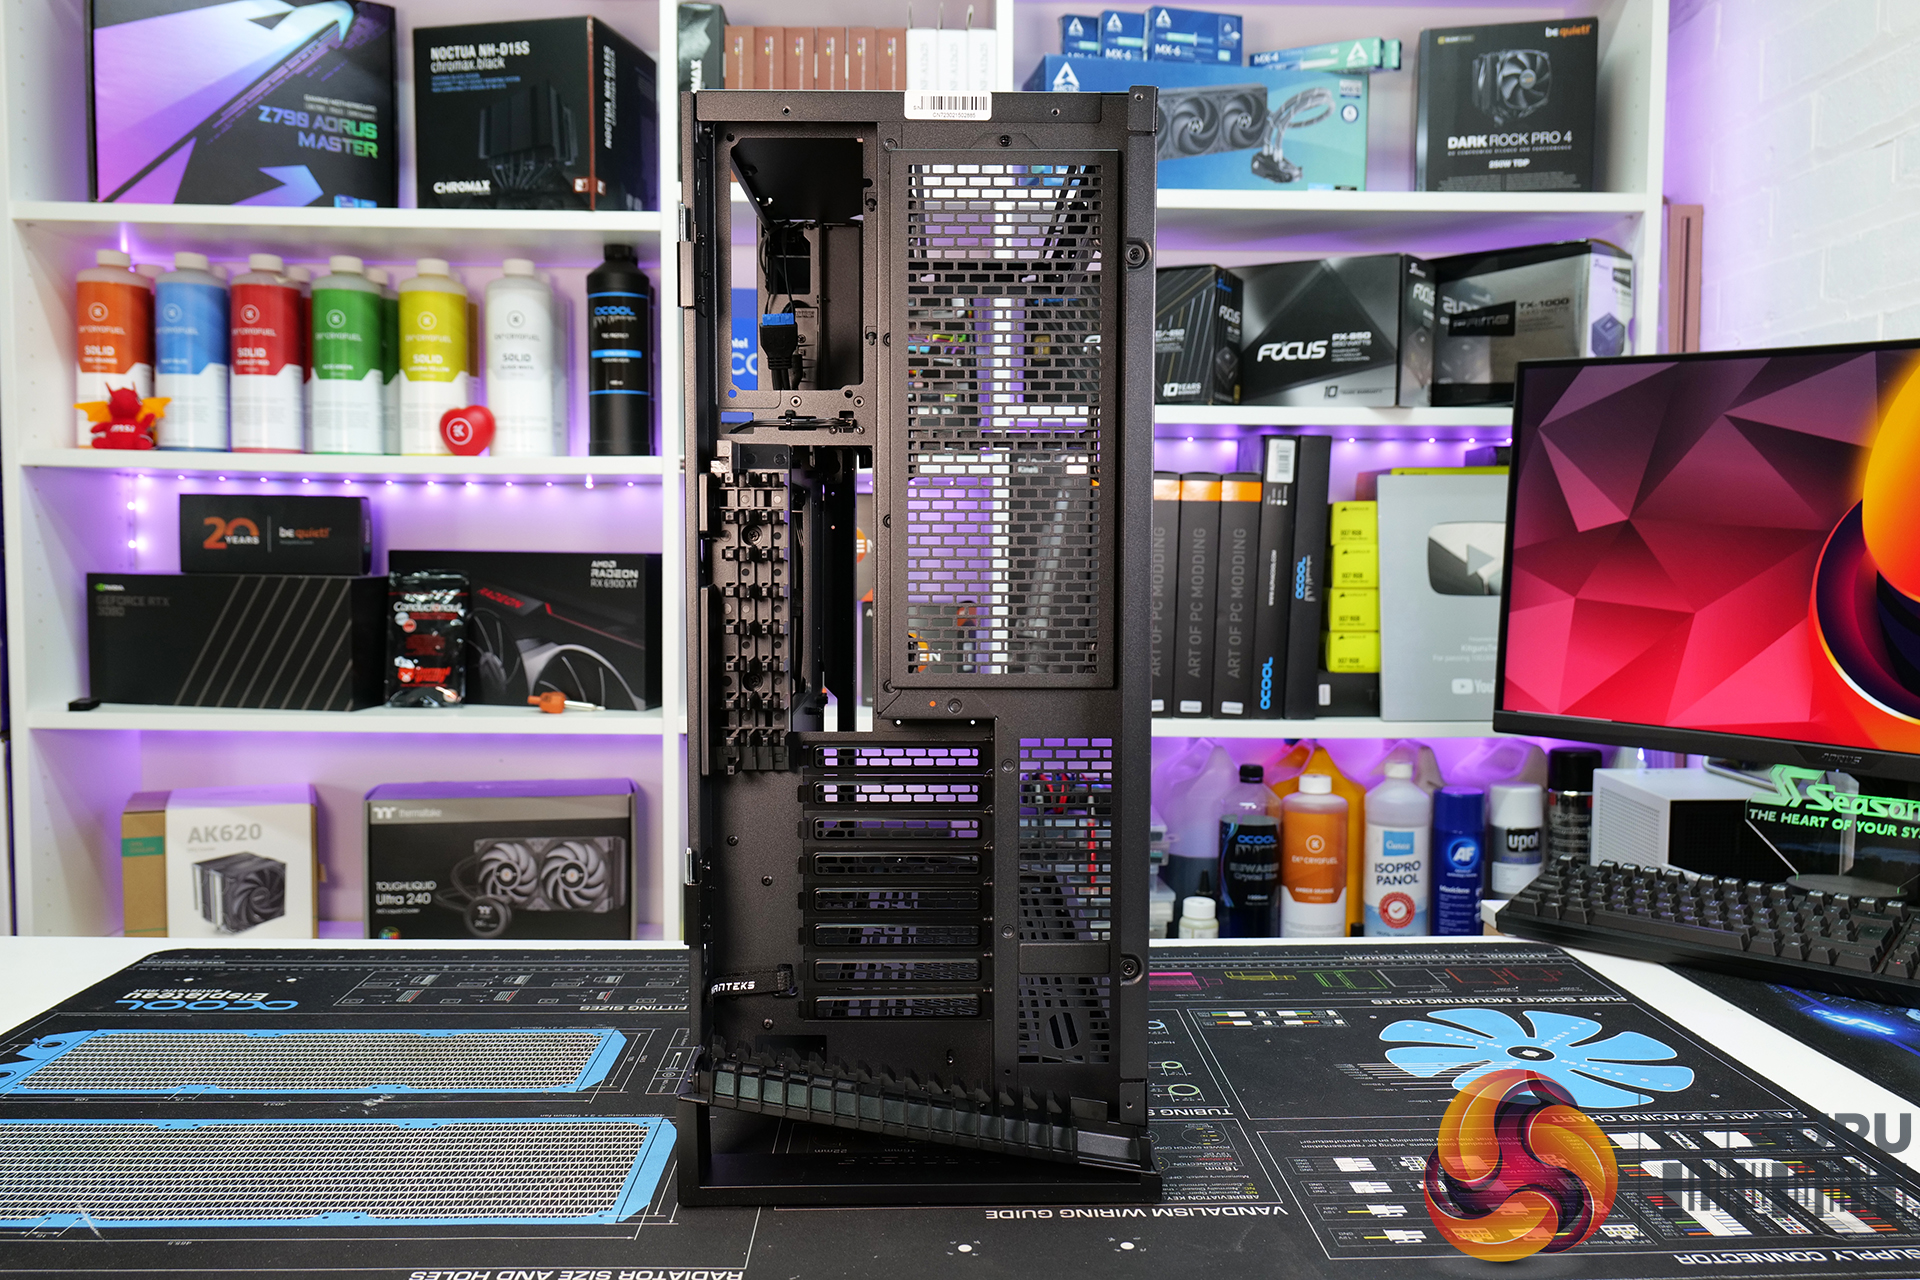
- An ultrafine mesh door covers the entire rear of the system to hide unsightly cables and tidies up the rear of the system.
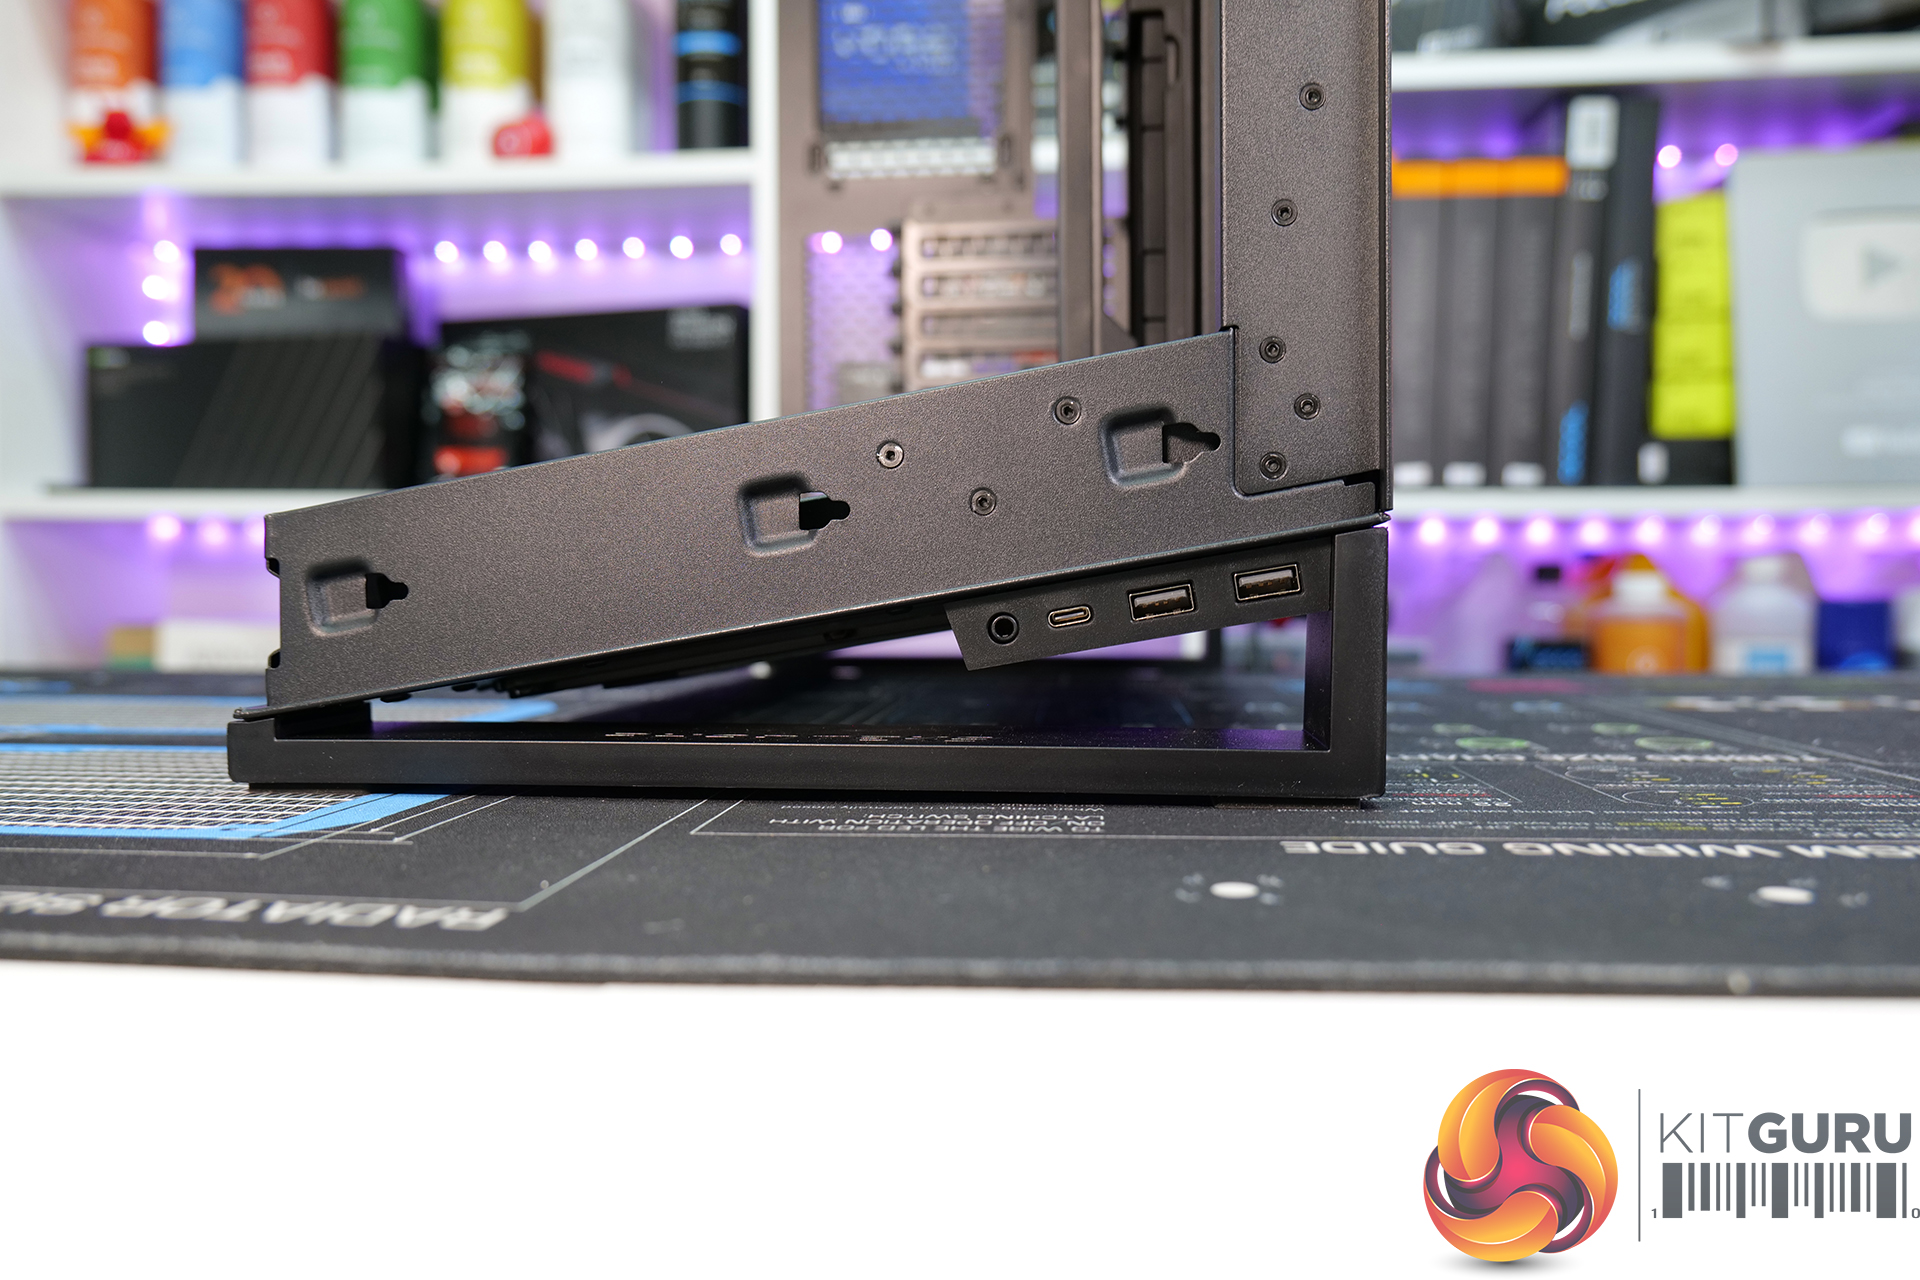
- A front I/O panel featuring two USB Type-A ports, a single USB Type-C port and a 3.5mm audio jack is removable and can be repositioned at the rear of the chassis.
- The NV7 features internal cable management features and cable covers around the motherboard as well as external cable management at the rear.
- Included with the NV7 is a new generation 2-channel D-RGB controller, channels can be controlled separately via top panel buttons or via motherboard synchronisation.
Specifications:
- Dimensions: 253 x 532 x 586 mm / 10.0 x 20.9 x 23.1 in (WxDxH)
- Form Factor: Full Tower
- Materials: Steel Chassis, Tempered Glass
- Motherboard support: ATX, micro-ATX, mini-ITX, SSI-CEB, E-ATX (up to 277mm wide with LED Cover)
- Front I/O: 2x USB 3.0, USB-C Gen2, Microphone/Headphone Combo, Power Button, D-RGB Mode, D-RGB Color, D-RGB Speed, D-RGB Channel
- Connectors: Power Switch, 2x D-RGB Channel A, 2x D-RGB Channel B, HD-audio, USB 3.0, 2x SATA Power, USB 3.2 GEN 2 Type-E, Power LED
- Window: Yes, Front and Side Tempered Glass
- Expansion Slots: 8
- Vertical GPU Support: Yes, with optional bracket PH-VGPUKT4.0_03 or riser cable
- Drive Bays: 5″ x 2 / 2.5″ x 6
- Fans: 4 x 120mm (side), 3 x 120mm (top), 2 x 120mm (rear), 3 x 120mm/140mm (bottom)
- Radiators: Side up to 360mm, Top up to 360mm, Rear up to 240mm, Bottom up to 360mm/280mm
- Max Graphics Card Length: 450mm
- Max CPU Cooler Height: 185mm
- Max PSU Length: 255mm


Thermal Performance Testing
To simulate thermal demand we run the Cinebench R23 multi-thread benchmark and 3DMark Time Spy Extreme stress test simultaneously in a loop for 60 minutes to fully load the system. This gives the CPU and GPU enough time to reach constant steady-state temperature. With this data, we can compare how the system handles the thermal demand and measure peak noise levels.
Thermal performance is measured with the case in various configurations, such as the default, with the tempered glass left-hand side panel removed and with the front panel removed to see how these configurations affect the CPU and GPU temperature. During testing, only stock case fans are used unless otherwise specified. All water pumps are set to maximum RPM and fans are set to a custom RPM curve by the Motherboard software/BIOS.
All temperature measurements are presented as Deltas – meaning the ambient temperature has been deducted from the CPU temperature giving us a Delta. Data shown in the charts represent the average component temperature over the length of the test as measured by HWiNFO and then the last 15 minutes of the data are calculated to get the average. The ambient temperature during thermal tests is between 20-22⁰C.
Test System:
- CPU – AMD Ryzen 9 7900X
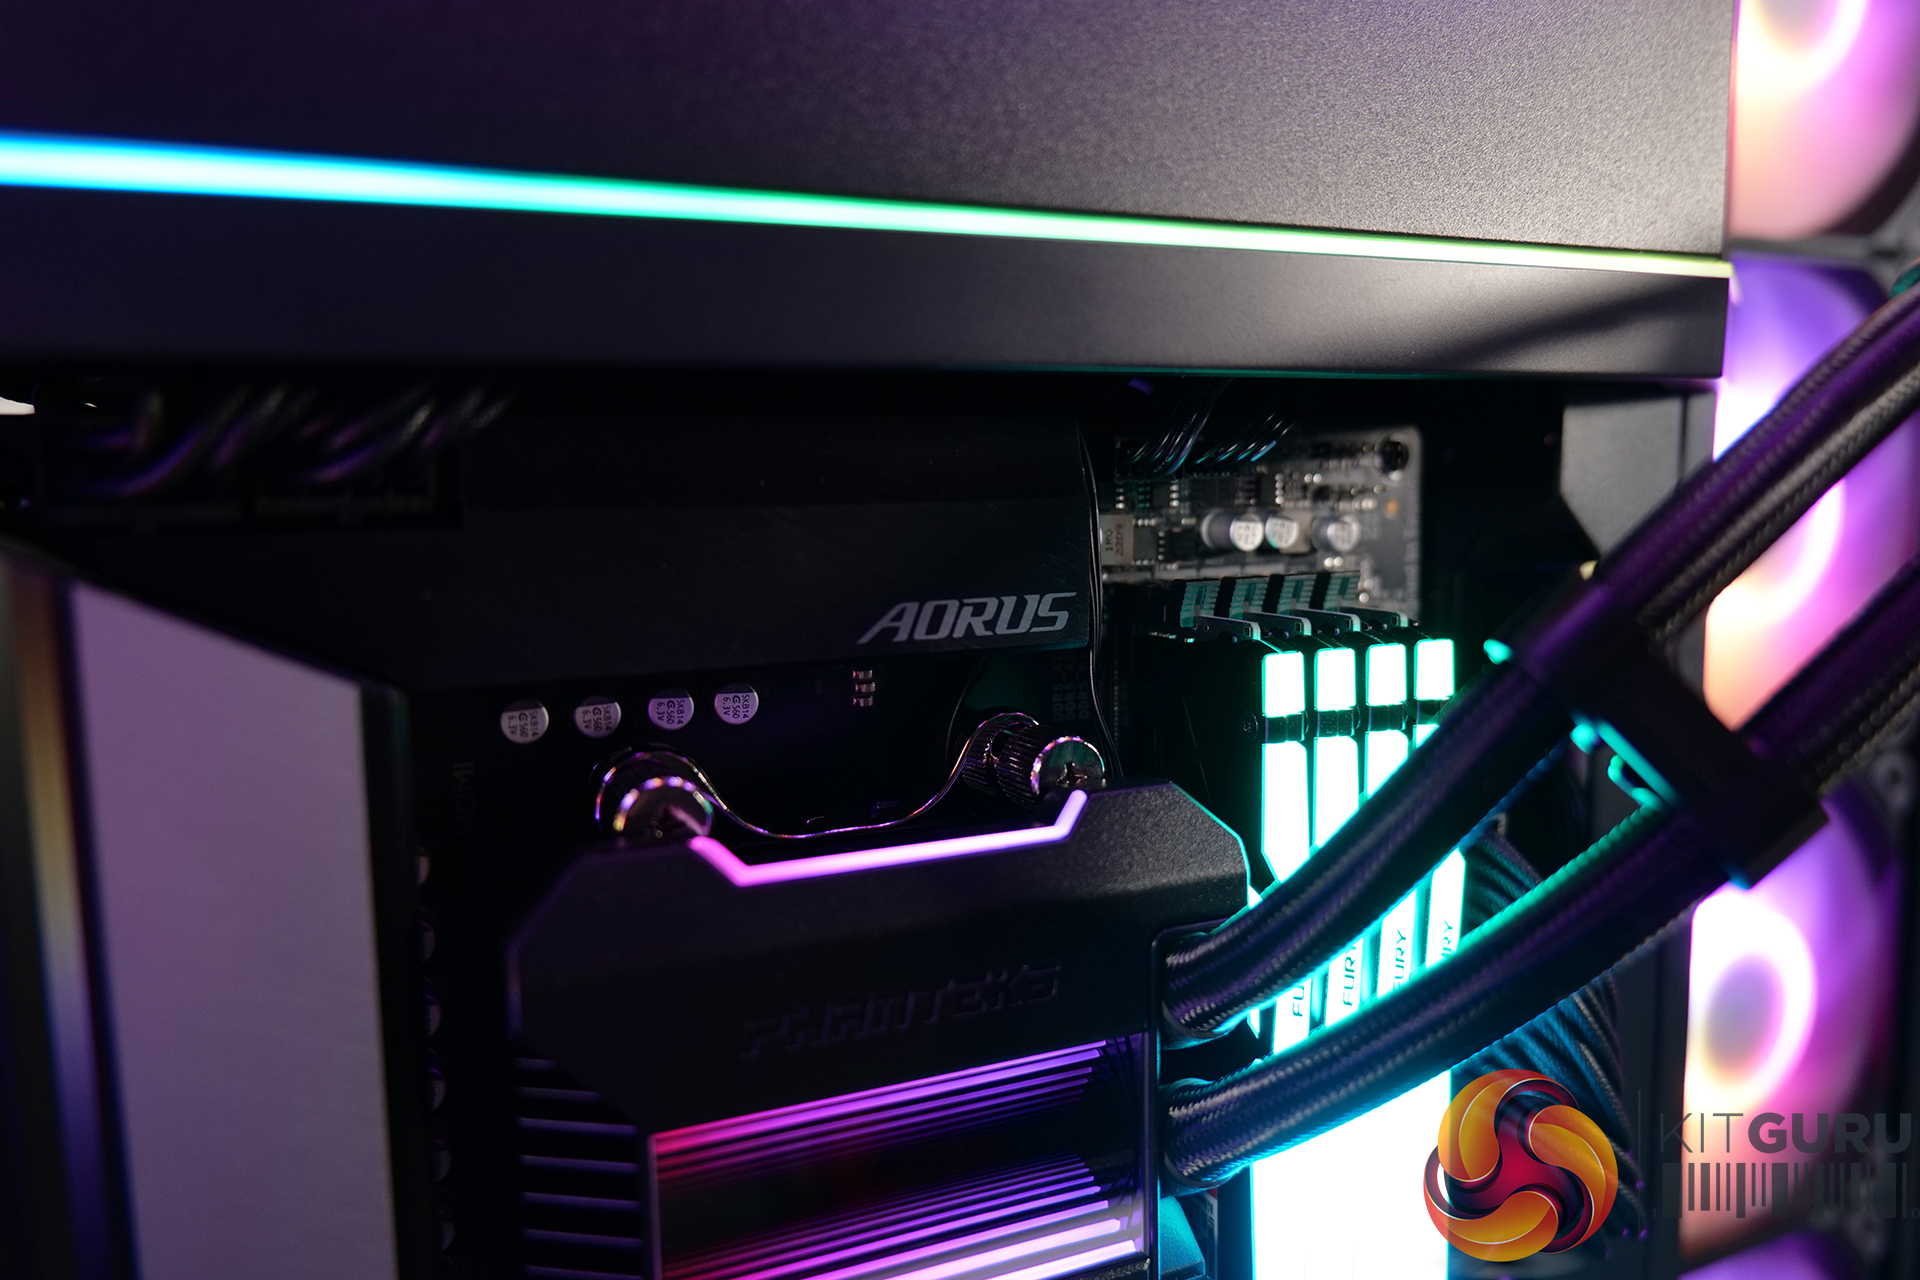
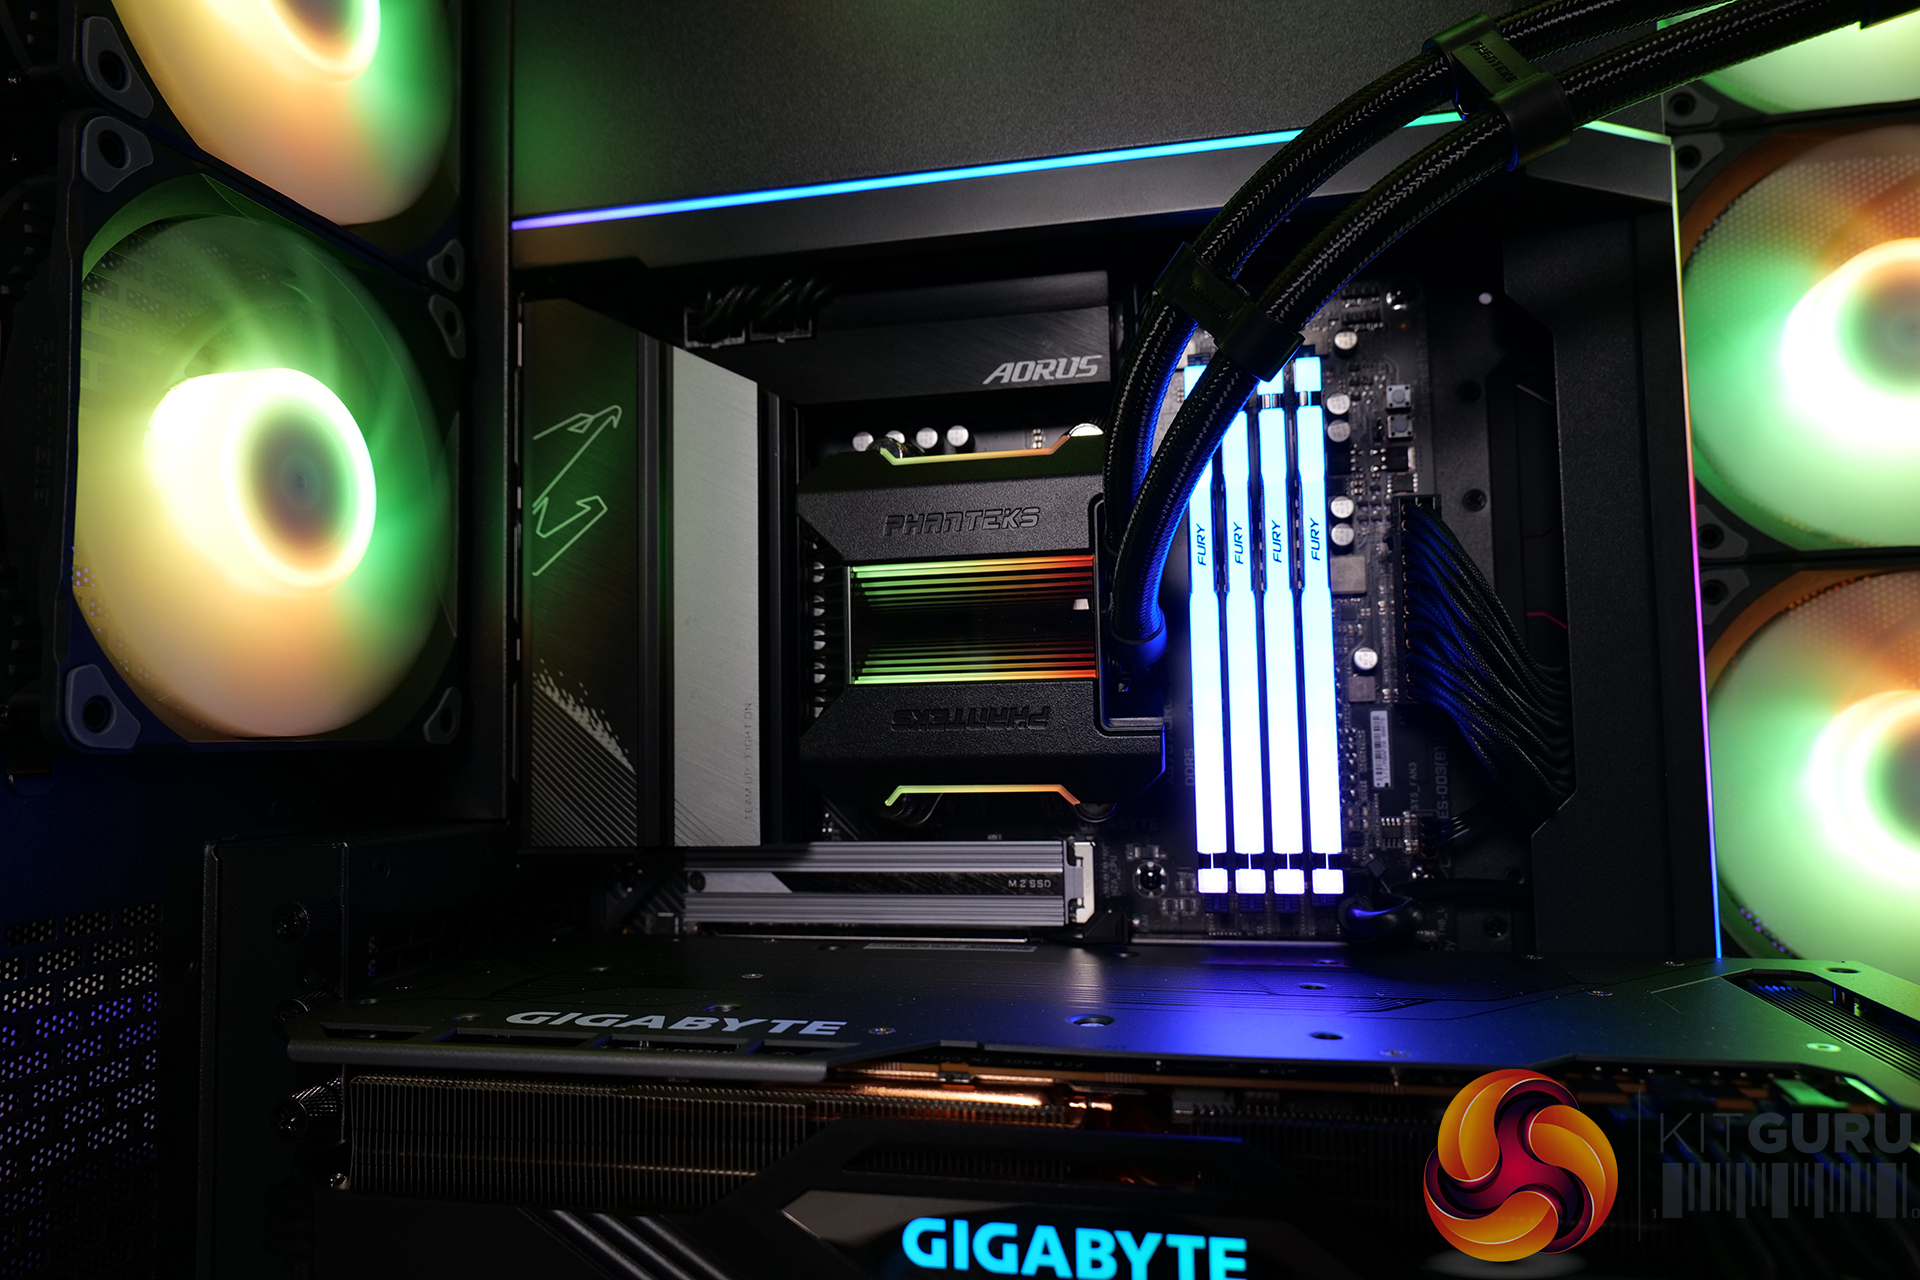
- Motherboard – X670 Aorus Elite AX
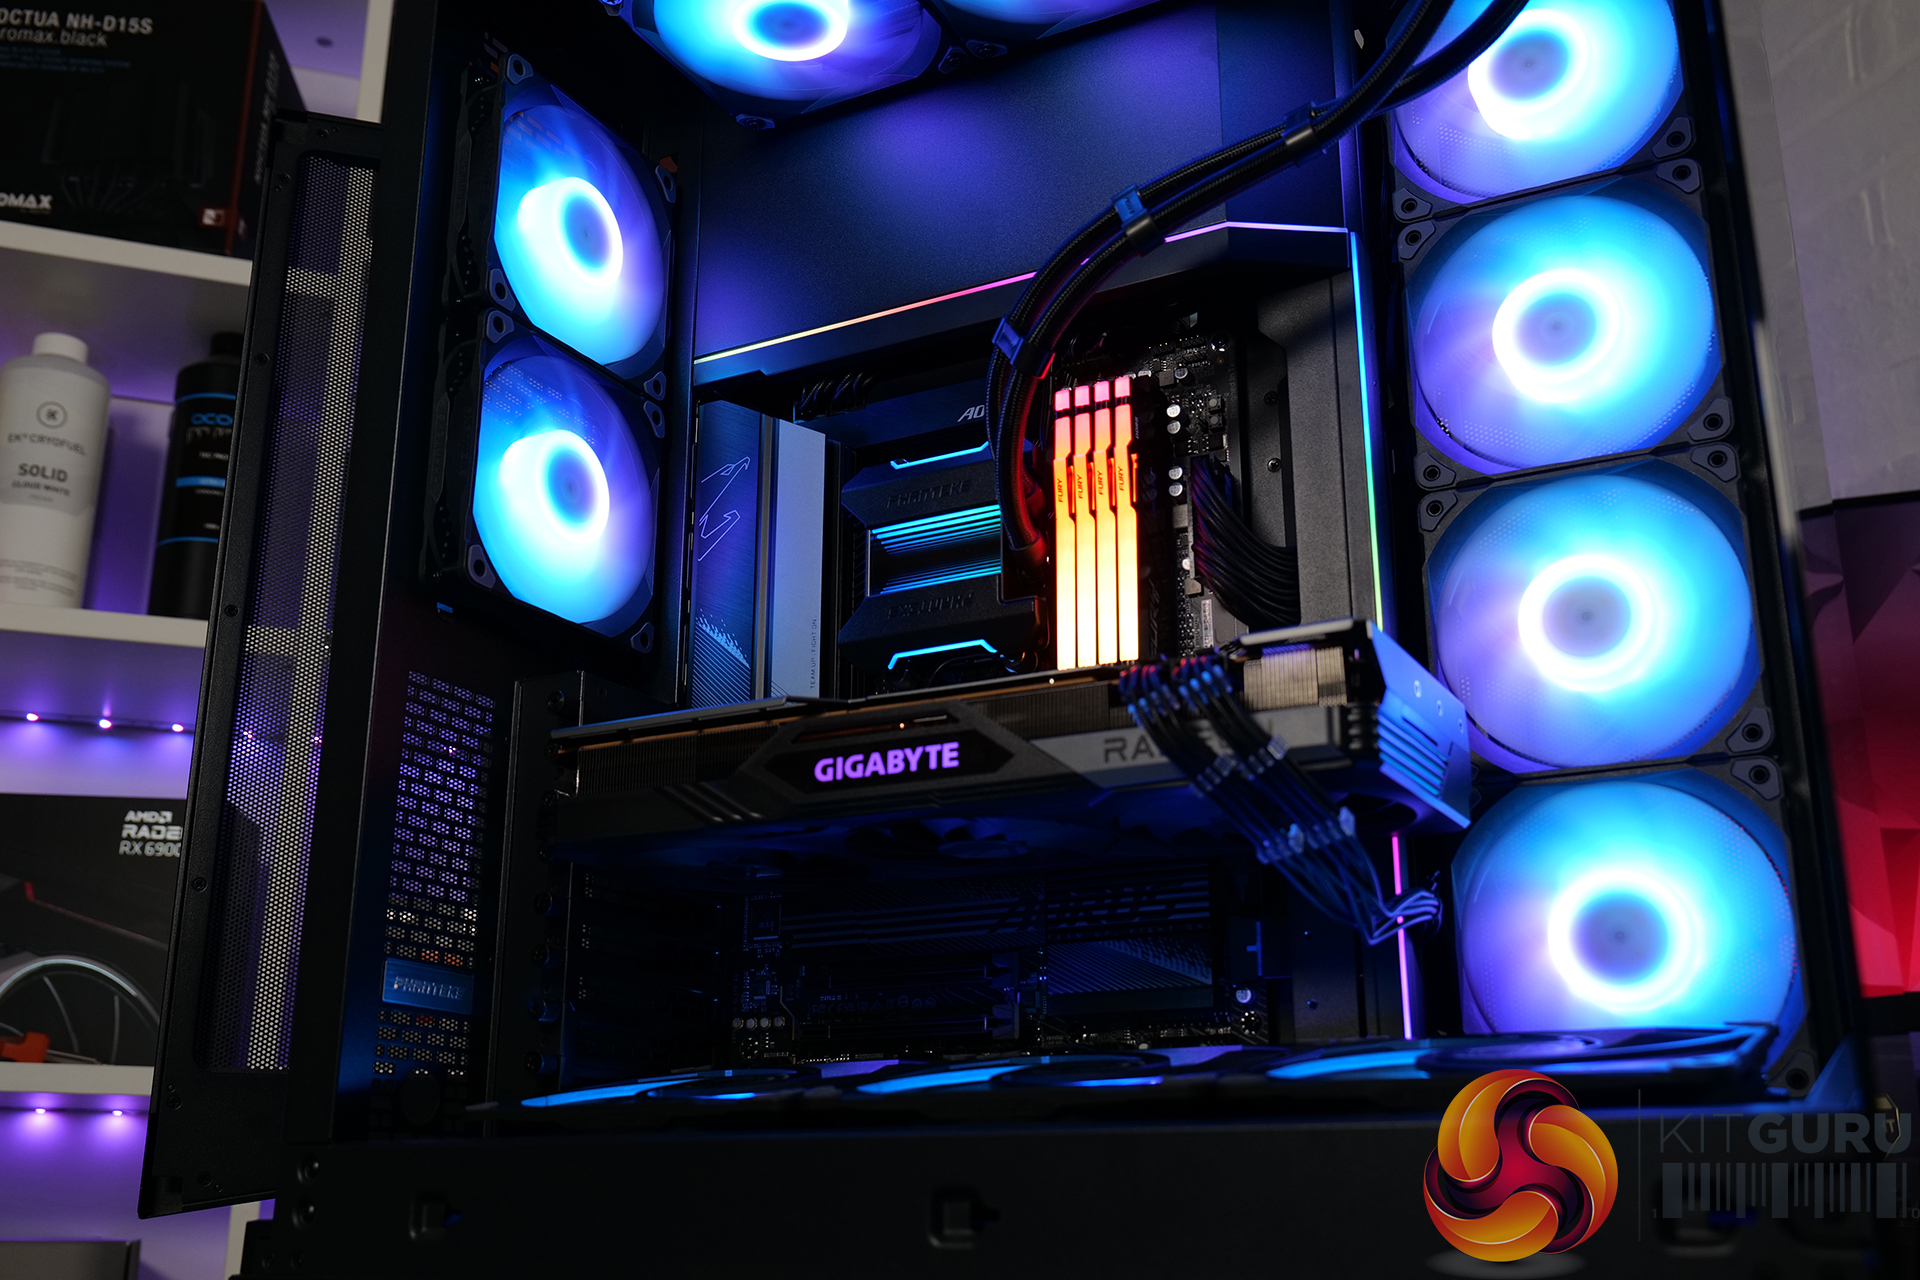
- Memory – 32GB Kit (2 x 16GB Modules) Kingston Fury Beast DDR5-6000 AMD EXPO
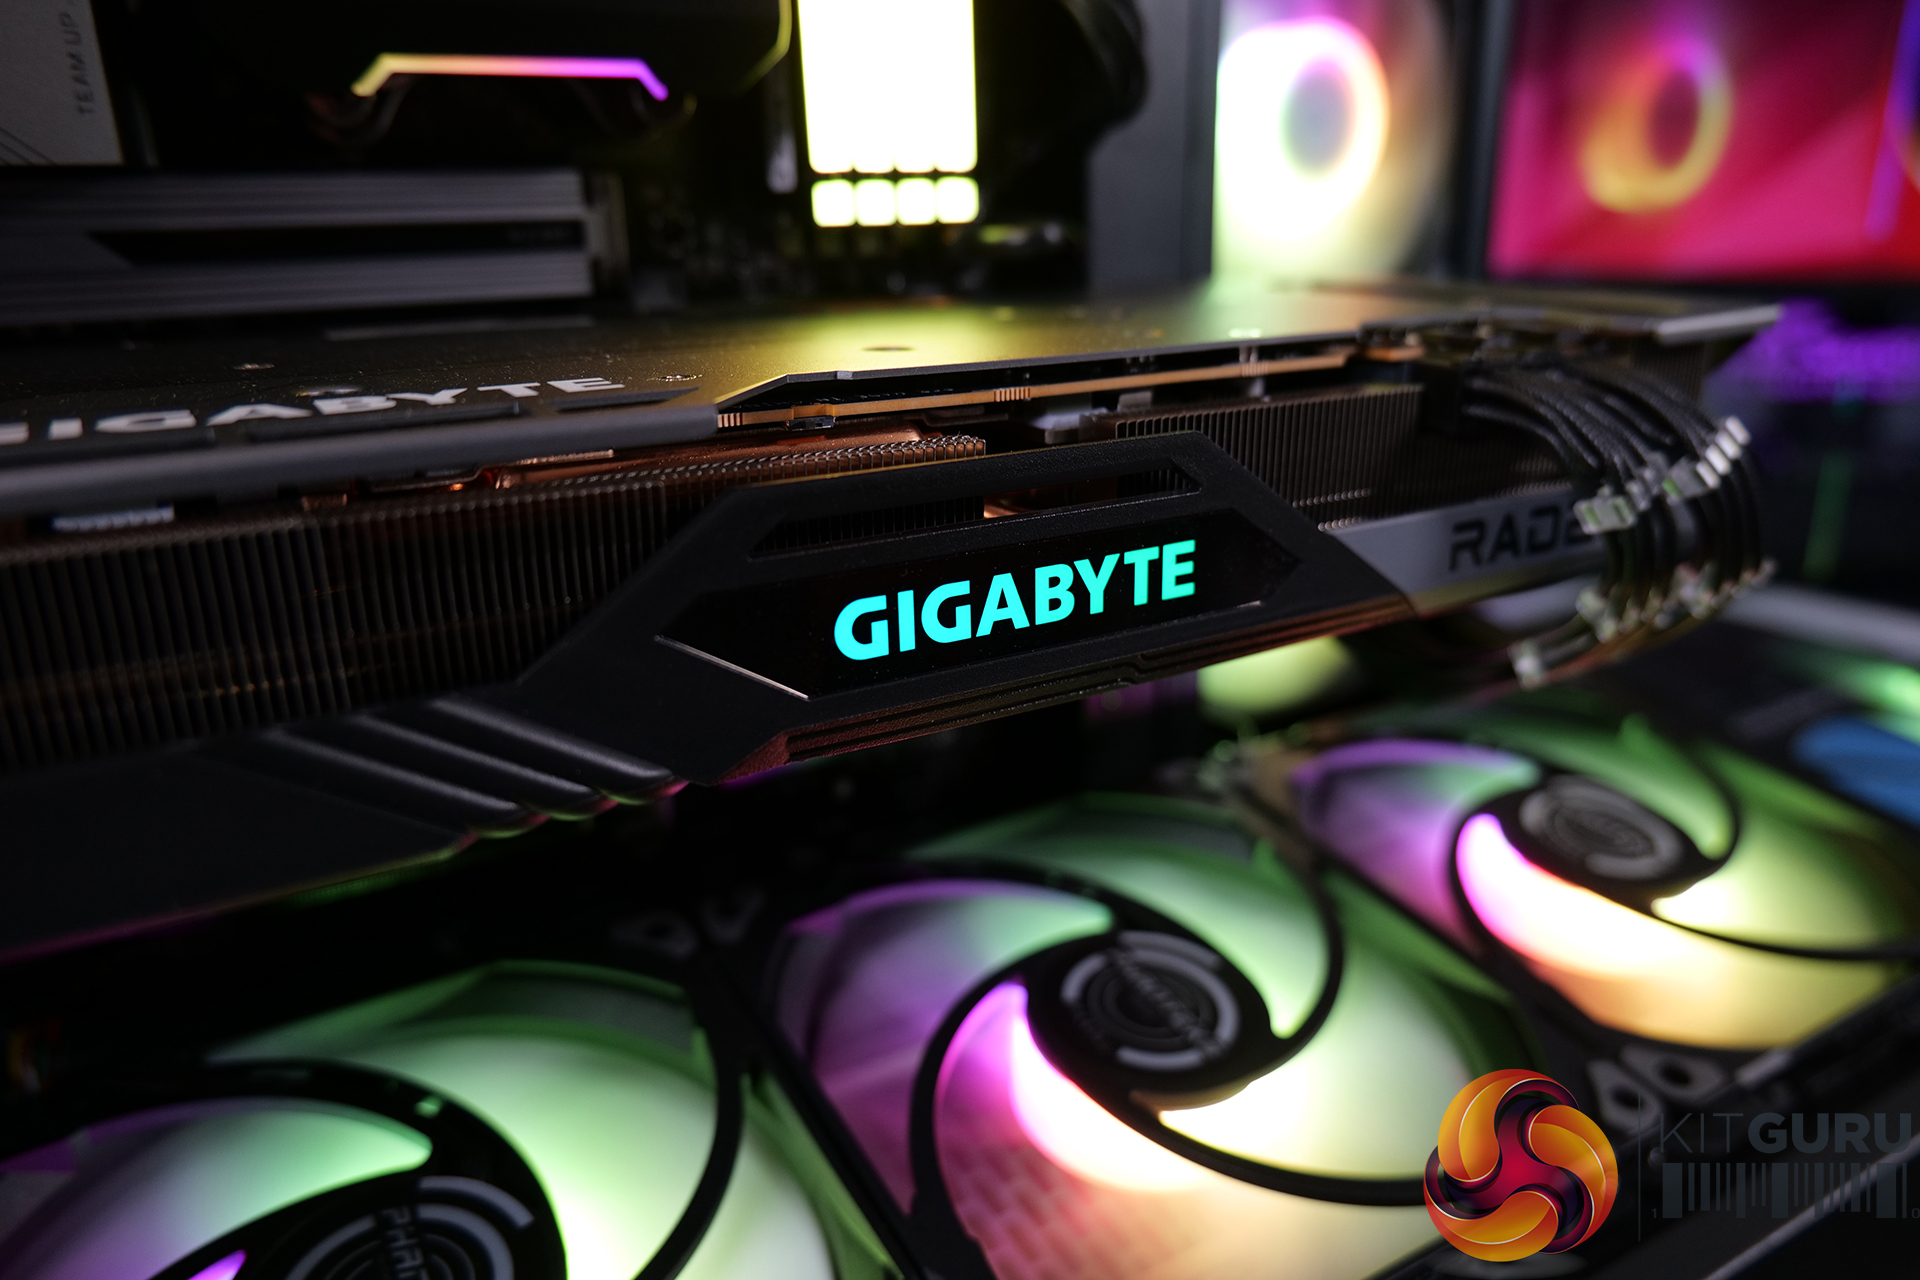
- Graphics Card – Gigabyte Radeon RX 7900XT Gaming OC
- Storage – 2TB WD_Black SN850 PCIe Gen4 M.2 NVMe SSD
- CPU Cooler – Phanteks Galcier One 360 MPH Model
- Power Supply – Seasonic Prime TX-1600 80+Titanium
- Chassis – Phanteks NV7 Black
- Chassis Fans – Phanteks M25-120/140 D-RGB PWM
- Operating System – Windows 11
Thermal Performance/Noise Overview:
Thermal Performance:
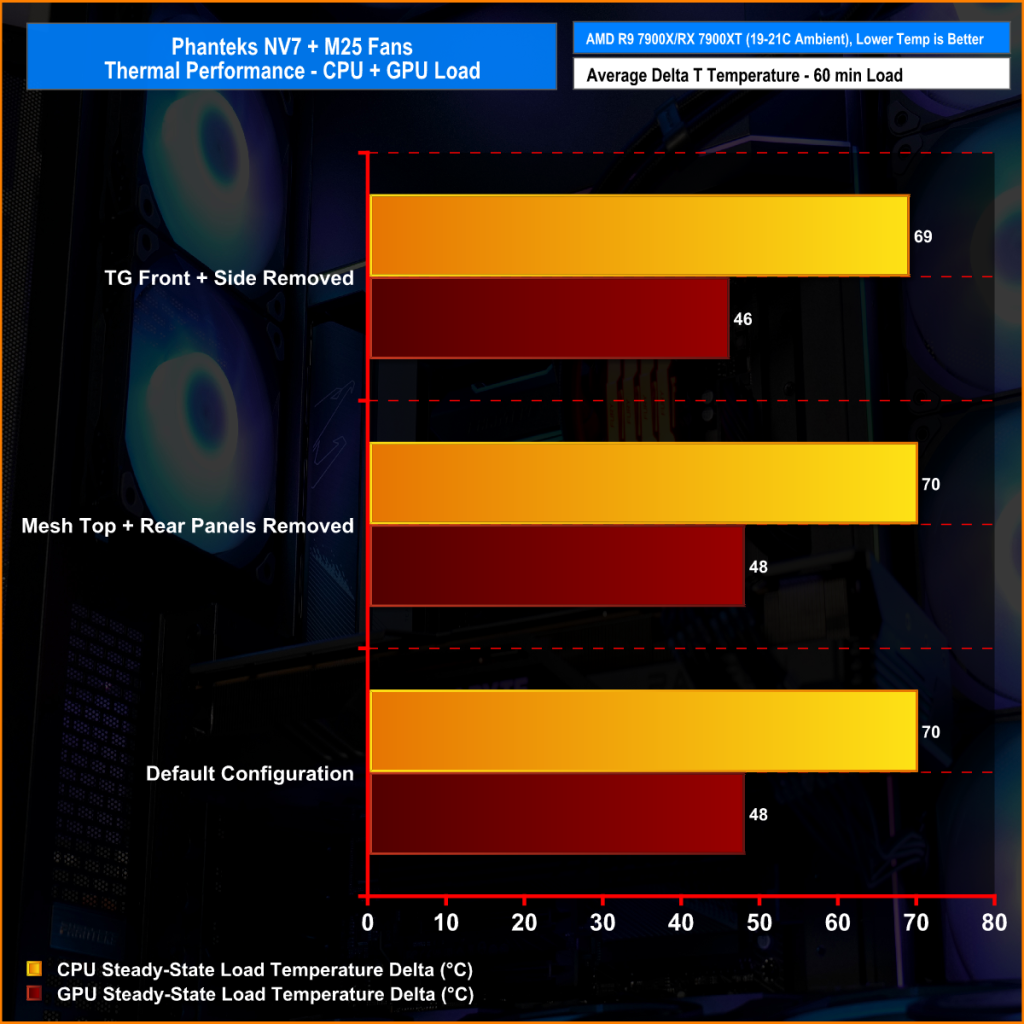
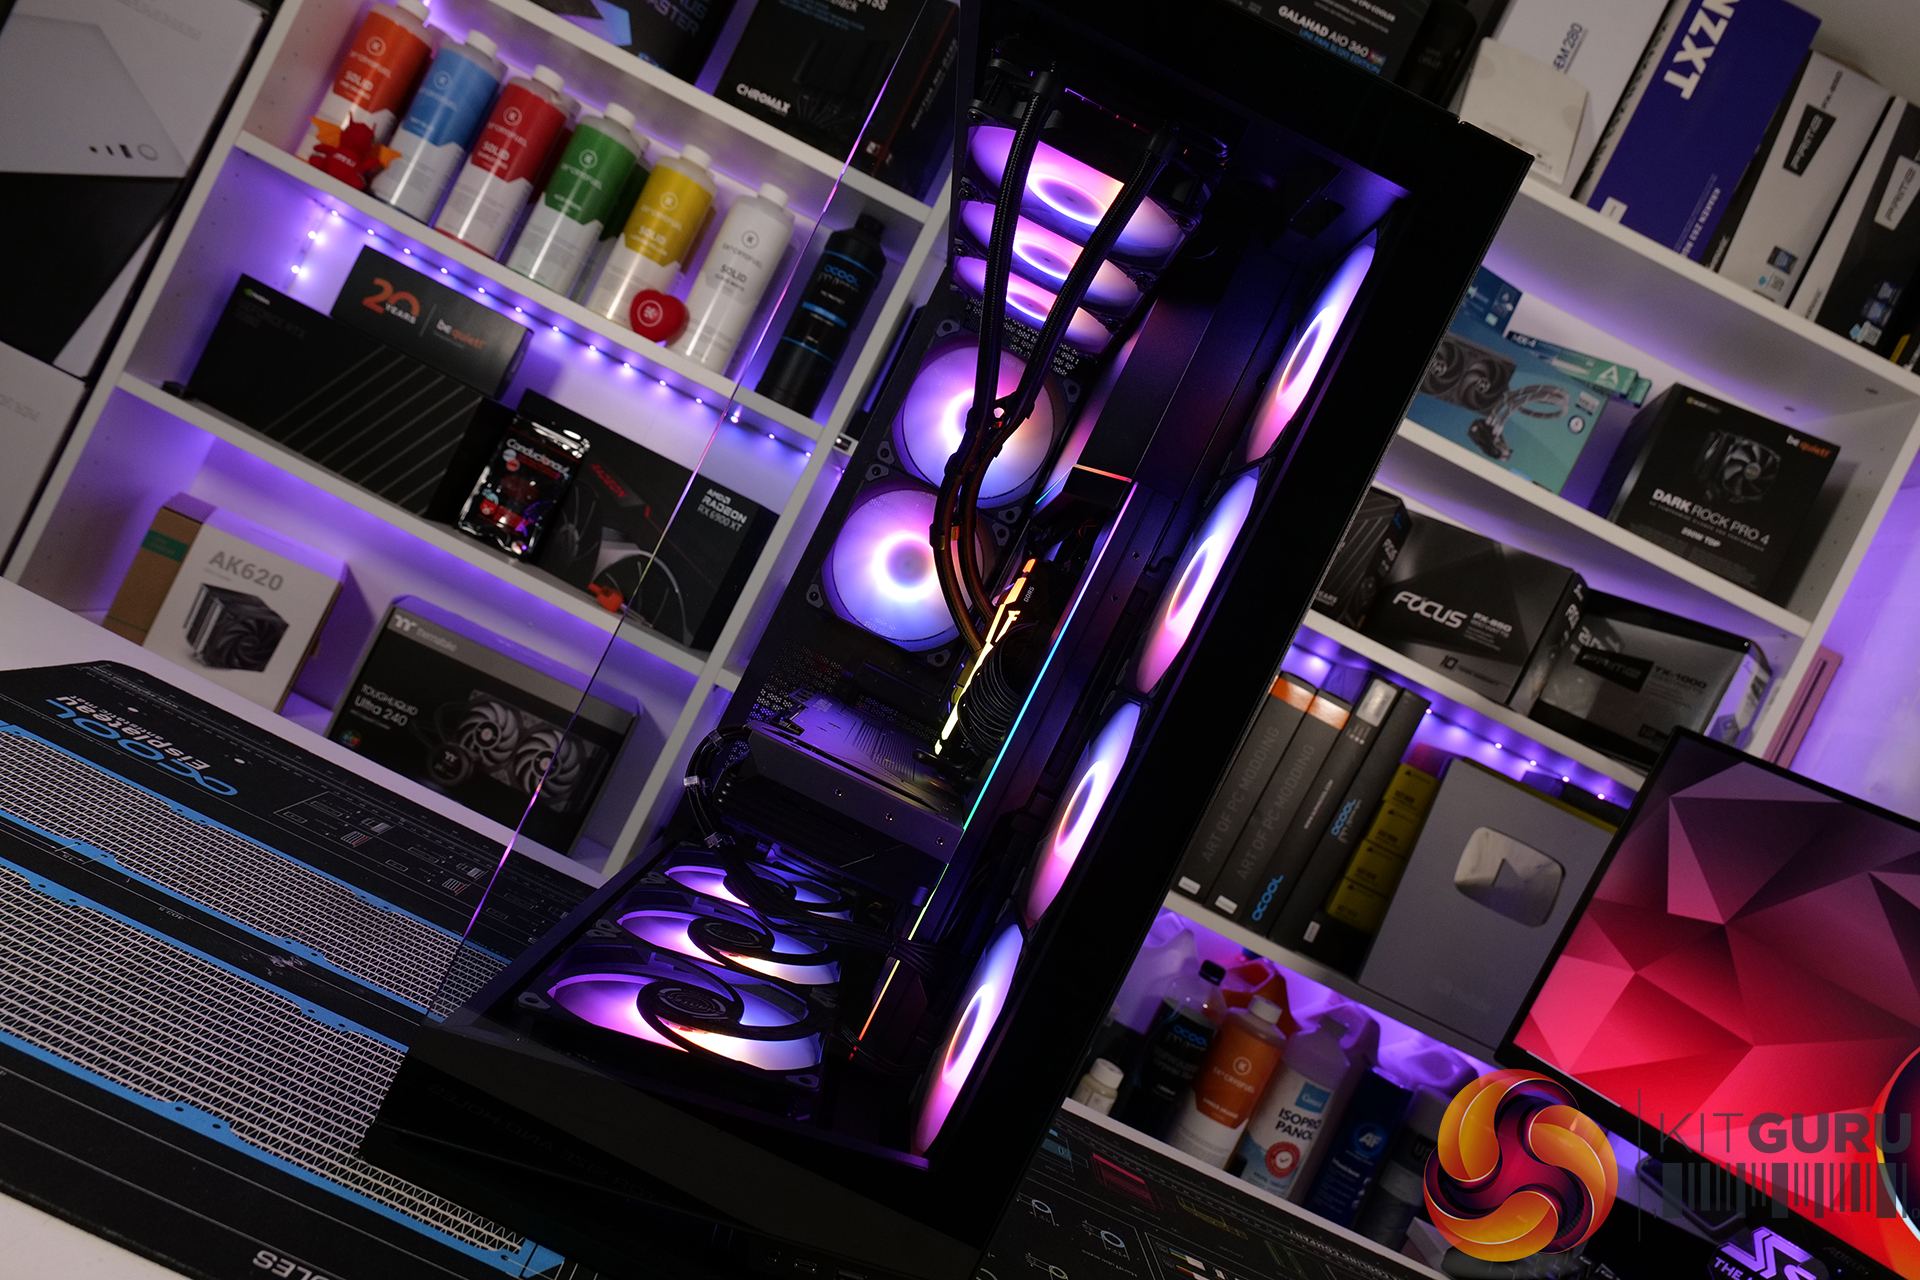
By default, the NV7 comes without any pre-installed fans so in this configuration it might be a bit of a hot box. With fans installed we were able to test the thermal performance with the case in various configurations, such as default (with all panels installed) or with tempered glass and mesh panels removed to see if this improved airflow/thermals.
In the default configuration both the CPU and GPU temperatures were as we would expect. If anything, the 7900XT GPU ran a little cooler than normal, which is great. Removing panels had no significant effect on temperatures so it looks like airflow is good by default.
Noise:
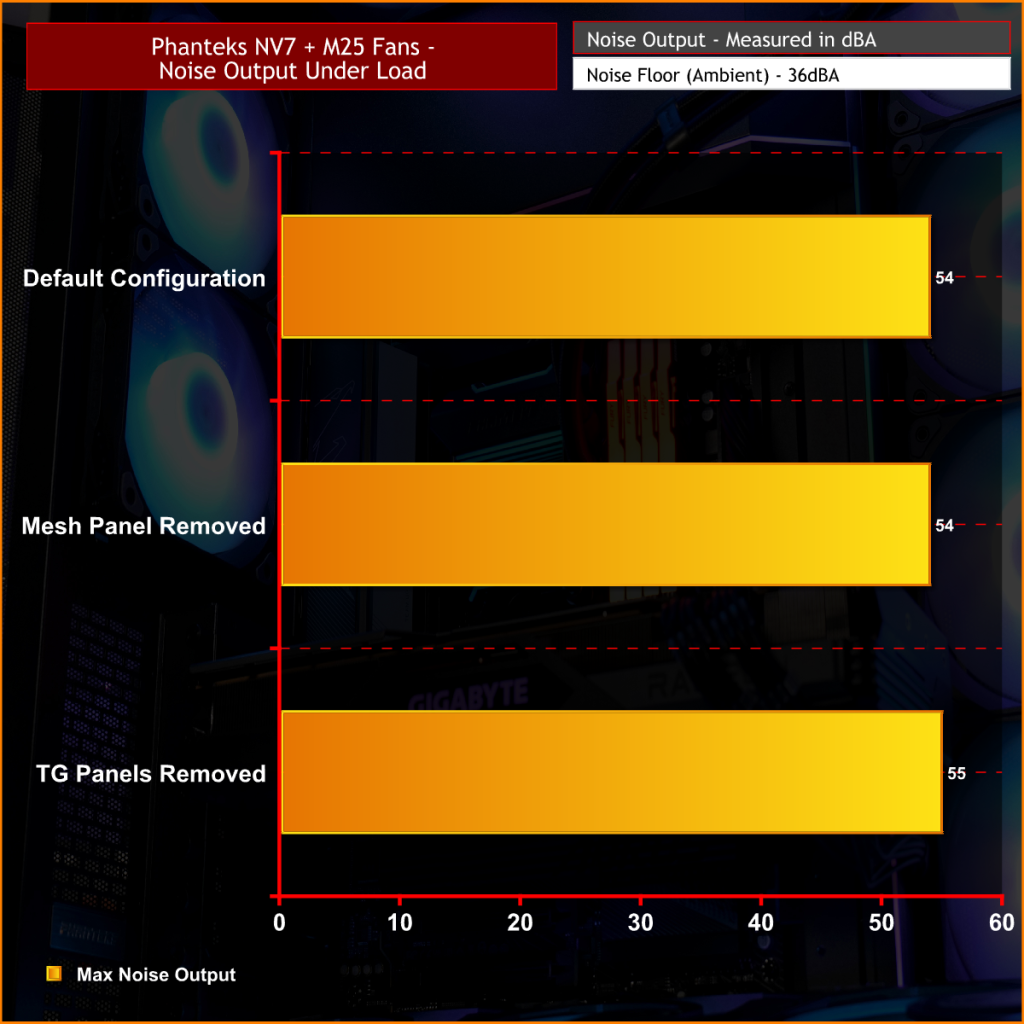
With 12 fans in a case, it's always going to make some noise. When the CPU temperature ramped up so did the fan RPM which increased noise output significantly. At 54dBA this was noticeable and could be distracting for some users. Removing panels had little effect on noise levels so the case isn't dampening noise much at all with panels installed.
The NV7 will need some fan tweaking to get the noise output to the user's desired level but this is a normal part of the system setup and experienced users or system builders should be able to do this reasonably easily.
Closing Thoughts
Priced at a shade under £200 the Phanteks NV7 isn’t a cheap chassis by any means. The lack of any pre-installed fans may be an issue for some at this price point but the build quality, unique features and thermal performance should make up for this. The benefit of having no included fans means that you can choose your own and nothing is being thrown away creating e-waste which is always a positive.
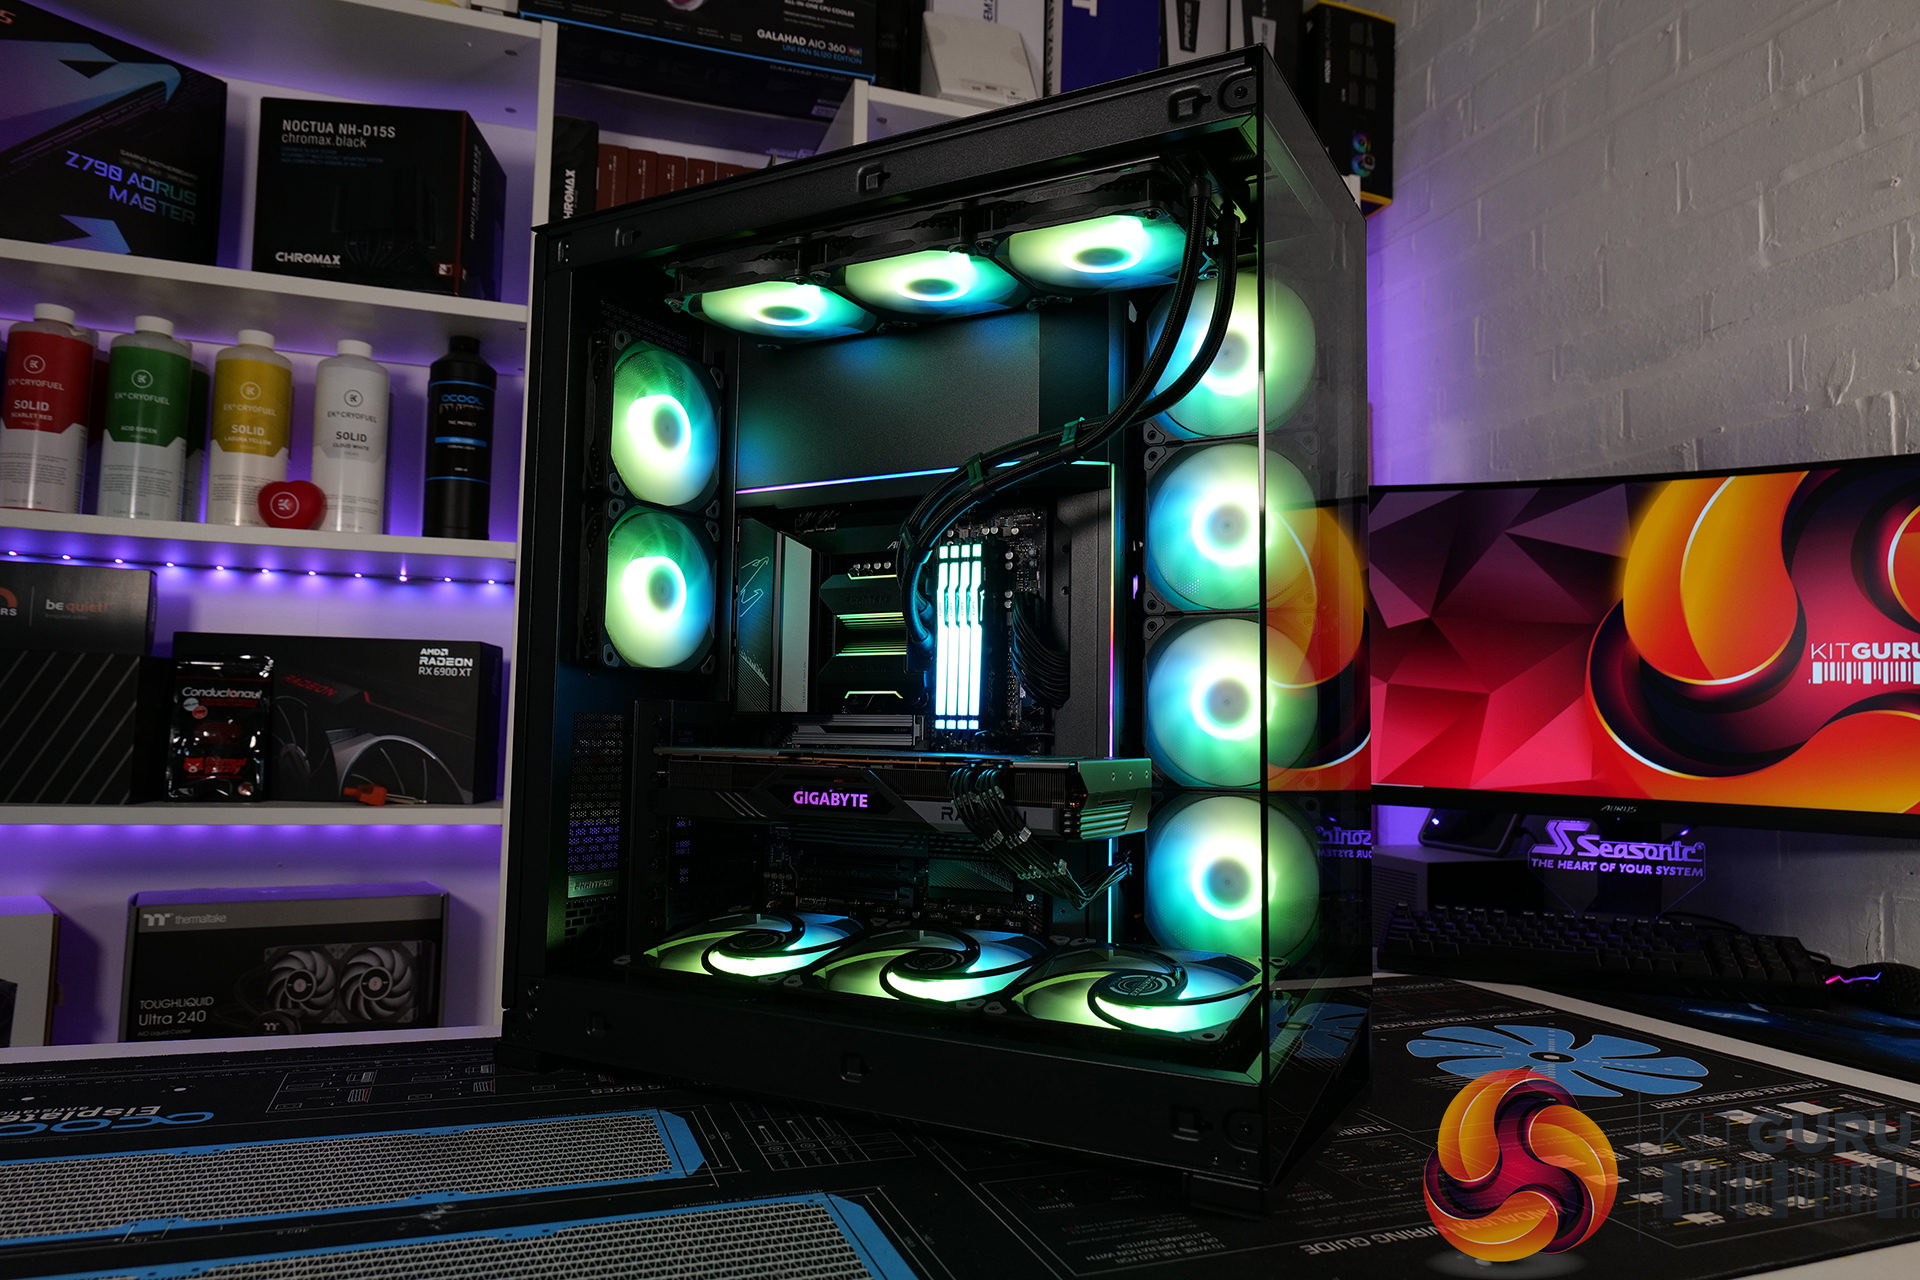
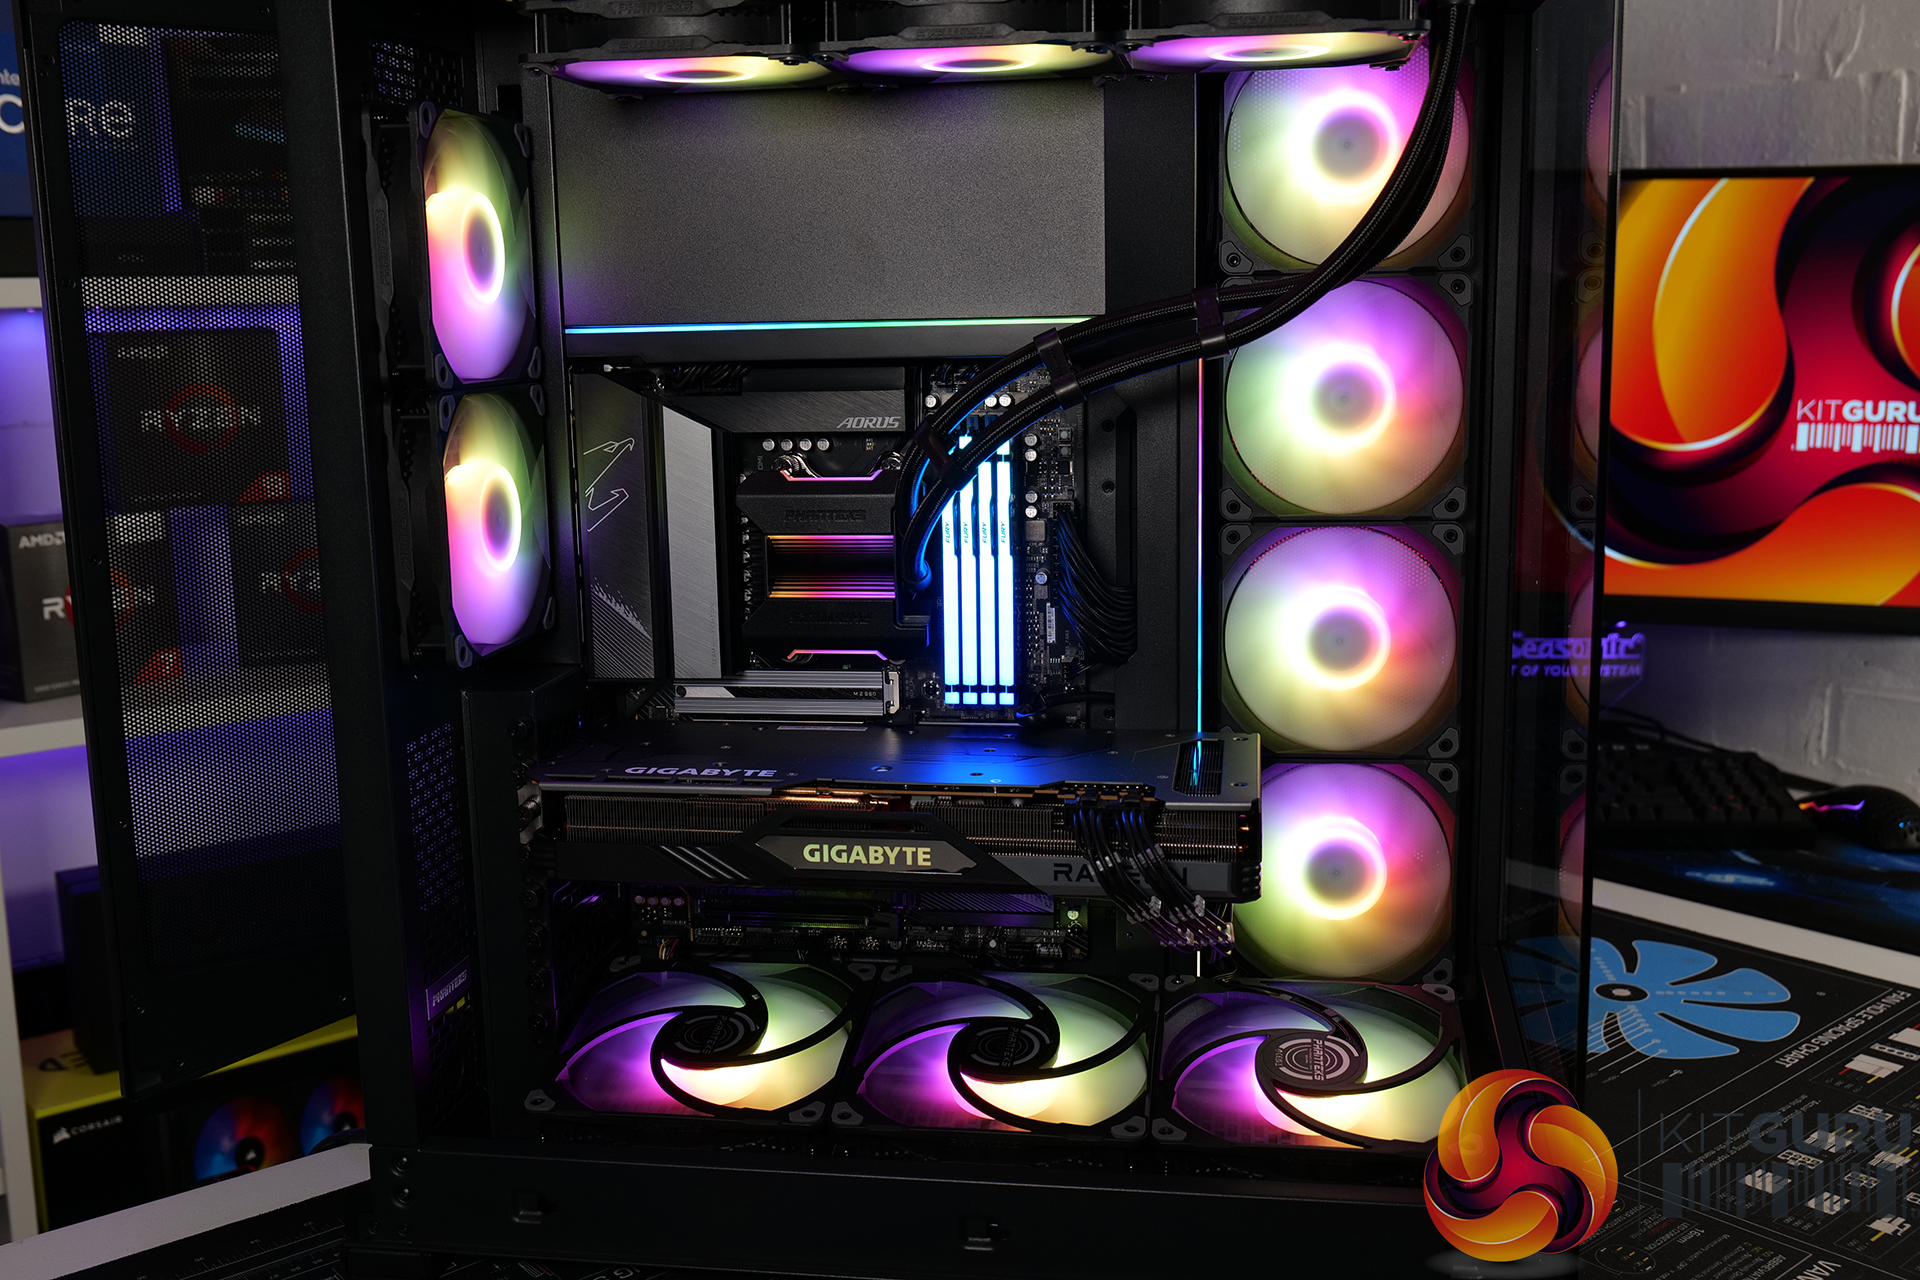
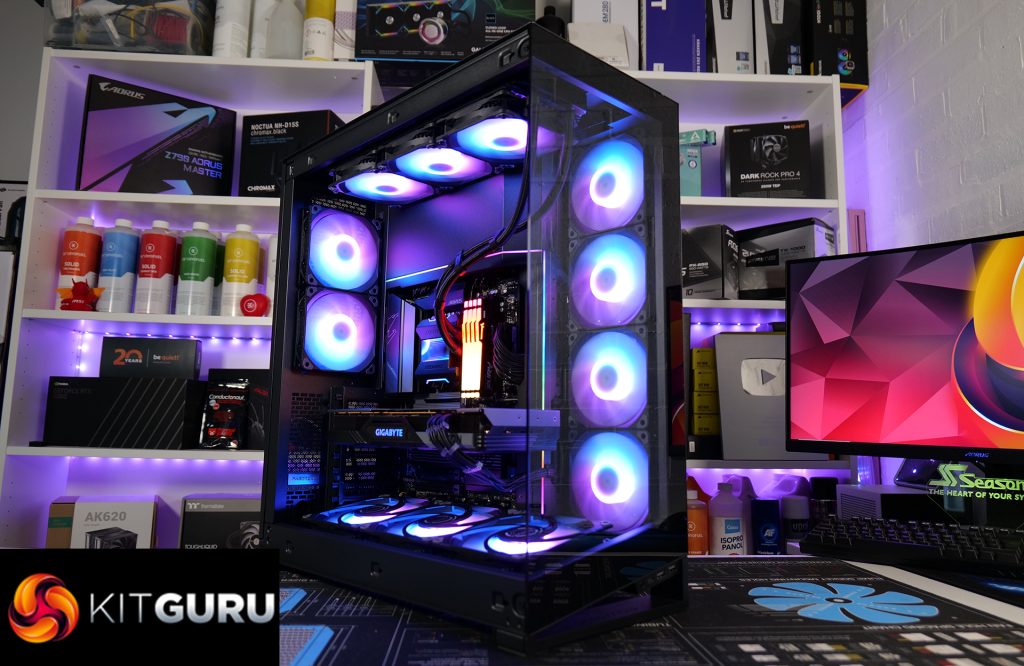
In terms of appearance, the Phanteks NV7 looks very nice indeed with the almost seamless tempered glass and hidden rear cable clutter. Adding good fans with RGB effects boosts visuals even more and creates a picture frame effect around the system. Build quality is up to and exceeds the usually Phanteks high standard, it’s a heavy and very sturdy frame, even when all panels are removed and some corners left completely unsupported the frame feels very rigid.
With this bottom airflow configuration and a closed tempered glass front, thermal performance is up to scratch, if anything the GPU temperature seems better than in a conventional-style ATX case which is great news. But we did add 12 fans to the system, including three 140mm fans blowing directly up at the GPU so it’s not a huge surprise that the system ran cool under load.
There are a couple of minor issues that we came across during the build which are worth mentioning. Phanteks states in the review guide that 140mm fans can be installed on the bottom fan bracket. We had an issue with 140mm screw hole alignment on this bracket and the 140mm fans didn’t fit. The problem was resolved by modifying the elongated screw holes on the bracket, then we were then able to install three 140mm fans as the review guide suggests.
We reached out to Phanteks about this issue and it is known to them. Apparently, there was an issue with the tooling and an early batch of NV7 chassis was made incorrectly. Phanteks has updated the tooling to cure the problem but if a user does encounter this issue, the best thing to do is contact Phanteks and they will arrange for a replacement part to be shipped out.
The only other very minor problem is with the rear cable combs at the bottom of the chassis – these can have quite sharp edges which can dig in and damage cable sheathing. The HDMI cable we used had a soft sheathing, pushing the cable in and out of the plastic combs did some minor damage to the sheathing so it’s best to run softer cables through the rubber grommet rather than in the combs to avoid this from happening.
Other than those small problems the NV7 is a good case. Even with the non-conventional layout, it’s an easy case to build in. With all the panels removed it’s very spacious, the built-in cable management features are good, it will support all current high-end hardware and it offers great cooling support with multiple big radiator locations so custom cooling enthusiasts should love it. It is one that I will definitely consider for future high-end builds.
![]()
The Phanteks NV7 is available to buy now from Overclockers UK now priced at £199.99 HERE.
Discuss on our Facebook page HERE.
Pros:
- Good airflow once you add fans.
- Full tower supports lots of hardware.
- Great 120mm cooling support.
- Interesting cable management features.
- Clean looks.
Cons:
- Lacks support for 140mm fans/radiators in most areas.
- No fans included.
- The bottom rear cable management combs are sharp.
- Some hard-to-fill spaces.
KitGuru says: Custom water cooling enthusiasts should love the NV7 with its multiple large radiator support. It will be interesting to see some of the creations that are built using this case in the coming months.