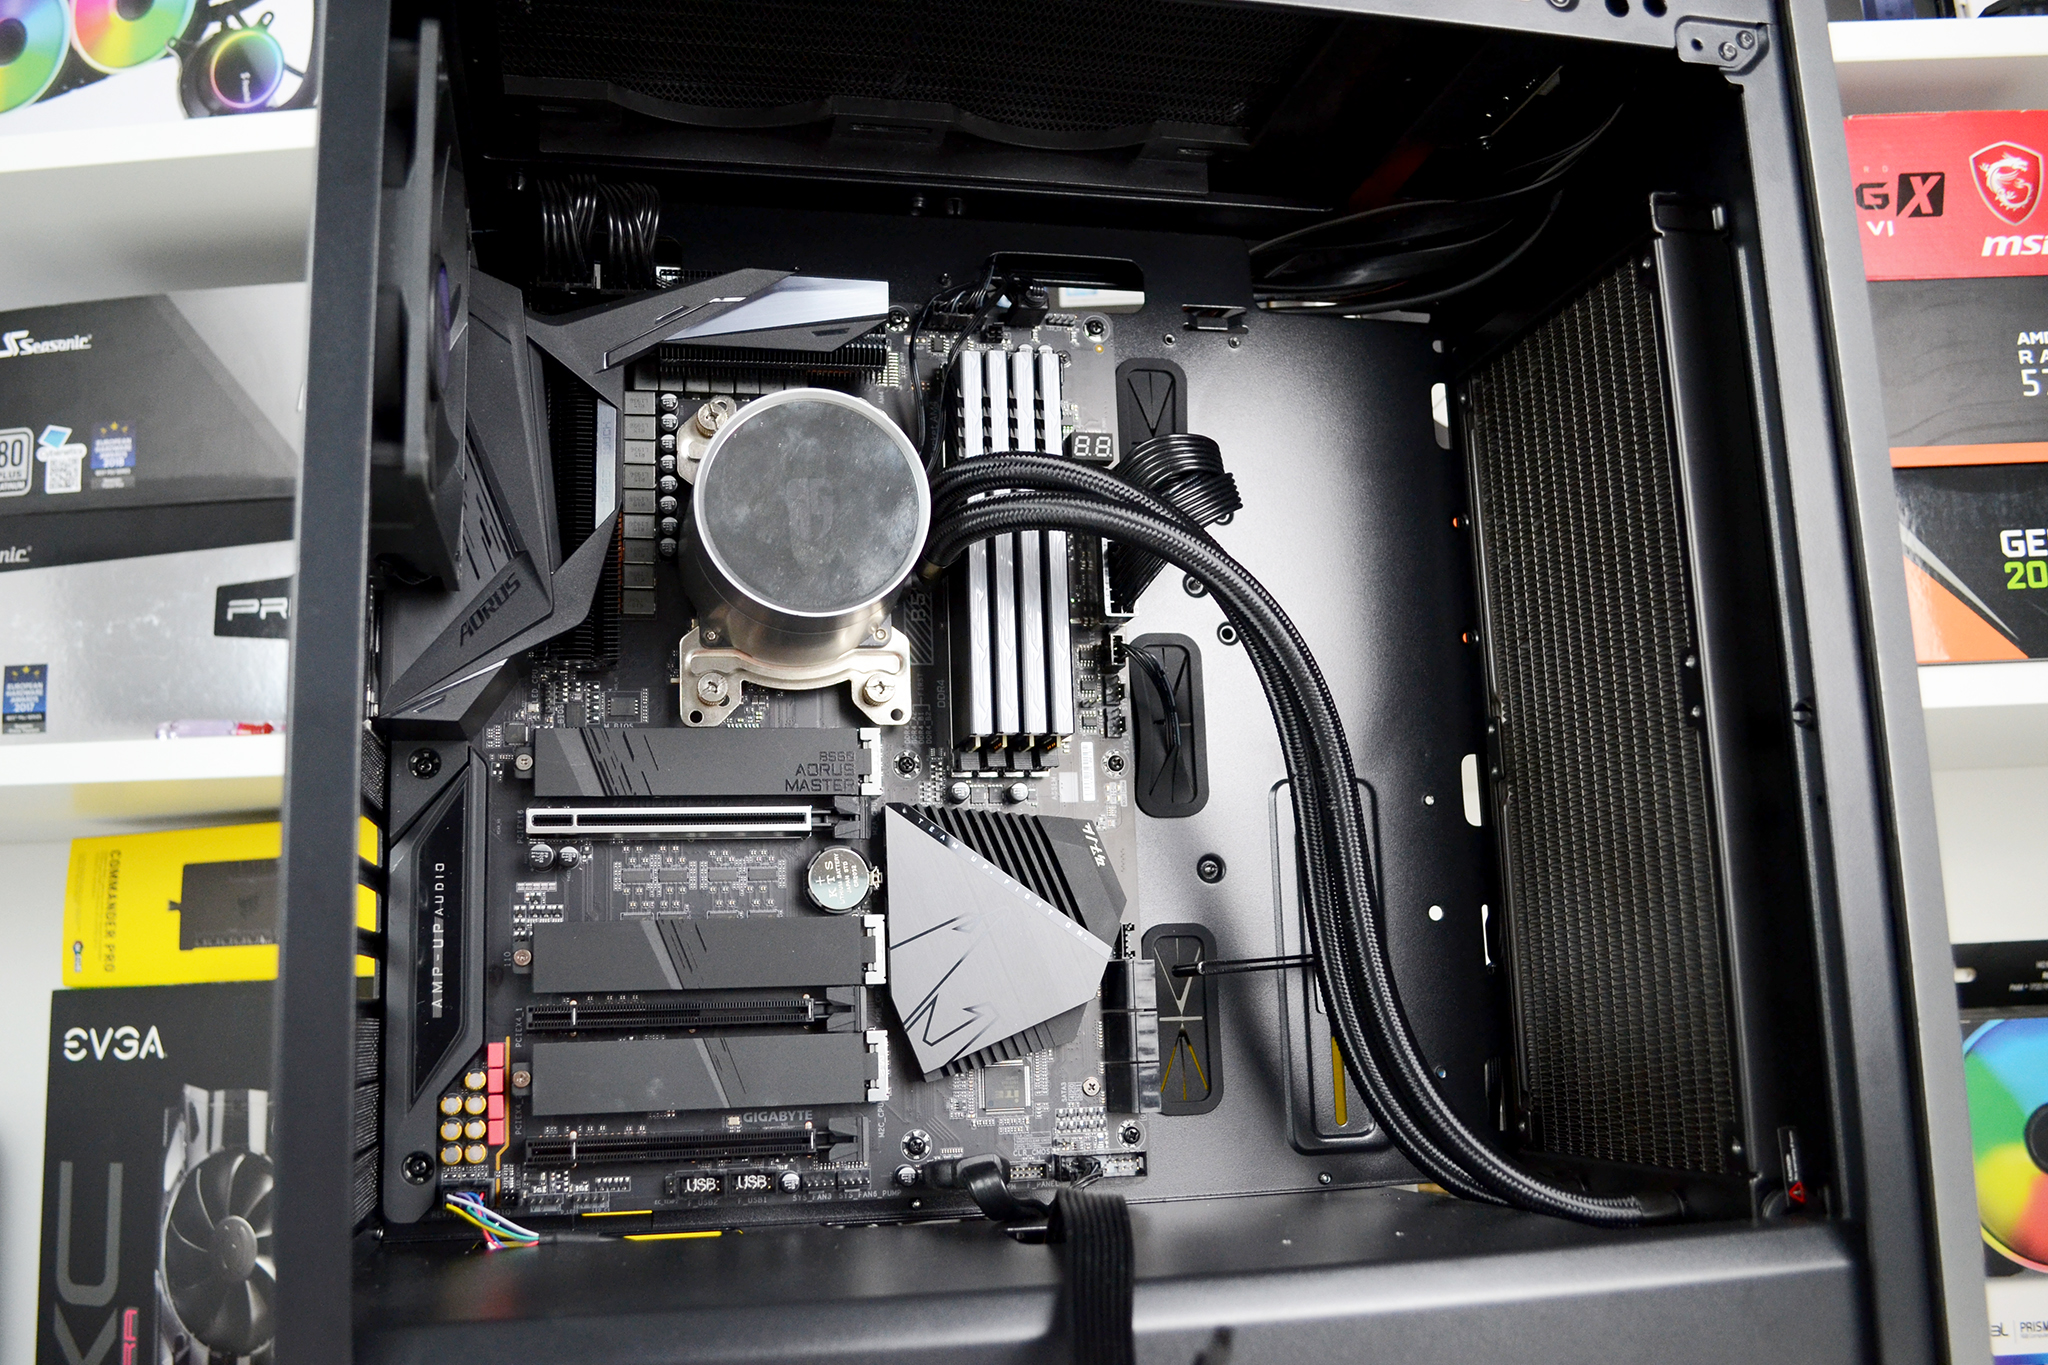

Due to the open layout of the CL500 interior, installing a full-size ATX motherboard is easy. With plenty of space available to the right-hand side and the top of the motherboard tray, there are no obstructions to get in the way when manoeuvring the motherboard into position. All the pre-installed standoffs lined up perfectly and the motherboard slipped under the pre-installed exhaust fan with ease.
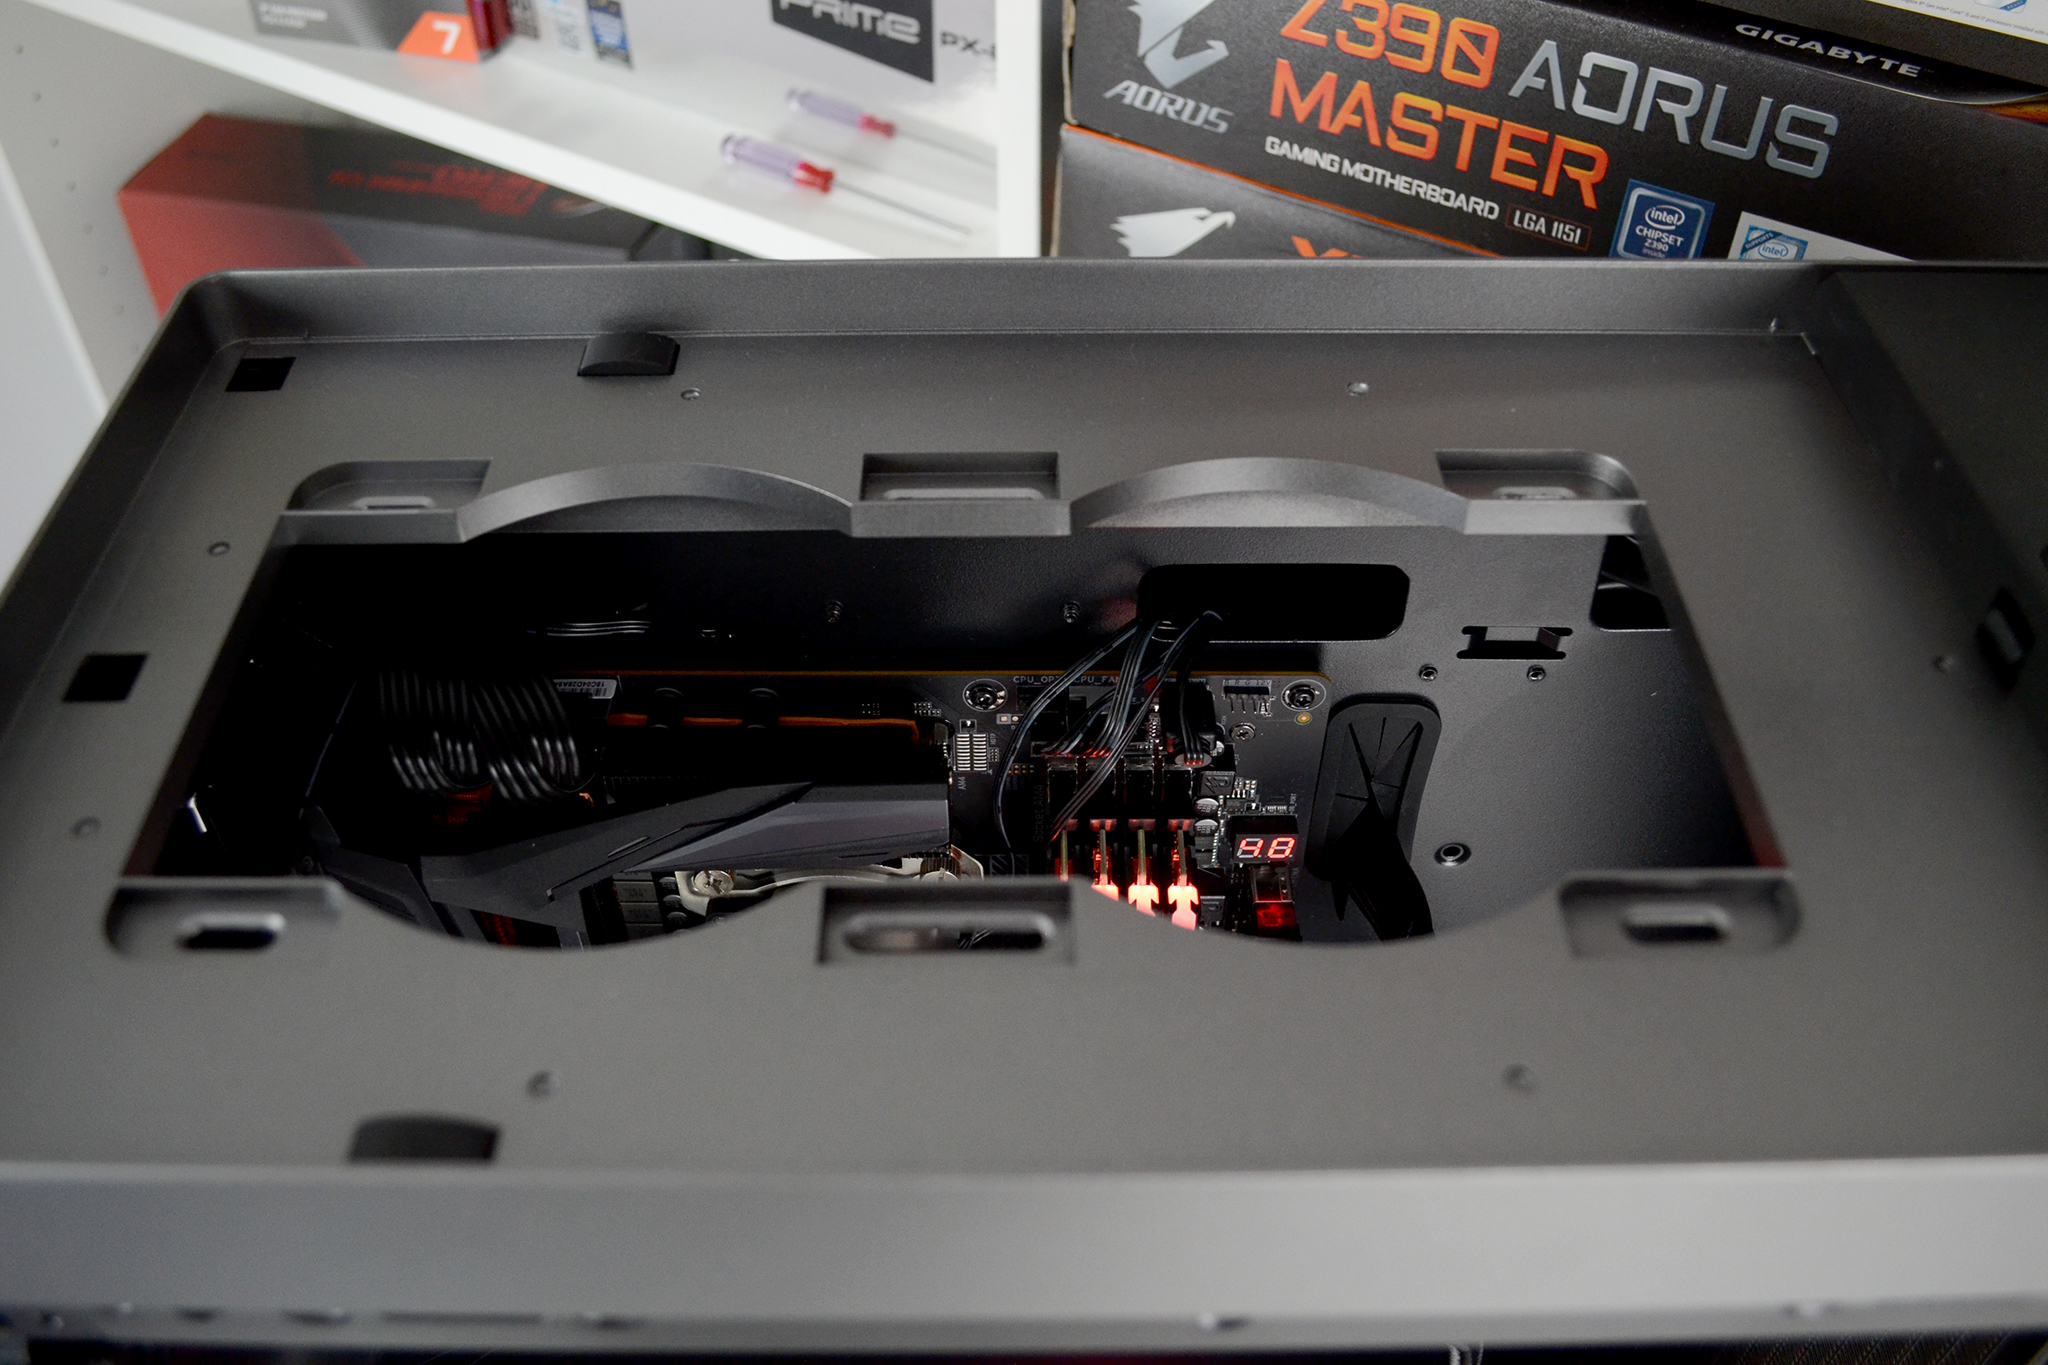
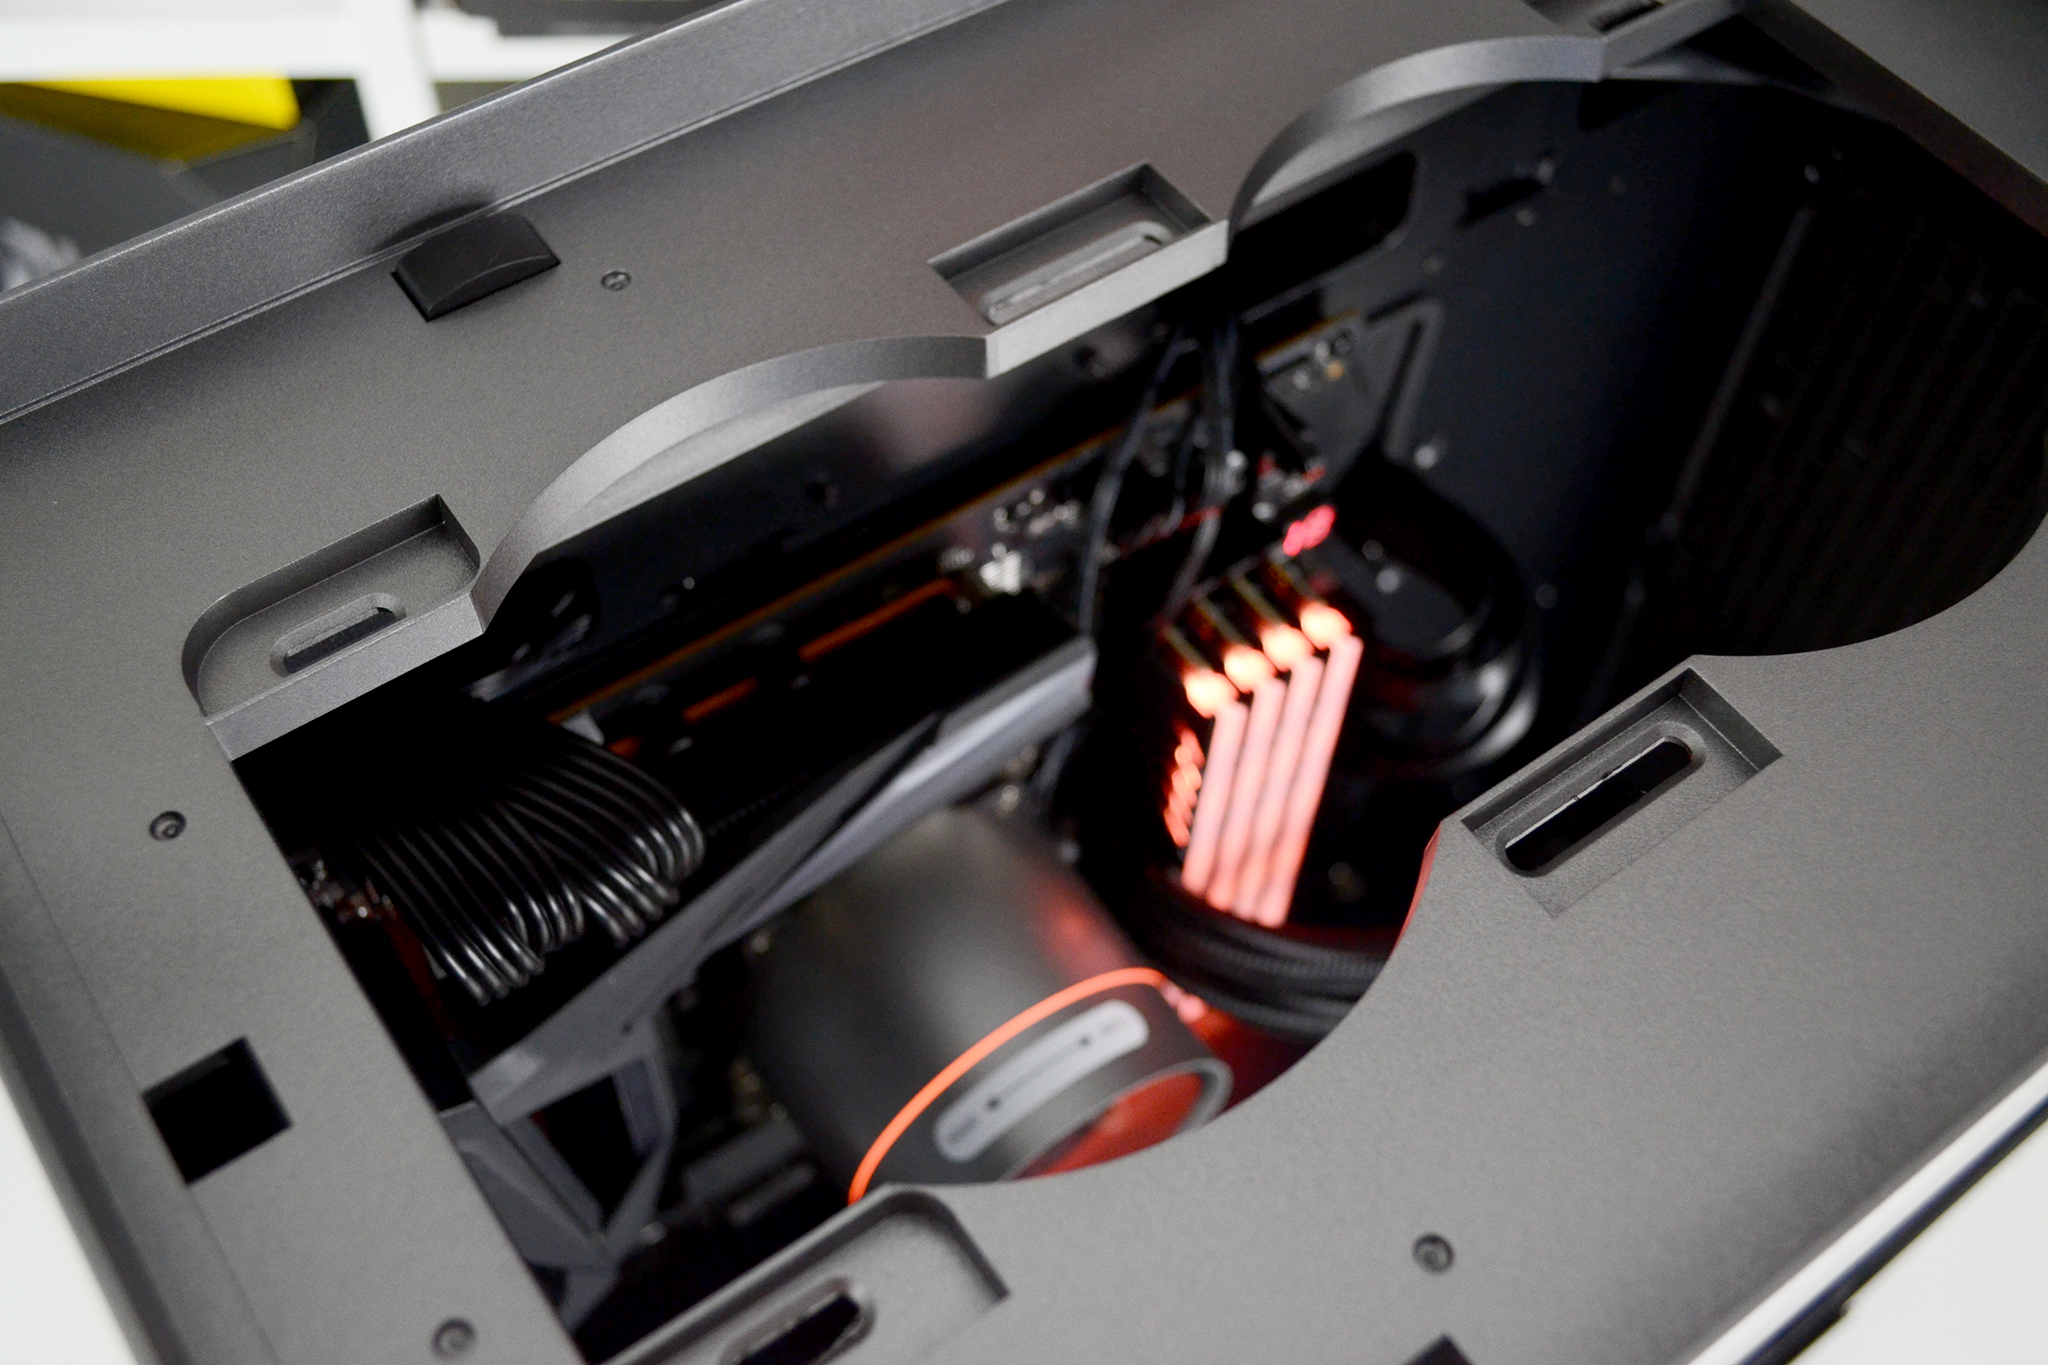
With the motherboard fitted in position, we can see that there is approximately 60mm of space between the top panel and the motherboard VRM heatsink, so this should provide enough space for installing fans or a radiator in the top panel without interfering with motherboard components.
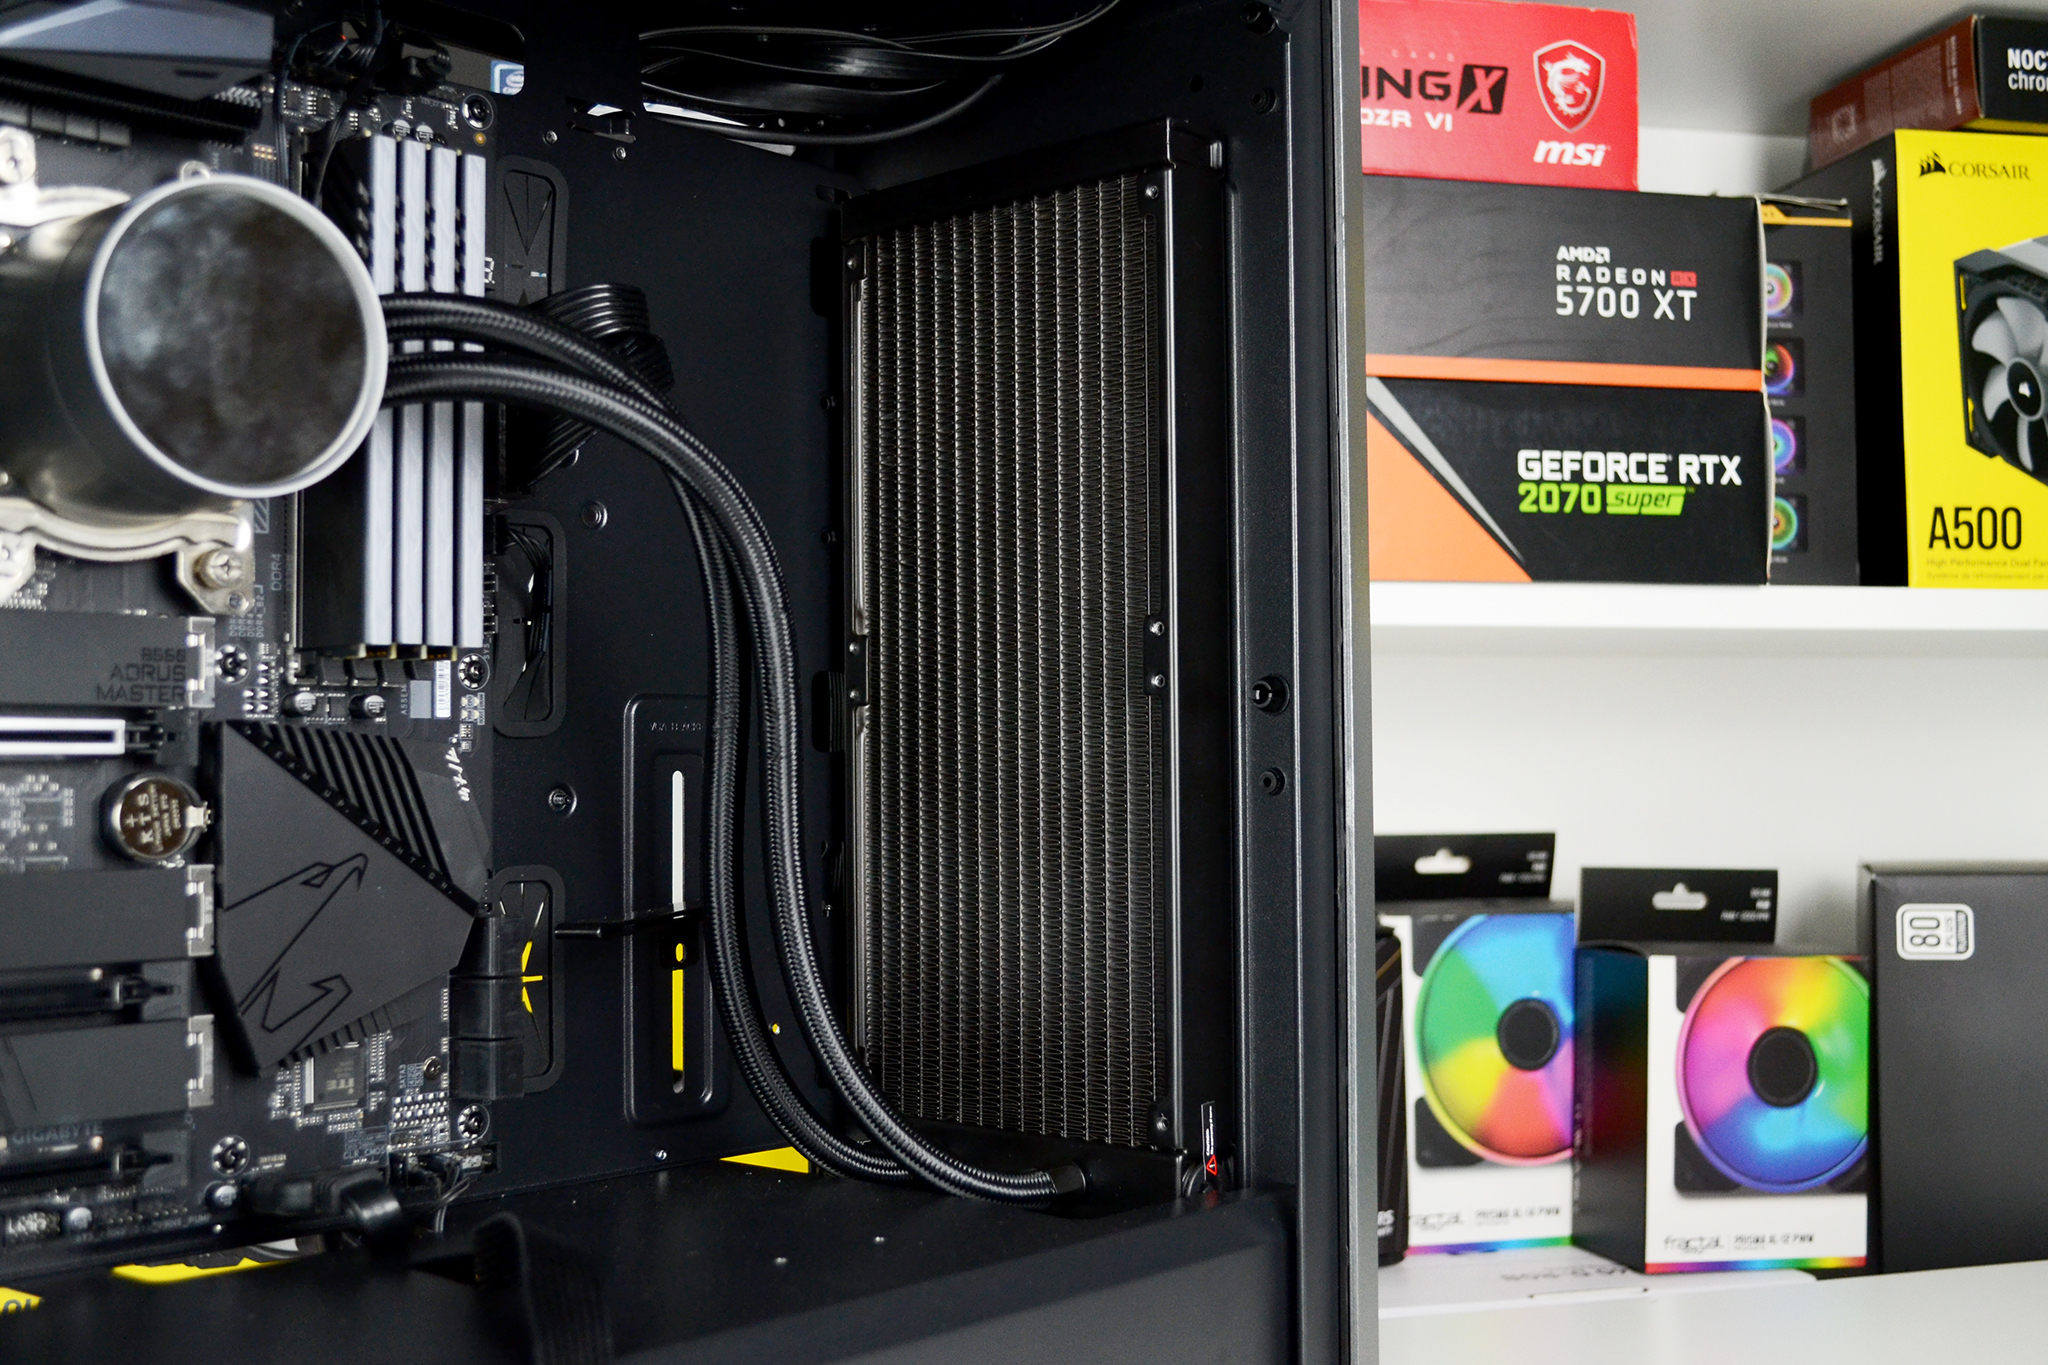
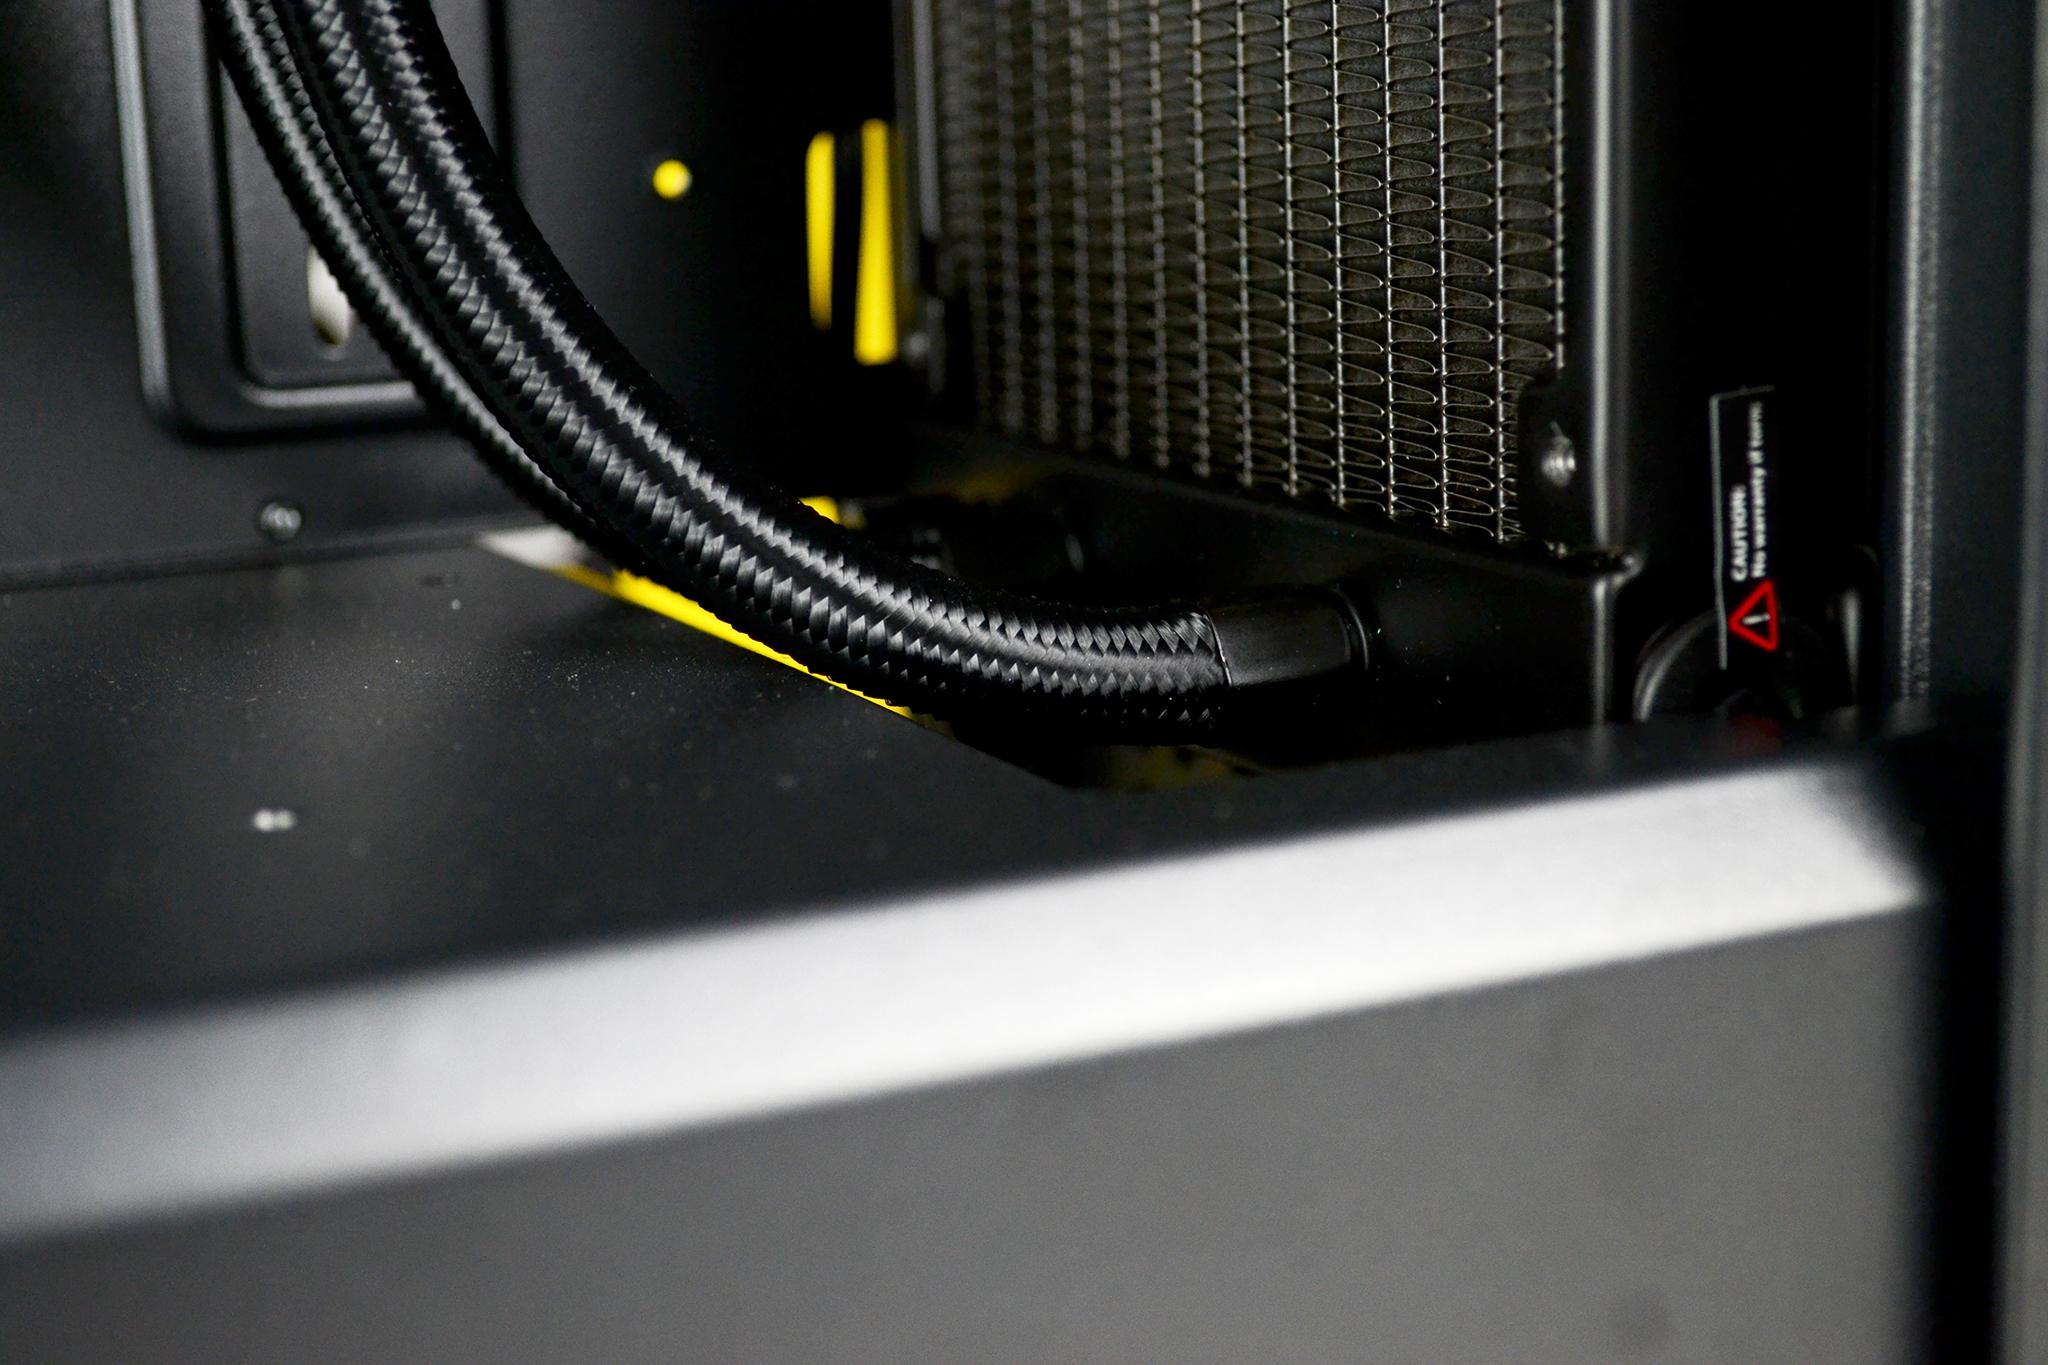
For CPU cooling of this build, we chose the Deepcool Castle 280EX AIO cooler. Installation of the radiator at the front of the case worked well, positioning the cooler with the tubing inlet/outlets at the bottom was possible since the tubing just cleared the PSU shroud.
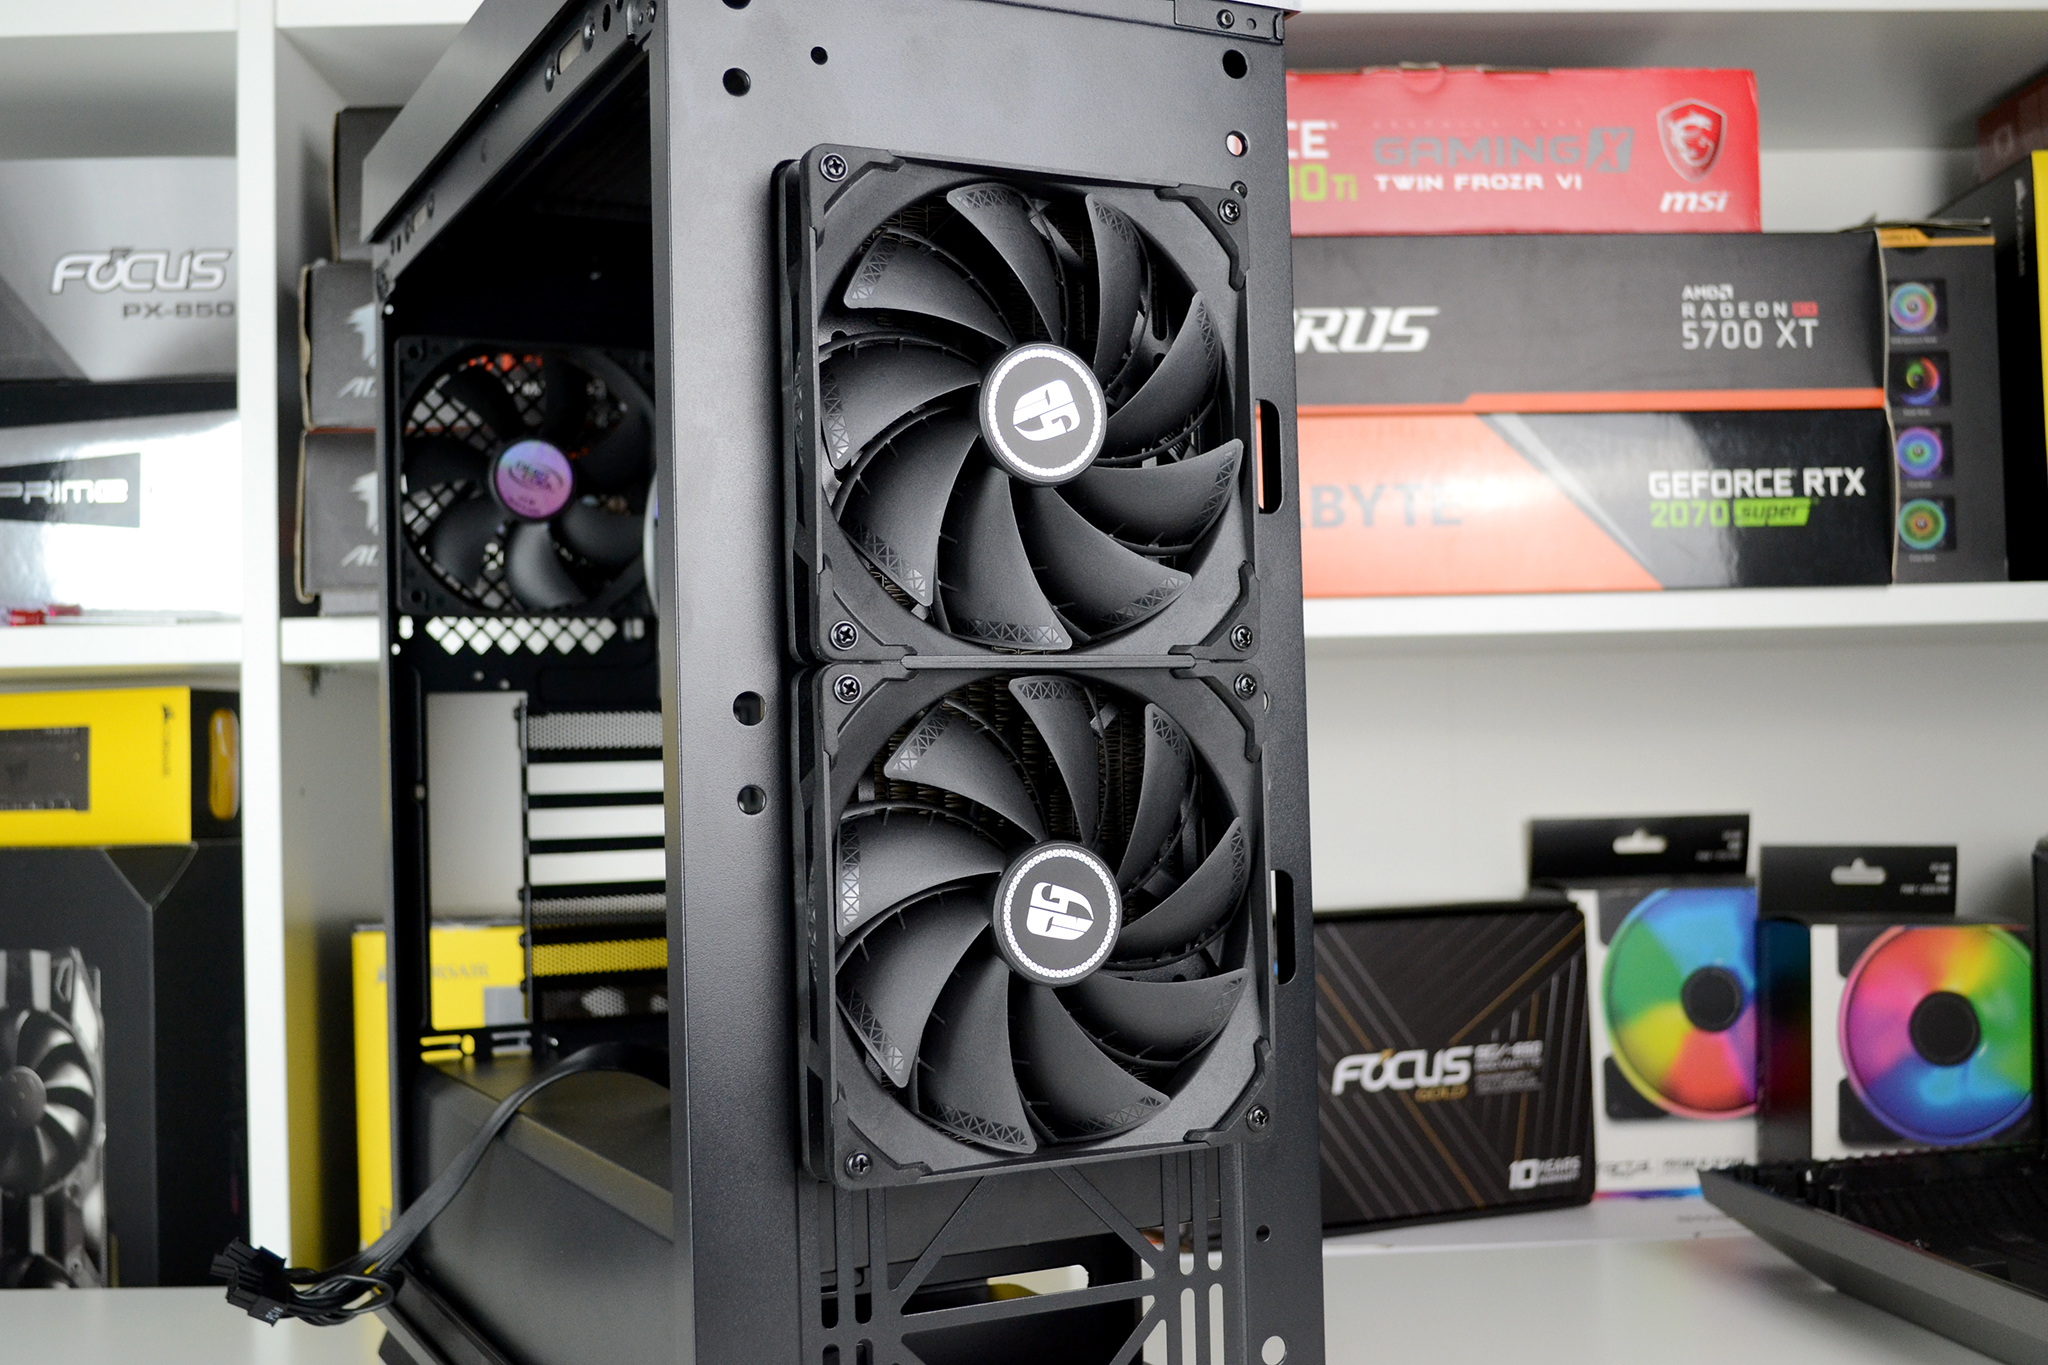
Due to the healthy clearance available between the outer front panel and the chassis frame, we were able to install the Castle 280EX 140mm fans here and then re-install the outer front panel. With the fans sandwiched between the outer and inner front panels it provided more space inside the system, possibly even enough space to install a custom water-cooling pump/res combo.
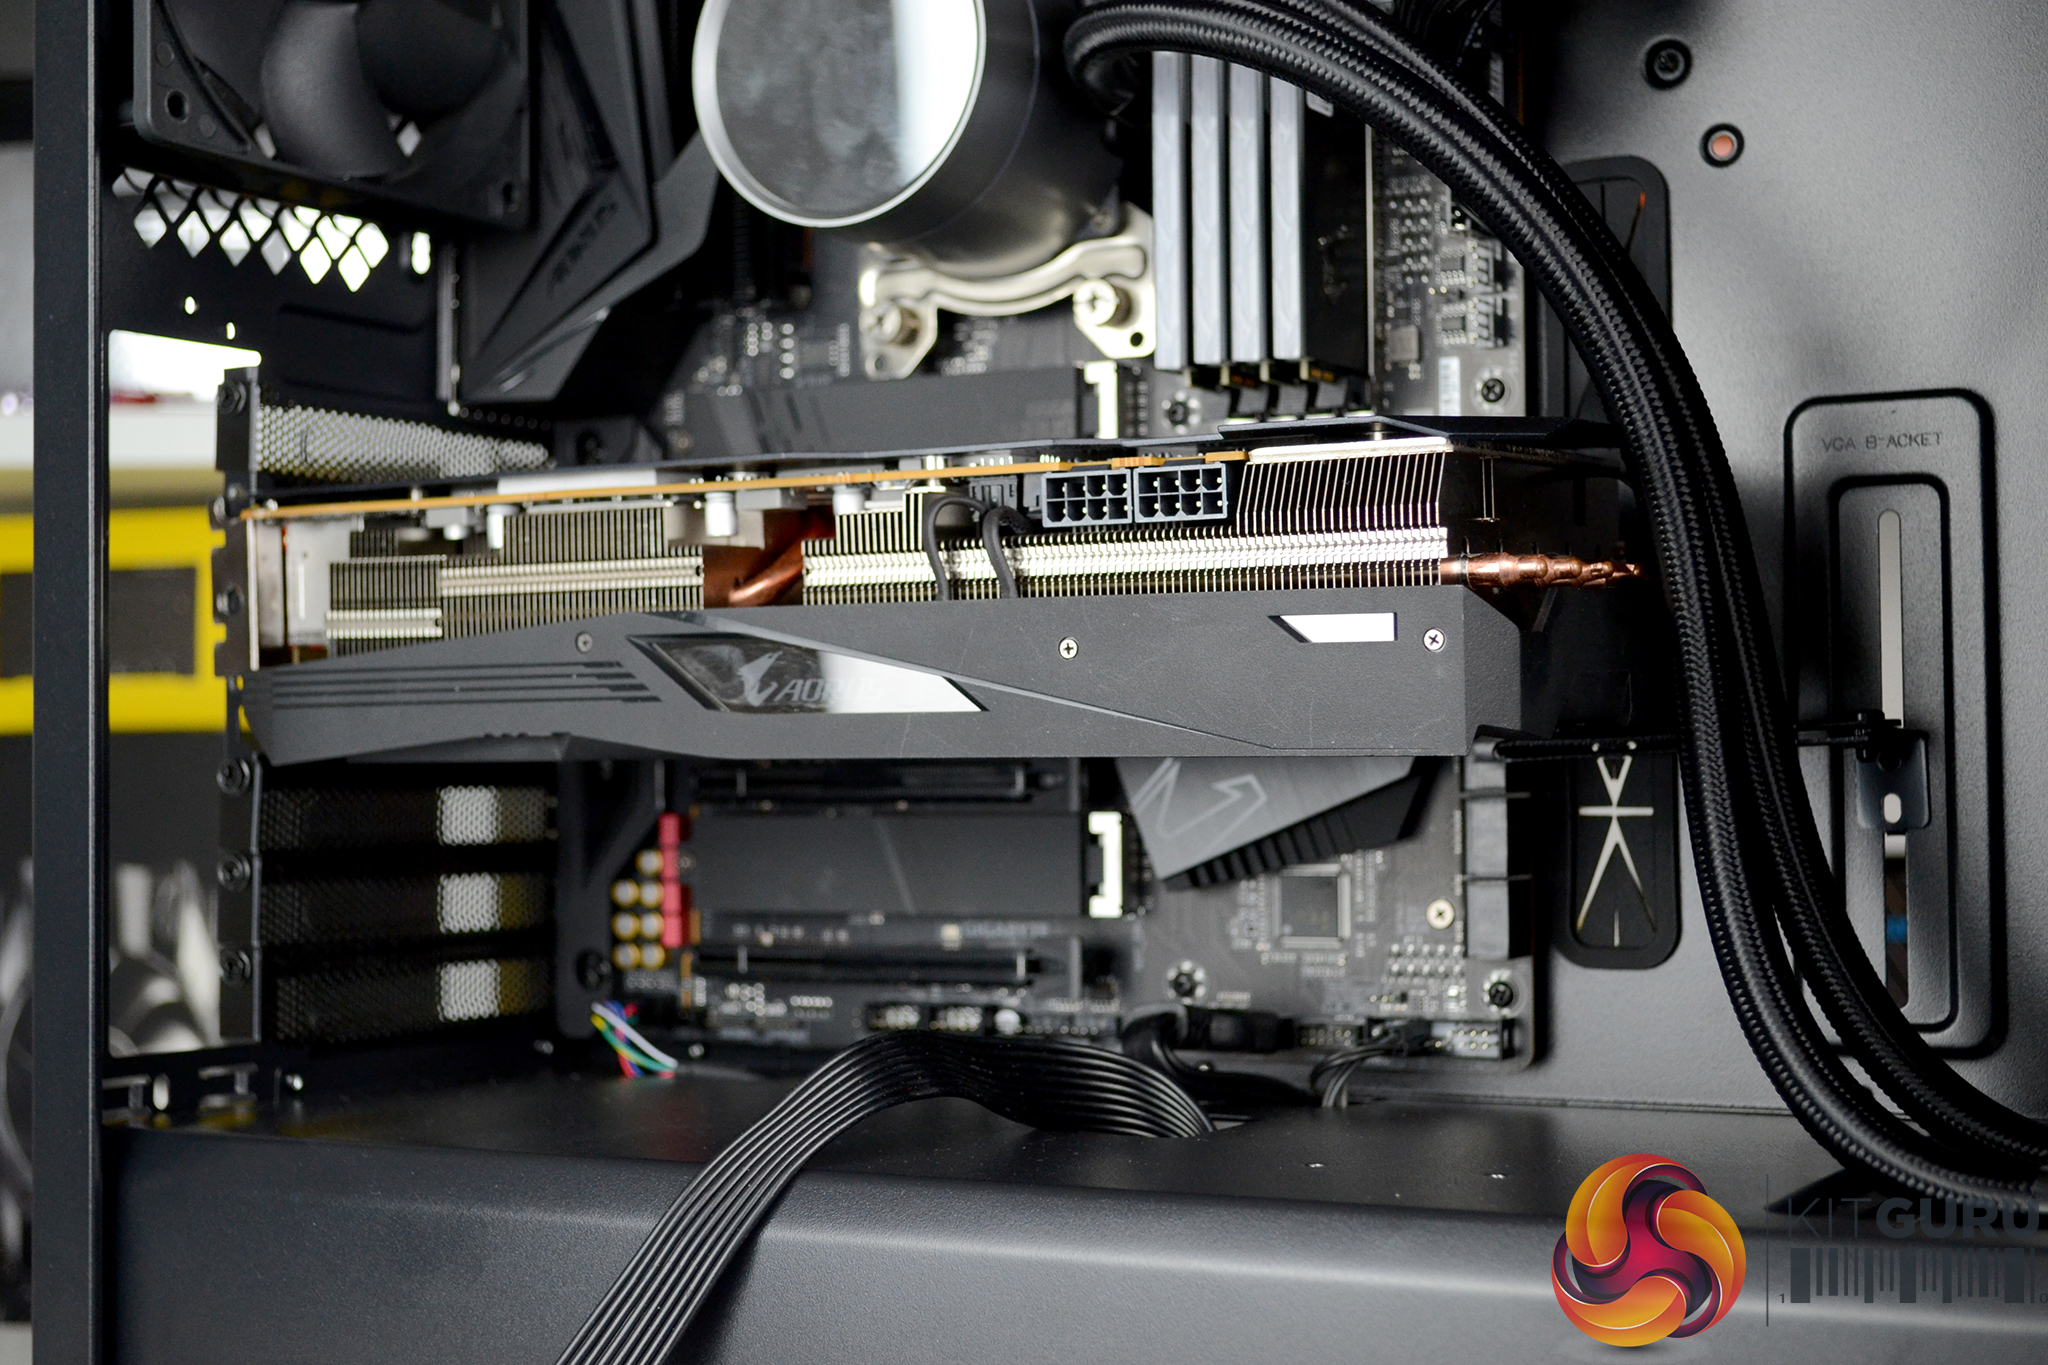
Official specifications of the CL500 suggest that up to 330mm graphics cards can be installed. We chose the Gigabyte Aorus RX 5700 XT card that measures approximately 310mm in length and this easily fitted into the system and left 90mm of space to the front-mounted AIO radiator.

The Aorus RX 5700 XT card used in the build doesn’t suffer too much from sag, however, we still used the built-in VGA support bracket which is a very simple solution to a common issue. To position VGA support bracket, loosen off the bracket thumbscrew and slide the bracket upwards to support the GPU, then tighten up the thumbscrew to secure its position.

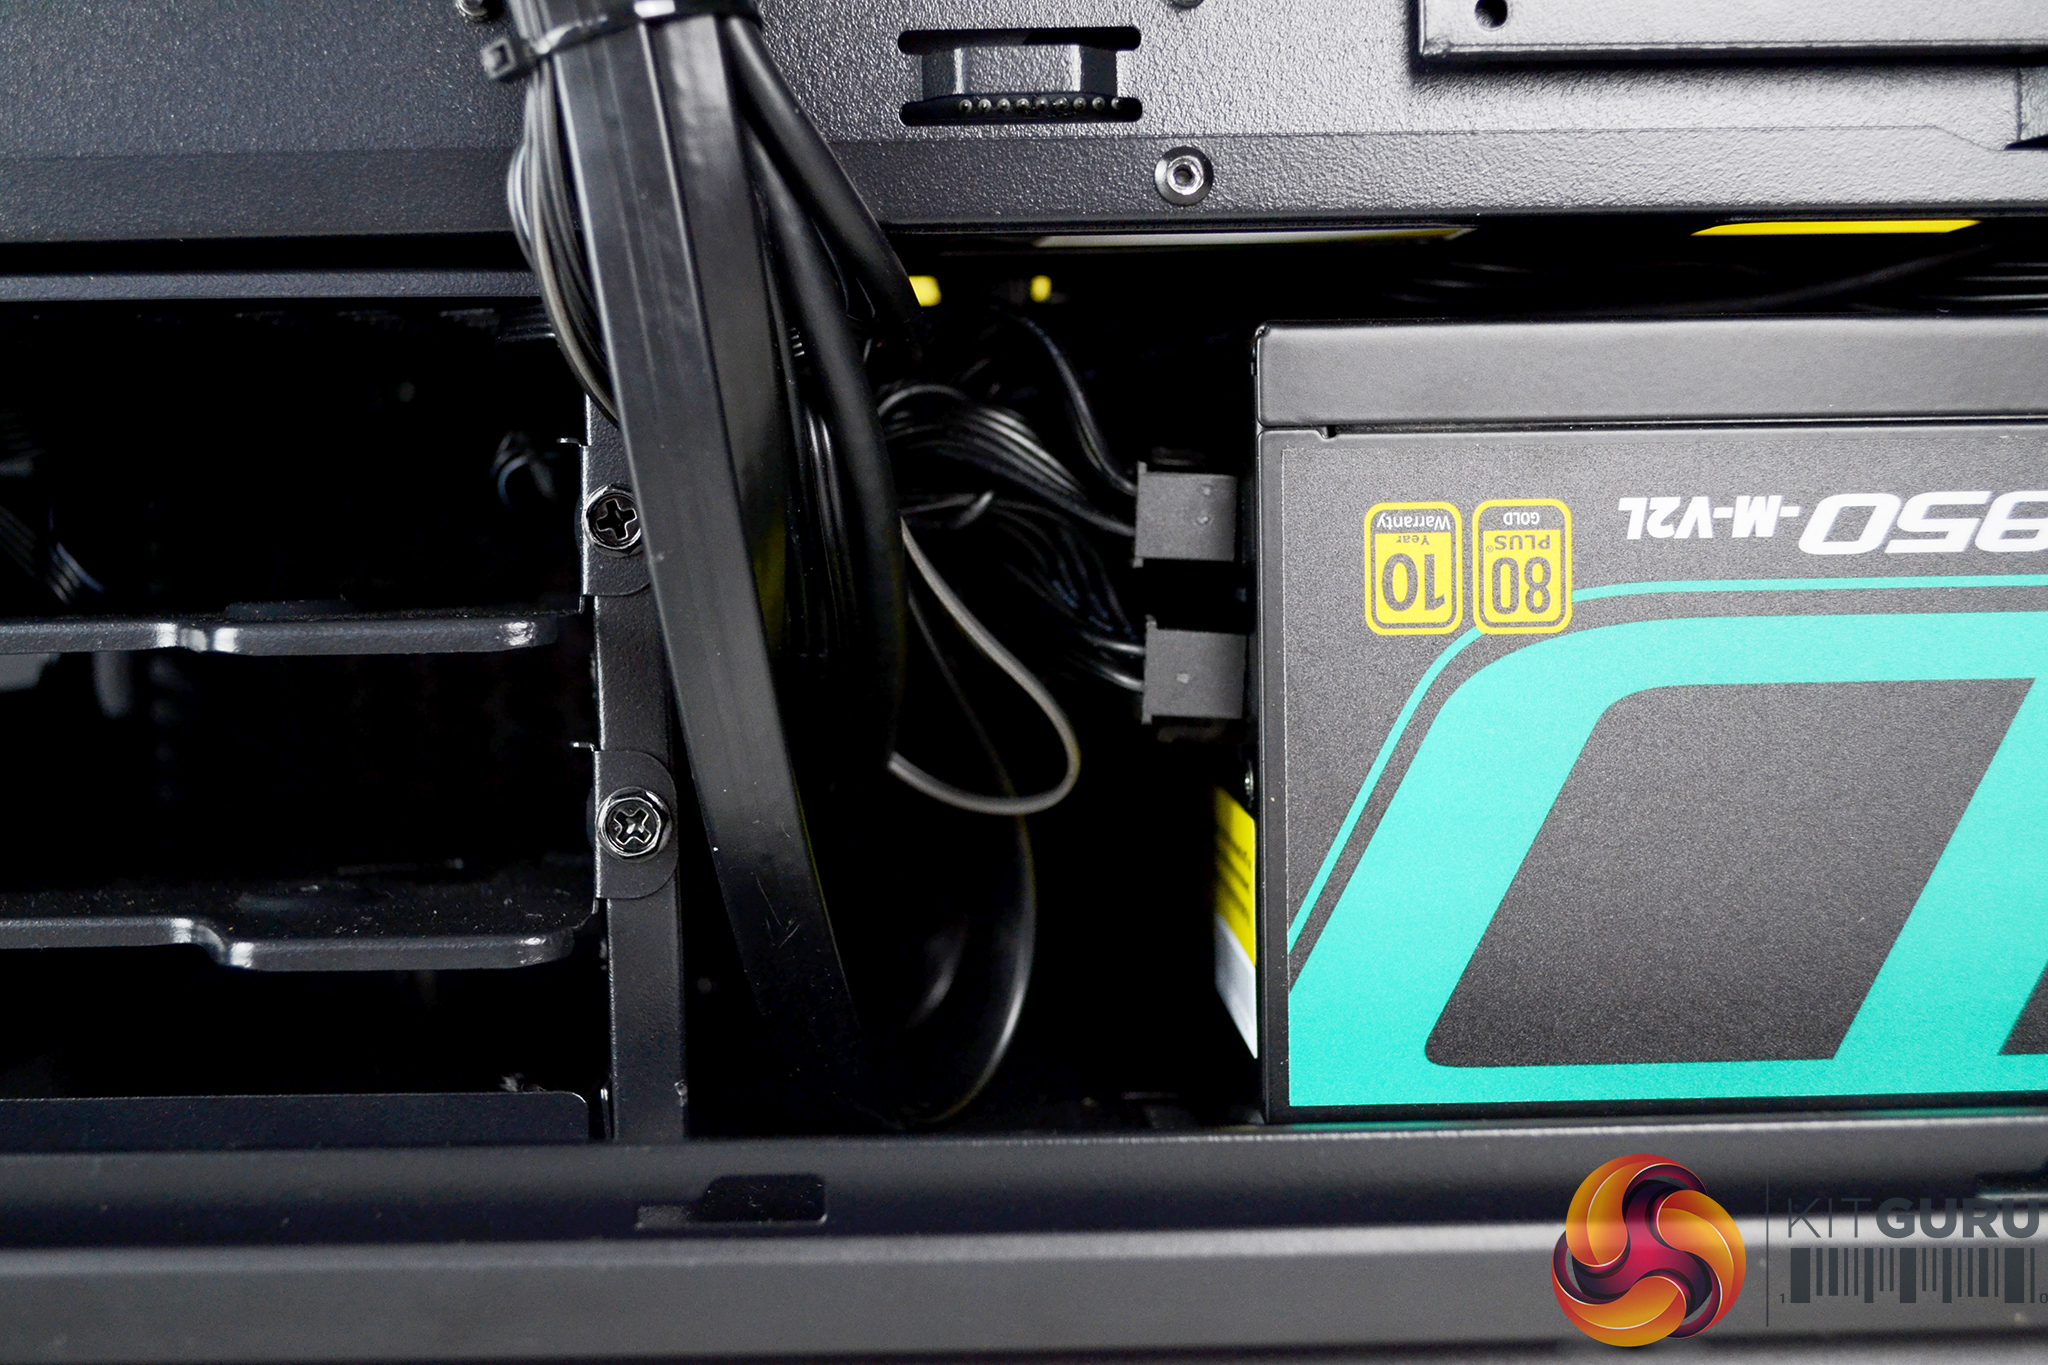
Power supply installation is a little tight in the CL500, this could have been improved if Deepcool had made the 3.5-inch HDD cage removable. Sadly, the cage cant be removed, however, loosening the screws and sliding the HDD cage towards the front of the case does offer a few extra millimetres when installing the power supply inside the PSU shroud.
With the power supply installed, there isn’t a huge amount of space left to install cables to modular devices, so be sure to plan ahead and install all the cables you need to a modular power supply before installing the PSU inside the case, as access to the cables afterwards will be difficult.
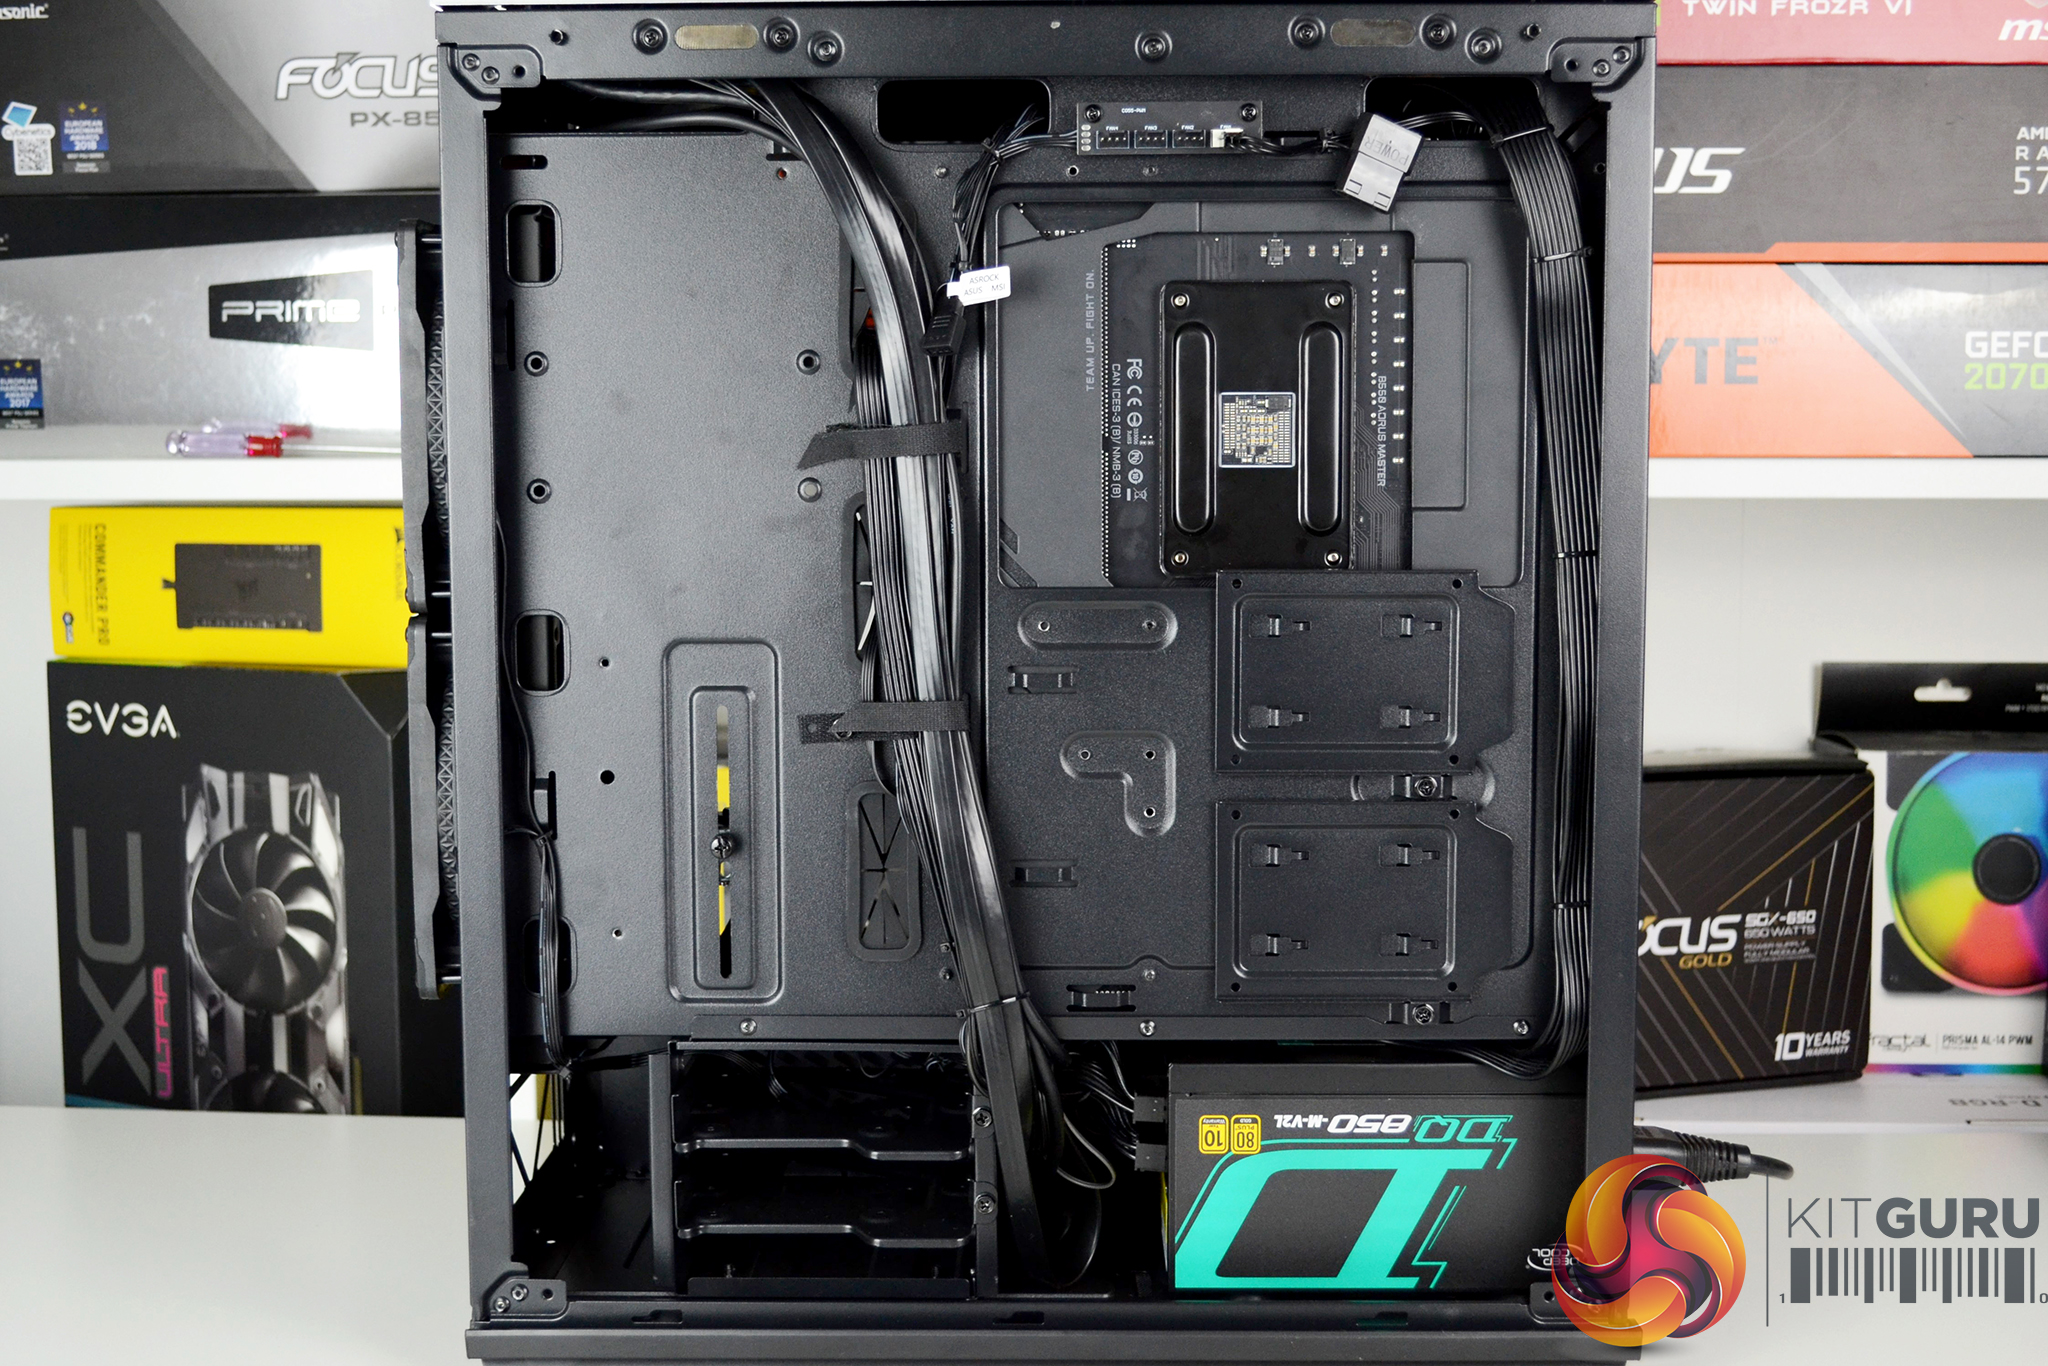
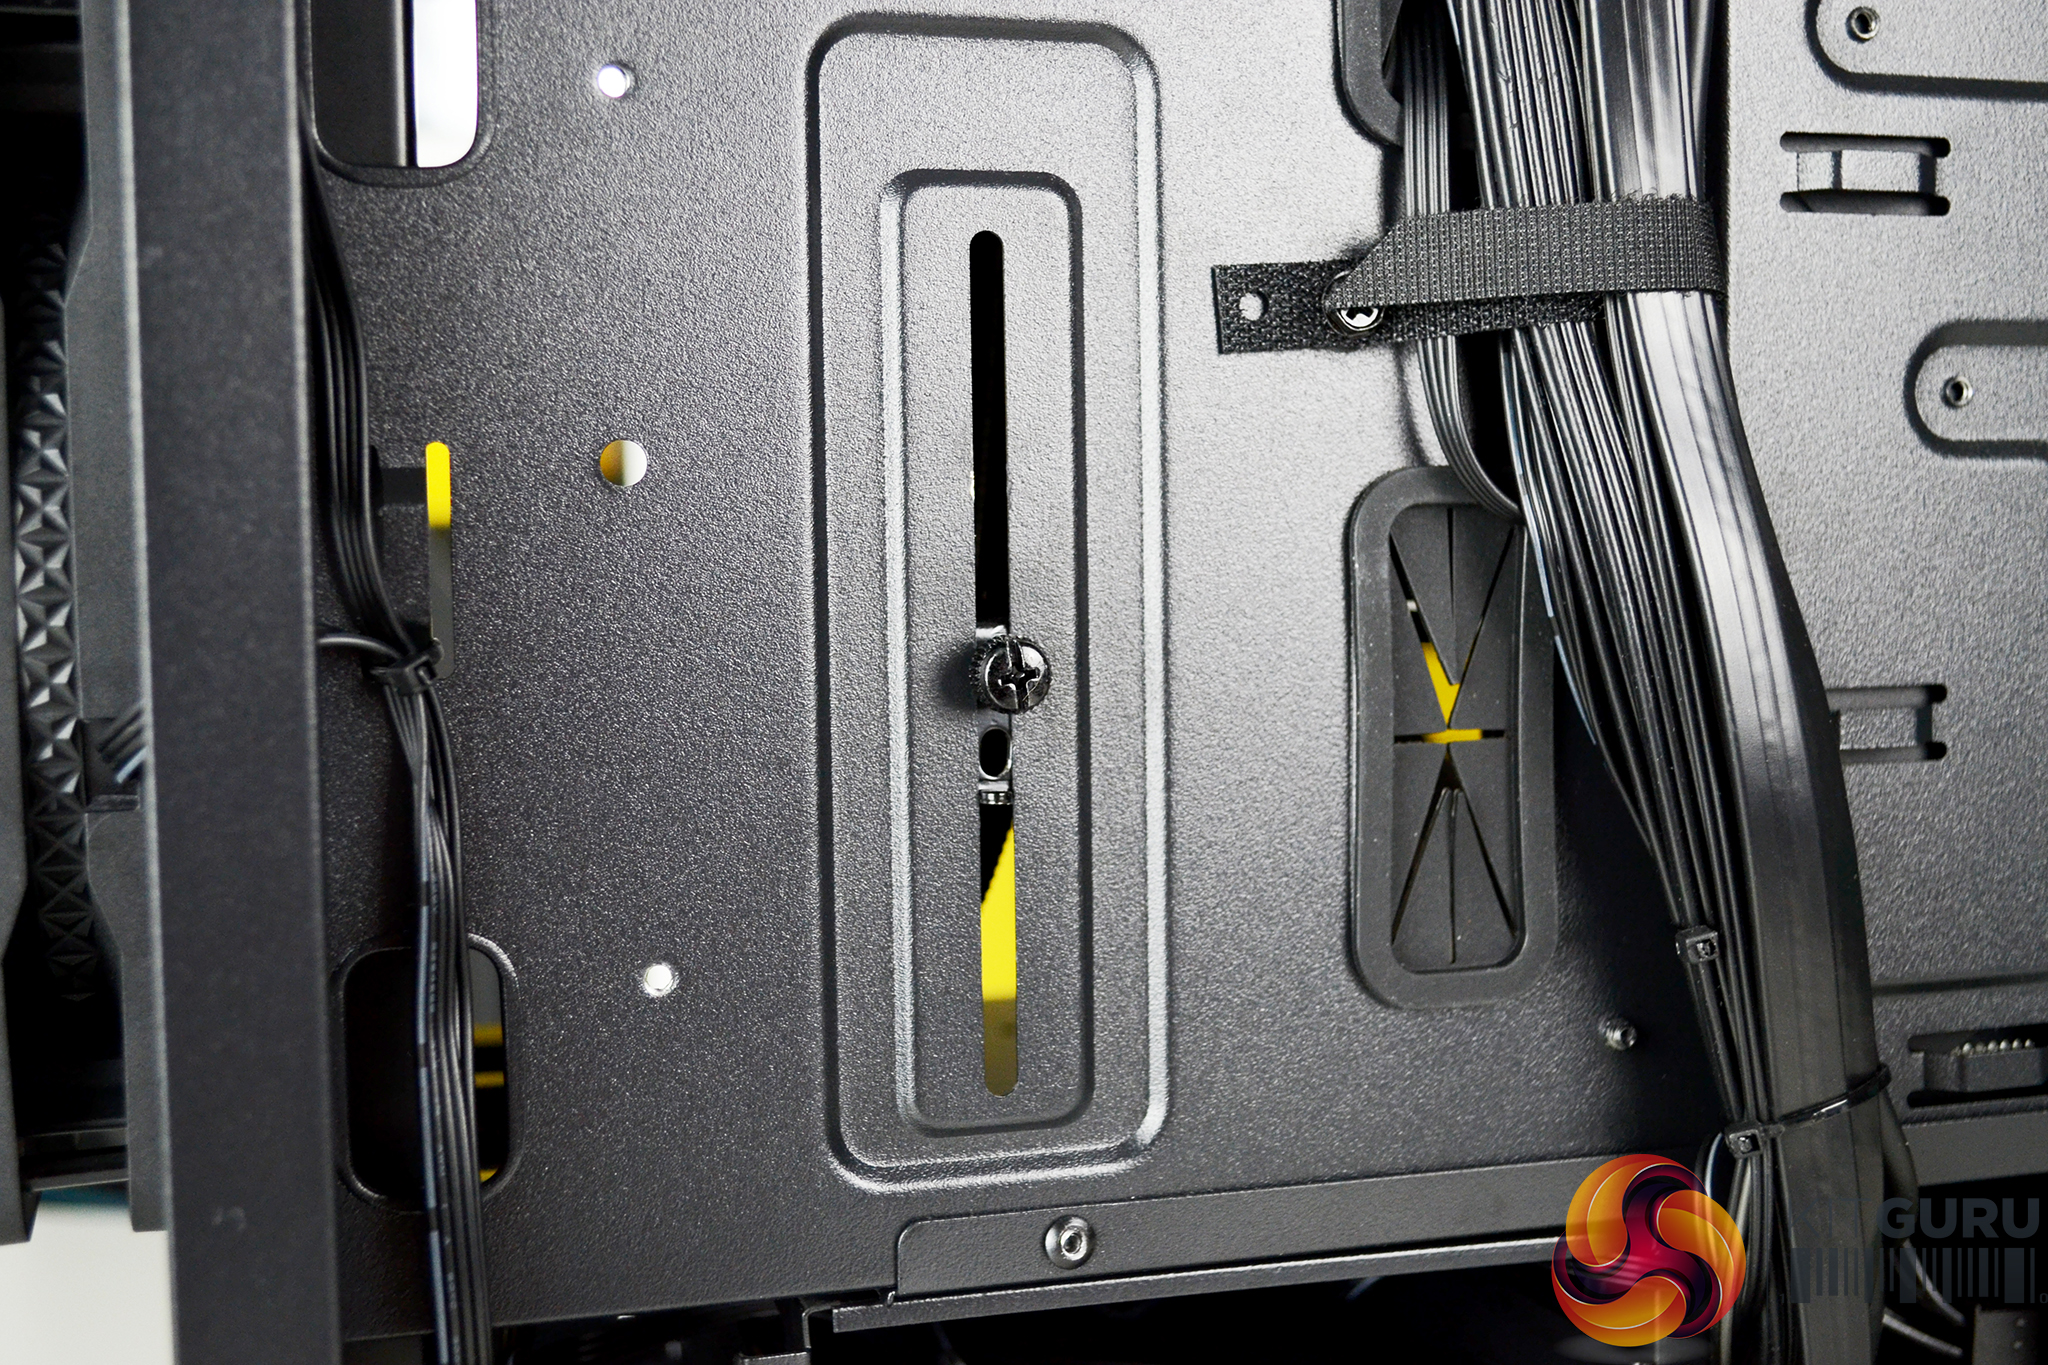
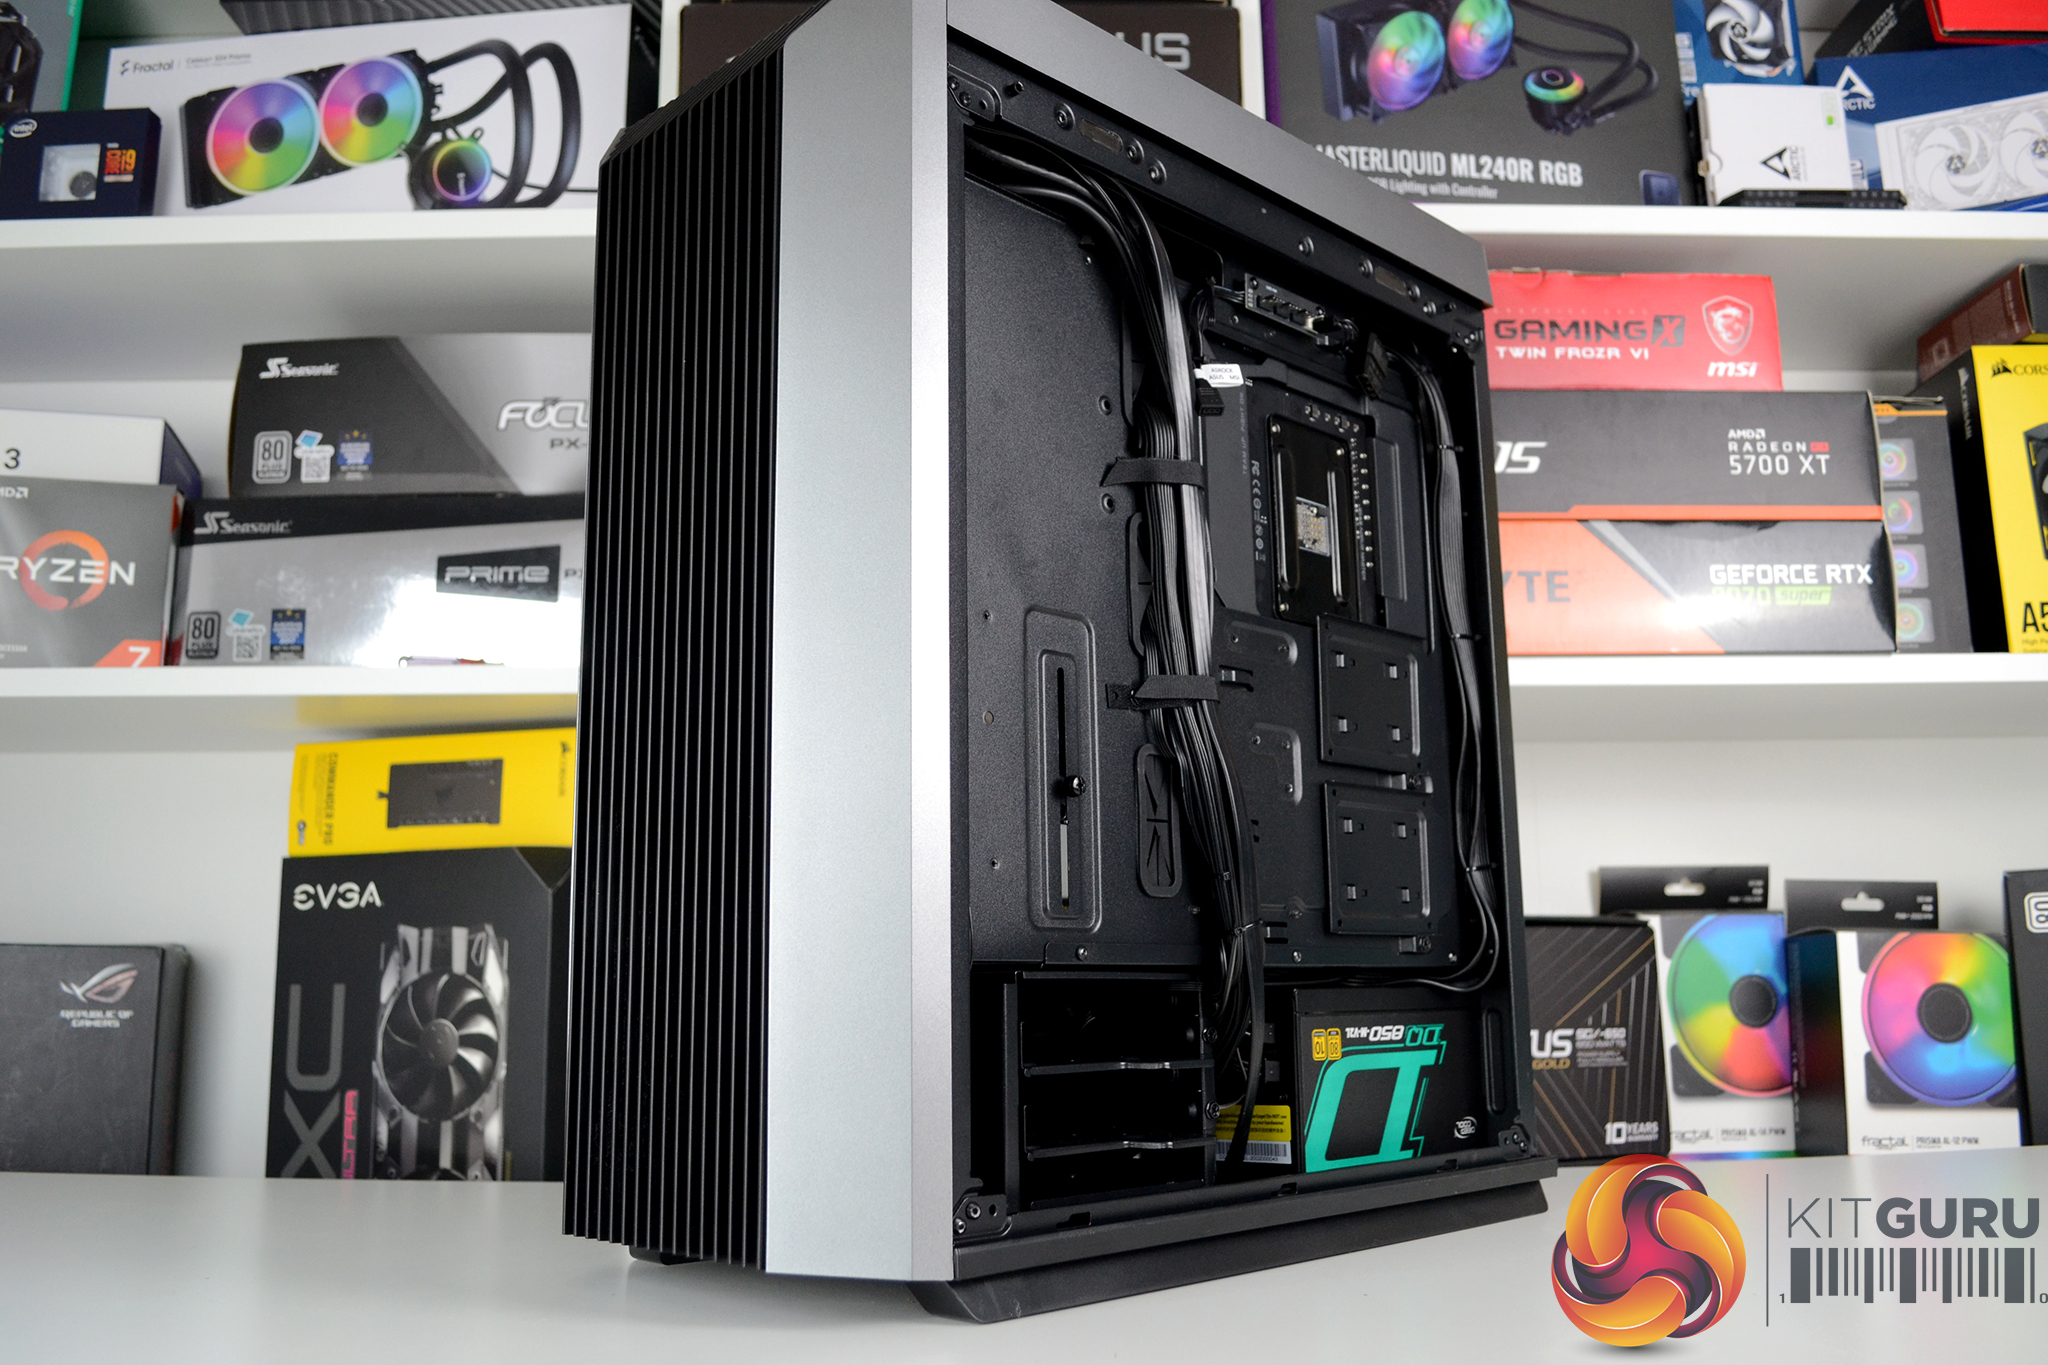
Cable management was easy in the CL500 as there are just the right amount of cable cut-outs in the motherboard tray and PSU shroud to route cables exactly where you need. The two Velcro straps came in very handy since most of the cables routed along the central cable management channel.
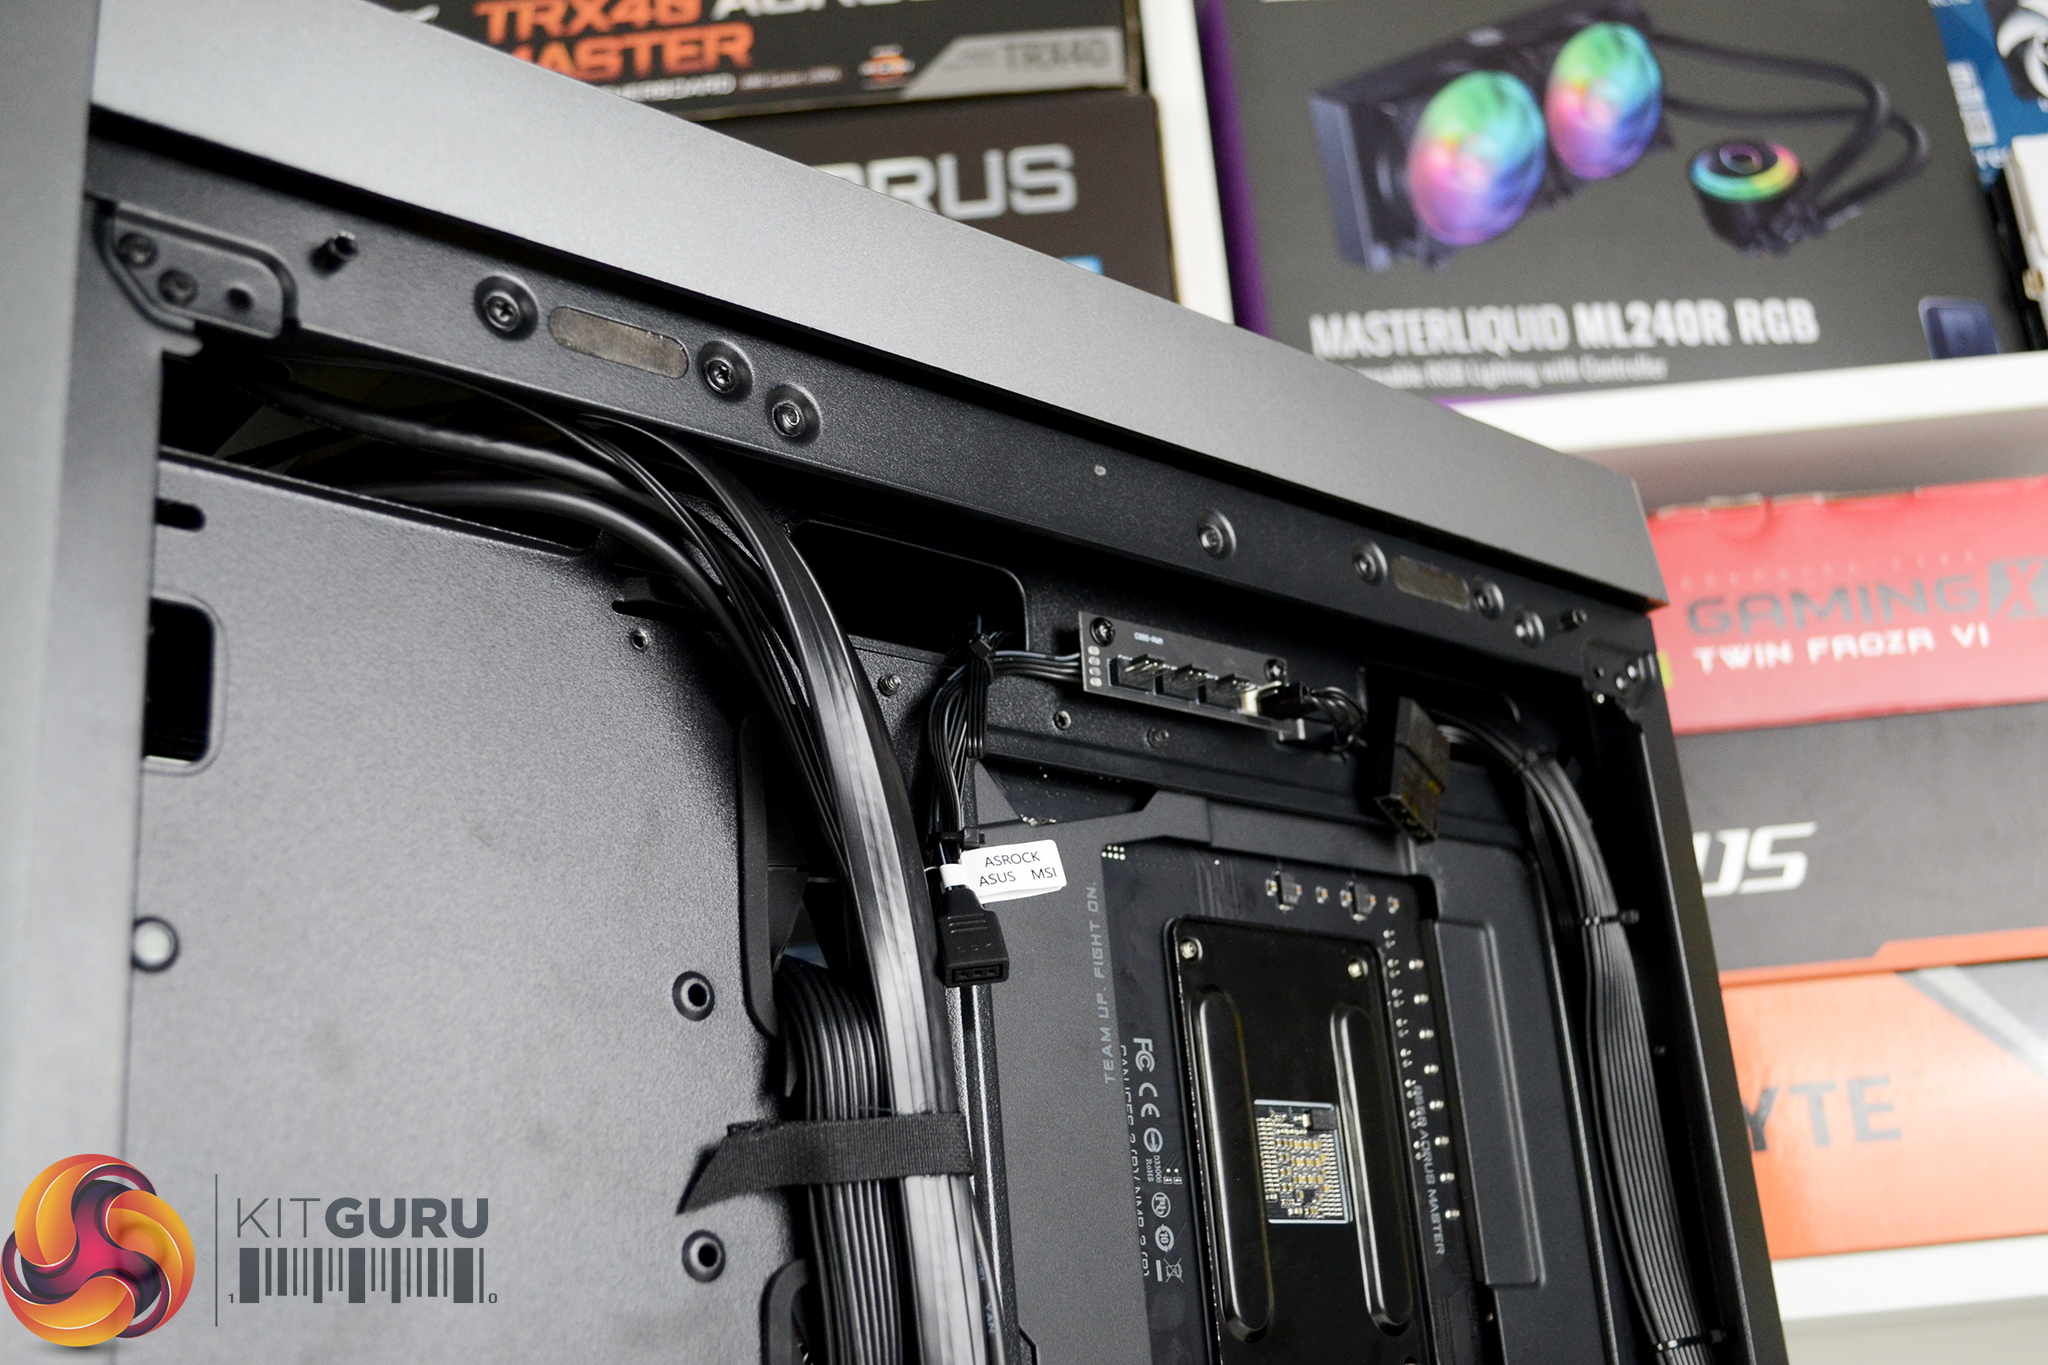
There are plenty of additional cable tie eyelets at the front of the case for managing fan cables and at the rear of the case for tidying up the EPS power cables that run to the top of the motherboard. This was quite a basic system we built but still, the cable management turned out to be very neat in the end.