

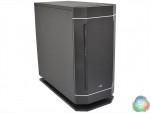
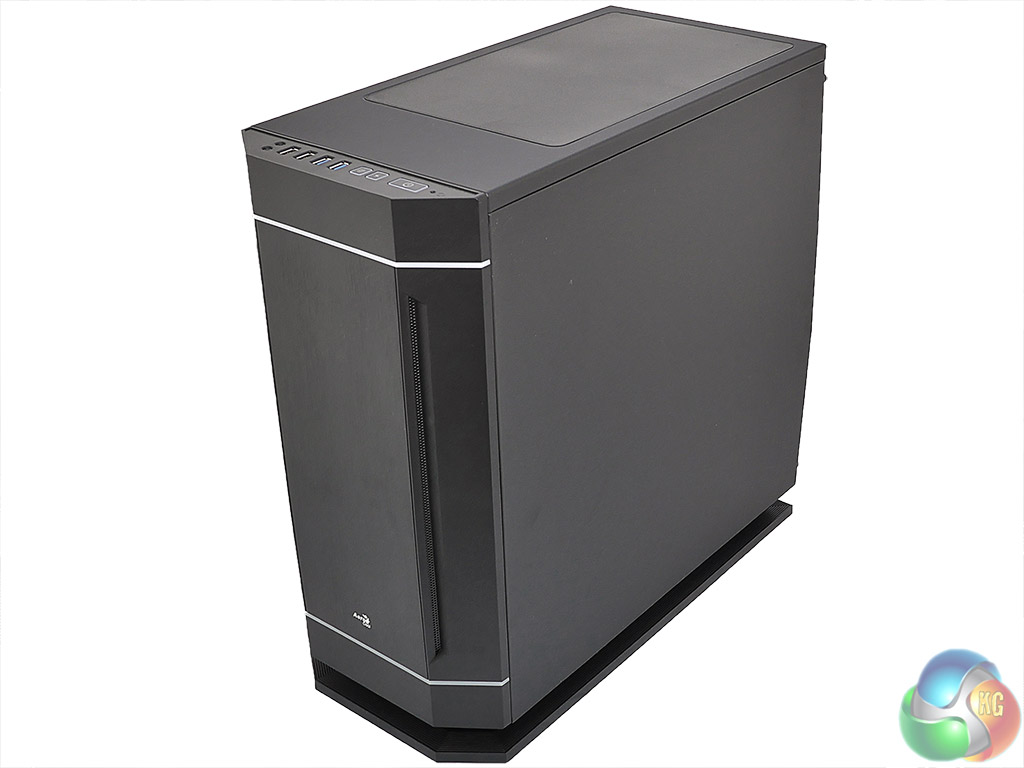
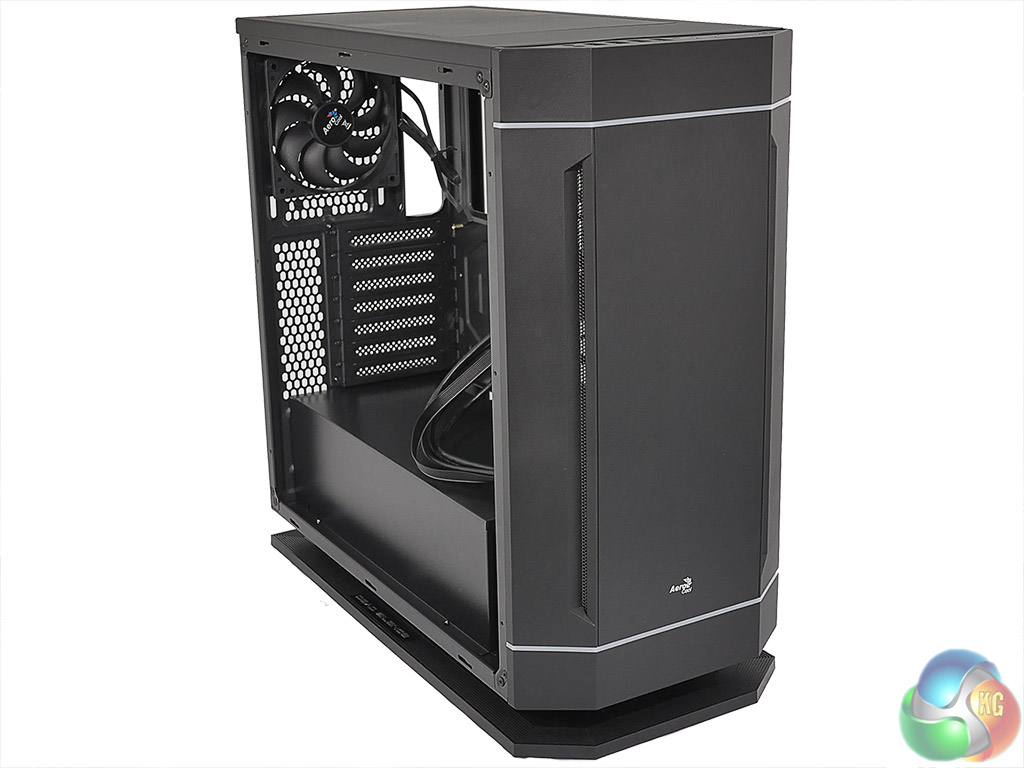
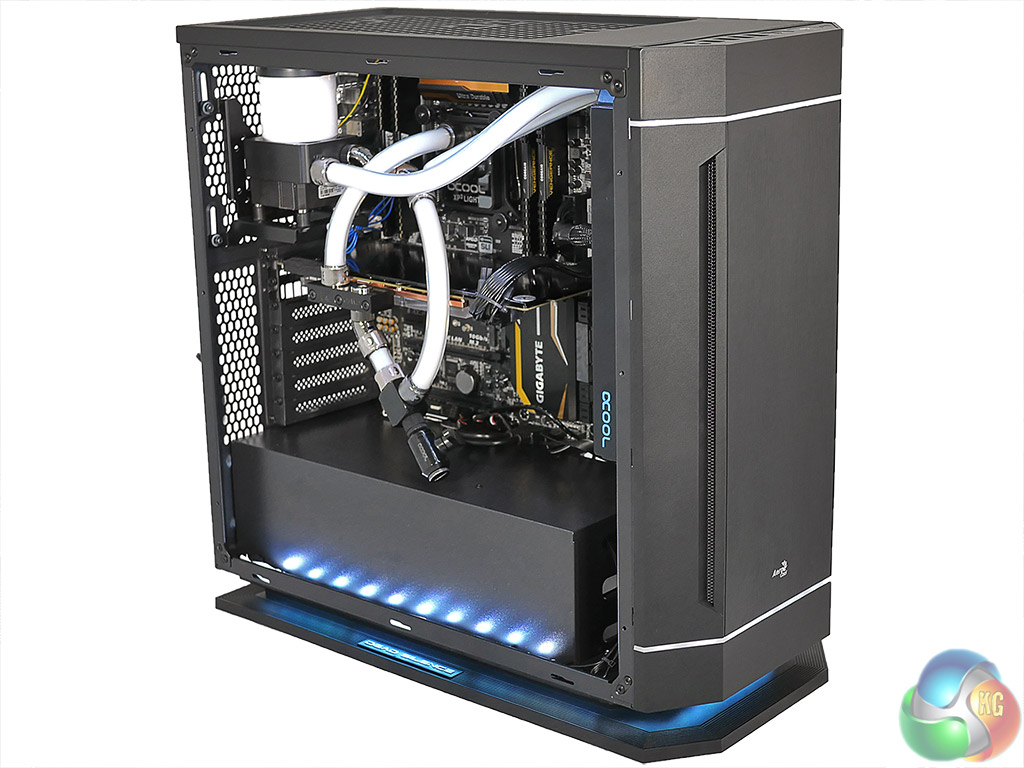
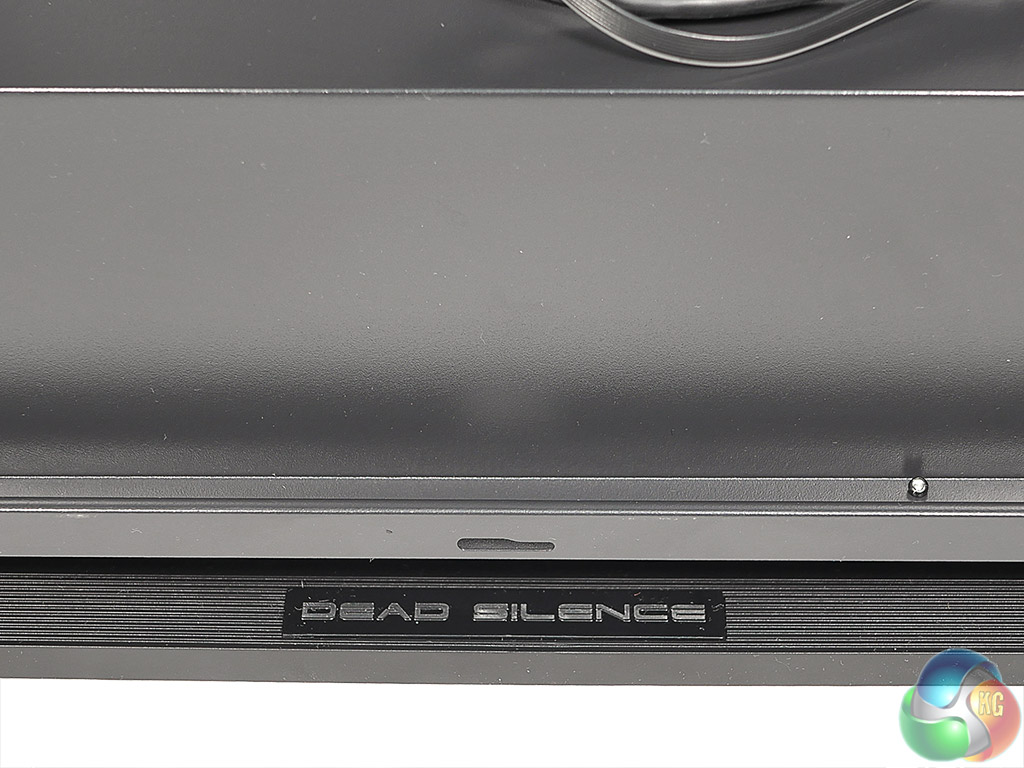
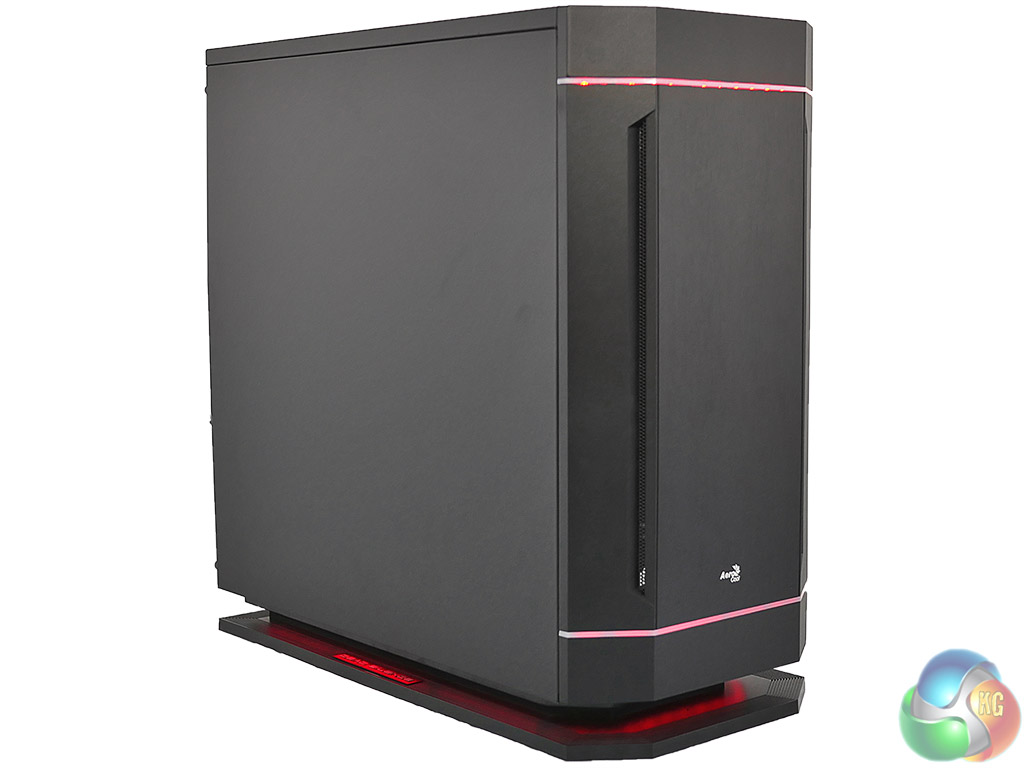
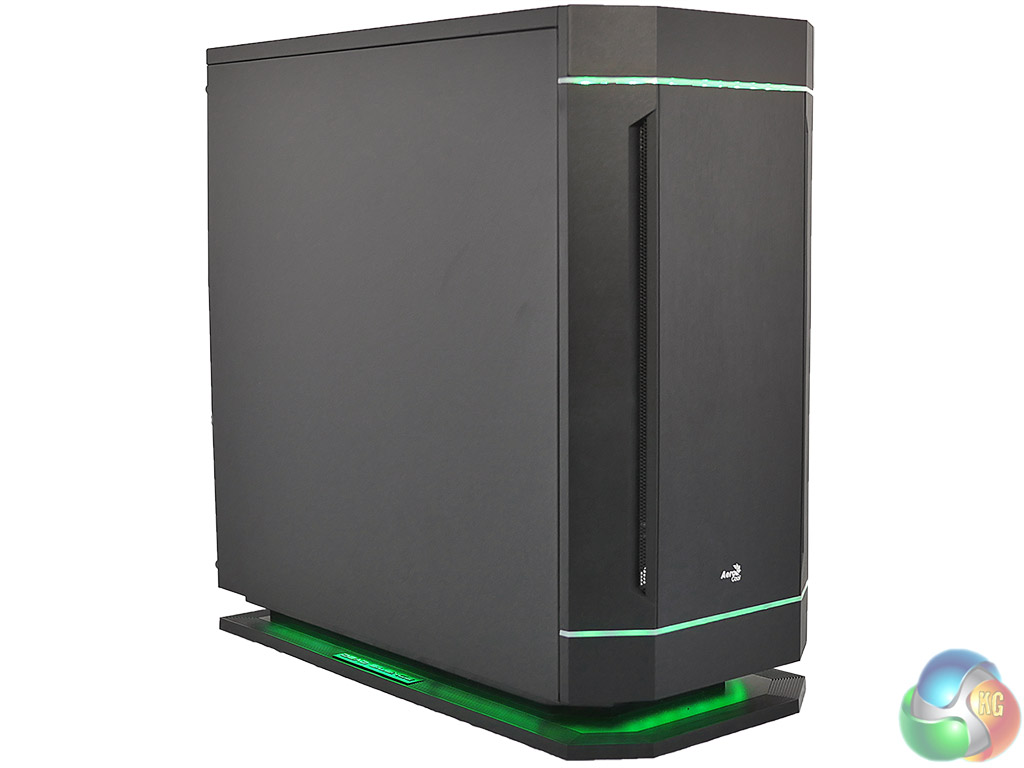
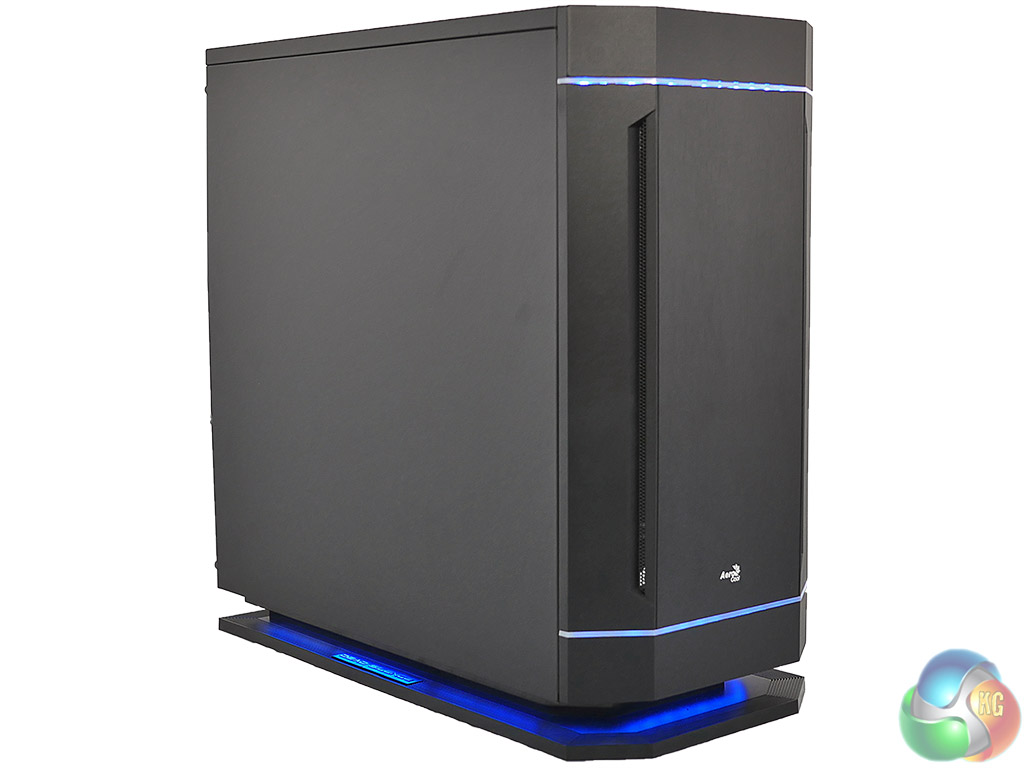
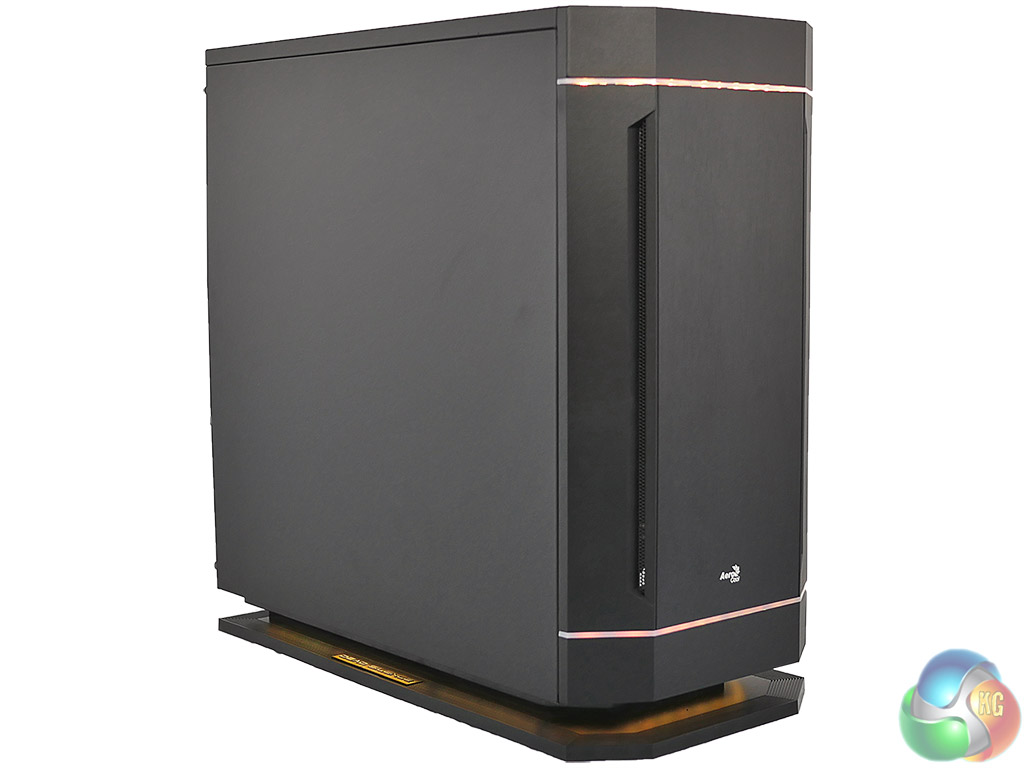
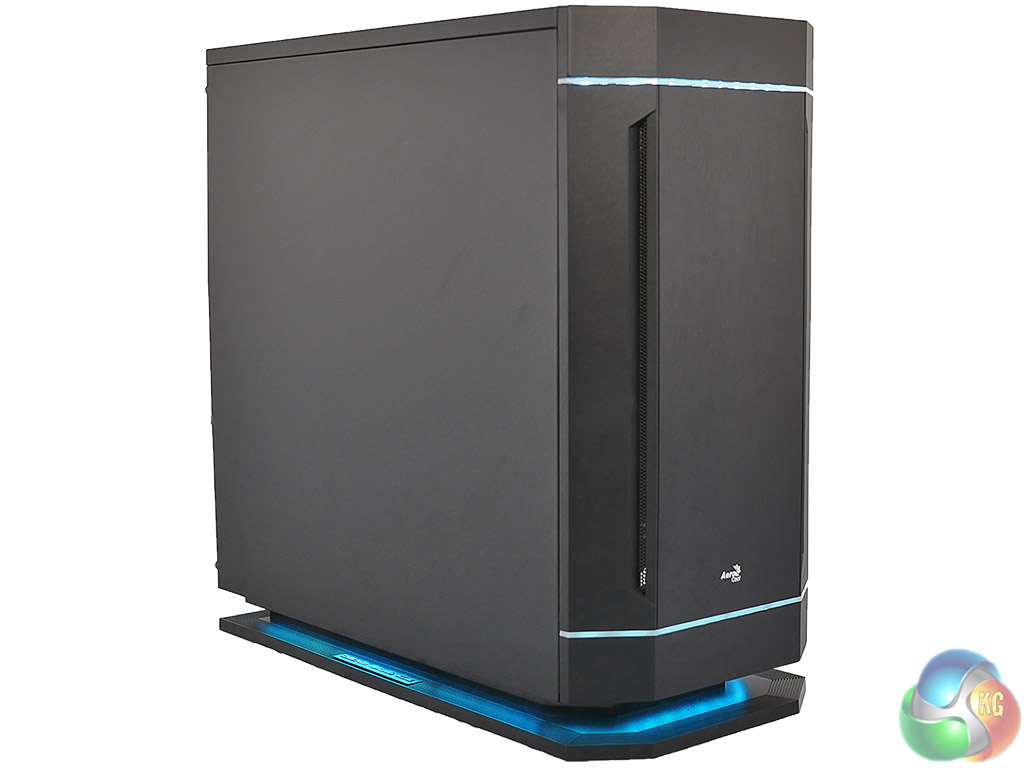
Aerocool DS230 has a familiar look about it, somewhat akin to a Fractal Design Define R5 or Thermaltake F51 standing on a small plinth. The emphasis is on low noise, which makes perfect sense in a Dead Silence model, and both side panels and the top cover are heavily lined with sound deadening material. You don’t get a window in the main panel, however some attention has been paid to cosmetic appeal with a lighting system in the front of the case and also in the plinth or base.
It will make life considerably easier if you take a look at our photos and watch the video. They spell out the way the lighting system works and in particular the way the system hooks into the PWM connection.
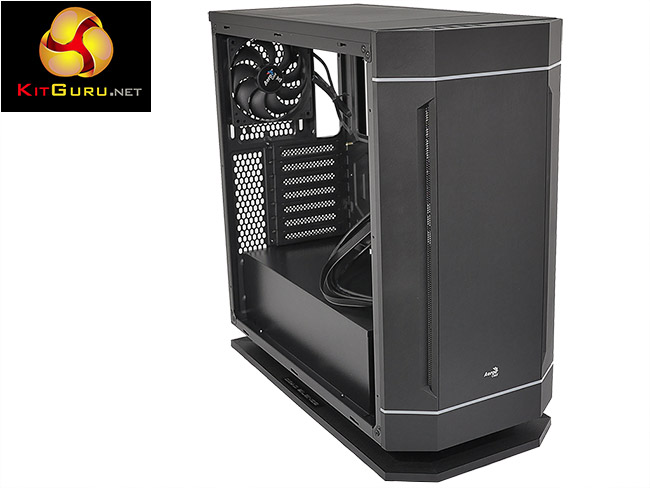
In appearance, this is an understated case with a lighting system that adds a touch of sophistication, rather than bling, but that’s not the end of the matter. Take a look at the specification and you’ll see the DS230 can accommodate a 388mm graphics card with fans installed at the front, or 413mm long if you don’t need front fans.
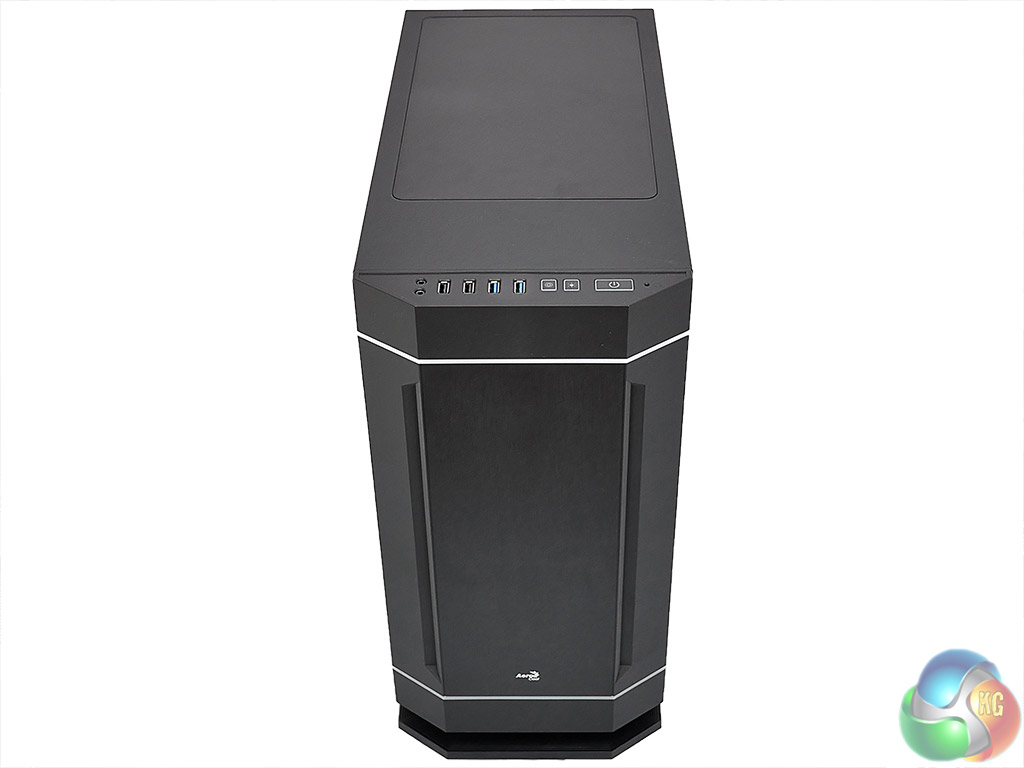
In terms of cooling, the DS230 can handle a 240mm/280mm radiator in the roof and a mighty 280mm/360mm radiator at the front.


Specifications:
- Case Type Mid Tower
- Steel Thickness 0.7mm
- Motherboards ATX / micro ATX / mini-ITX
- Case Dimensions 230 x 475 x 477.8mm (W x H x D, overall)
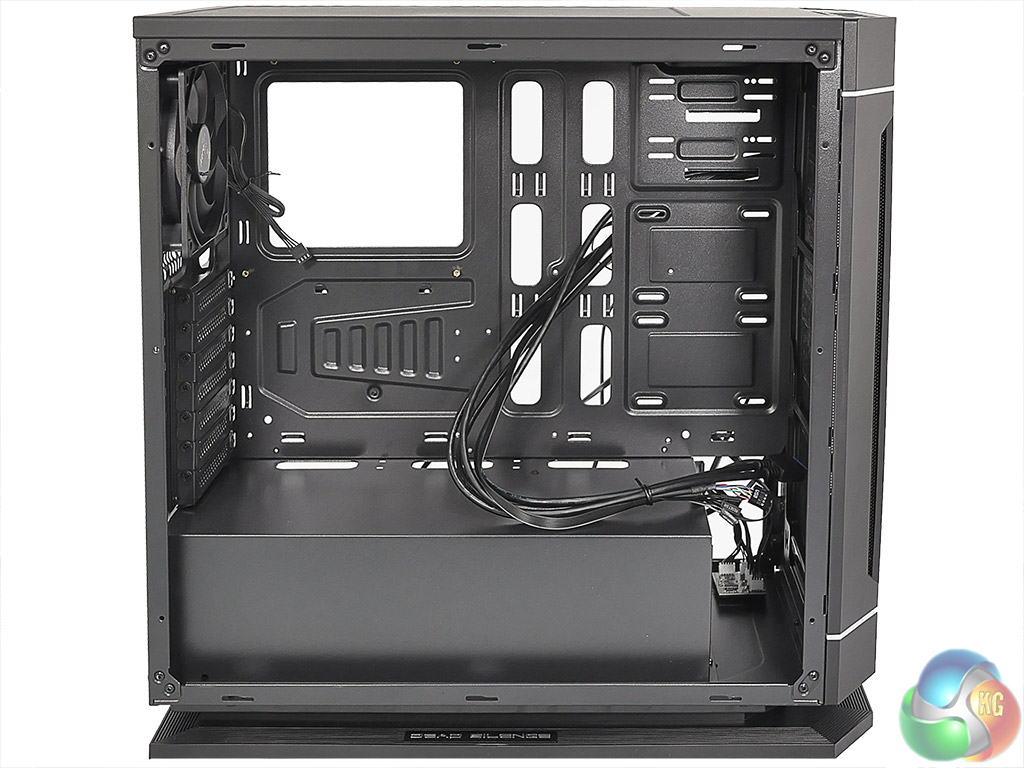
- 3.5” Drive Bays 2 (Internal)
- 2.5” Drive Bays 3 (Internal)
- Expansion Slots 7
- GPU Clearance 388mm / 413mm (without front fan)
- CPU Clearance Support Max. Height of 170 mm For CPU
- I/O Ports 2 x USB2.0 + 2 x USB3.0 + HD Audio & Mic.
- Air Cooling System Front : 3x 120mm or 2x 140mm (Optional), Top: 2x 120mm or 2x 140mm (Optional), Rear : 1x 120mm fan (PWM fan Included)
- Water Cooling System Front : 3x 120mm or 2x 140mm (Optional), Top: 2x 120mm or 2x 140mm (Optional), Rear : 1x 120mm (Optional)
- Net Weight 8.2kg / 9.7kg (Gross Weight)
- Power Supply ATX
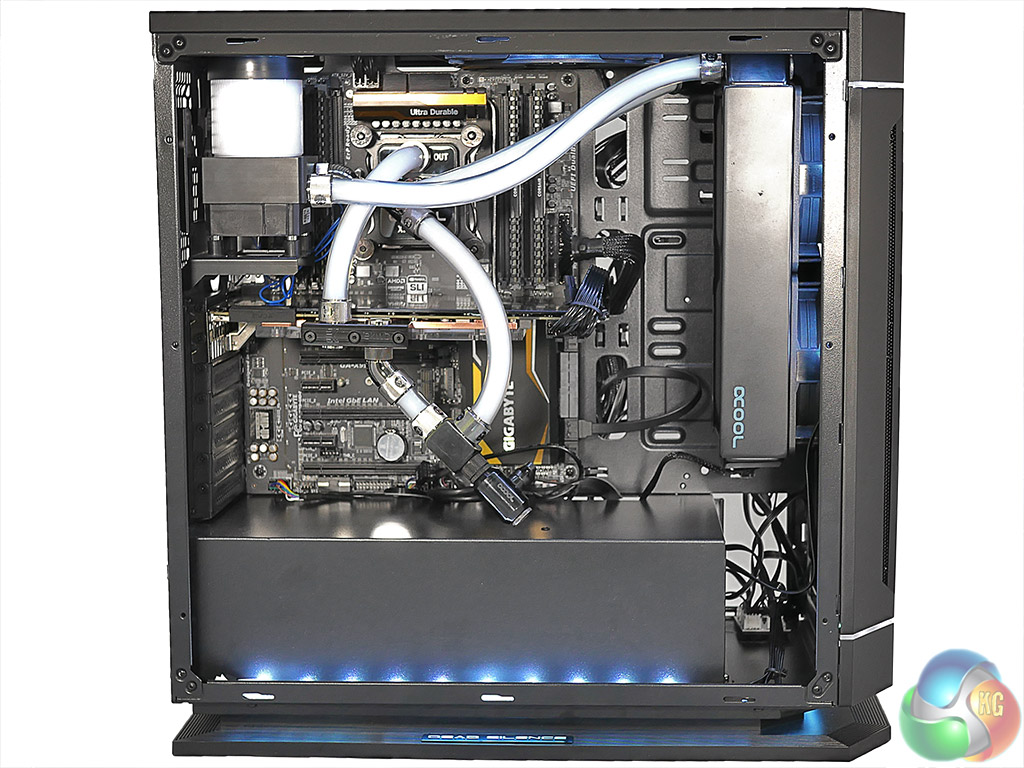
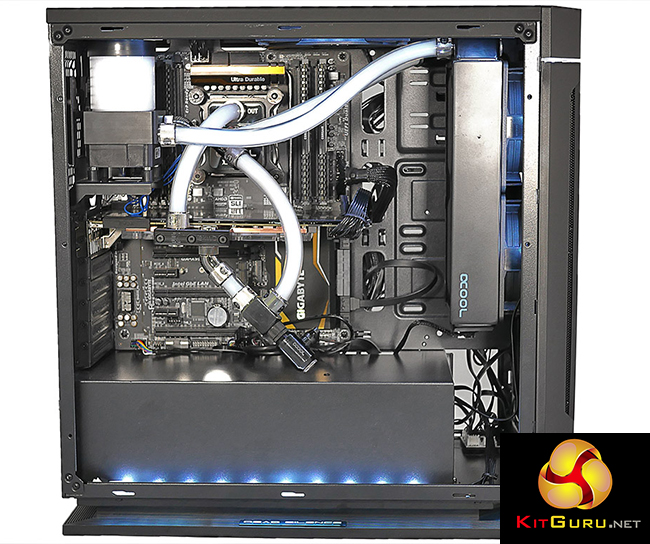
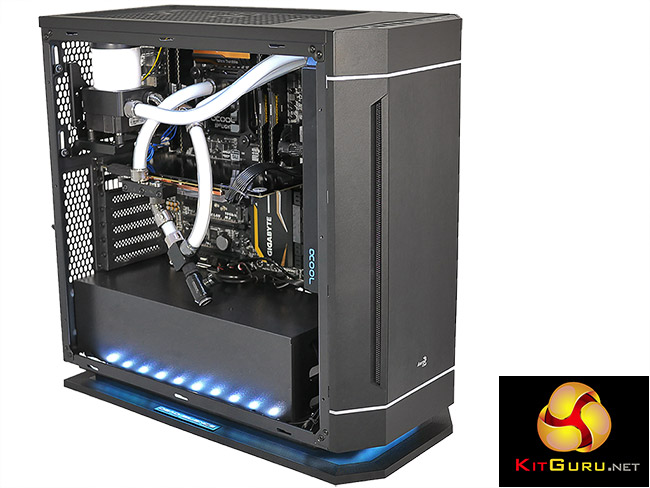
For this review, we decided to go to town with the DS230 and installed a Gigabyte GA-X99-UD4 motherboard with Core i7-5820K and GTX980 graphics card along with a bunch of liquid cooling hardware. Here’s the list:
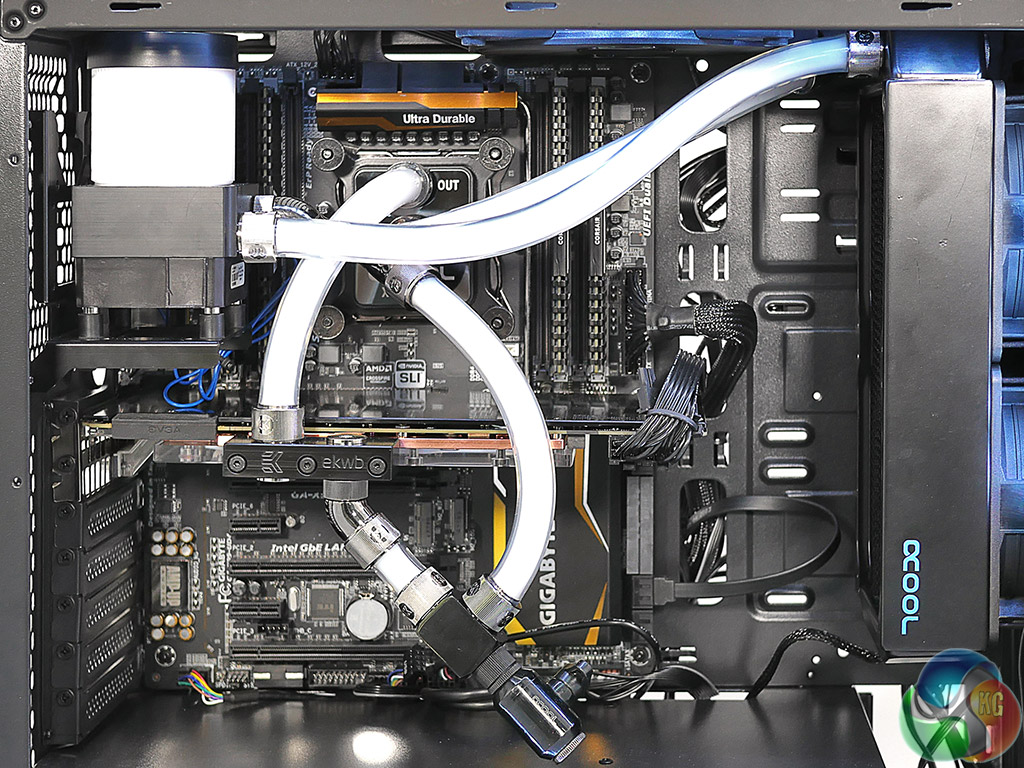
- Alphacool NexXxos CPU block.
- Alphacool NexXxos 240mm radiator at the front with Alphacool fans.
- Cooler Master MasterFan Pro 140mm Air Flow fan in the roof.
- EKWB DDC pump/reservoir mounted in place of the stock rear fan.
- EKWB GPU block and backplate.
- Fittings EK-AFC 10/16mm
- Tubing is EK PrimoFlex Advanced LRT
- The hardware below the graphics card is an Alphacool 3-way splitter and drain valve.
- Coolant is Mayhems Pastel White
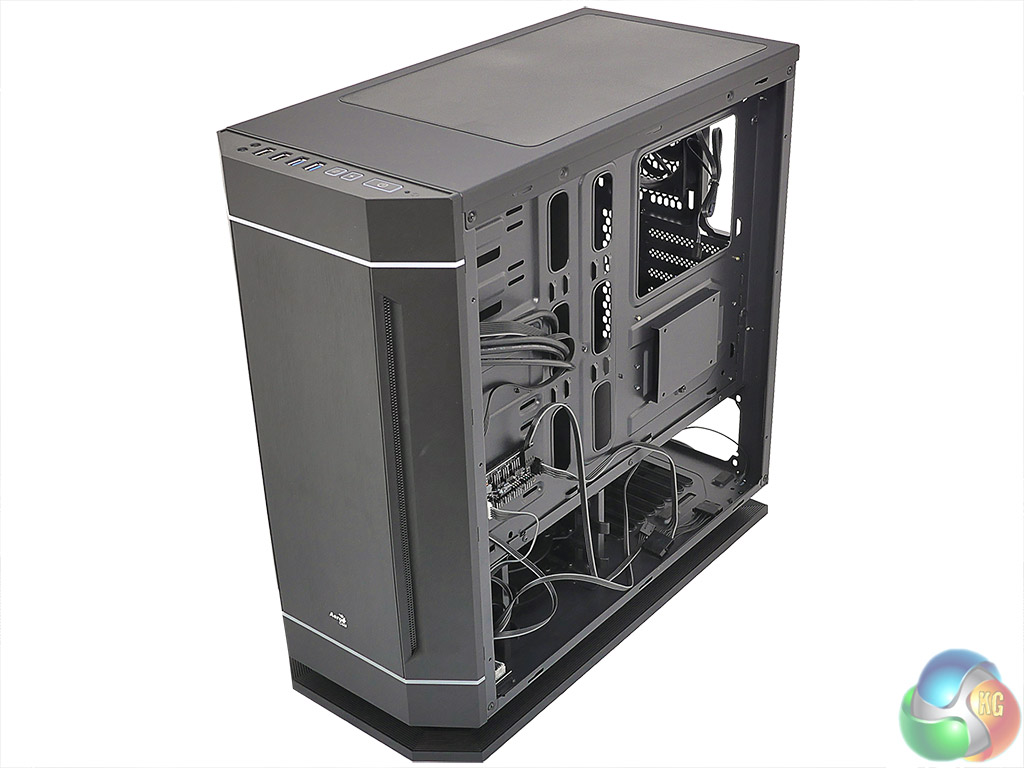
As you will see in our video, there wasn’t much trouble installing the hardware, although the DS230 doesn’t appear to have been designed for the custom loop aficionado. In particular there is no obvious place to locate the pump/reservoir and we found the easiest solution was to use the rear fan mounts.
If you take the more conventional route using an All In One cooler you are unlikely to have any trouble as the hardware should simply slip into place. As we say in the video, there is a good deal of space inside DS230 and you don’t have to spend much time tidying things up as the solid side panels mean the innards are not on show. That explains the absence of any grommets in the cable management holes.
We didn’t have the luxury of simply chucking the hardware inside the case as it would have looked lousy in the photos and video and it took some considerable time to secure the various cables in place.
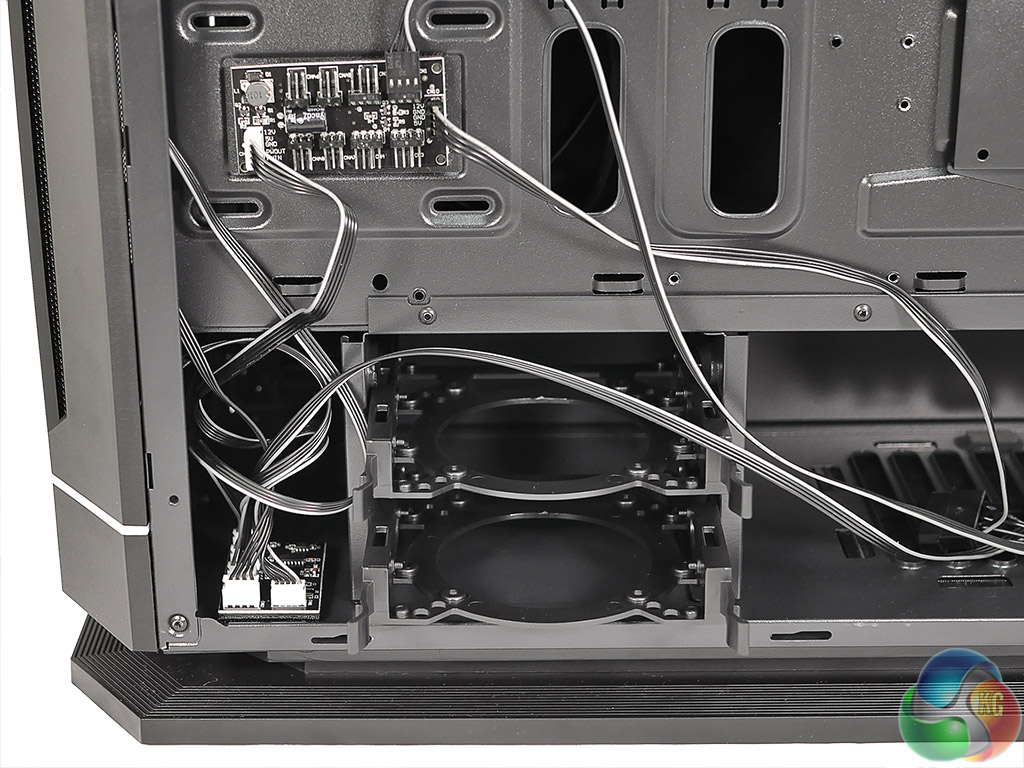
Connecting everything together was easy enough as the Aerocool PWM hub simply plugs in to your power supply to provide PWM control for both your fans and the lighting system. We were not entirely happy with the way the fans worked – this may have been a function of the Gigabyte UEFI – and decided to swap to an NZXT GRID+ V2 which worked perfectly.
We also used an NZXT HUE+ lighting controller to provide some internal lighting to supplement the external lights that come with the DS230. This is completely unnecessary (and was mainly used to help show off the hardware in the photos) but we really liked the combination of understated black case, white interior lights and Pastel White Mayhems coolant.
Testing
To put this case through its cooling paces we will be using a test system consisting of an Intel Core i7-5820K processor, EVGA GTX 980 4GB graphics card and an SSD. This system allows us to produce a substantial amount of heat and effectively test the Aerocool DS230‘s cooling capabilities.
For stress testing we use AIDA64 and FurMark to create the maximum heat output to stress our CPU and GPU.
Test System:
- Processor: Intel Core i7-5820K 3.7GHz/3.9GHz
- Motherboard: Gigabyte GA-X99-UD4
- CPU cooler: Alphacool and EKWB custom loop
- Memory: 16GB Corsair DDR4-2800MHz LED
- Graphics card: EVGA GTX 980 4GB
- Power supply: Seasonic Titanium Prime 750W
- Storage drives: SanDisk Extreme II SSD
- OS: Windows 10
Cooling Performance
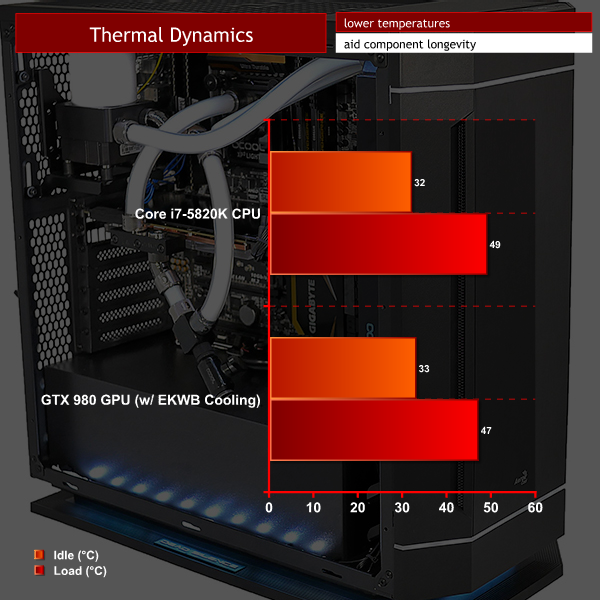
Aerocool DS230 does a better job of cooling than we expected, considering the heavy noise insulation on both side panels. Having said that, we were using an extensive cooling system and as we had removed the rear case fan we installed a 140mm Cooler Master fan in the top of the case and had the roof panel open
Removing the side panel reduced idle temperatures by two degrees and took six degrees from the loaded temperatures.
Acoustics performance
This is a quiet case and lives up to the Dead Silence name. Clearly it helps that we used a Seasonic Prime power supply that is practically silent along with high end cooling hardware. The loudest part of the system was the DDC water pump but in this context that merely means it was audible.
If you avoid the temptation to install a radiator in the roof of the case and leave the top panel closed, your PC should be as near silent as makes no difference.
Closing Thoughts
Aerocool DS230 looks like a basic case but packs in a good number of features including a lighting system that enhances the cosmetic appeal. Inside the case there are some minor issues such as the crude power supply cover and the slightly messy cabling that connects the lighting and PWM hub, however these are not major complaints.
Obviously the innards of the PC are not on show and this means the aesthetics of the build are a secondary matter. Or possibly a tertiary matter. At one level, the fact this build took some time to tidy is annoying and at another level it is completely irrelevant. You decide.
There are more legitimate gripes such as restricted access to the front dust filter – you have to give the front panel a REALLY hard pull, and then it is tethered in place by cables – but that is hardly a deadly criticism.
The top radiator mounts are offset so, if you use a 120mm or 240mm AIO, there is a fair amount of space but it is not so good for 280mm. A thick radiator will overhang the CPU socket so it would be good to have slightly more clearance above the motherboard in the roof of the case.
Overall, we like DS230 and acknowledge its positive features, in particular the lighting and low noise levels. It is a case we can respect and admire but it doesn’t have enough va va voom to become a case we can truly love.
![]()
The Aerocool DS 230 case is available from Overclockers UK for £77.99 (inc. VAT). CCL also stock the case here.
Discuss on our Facebook page, over HERE.
Pros:
- Side panels have heavy sound deadening material.
- The two panels are interchangeable.
- Can accommodate a 240mm/280mm radiator in the roof.
- Space for a 280mm/360mm radiator at the front.
- Loads of room for your graphics card.
- 2x 2.5-inch drive bays in the main compartment and one on the back of the motherboard tray.
- 2x 2.5-inch/3.5-inch caddies.
- 7-way lighting control plus a PWM mode that changes colour with fan speed.
Cons:
- PWM control didn’t work as well as we would hope.
- Fixed power supply cover.
- The cabling is messy and tethers the front panel to the case which makes it slightly tricky to clean the front dust filter.
KitGuru says: A case to respect, rather than a case to love, but either way DS230 is very good.


Nice computer case, but it doesn’t have 5.25 drive bay for a blu-ray recorder…