

Here I will walk you through the installation process. It is worth noting we test using a Z97 motherboard – socket LGA 1150. The process below reflects that.
On a side note, installation is identical to that of the Windale 6, so we know exactly what to expect.
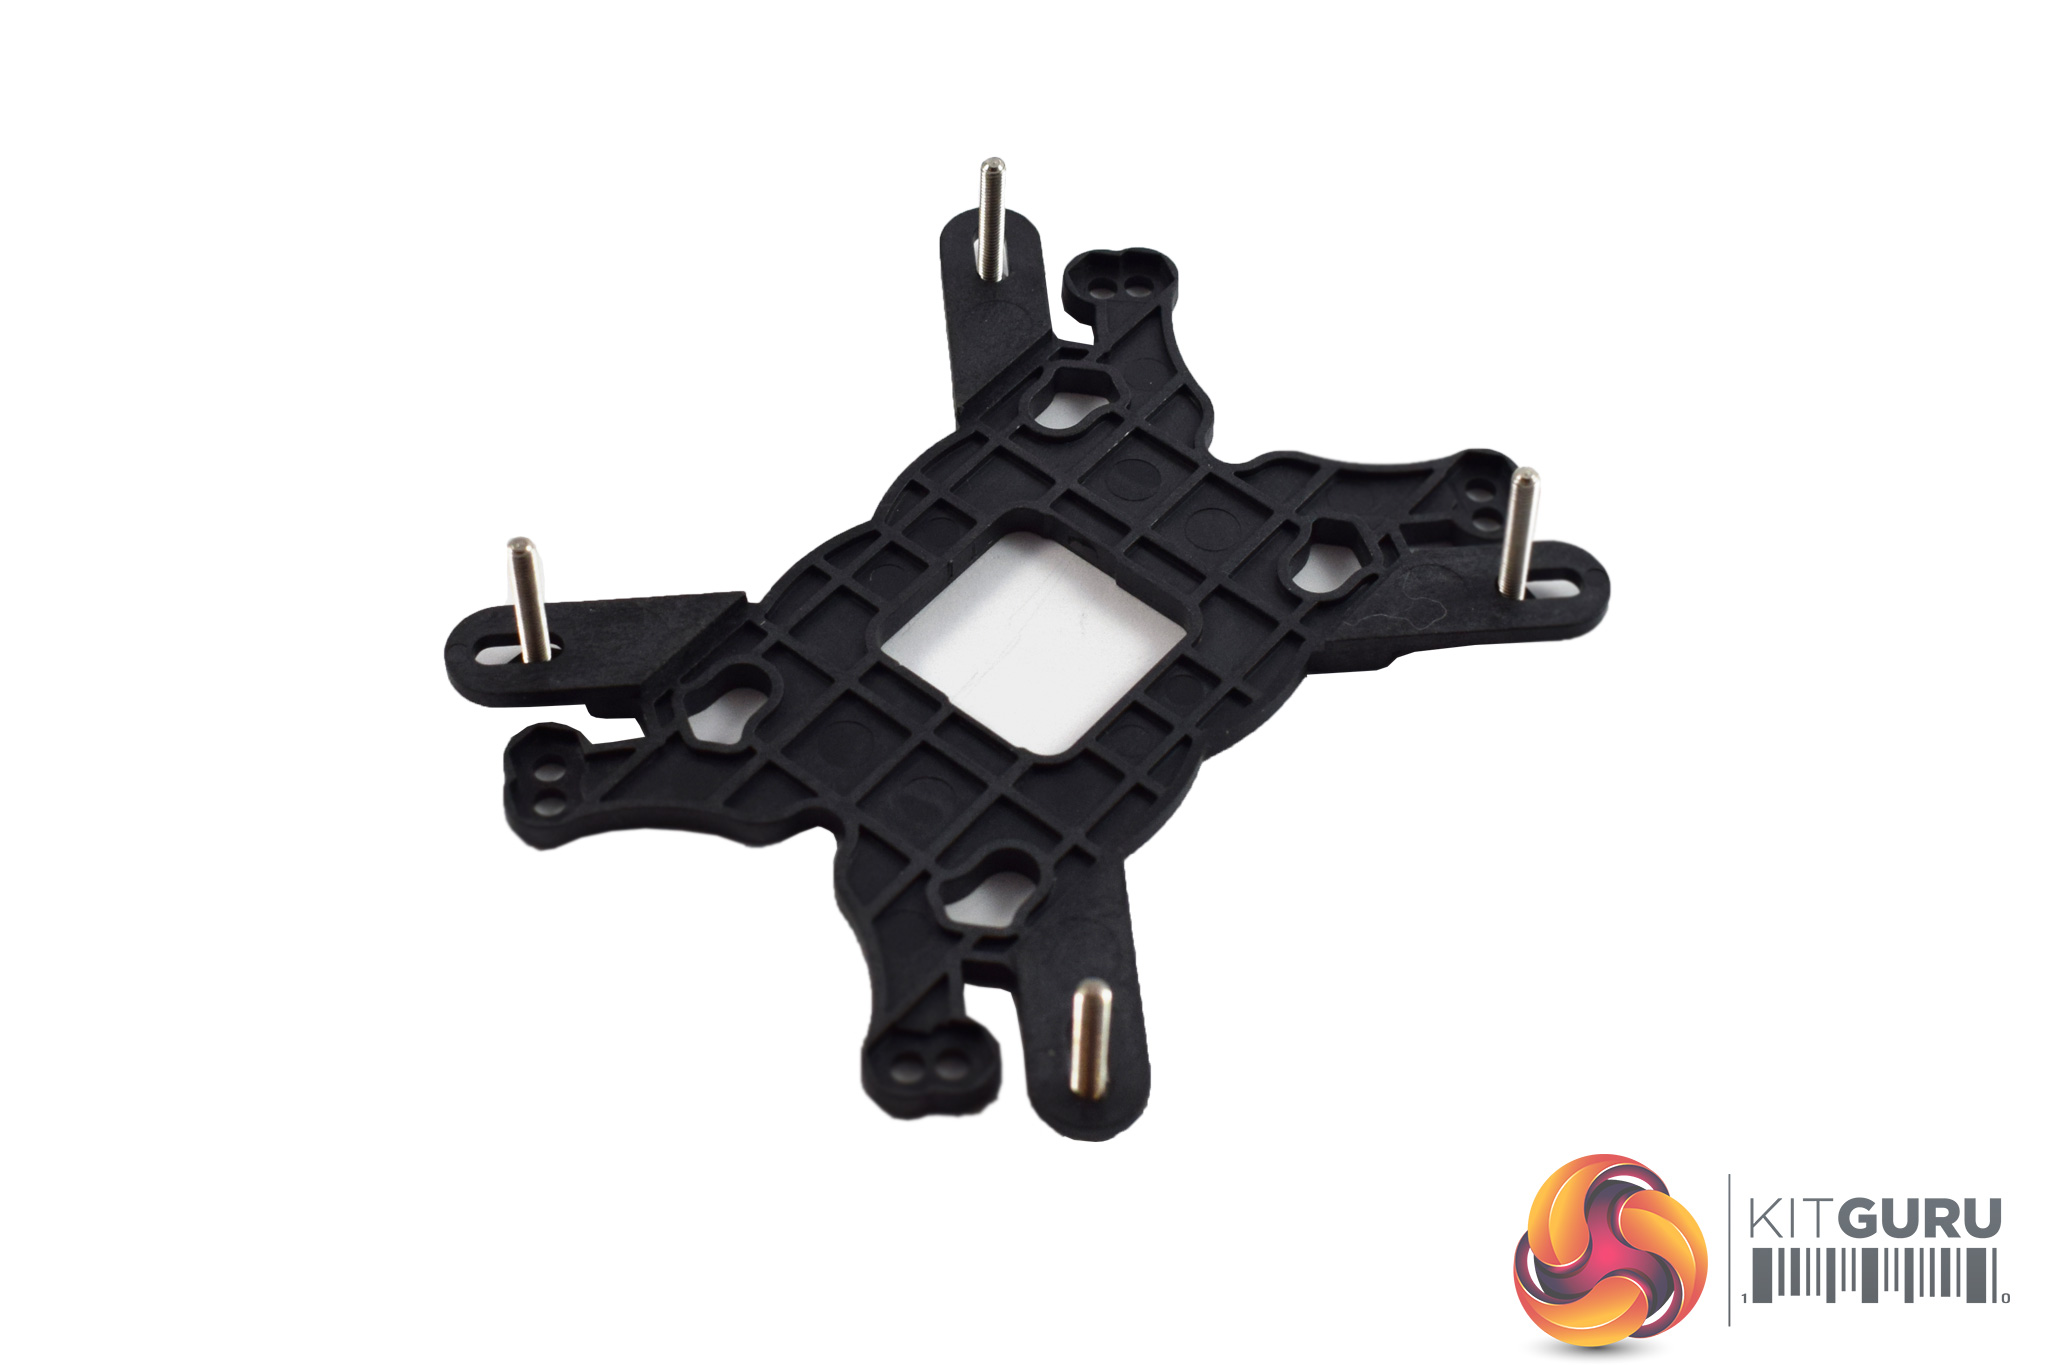
The first thing to do is prepare the backplate. For LGA 115x motherboards, four long screws need to be placed through backplate's arms.
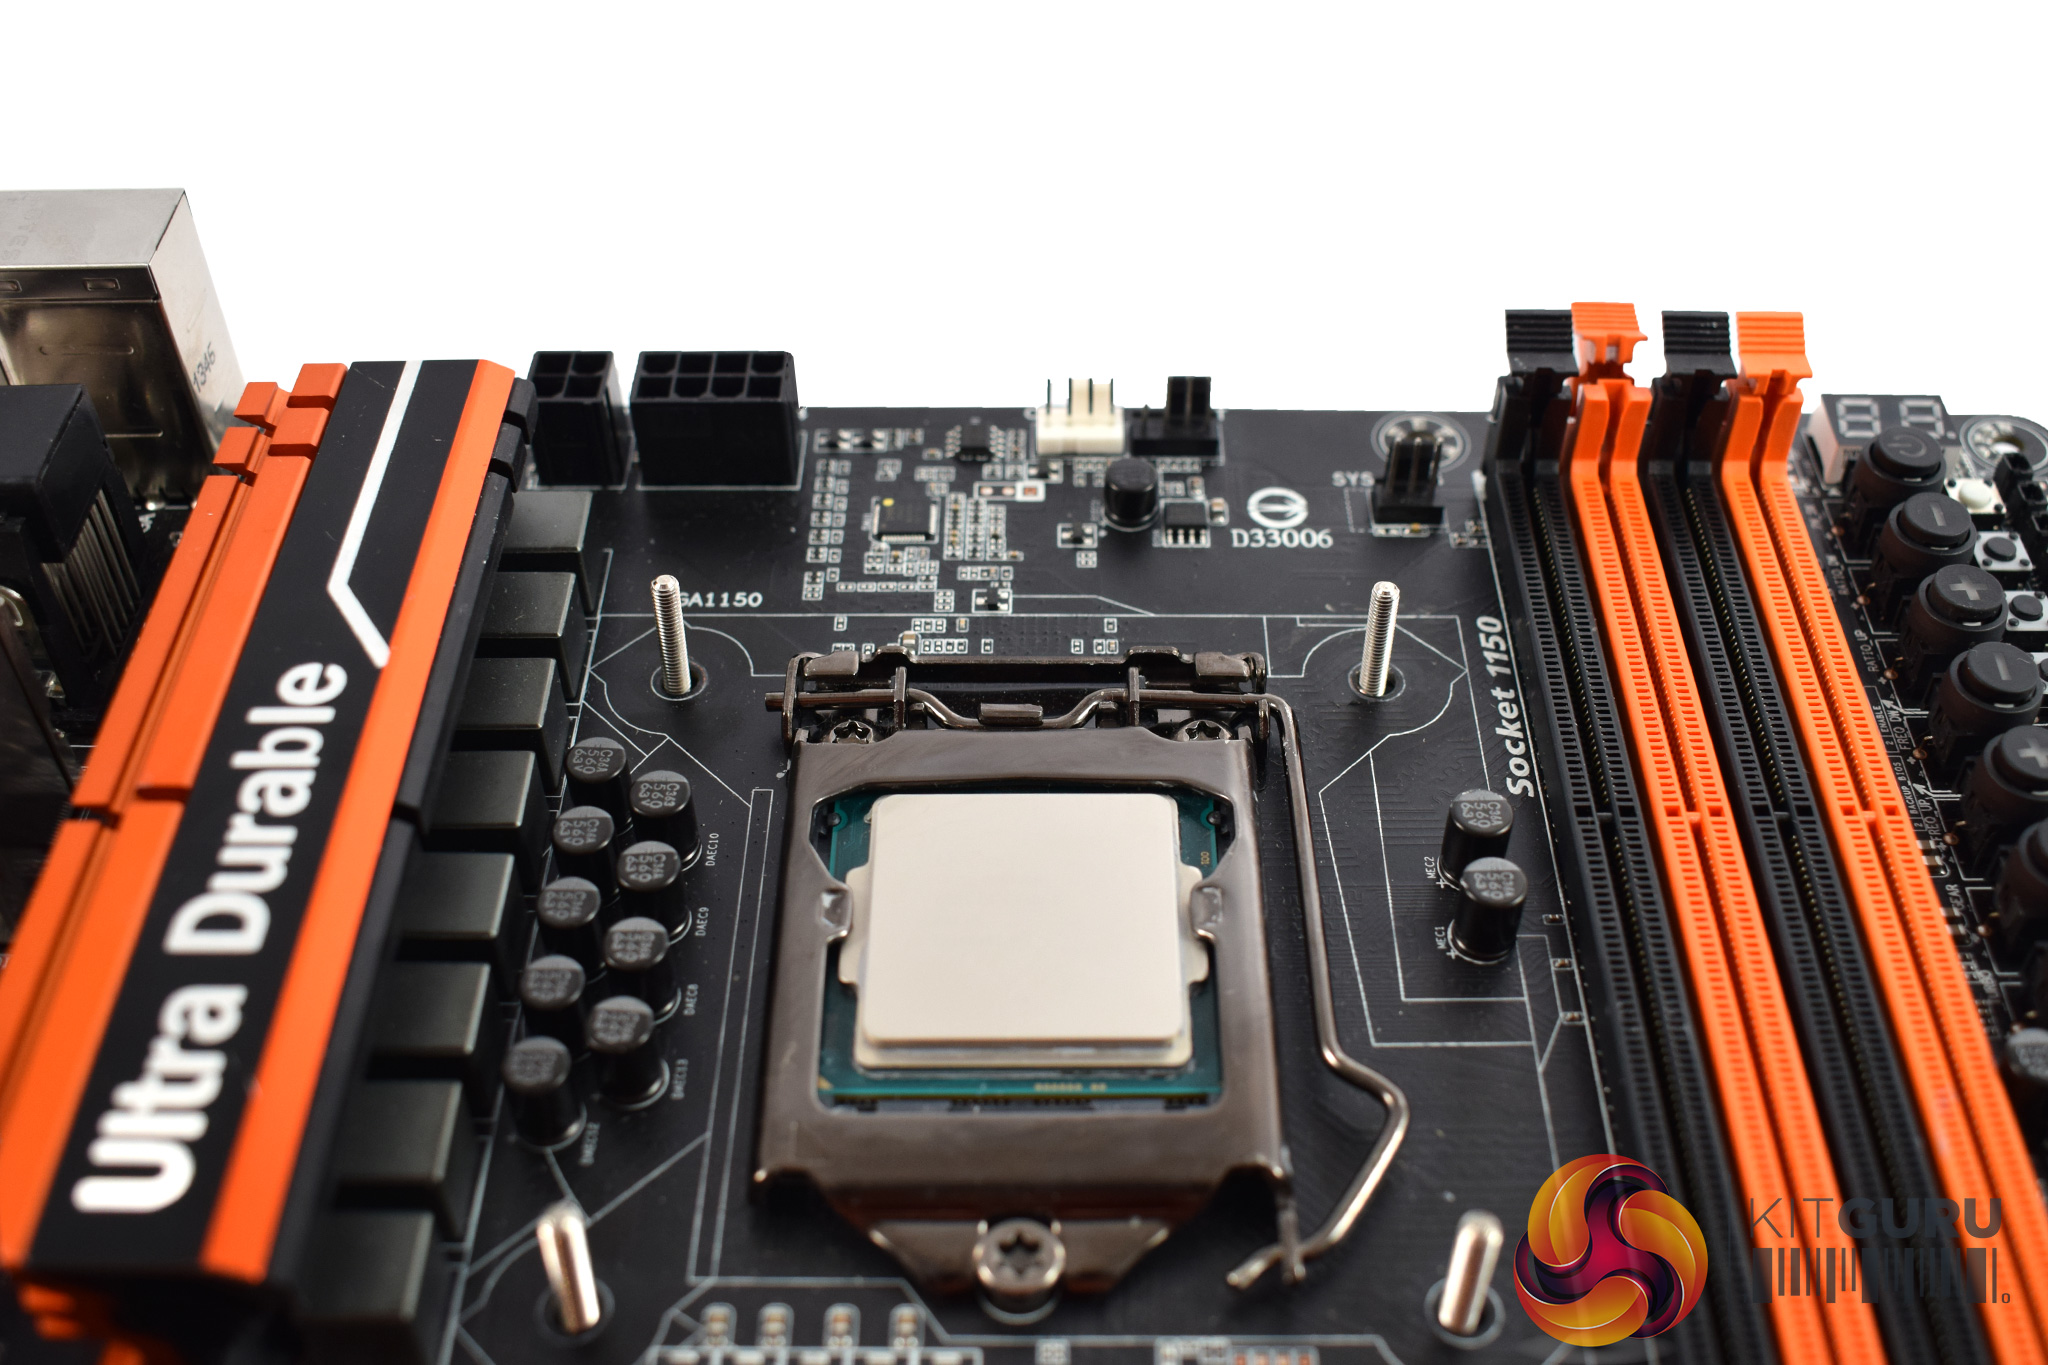
Then, slot the backplate screws through the motherboard's socket holes.
![]()
After that, four black spacers should be placed on-top of those screws.
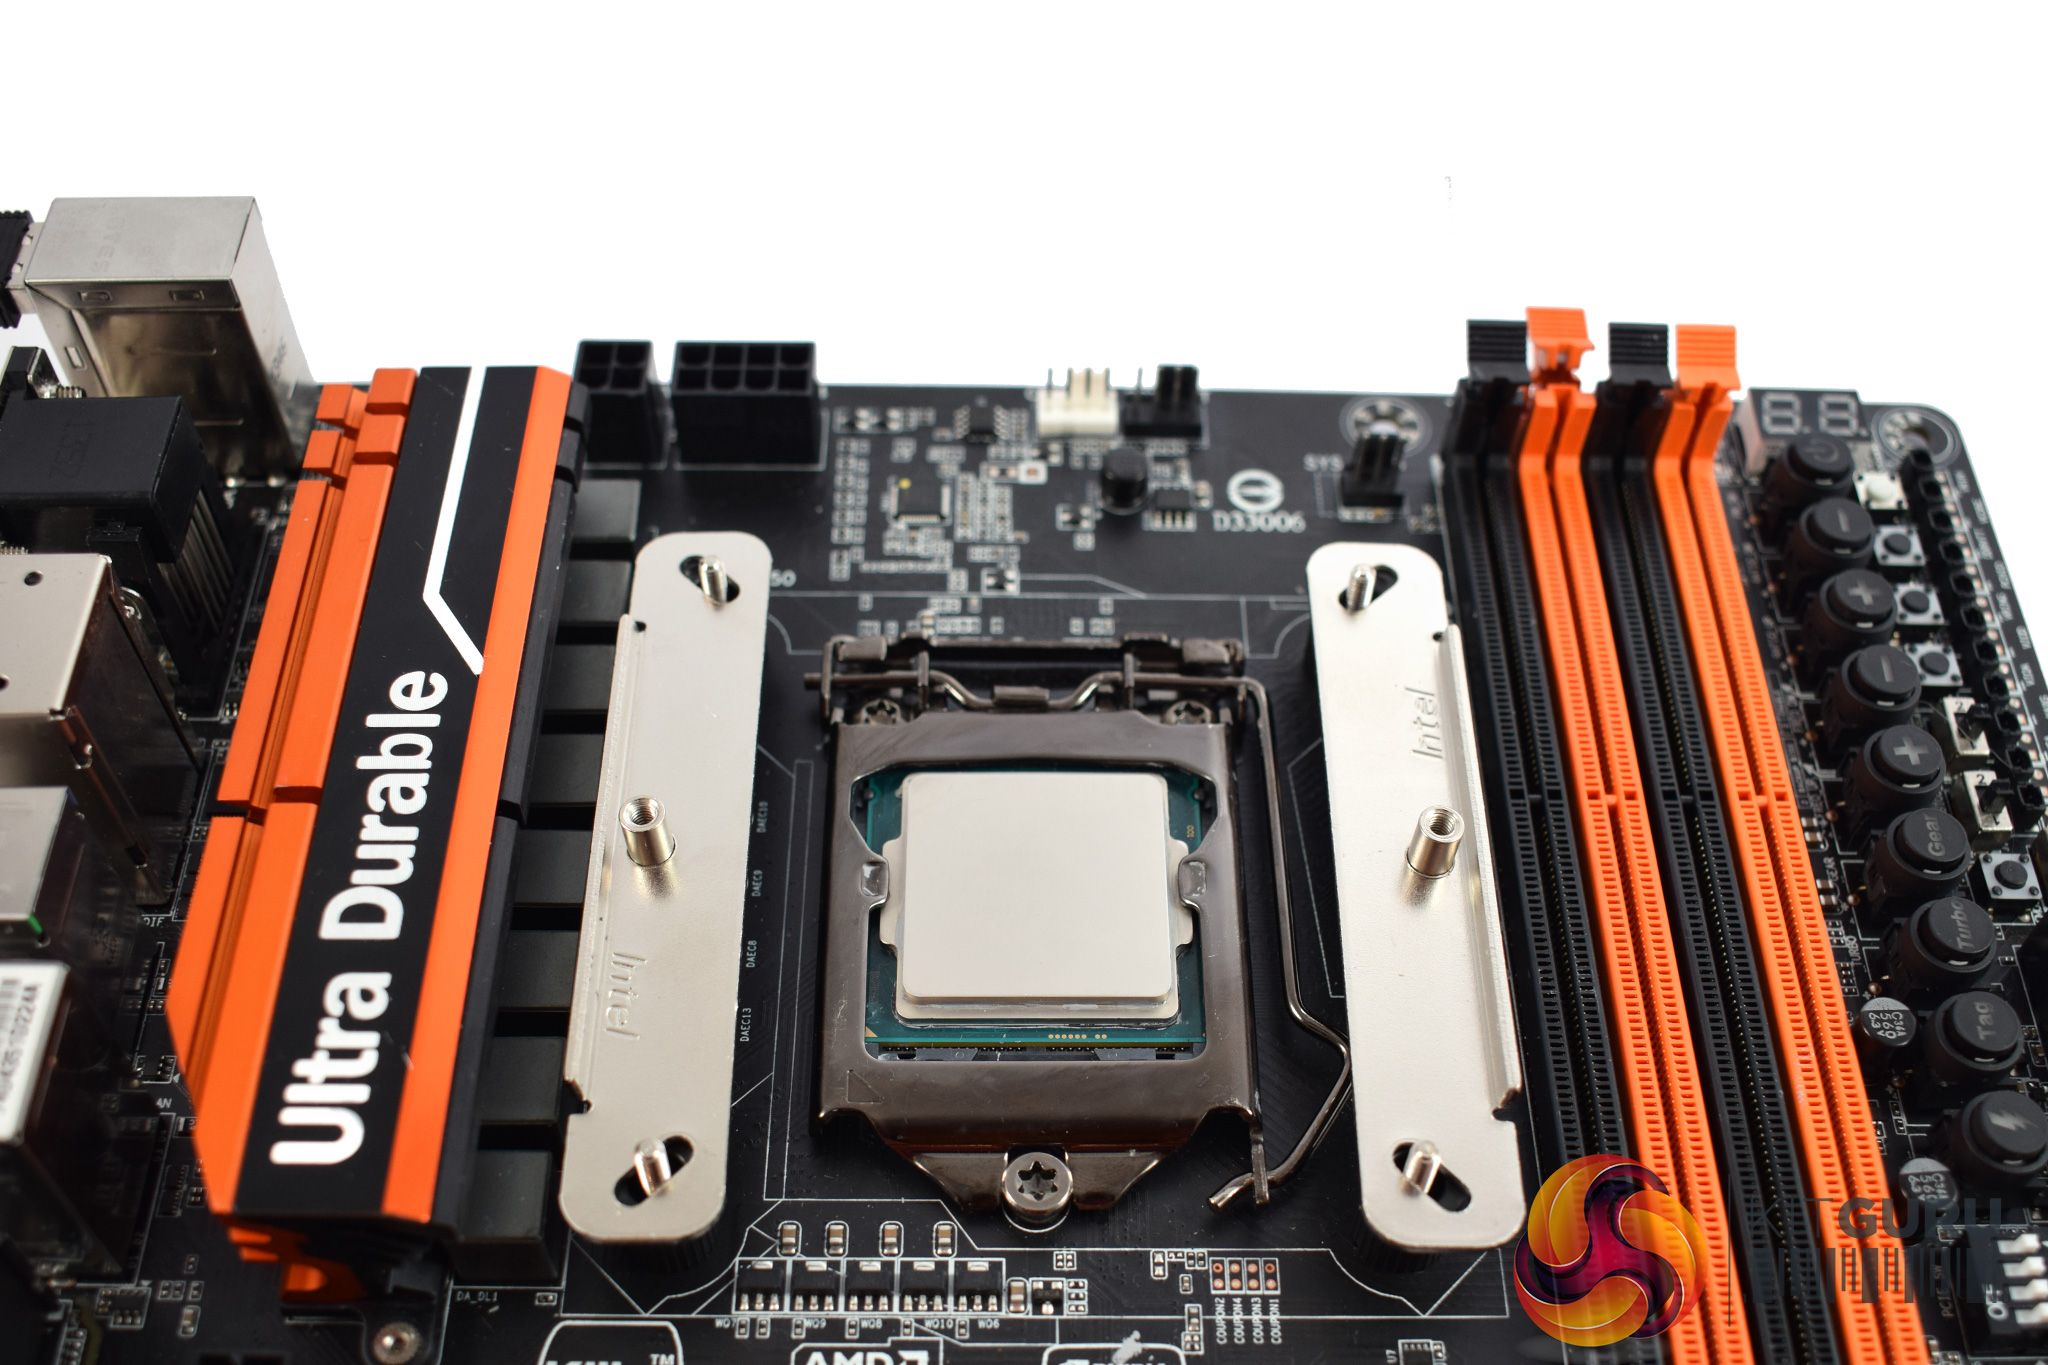
Two rails then fit on-top of the spacers.
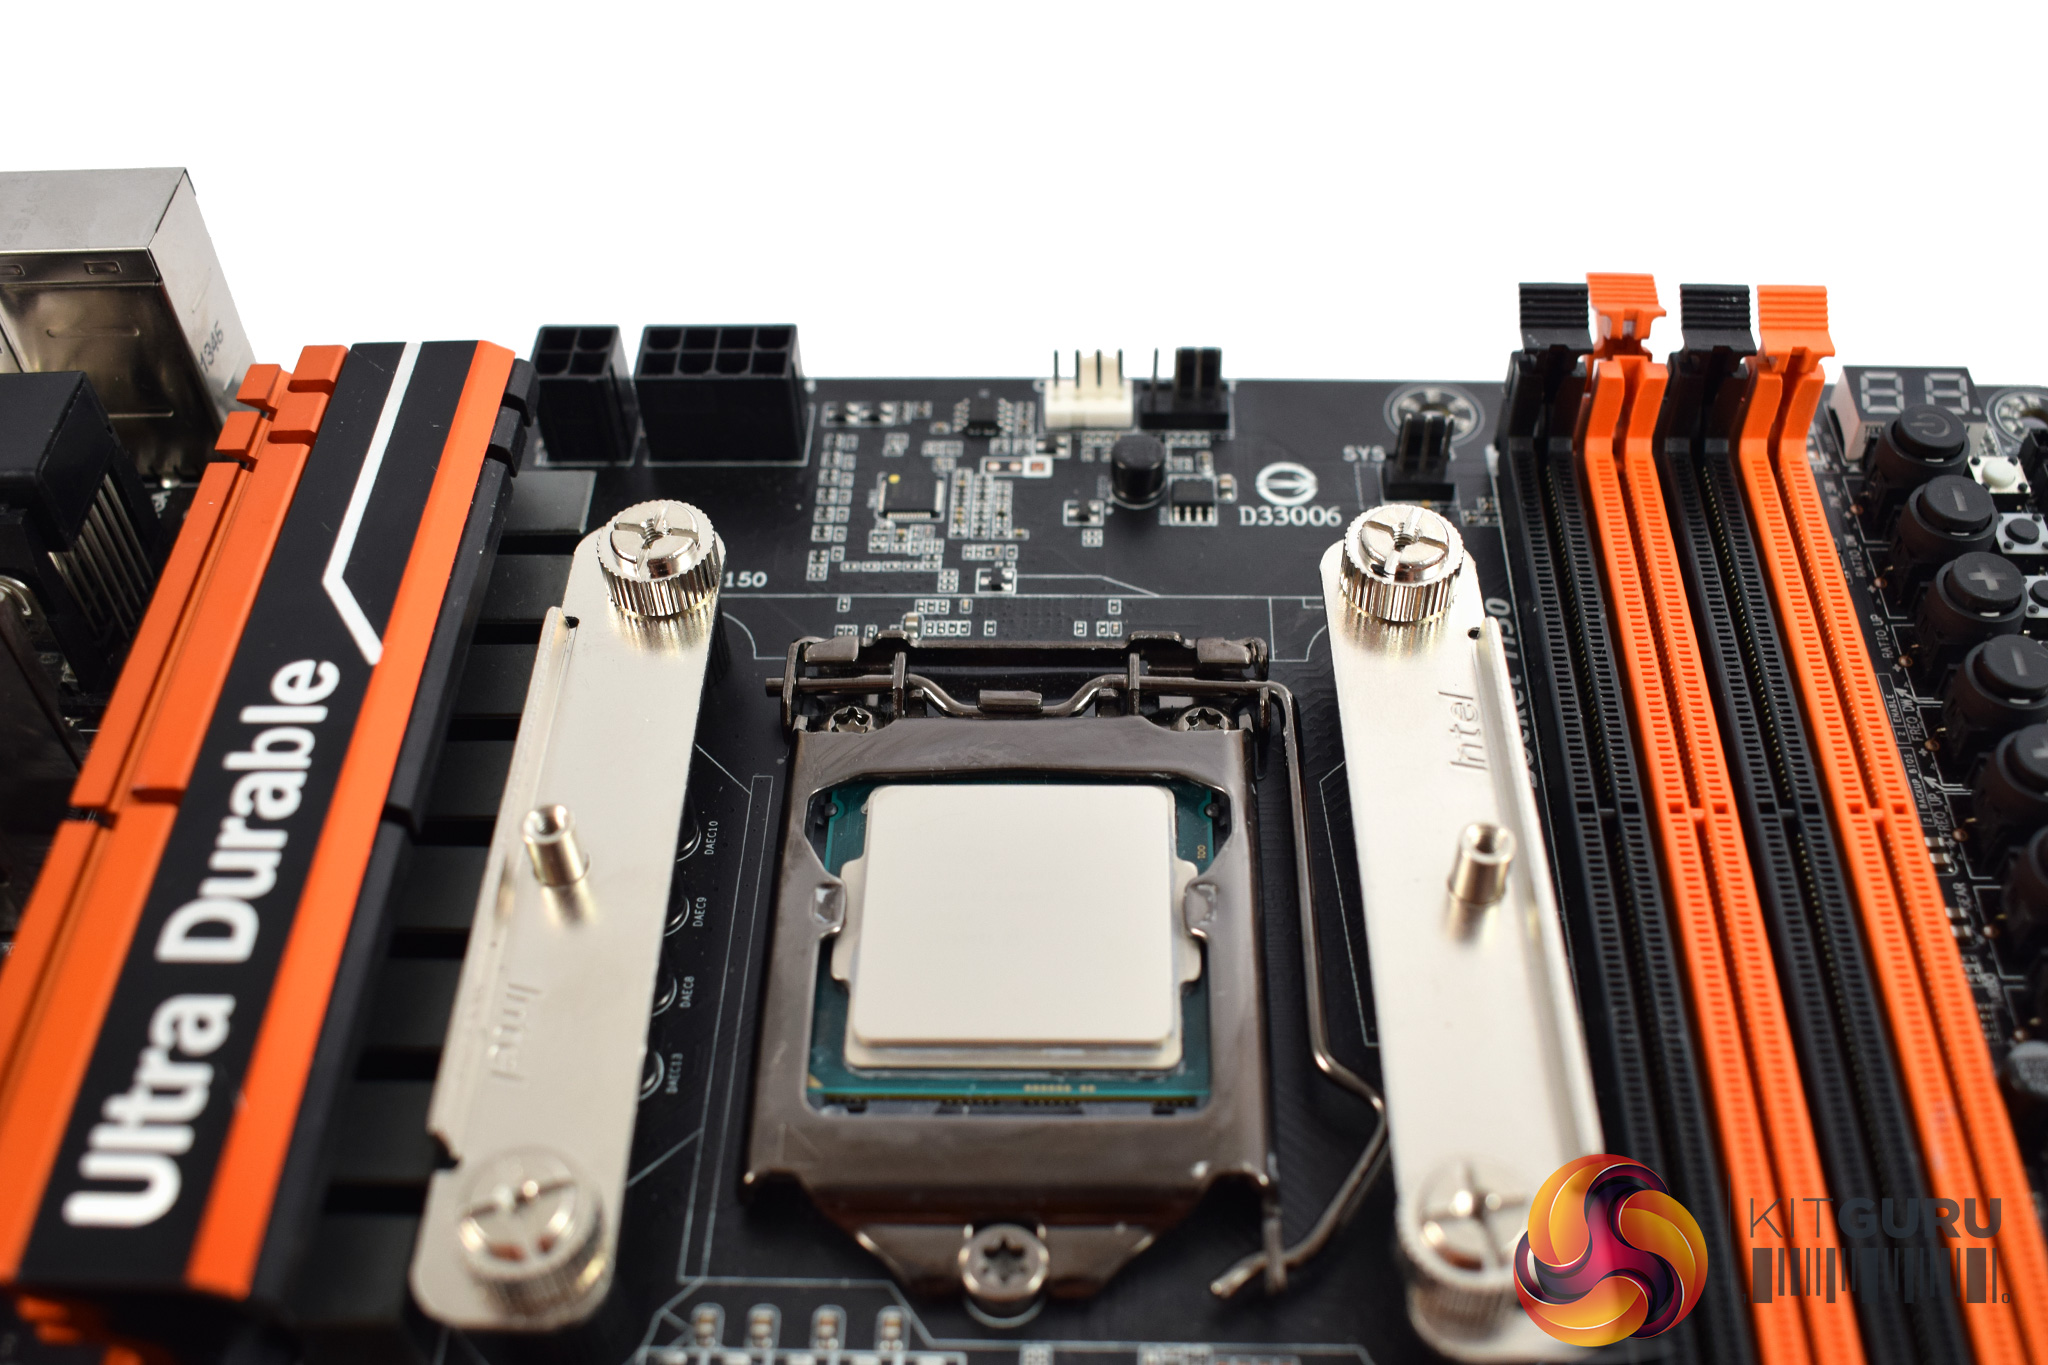
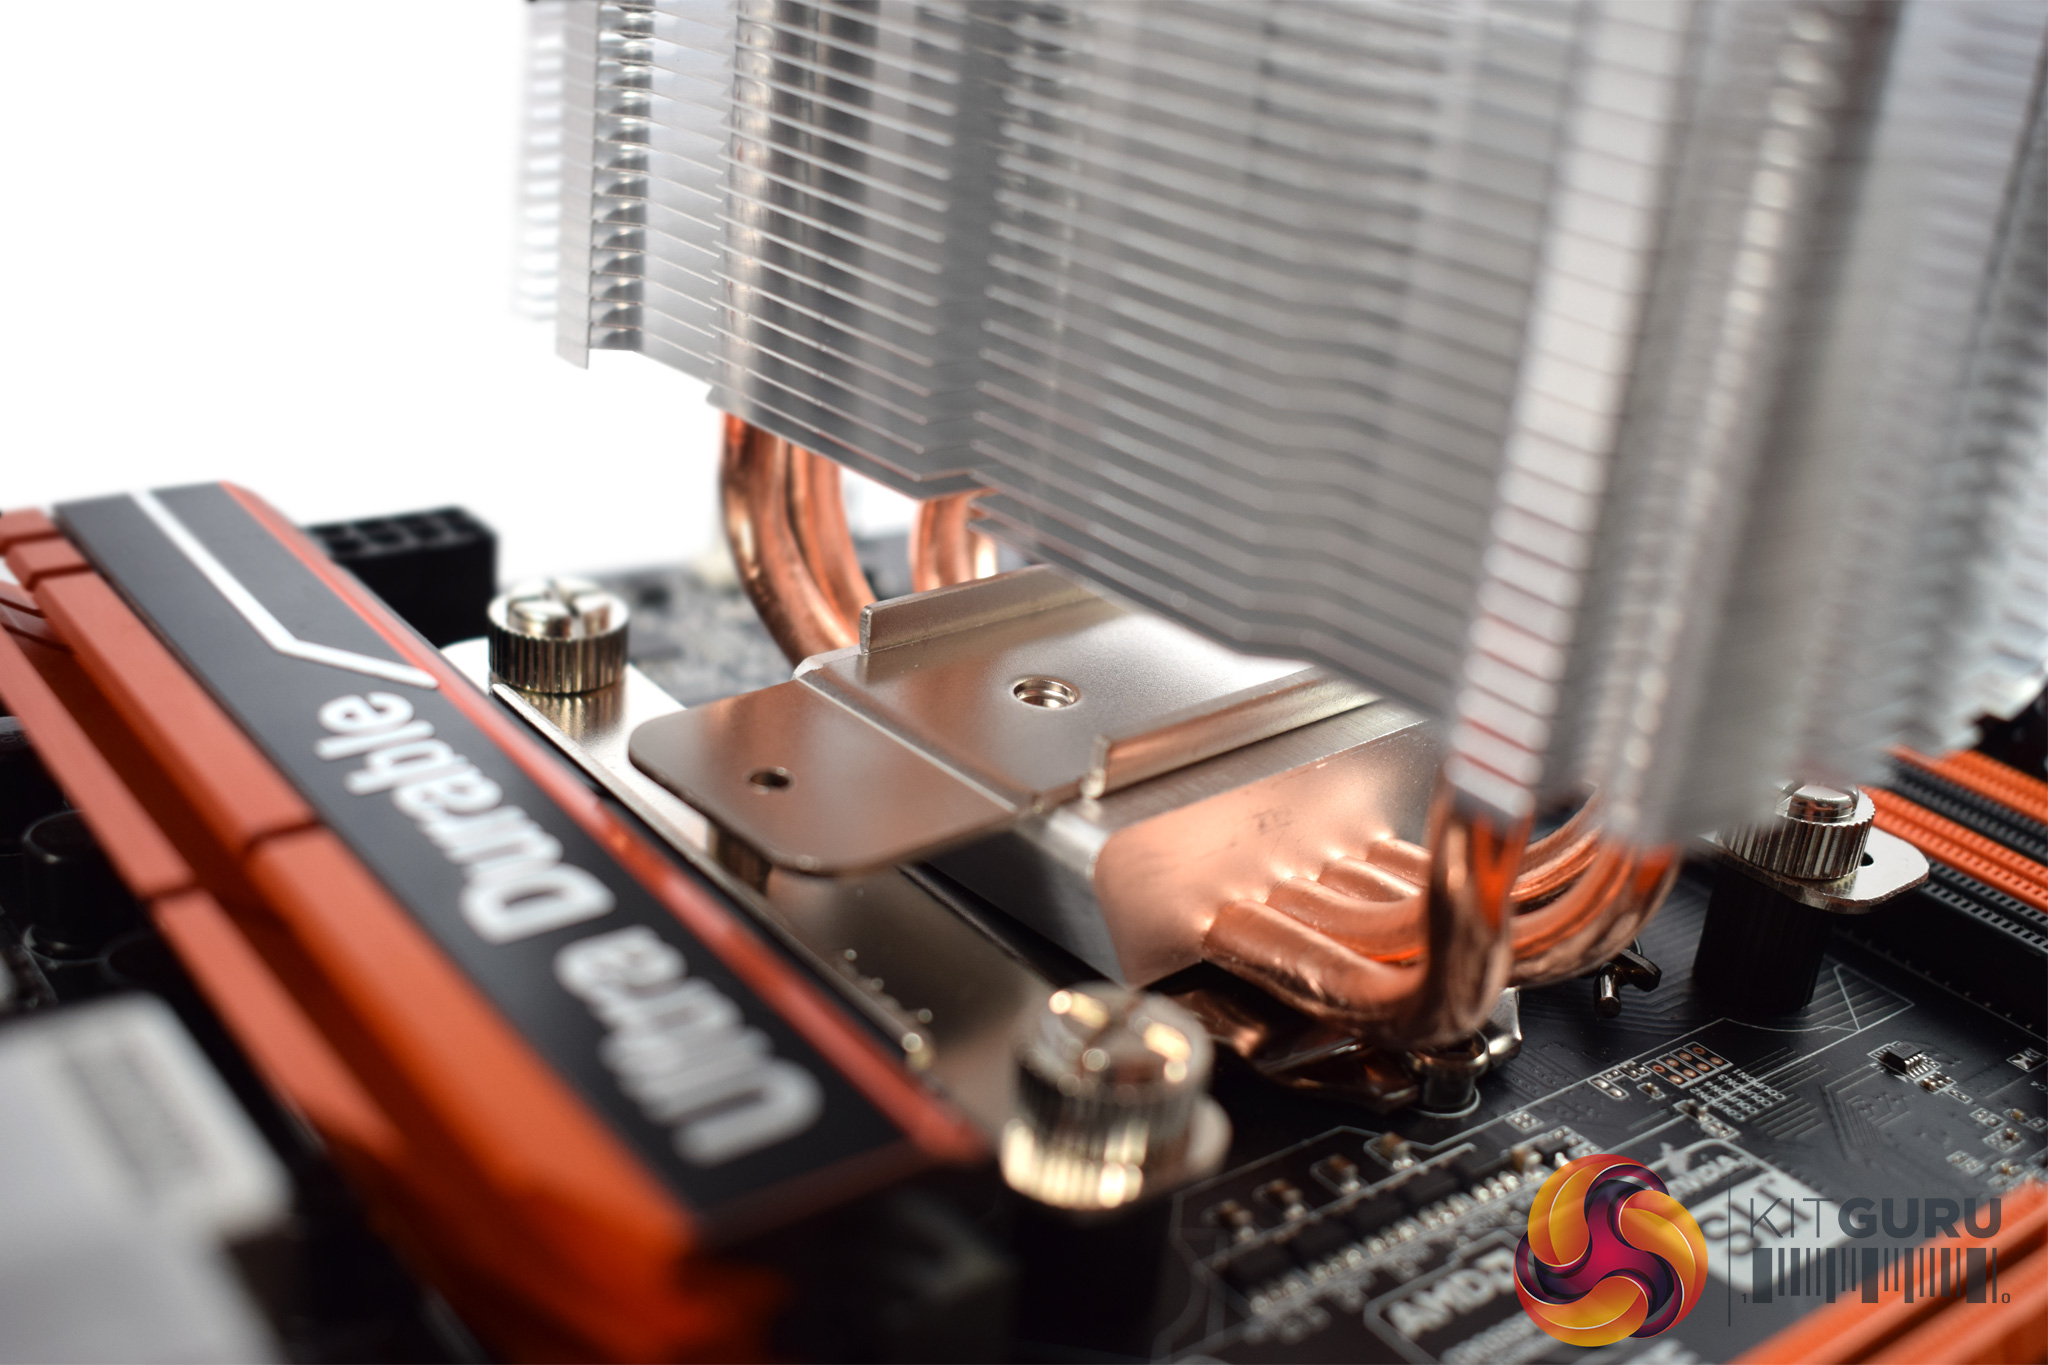
These rails are secured to the screws using four thumbscrews/nuts.
Once you've done that, you can mount the cooler to the processor. The Windale 4 has a pre-installed a bracket which aligns with the rails (as you can see above.) Simply screw the heatsink to the rails to secure it.
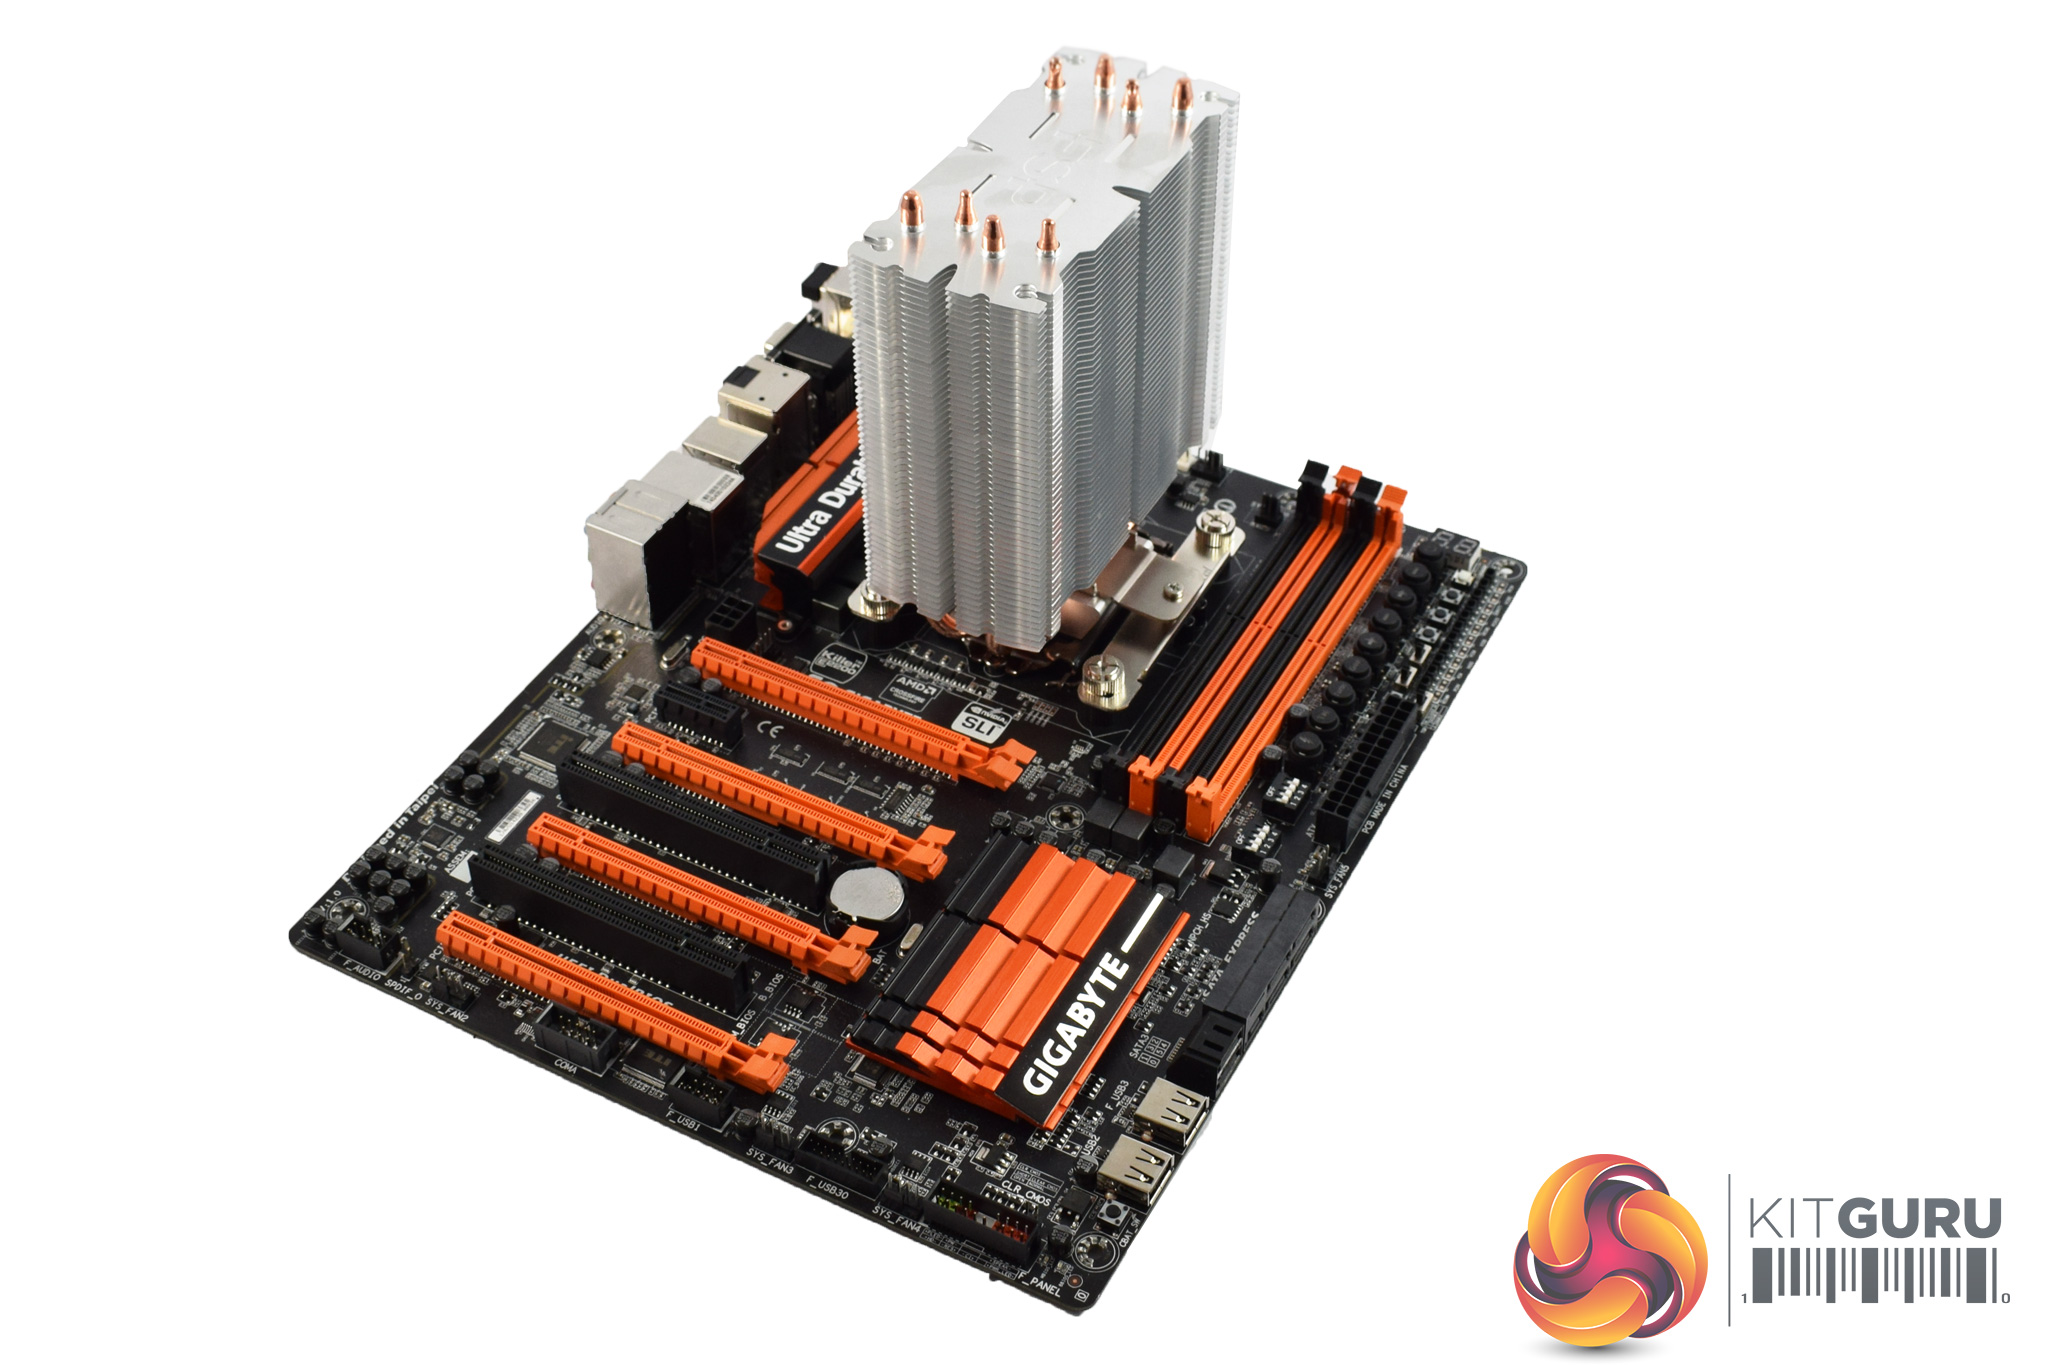
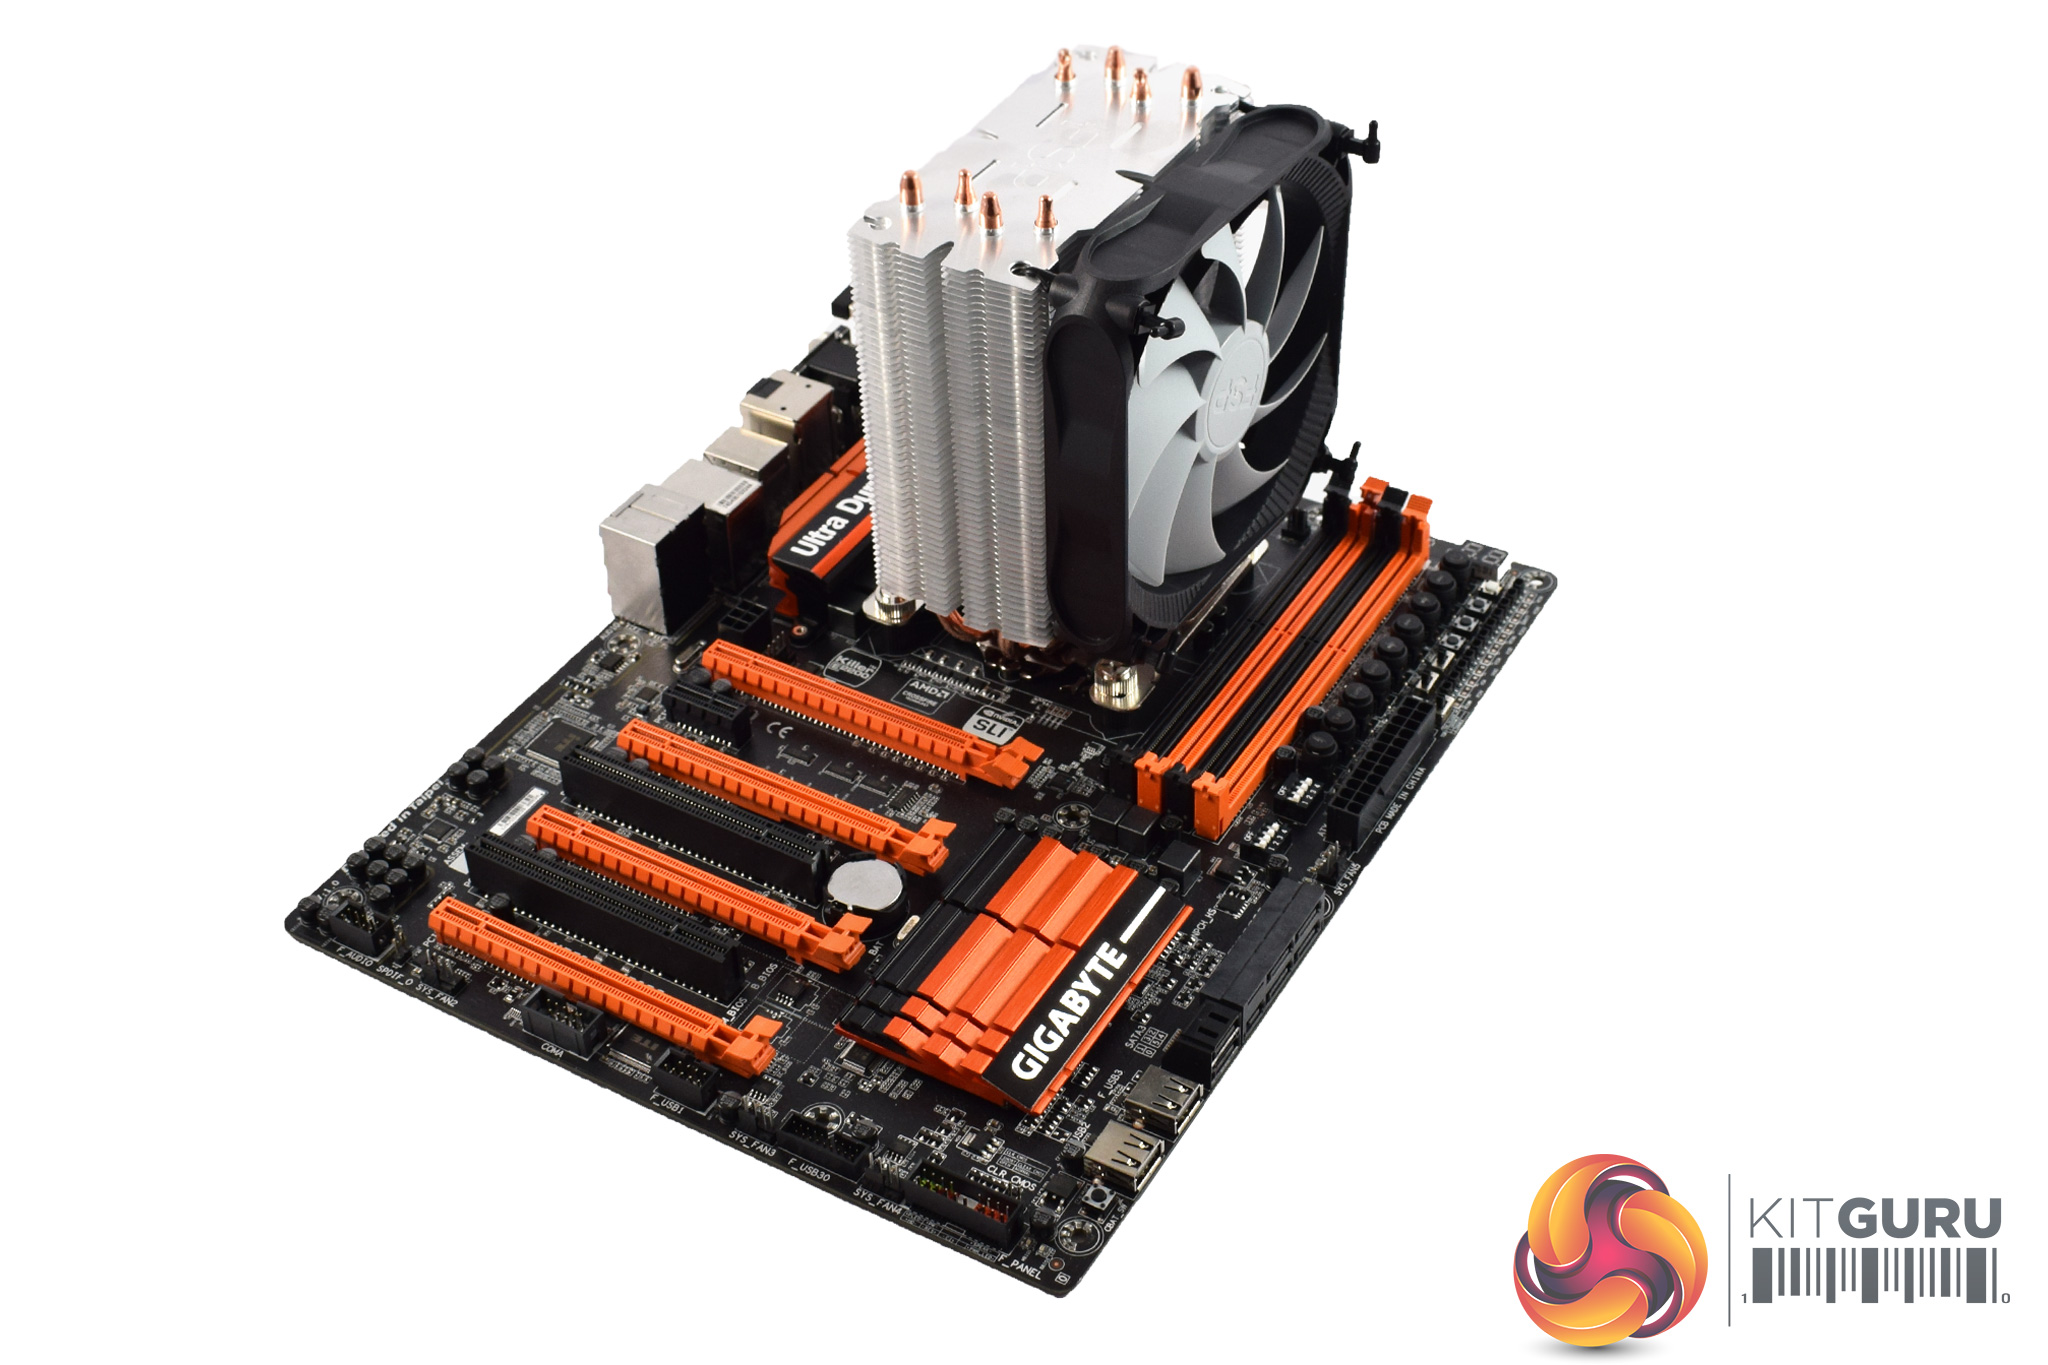
After that, the heatsink is fully installed, and you just need to attach the fan. FSP has kept the same mounting mechanism as the Windale 6, so the fan attaches using rubber mounts which you thread through the fan and into the heatsink. It's a bit fiddly but hopefully it should remove any fan vibration.
Just like the Windale 6, this installation is very easy. I would imagine even a beginner would be happy to install this to their motherboard and not run into any difficulty.
