

Here I will walk you through the installation process. It is worth noting we test using a Z97 motherboard – socket LGA 1150. The process below reflects that.
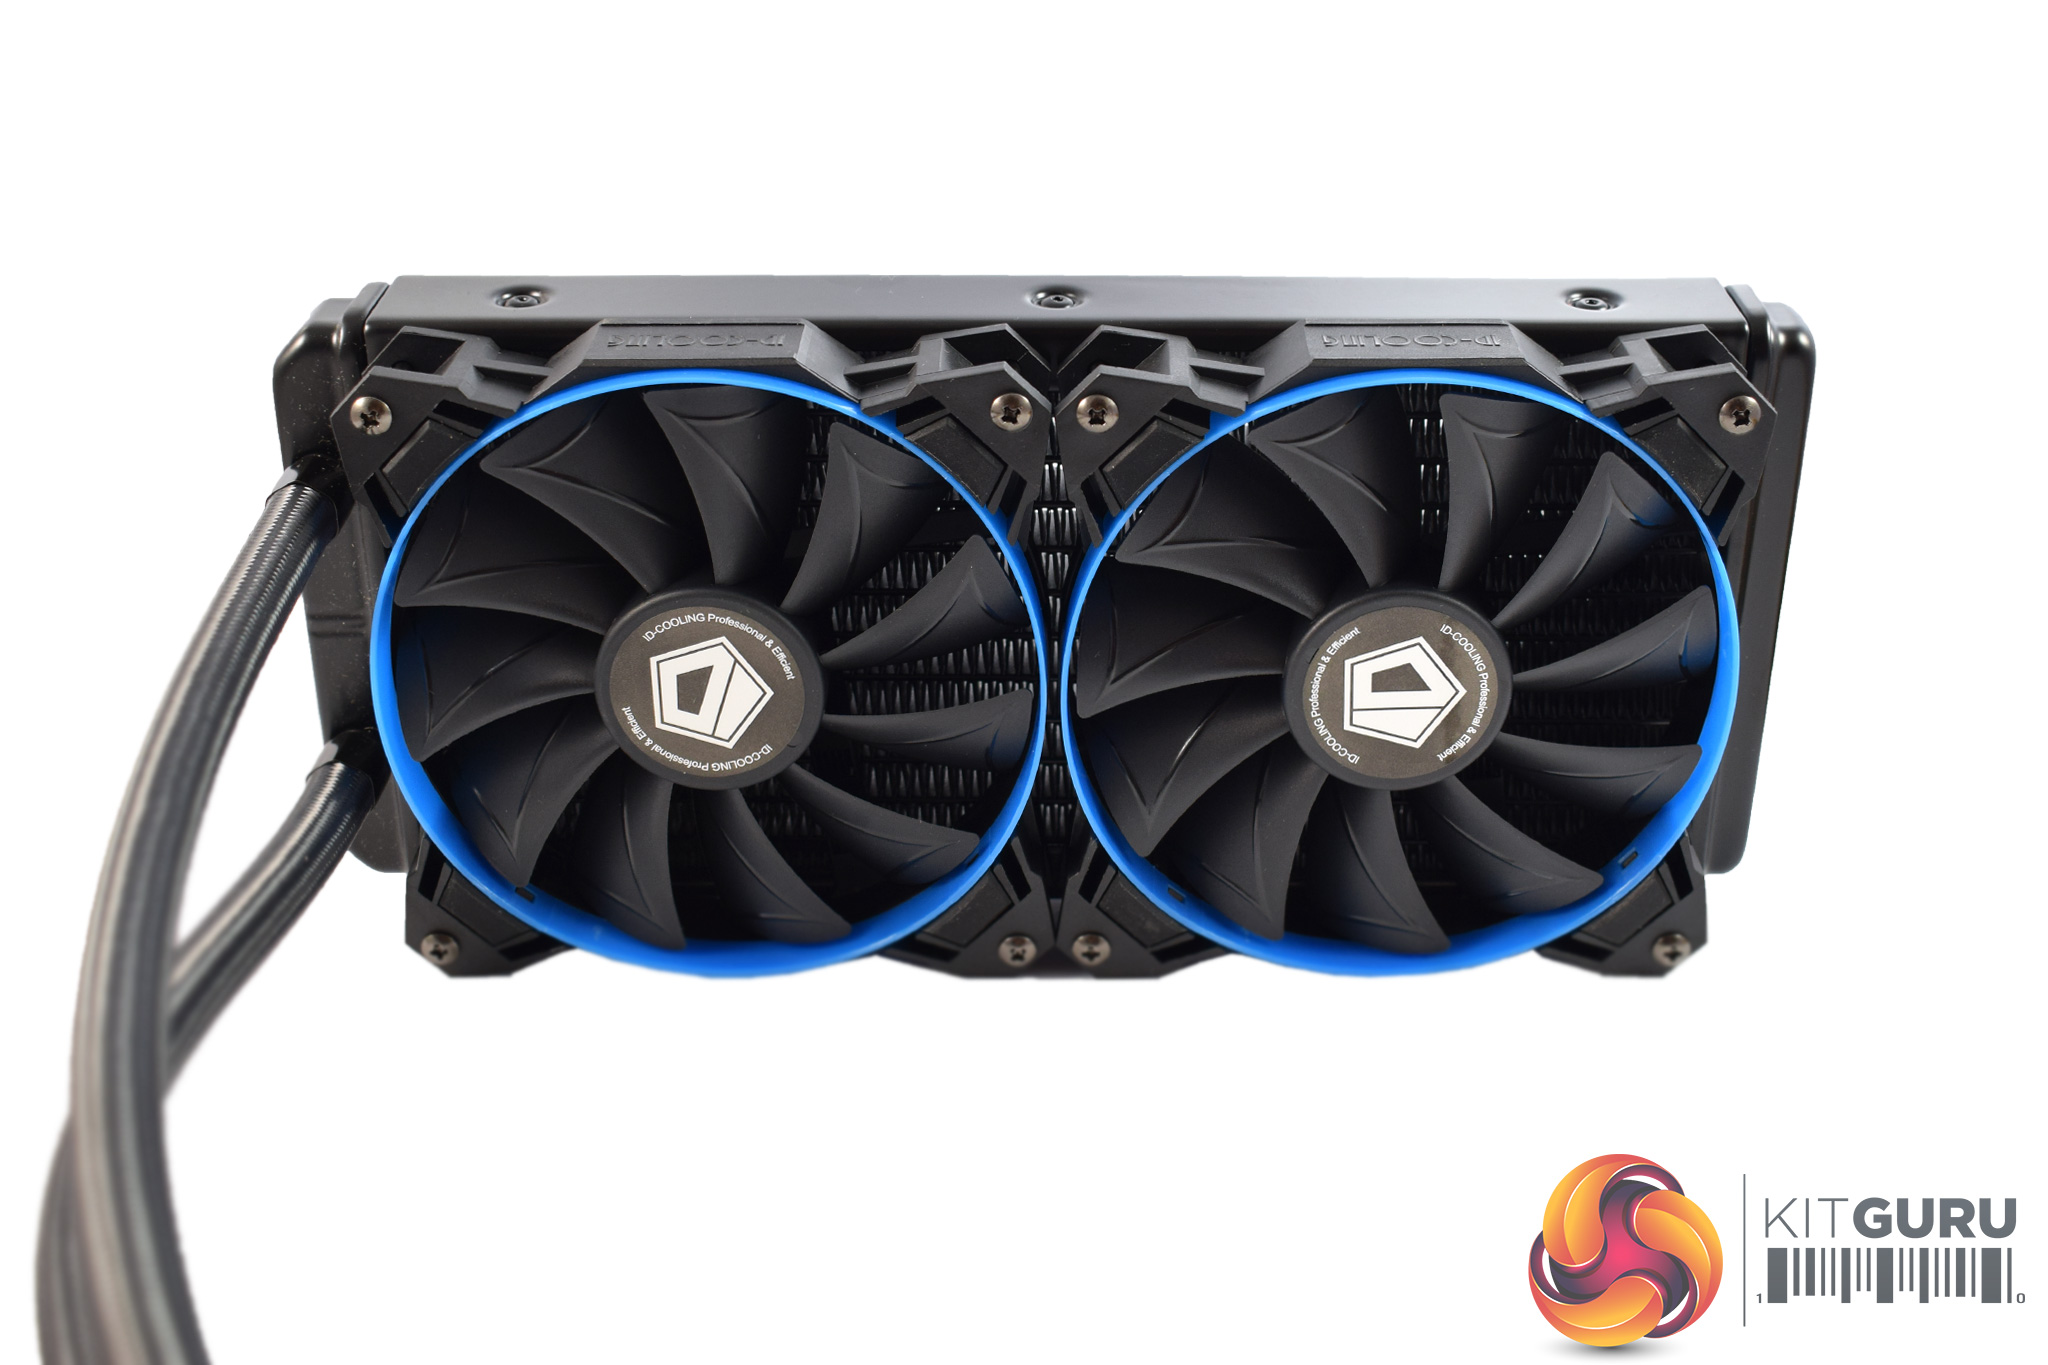
First of all, get the fans out of the way by screwing them onto the radiator.
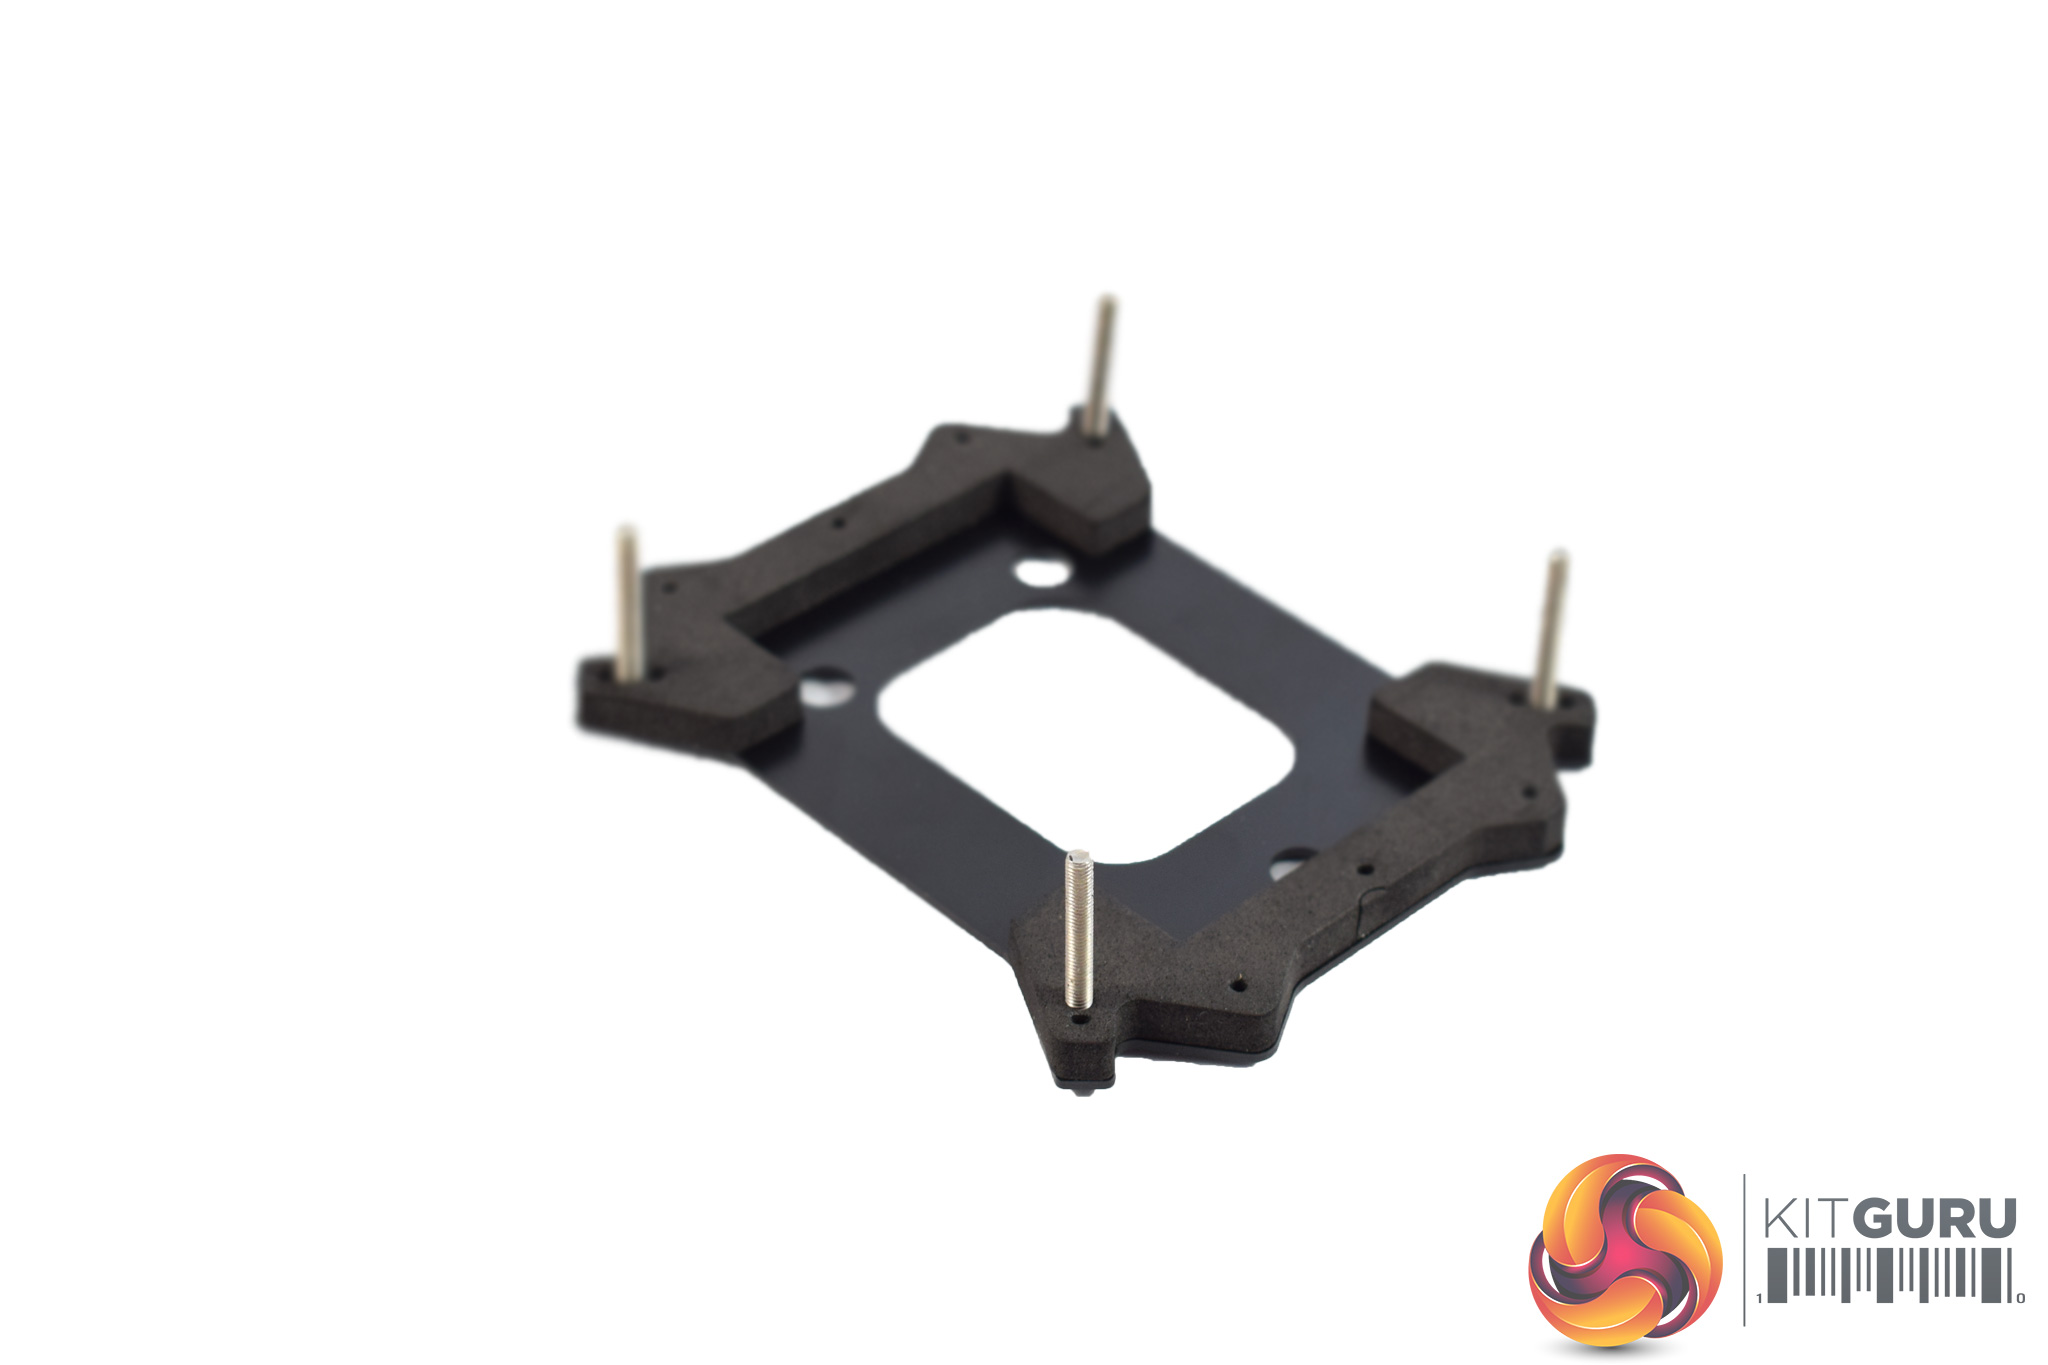
Next, we need to push four long screws through the backplate.
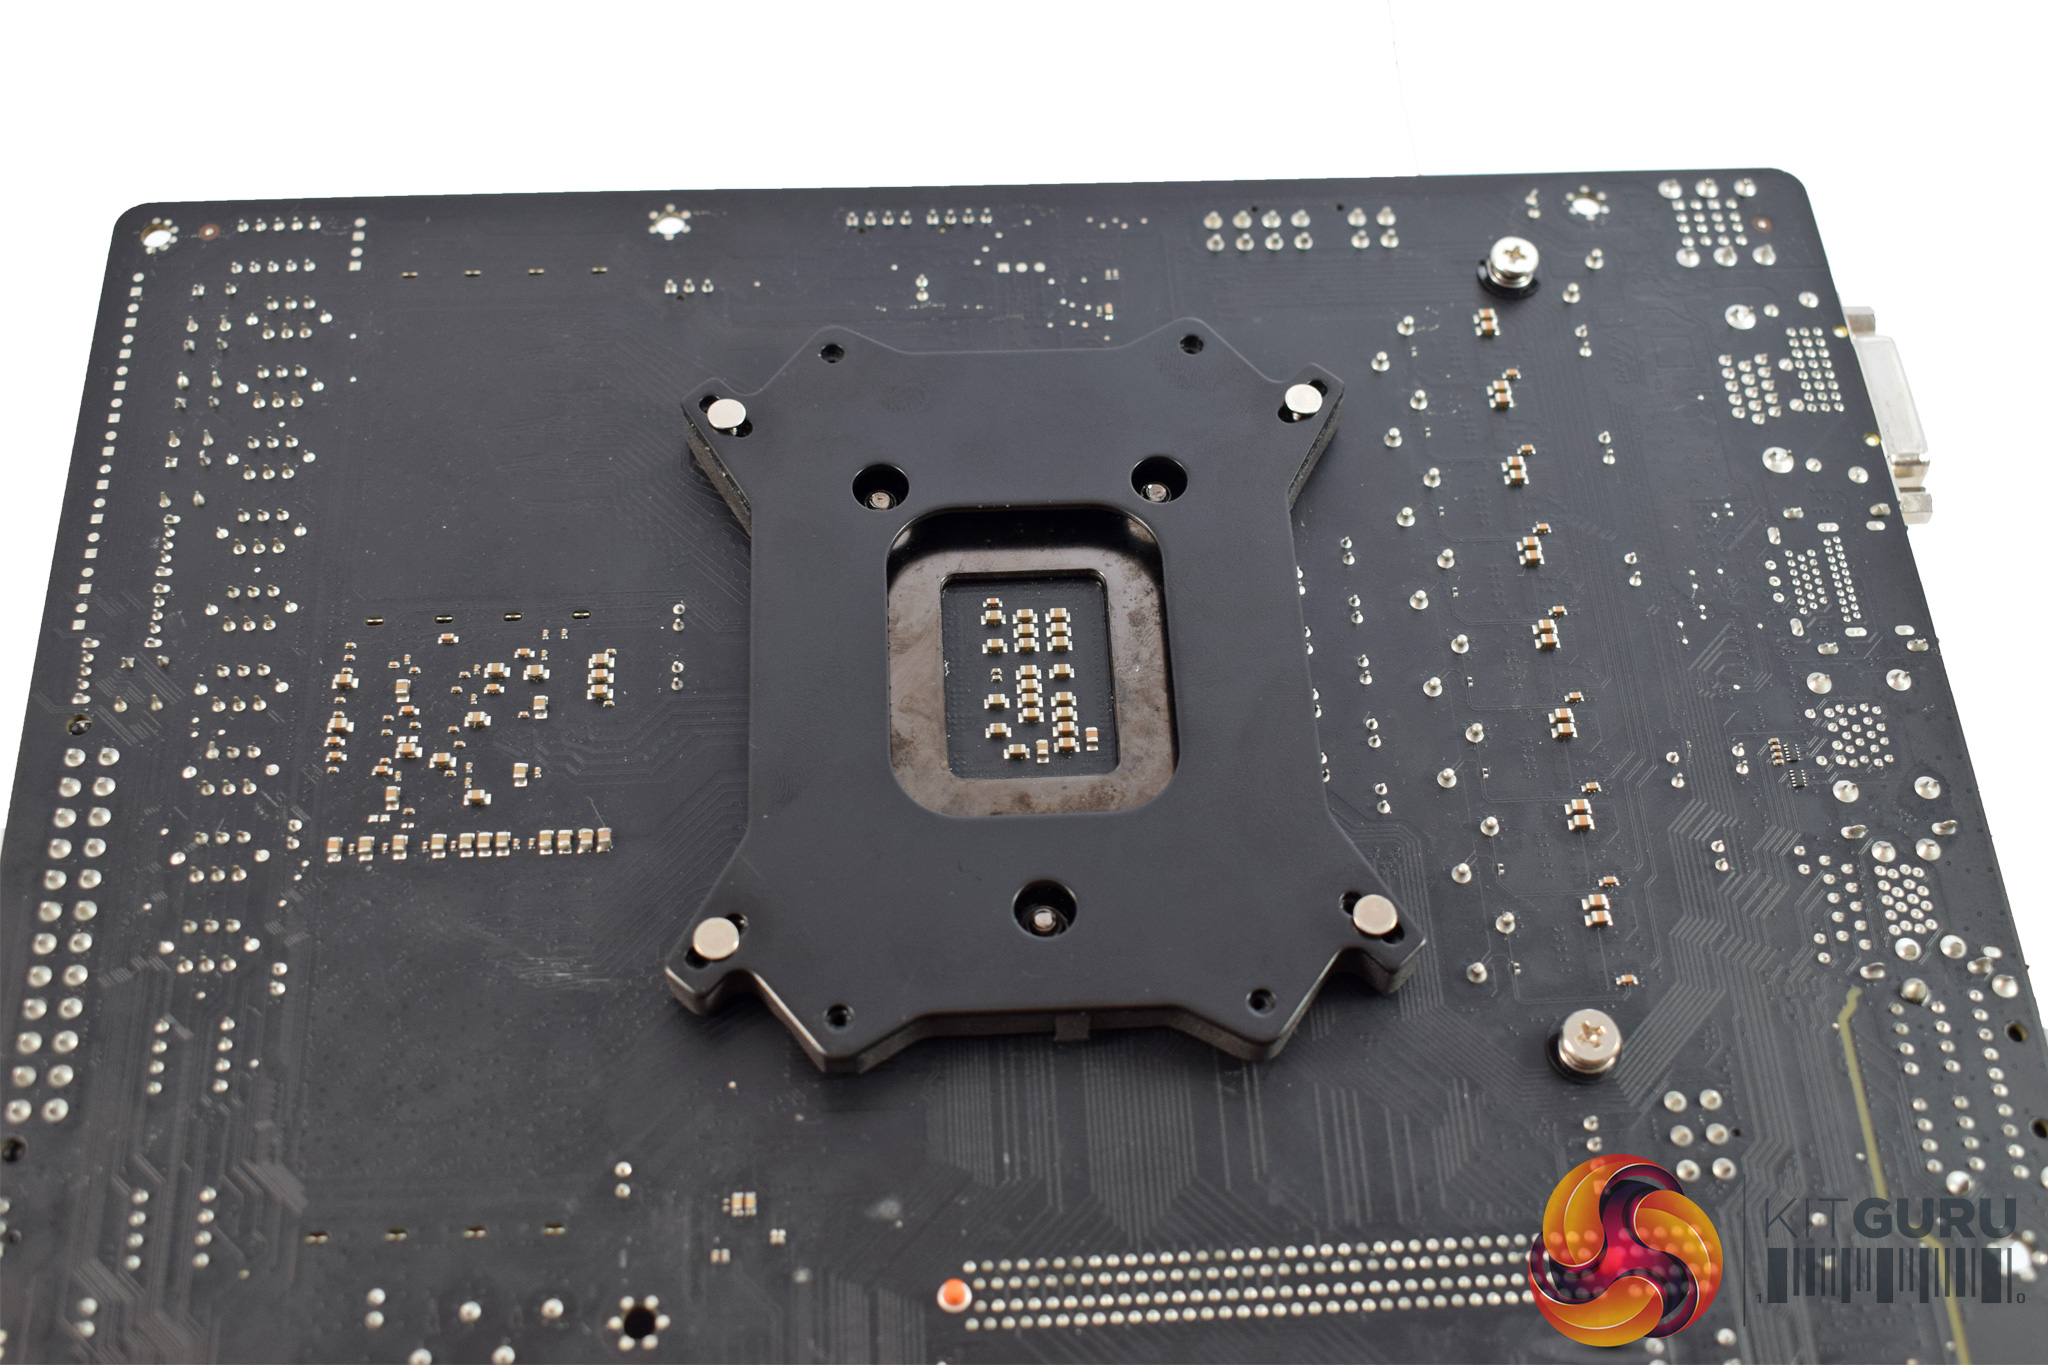
Once you have done that, slot the backplate into place on the underside of the motherboard.
![]()
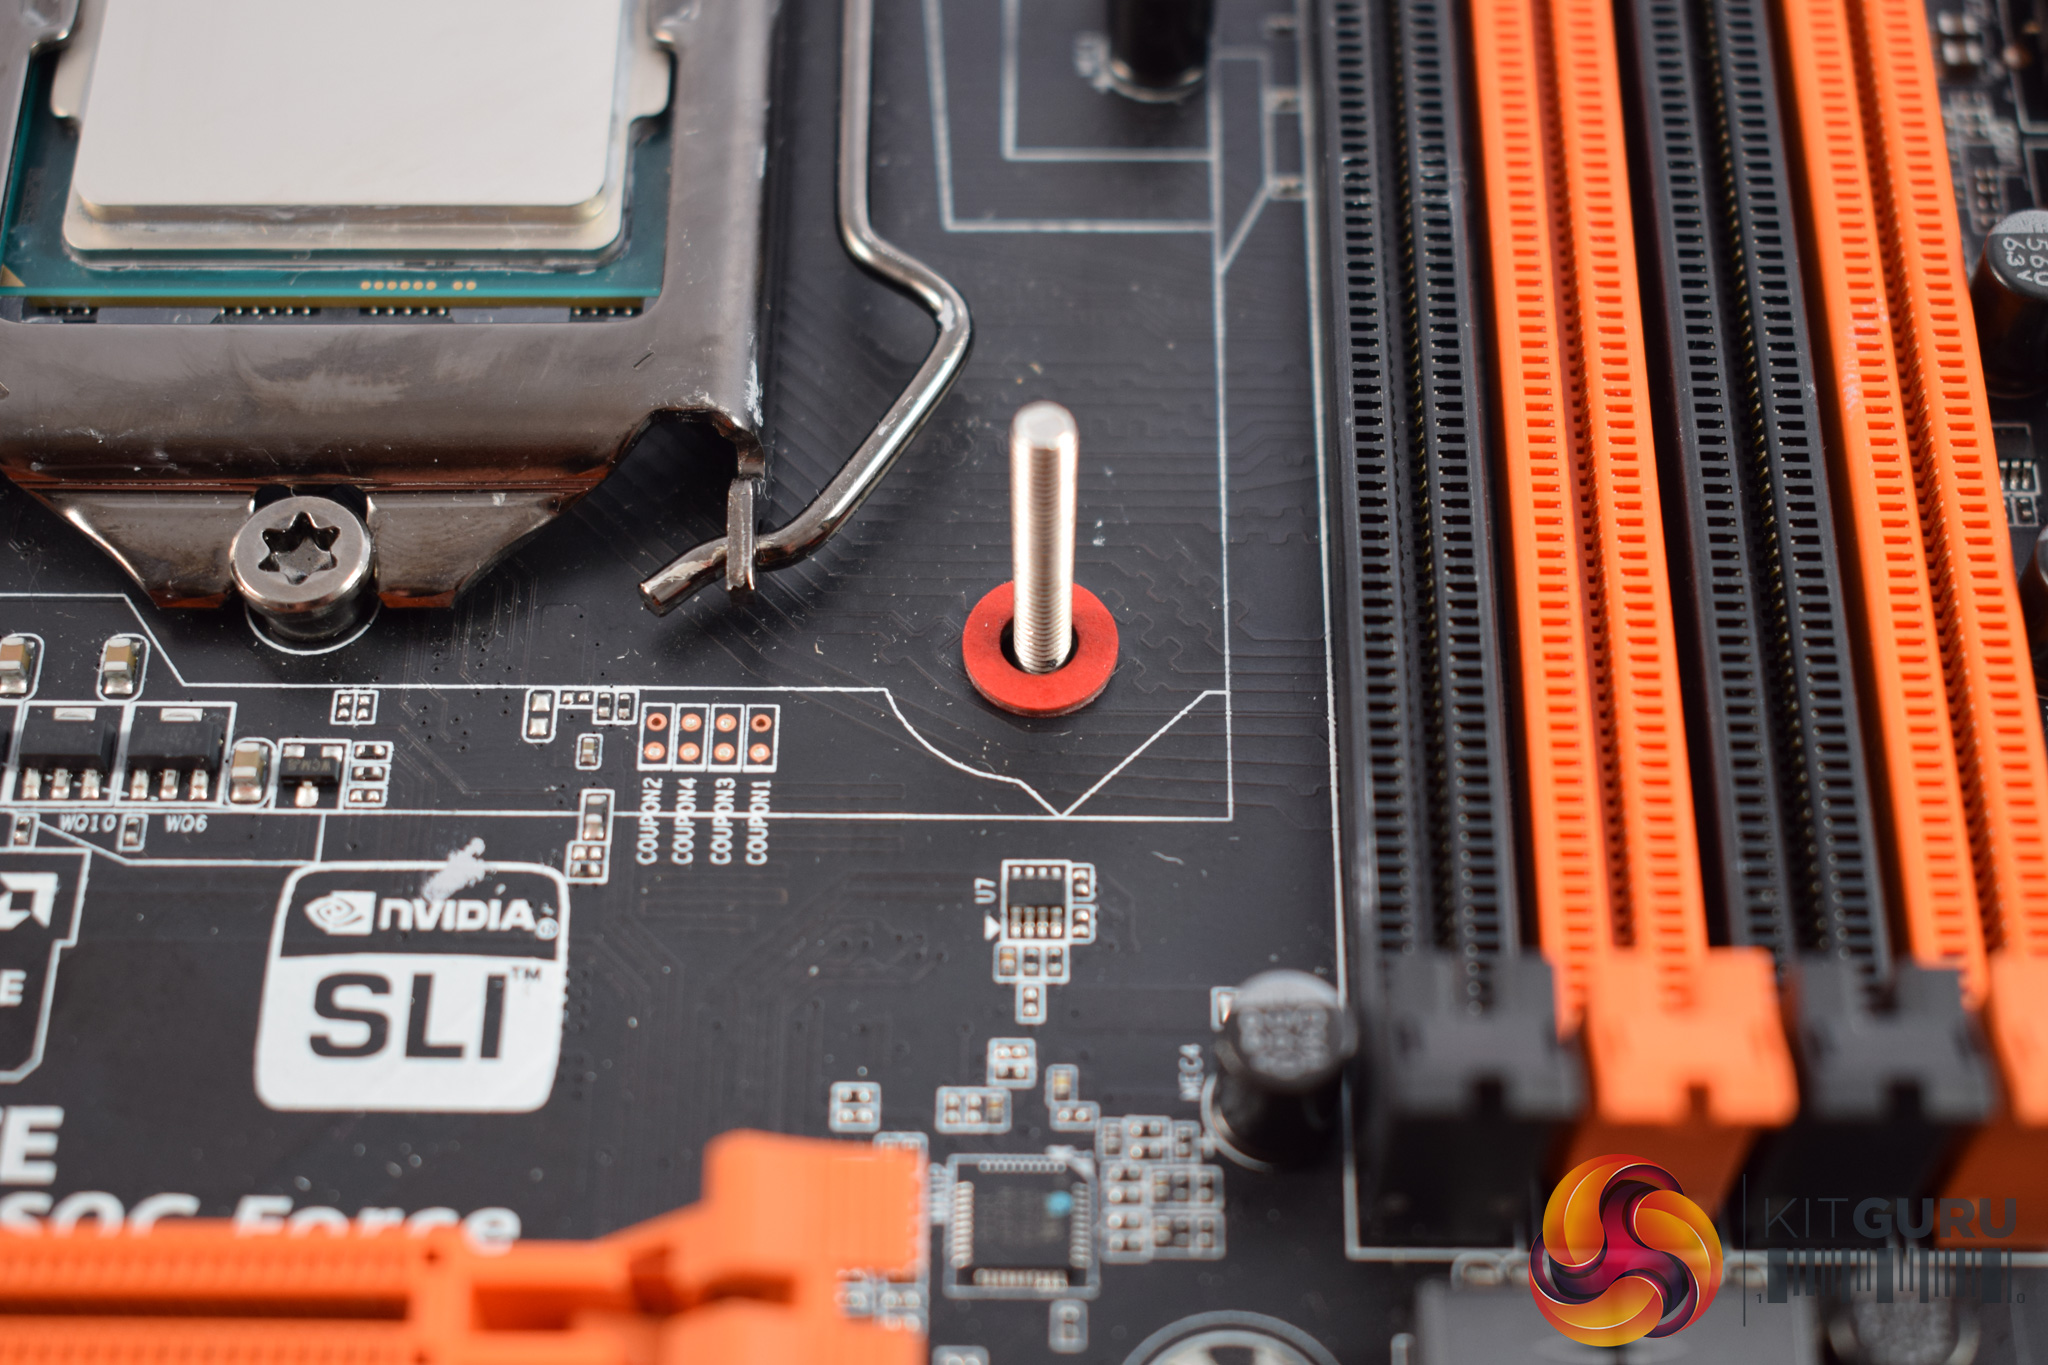
When you have got the screws poking through the motherboard socket holes, a washer needs to be placed on-top. After that, there are 4 spacers that also need to be placed over the screws.
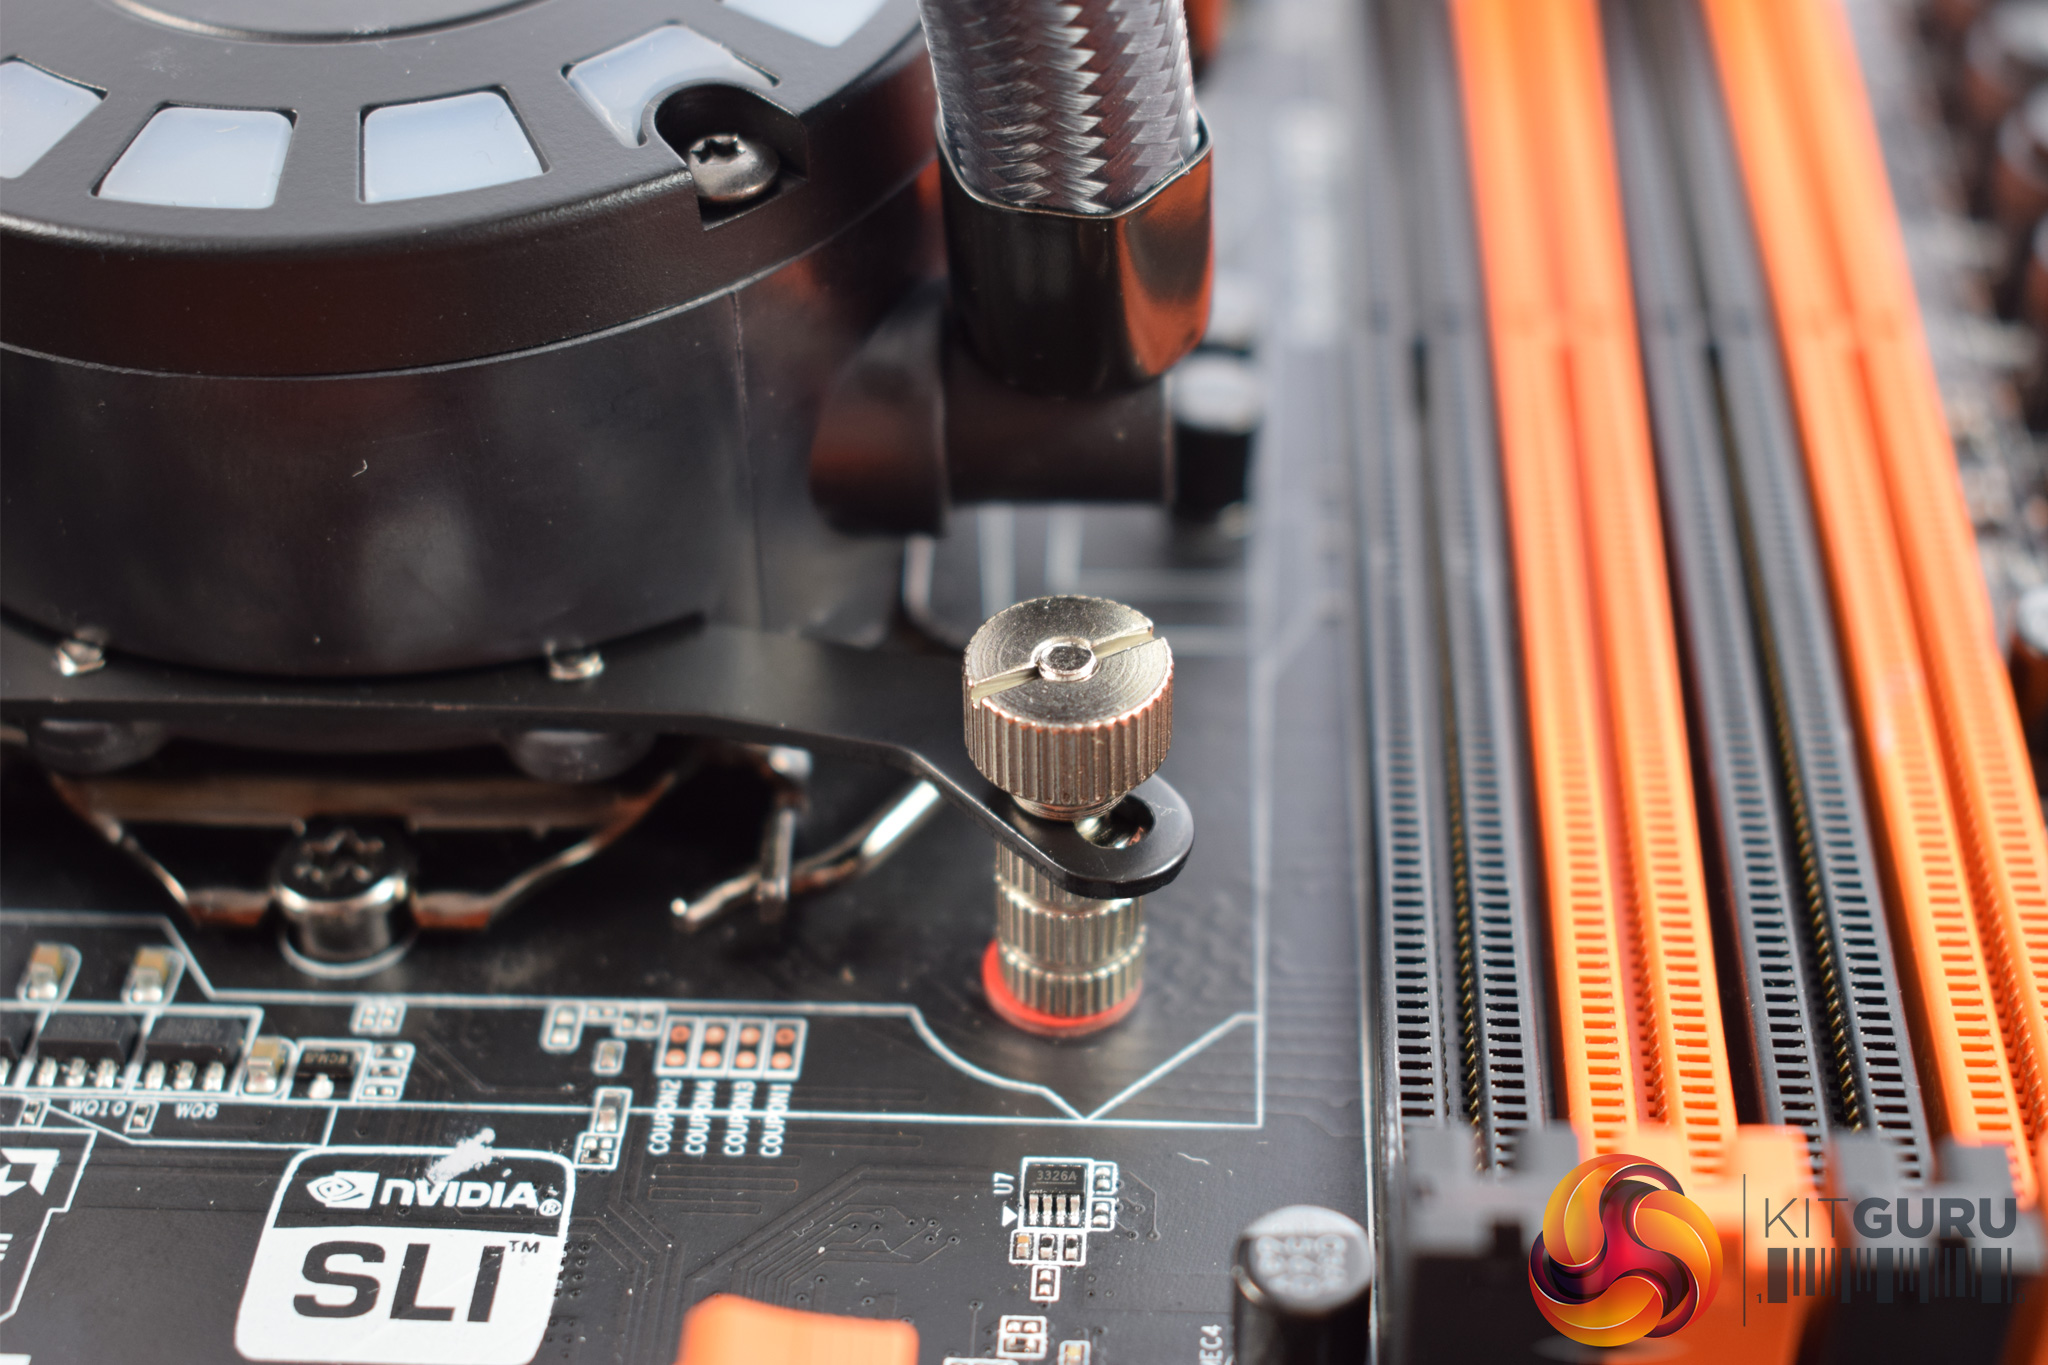
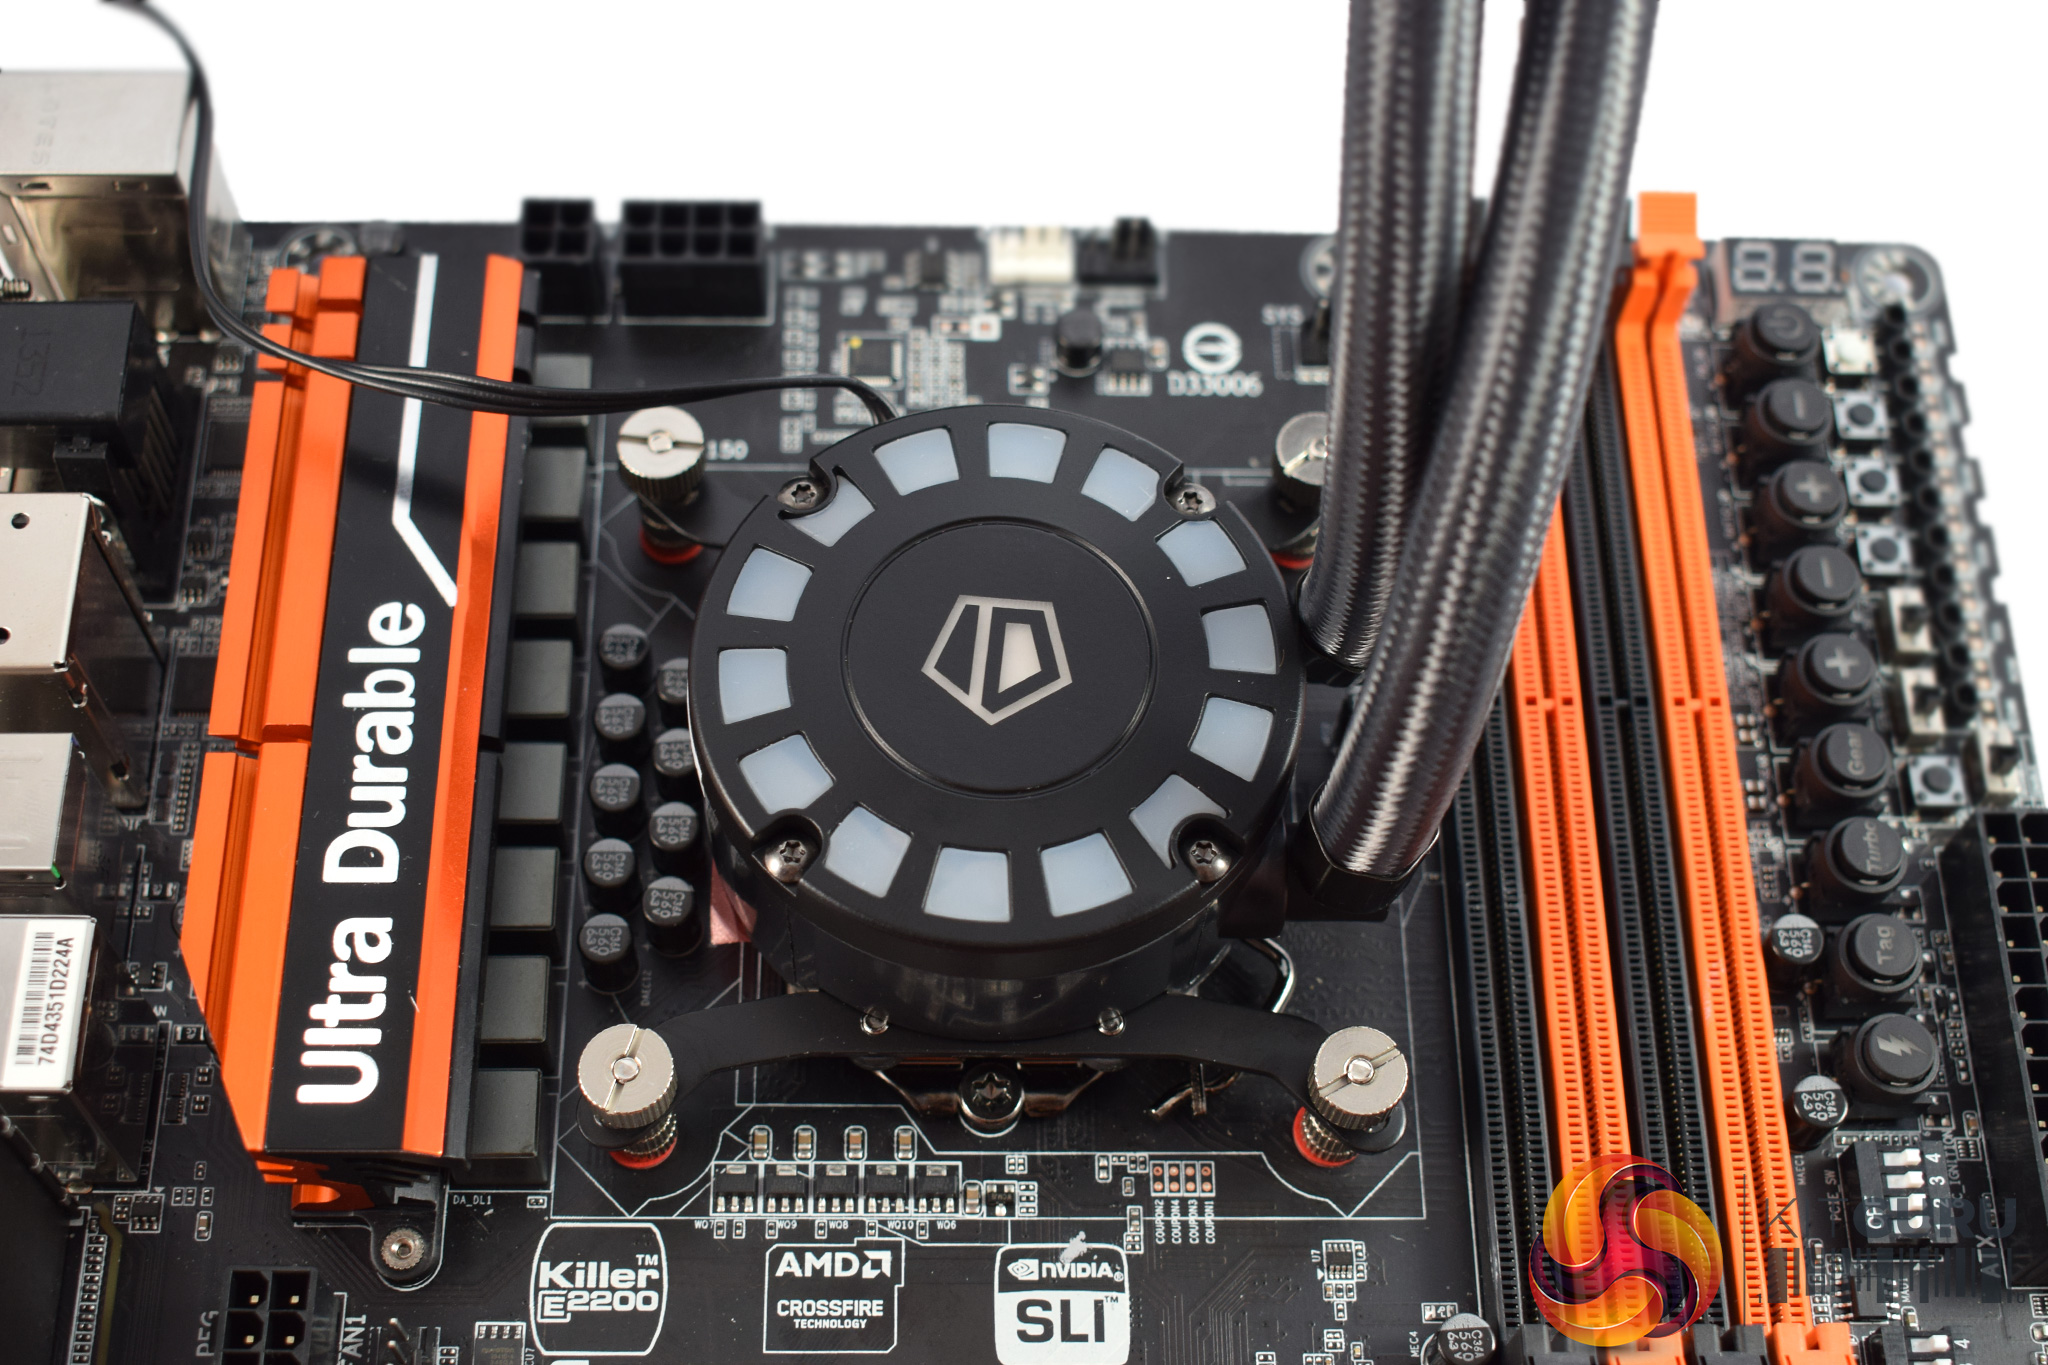
Next, mount the pump on-top of the CPU, aligning the pump's pre-installed bracket with the four screws.
The pump is secured to the screws using four small thumbscrews/nuts.
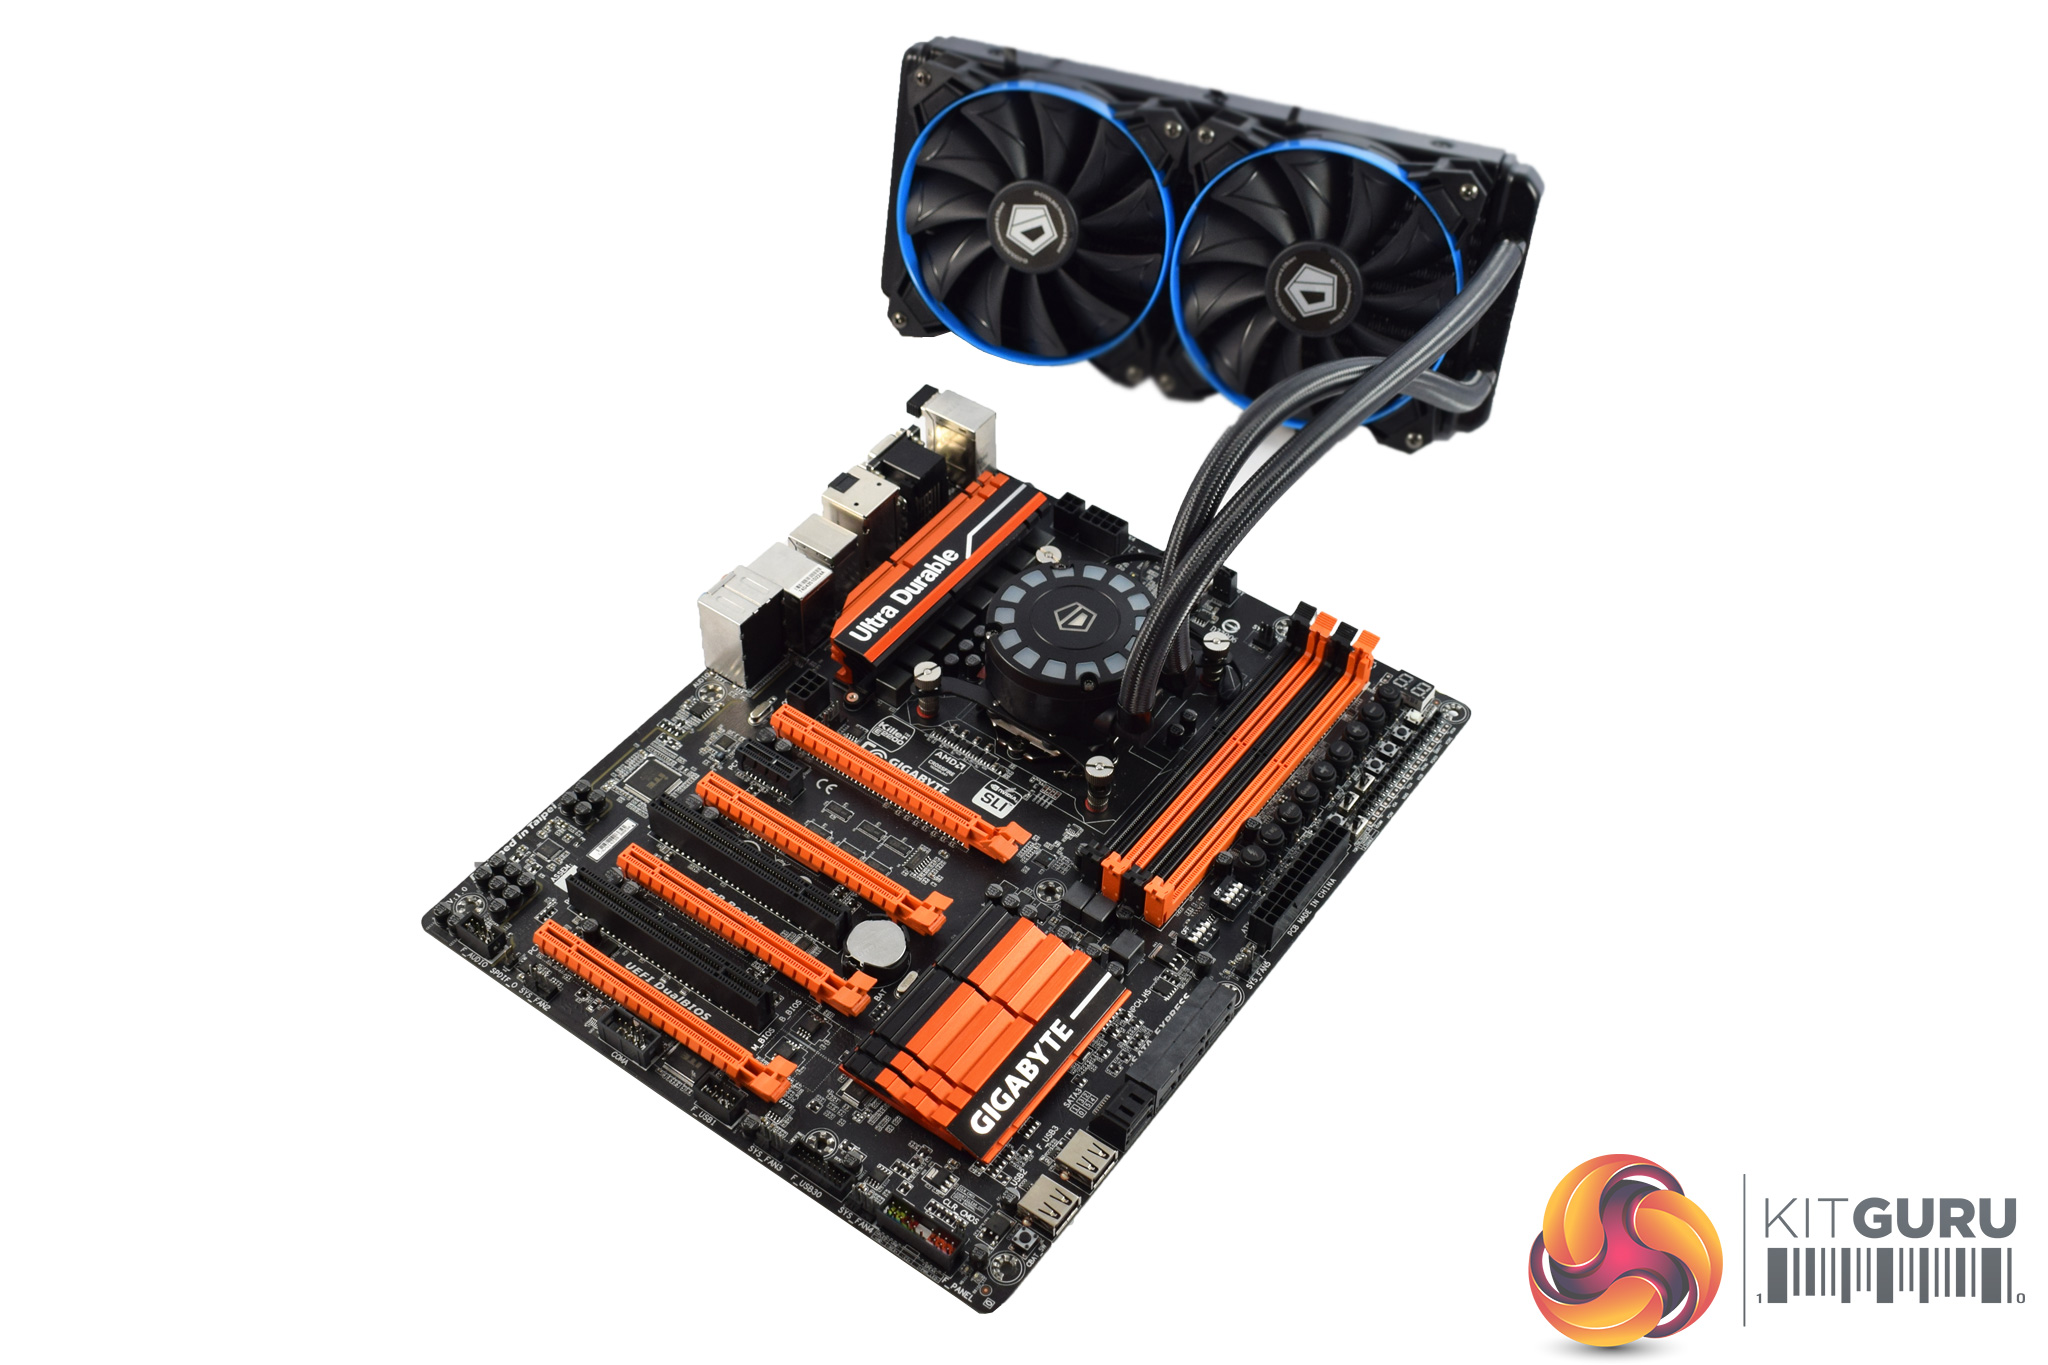
After that, installation is complete. It is a simple process and should not prove a challenge for even the most inexperienced PC builder.
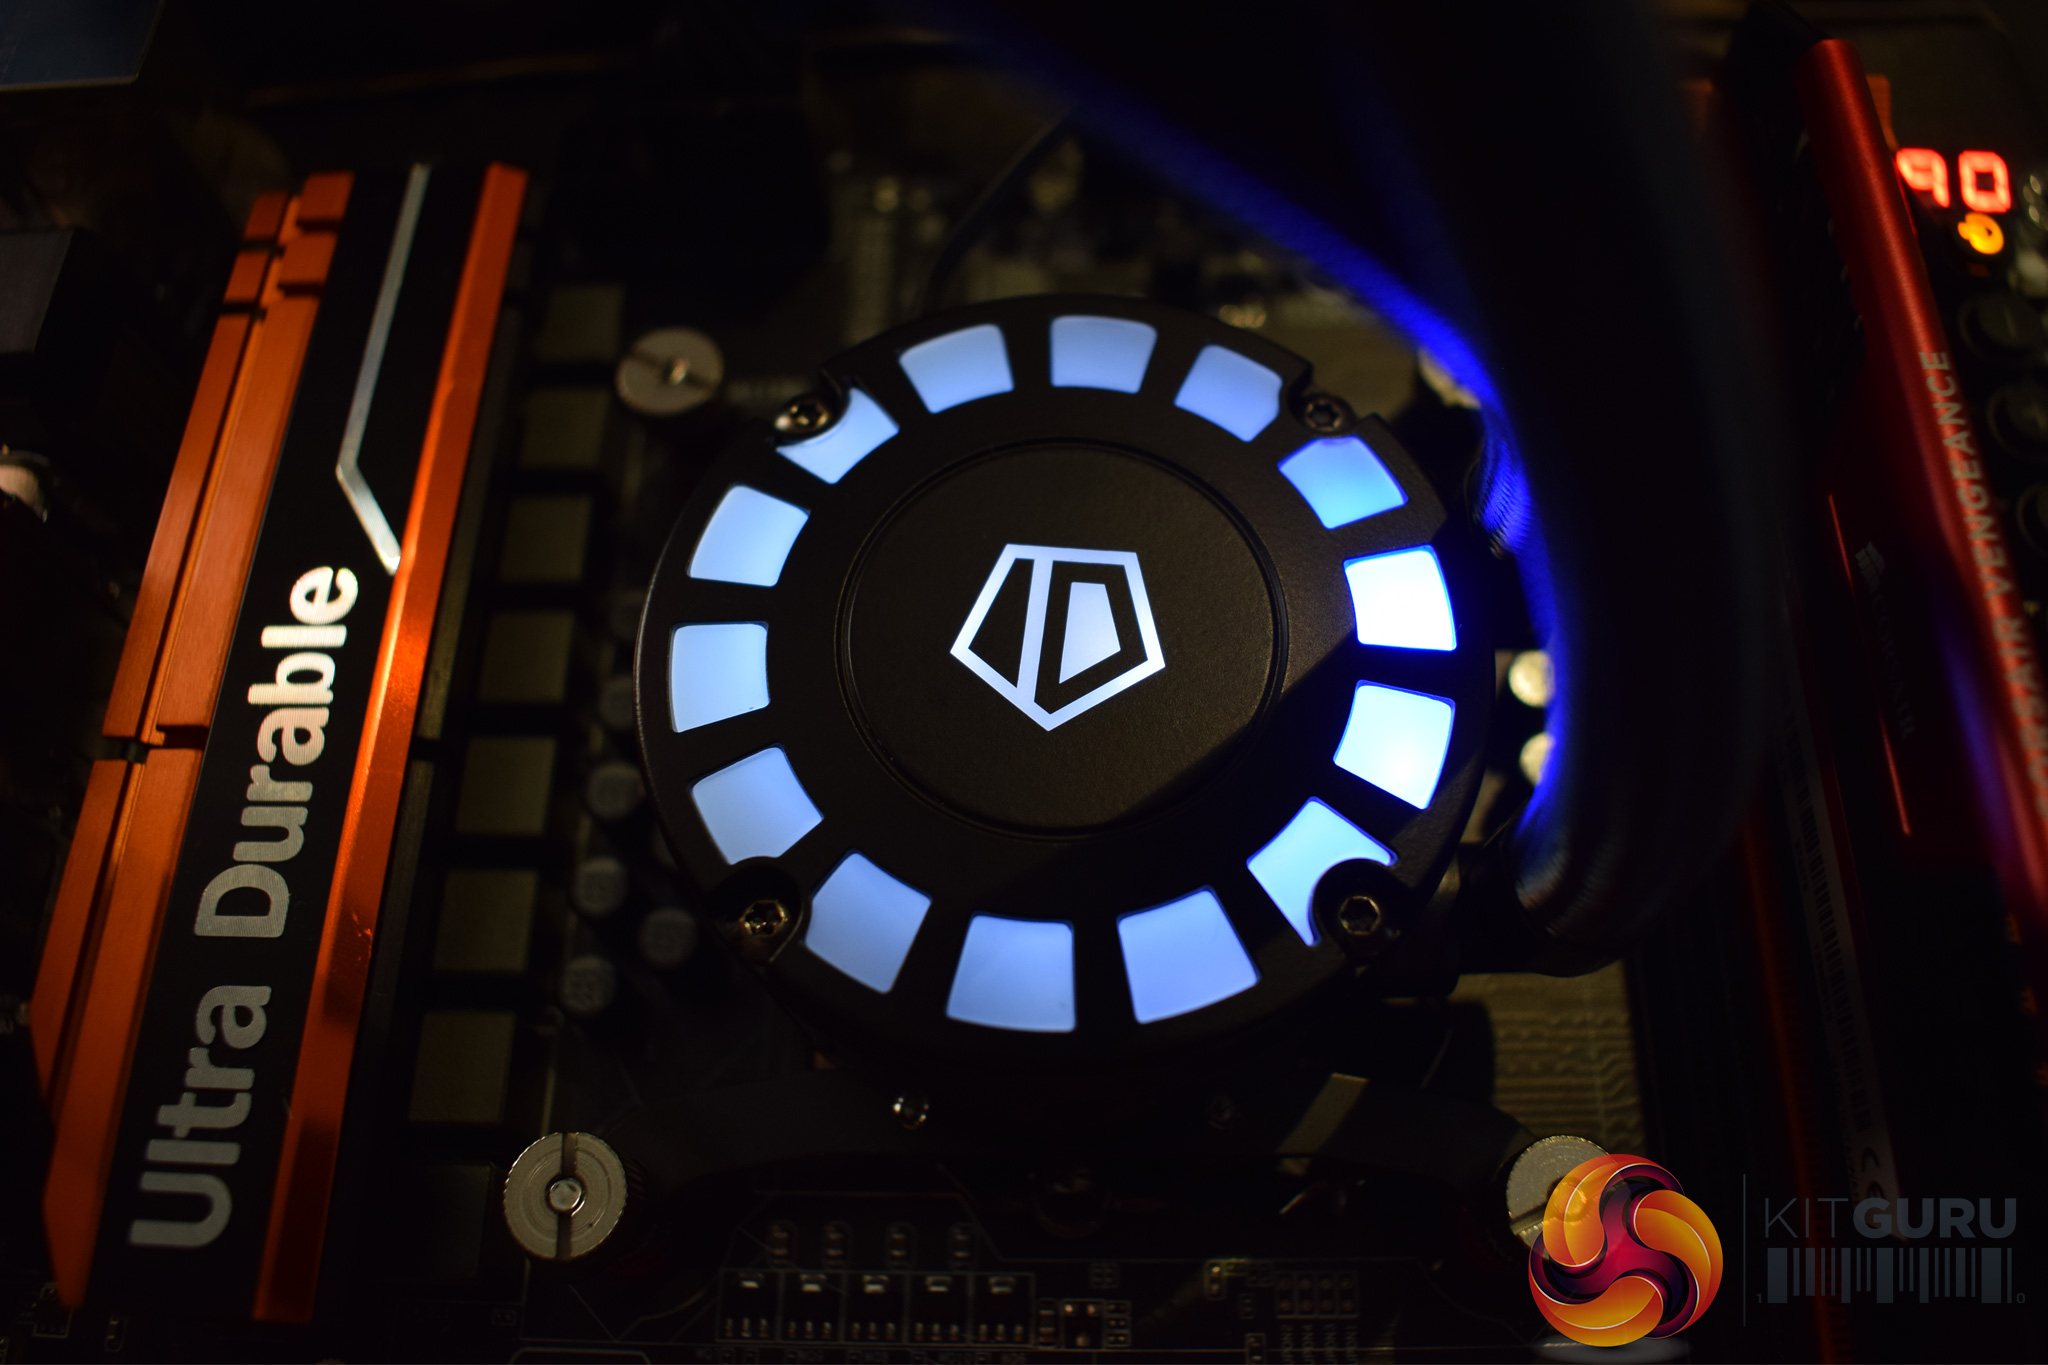
Before moving on, it is worth noting the pump's LEDs lighting. As I have already mentioned, my pump is fitted with blue LEDs, and the LEDs themselves light-up in a circular motion. It is not exactly rivalling the NZXT Kraken series for sophistication, but the lighting does look good and is a worthwhile inclusion at the price-point.

I’d also like to put out there the Coolermaster MasterLiquid 240, £70, braided tubing which looks stunning, back lit logo, excellent cooling for its price and more than acceptable noise levels and it comes with the AM4 kit.
https://www.overclockers.co.uk/cooler-master-masterliquid-240-aio-240mm-cpu-cooler-hs-07d-cm.html