Our CPU cooler test system is Intel Z390 based, therefore, we will be following the relevant Intel 115X socket installation procedure.
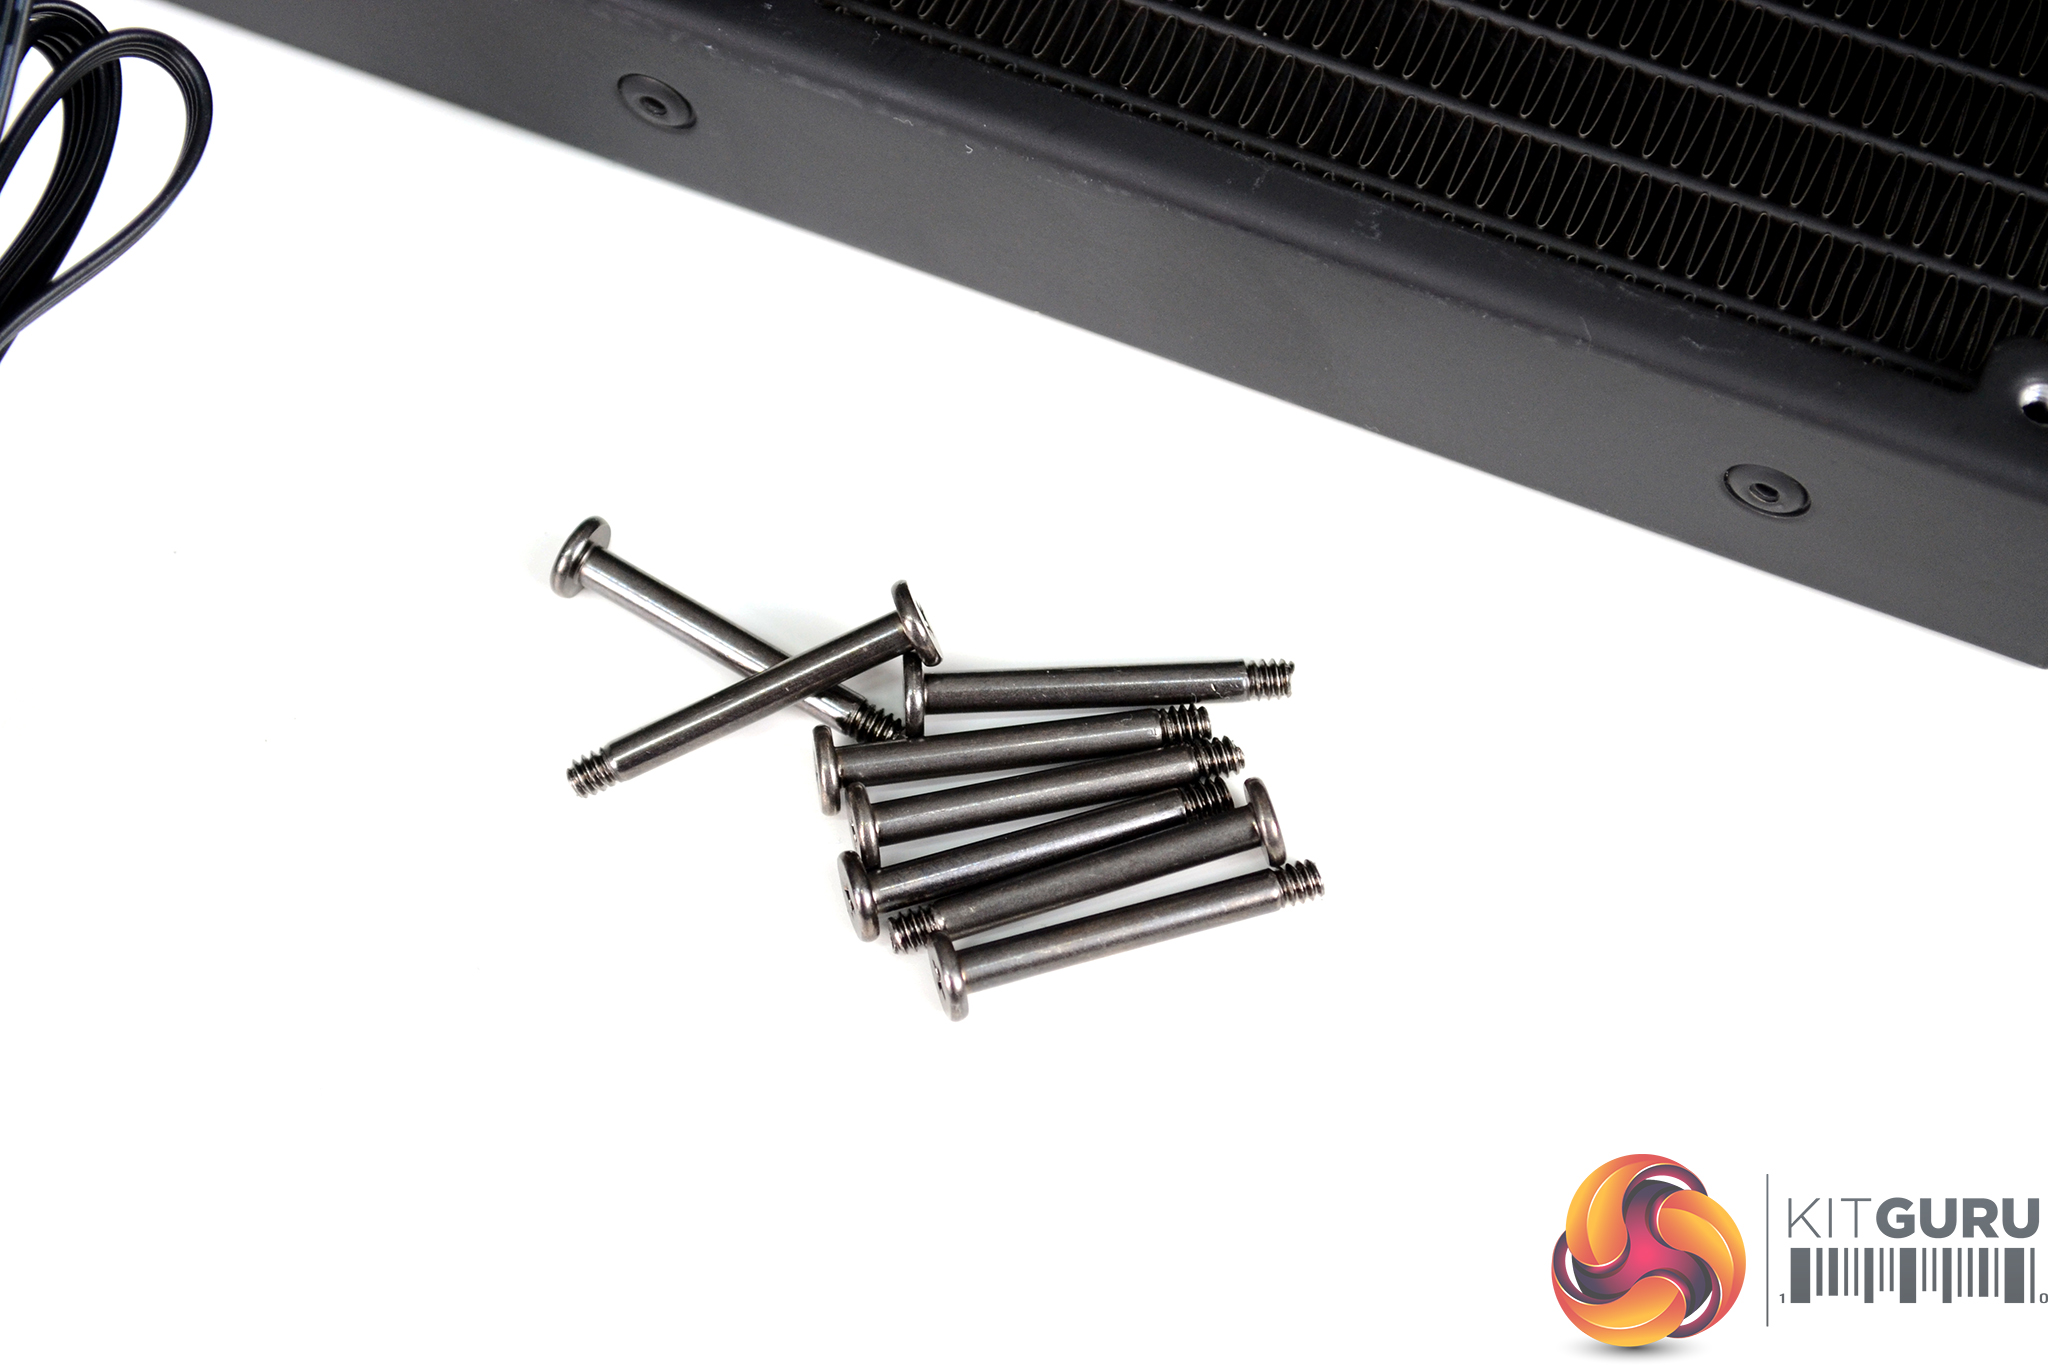
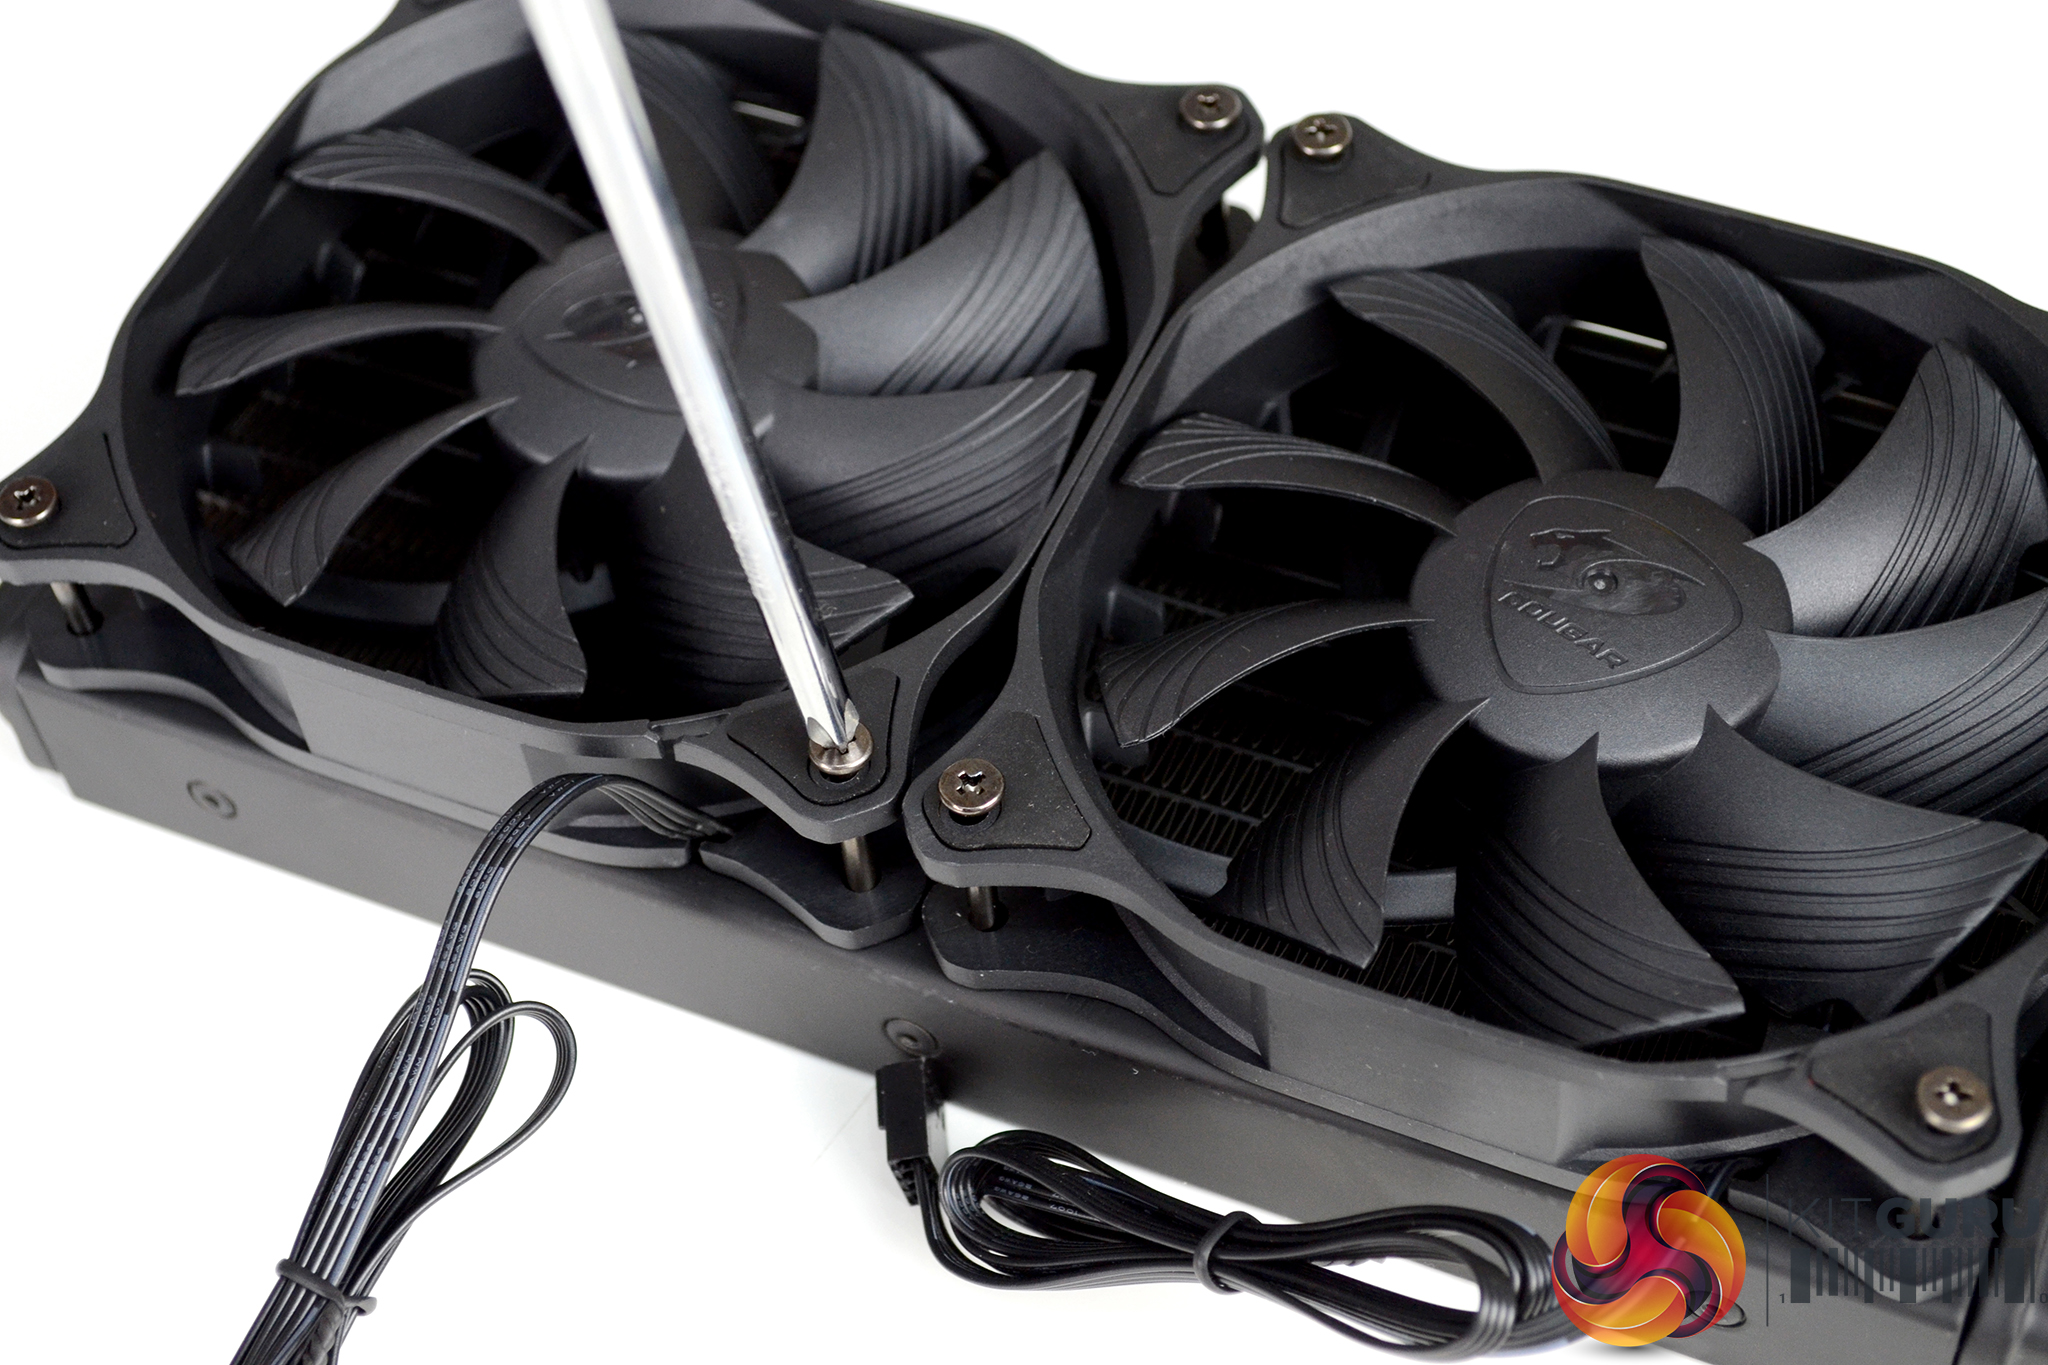
To begin installation on our Intel-based test bench we install the fans to the radiator, you may want to delay this step until later depending on how you plan to mount the cooler inside your case. To fix the fans to the radiator on our test bench we use the eight long black screws and tighten in position using a Philips screwdriver.
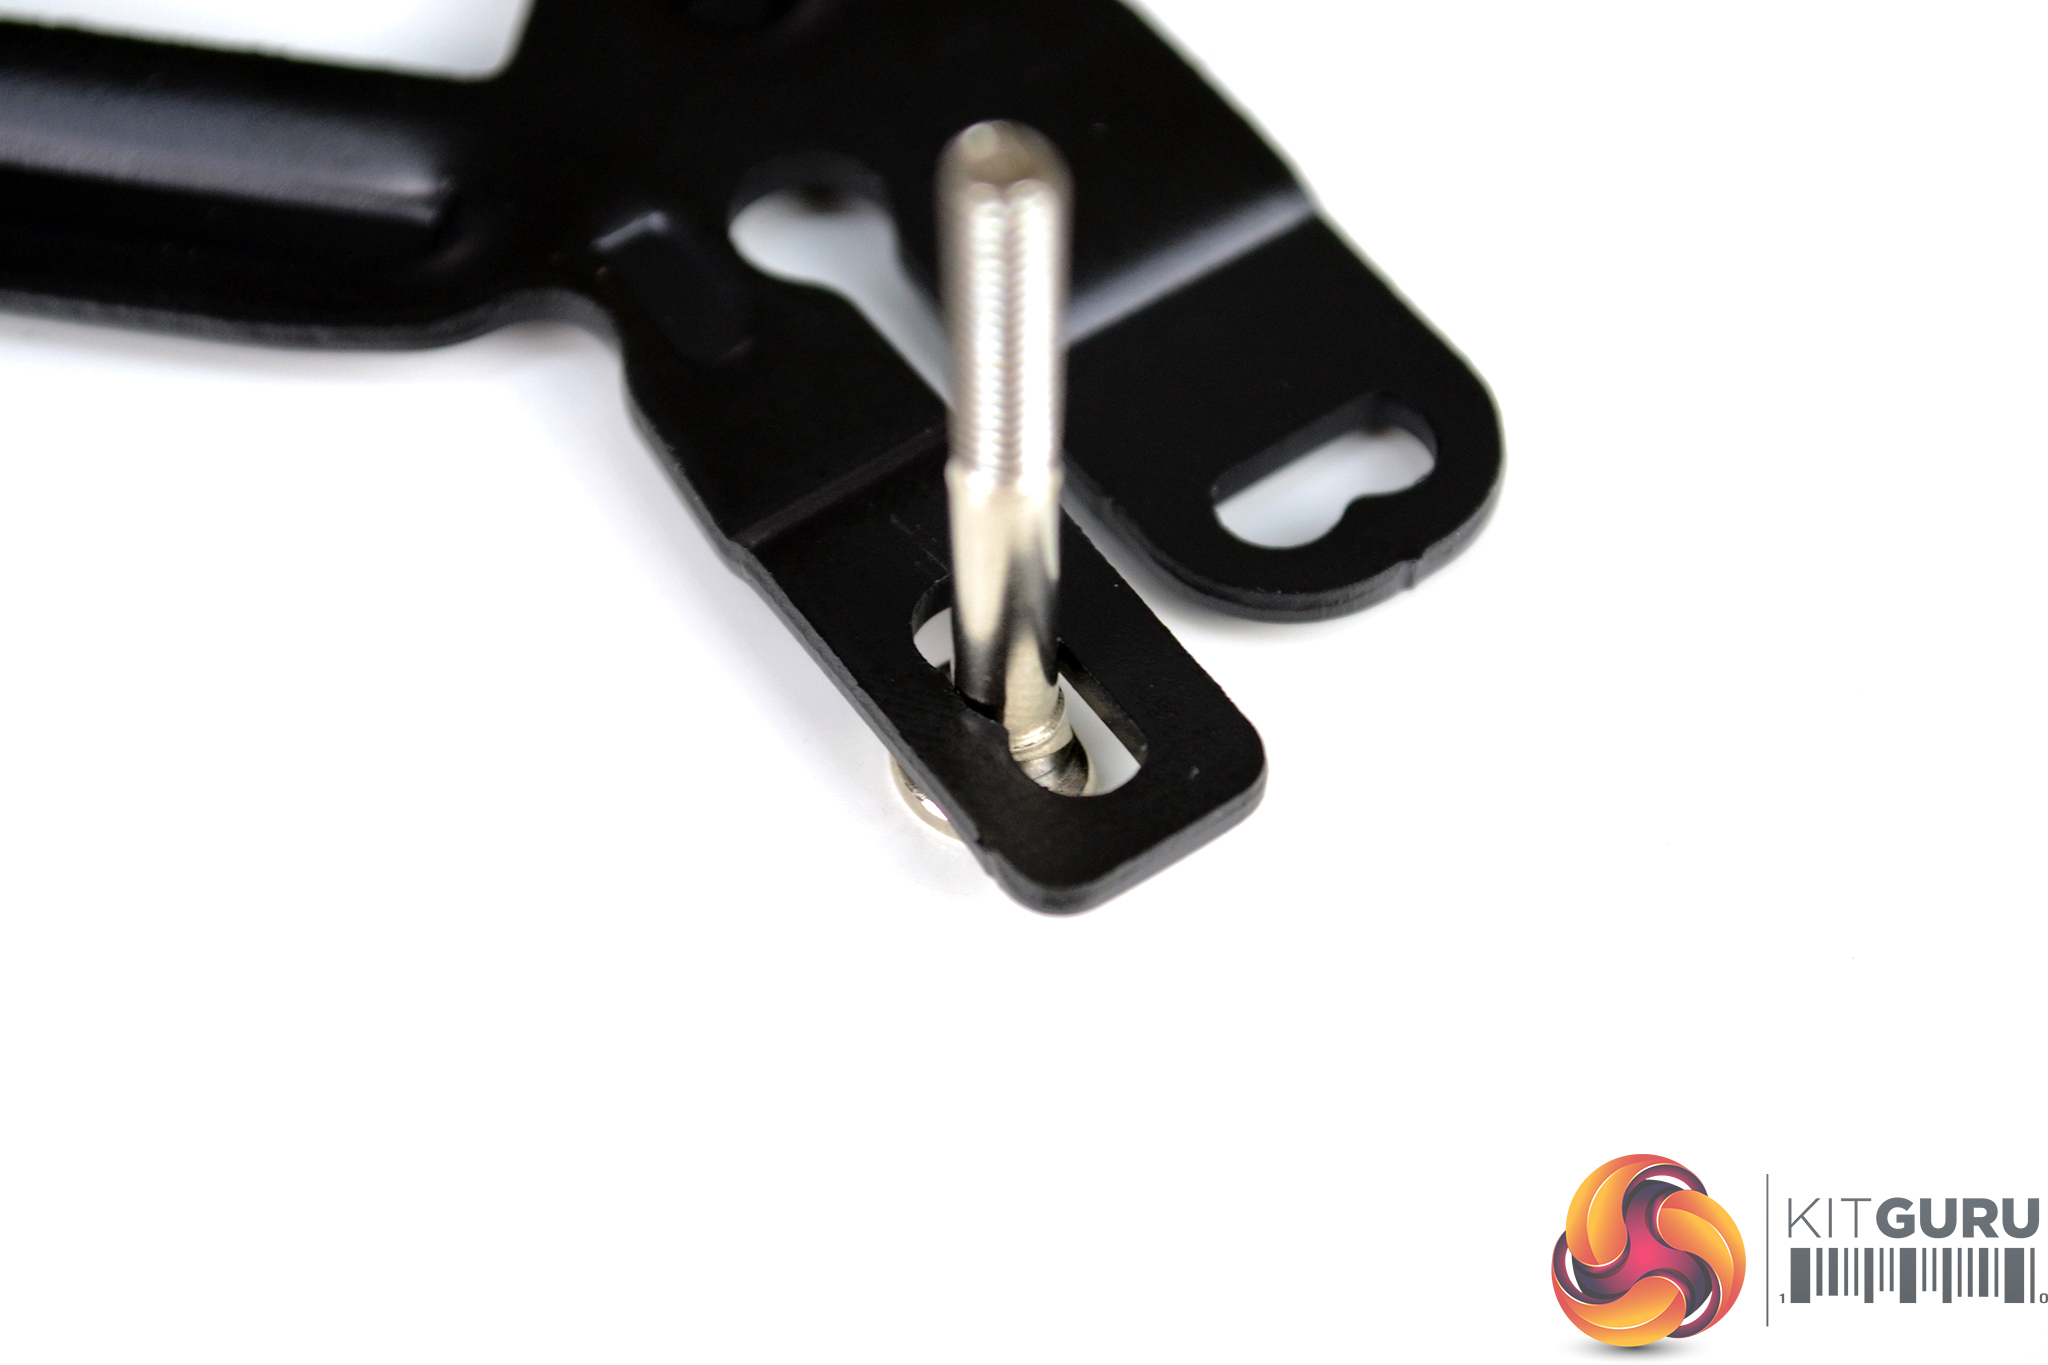
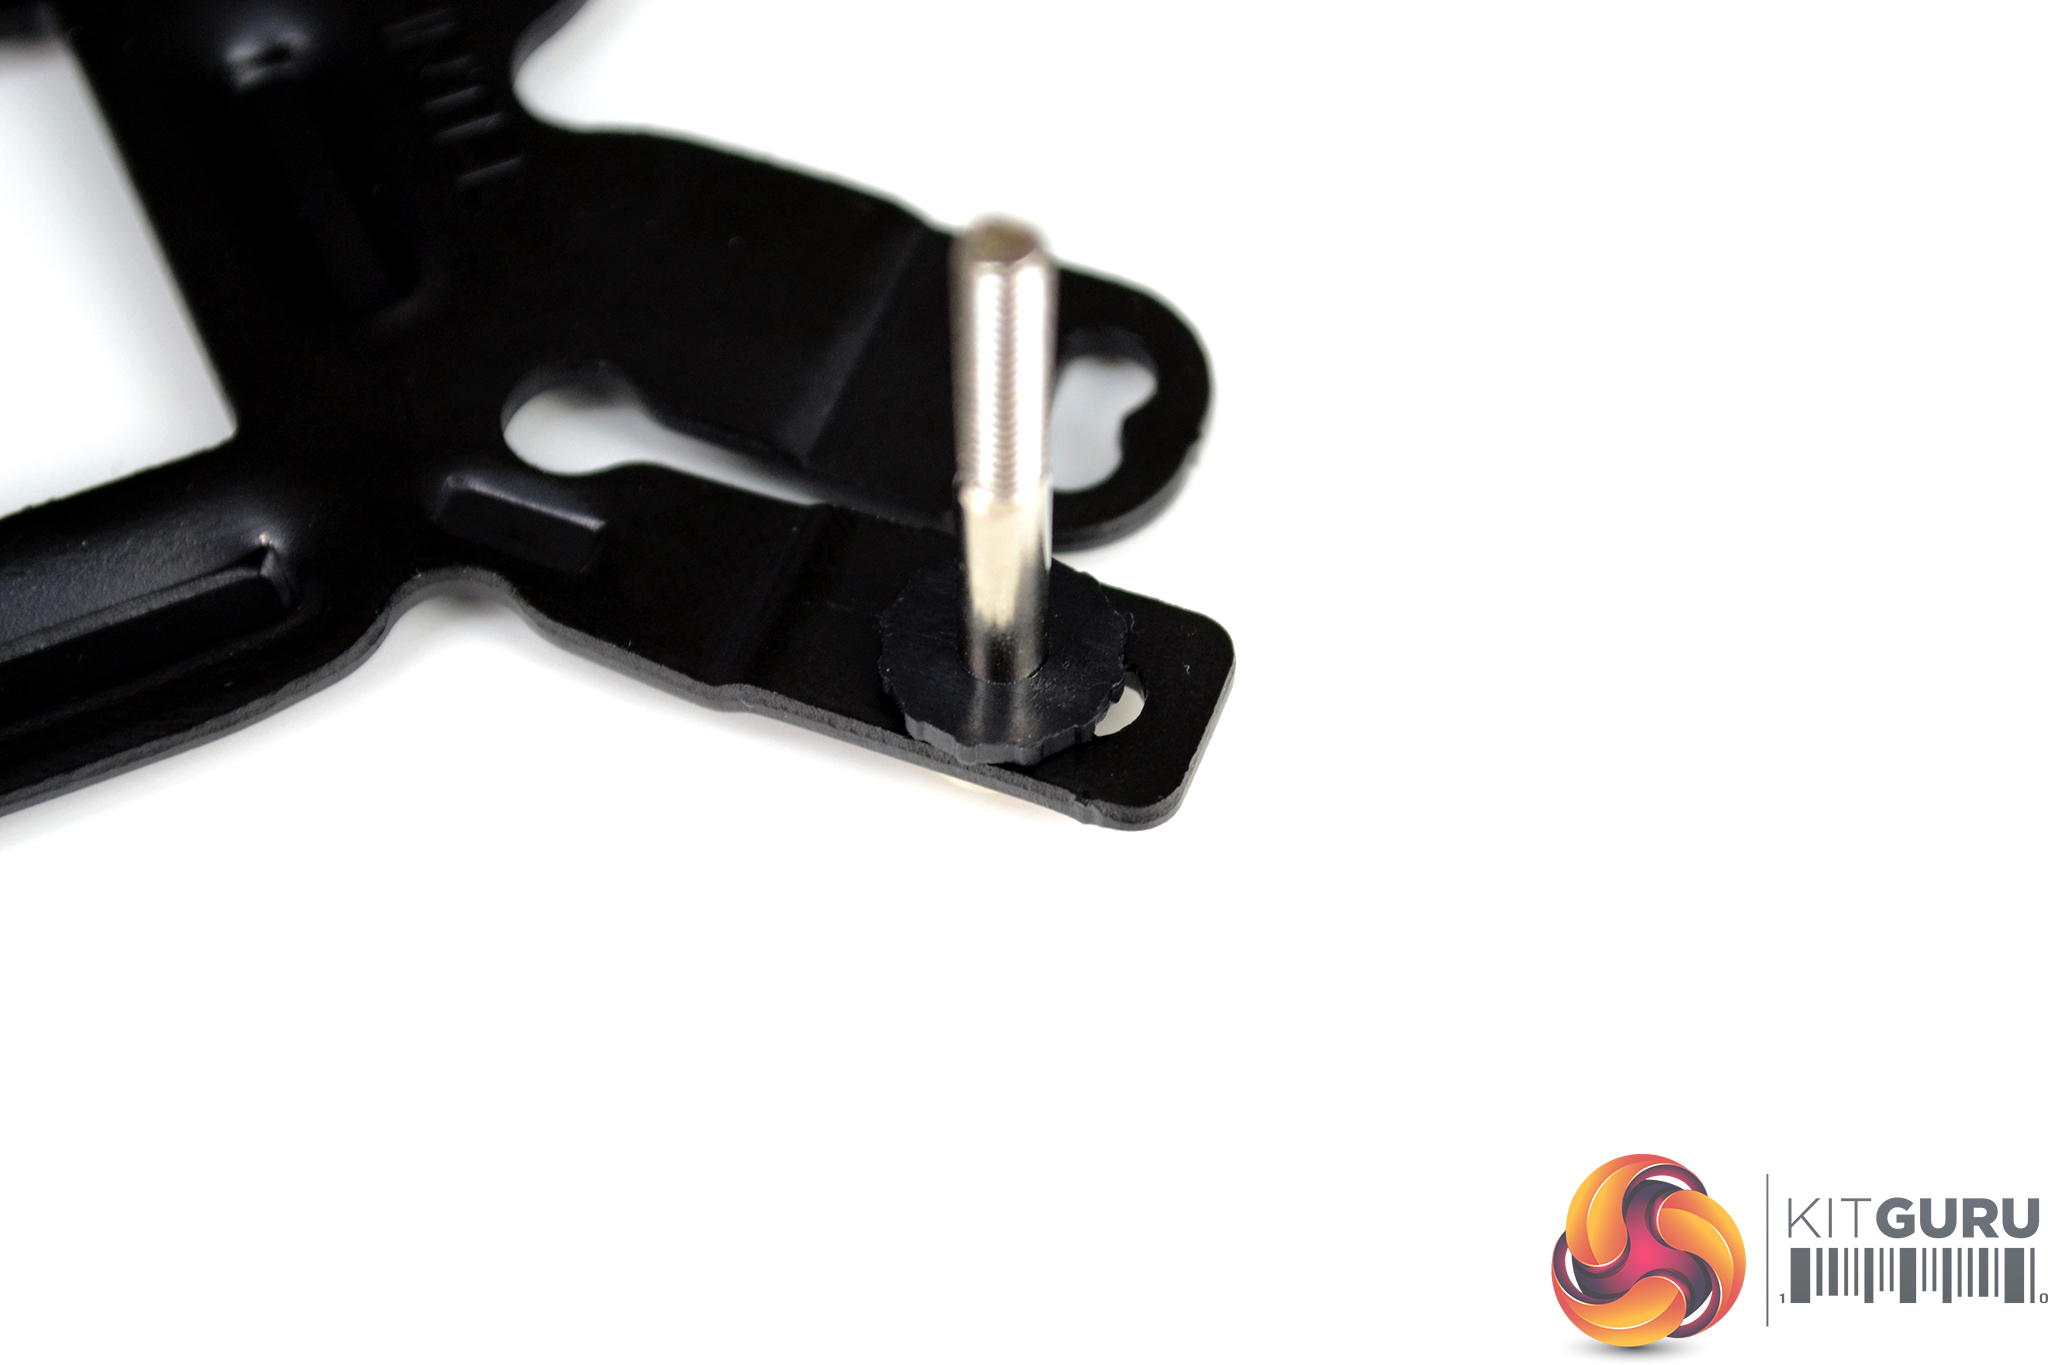
Since the cooler comes with the Intel upper mounting bracket pre-installed, no other preparation of the CPU block is required for Intel installation, which means we can now move on to motherboard preparation by inserting the standoffs into the Intel side of the backplate and holding them in place using the plastic retaining washers provided.

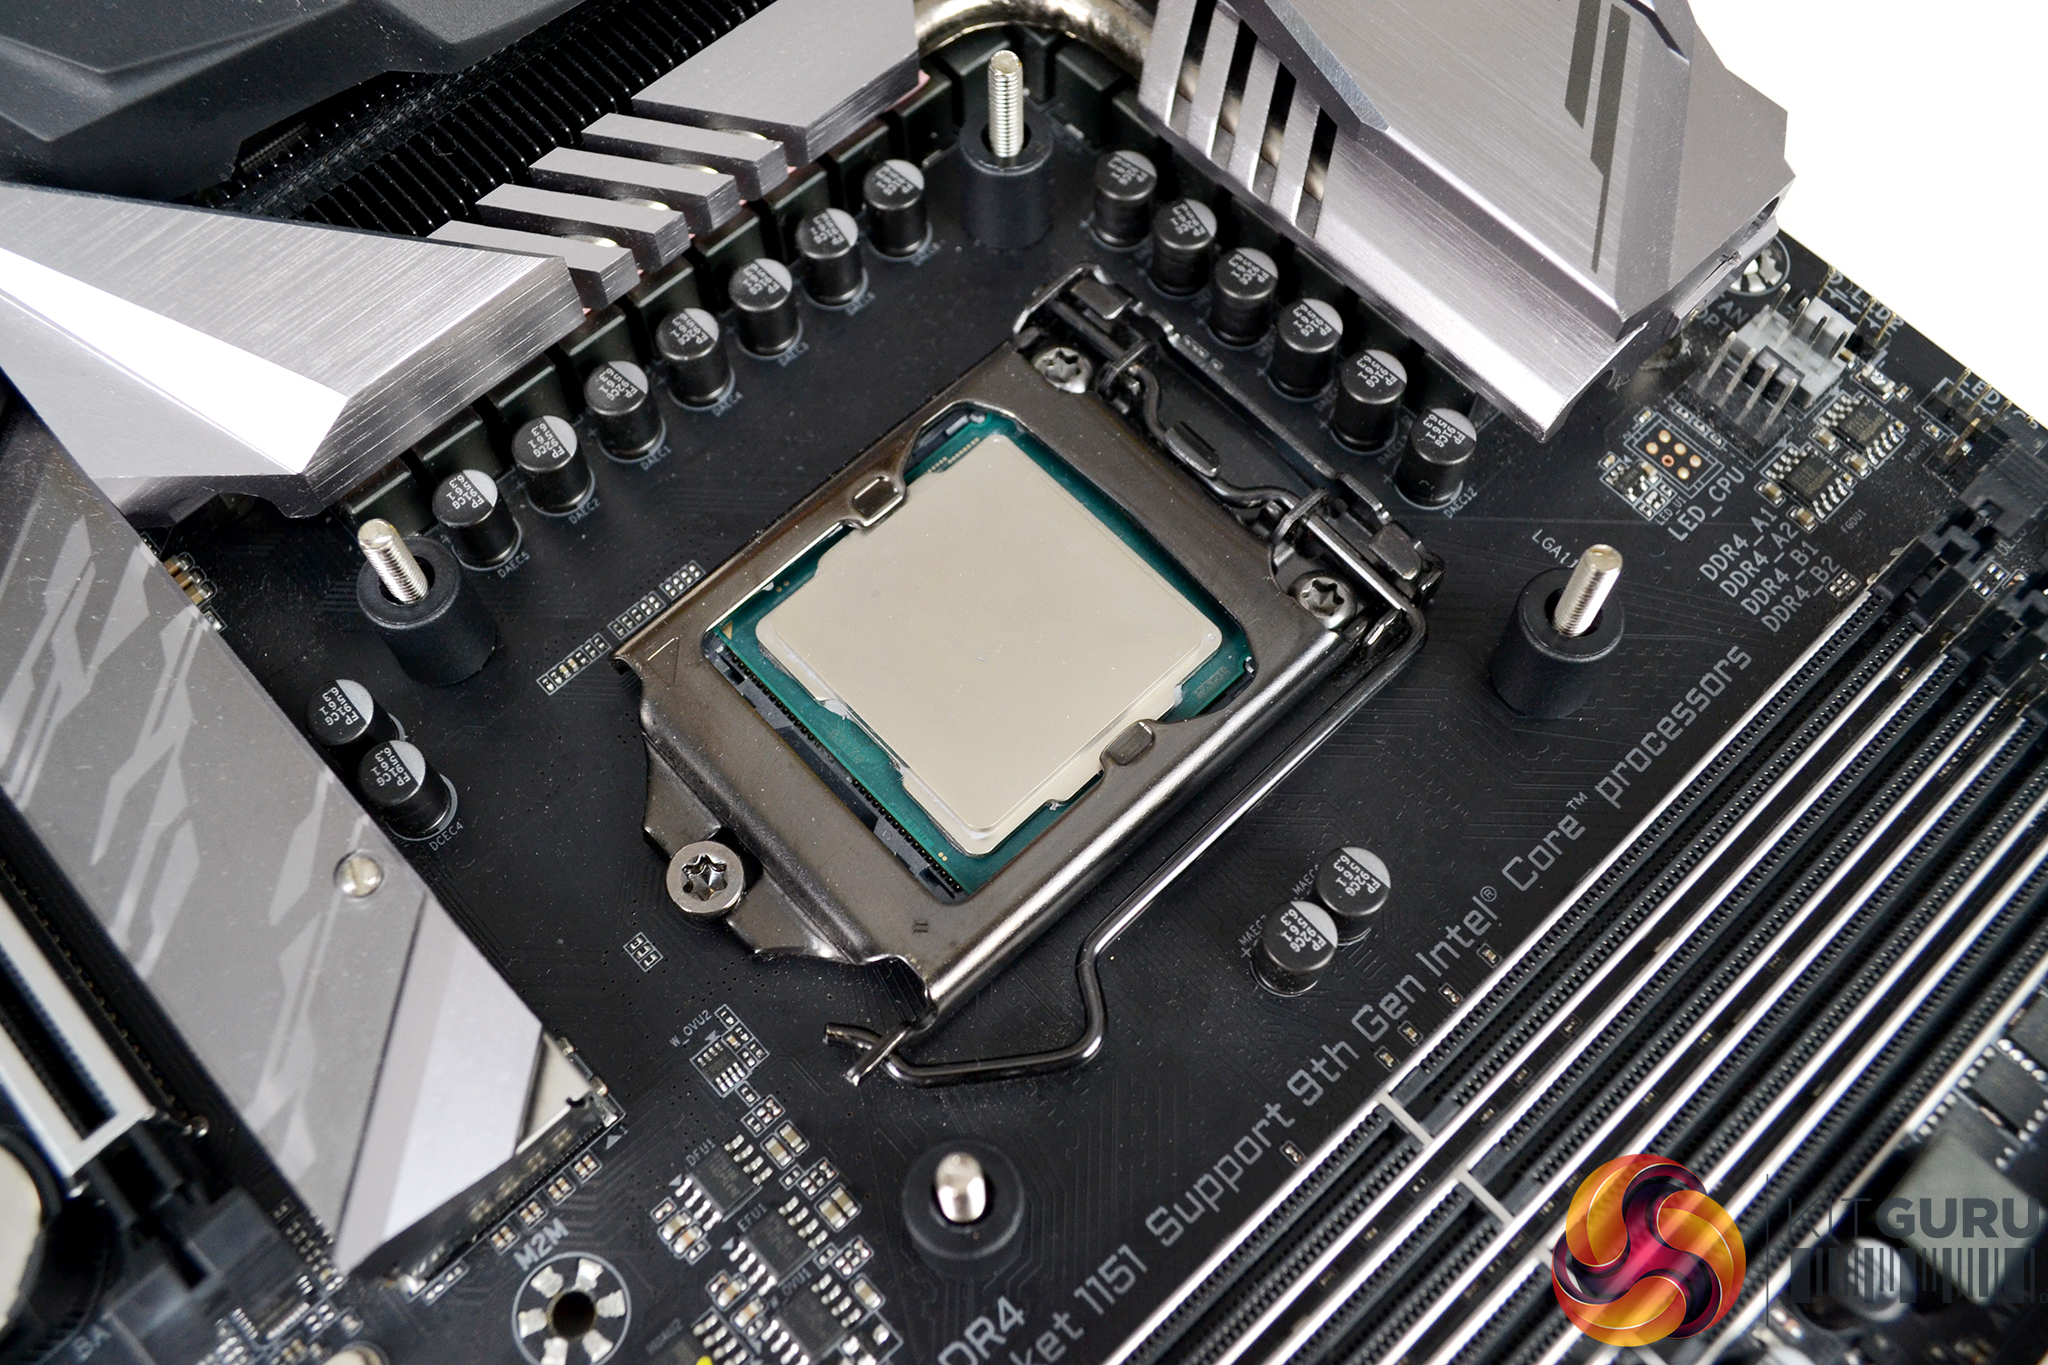
With all the standoffs attached to the backplate, lower the assembly in position on the back of the motherboard aligned with the CPU cooler retention holes. Turn the motherboard over the correct way and slide the plastic spacers over the standoffs. Note that the spacers are a tight fit over the standoffs when installed in the correct orientation as to hold the backplate to the motherboard.
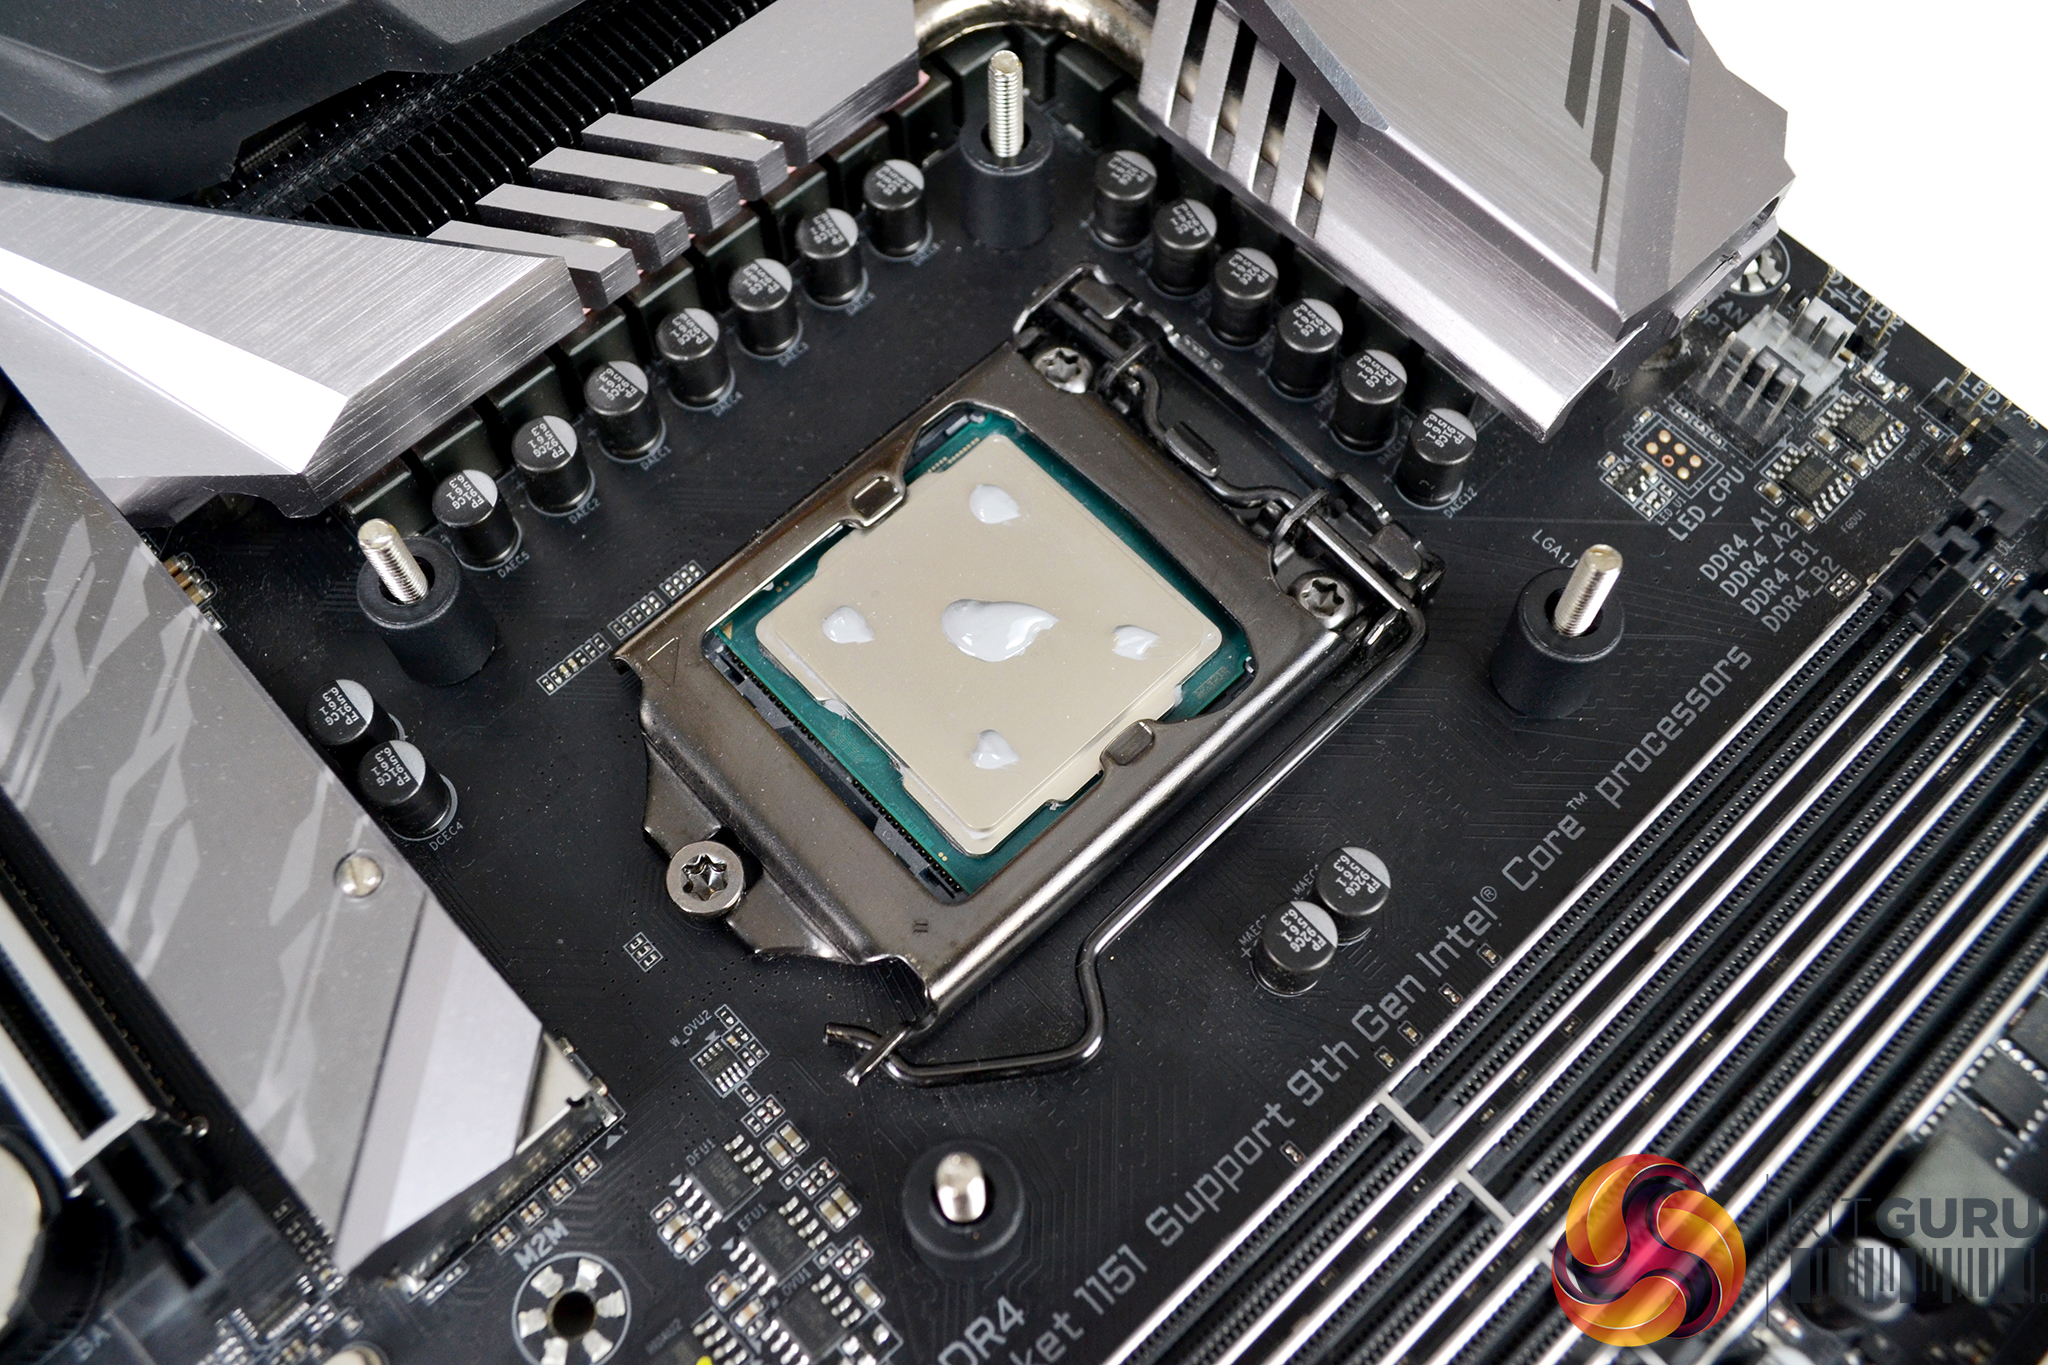
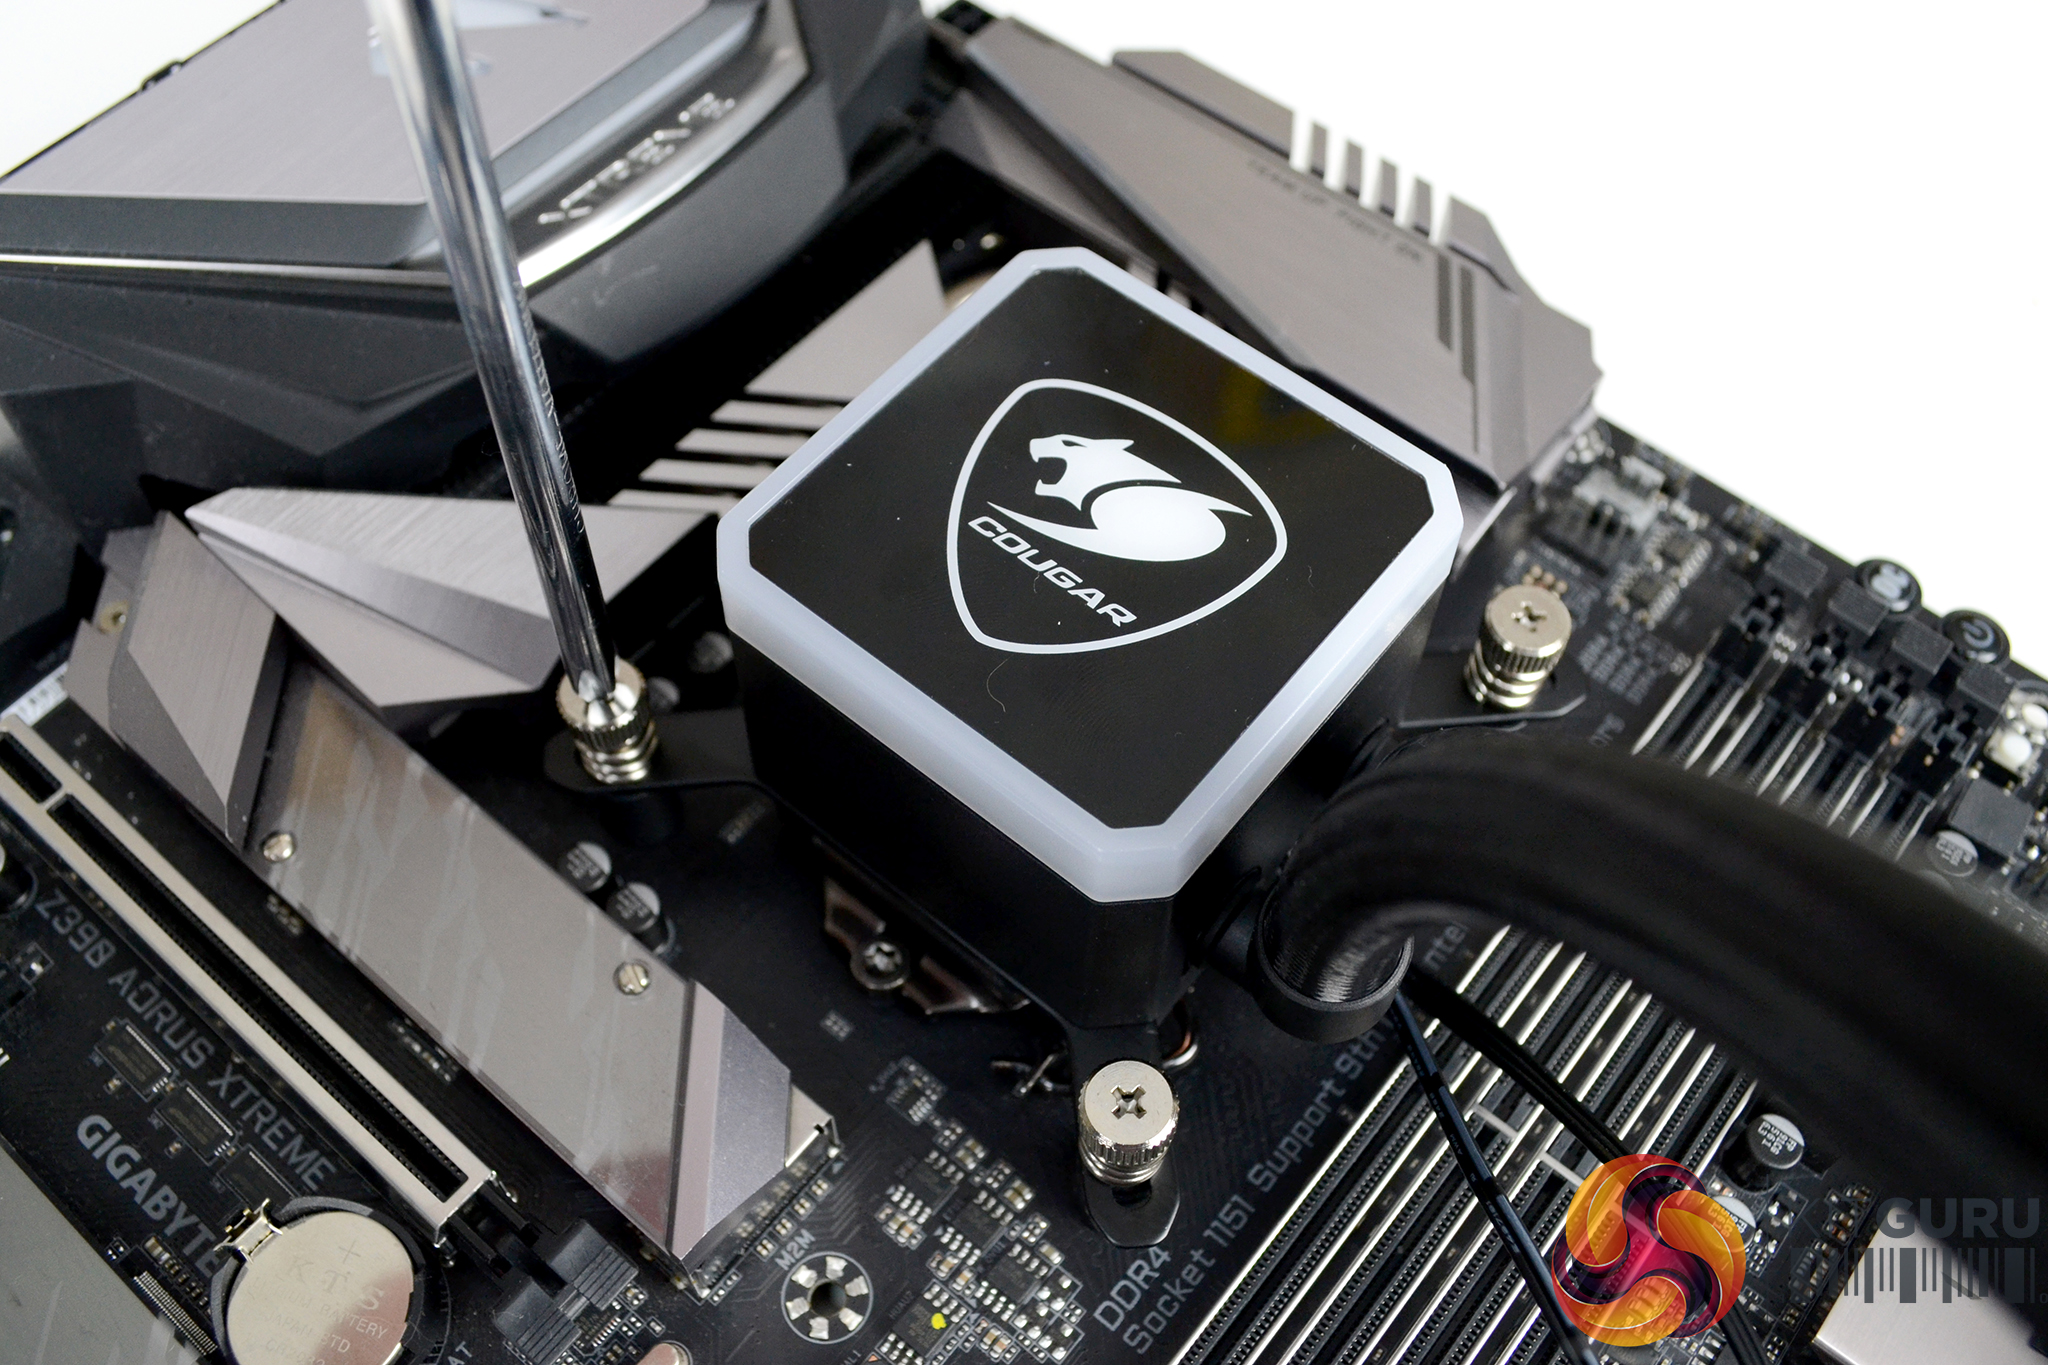
Next, using your preferred method, apply thermal compound to the CPU heat spreader. Remove the protective film from the base of the CPU block and lower the block down over the CPU aligned with the standoffs and upper bracket. Using the four sprung screws, tighten the CPU block in position progressively using an X shape pattern to evenly distribute pressure for optimal CPU contact.

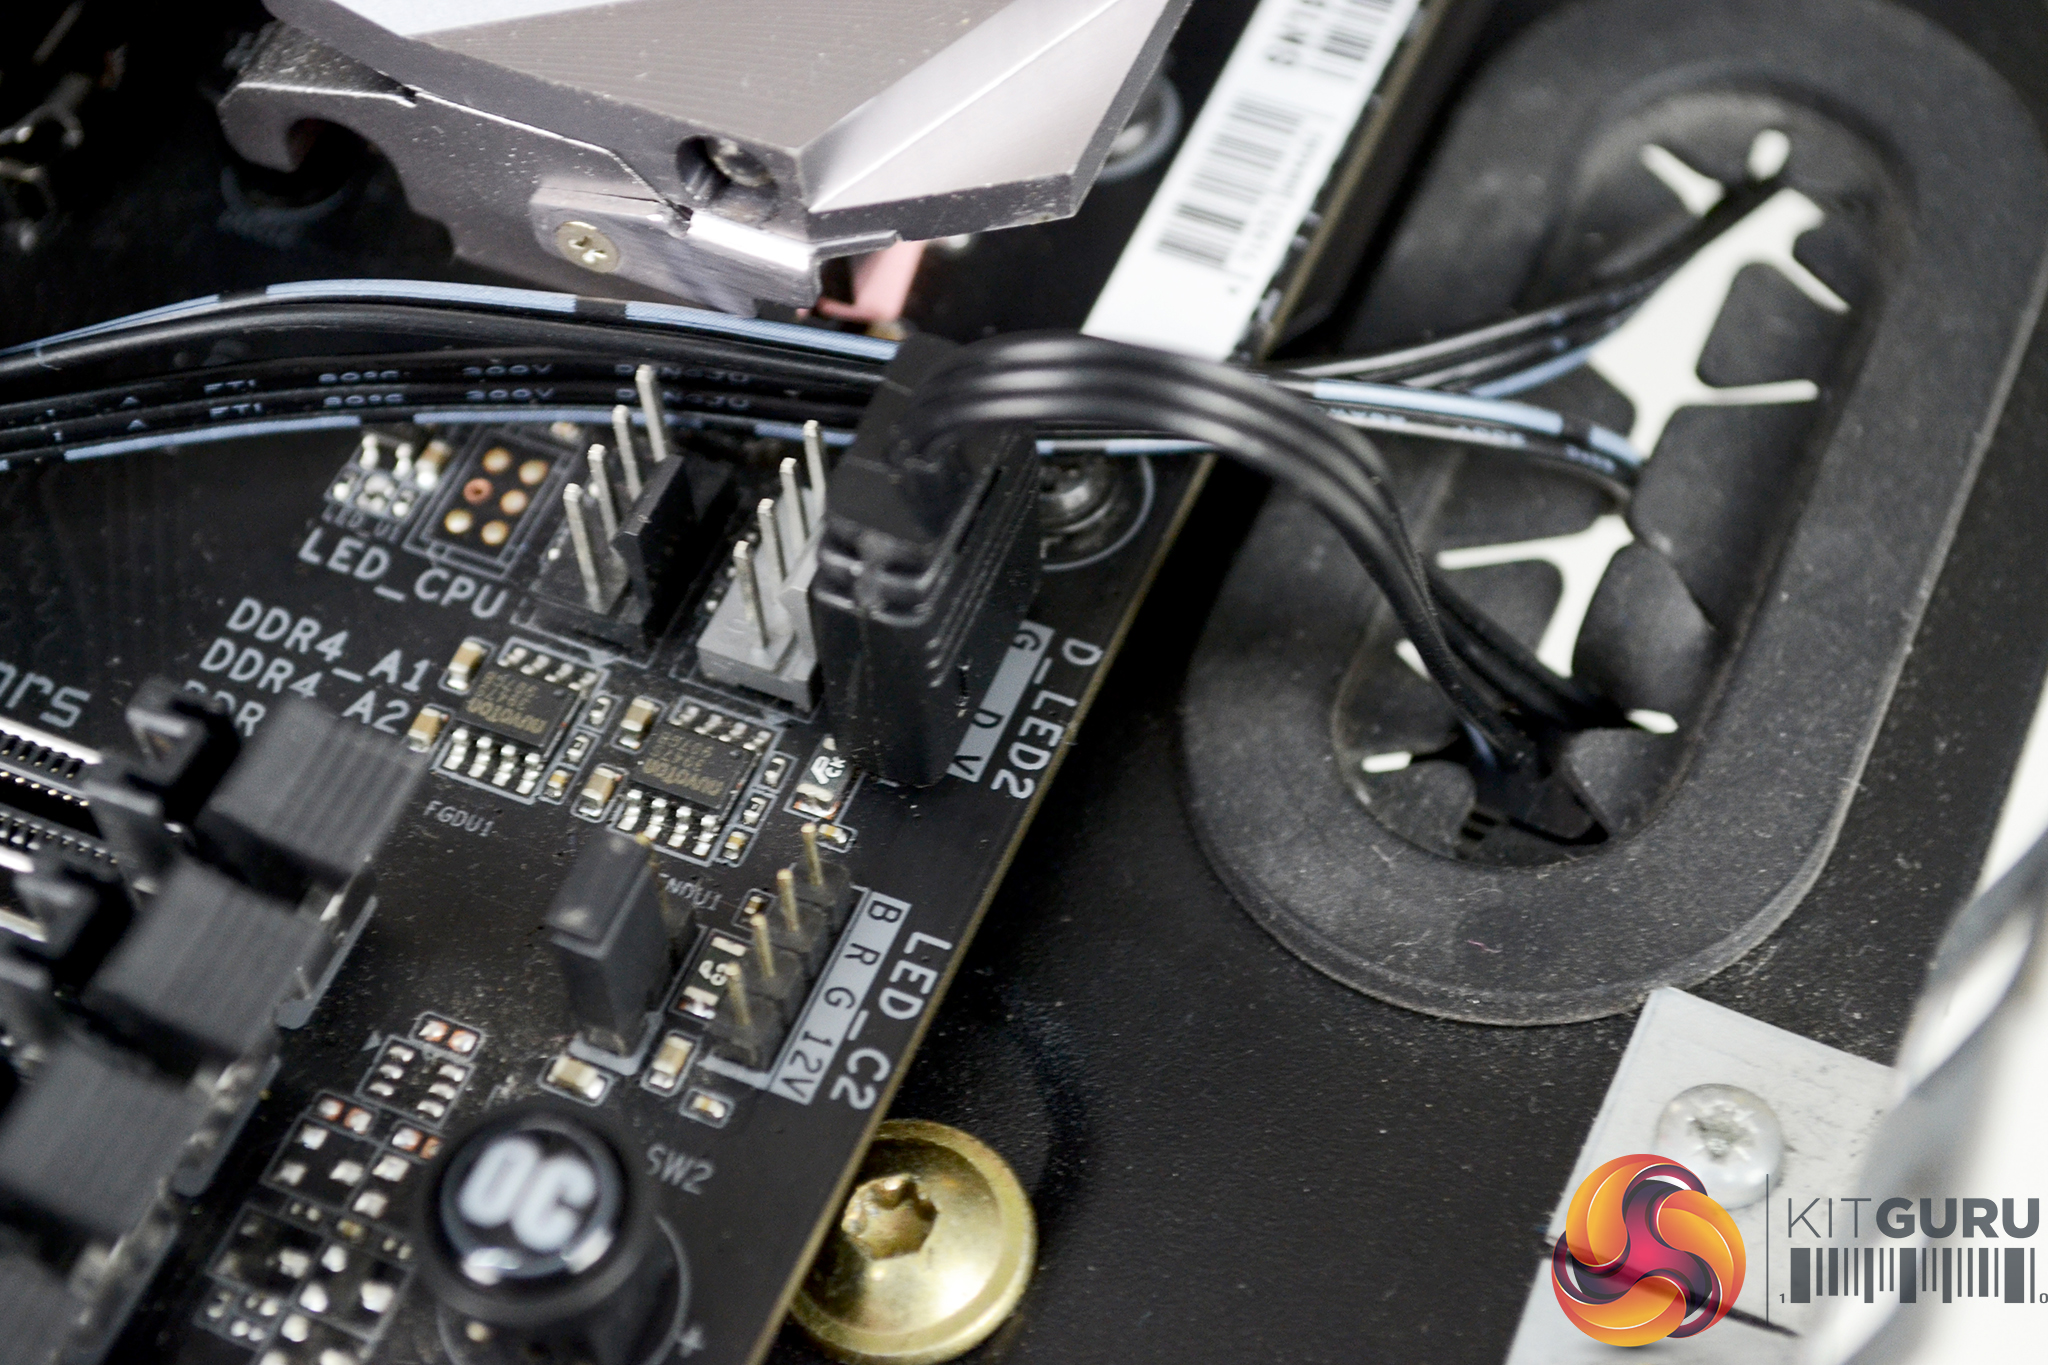
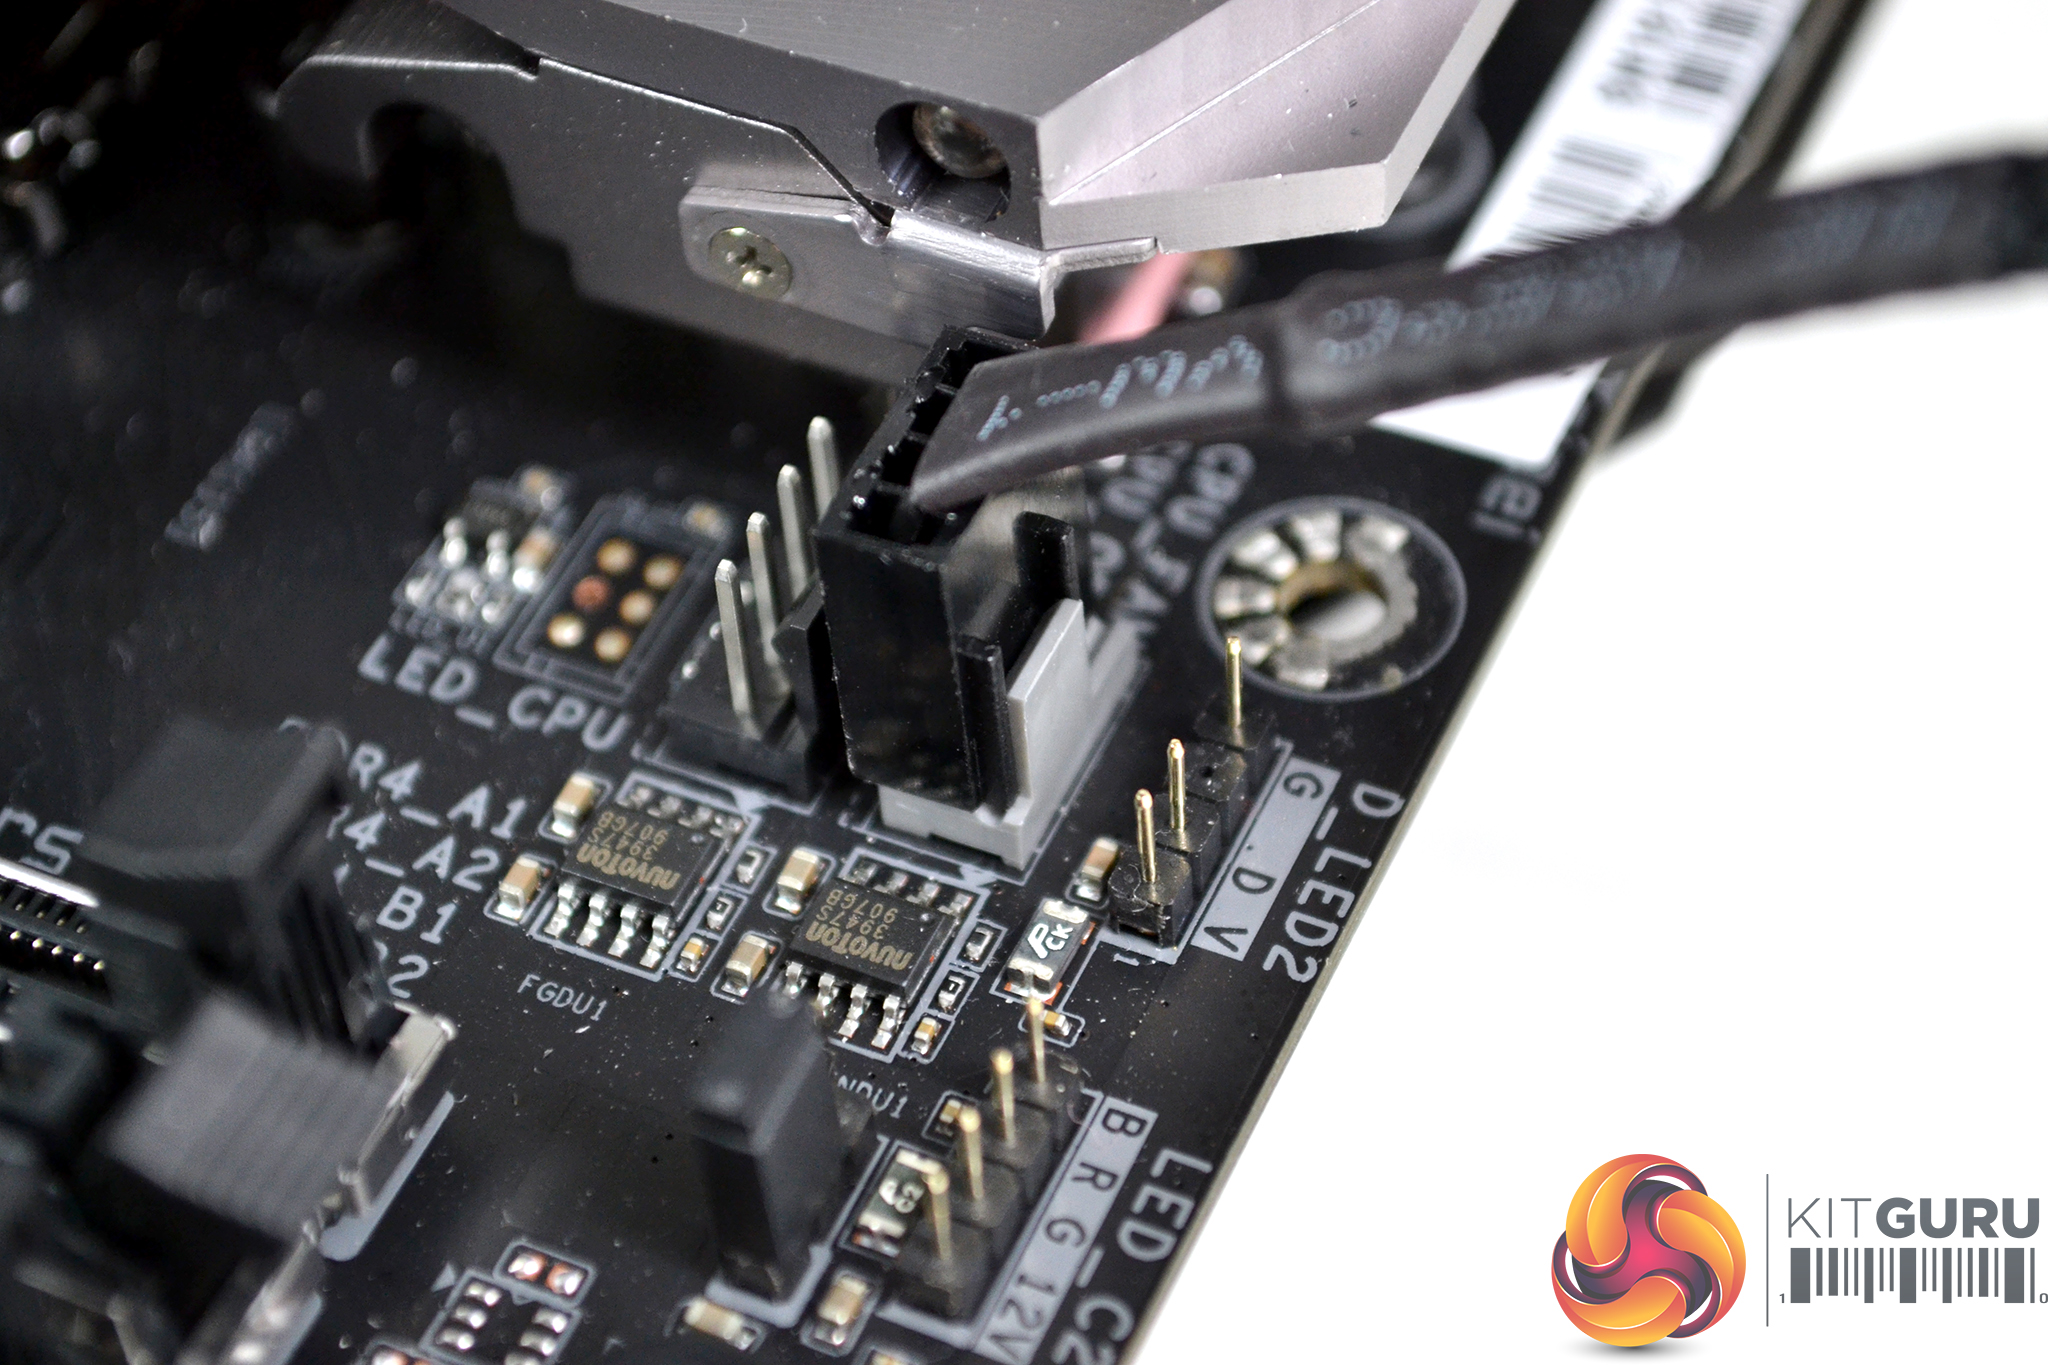
With the motherboard installed back into our test bench, we can connect the SATA power cable from the CPU block directly to a SATA power connector from the power supply and connect the CPU block RGB cable to a spare 3-pin 5V ARGB motherboard header for RGB synchronisation and control via the Gigabyte RGB Fusion software.
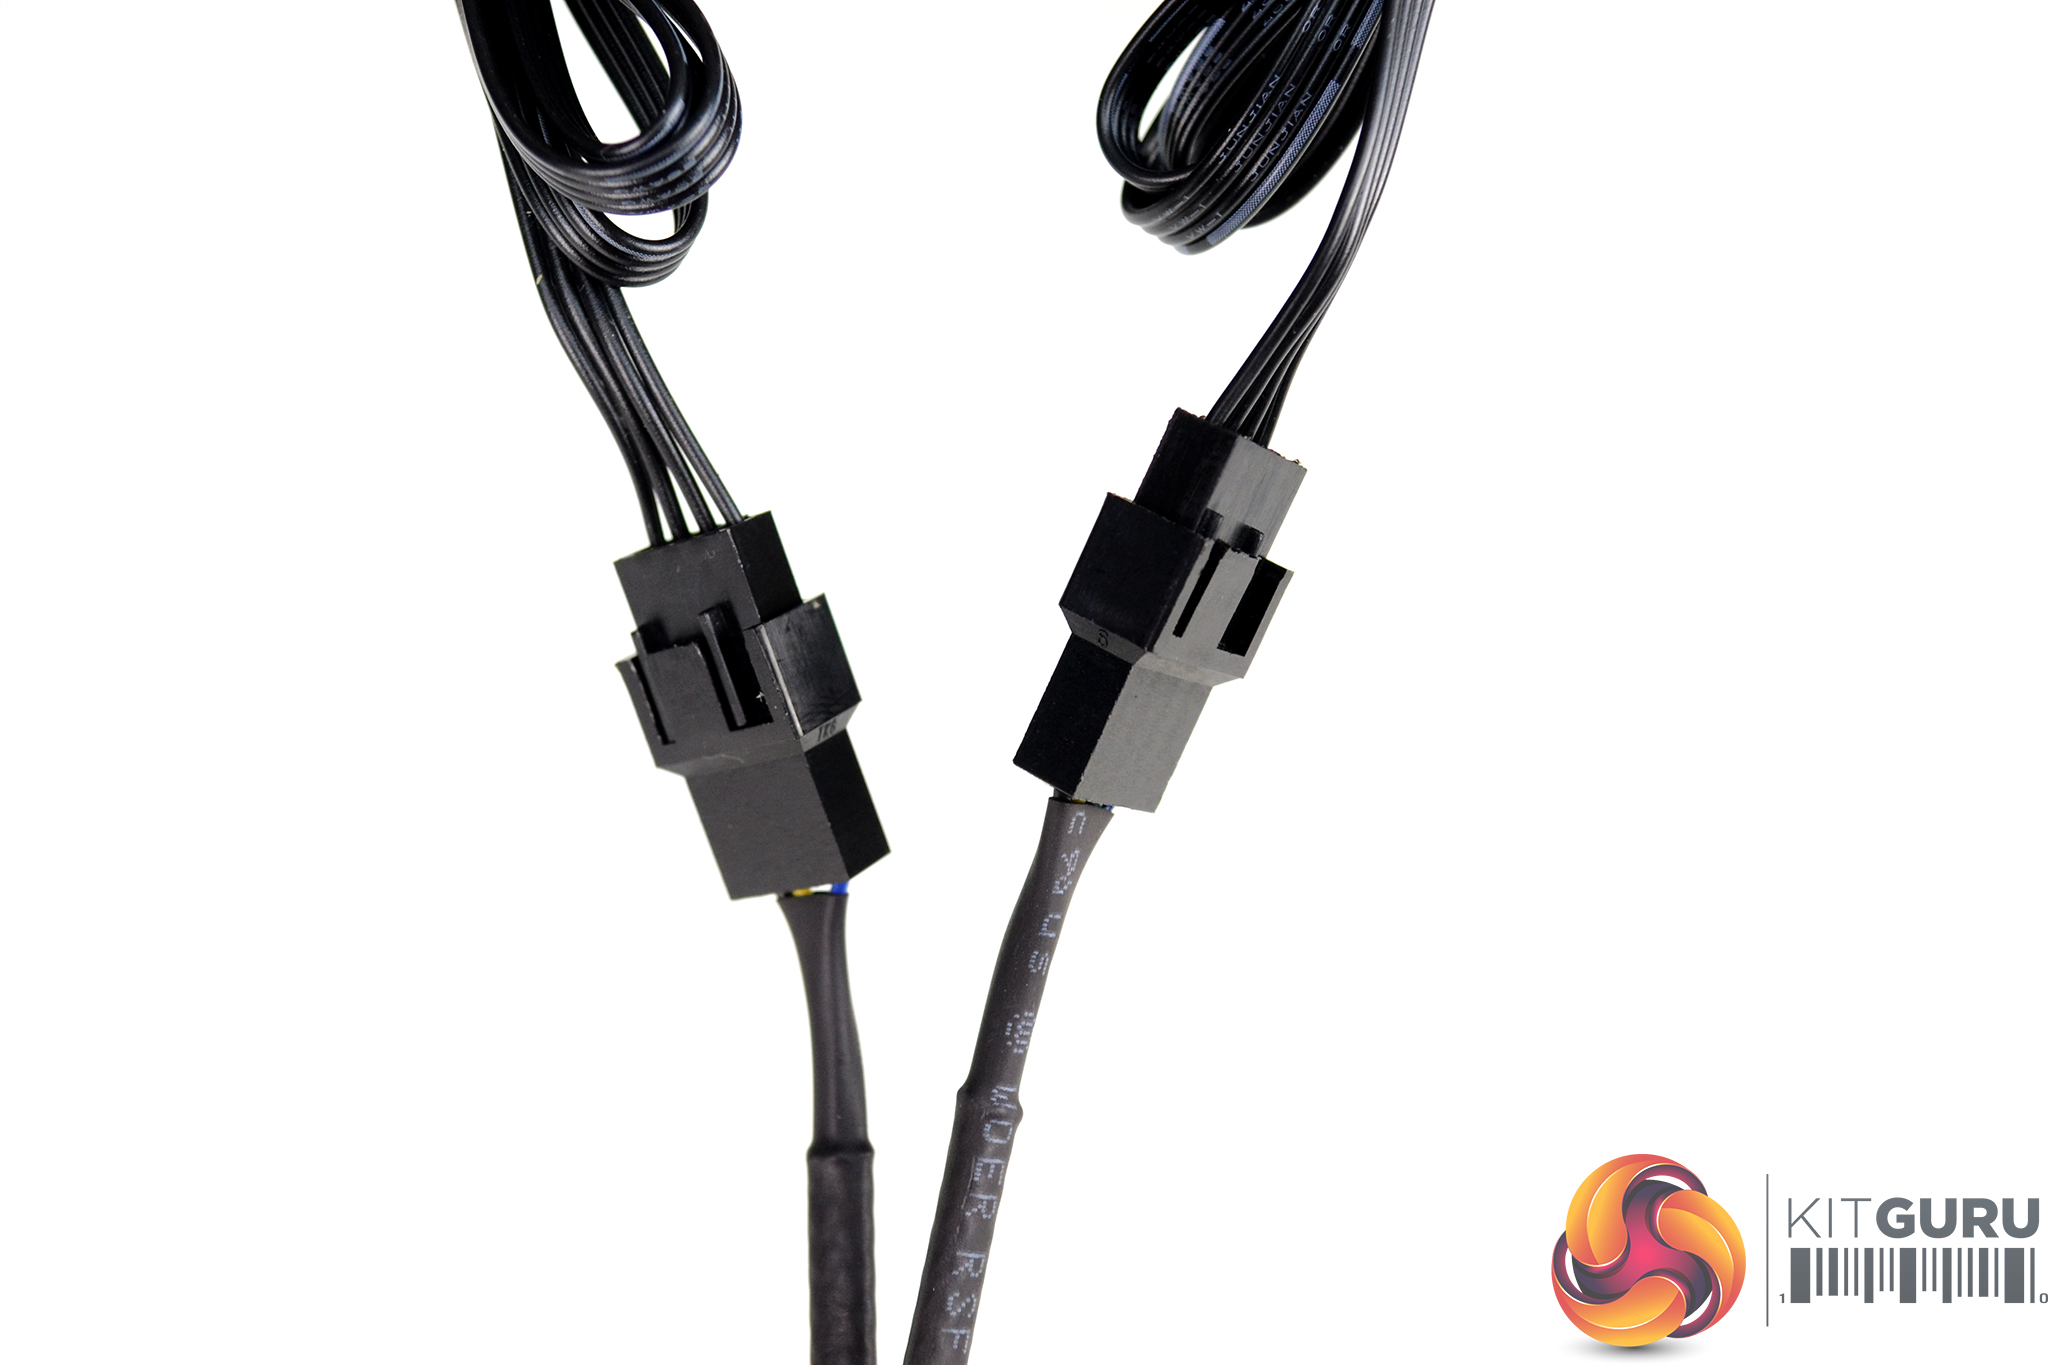
To complete the installation, connect the male ends of the provided two-way PWM fan splitter cable to the 4-pin cables coming from the fans and then connect the other female end of the splitter cable to the 4-pin motherboard header, labelled on our Gigabyte motherboard as CPU_FAN.
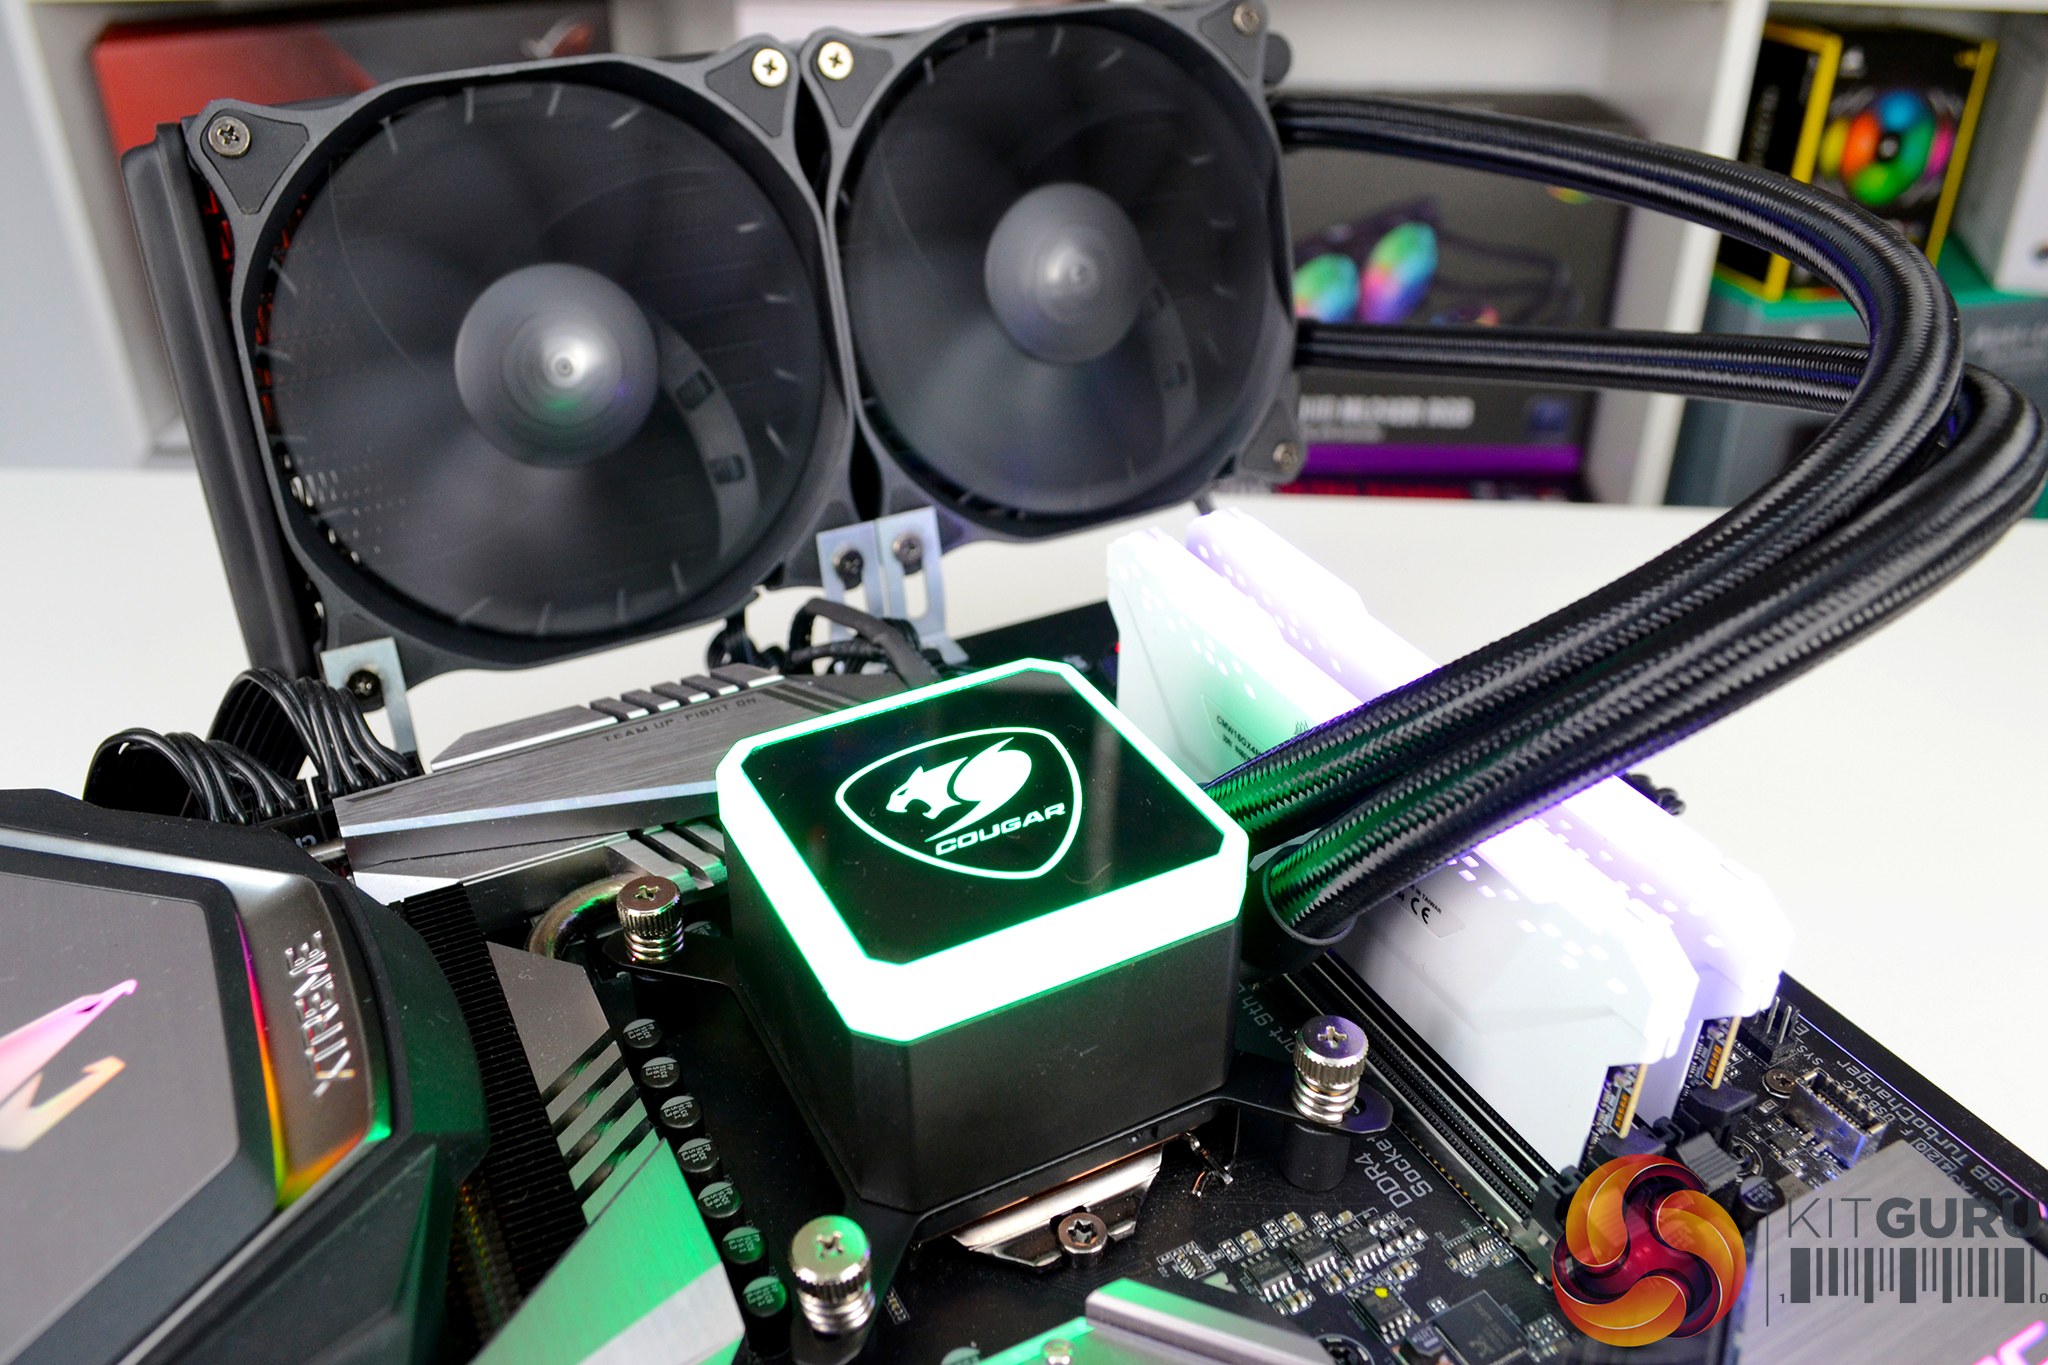

Installation of the Cougar Aqua 240 is a very simple process, getting the cooler up and running on our test bench took approximately 10 minutes, the reduced amount of wiring and no software installation means even the most novice PC enthusiasts should find this an easy job, only a Philips screwdriver is required to complete the installation, very good!
RGB Gallery