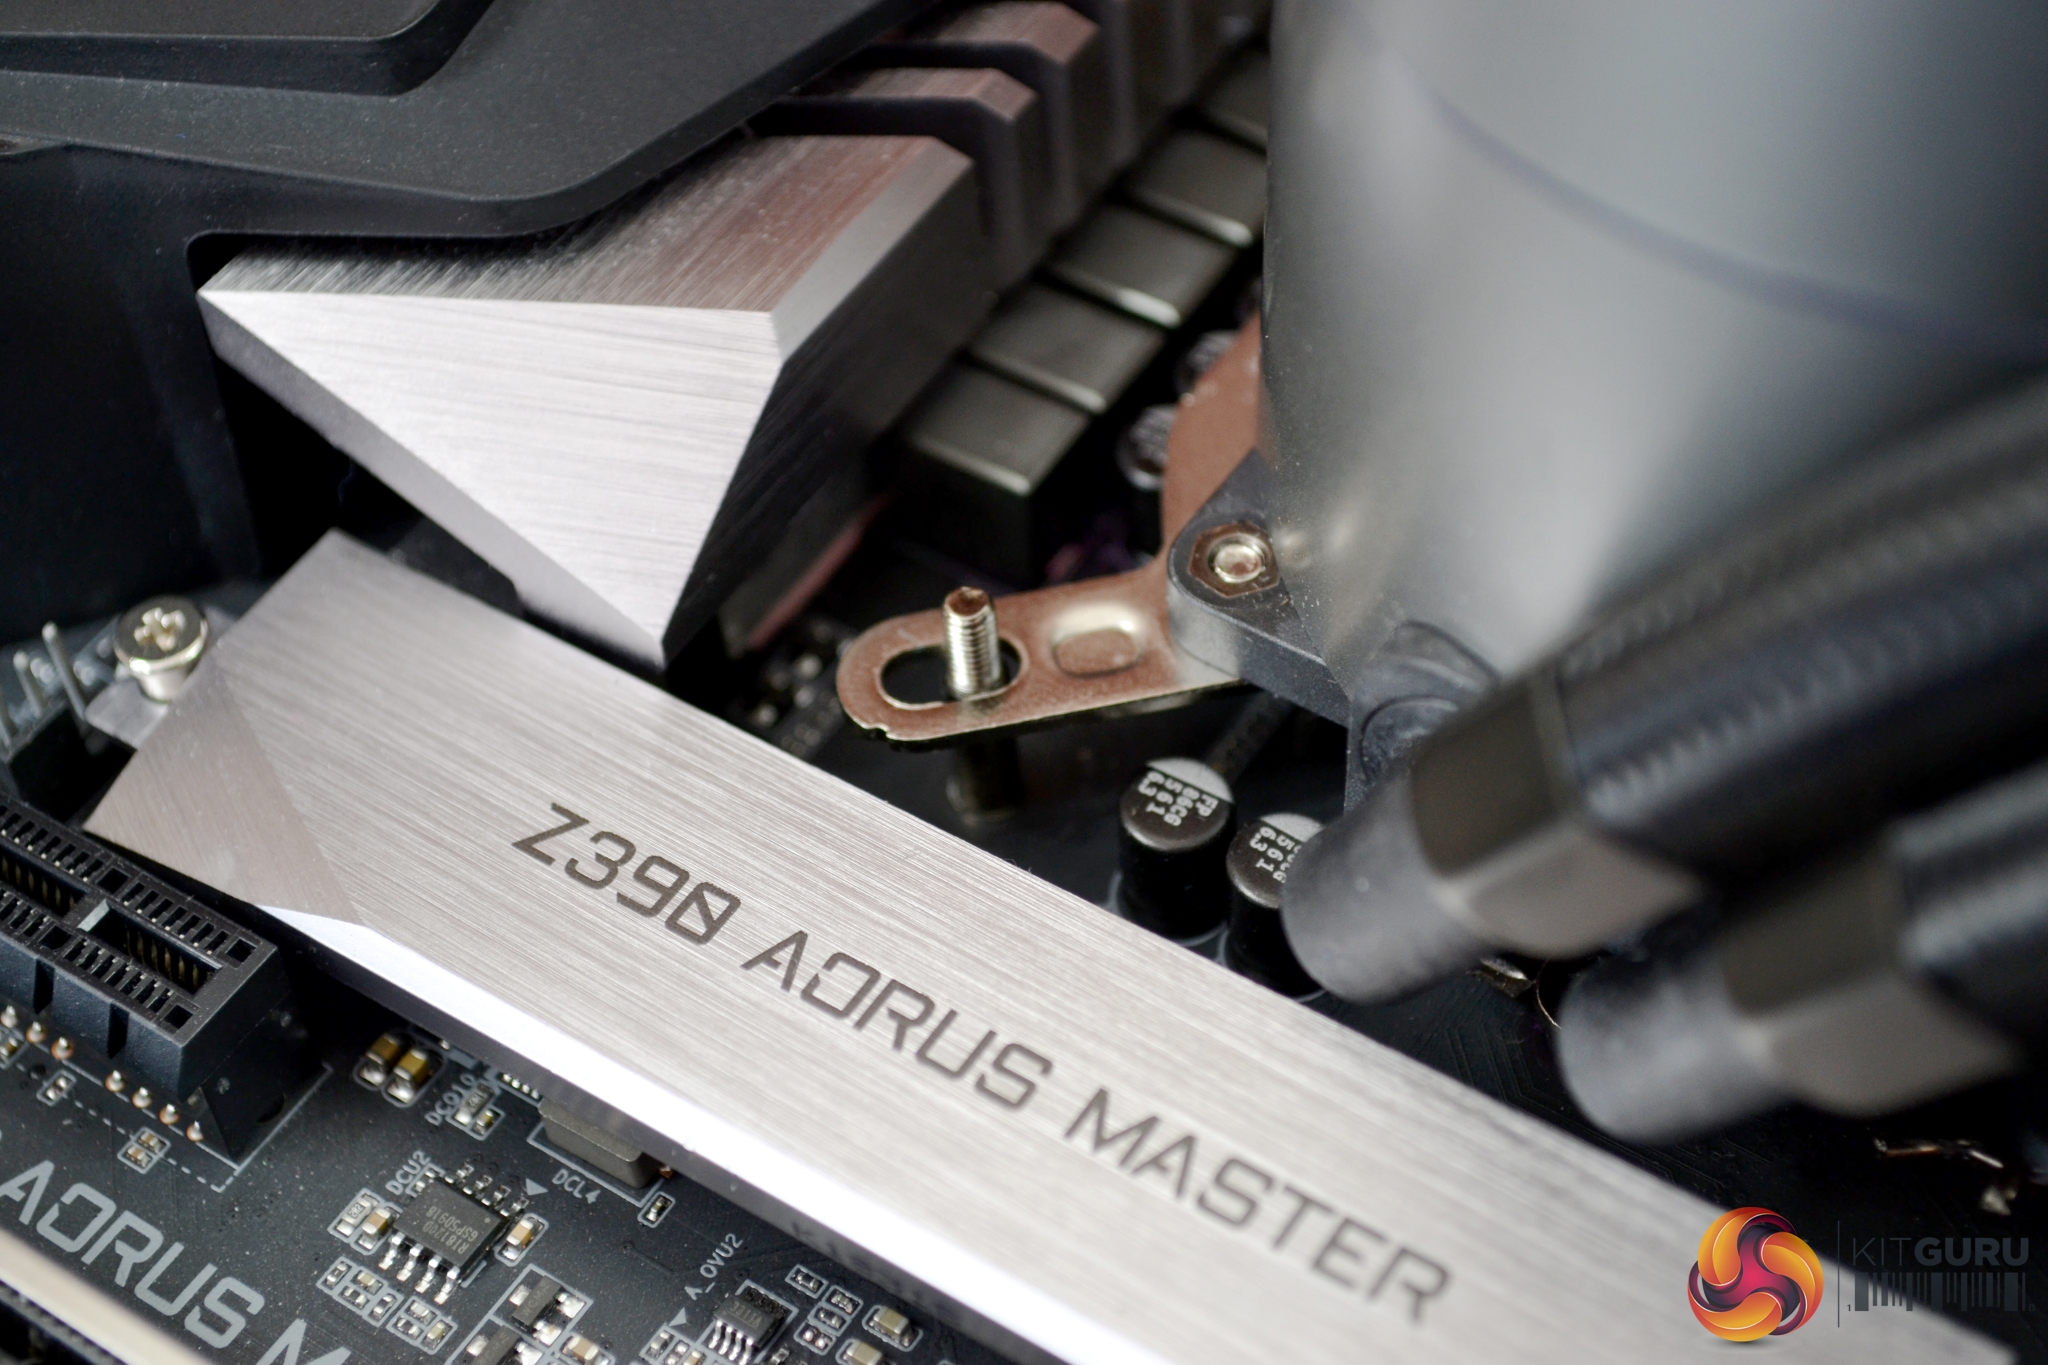
Our test system is Intel Z390 based, therefore, we will be following the relevant Intel 115X socket installation procedure.
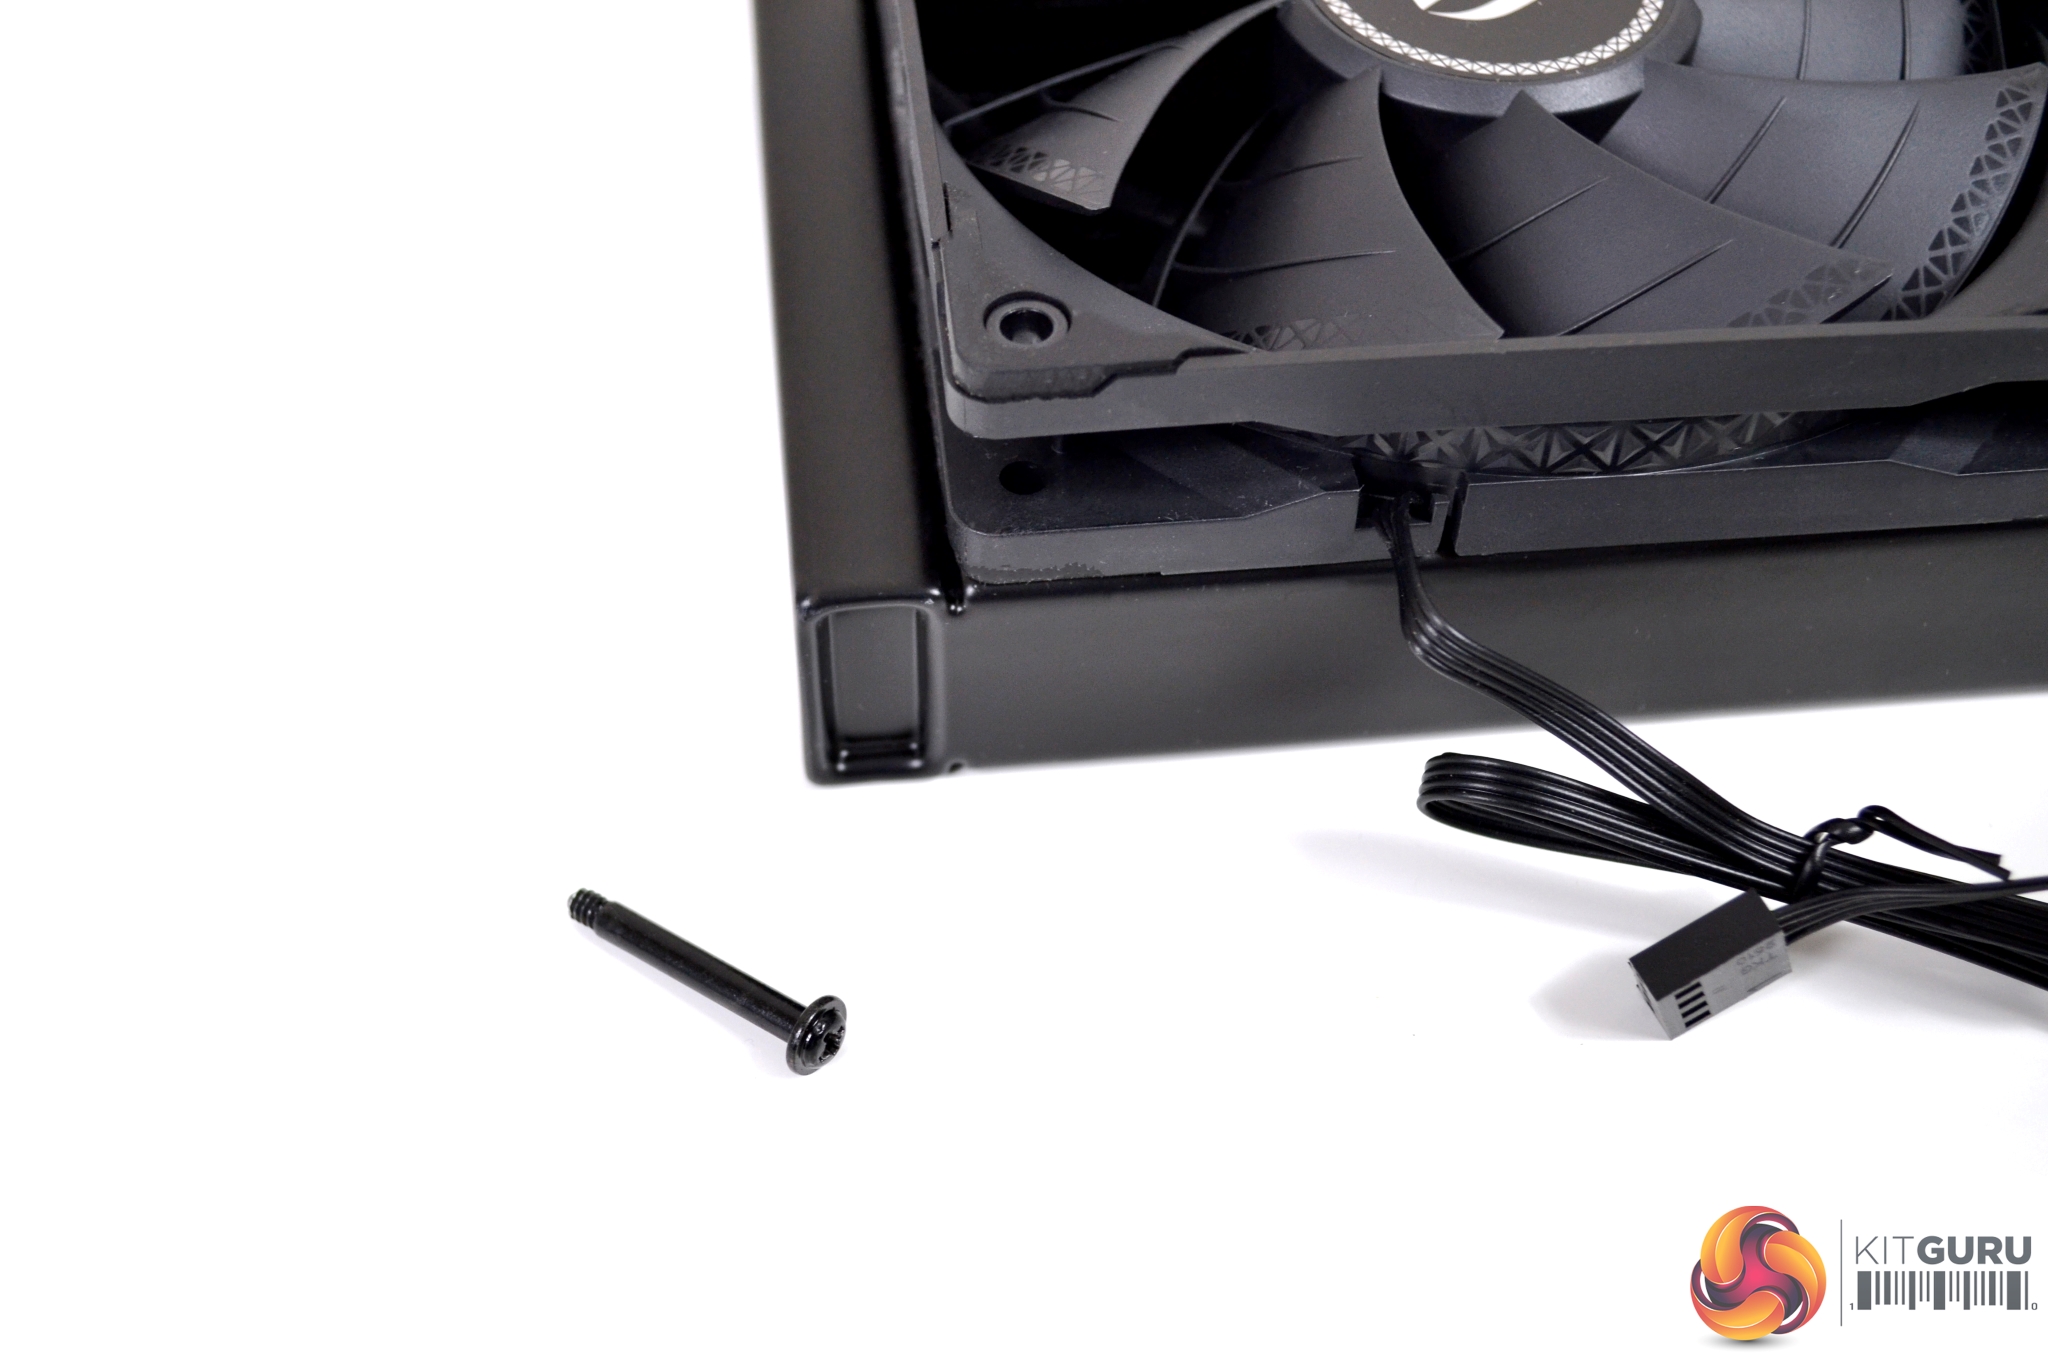
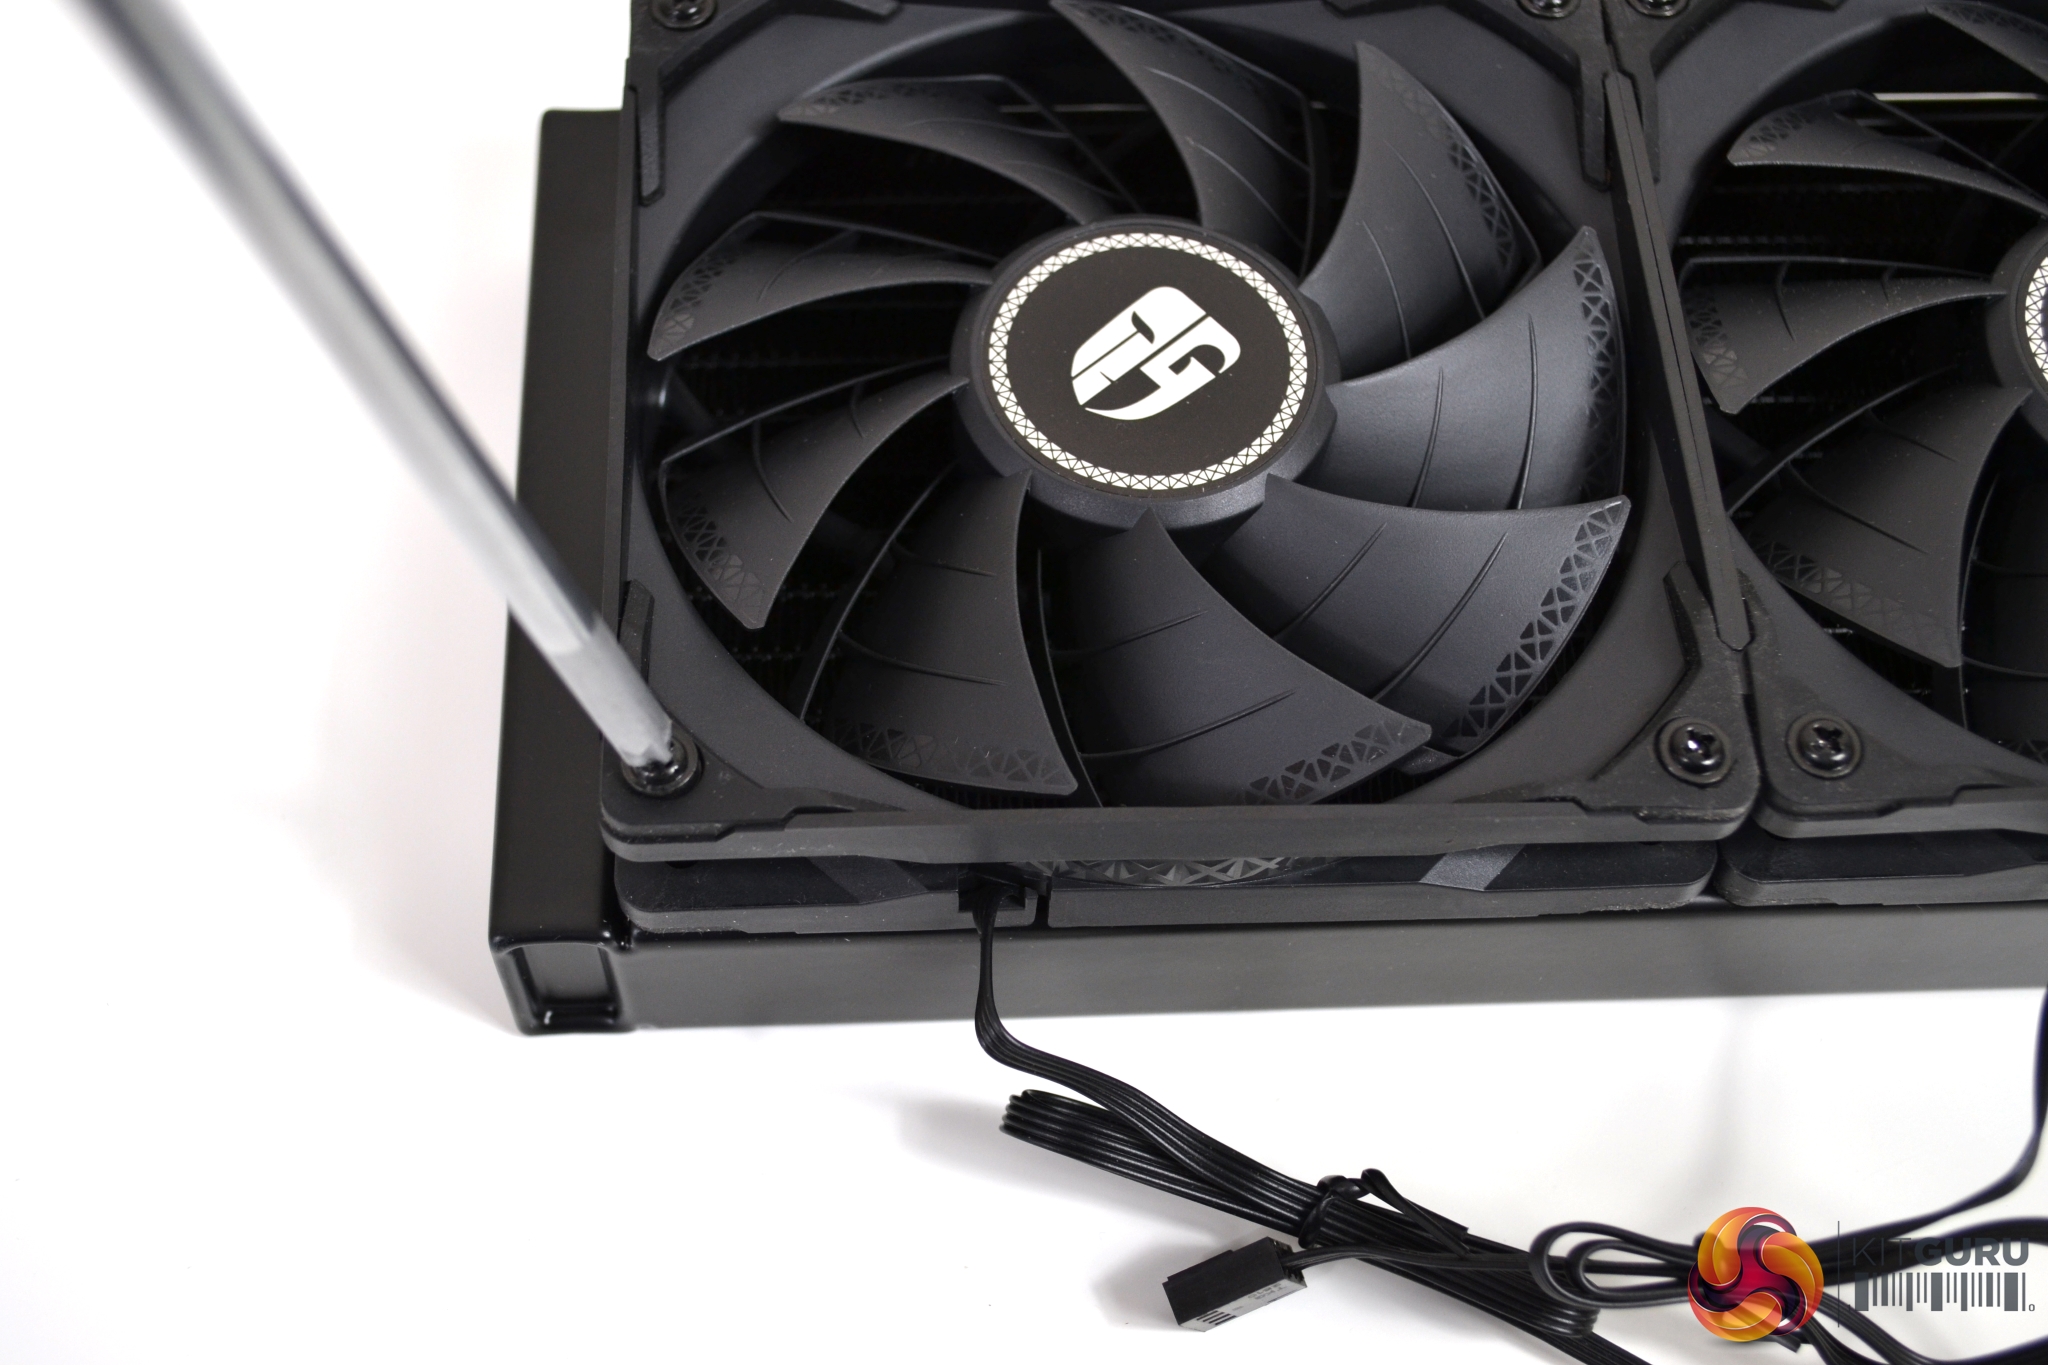
To install the Deepcool Castle 280EX on our test bench we can install the fans to the radiator first. To do this, decide whether to run the fans in either a pull or push configuration (we are using push) and then fix the fans to the radiator using the long black screws provided.
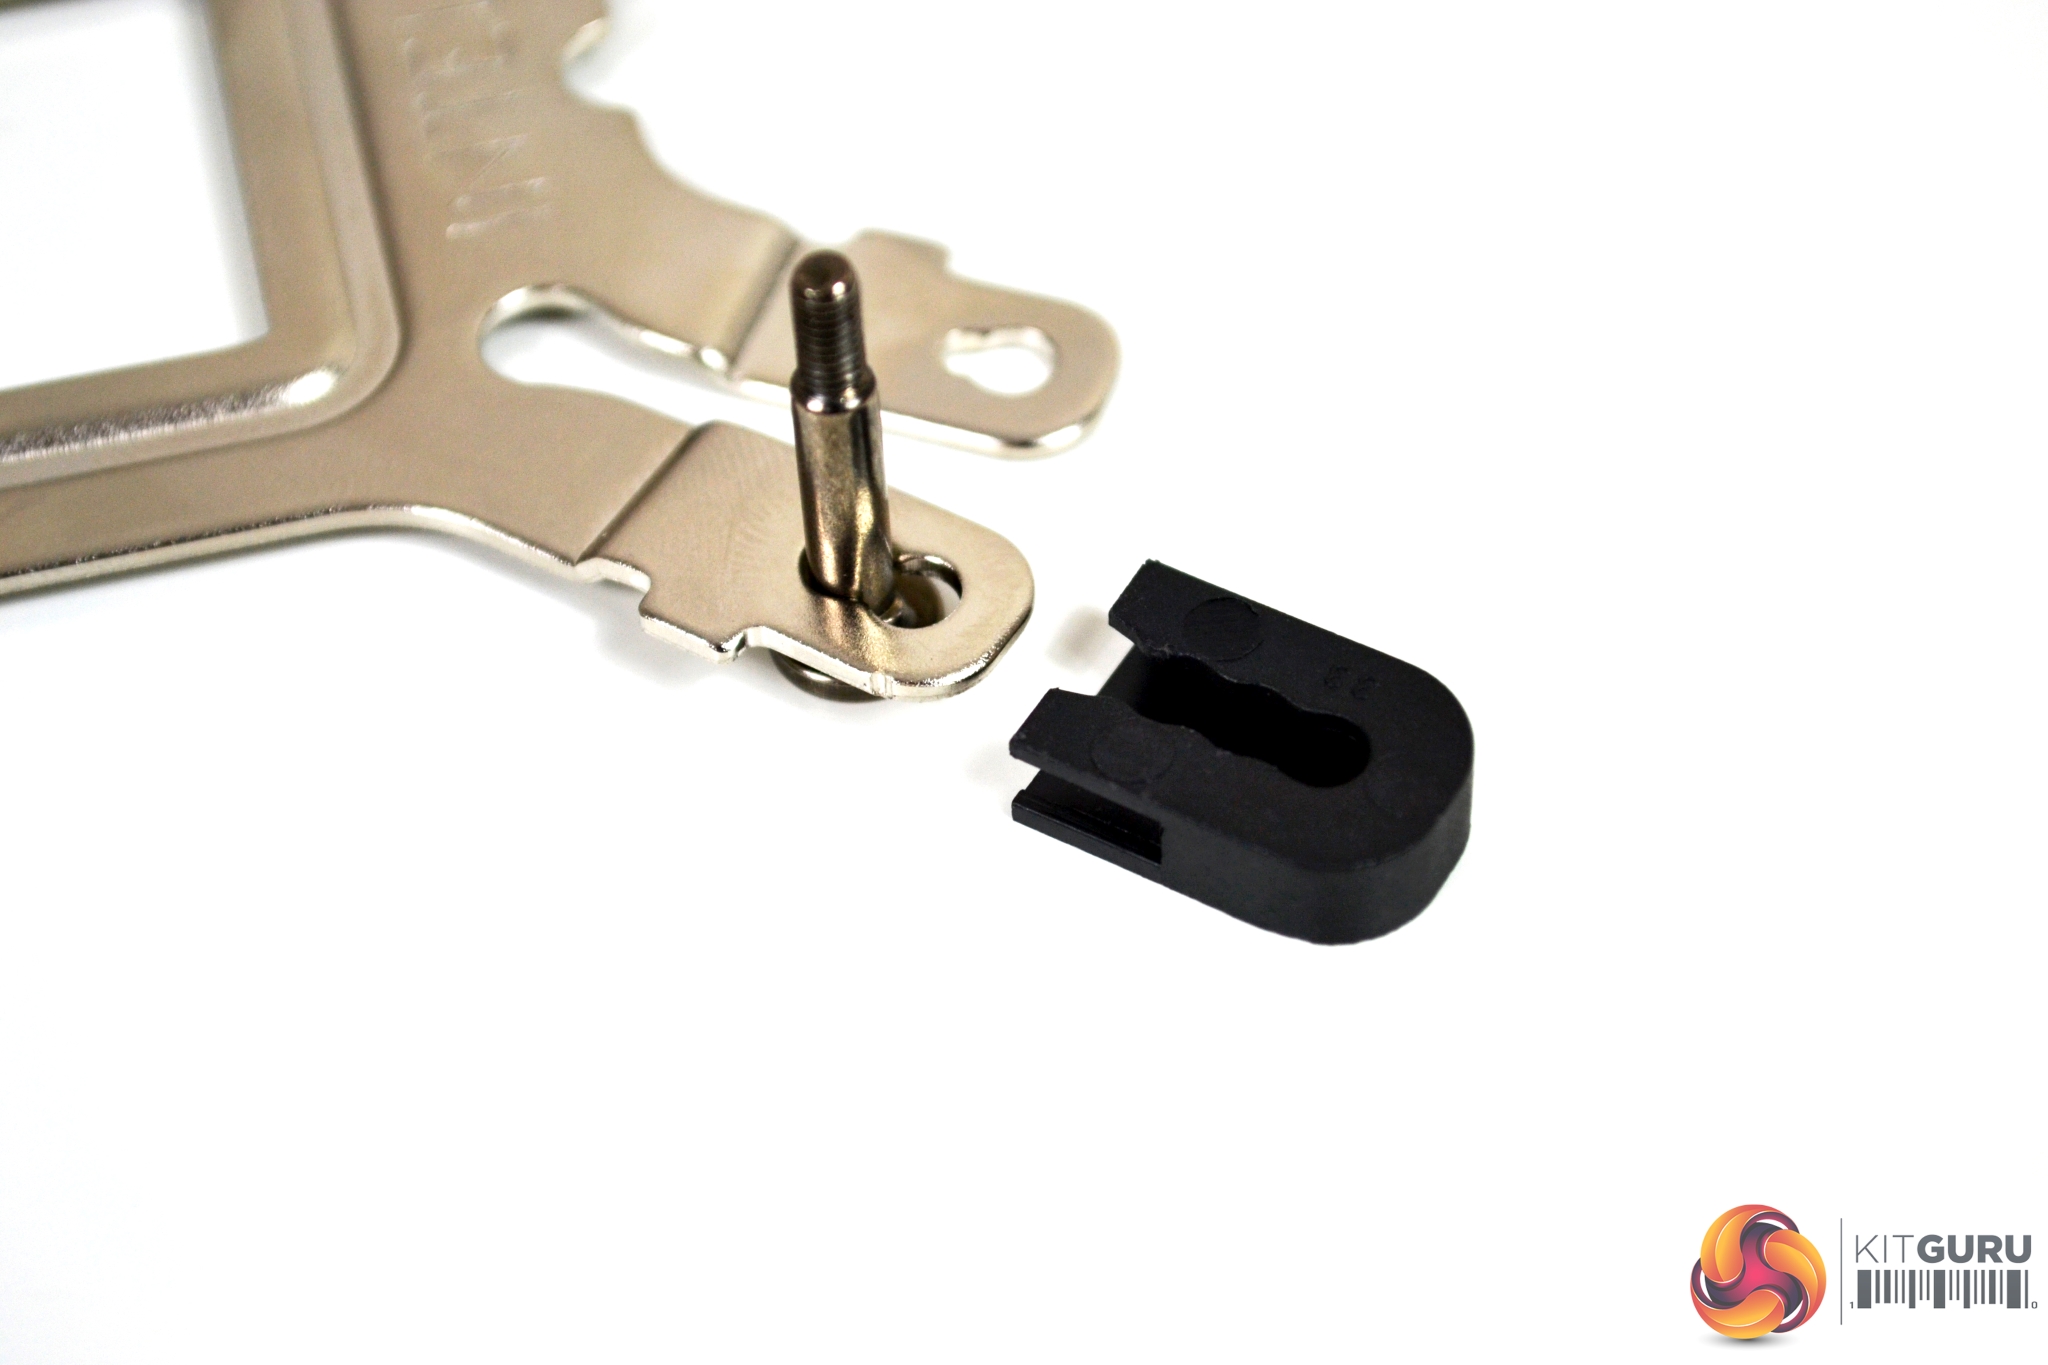
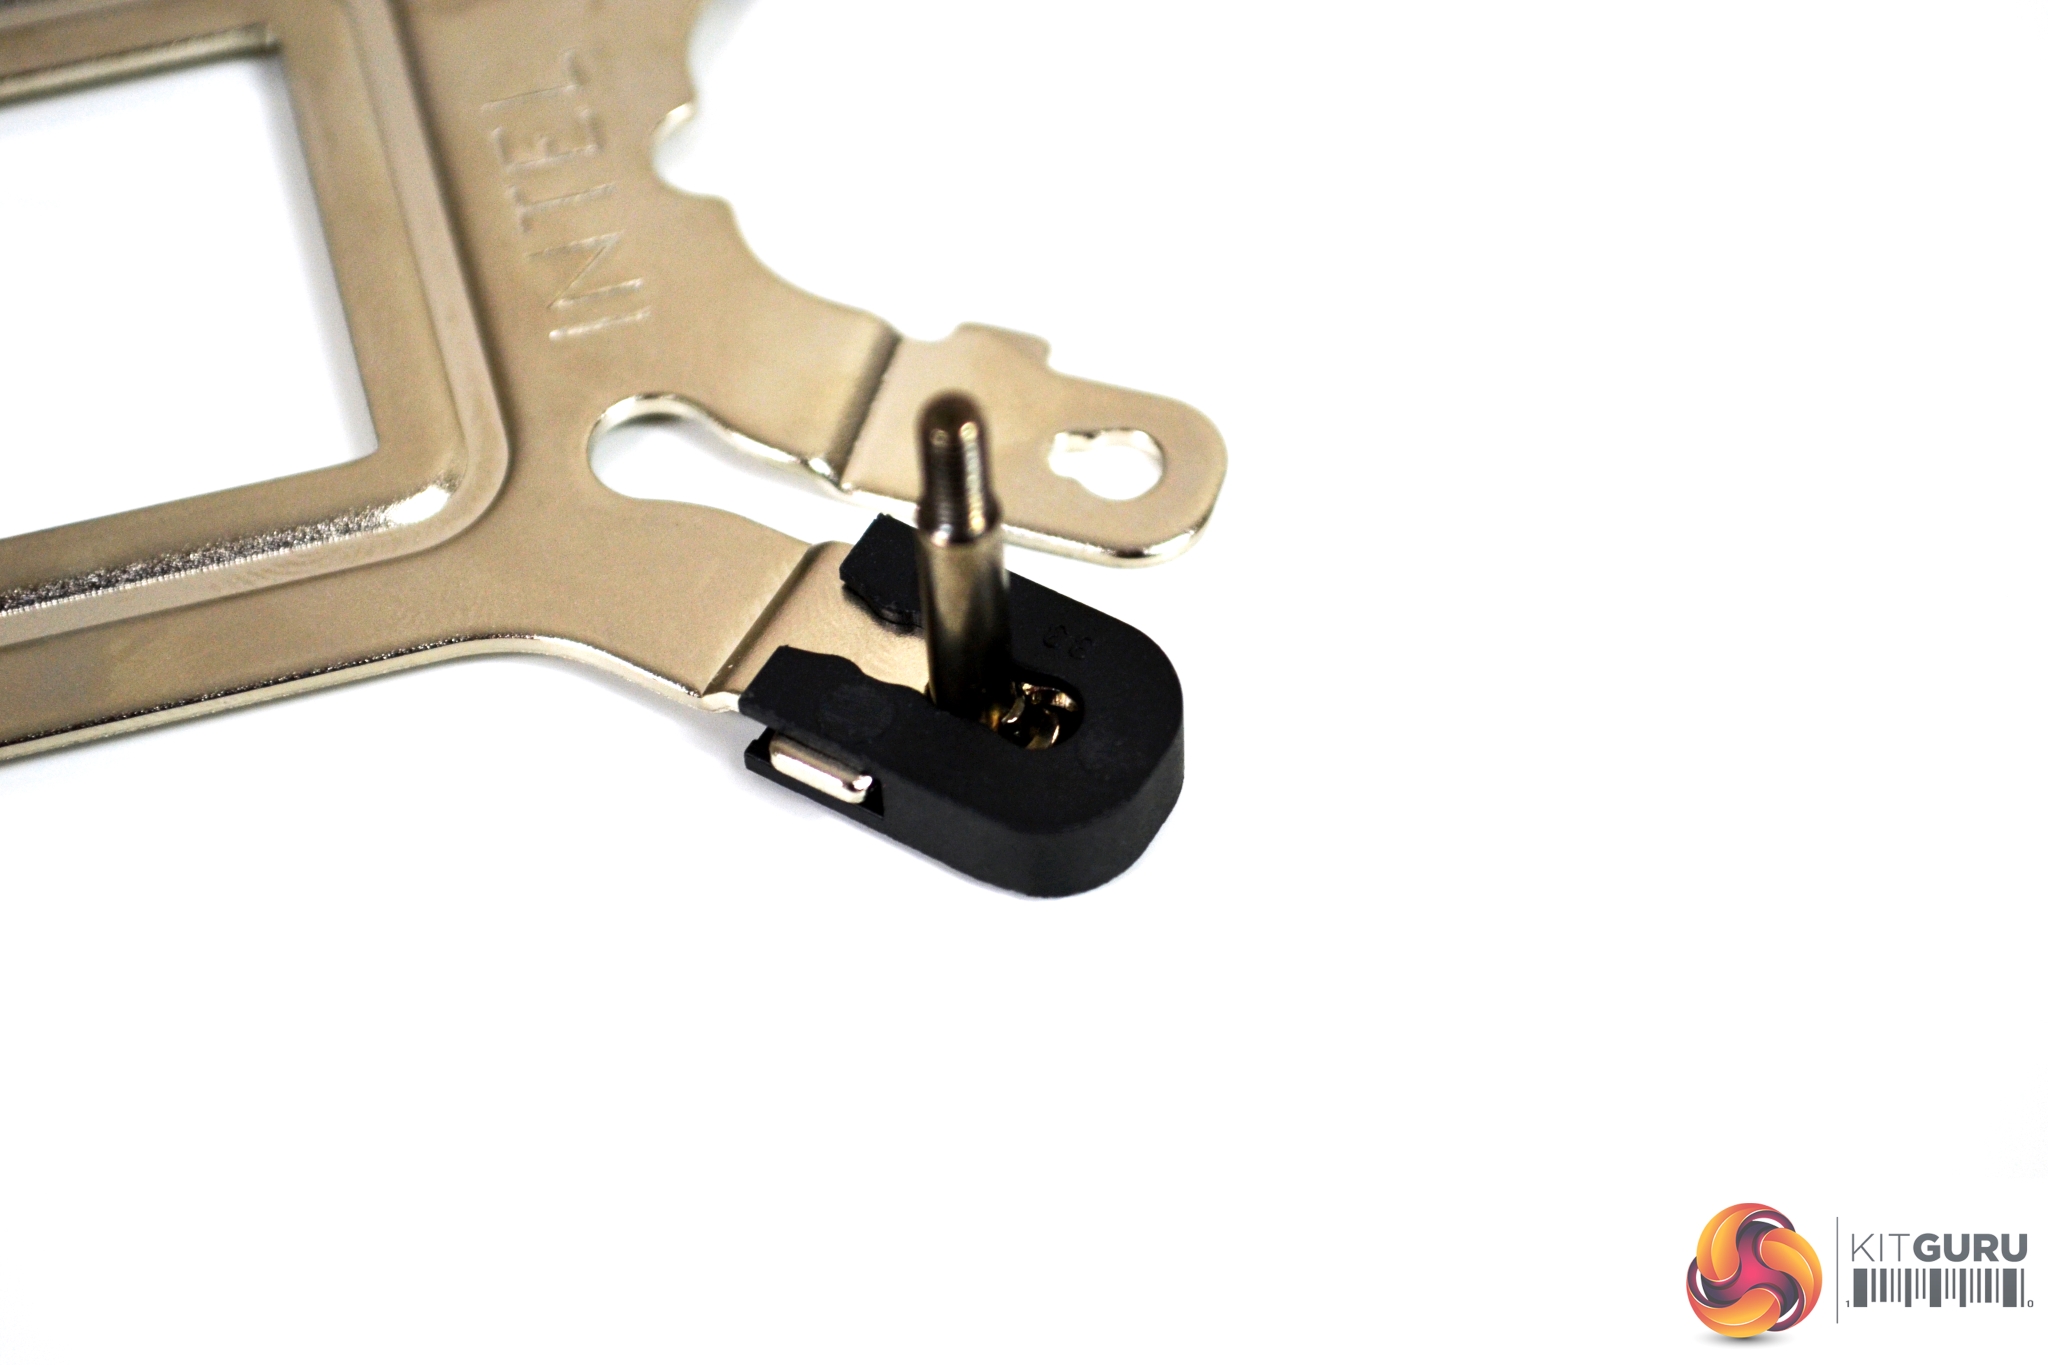
The next step of installation requires the motherboard to be prepared. Push the Intel mounting posts through the holes on the universal retention backplate and slide over the plastic locking clips. For 115X installation, the innermost hole on the backplate must be used to lock the mounting posts in the correct position.
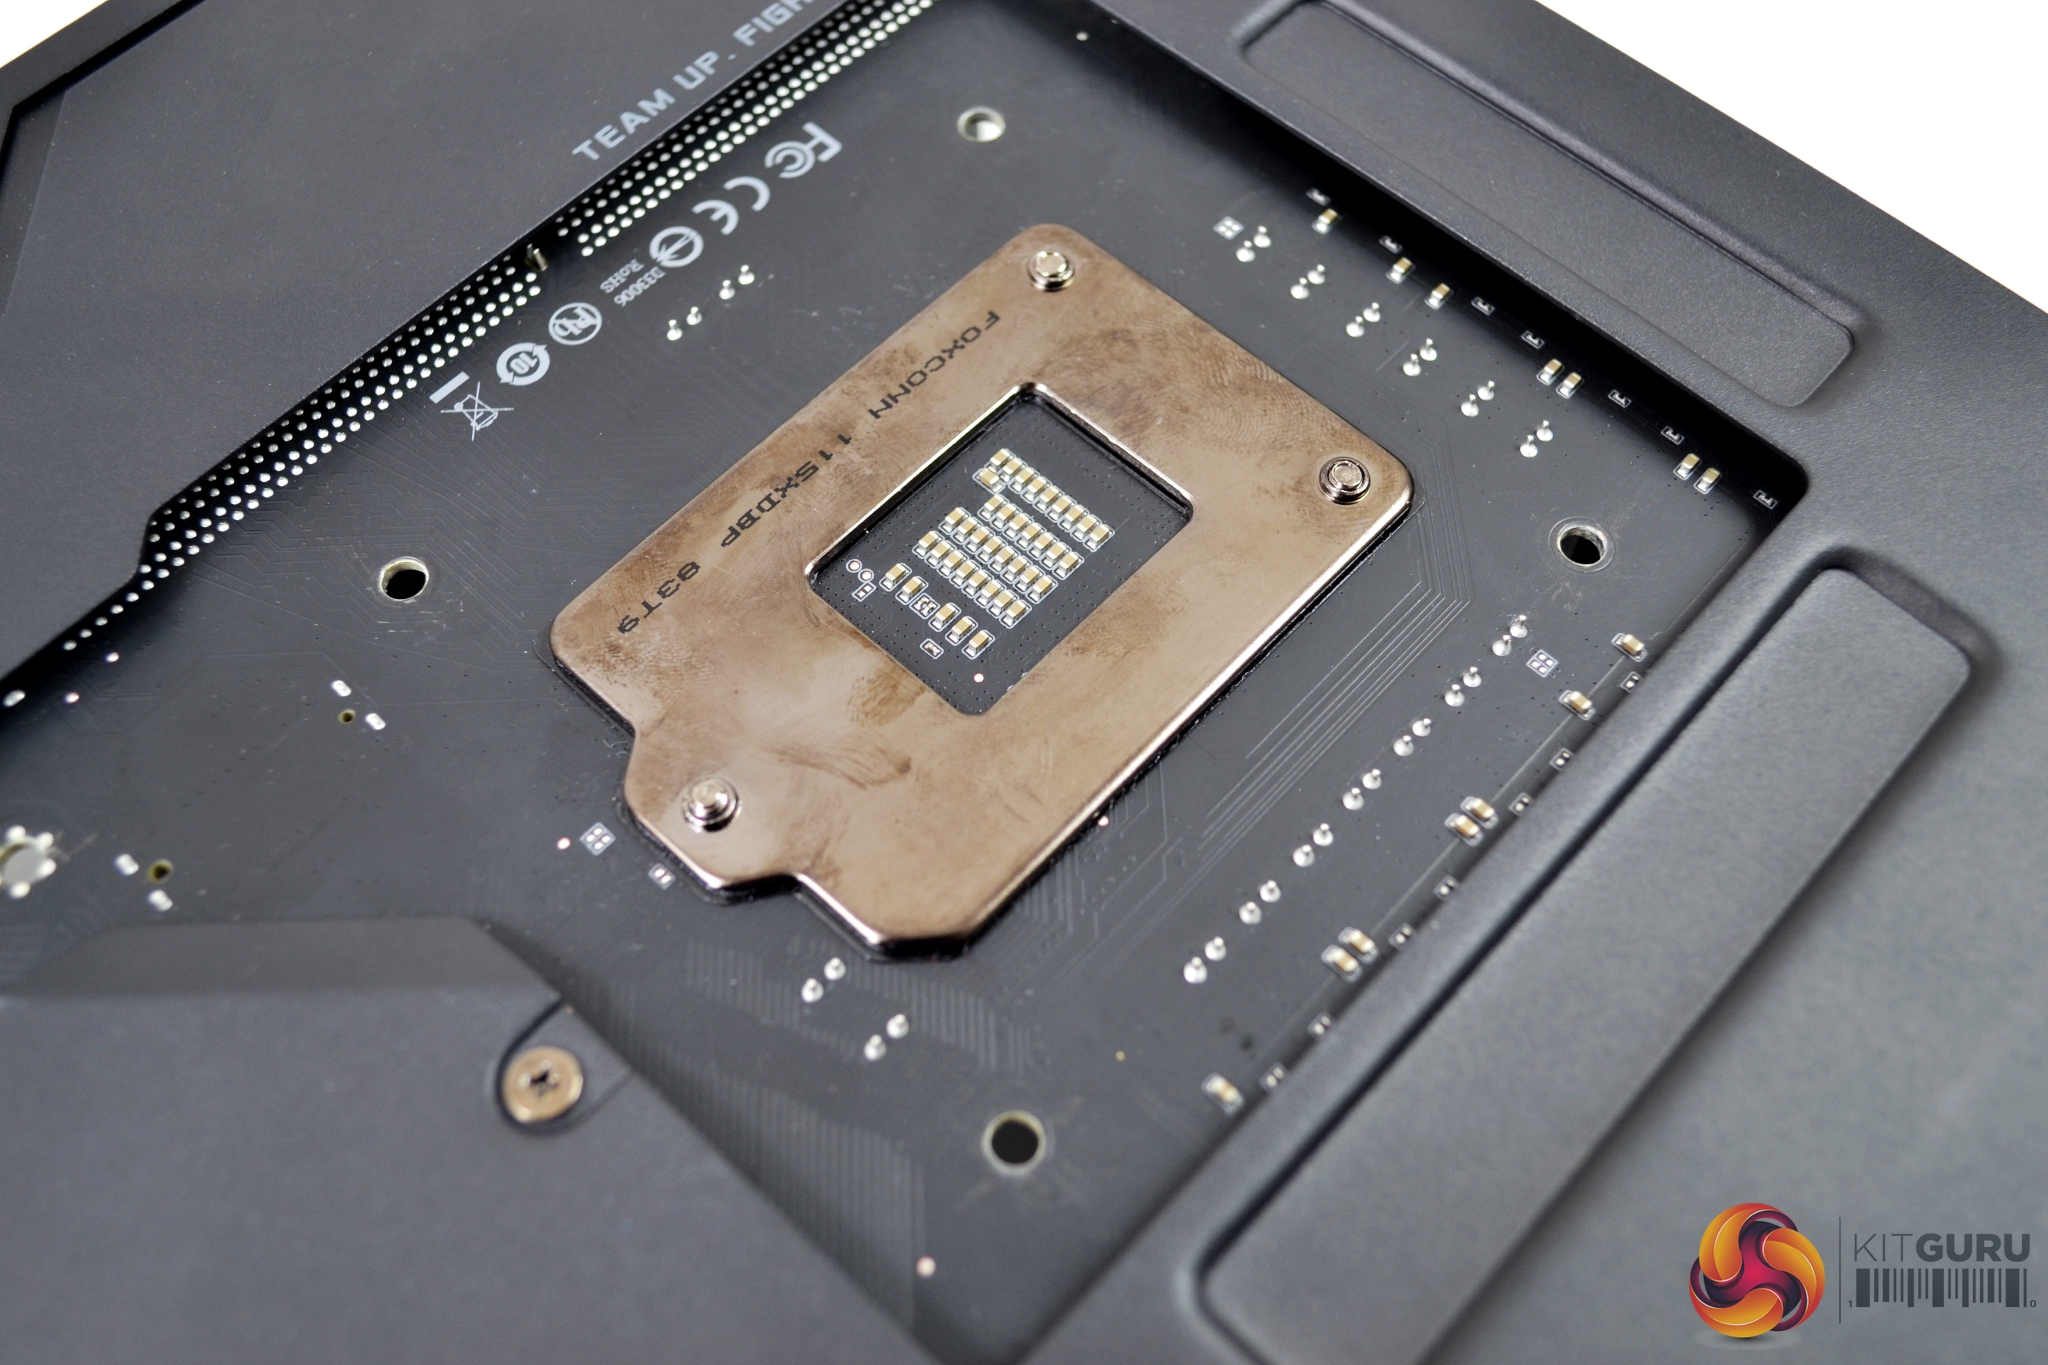
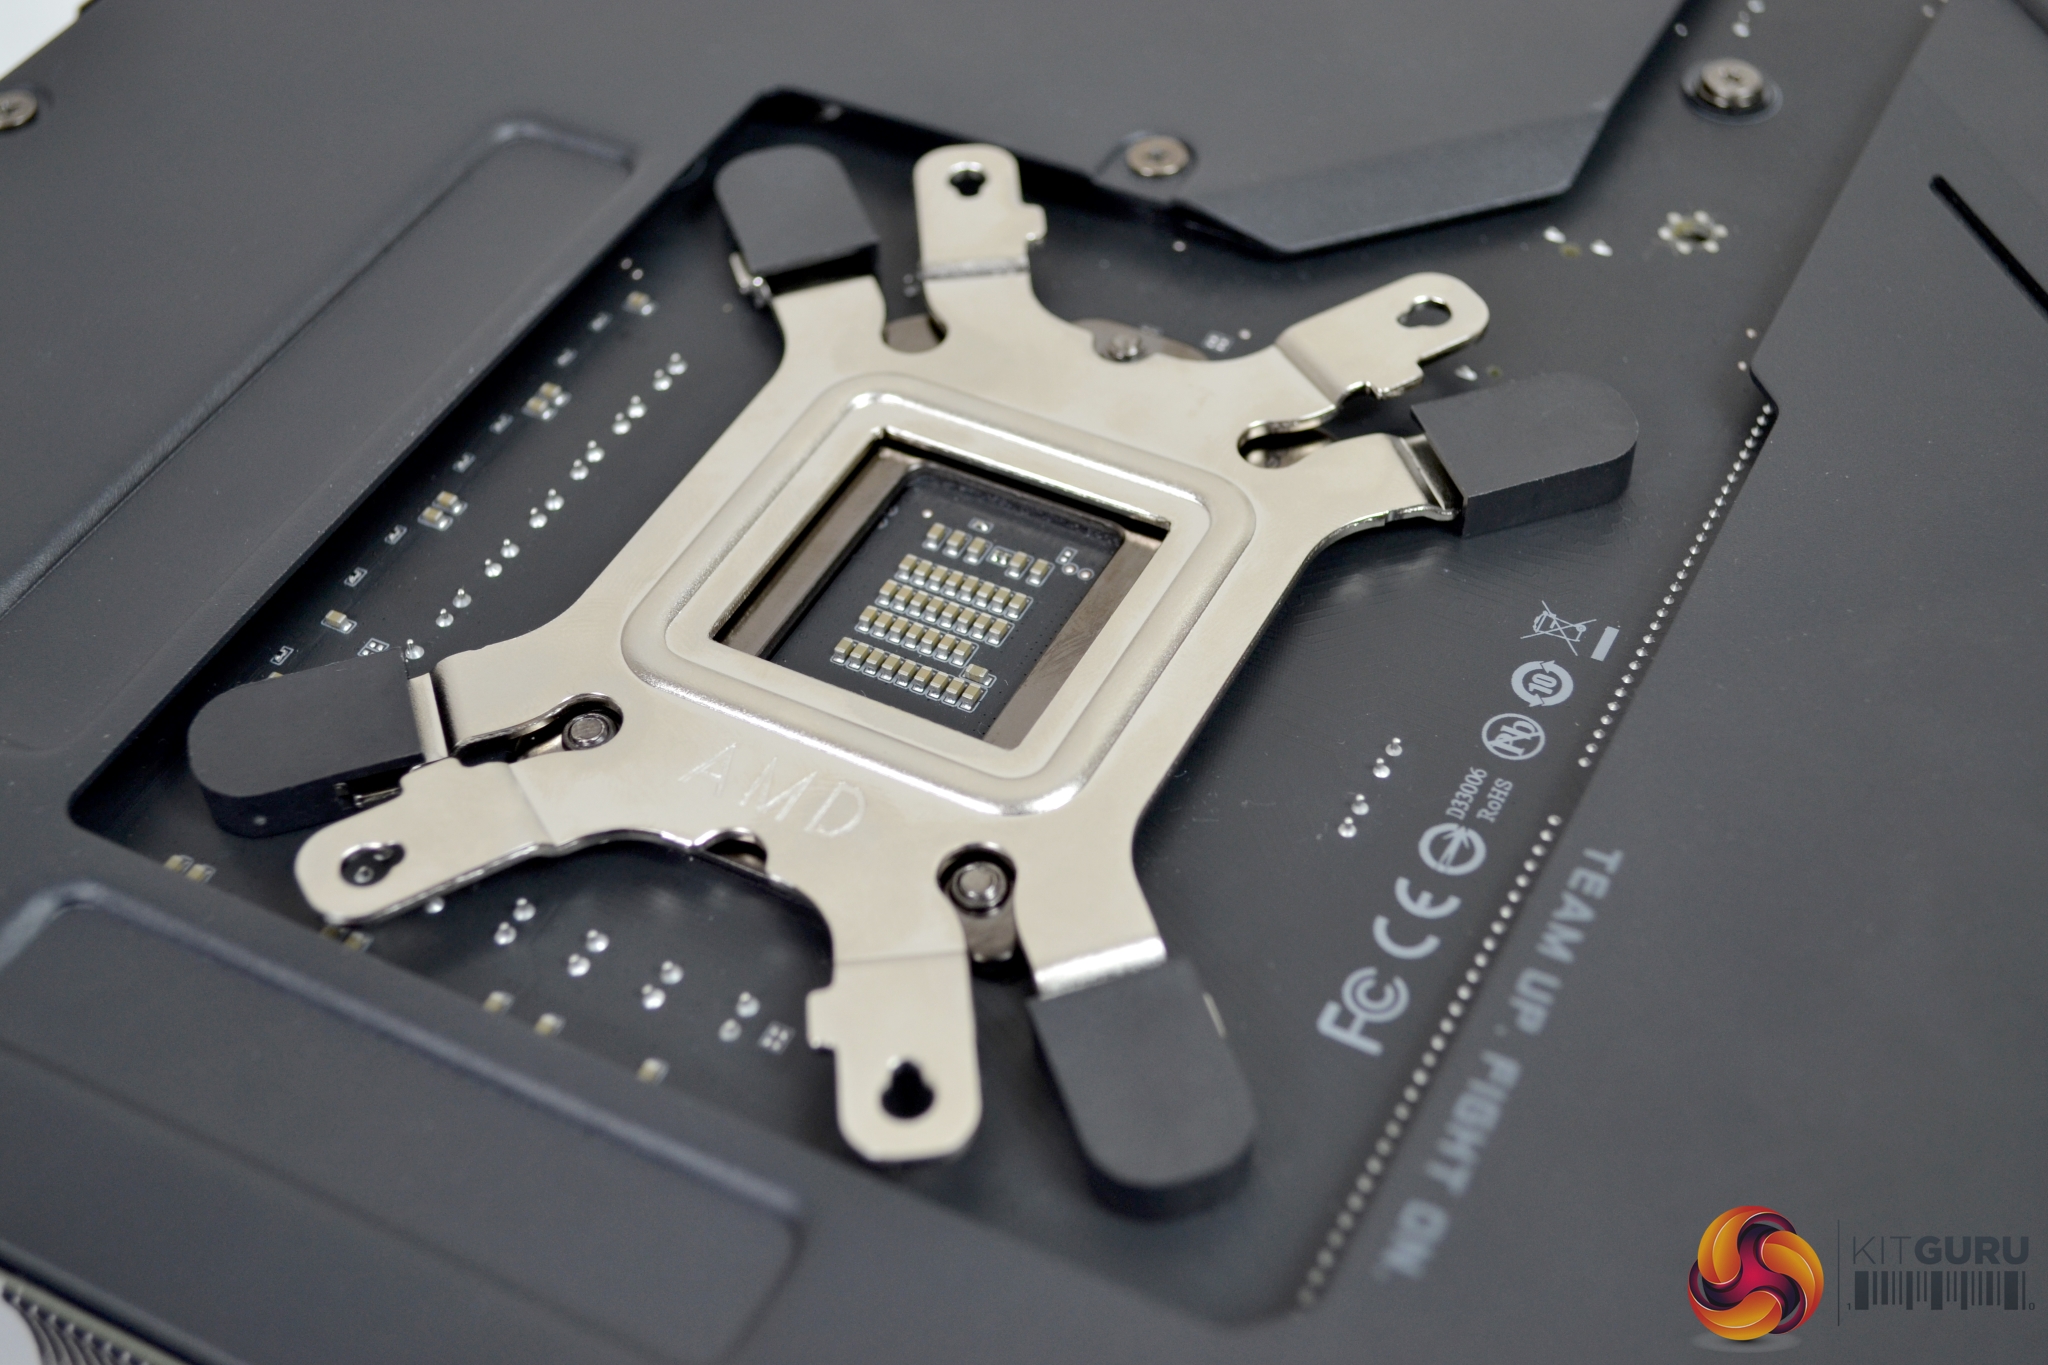
With the motherboard flipped over, align the retention bracket and mounting posts with the holes on the motherboard from the underside and locate the backplate in position. To hold the backplate in position while you flip the motherboard back over, the use of insulating tape could come in handy.
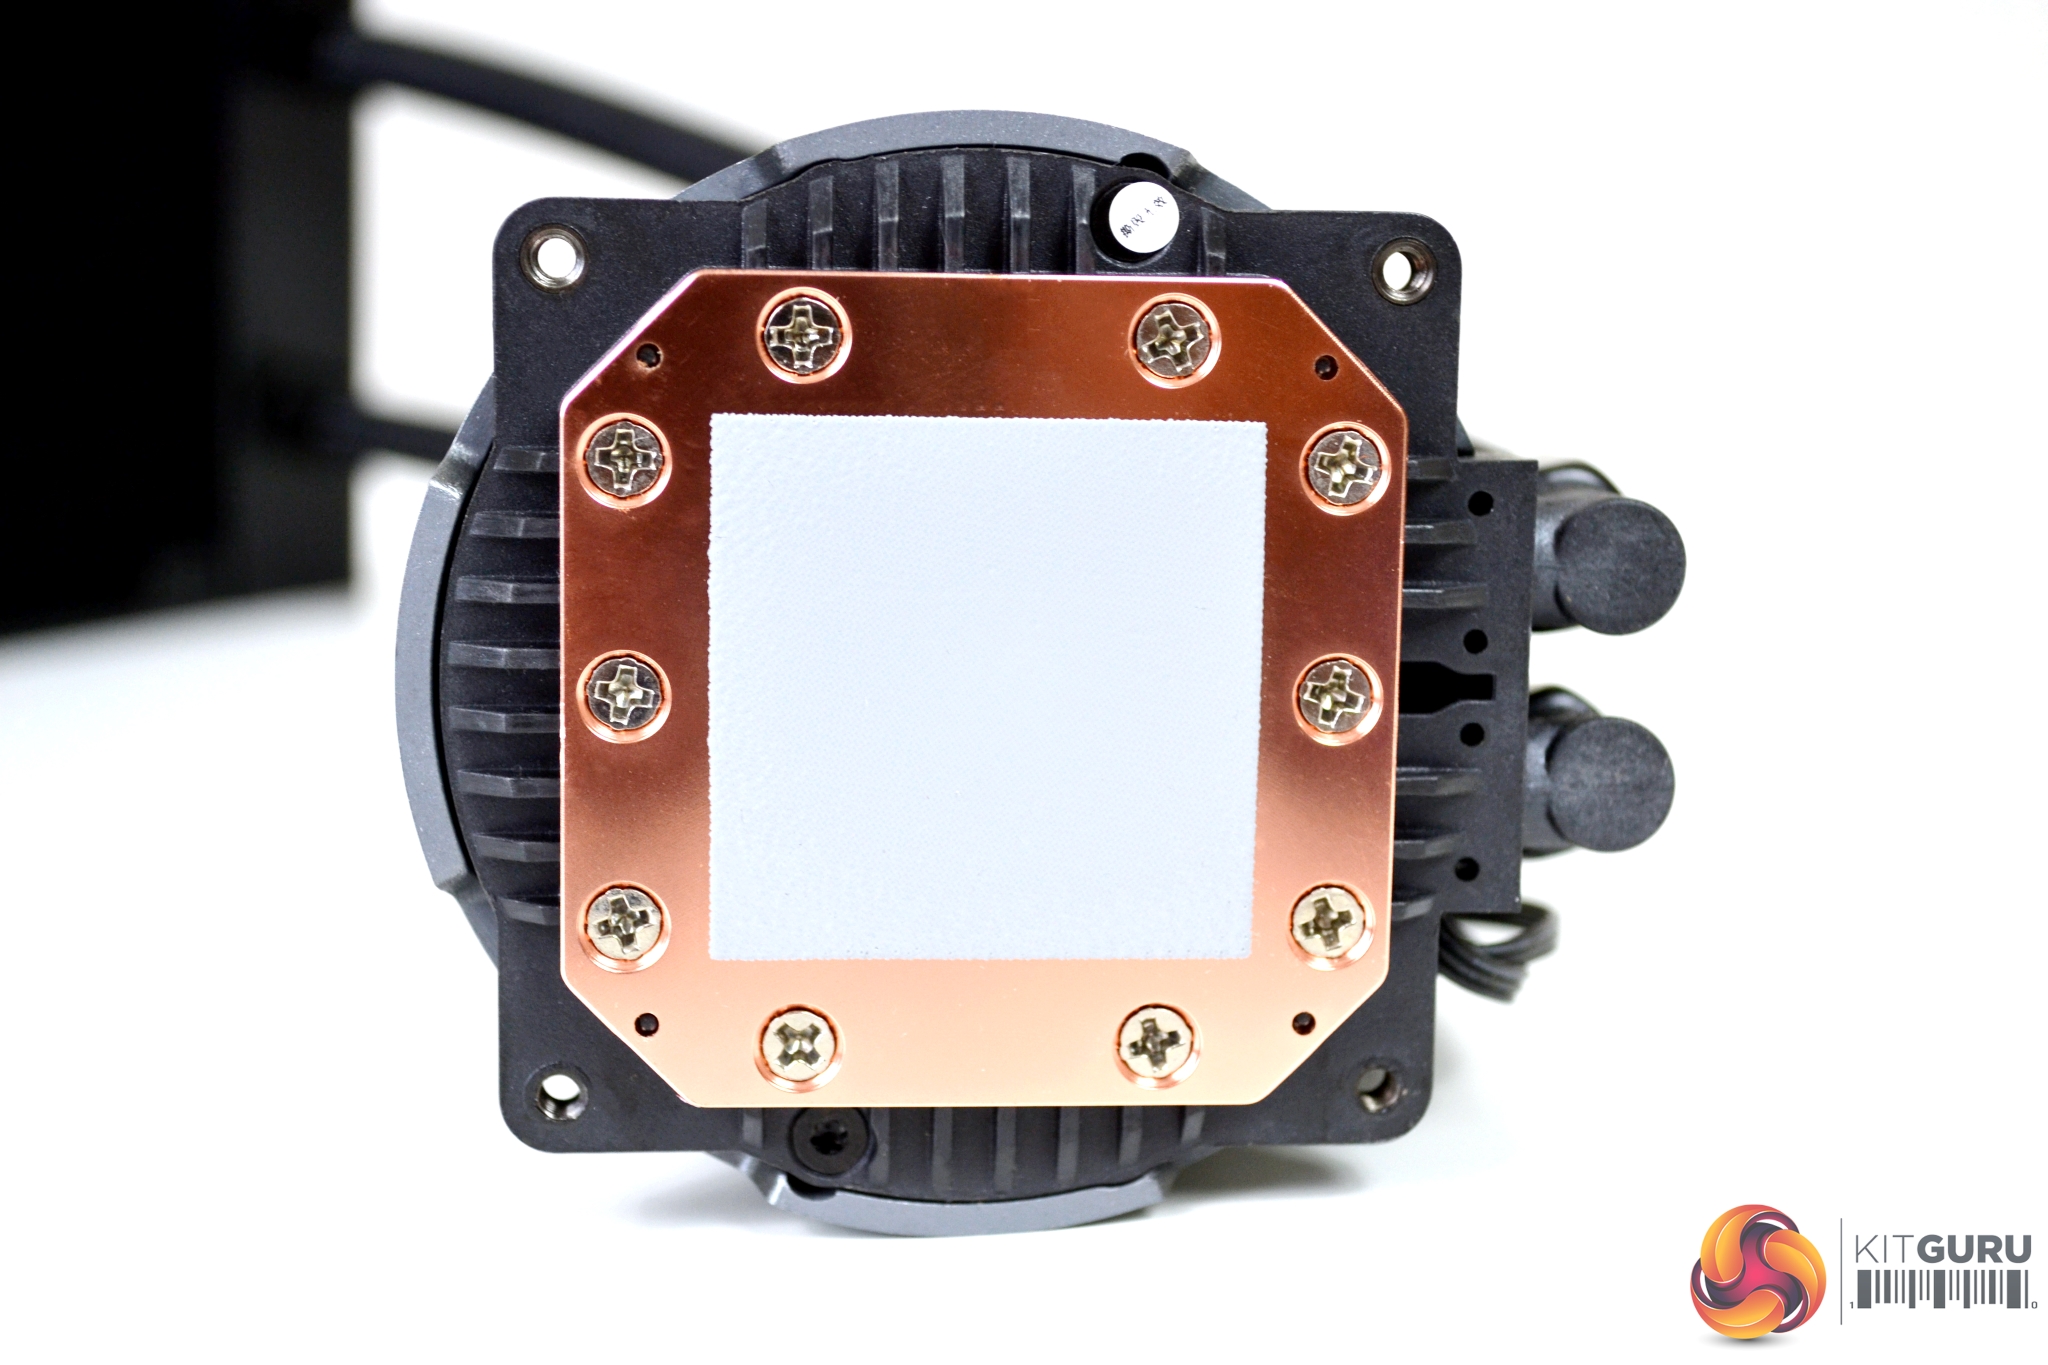
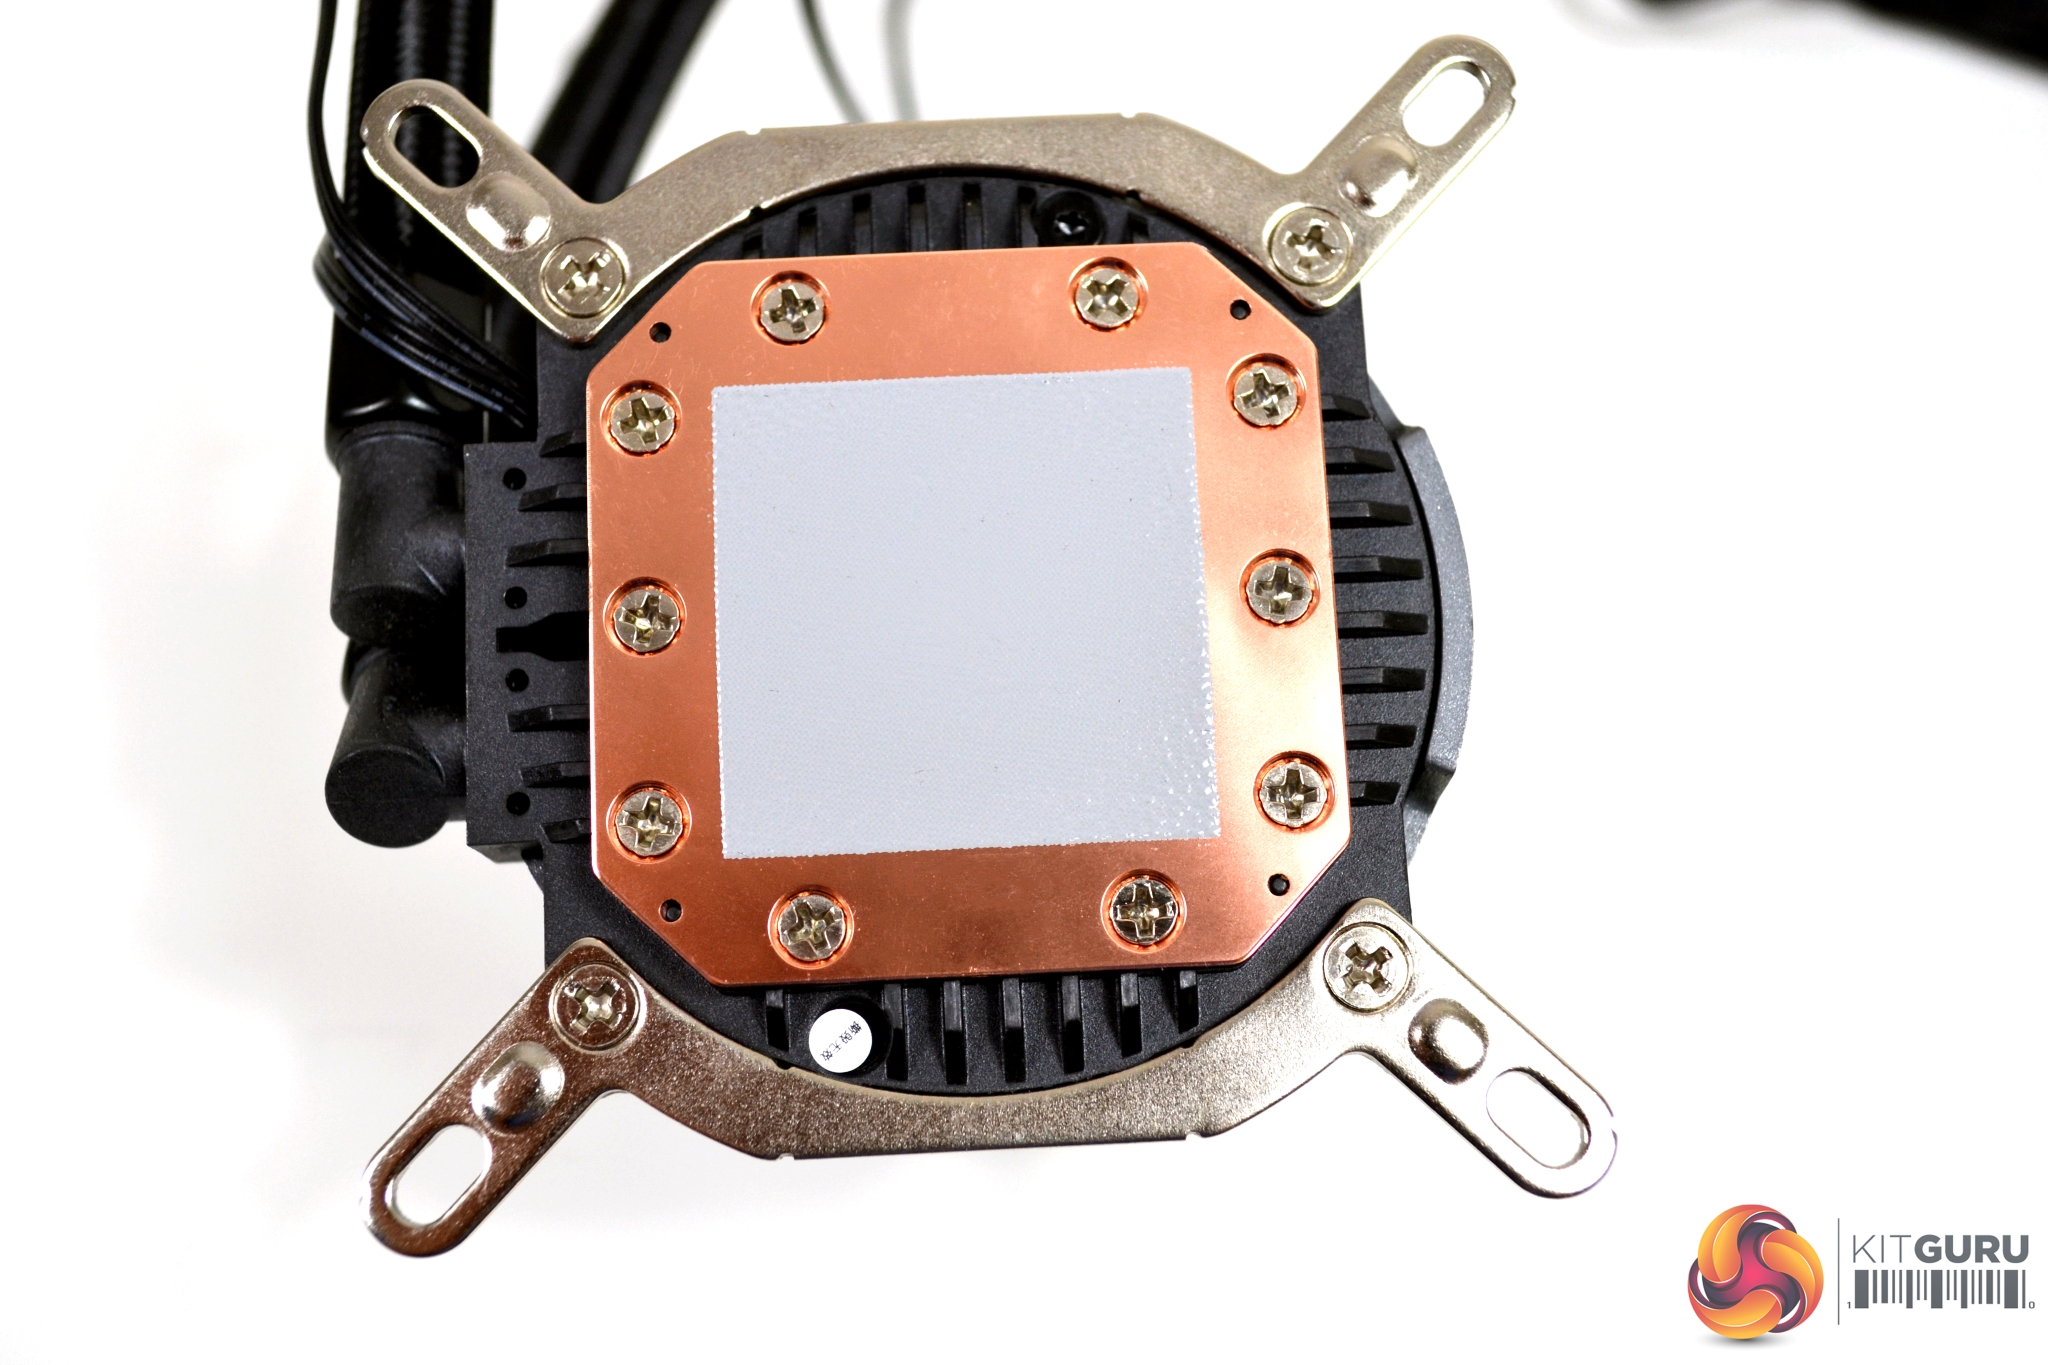
At the base of the CPU are mounting holes for the upper retention bracket for both Intel and AMD applications. Align the Intel mounting bracket with the hole in the correct orientation and then use the small silver Philips head screws to fix the upper brackets in position.
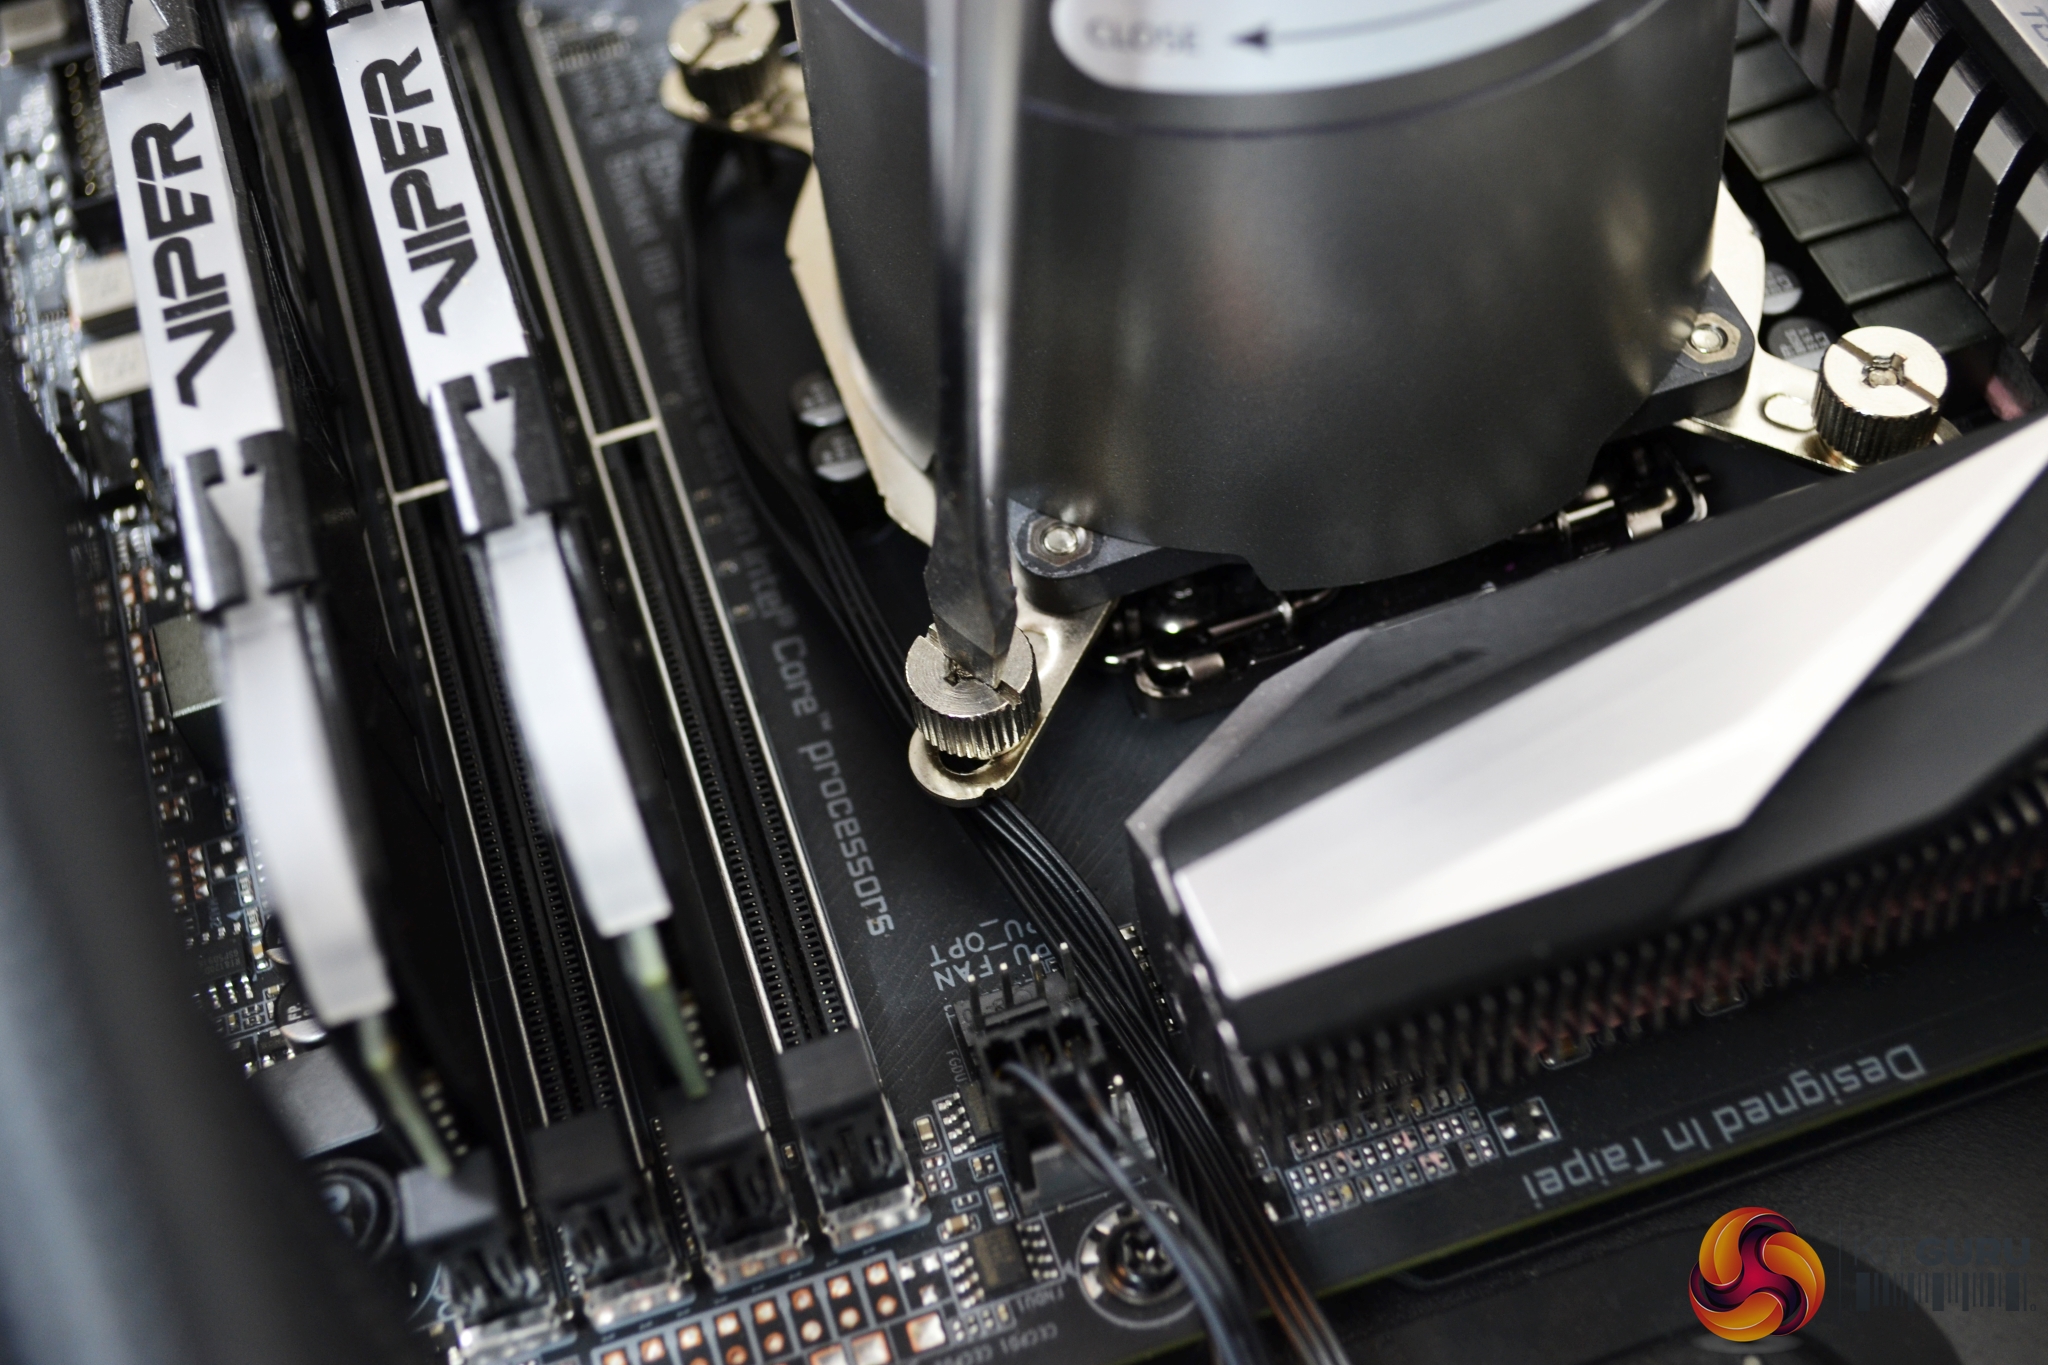
There are no spacers required to ensure the CPU block is correctly positioned, it's just a simple case of lowering the CPU block down on to the CPU heat spreader and tightening the CPU block in position using the four chrome thumbscrews. Use an X shape pattern when tightening the thumbscrews to evenly distribute mounting pressure. Final tightening can be achieved best by using a flat blade screwdriver.
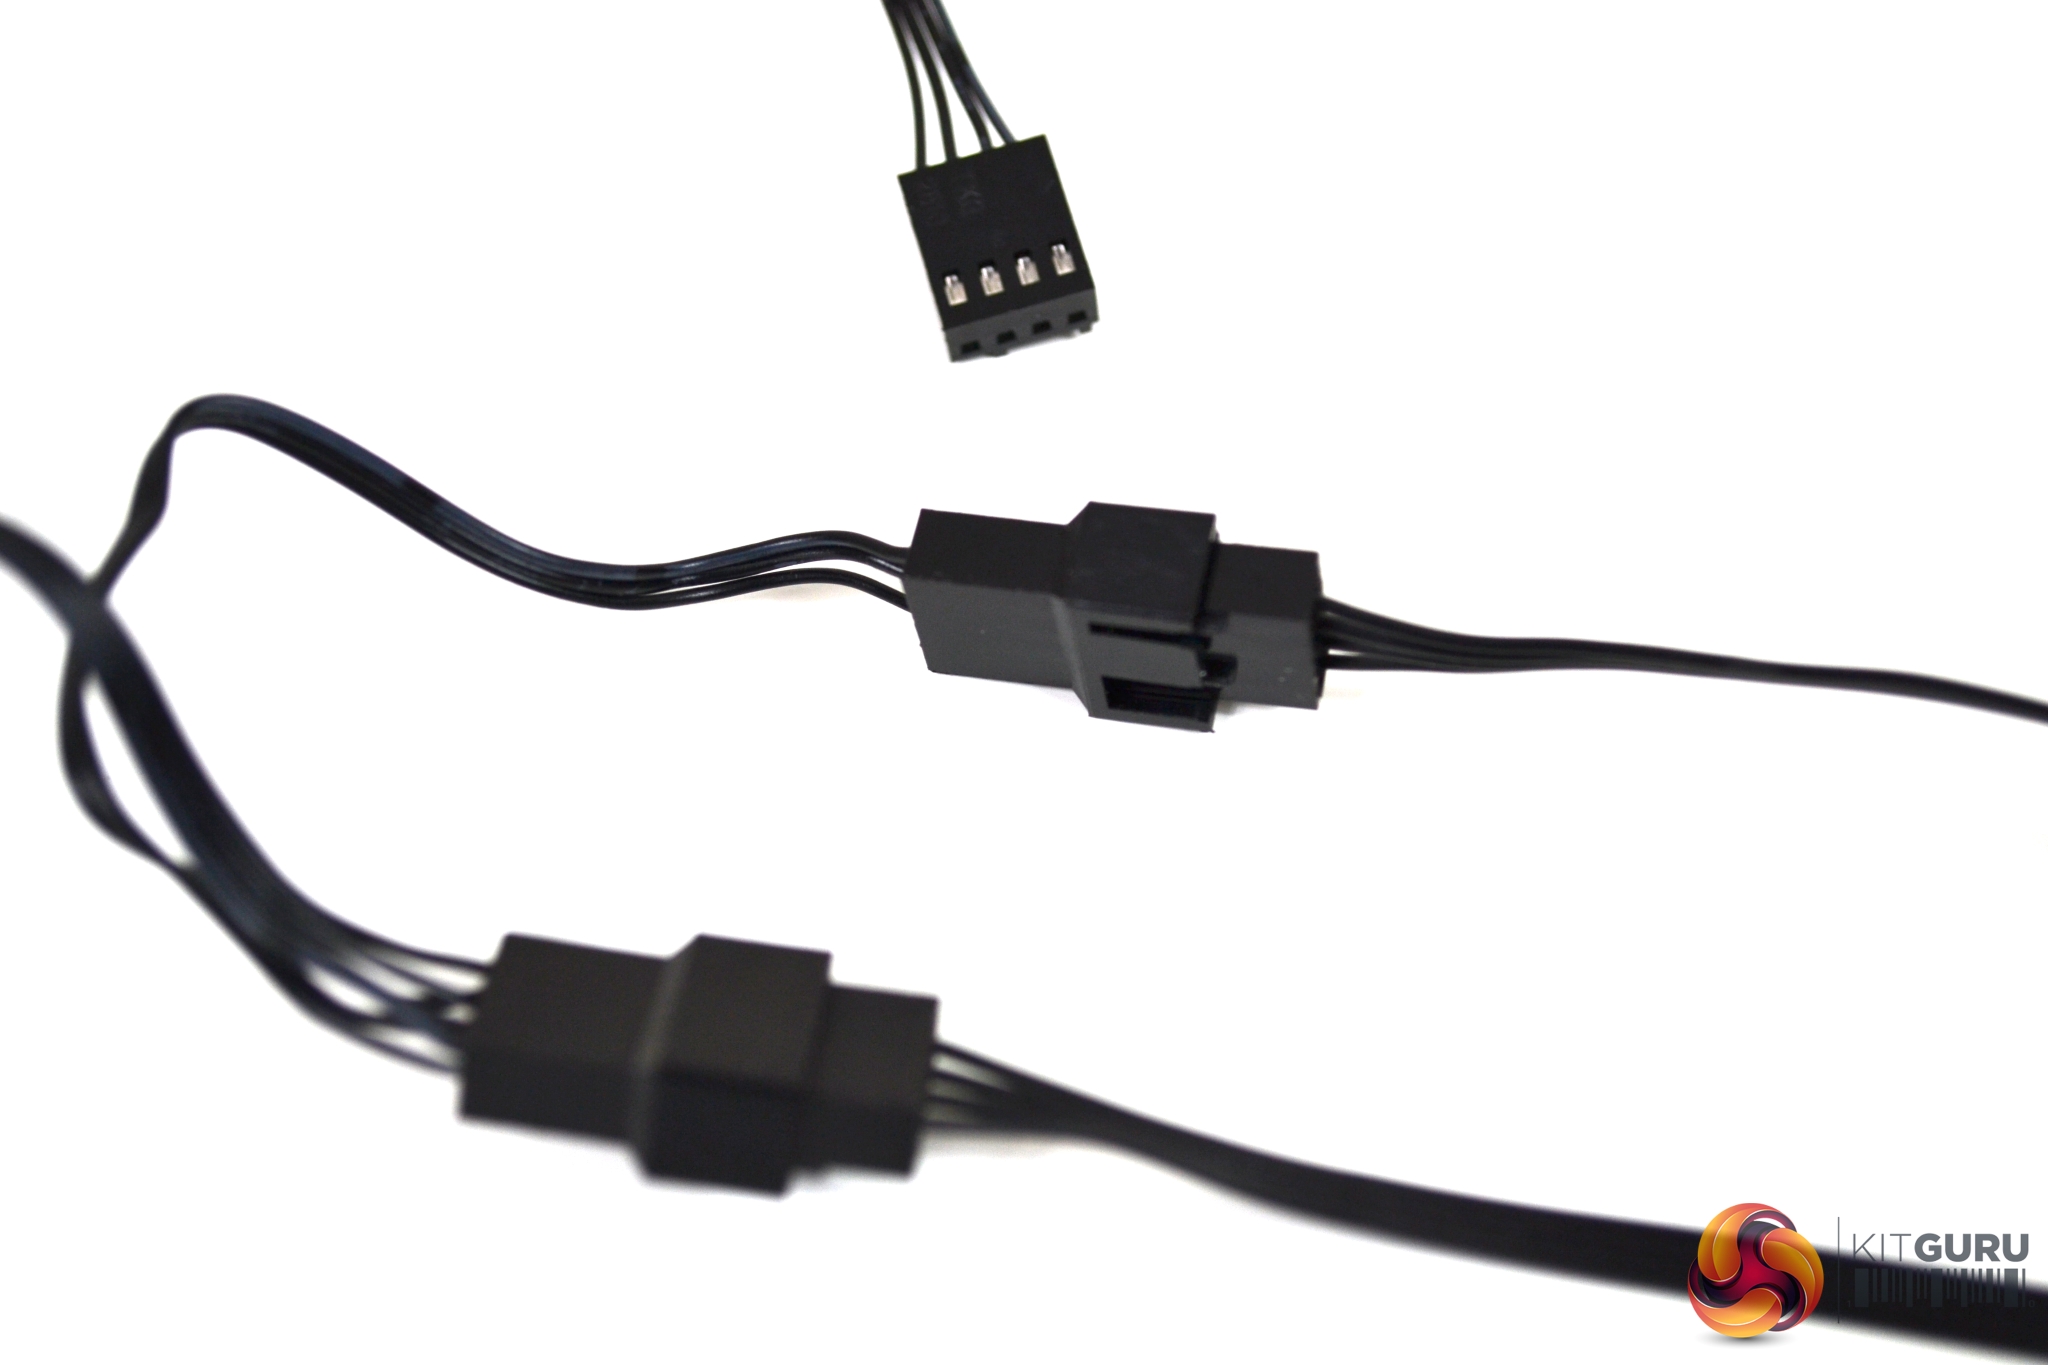
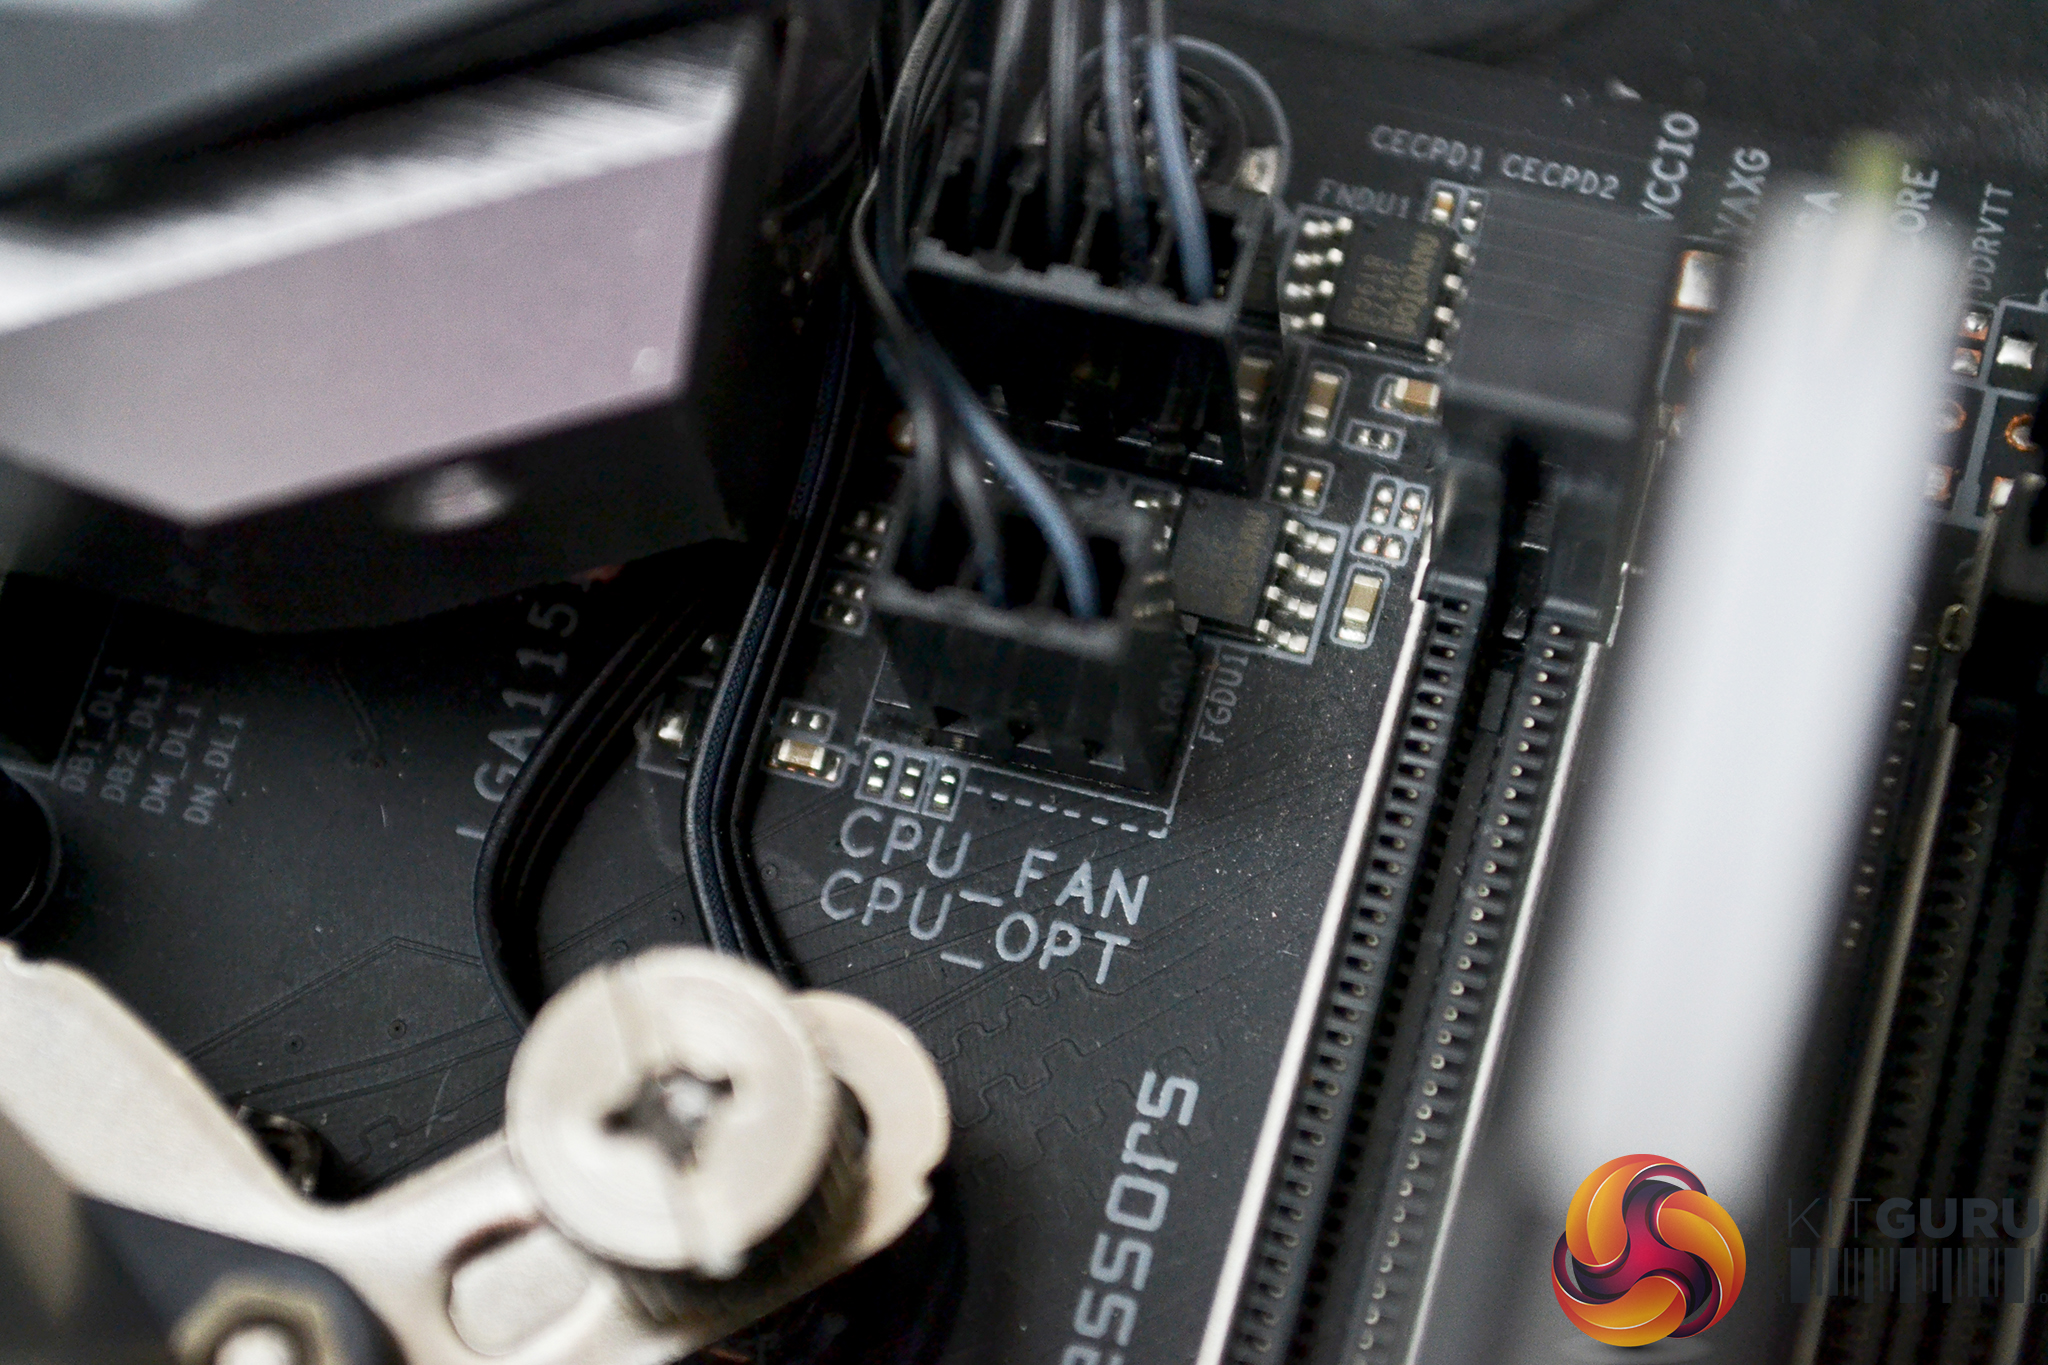
To complete the installation the cables need connecting next. The fans are connected together using the included 4-pin PWM splitter cable and then connected to the motherboard CPU_FAN header. The 3-pin pump power cable connects to the CPU_OPT header on our Gigabyte Z390 Aorus Xtreme motherboard.
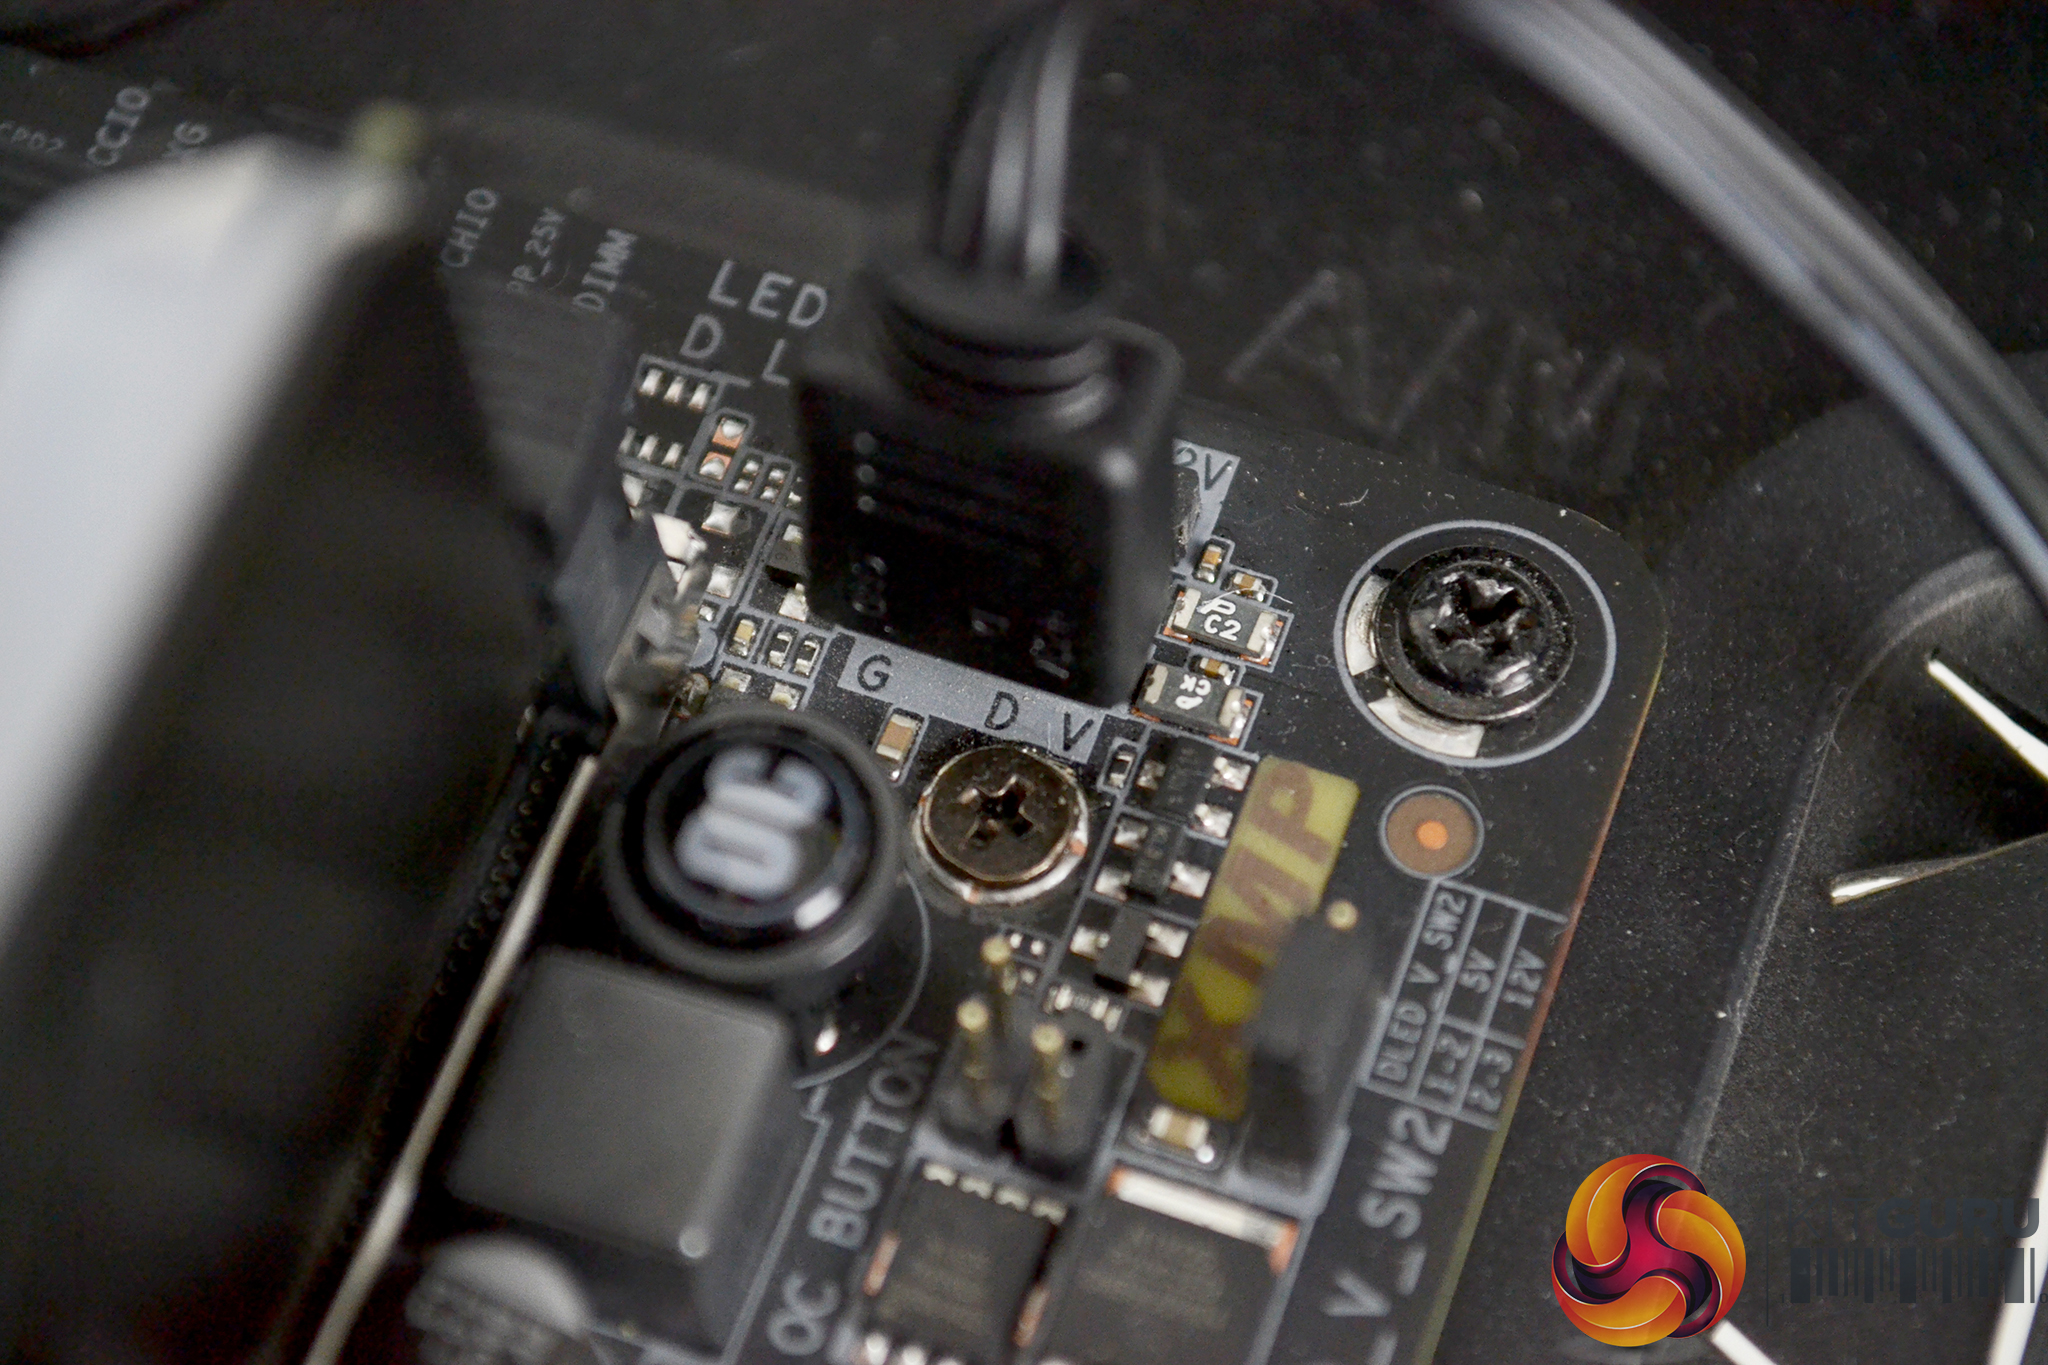
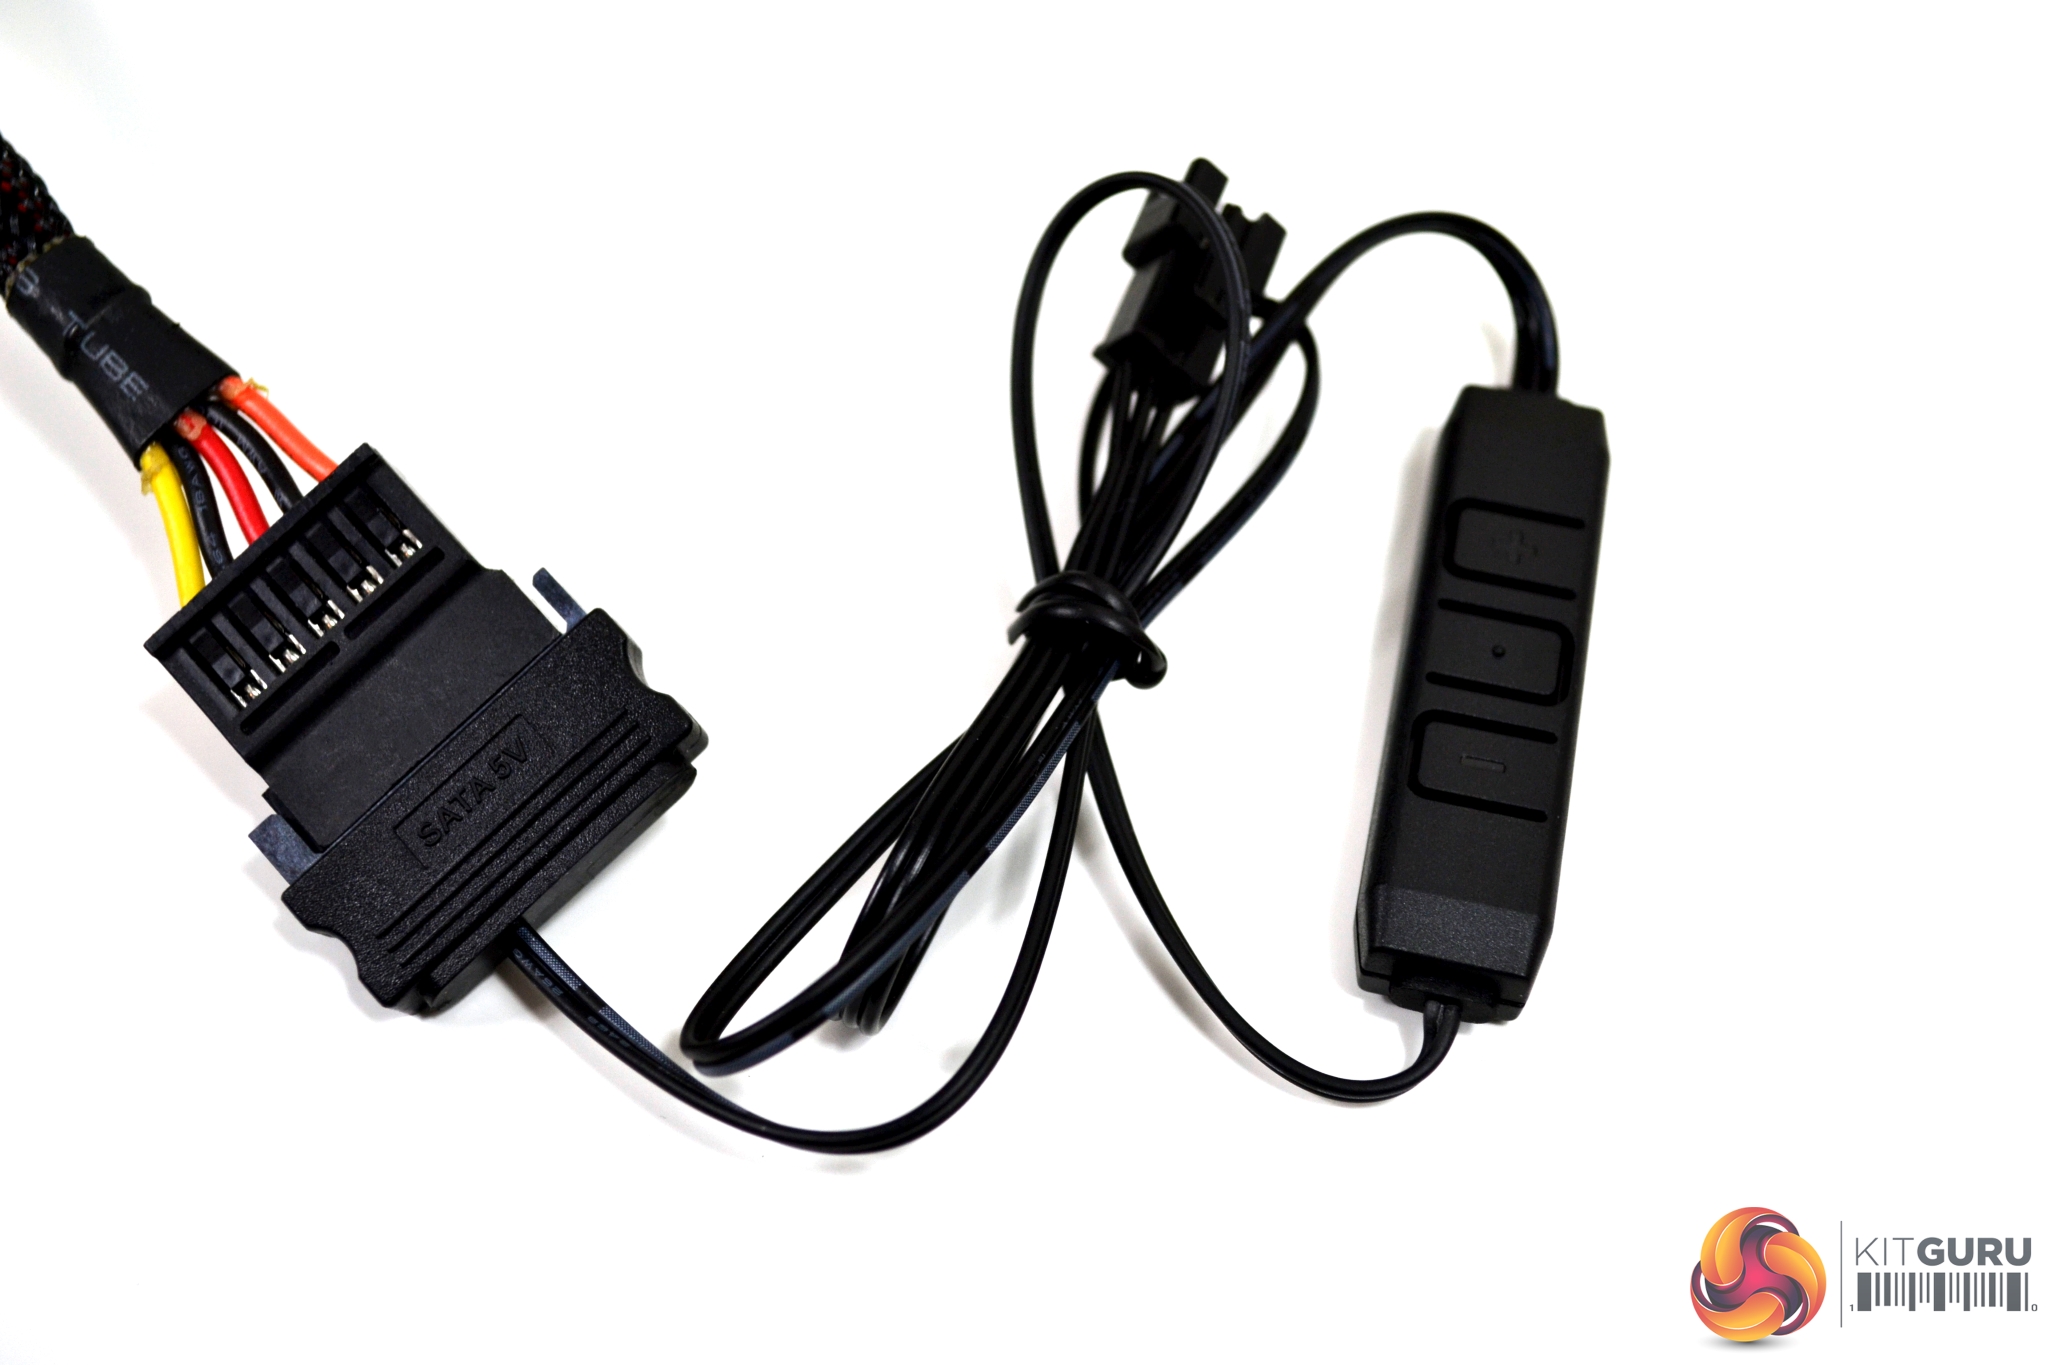
There are two options for connecting the RGB lighting. Either directly to a 3-pin 5v ARGB header on the motherboard using the adaptor cable (this is the option we chose) or via the included RGB controller. To connect the RGB controller simply plug the SATA power cable into a spare connector from the power supply and connect the pump RGB cable to the 3-pin socket on the other end of the RGB controller.
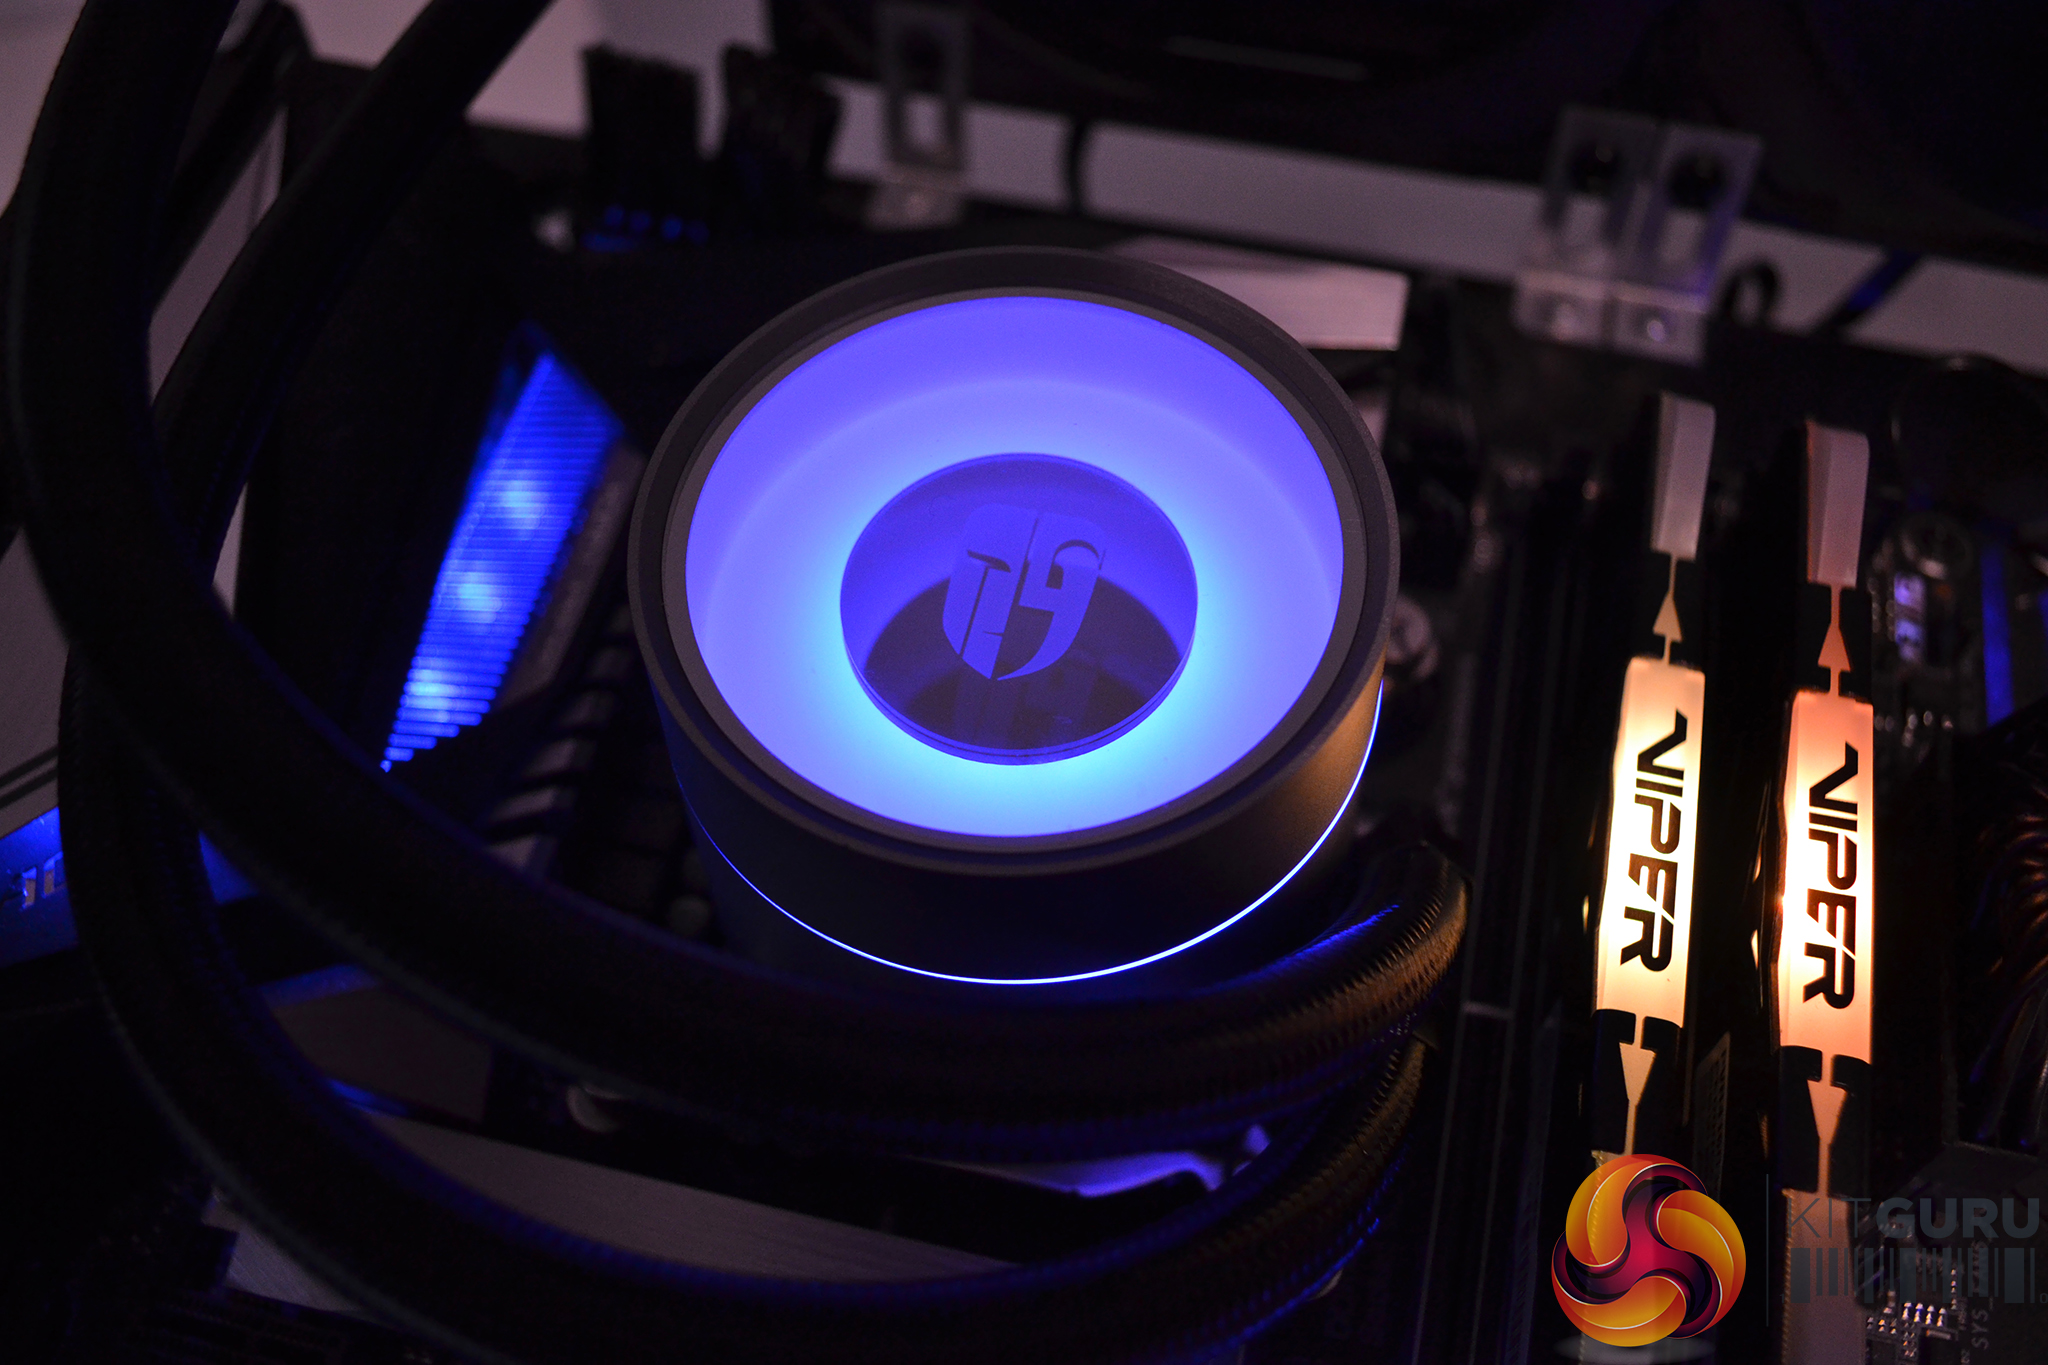
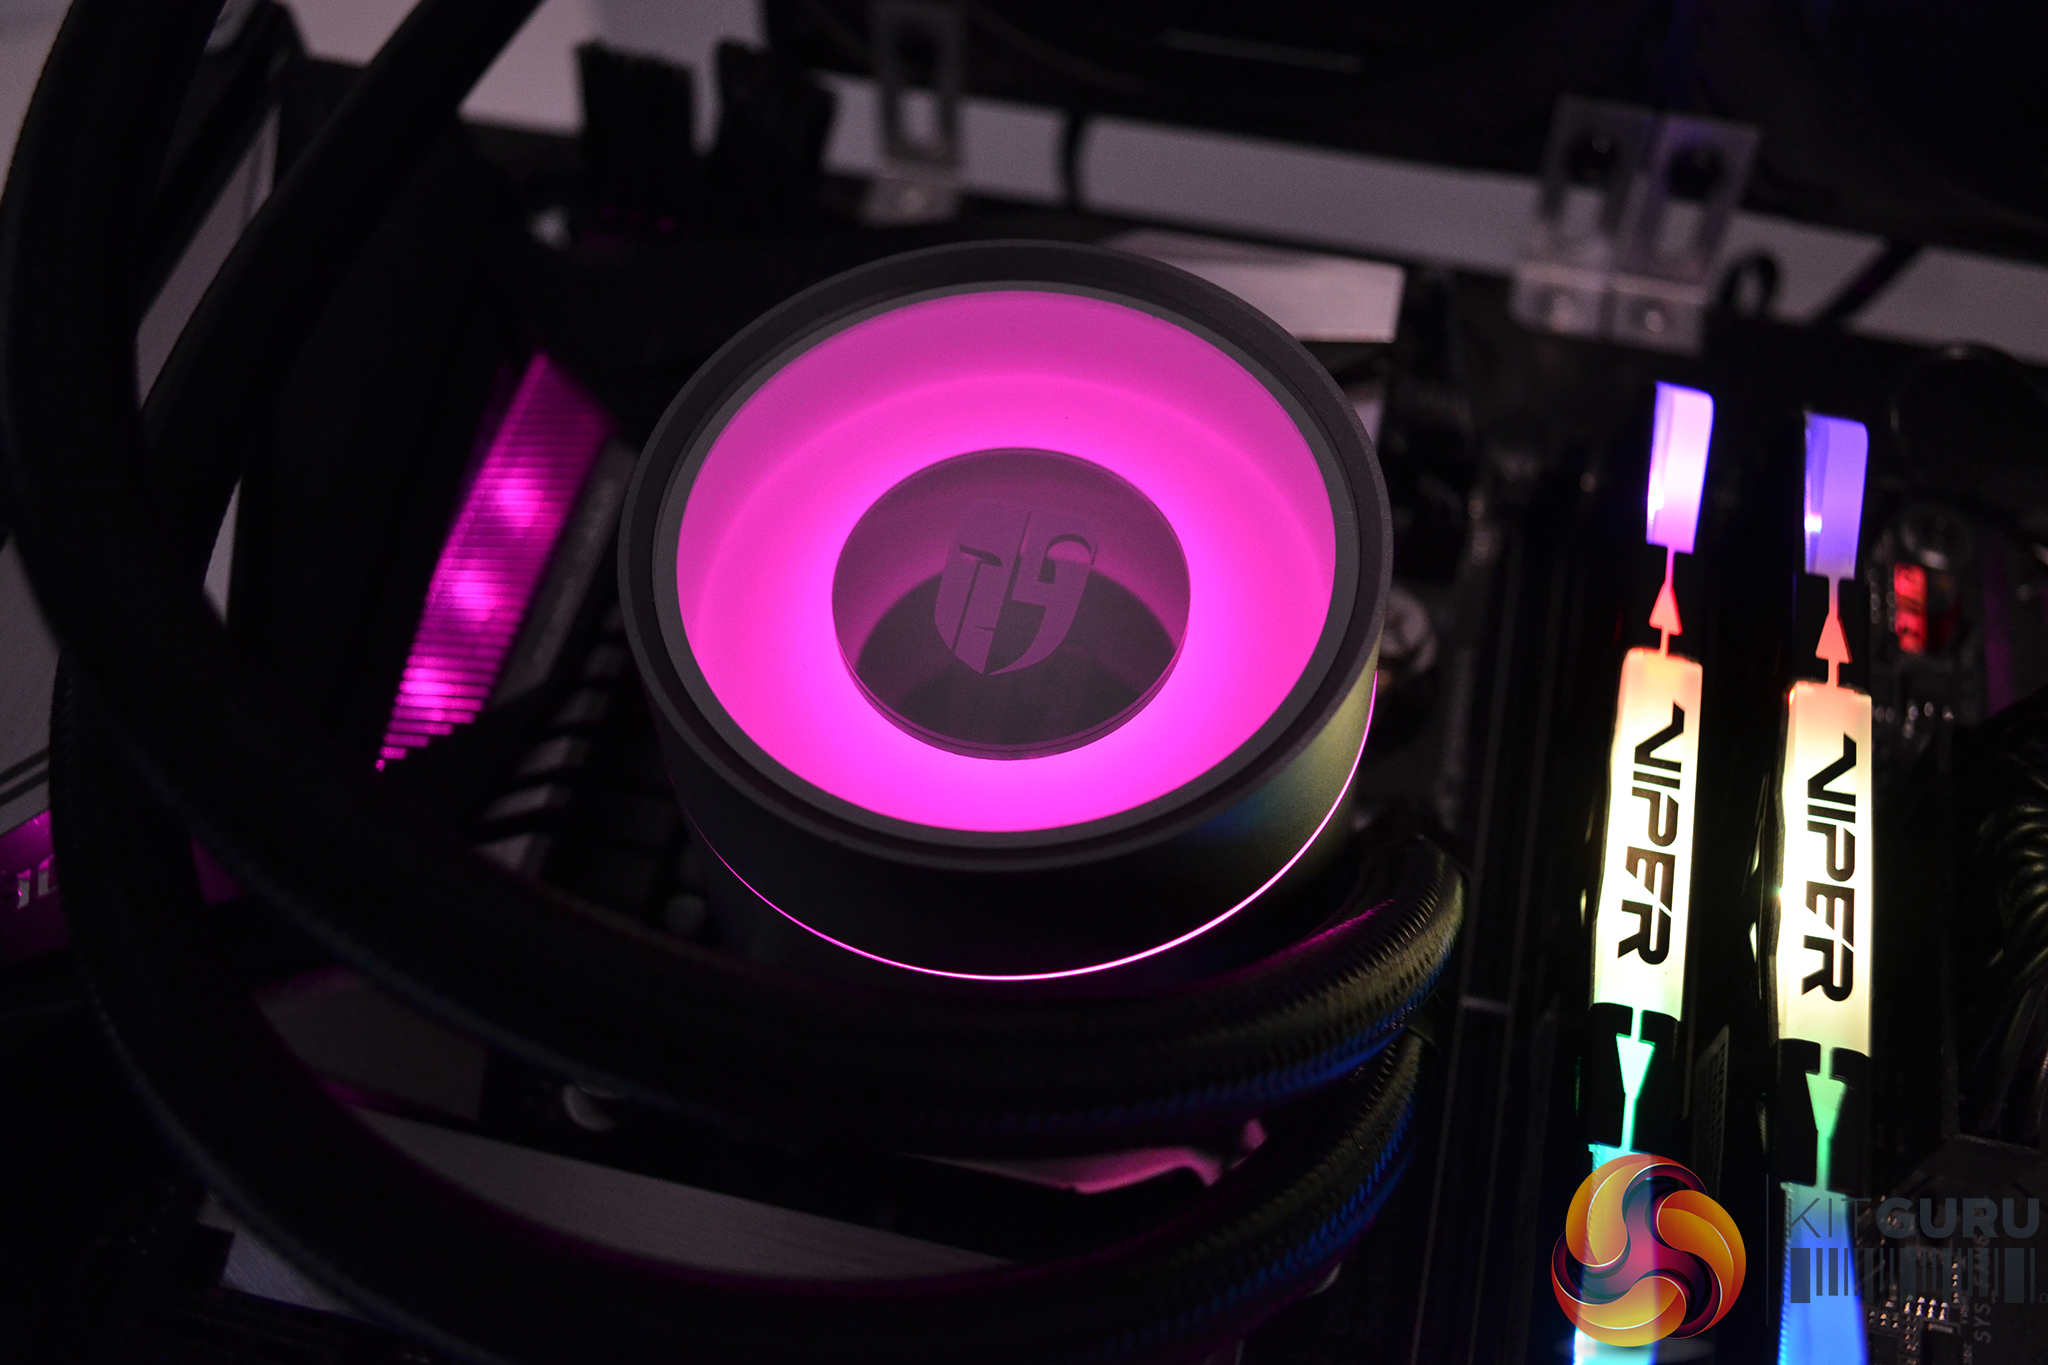
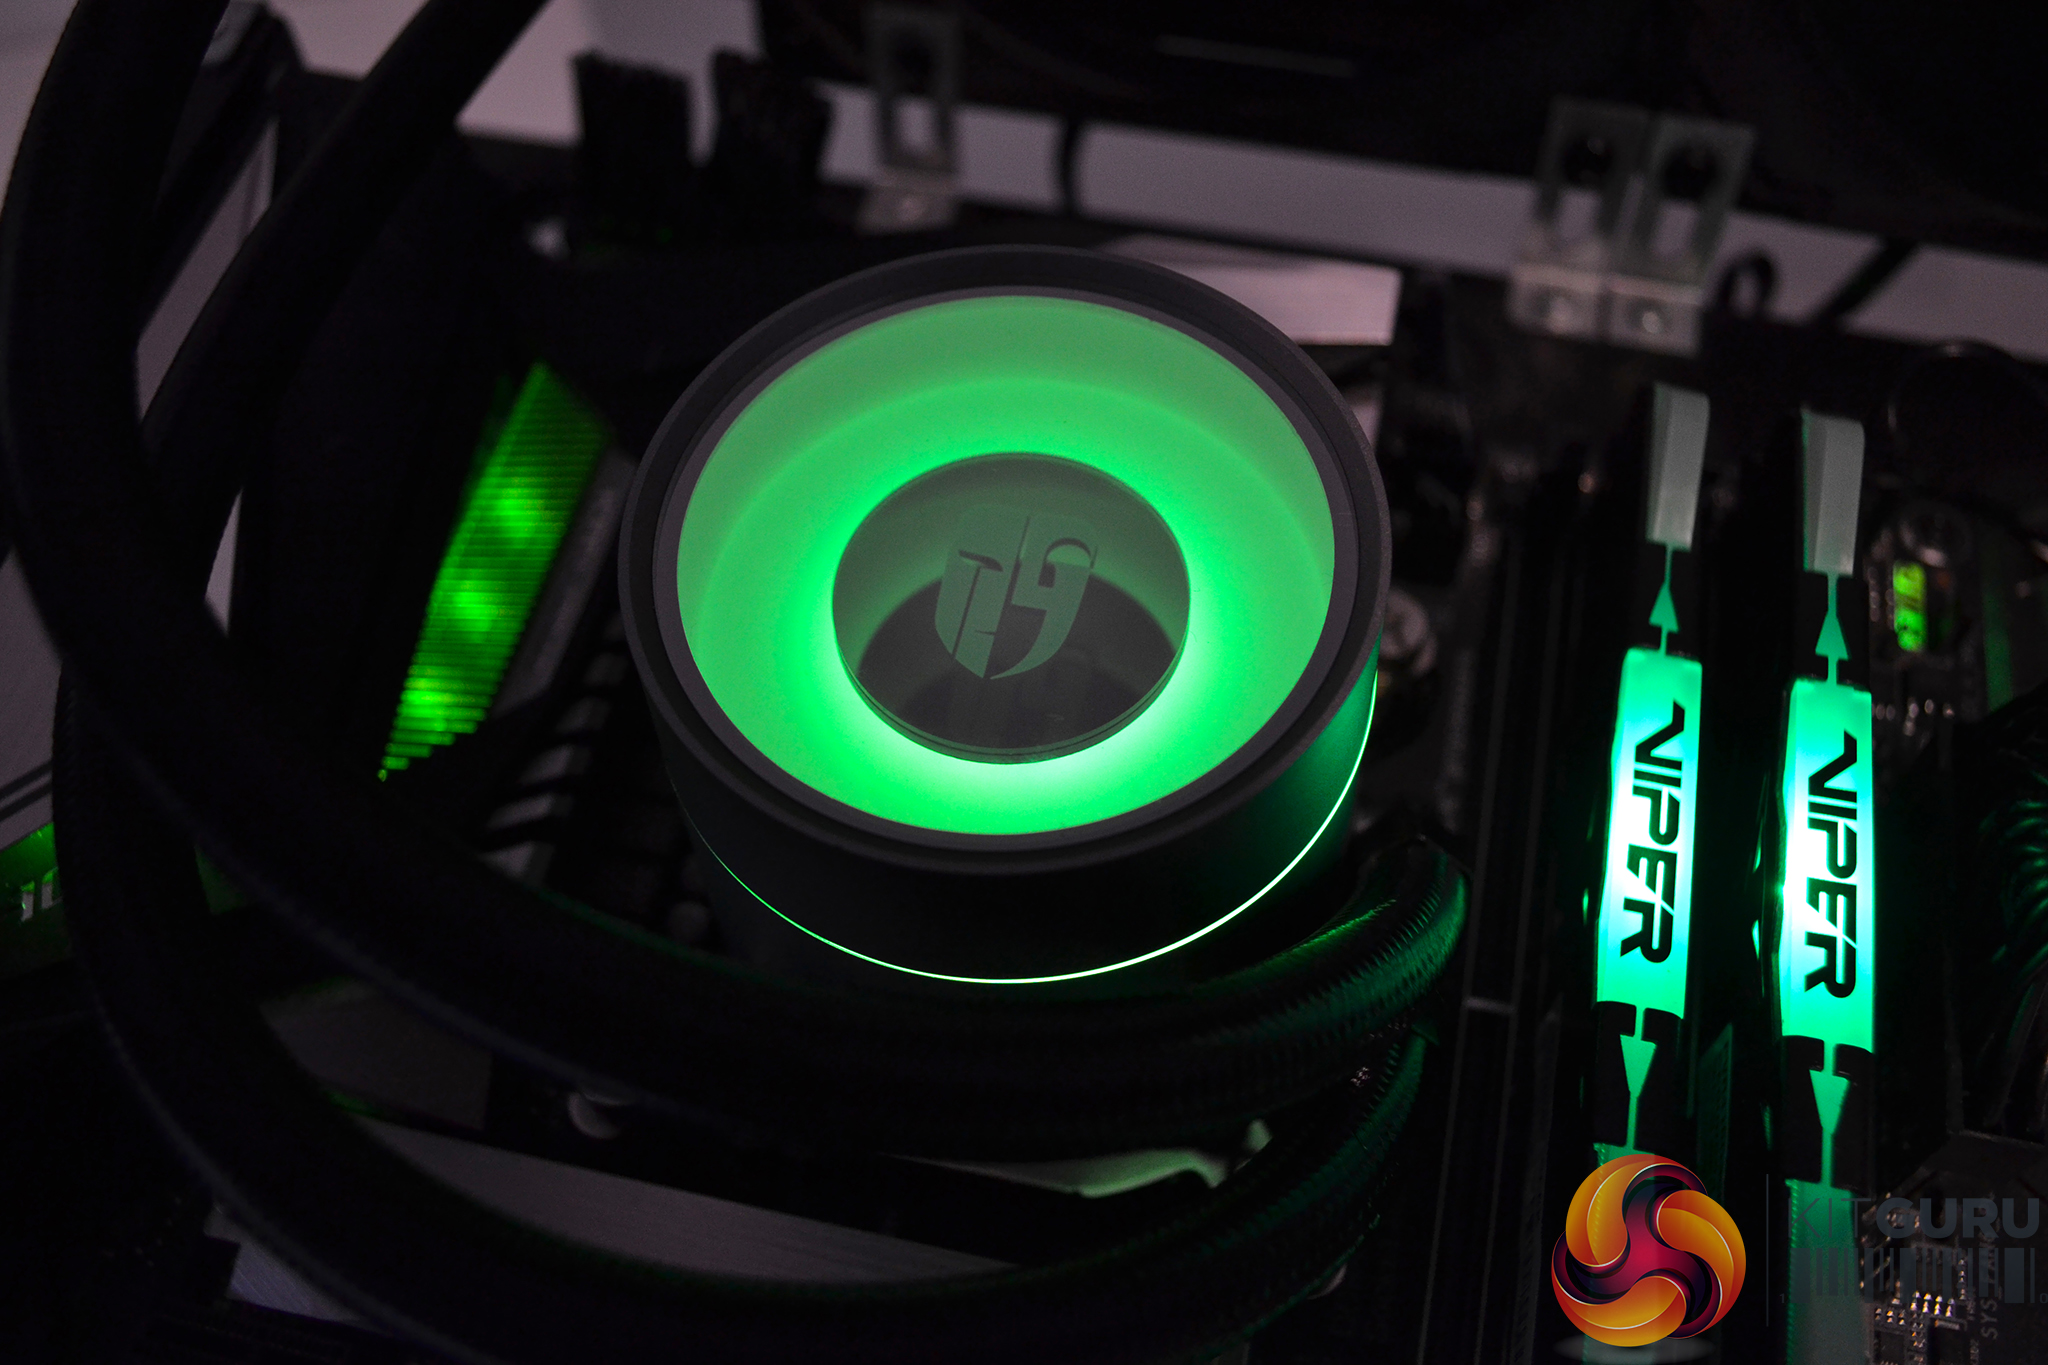
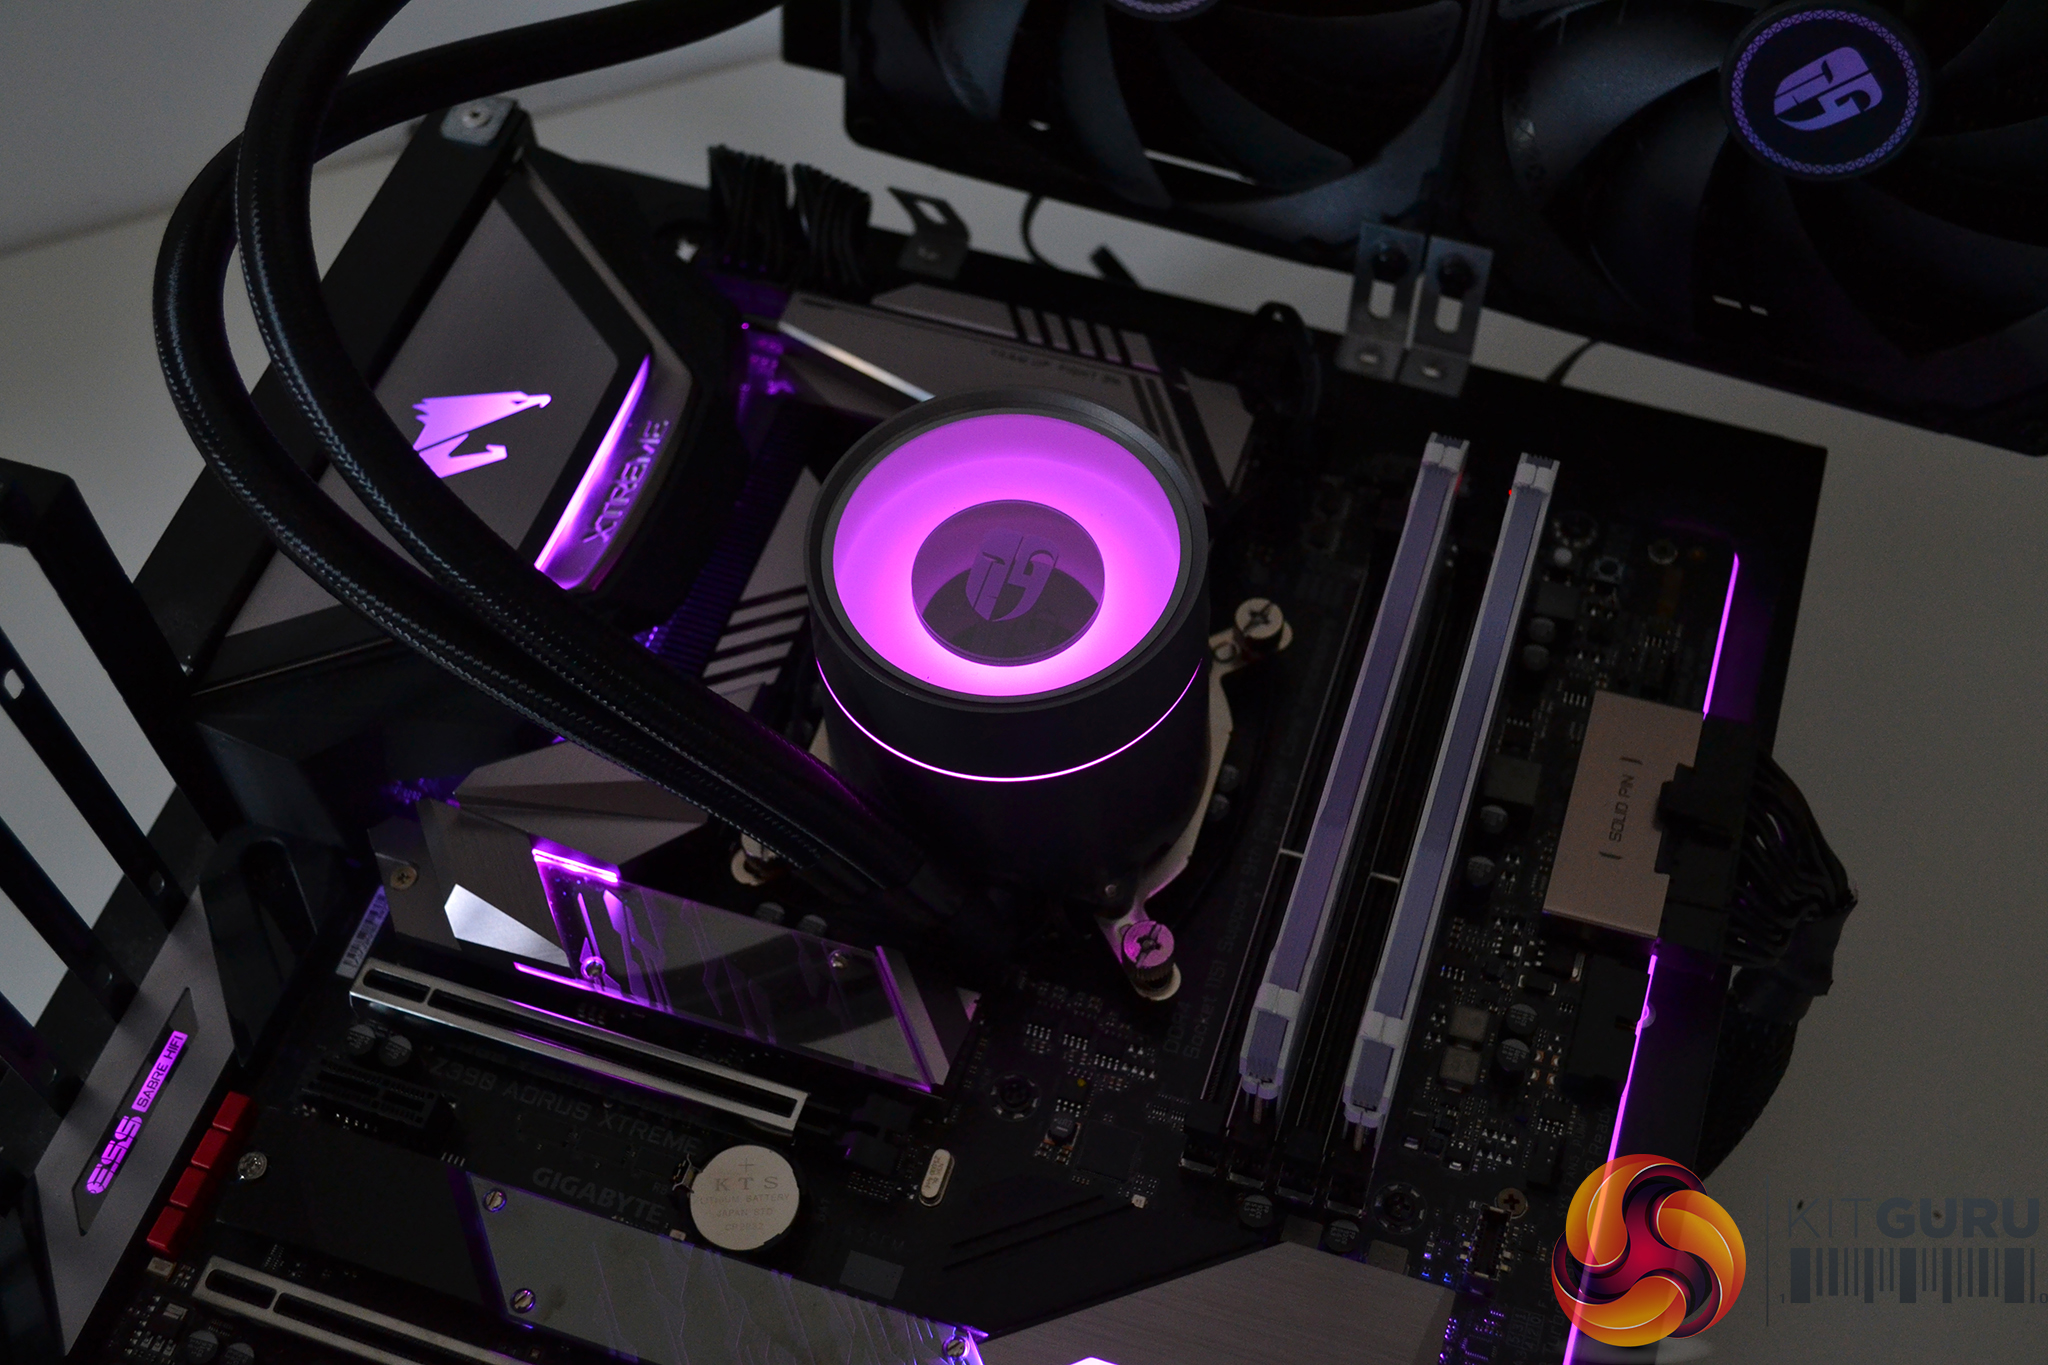
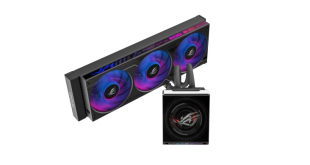
RGB Gallery