It’s likely most will assume that an AIO liquid cooler is the definitive option when looking to build a quiet high-performance system, with the only space for improvement being a full custom loop. This inherently brings a number of issues including higher costs, and an increased number of points of potential failure.
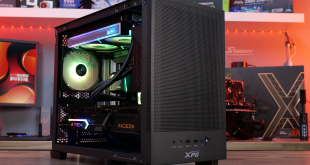
For those looking for simplicity an air cooler is still a good option, and be quiet! have become well known as a manufacturer of high-quality top performing air coolers. The new Dark Rock Pro 4 states cooling performance of 250W TDP but an equally high-end price point of £79.99. Does the performance live up to the price?
Watch via our VIMEO Channel (below) or over on YouTube HERE

Specification:
- Model: Dark Rock Pro 4
- Heat Sink Material: Aluminum
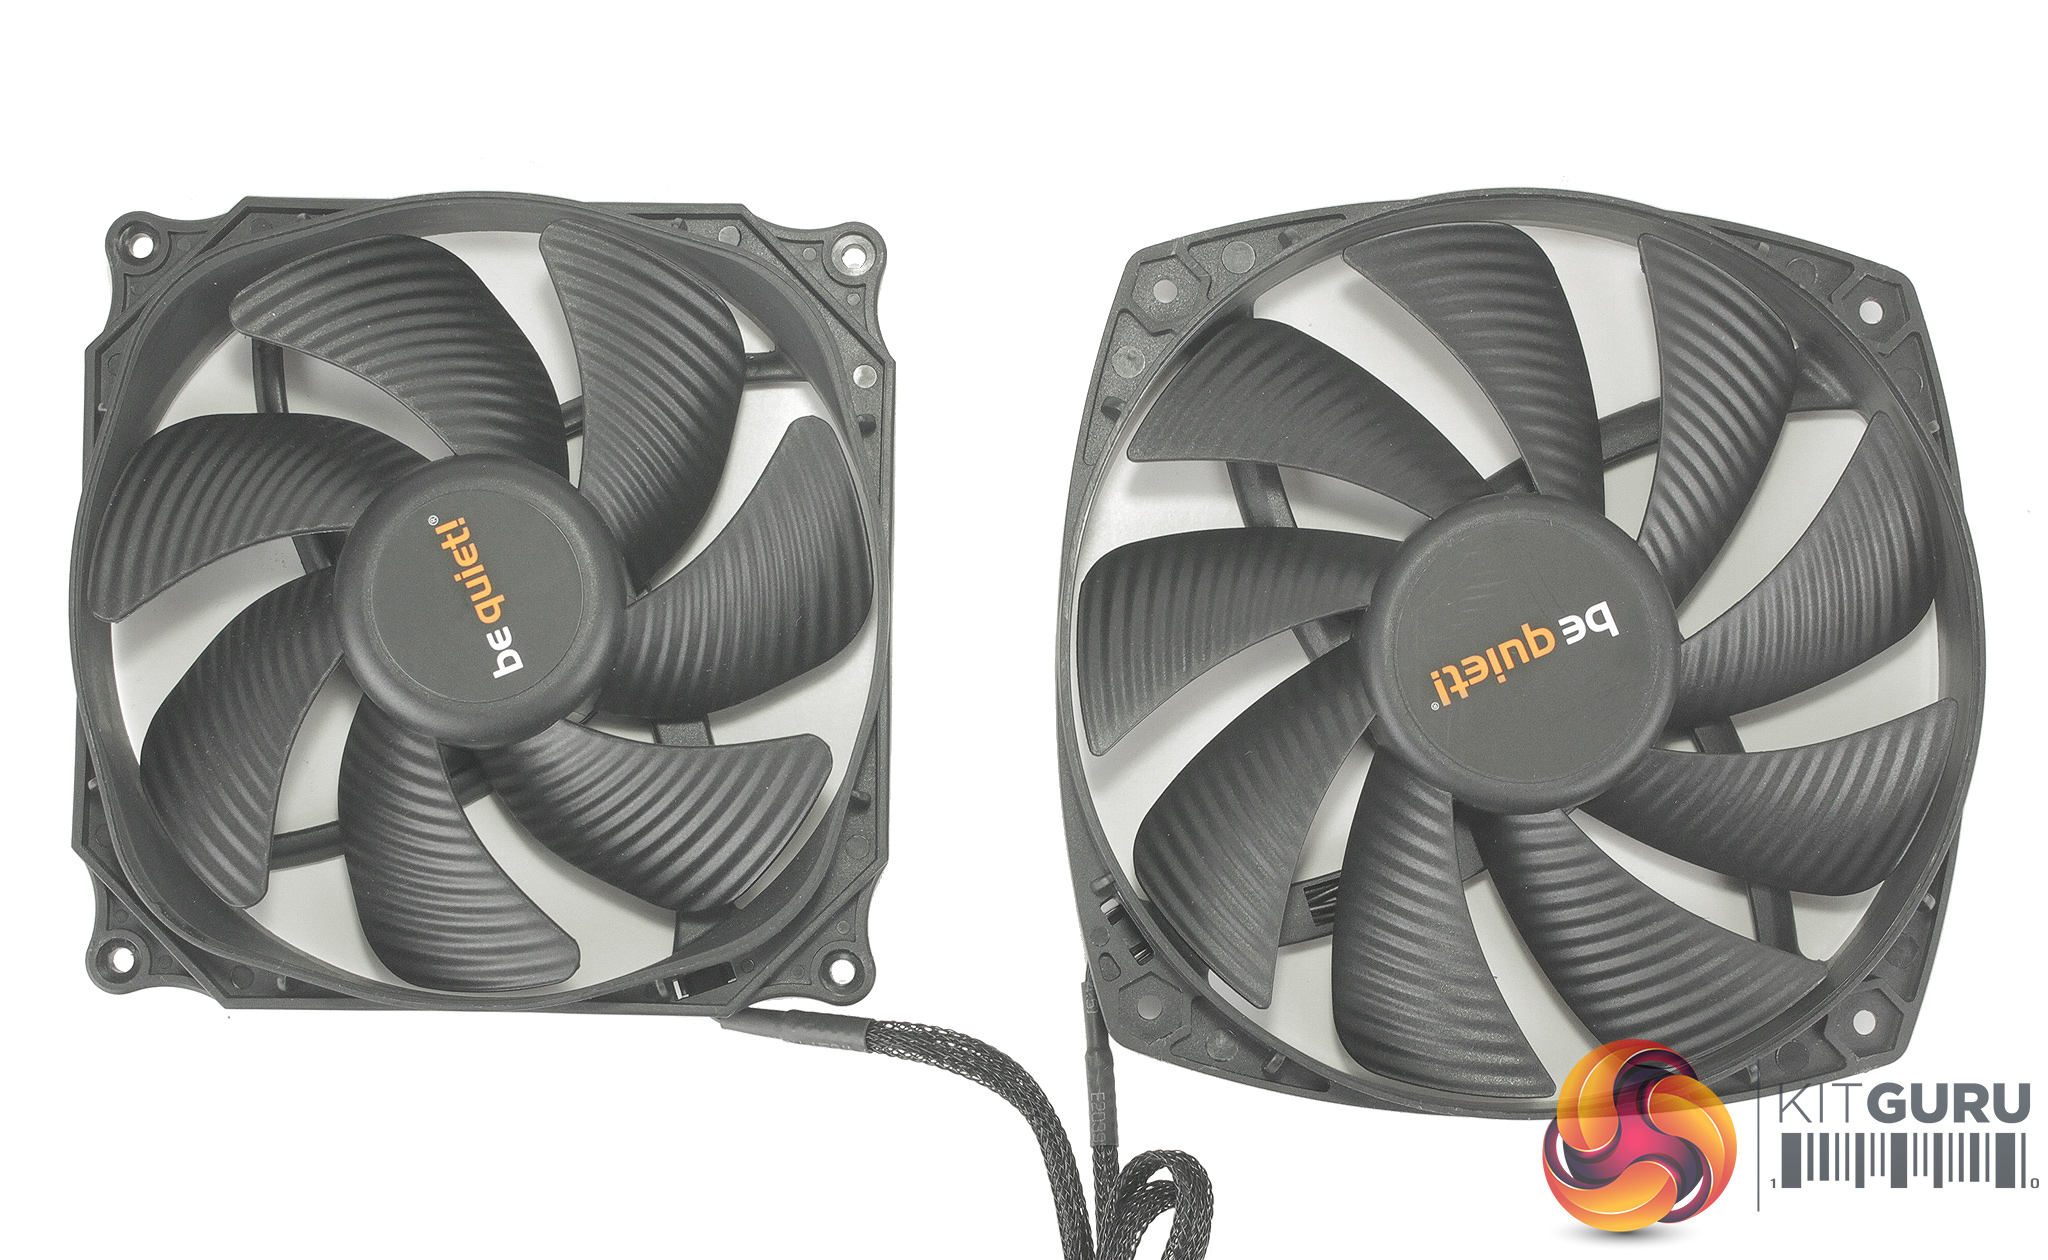
- Included Fans : 1x Silent Wings 3 120mm PWM, 1x Silent Wings 135mm PWM
- Fan Dimensions: 120 x 120 x 25mm, 135 x 135 x 22mm
- Fan Speed: 1,500 , 1,200 RPM @100% PWM
- Fan Noise Level: 24.3 dBa @100%
- Fan Connector: 4-Pin (PWM)
- Warranty: 3 years
- Intel socket compatibility: Intel LGA 2066, 2011-v3, 2011, 1151, 1150, 1155, 1156, 1366
- AMD socket compatibility: AMD AM4, AM3+, AM3, AM2+, AM2, FM2+, FM2, FM1
- Heat Sink Weight: 1.3kg
- Heat Sink Dimensions (LxWxH) : 145.7 x 136 x 162.8 mm
The be quiet! Dark Rock Pro 4's packaging shows a clear picture of the cooler on the front, whilst also displaying the cooling potential of 250W TDP. The Dark Rock Pro 4 comes included with two premium Silent Wings fans which likely add to the advertised cooling, and silent performance. The rear of the box shows some accurate dimensions to help ensure the cooler will fit in your system, as well as a breakdown of the cooler.
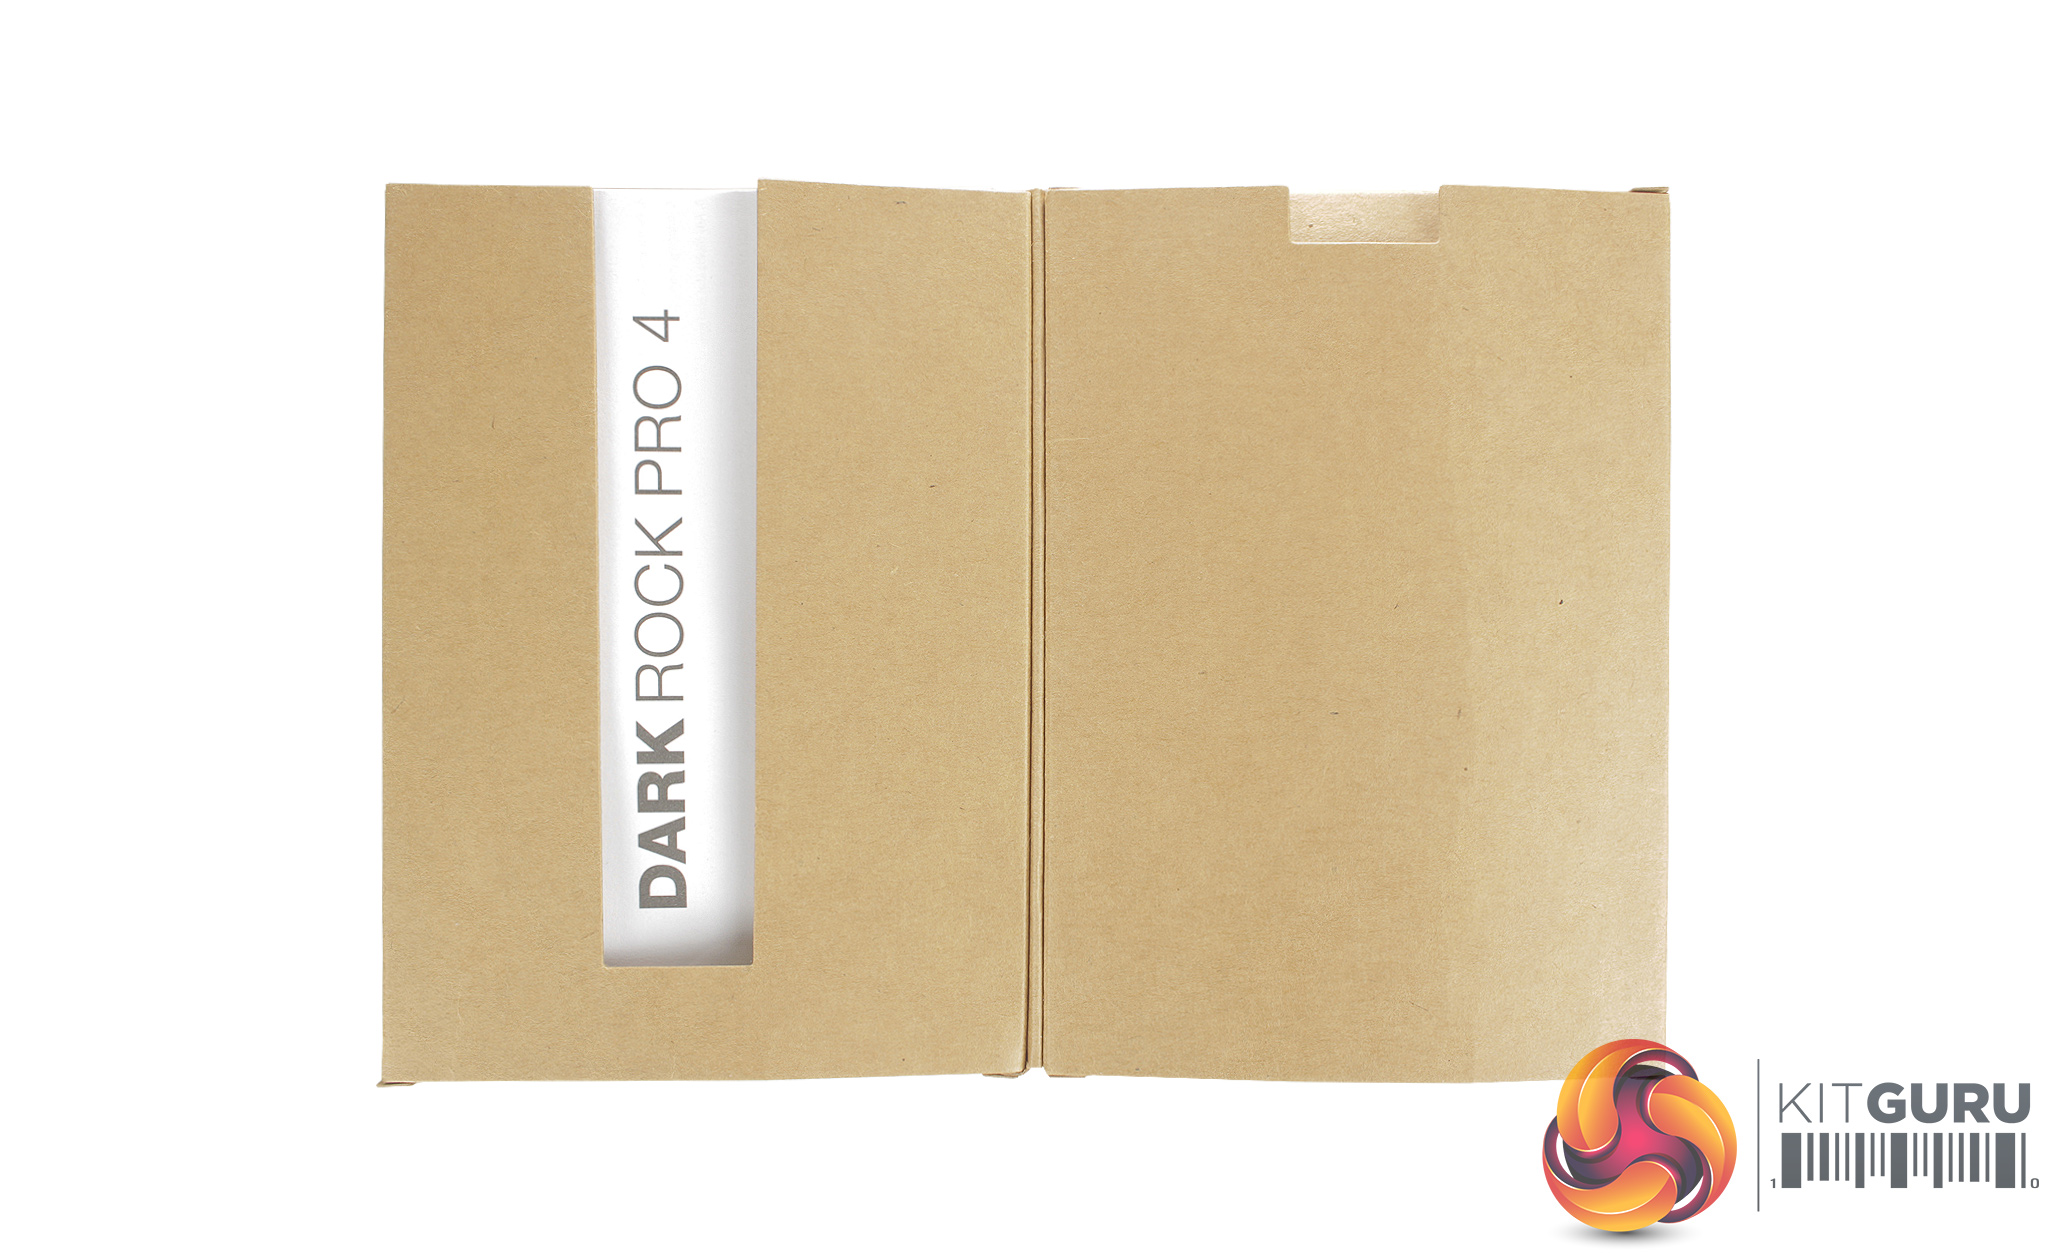
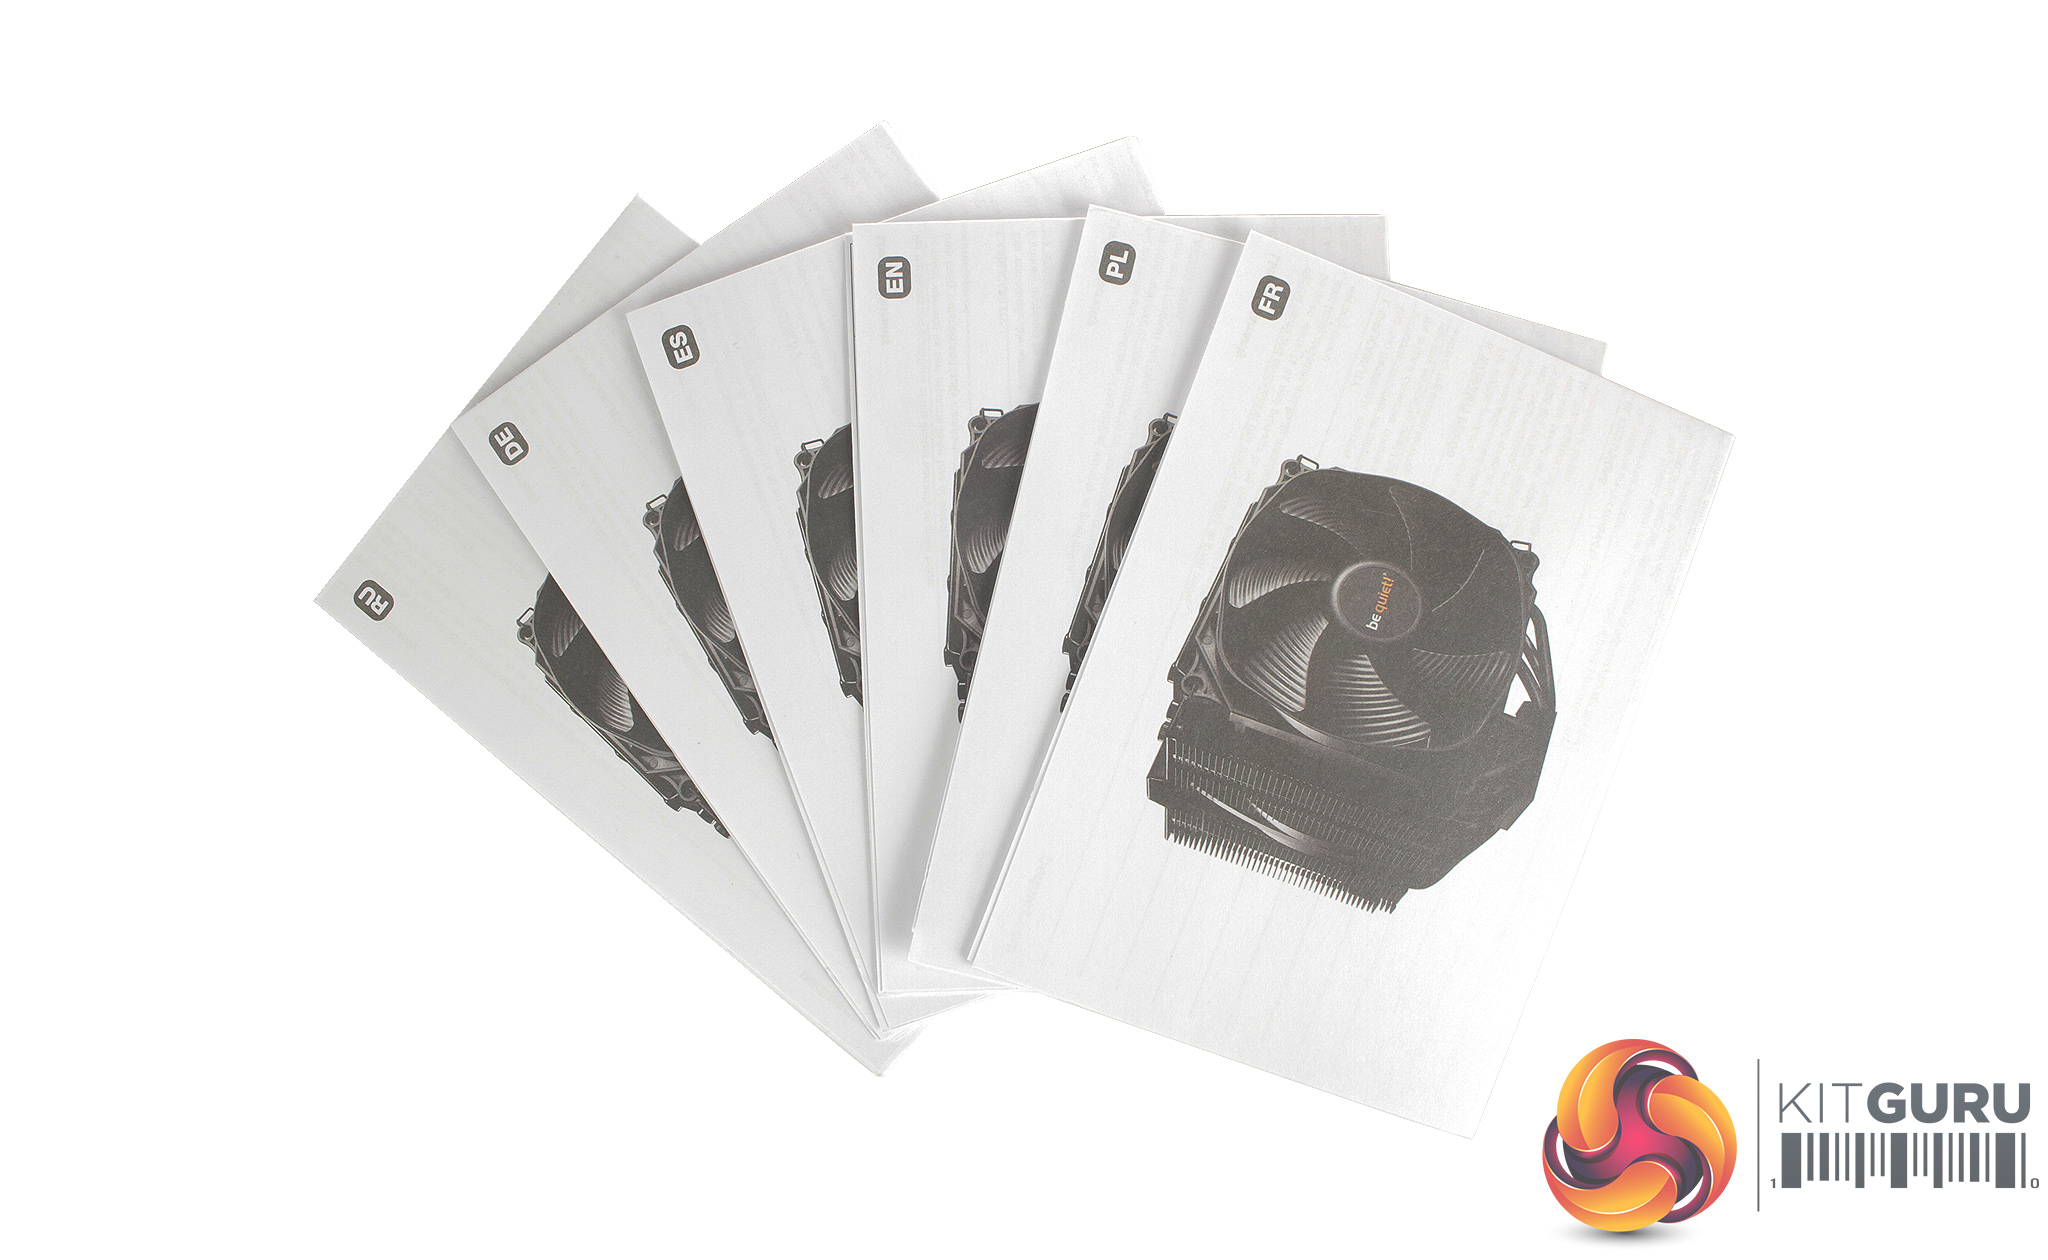
The accessories box is well put together, and upon opening, you are greeted with a number of instruction separate instruction manuals covering most popular languages.
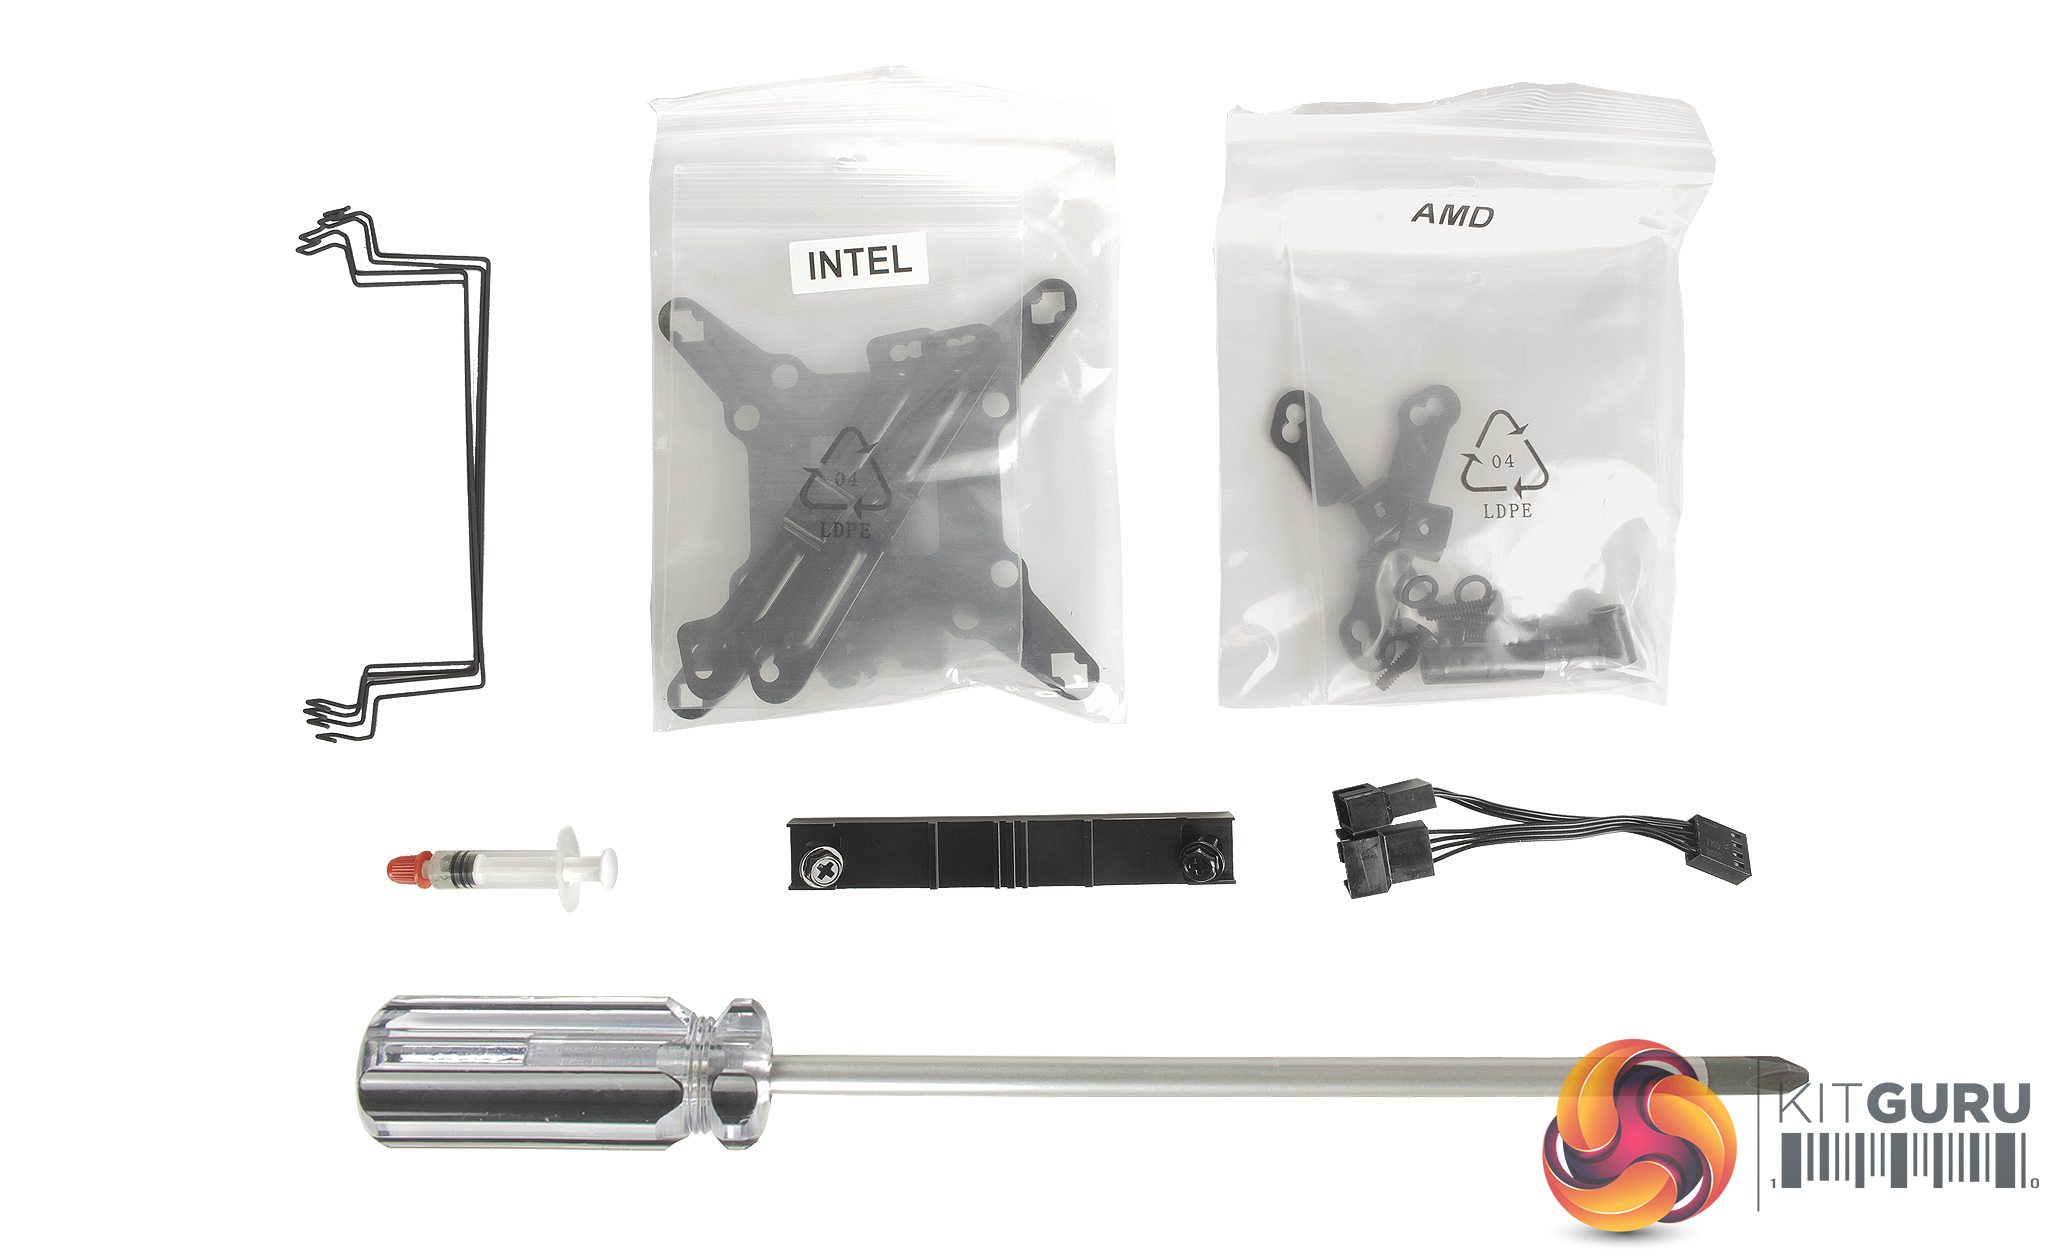
Alongside the numerous instruction manuals, you also receive a host of mounting brackets and pieces for all current CPU sockets, as well as some older ones. A 4pin PWM fan splitter is also included to allow both fans to be attached to your motherboards CPU fan header, as well as two sets of fan mounting wire brackets.
The smaller 120mm fan comes pre-installed, however as the 135mm fan needs to be removed for installation this is included separately packaged. It's nice to see a spare set of brackets for installing yet another fan at the rear of the cooler if required.
A large bequiet! screwdriver is also included as well as thermal compone for ease of installation.
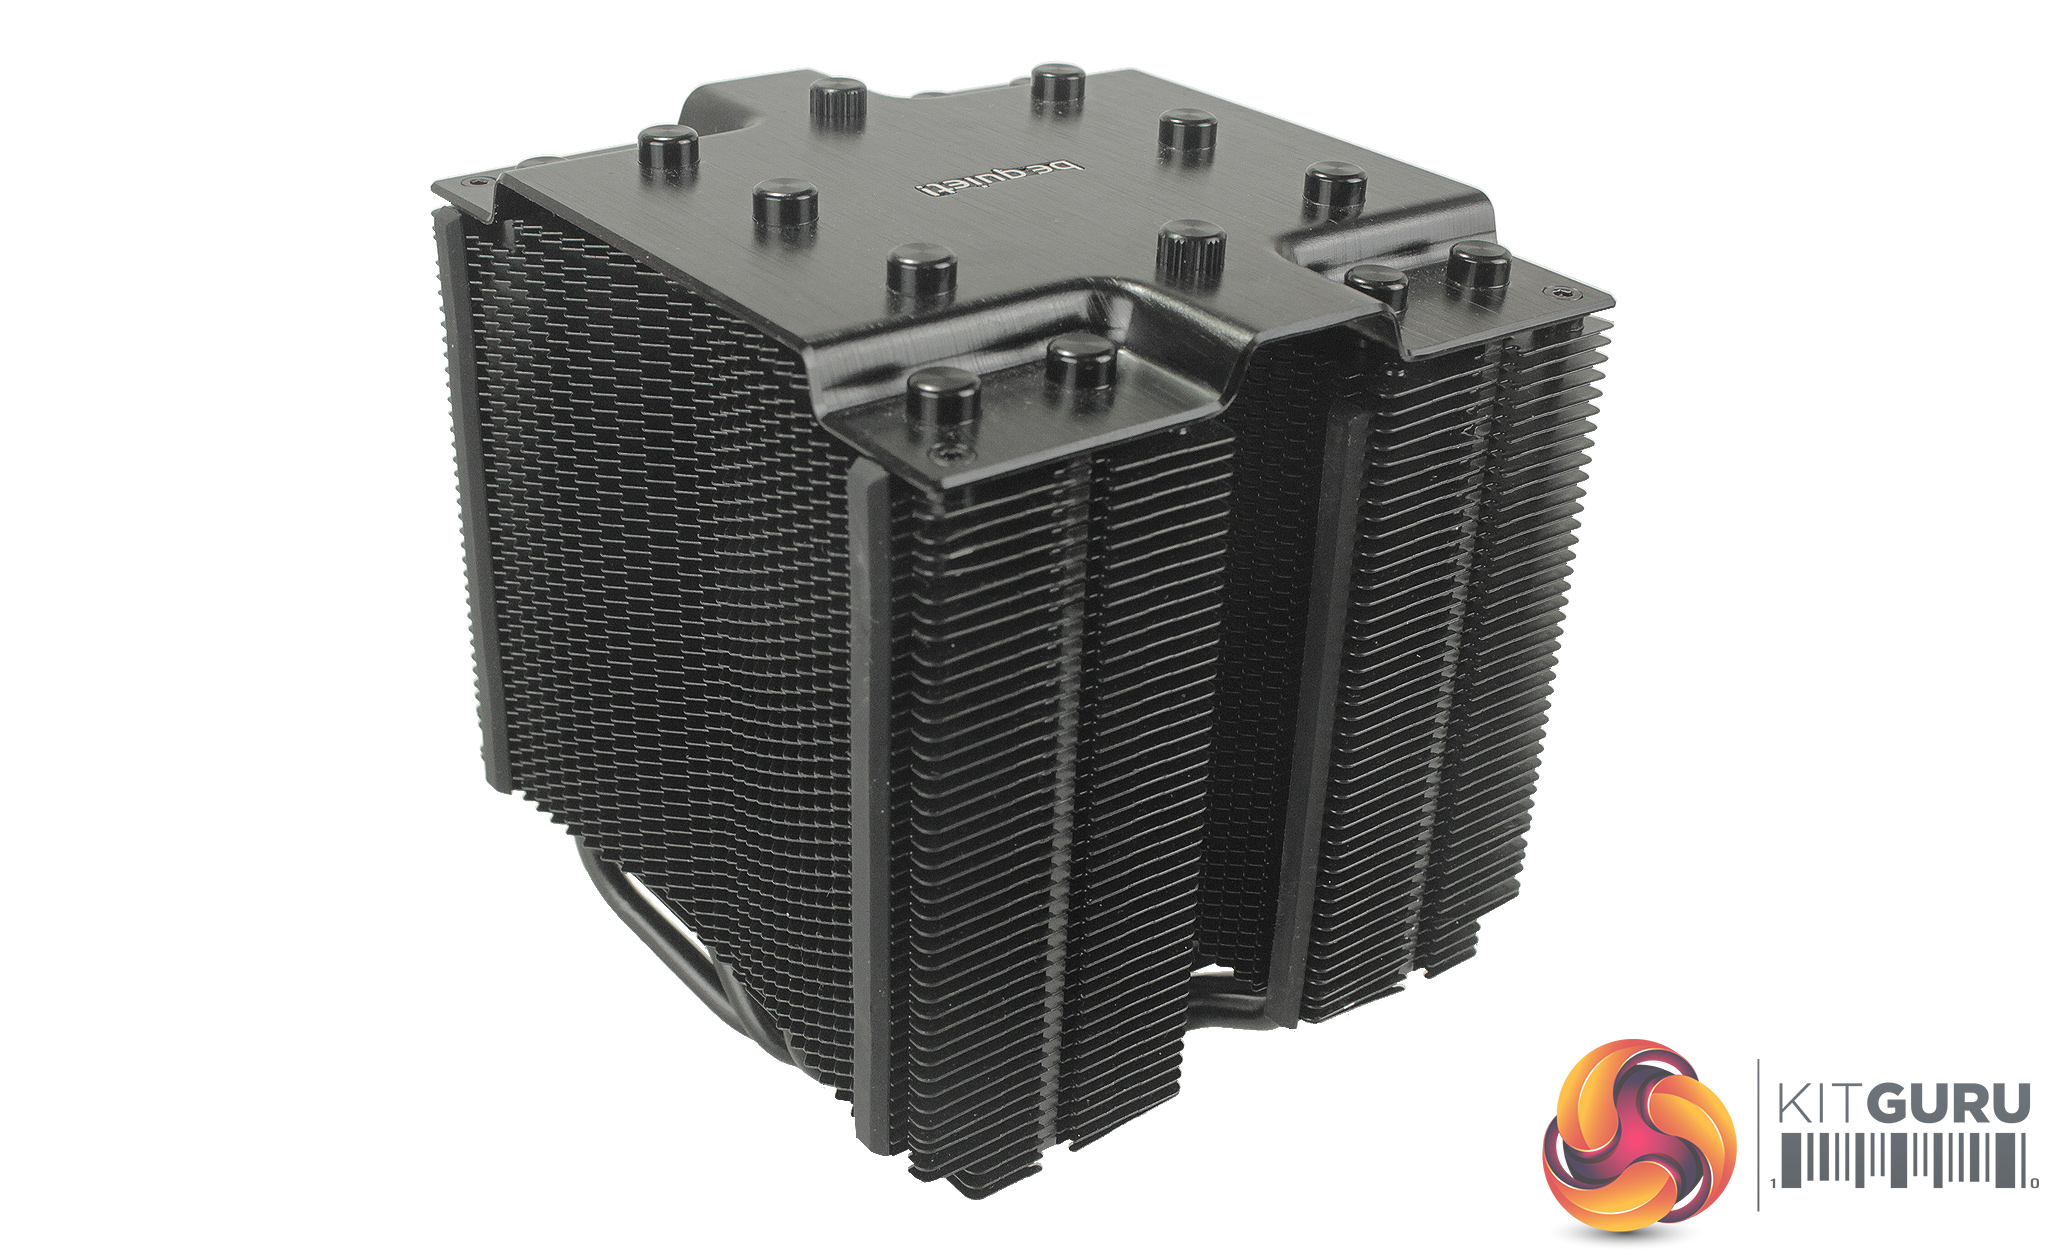
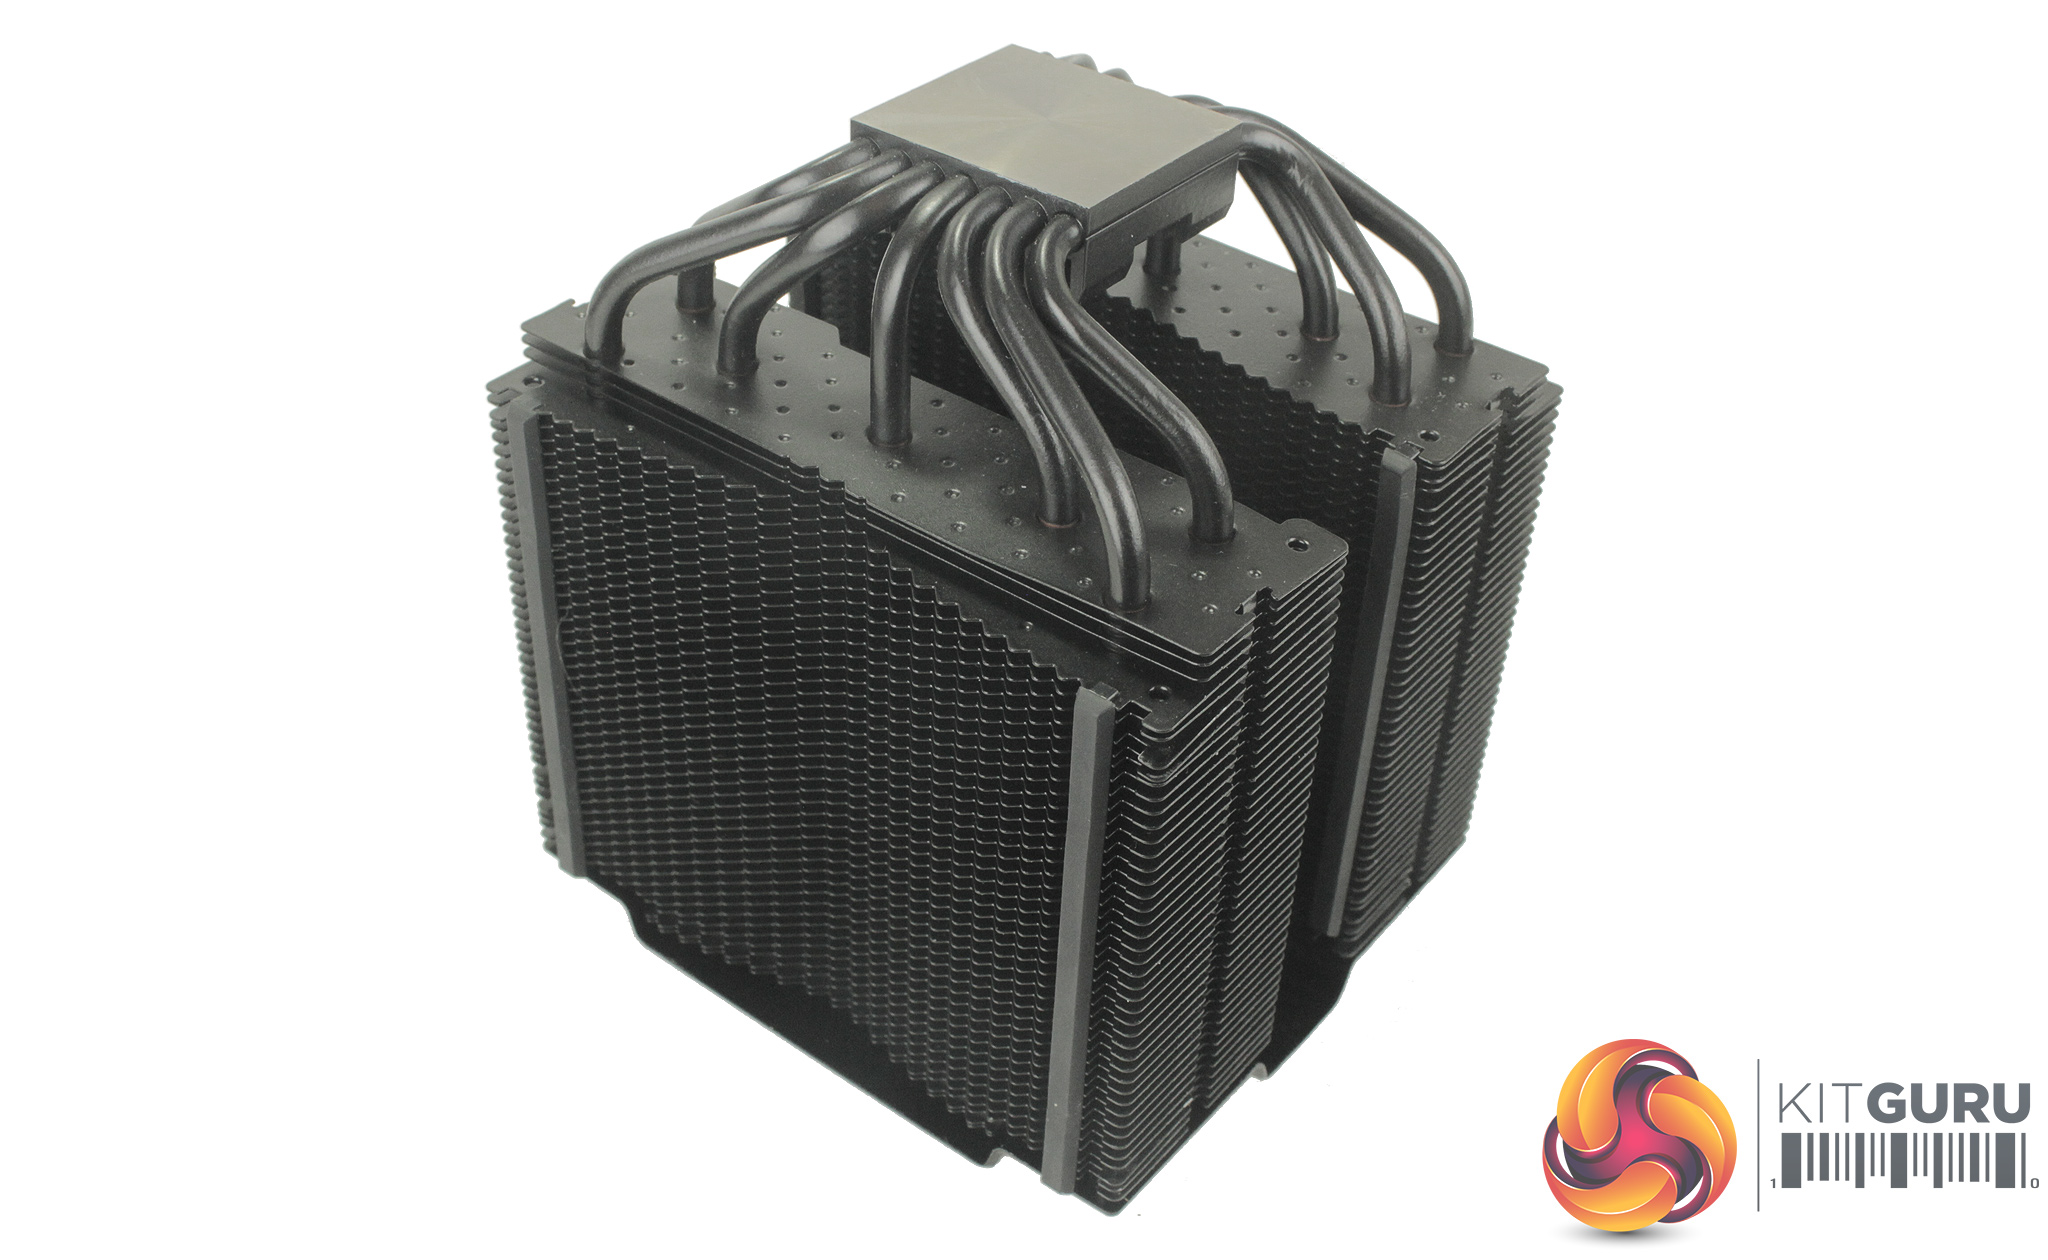
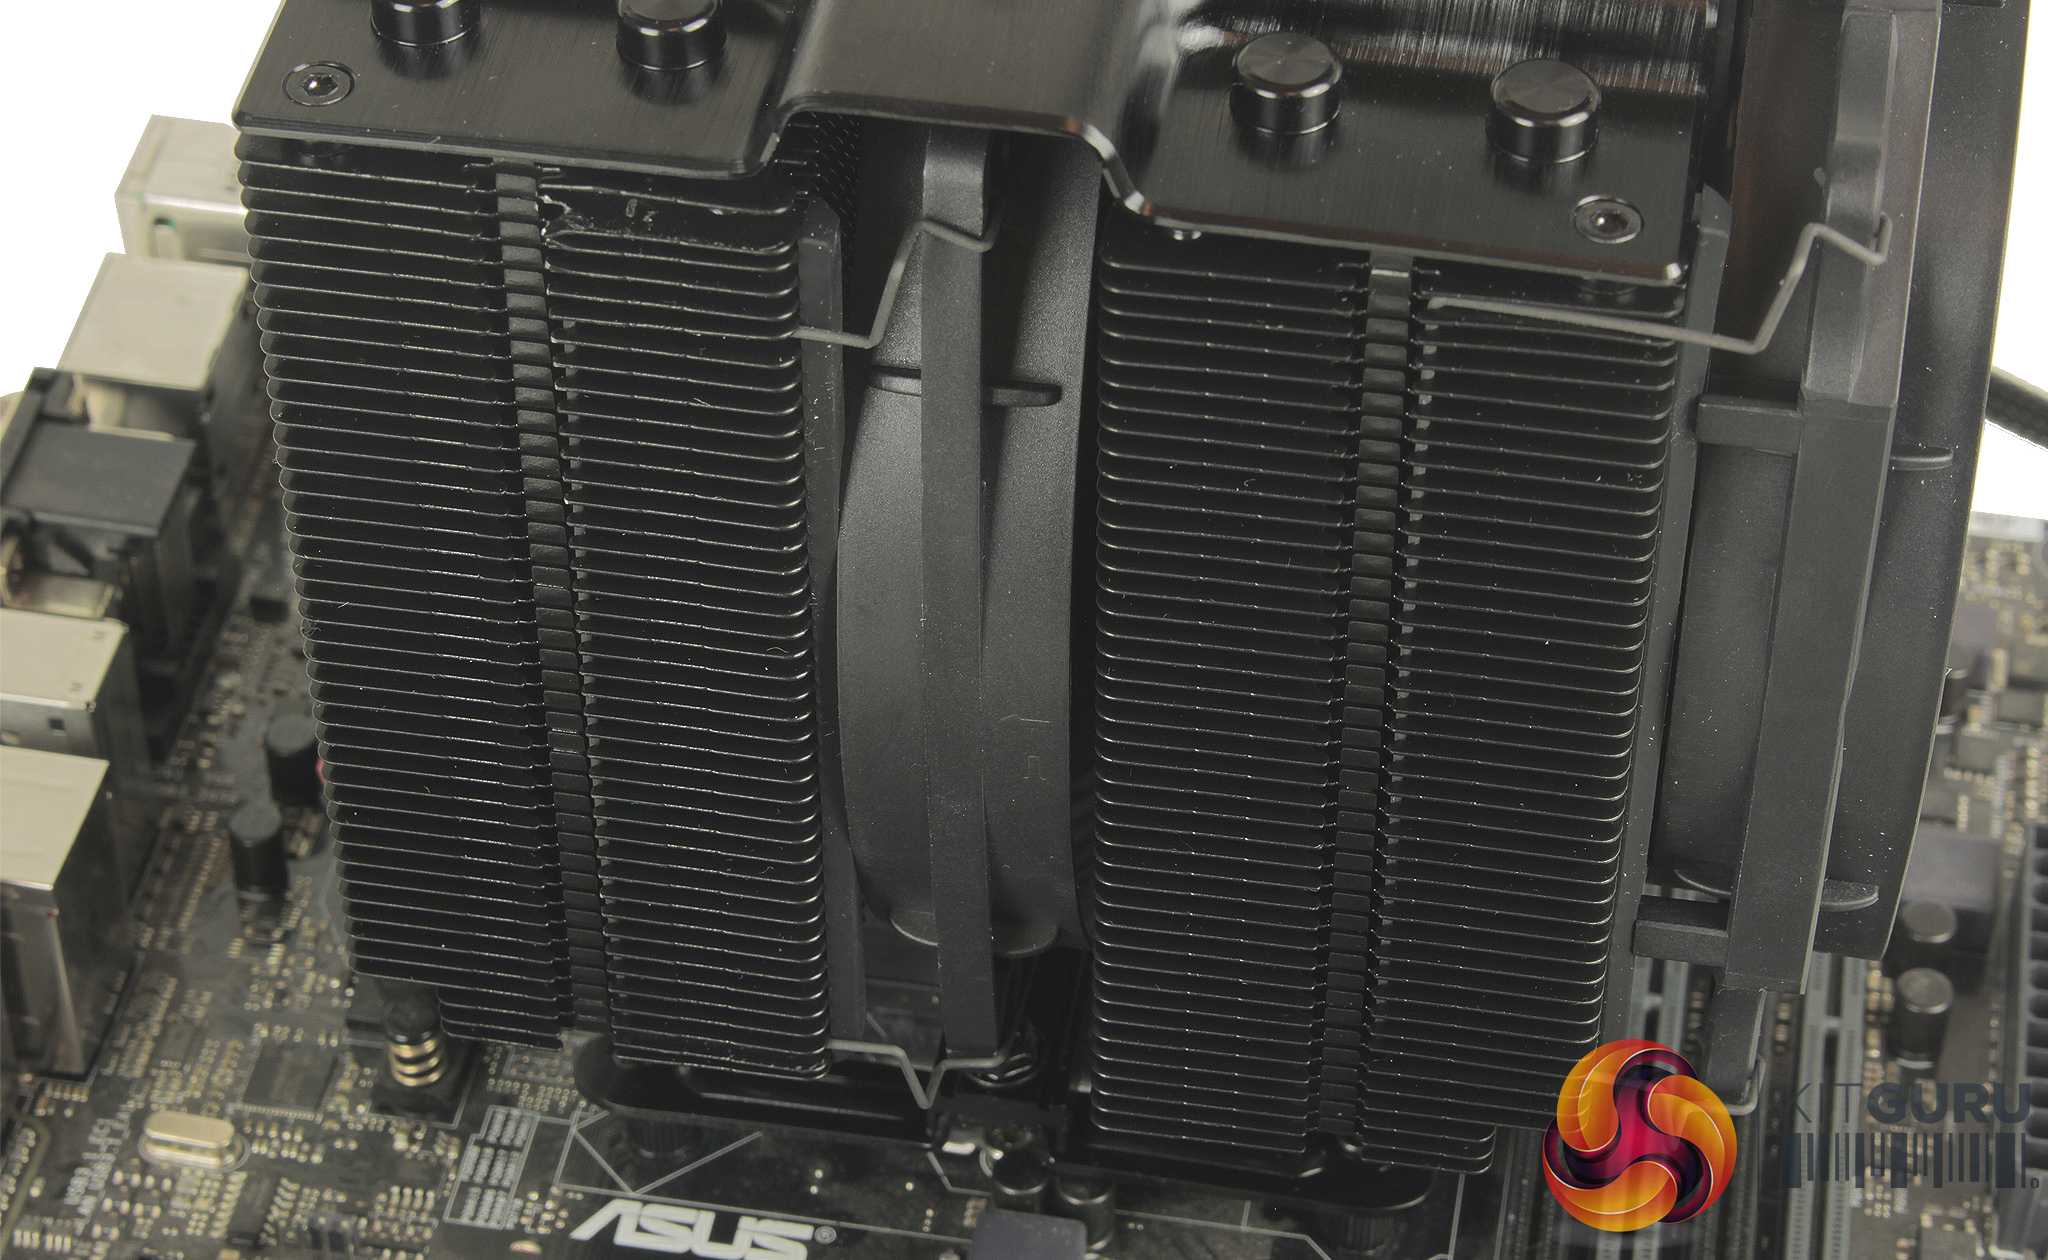
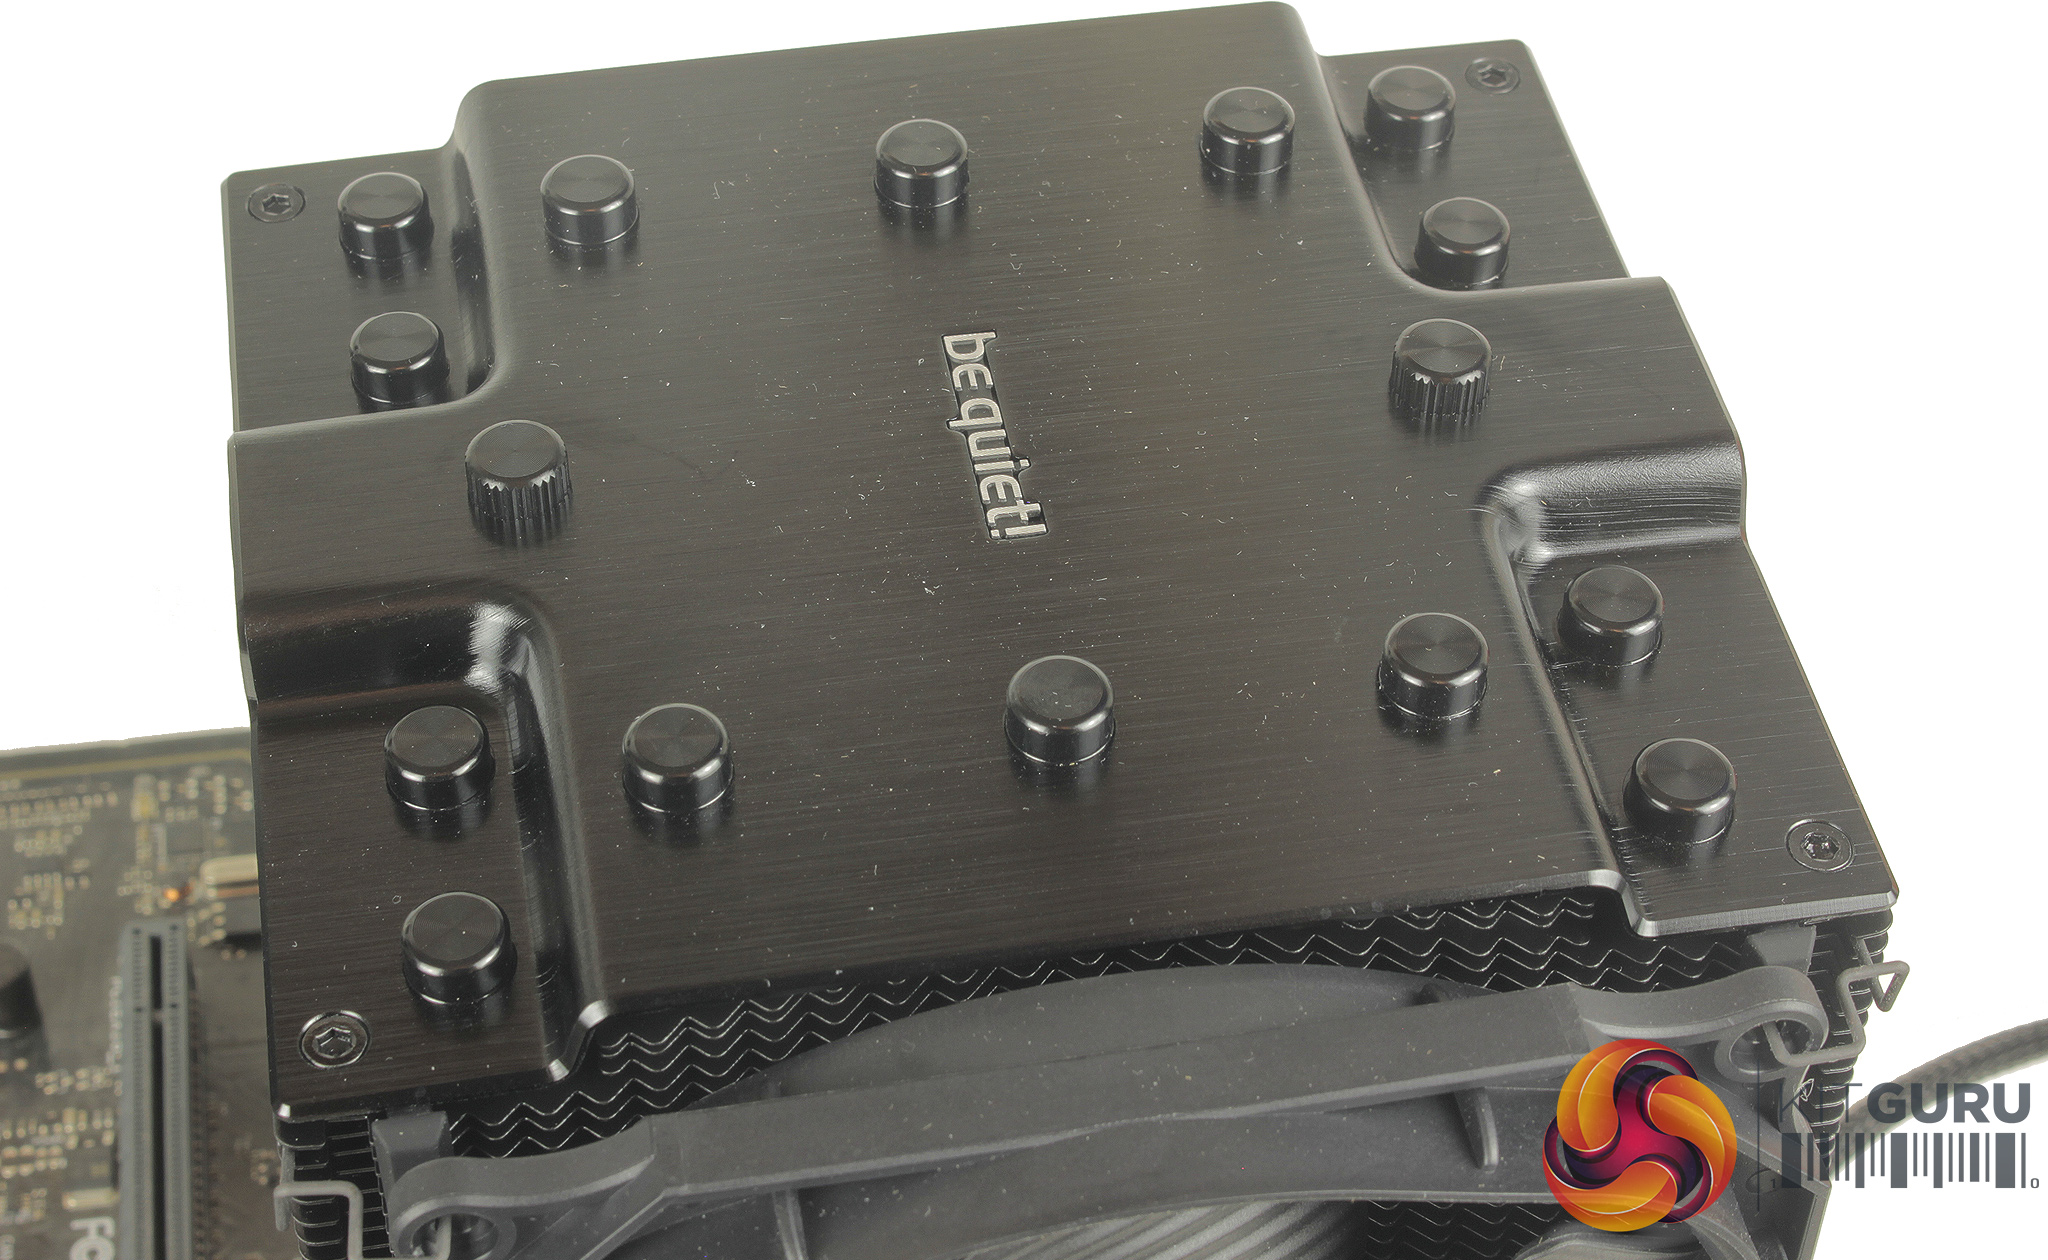
The be quiet! Dark Rock Pro 4 follows the same aesthetic as other be quiet coolers and shows no signs of aluminium or copper thanks to an all black ceramic particle coating. These ceramic particles should help with heat transfer rather than a black paint coating acting as insulation. The only exception to the all black look is a small silver be quiet! logo on the top of the cooler.
The cooler is pretty weighty at 1.3kg, and nice and solid. There is no flex to the cooler and nice additions like rubber vibration dampening strips are provided for both fans on each side of the cooler.
Installation does require a number of steps and from the outset does appear a little tricky. The included instruction manuals do a really good job of walking you through the process, but it is certainly worth following the process closely, to ensure no mistakes are made.
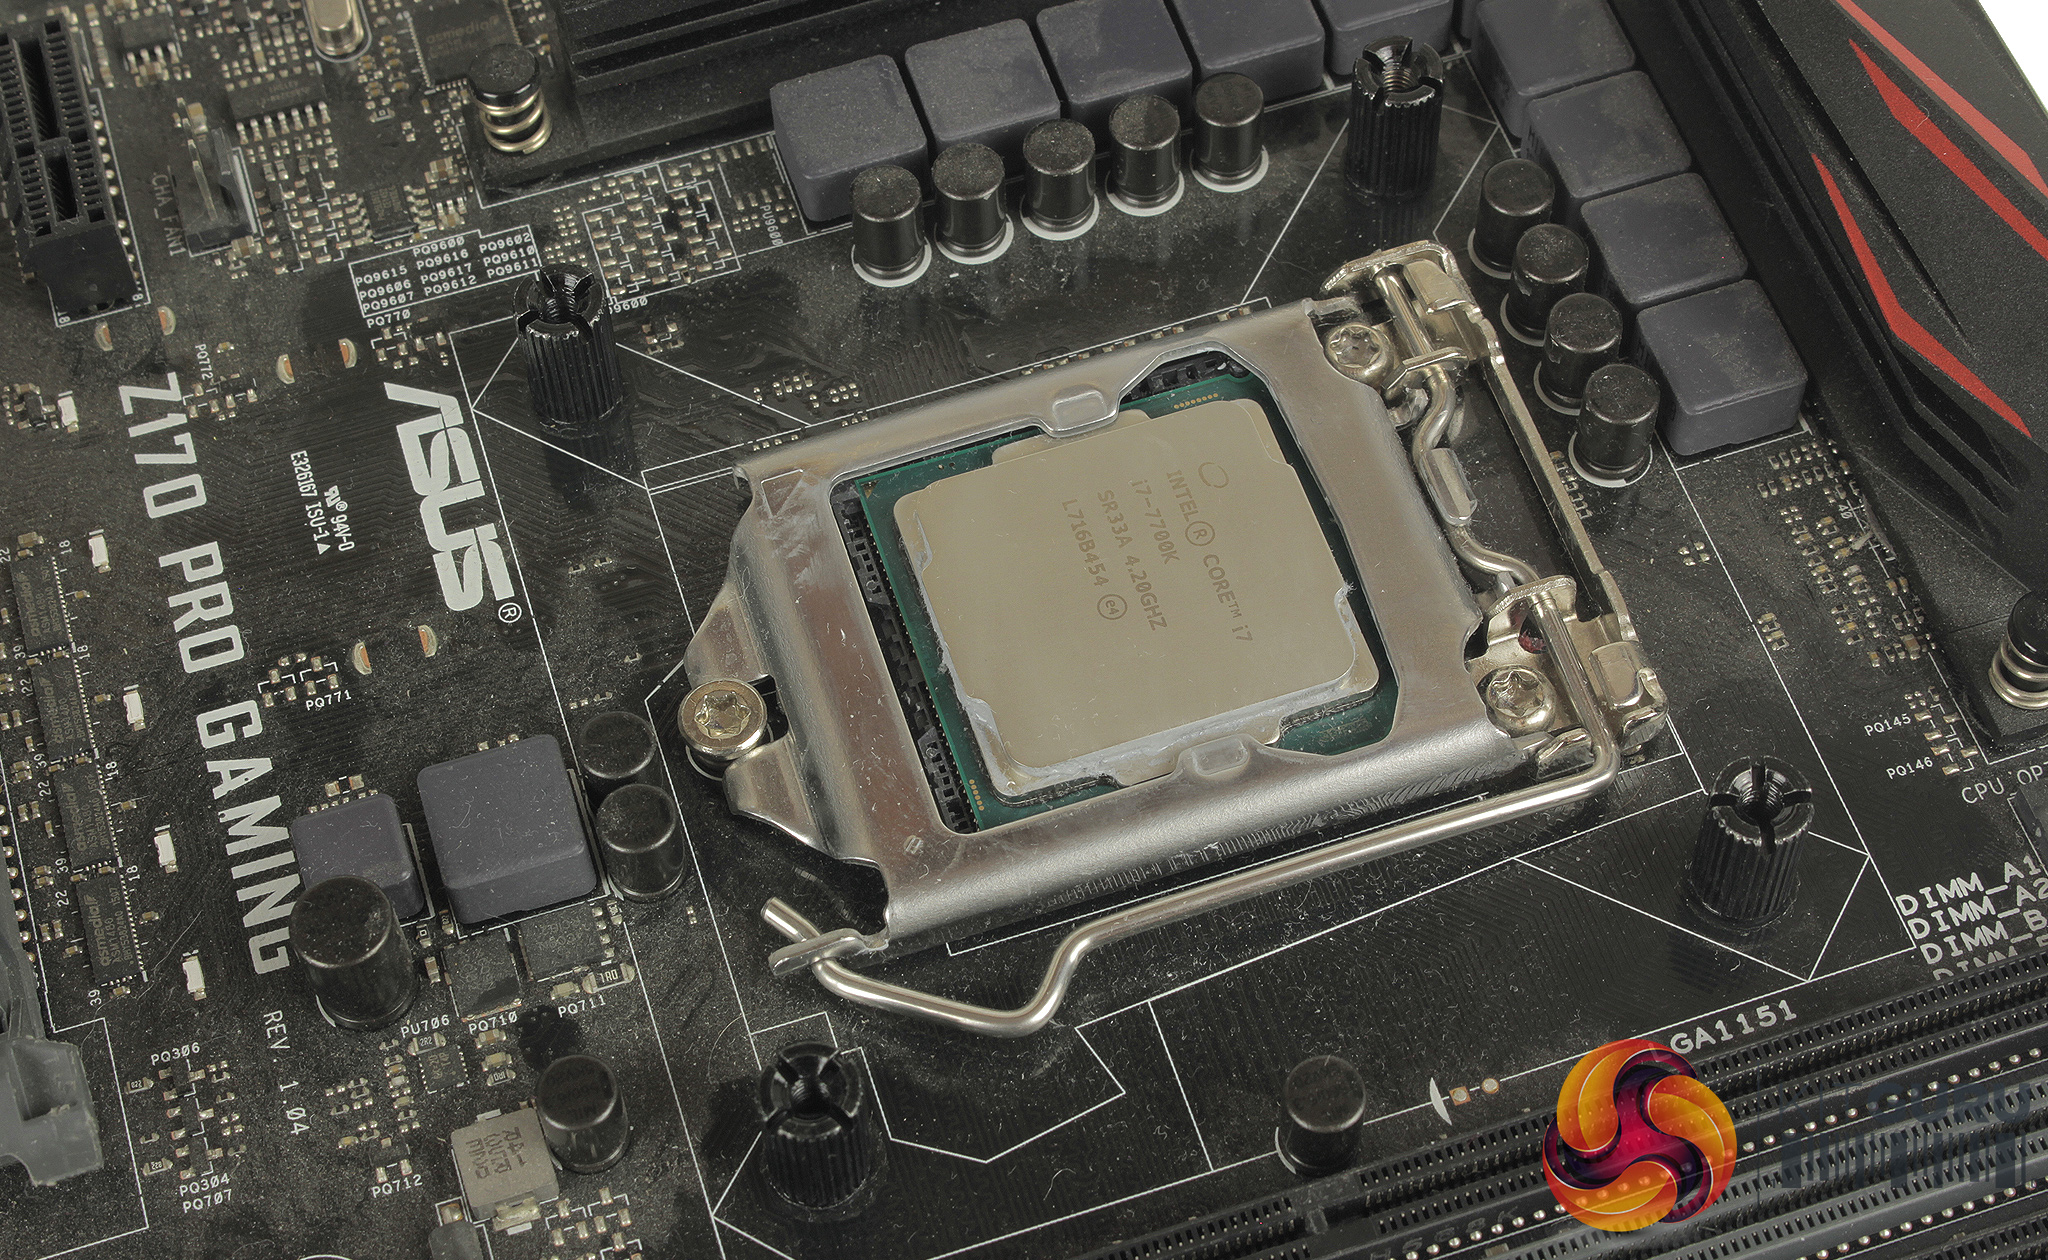
You start with the backplate and by passing four screws through the correct socket holes. 4 rubber o rings are included to hold these screws in place. The backplate can then be passed through the rear of your motherboard.
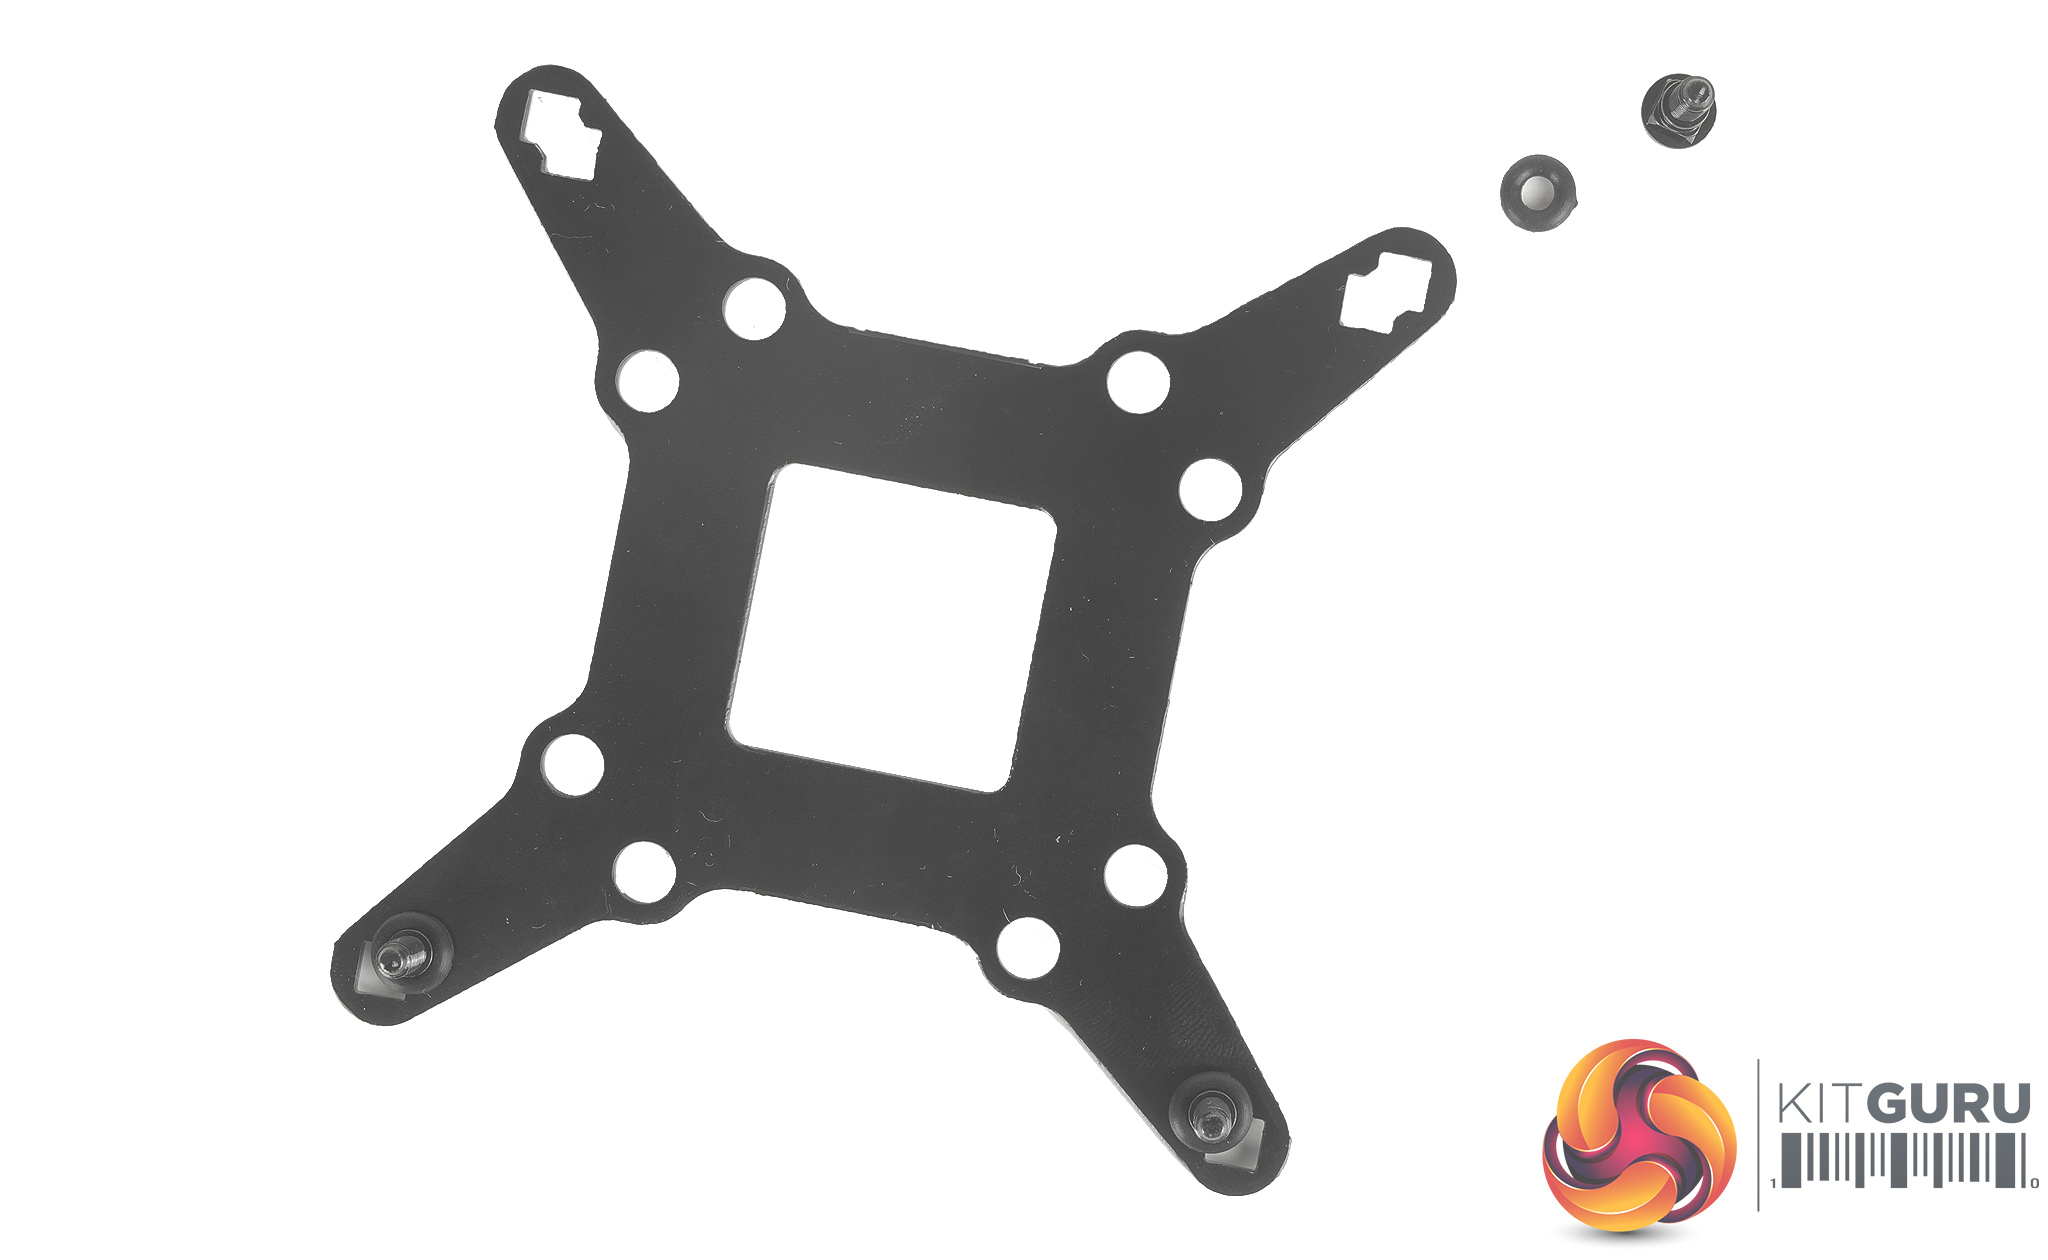
With the backplate fitted you then screw on the four standoff nuts. One issue I encountered at this stage is that the nuts are a little tight to thread and screw on and as there are no clips or retention brackets for the long screws that pass through your motherboard they had a tendency to move away from the back plate leaving me spinning the nut and screw together.
With the back plate secured you just need to place the top mounting bracket over the CPU block and line it up with the protruding backplate screws. With the CPU block in place, the four top mounting nuts can then be screwed on to firmly hold the block in place.
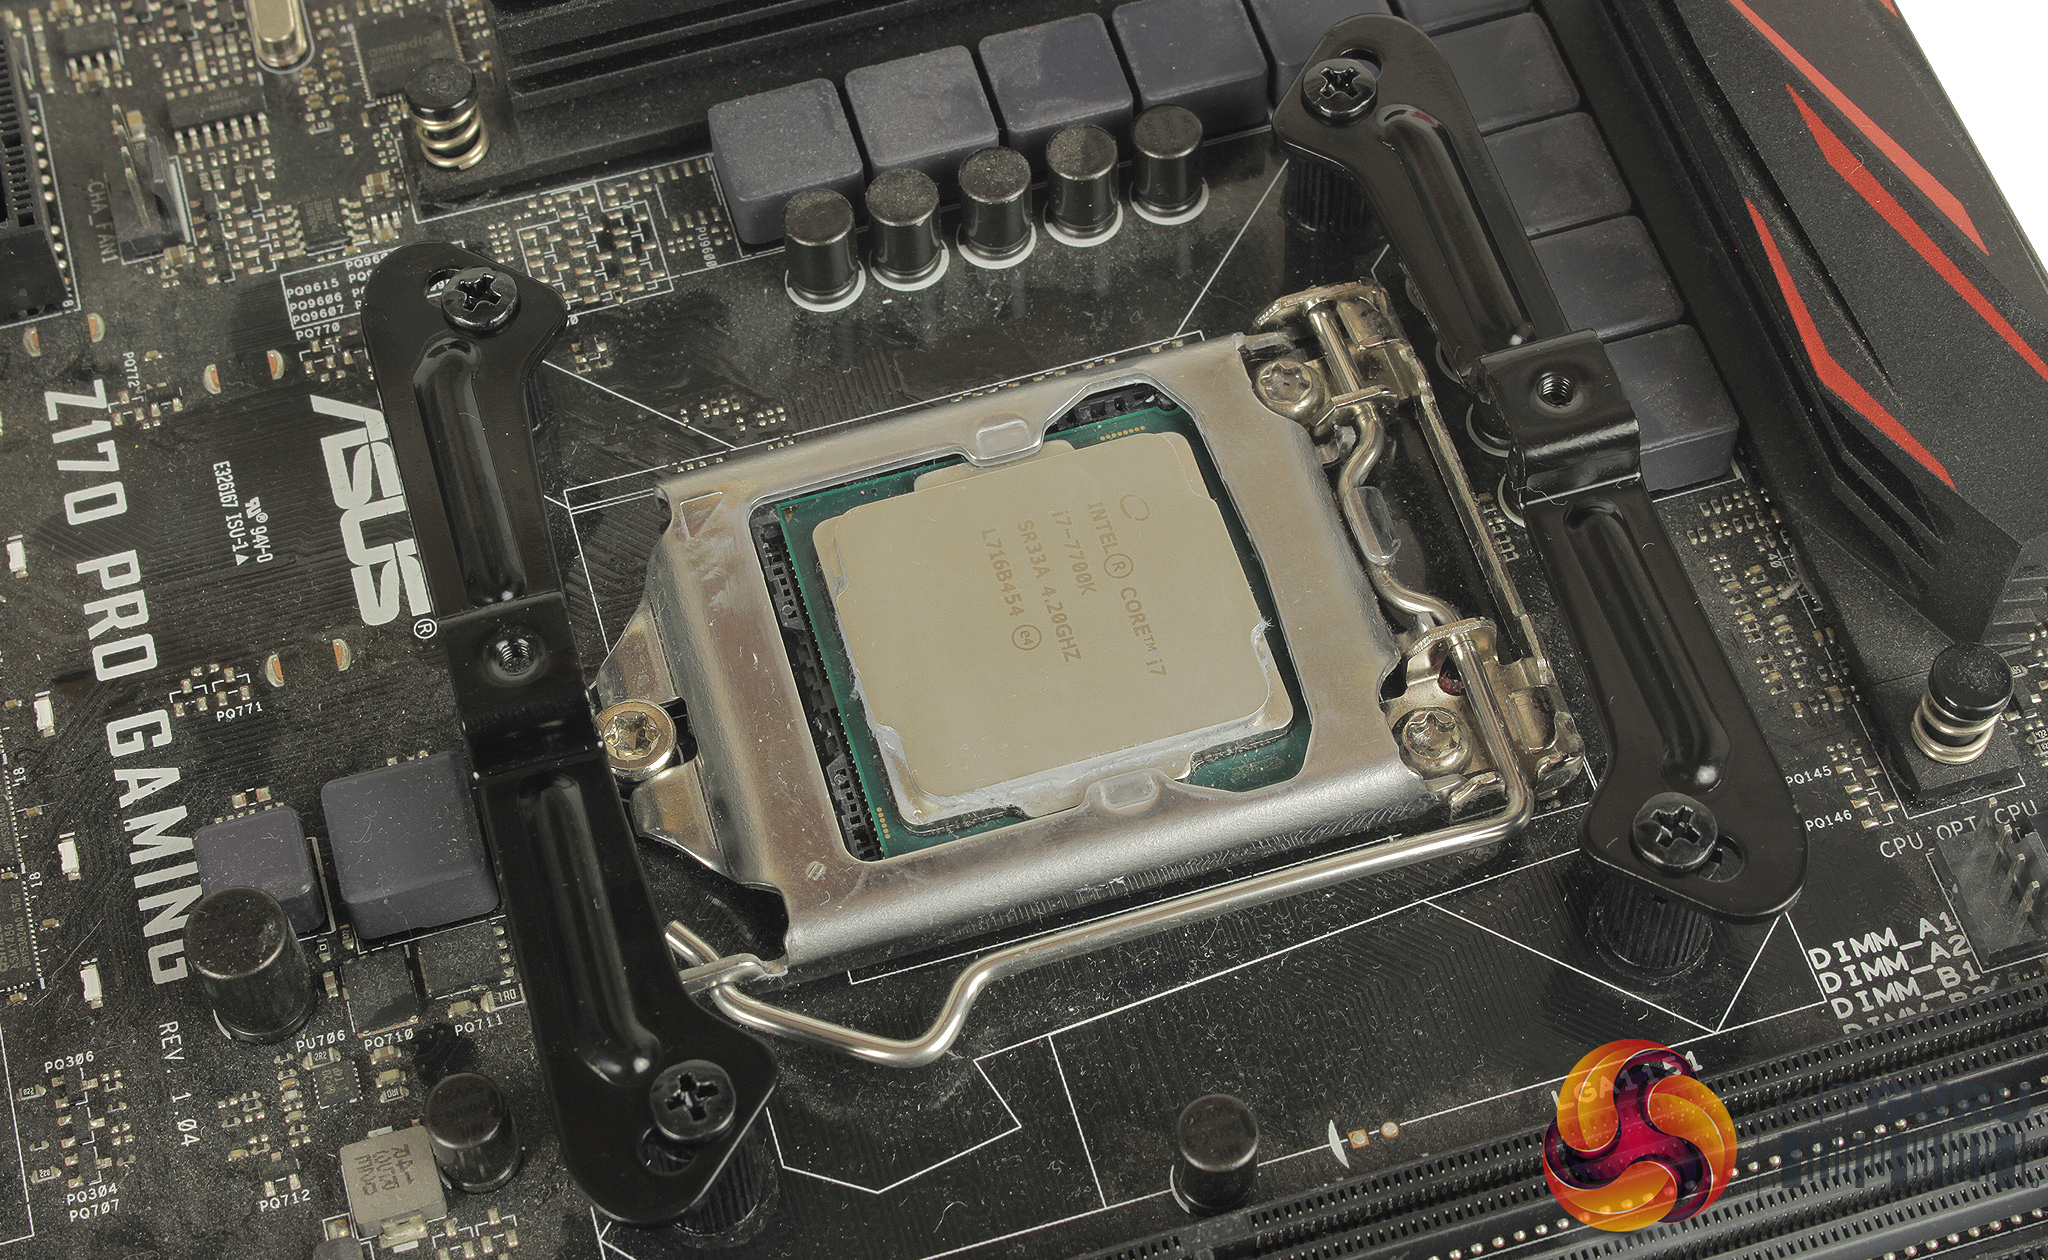
Four standoff spacer nuts need to be screwed in place on the top of your motherboard, and then two mounting brackets can be fitted atop these standoffs and screwed into place.

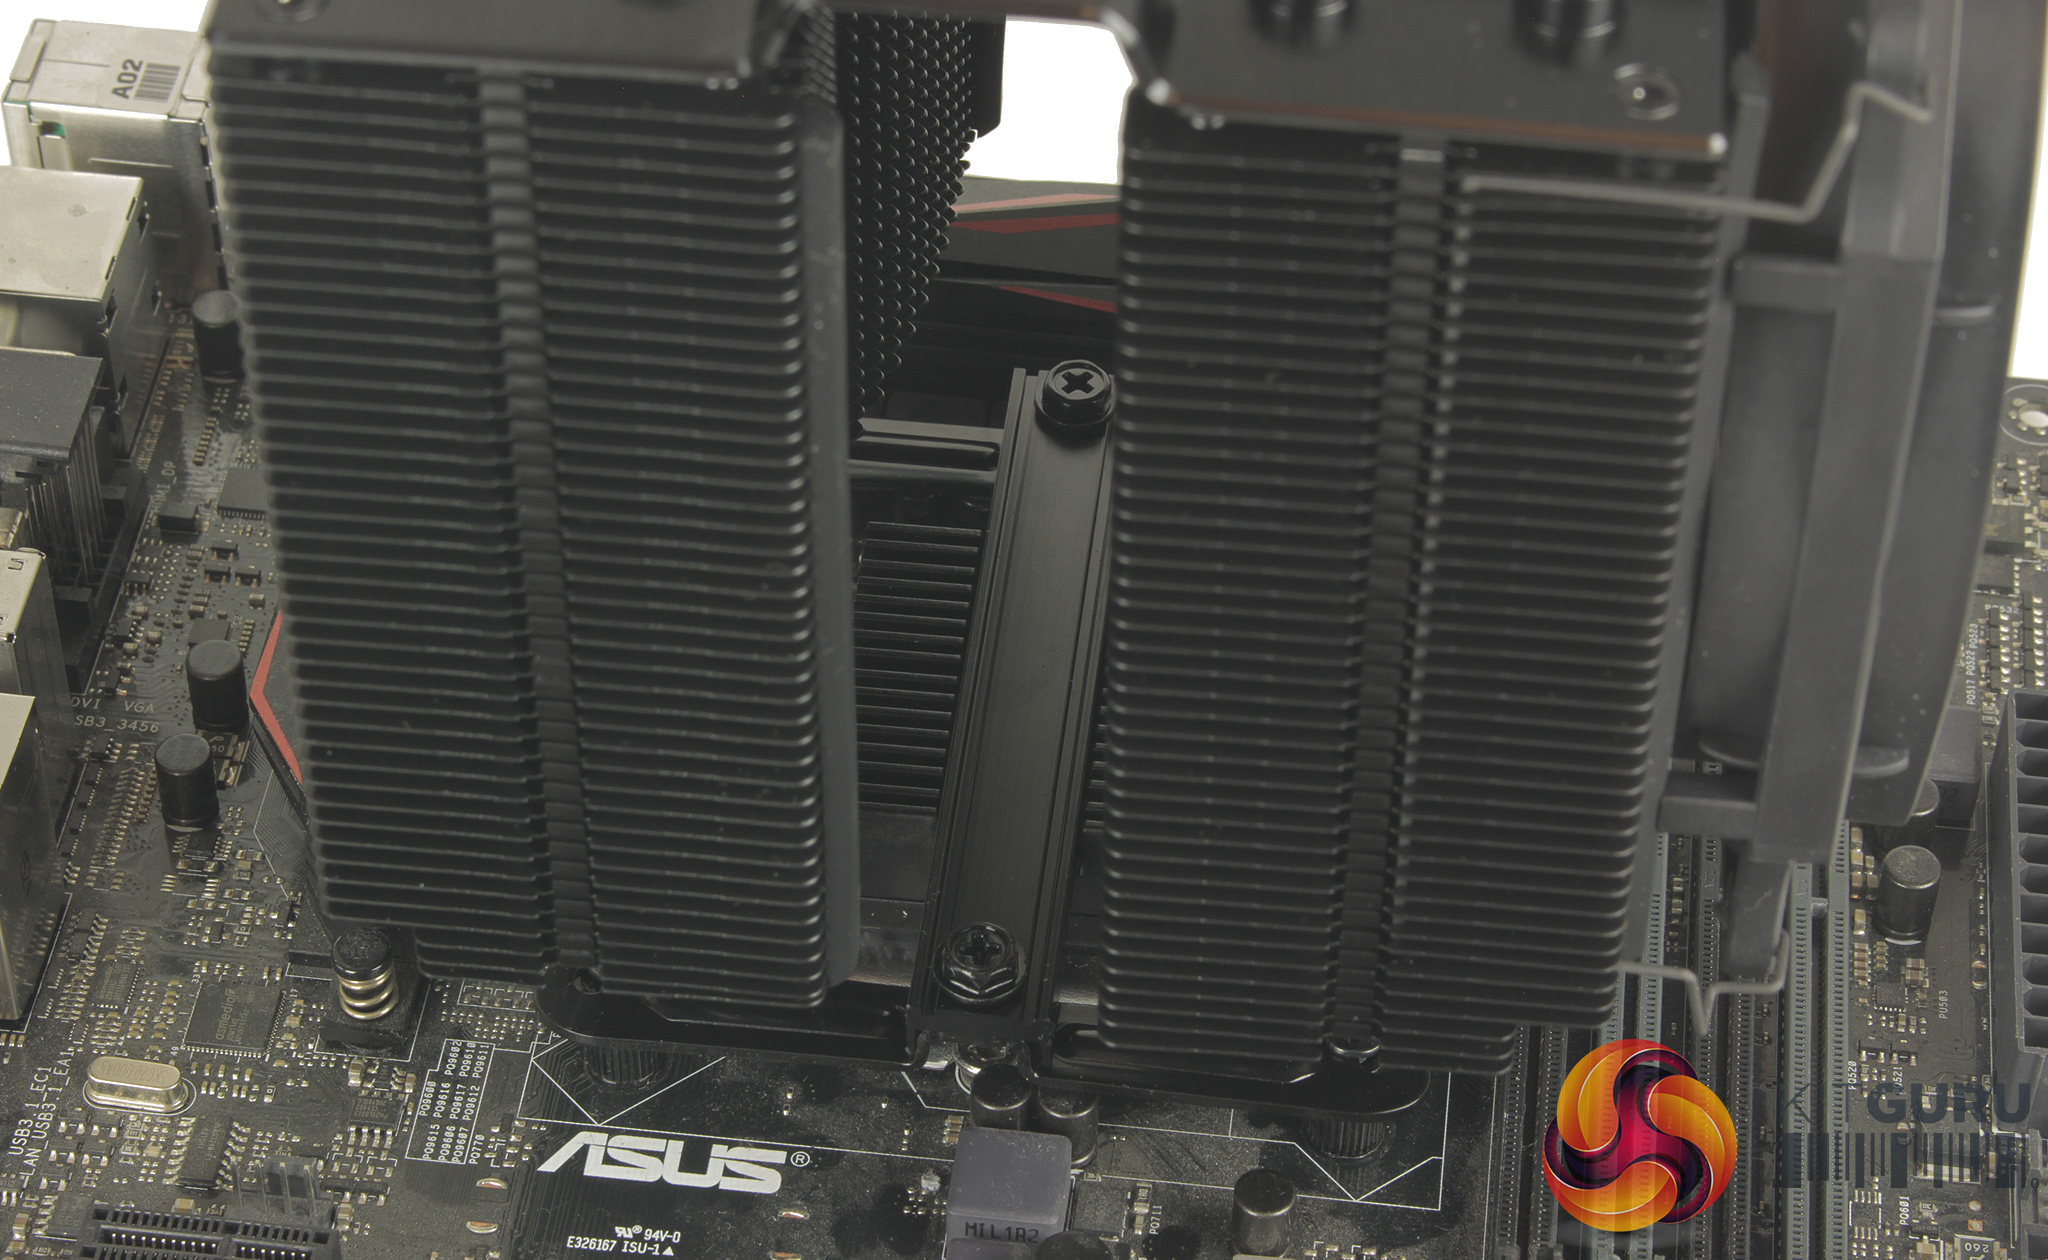
There are two small caps which need to be unscrewed from the top of the cooler, to allow the included screwdriver to pass through the centre of the cooler. The thermal compound can then be applied to the CPU die, and the included mounting bridge passed through the centre of the cooler, overtop the coolers CPU block.
You can use the included long screwdriver to pass straight through the cooler and reach the screws used to mount the bridge to the mounting brackets.
With the cooler firmly mounted you can mount the central fan using the included fan clips and reattach the top caps. Both fans can be attached to the splitter and connected to your CPU fan header.
Overall not a super tricky process, and around 15 minutes of work for me. It is a little fiddly but it’s nice to see that be quiet! have improved the installation process by simply adding a long screwdriver to the kit for ease of access.
It's worth noting with the cooler installed that RAM clearance is a little limited. The front 120mm fan extended over 3 of the 4 available RAM slots on our test board, and with the front mounted at the very top of the cooler, there is only around 42mm of clearance for memory modules, only really suitable for low profile RAM.
To test all CPU coolers, we devised an easily repeatable test with no variables other than the coolers themselves. This ensures that figures from every cooler we test are comparable with each other.
Test rig
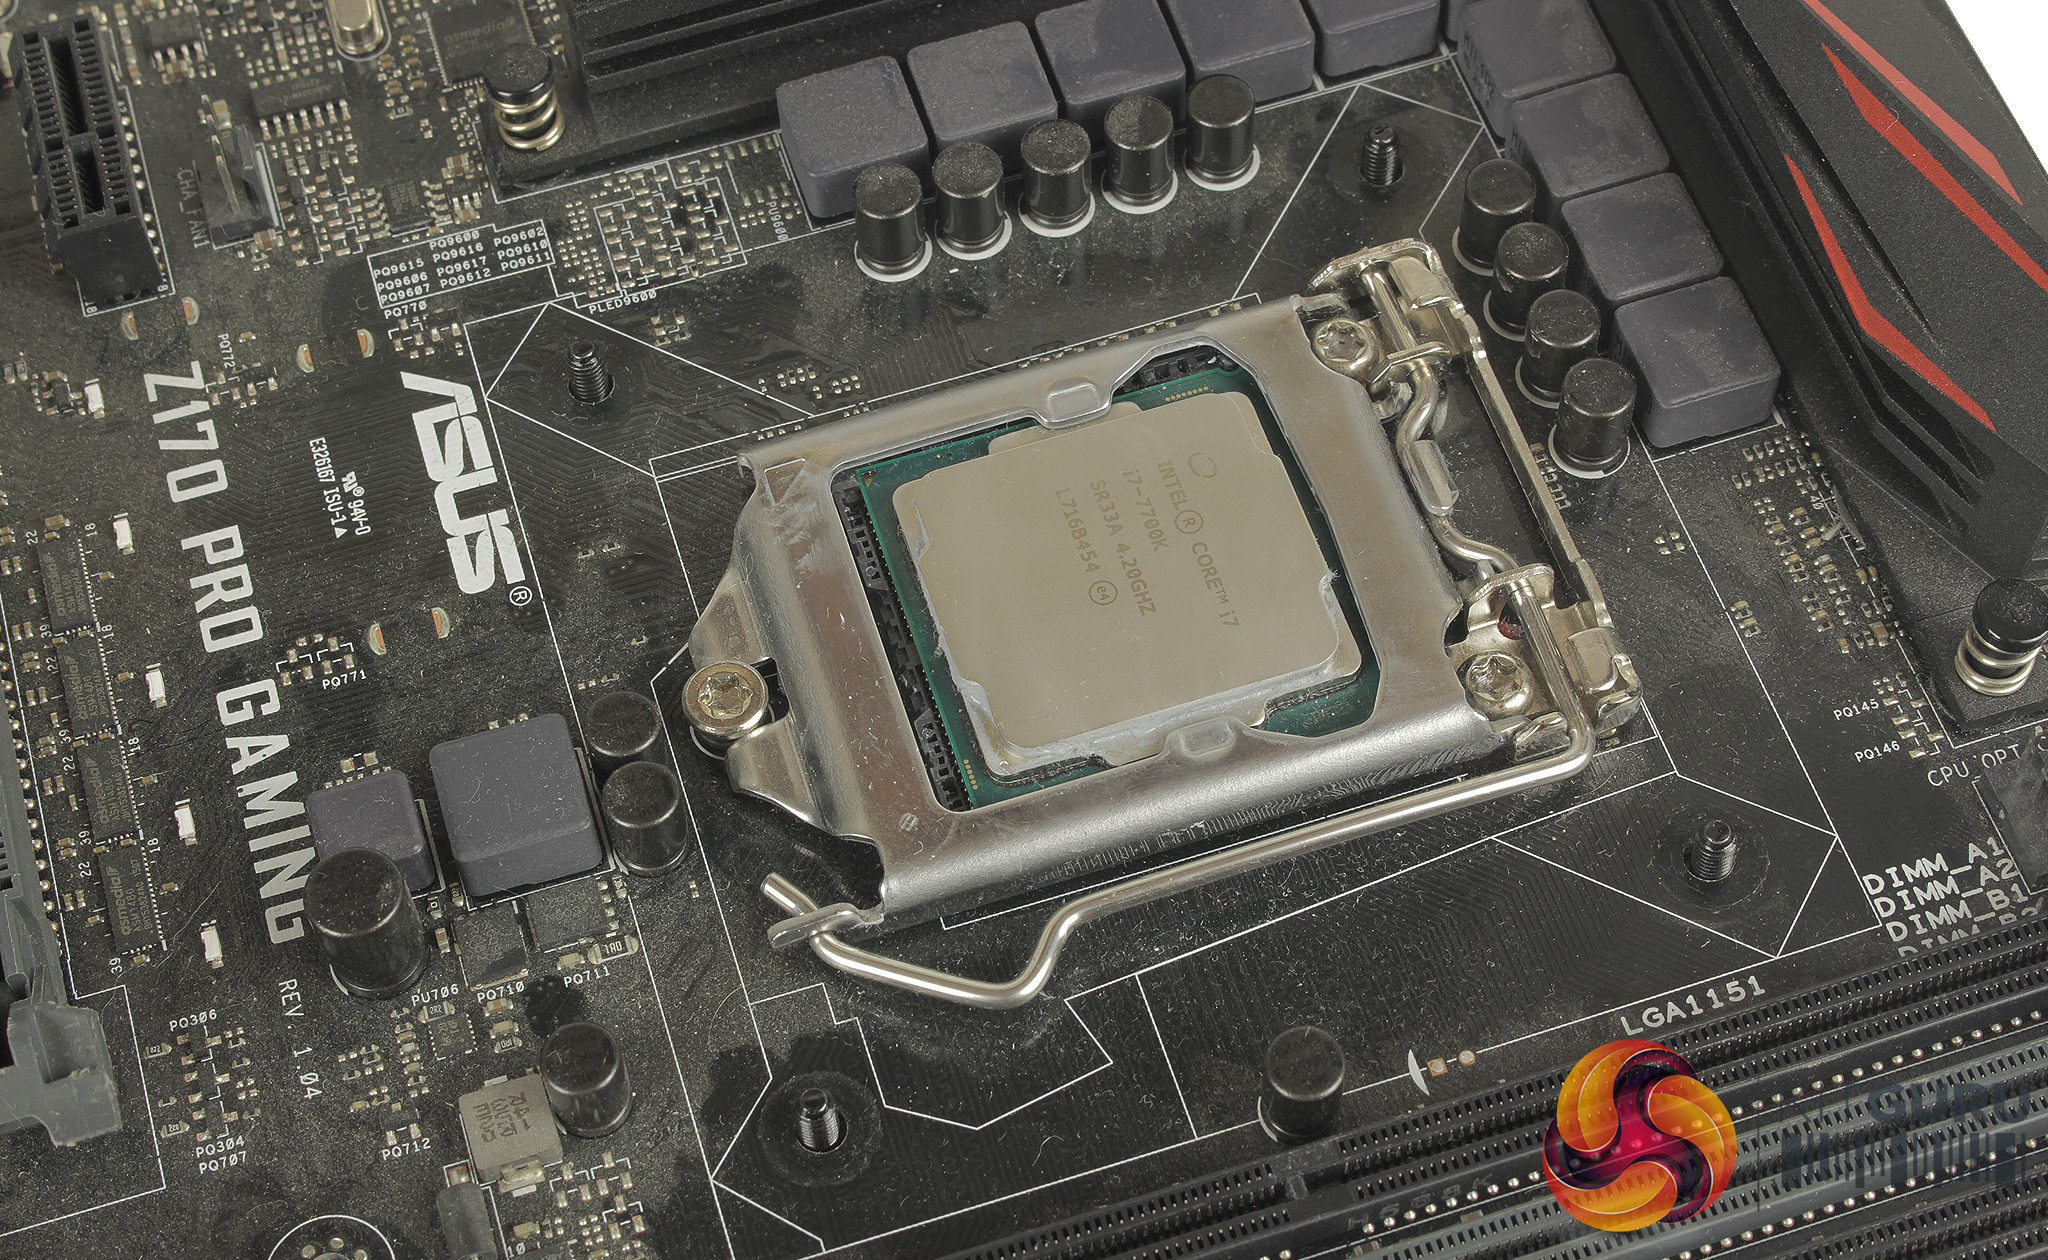
At KitGuru we have recently updated our testing setup, and now test temperatures on the Z170 platform. For the CPU we are testing with the Intel Core i7-7700K installed in a ASUS Z170 Pro Gaming motherboard. For RAM we have a single 8GB stick of Geil EVO X RGB for some added bling running at 3200MHz, and storage is handled by a 120GB SanDisk SSD Plus. Powering our bench is a Seasonic Prime Platinum 650W PSU.
The test process
For testing, we run a number of tests including 4 separate temperature readings per cooler. We first measure the idle temperature of the i7-7700K locked in at 4.0GHz before measuring its temperature under load at the same frequency.
For a representation of overclocks, we run the i7- 7700K at 4.5GHz with a 1.275 Vcore applied both at idle and load. The temperatures we present are temperature deltas, where the ambient temperature of the testing environment is deducted from the temperature taken from the CPU for both idle and load. We are aware that a 4.5GHz overclock with a 1.275 Vcore applied is not representative of the best setting possible for the i7-7700k, but this does allow us to simulate performance of coolers whether you are using a less powerful CPU such as an i3 or i5 processor, or a more powerful hotter CPU like our overclocked i7-7700k.
An idle reading comes from leaving Windows on the desktop for 15 minutes. A load reading comes from running Prime95’s (version 26.6) Small FFTs test for 15 minutes – enough time for temperatures to plateau. We use HWInfo64 v5.82 to measure temperatures.
Noise output
We measure noise levels with our sound meter positioned 1 foot away from the test bench. The peak noise level is presented. We have measured the noise floor (i.e. ambient noise levels of the room) to be 34 dBa, and when tested at stock clocks, the vast majority of coolers do not emit noise levels above this figure. Thus, we present one chart with noise levels taken during our overclocked CPU test run.
Temperatures
All temperature charts are sorted with lowest load temperatures at the top.
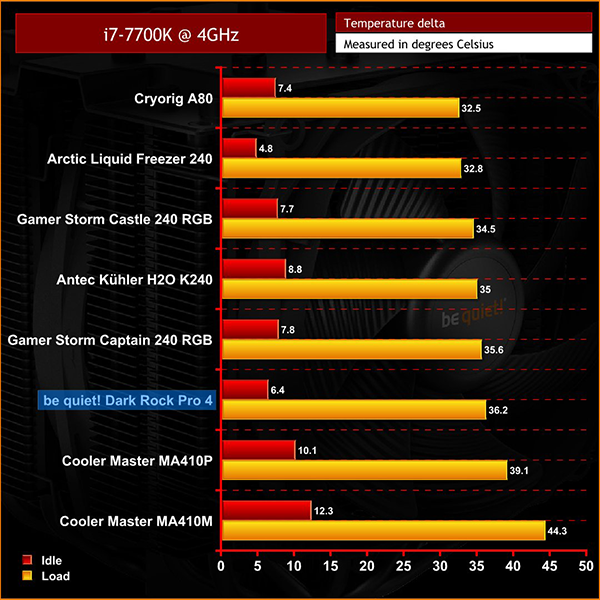
With our 7700K at 4GHz performance looks pretty good, at full load its the best-performing air cooler we have tested but it does sit behind the dual fan liquid coolers, this being said only by about 4 degrees compared to the Cryorig A80.
Its idle performance is stronger taking silver medal just behind the Arctic Liquid Freezer 240.
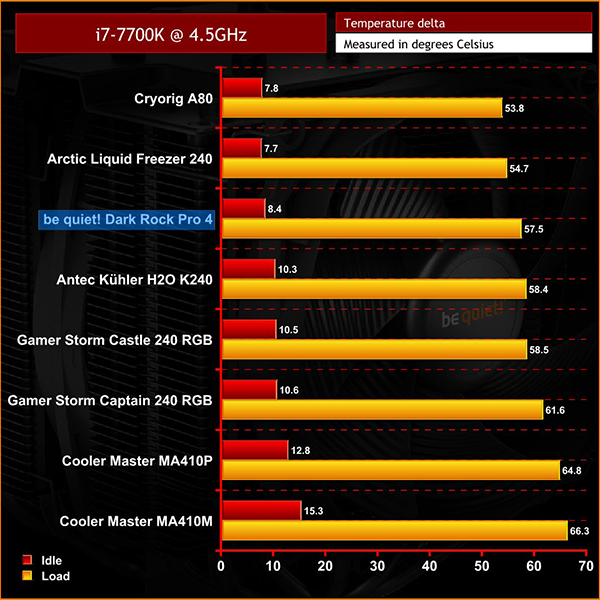
When overclocked, performance by comparison really makes the Dark Rock Pro 4 standout sitting in 3rd place below both the Cryorig A80 and Arctic Liquid Freezer 240.
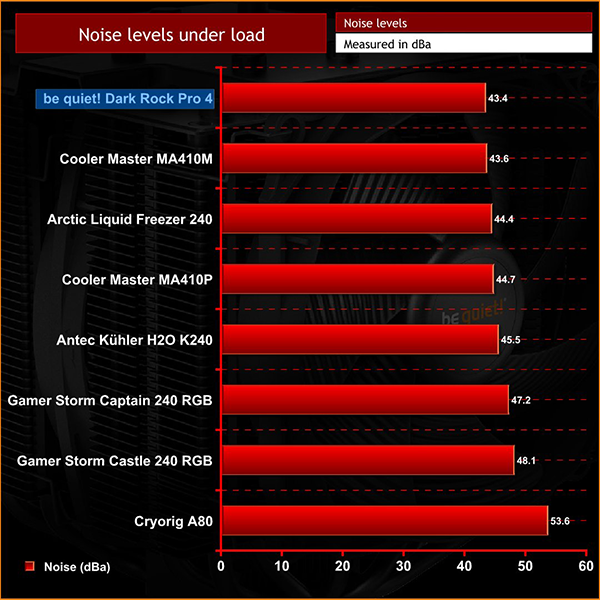
What’s even more impressive is that whilst managing this extra heat the Dark Rock Pro 4 is the quietest cooler tested. It's closely followed by the MA410M but considering how much more efficient it is at keeping your CPU cool its a clear winner if you are not particularly fussed about RGB lighting and LEDs.
Overall the be quiet! Dark Rock Pro 4's cooling performance is solid, whilst also being the quietest cooler tested and when BeQuiet state that Dark Rock Pro 4 is “excellent for overclocked systems and demanding workstations”, they aren’t lying.
It’s clearly a great option for quieter operation and impressively does a really good job of handling temperatures even when overclocking.
The installation process is a little fiddly, but this is greatly improved with the addition of the screwdriver, clear instructions and well-labelled mounting hardware.
For those looking at coolers for quieter operation with higher TDP CPUs such as workstations or for heavy overclocking it is clearly a really good option.
It’s not suited to the budget-oriented builder at £79.99, but it’s also unlikely you would be pairing it with a Pentium. Aesthetically it looks really good with an all-black paint scheme and all of the mounting hardware receiving the same black treatment is also a big plus.
![]()
The Dark Rock Pro 4 is currently available from Overclockers UK for £73.99 inc. VAT HERE.
Pros
- Great cooling performance when overclocking.
- Low audible noise even when overclocking and at full load.
- Clean all-black aesthetic, perfectly suited to professional applications.
Cons
- Installation is still a little fiddly.
- Price at the dearer end for air coolers.
KitGuru says: Although it costs £79.99 the Dark Rock Pro 4 is a powerful cooler, easily able to match performance to match many AIO 240mm liquid coolers. The core benefit is obviously fewer points of potential failure, and more piece of mind during prolonged operation. Overall this is a really good cooler if you are looking to build a more subdued aesthetic high-performance system.