

The UEFI BIOS picked up the USB keyboard and mouse we attached with no problems.
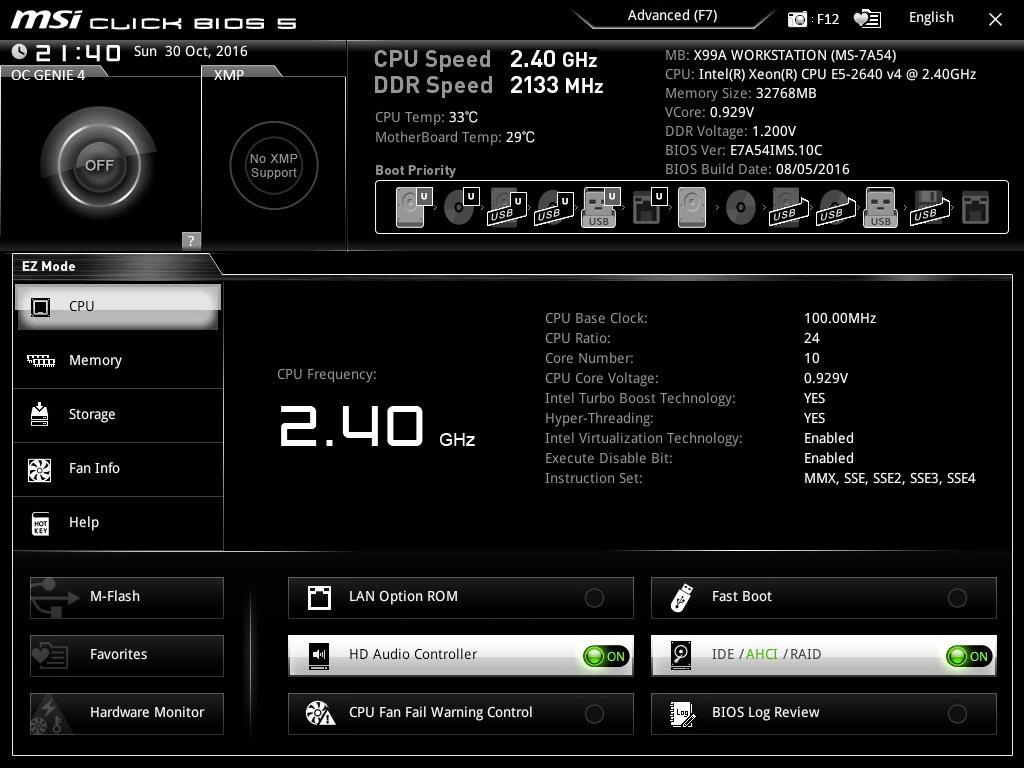
By default, the UEFI BIOS starts in EZ Mode, or you can switch to Advanced mode using the mouse or F7. The EZ mode puts all the most important information about the setup on one screen. The CPU and memory installed are detailed on the top right, with the boot order underneath. The central section has tabbed options to provide greater detail about CPU, memory, storage, fans, and help.
Function buttons on the bottom right provide access to further controls, such as SATA mode. Even though this is the EZ mode, there are still buttons for toggling XMP memory mode and the OC Genie automatic overclocking option.
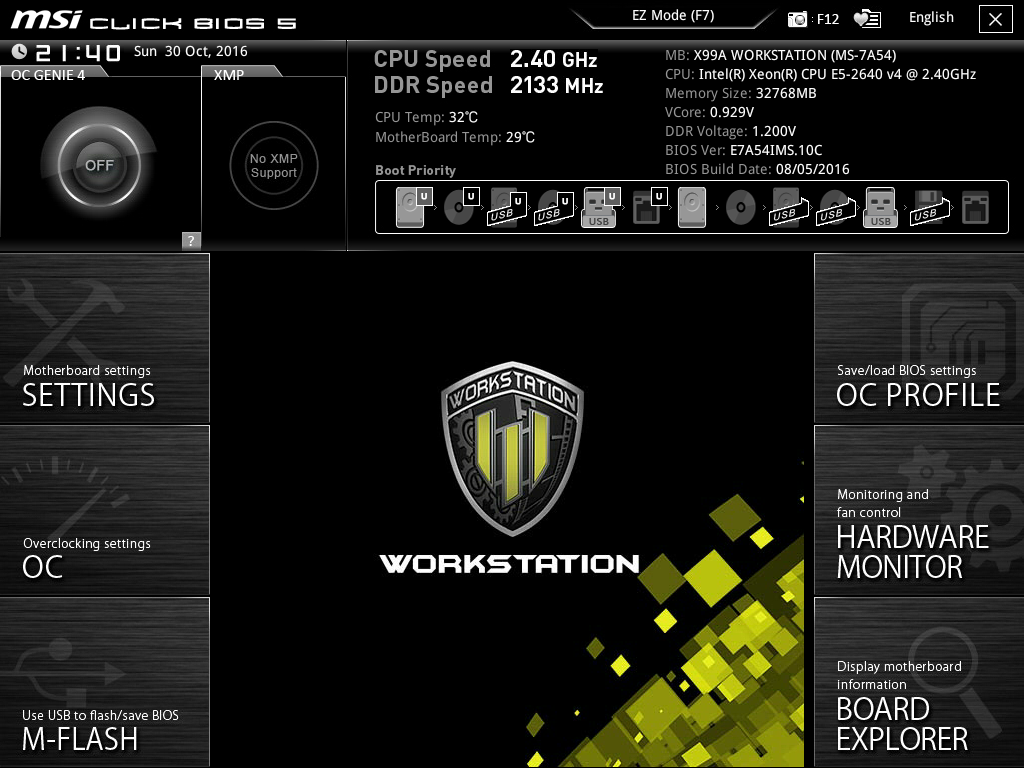
Even in Advanced mode, the BIOS is attractively graphical. The top third of the screen remains the same, with OC Genie 4, XMP, system information and boot device order. But the bottom two thirds now include six BIOS menu buttons on either side that alter what is available in the central section.
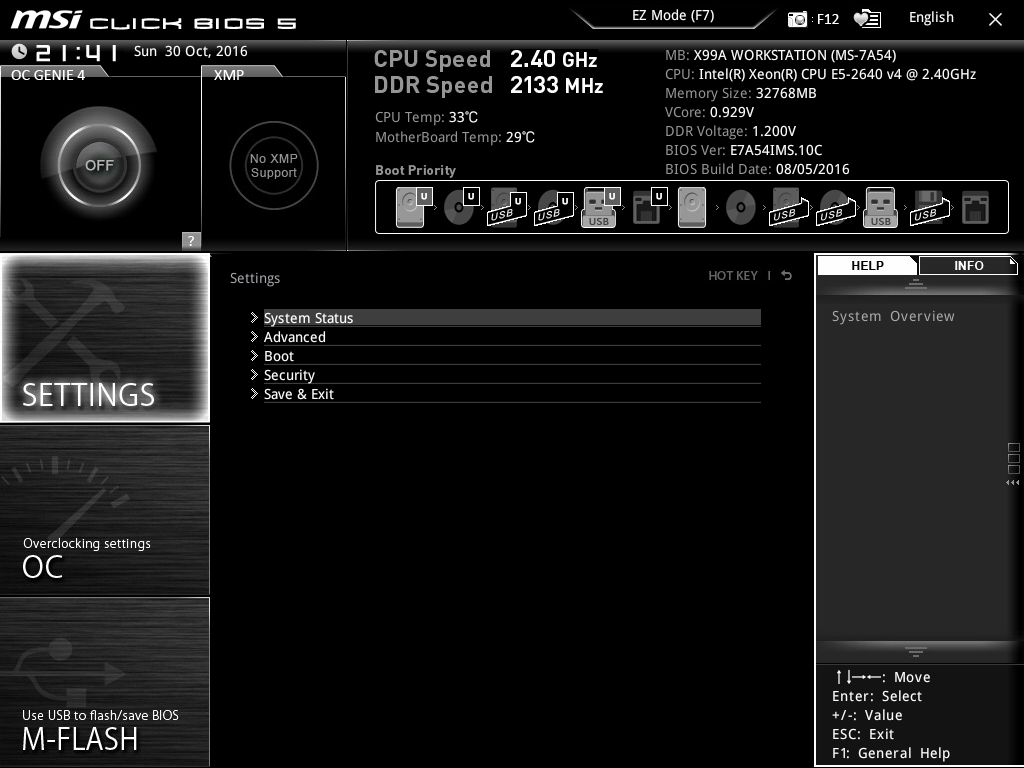
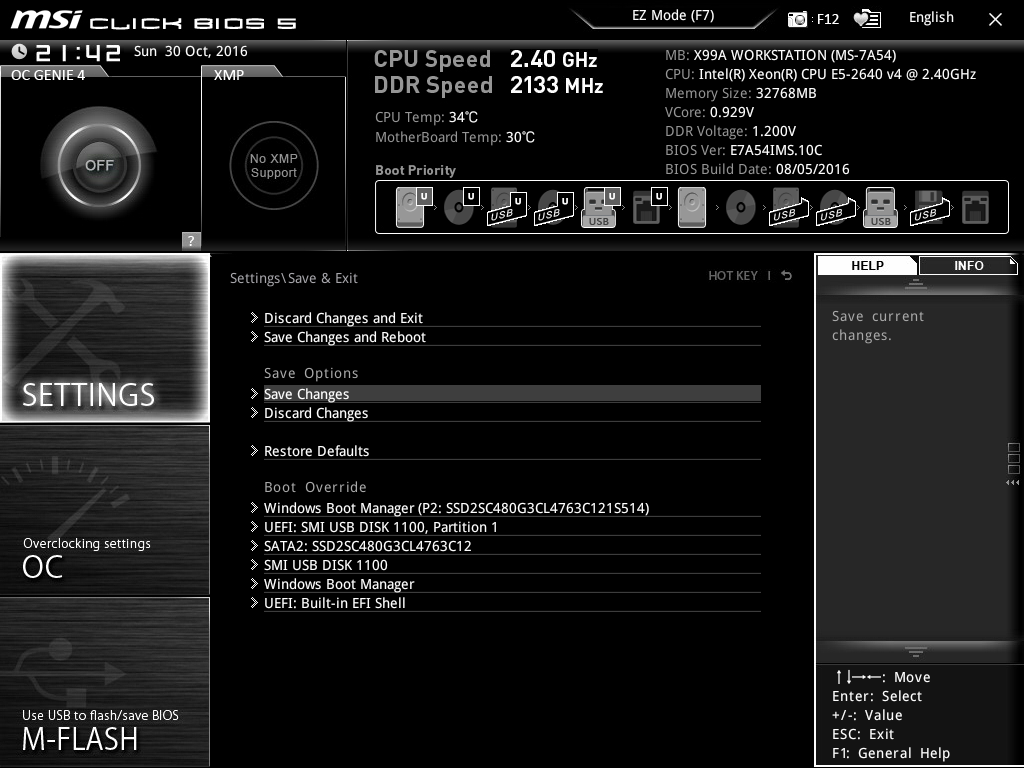
The Settings option is perhaps a little overburdened, with five sub-options once you select it, although one of these is just saving any changes and exiting the BIOS. The four other options are System Status, Advanced, Boot, and Security. These load their contents into the central space, when it might have been better to make the menu smaller to give more room to the options beneath.

The System Status option lets you set the date and time, but otherwise it’s just a read-only display of what SATA devices are connected, CPU, BIOS version and memory, plus chassis-related data.
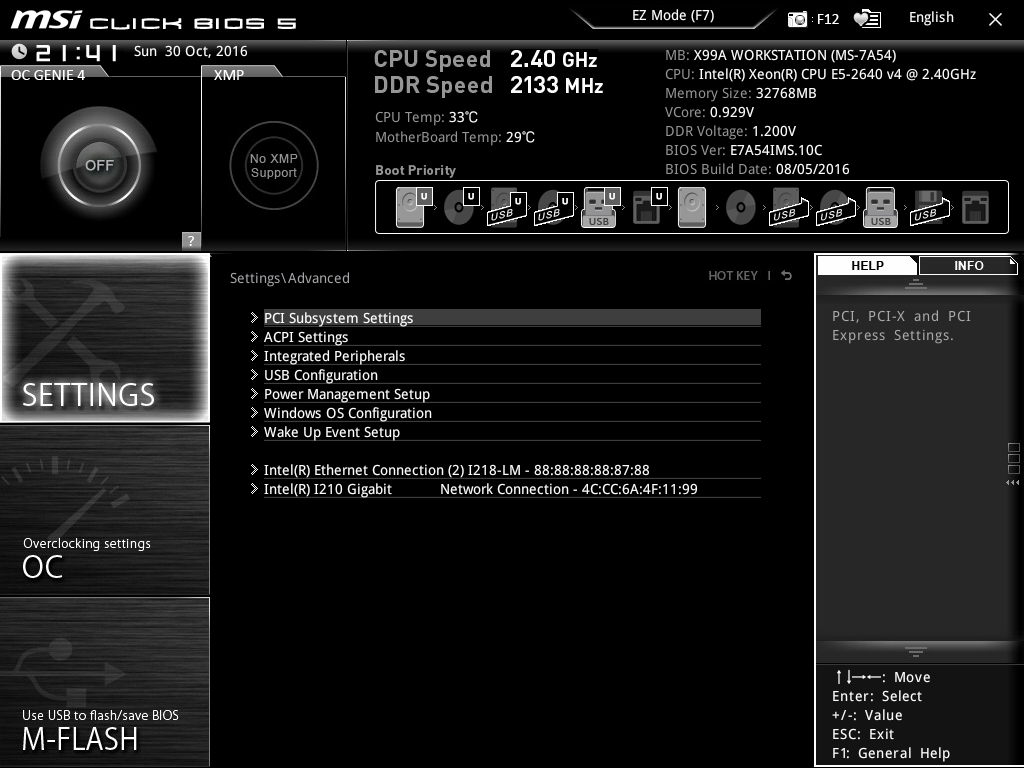
The Advanced option provides much more detailed control over how the board interacts with its peripherals. This includes the PCI subsystem, ACPI behaviour, and sundry integrated peripherals such as the network adapters, SATA ports, and audio chipset. There is control over the USB hubs, power management, and special behaviours for Windows 8 and above, including various fast and secure boot modes.
You can also select which events wake the system up. The separate sections for the two LAN controllers seem a little stranded, however, since they are separate from the other LAN-related settings and informational only.
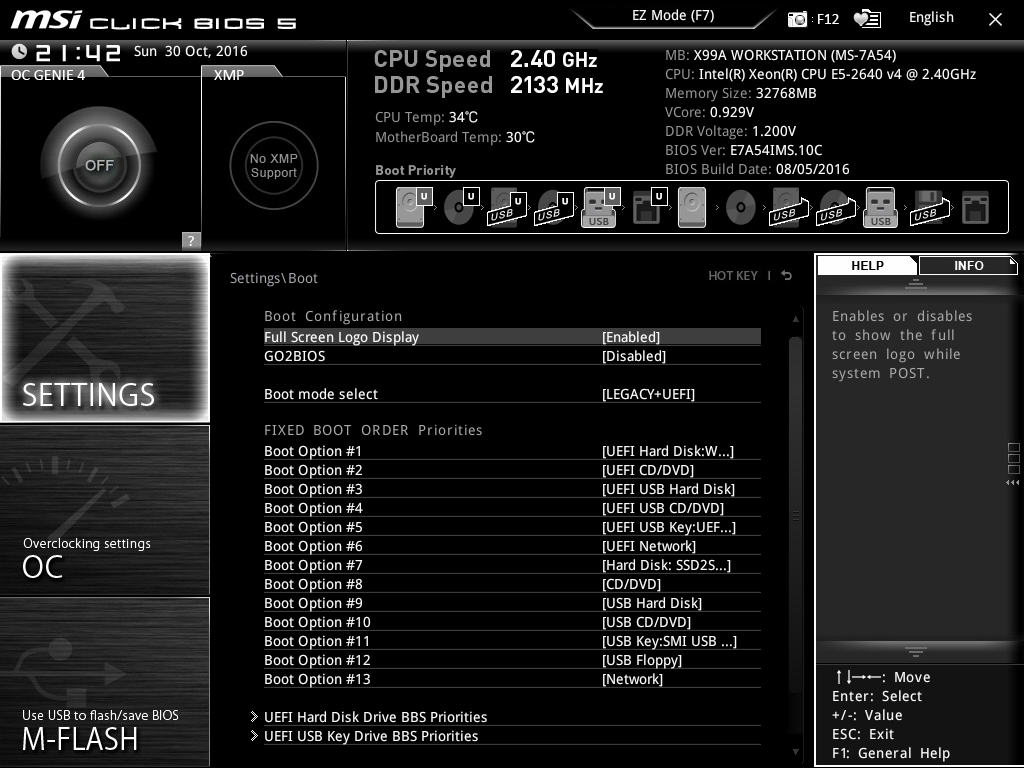
The Boot section, unsurprisingly, controls everything to do with the booting process. You can choose whether to display a full-screen logo, whether the power button can be used to enter the BIOS at boot, whether to use legacy mode alongside UEFI mode at startup, and the order of devices to use during booting.
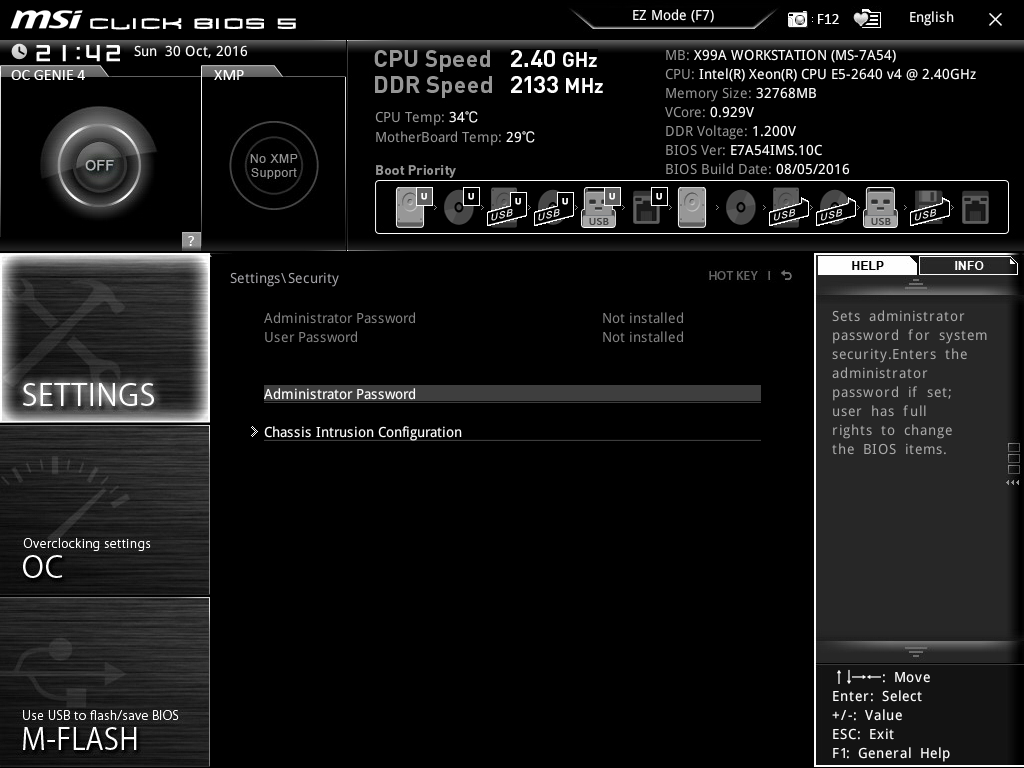
The Security section is for controlling BIOS-level passwords and chassis intrusion.
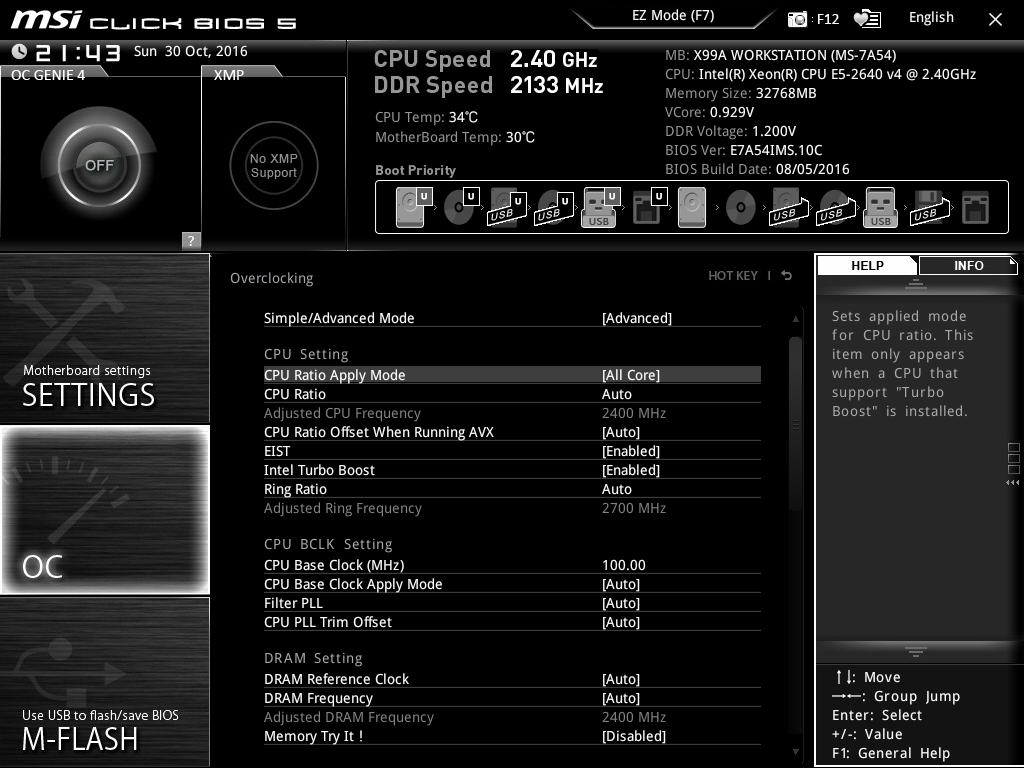
Moving back up the menu levels, the OC button takes you to a plethora of manual overclocking controls, and these are subdivided into Simple and Advanced options. Whilst this isn’t an enthusiast motherboard, lots of Intel Core i7 workstations are now supplied with permanent, warranty-backed overclocks, so it’s good to see plenty of options here, including lots of CPU and memory settings.
However, what is available will depend on the CPU you have installed, and with the Xeon we were using the overclocking options were more limited than with an unlocked Core i7.
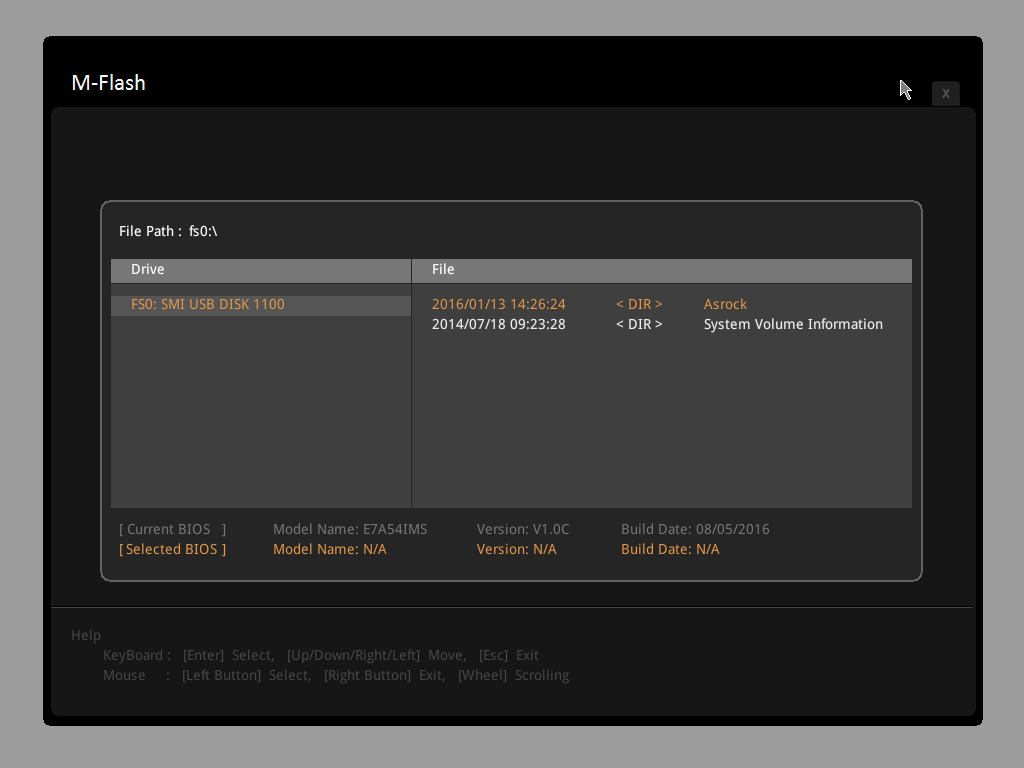
The M-FLASH section is exclusively for upgrading the BIOS using a USB-attached Flash memory drive. Choosing this option reboots into M-flash mode where you can choose a location for the BIOS update you want to install.

The OC Profiles section lets you save and restore up the six overclocking settings locally, or from ROM, or even from a USB Flash memory drive.
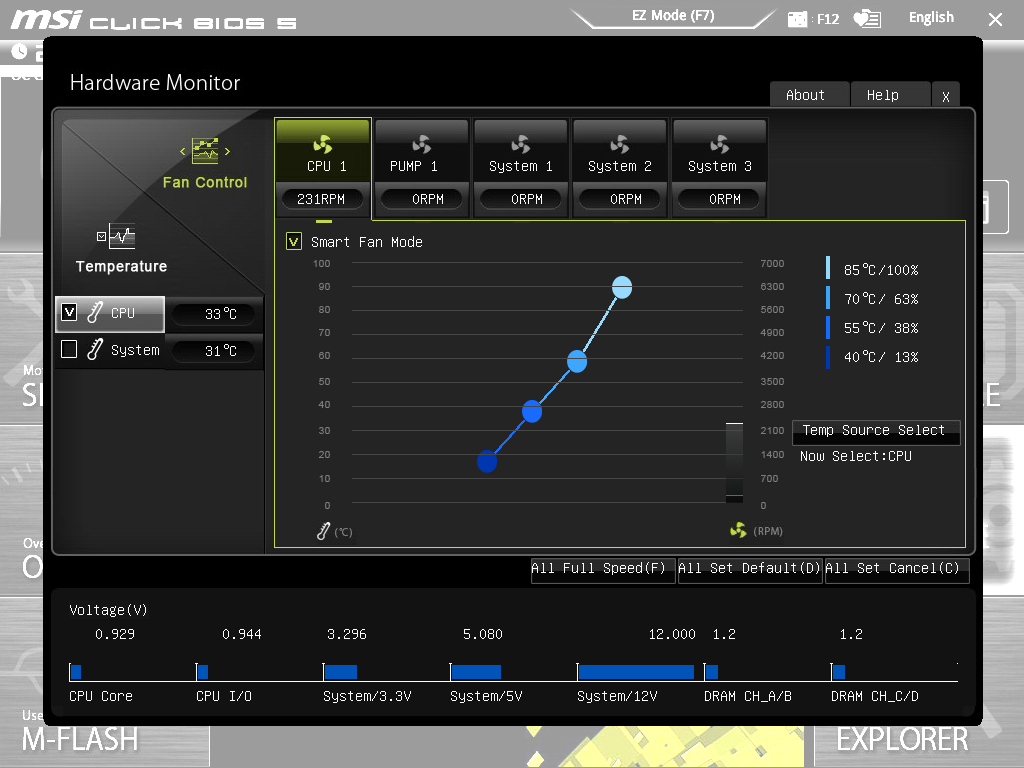
The Hardware Monitor provides a host of information about fan speeds and temperatures, plus the voltages of various components.
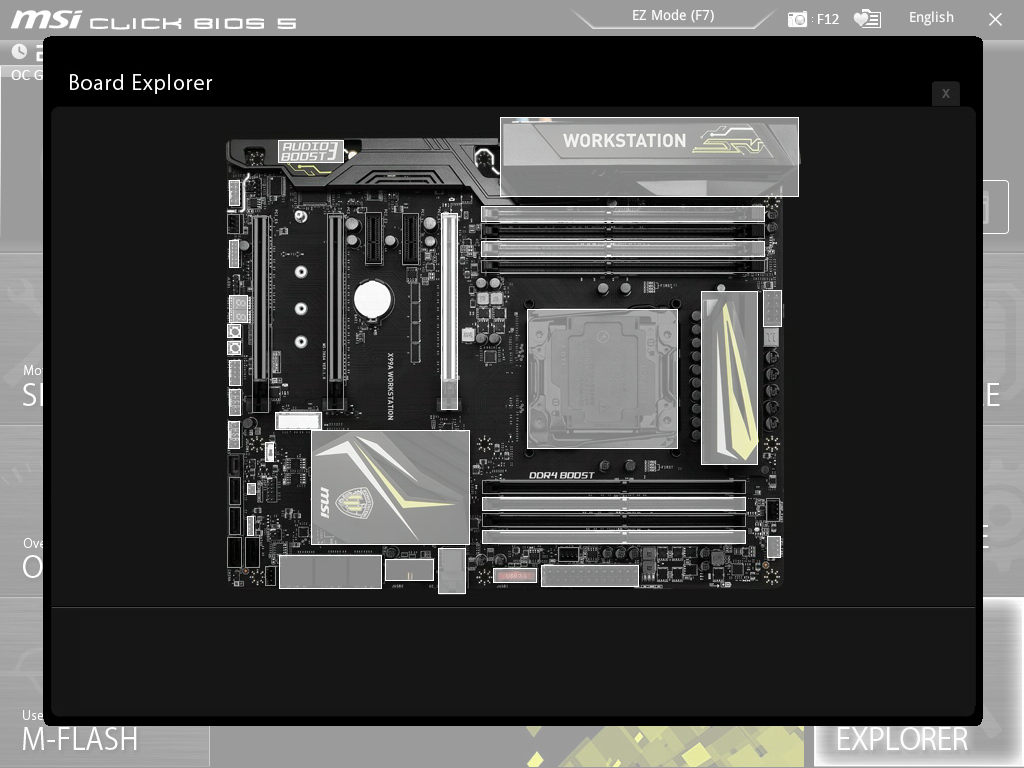
The board explorer provides an interactive graphical overview of the motherboard so you can become familiar with the layout.

No information on the VRM setup? Decent review otherwise thanks.