Today is the long-awaited part 2 of the KitGuru Fractal High Contrast custom build. I started this build a couple of months ago but it's been an extremely busy period. Today work continues on the Fractal build by concentrating on the jobs that need to be done before the case goes off to be painted.
Timestamps:
00:00 What's been going on?
02:58 Tubing runs and other bits to do
04:07 Timelapse
08:05 How it's looking so far
09:39 Sorting out the routing
11:24 Timelapse
15:10 Closing thoughts before Part 3
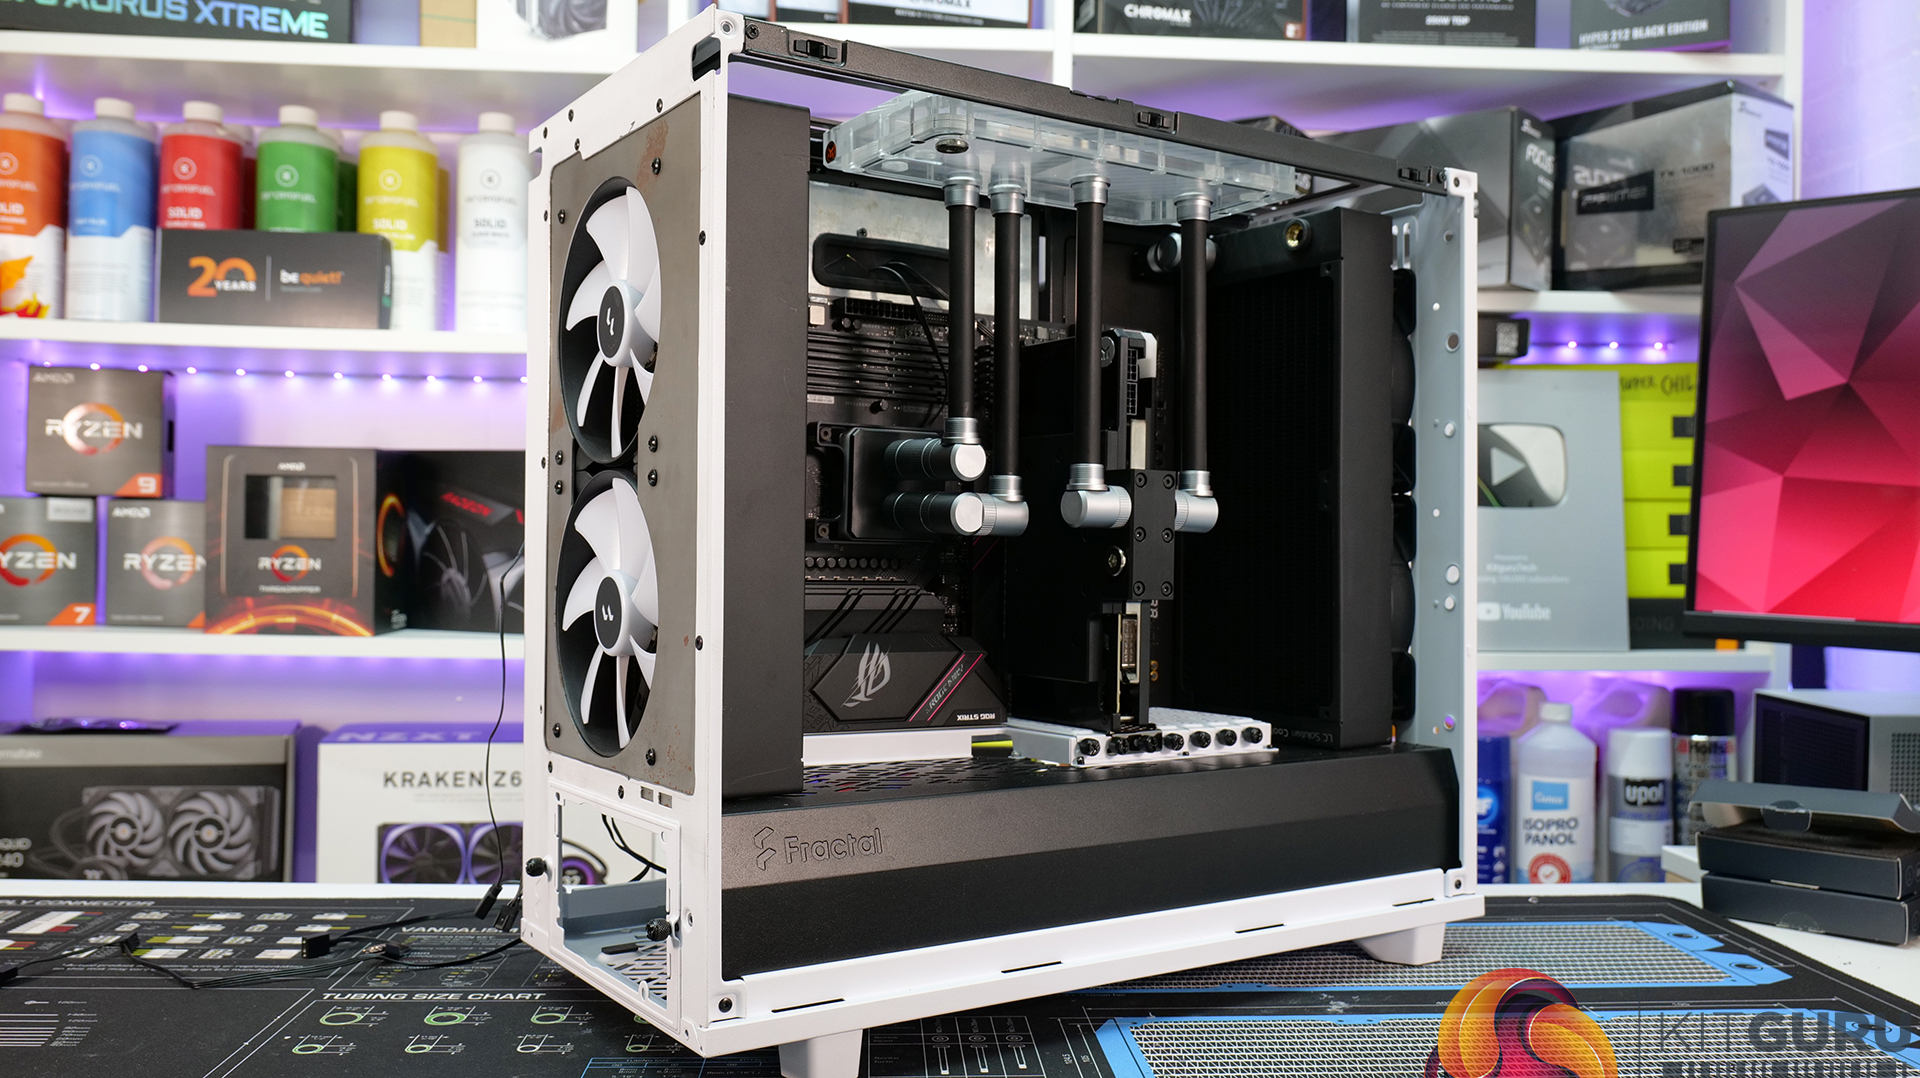
If you missed the first video or need a recap on the KitGuru Fractal High Contrast build, then you can check out the first instalment here; it has been a while after all. In part 2 we pick up where we left off a couple of months ago with the build, as we can see in the video, not a lot has happened with the build in this time but that is set to change today with work being done to prepare the case for painting.
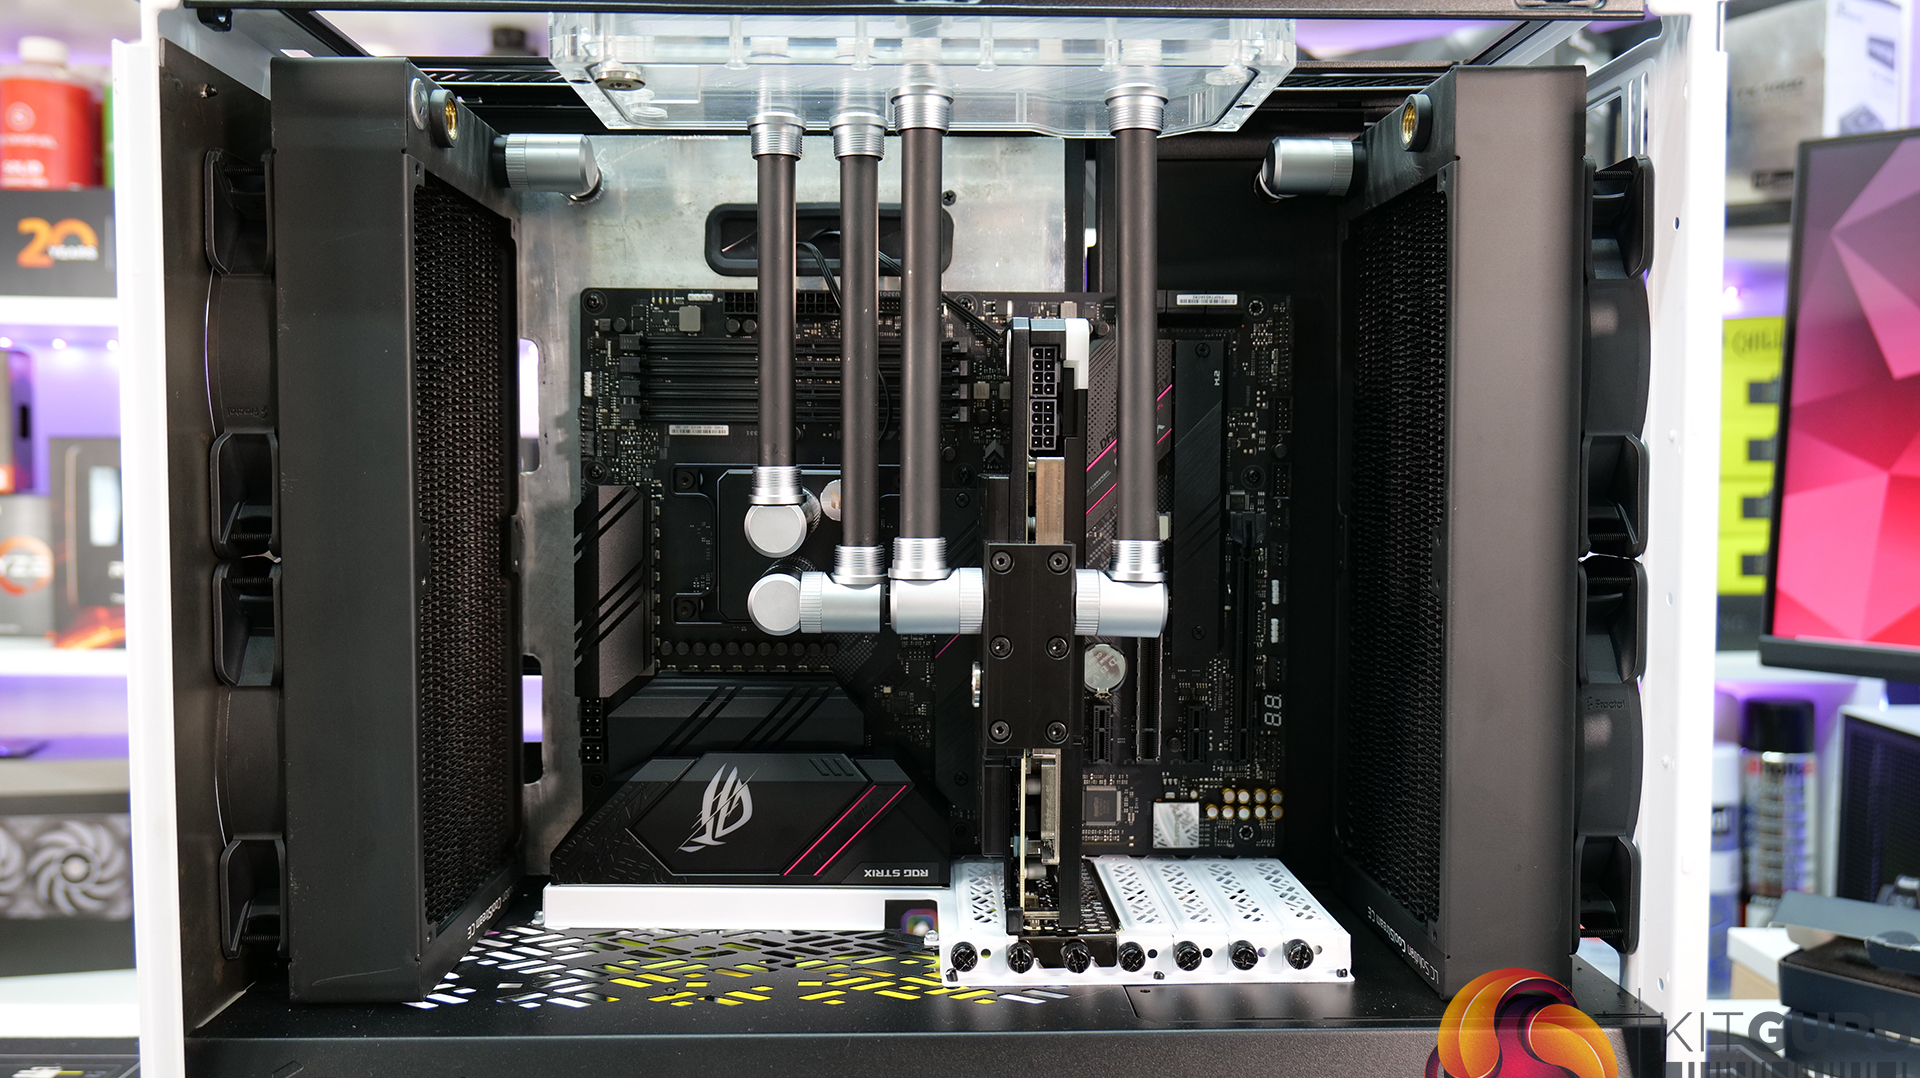
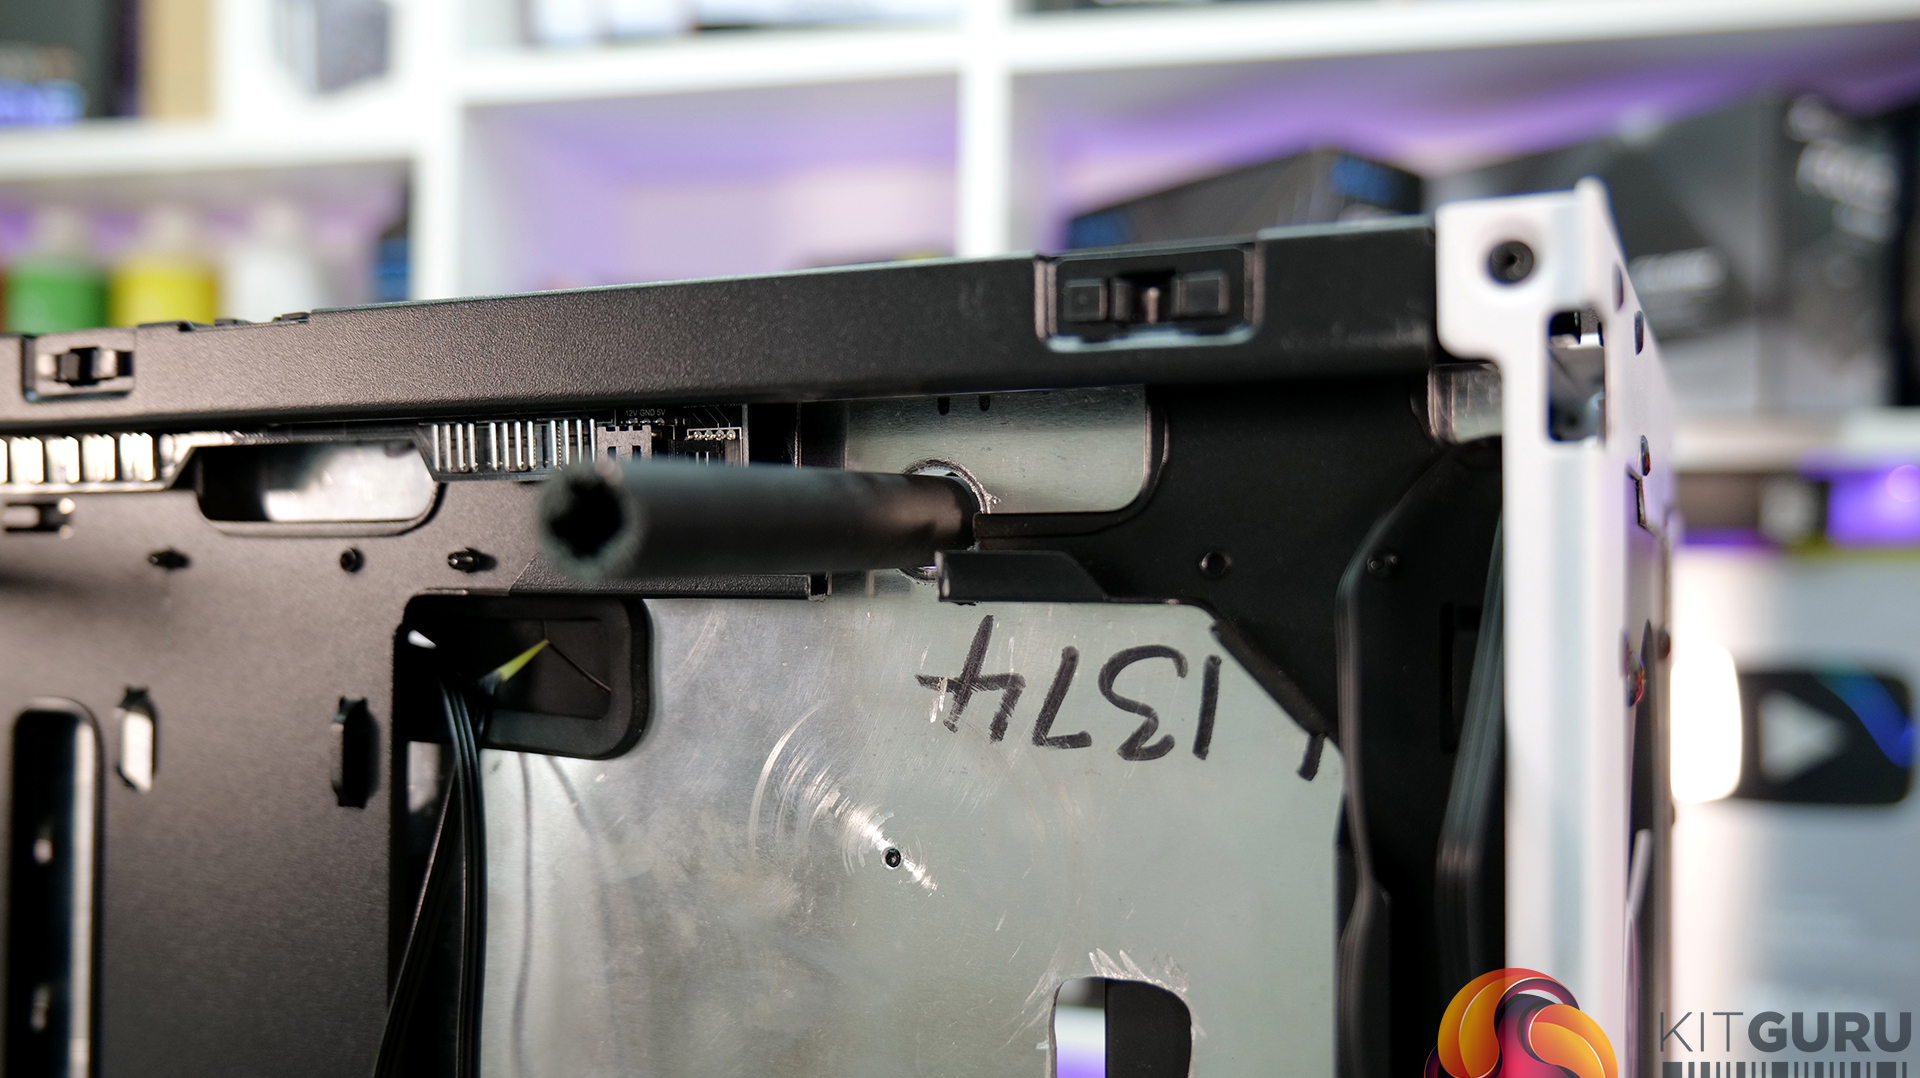
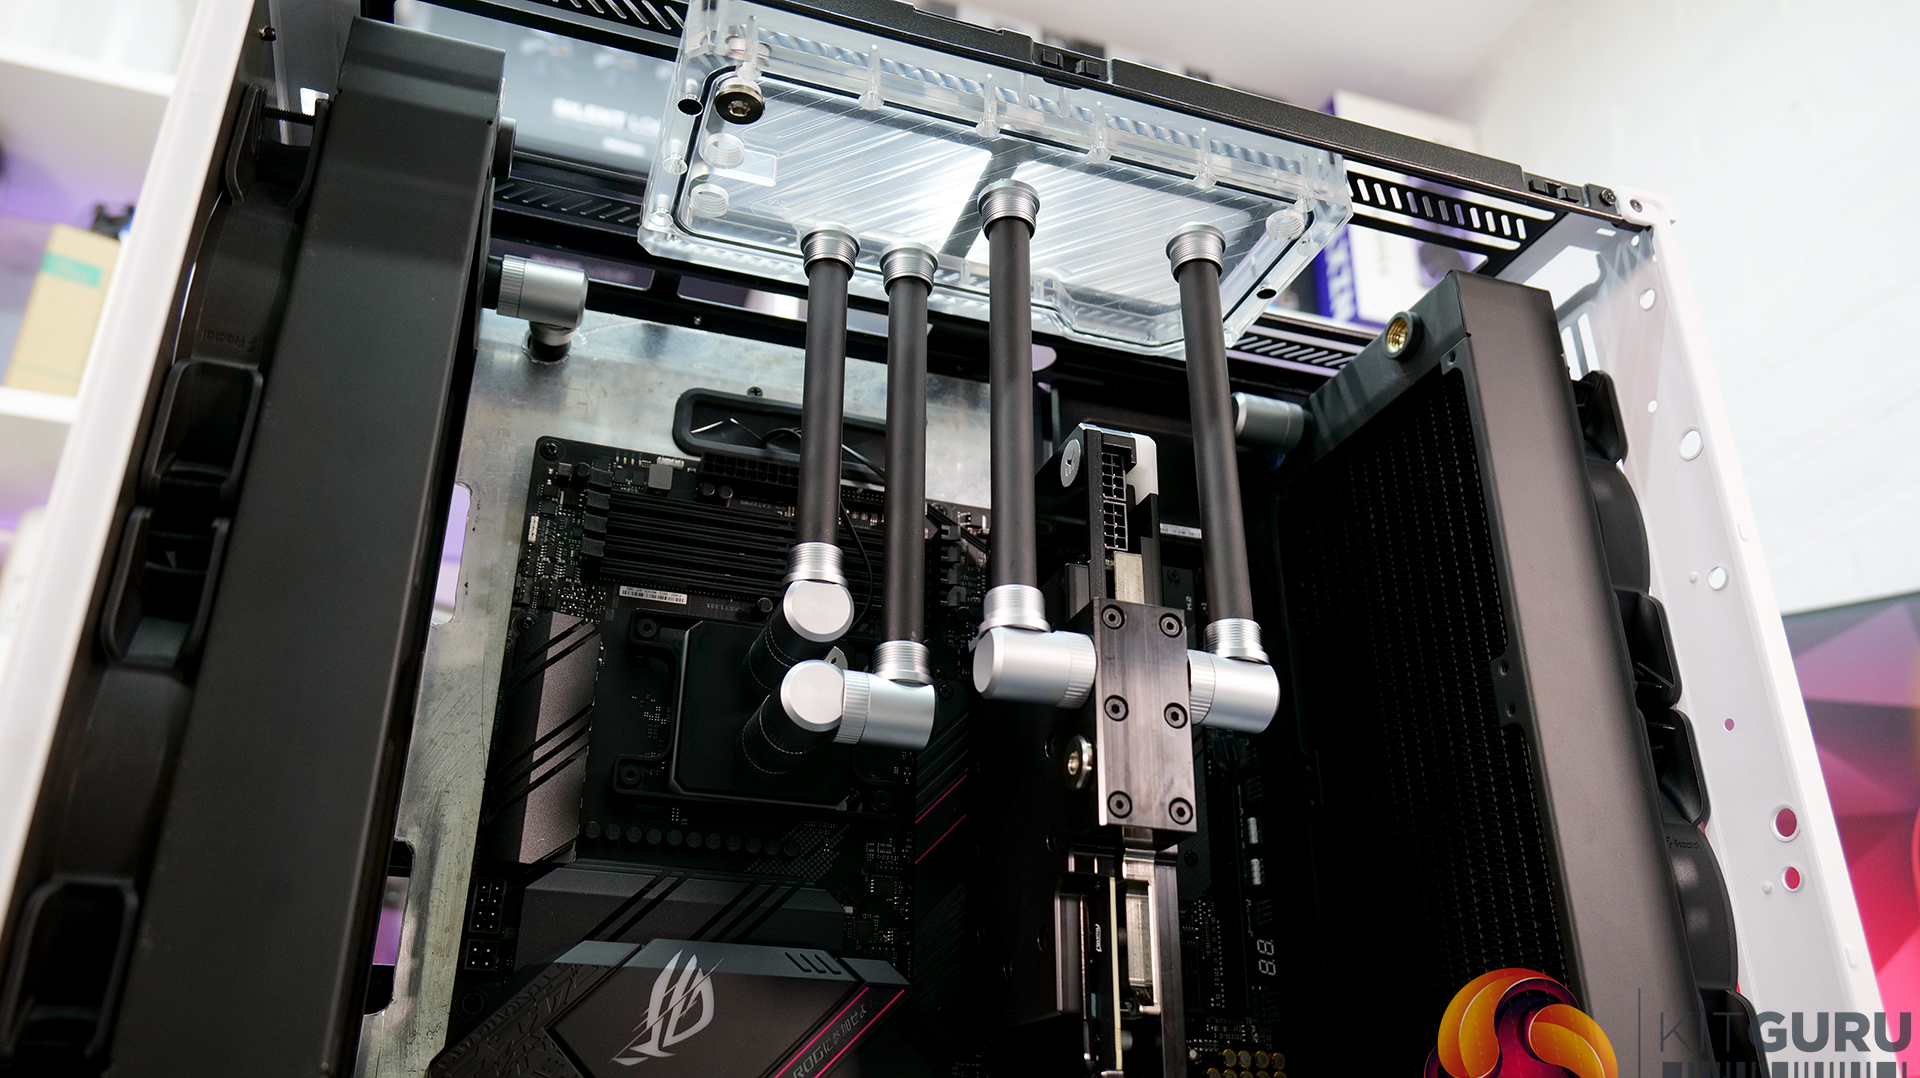
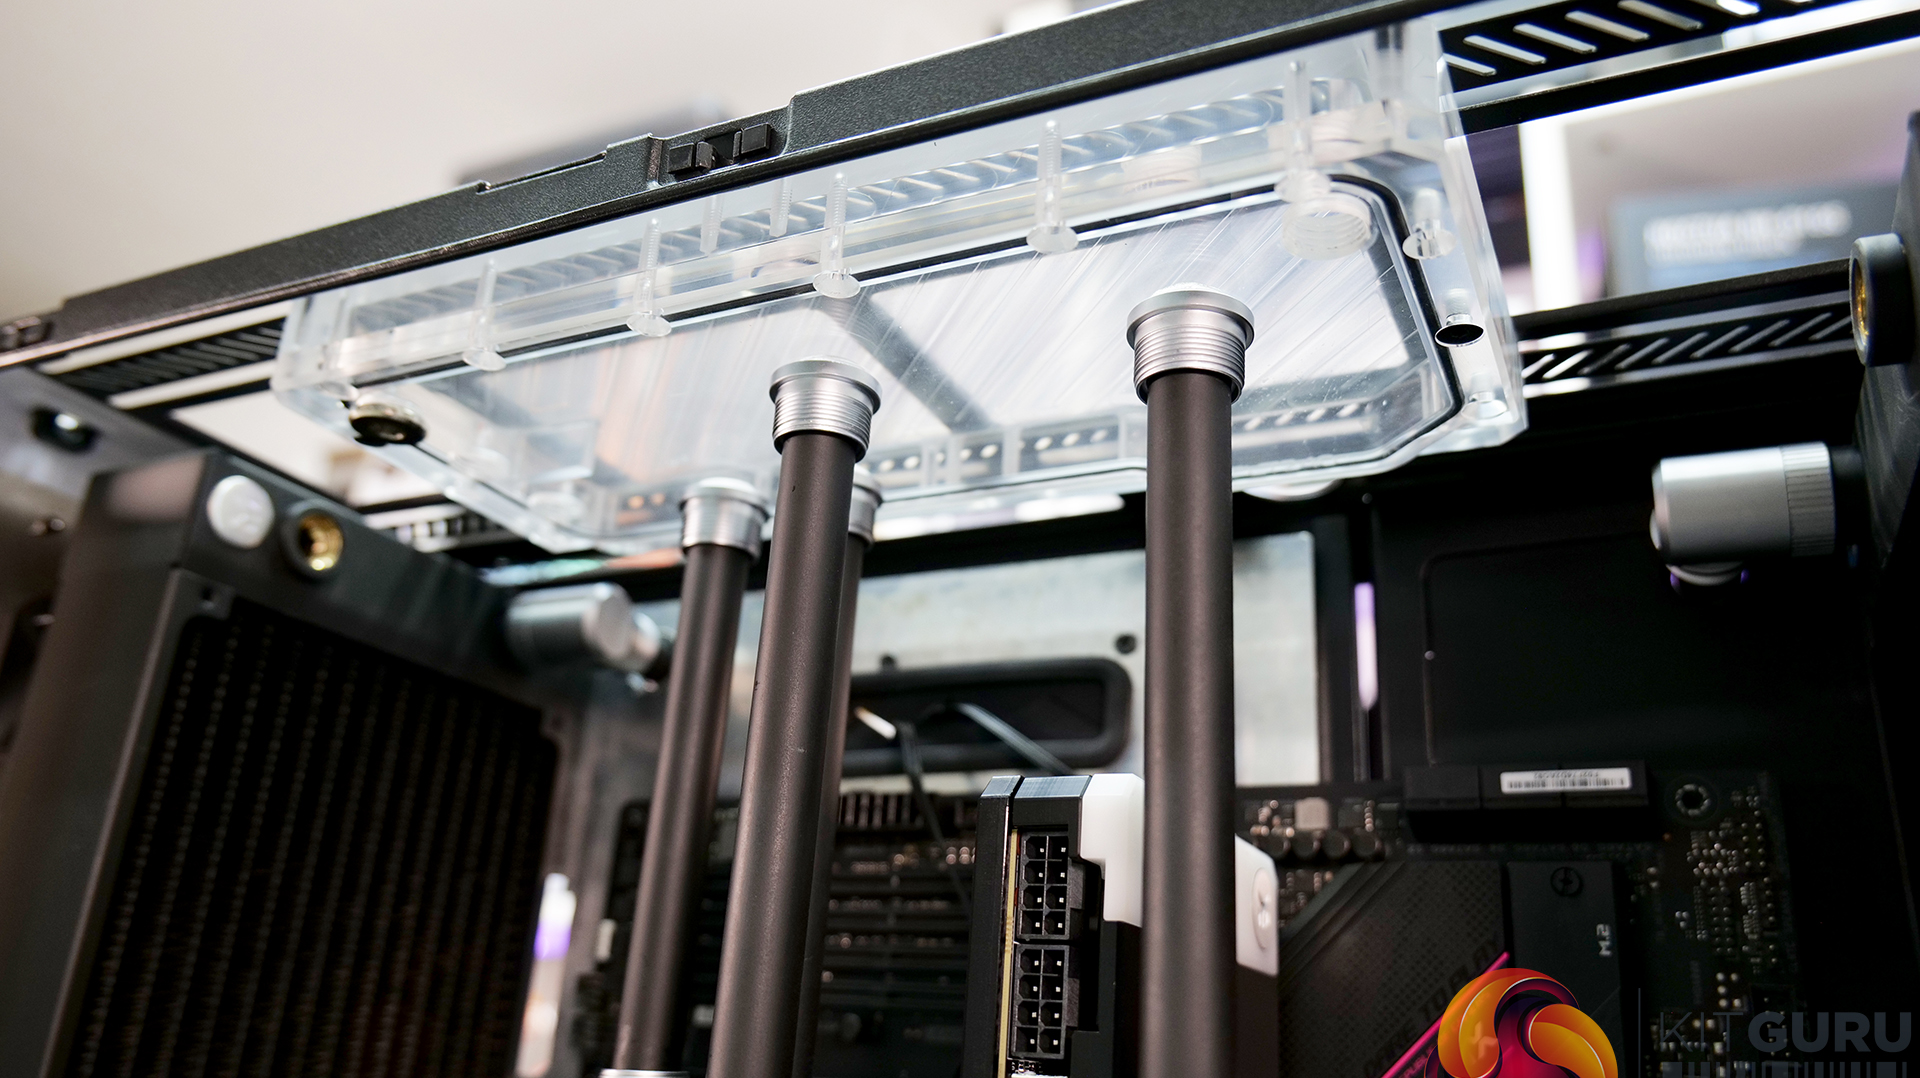
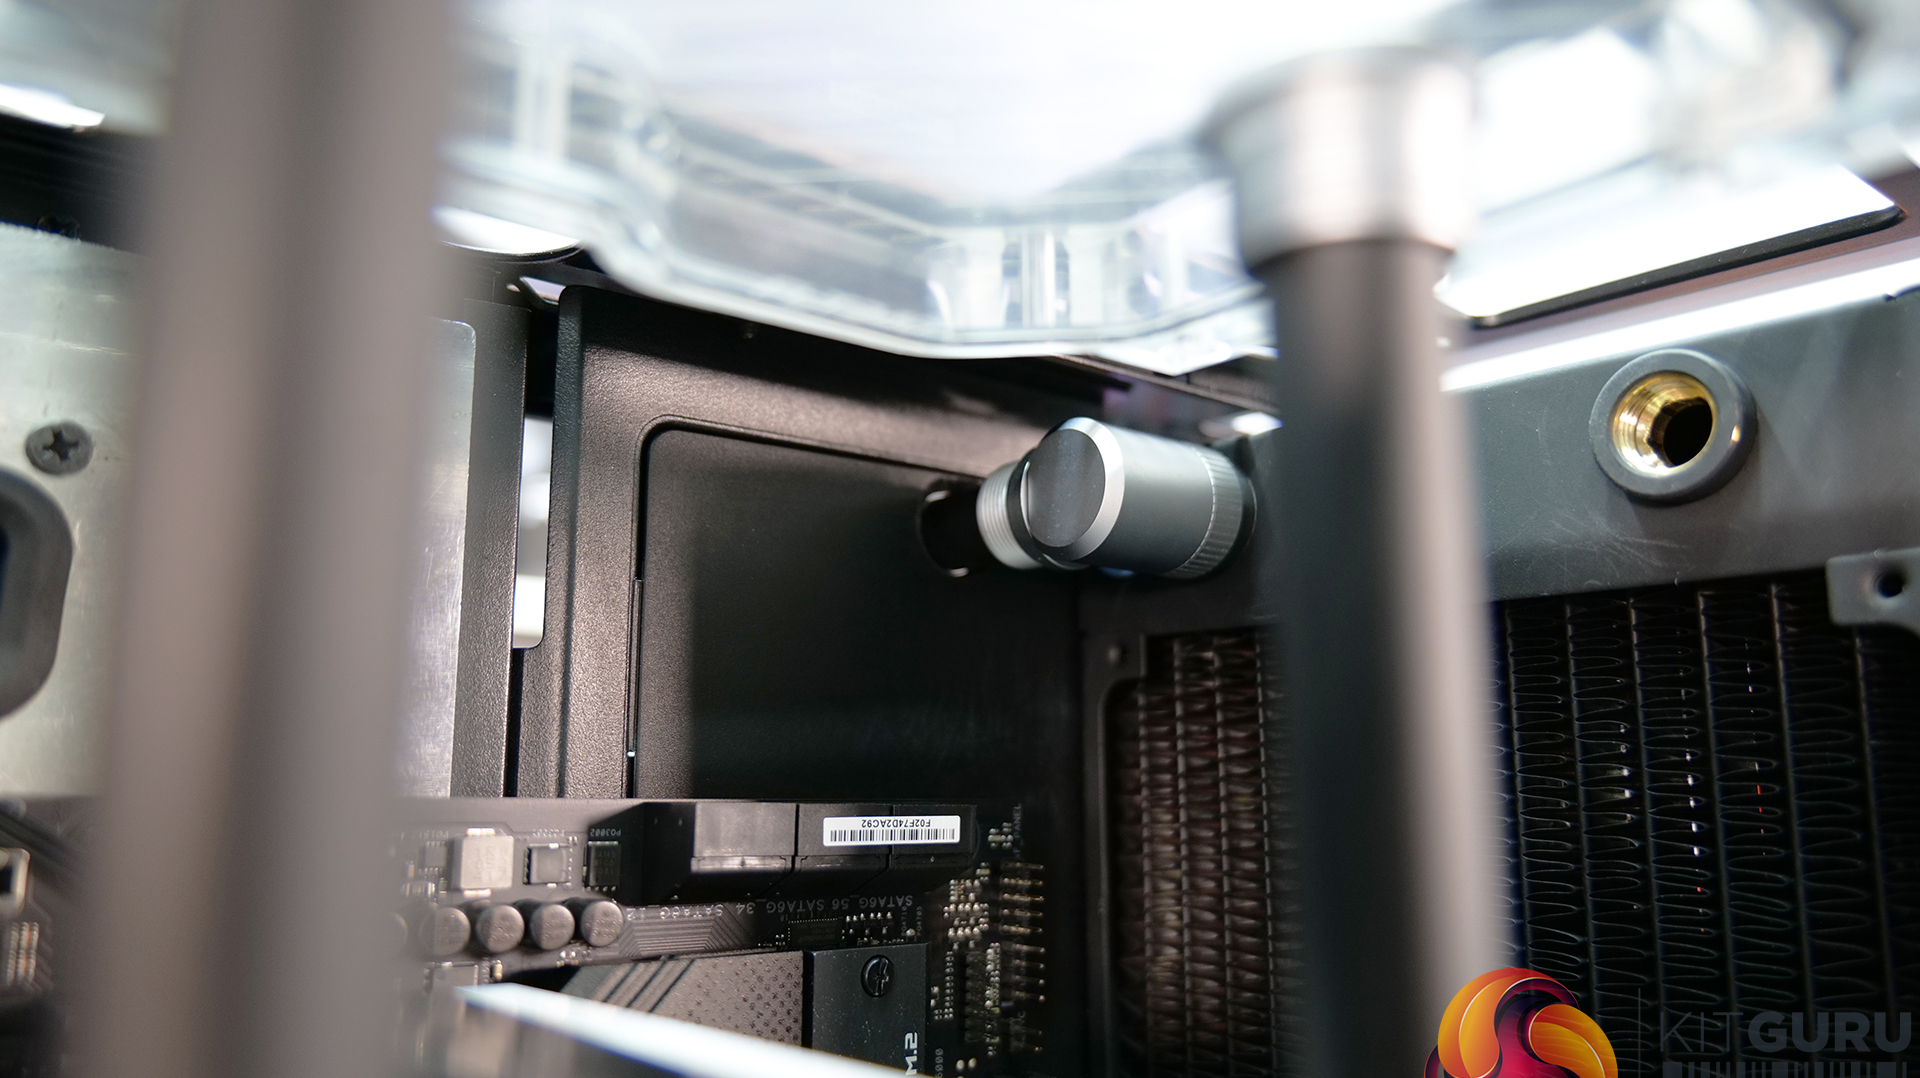
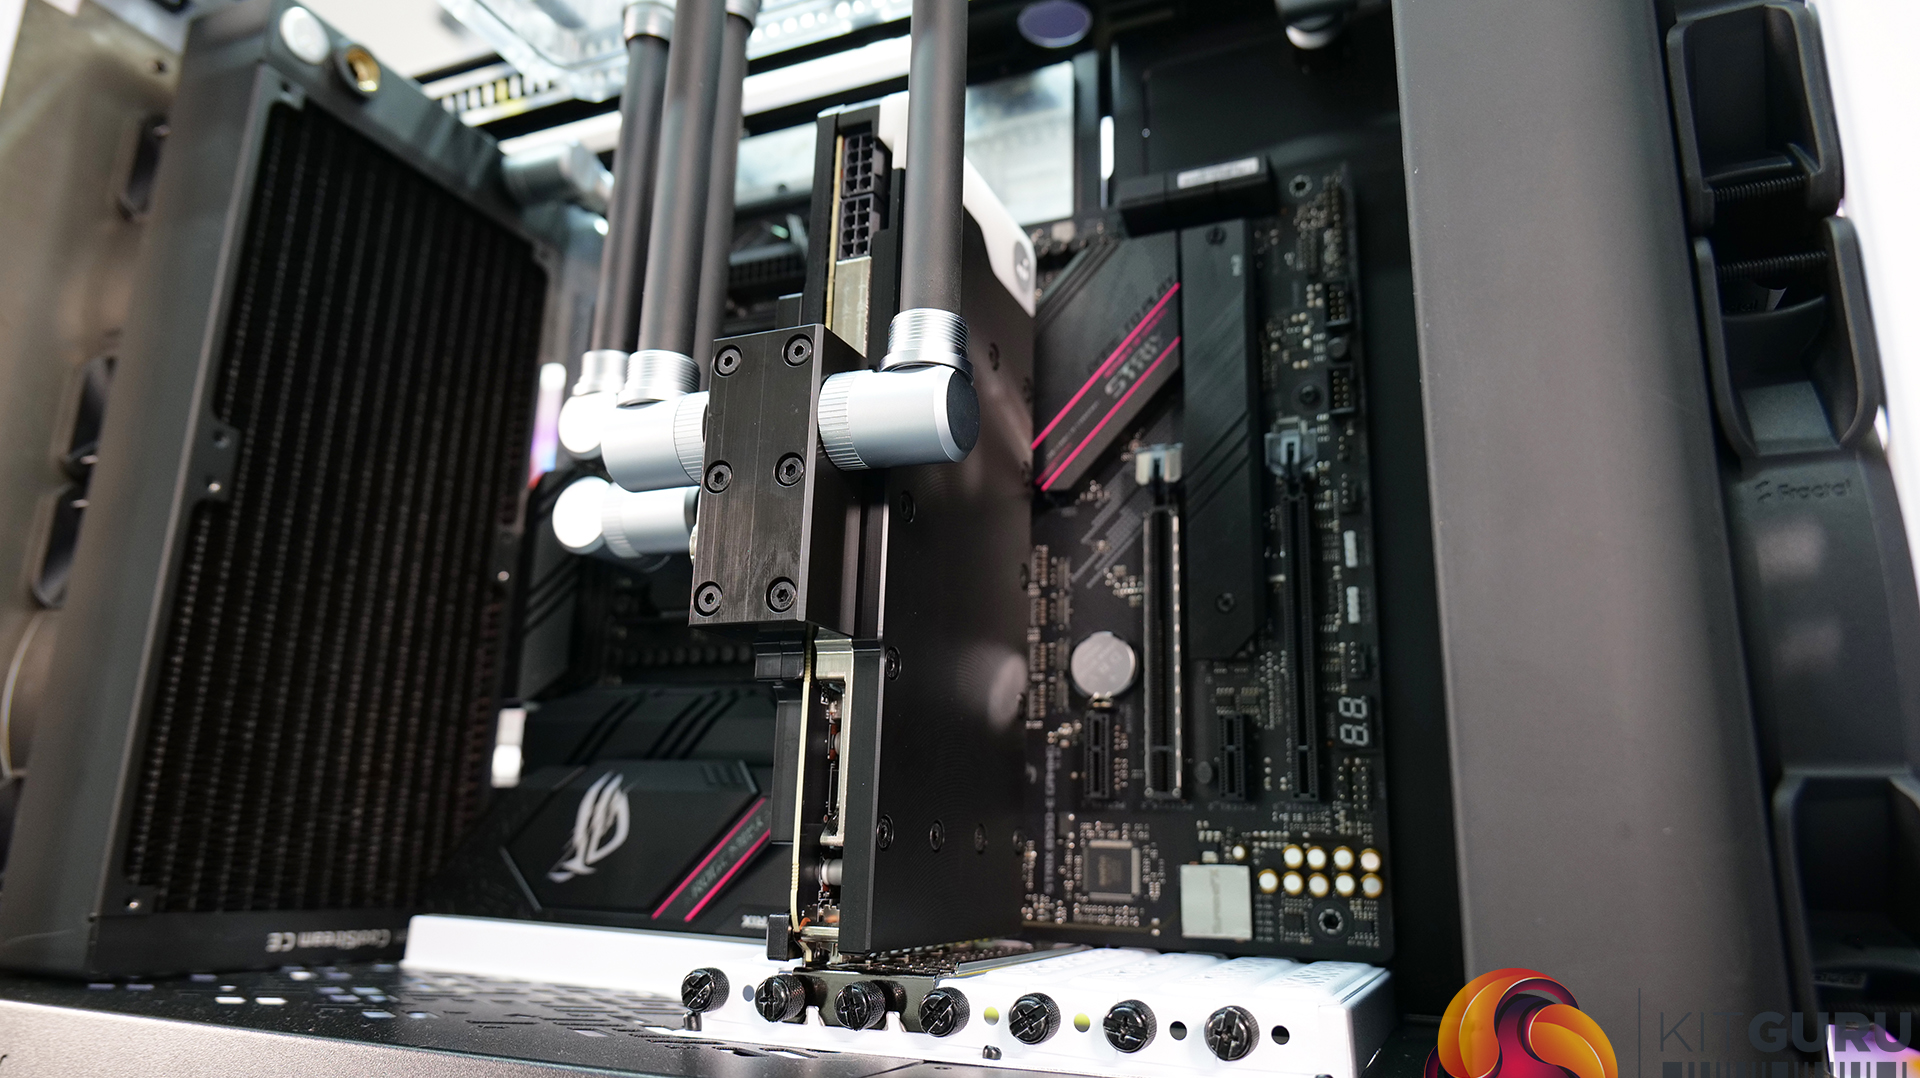
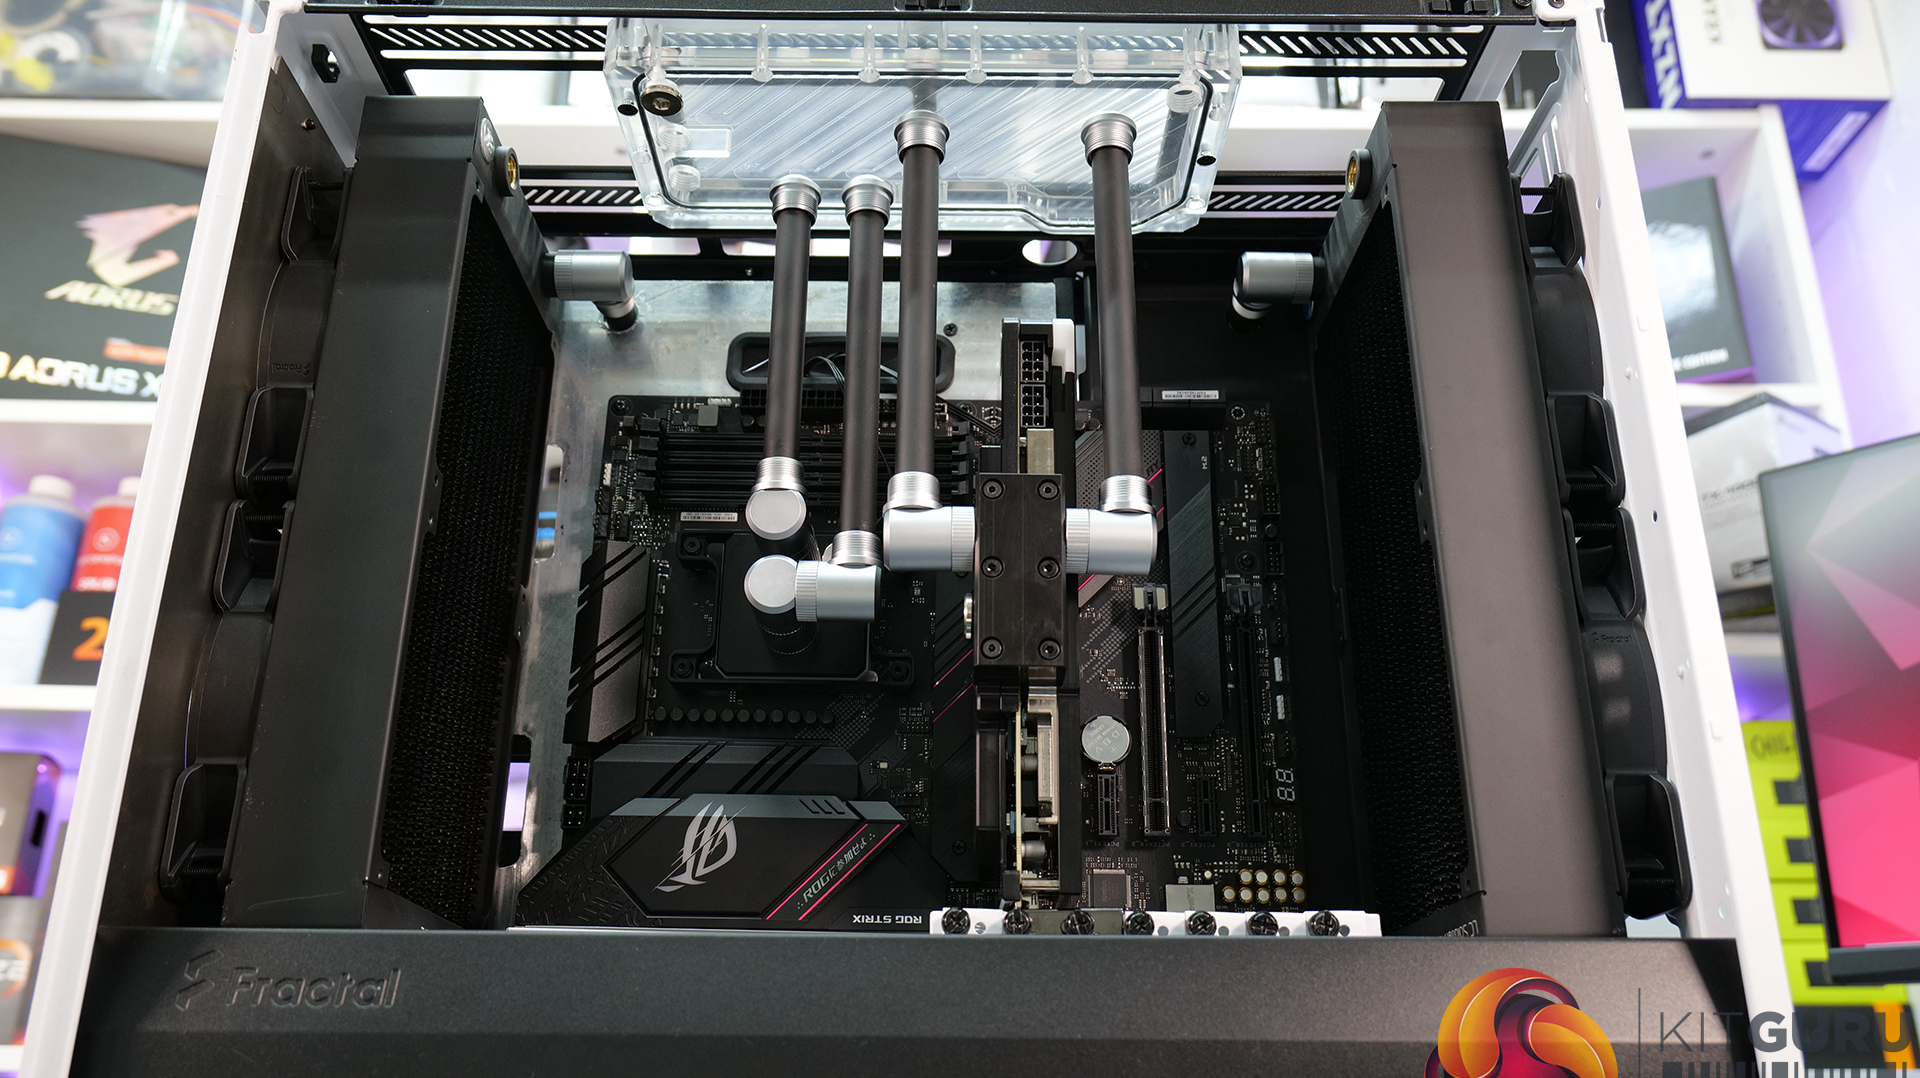
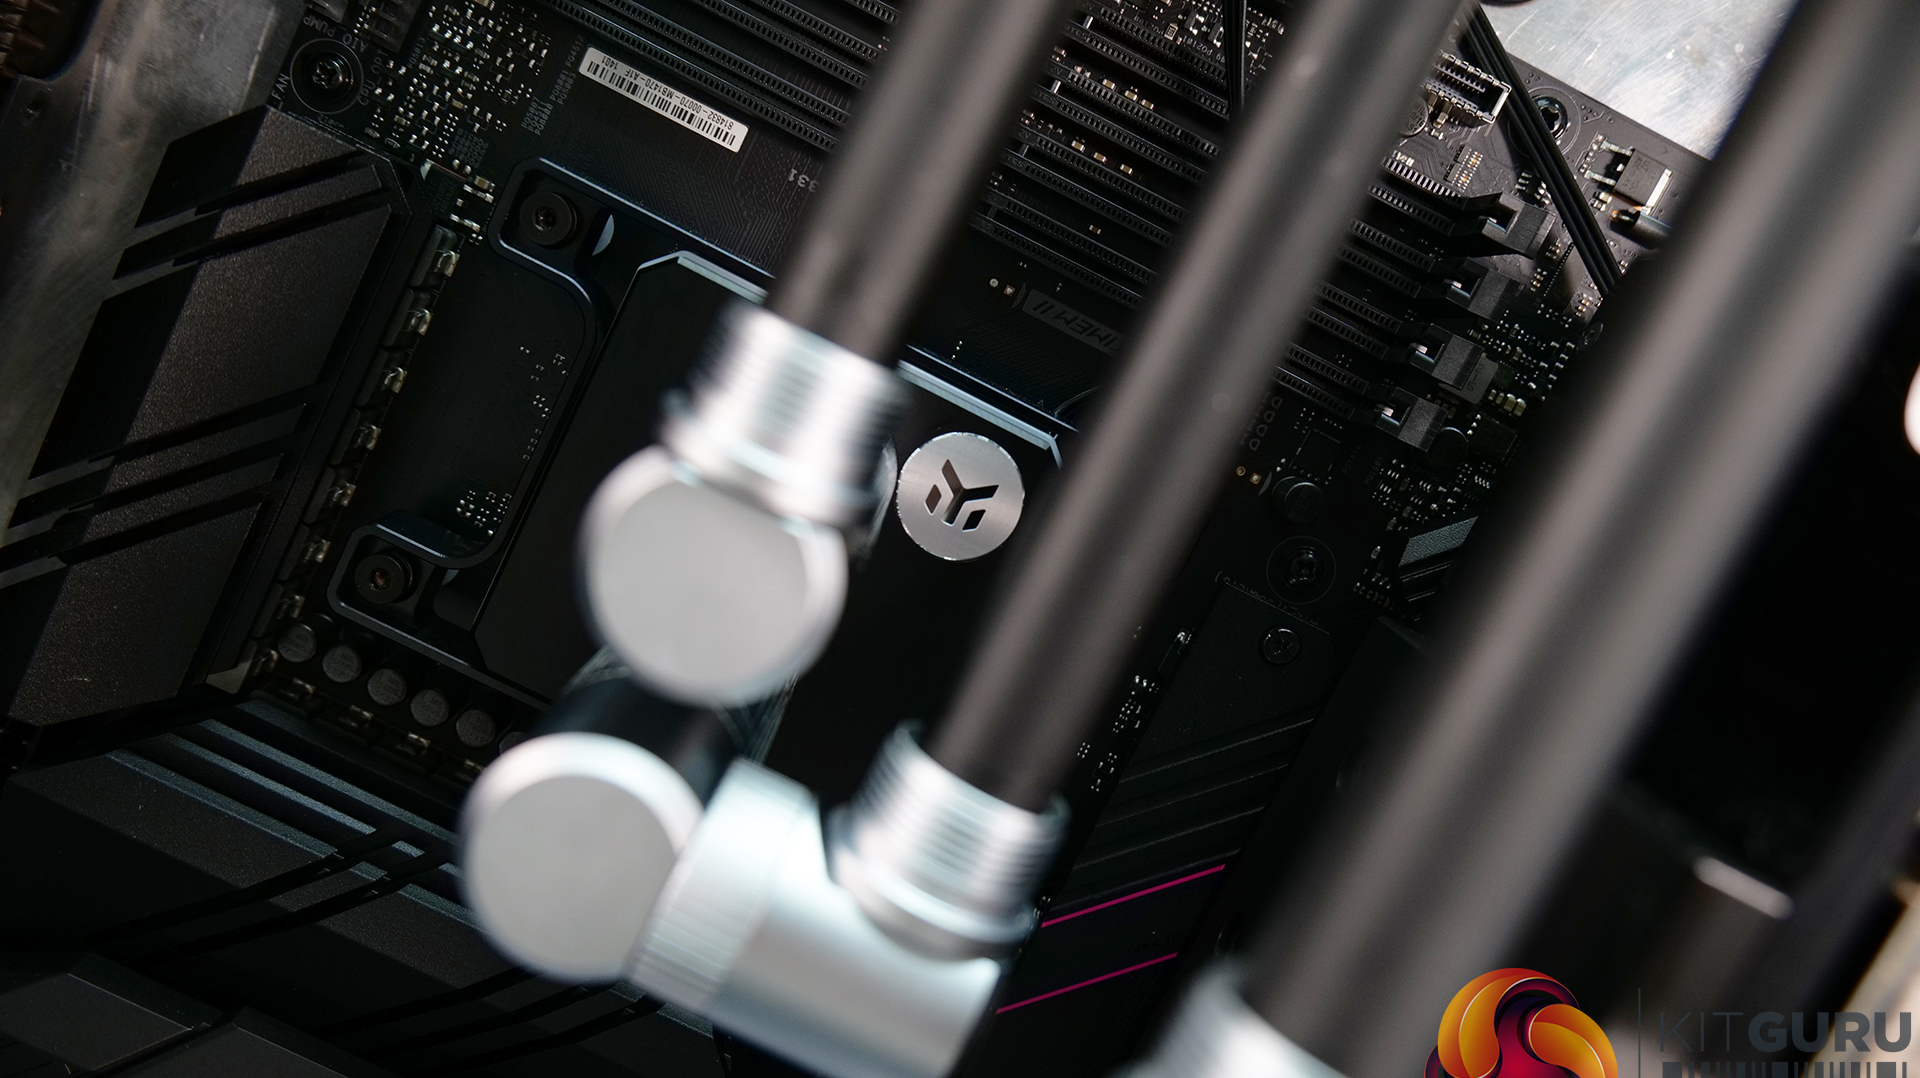
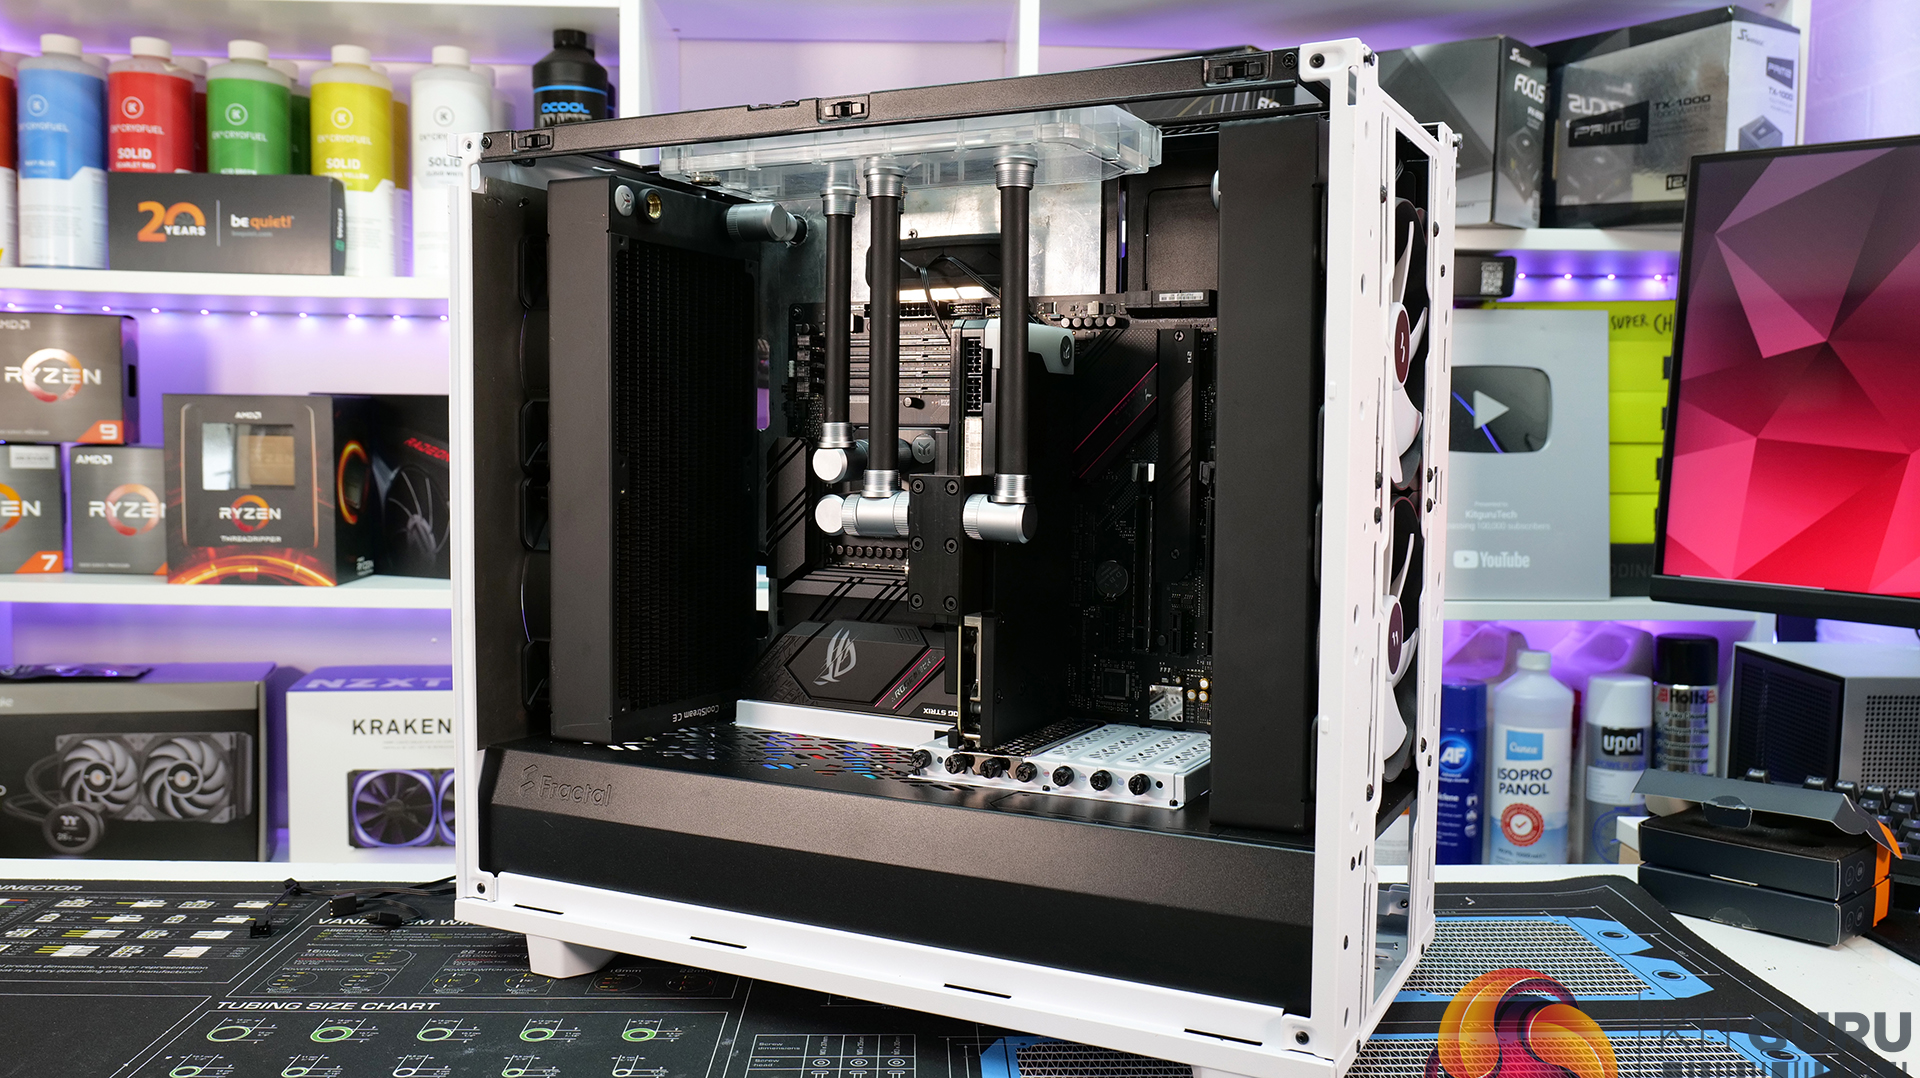
Before the case can be painted we need to map out the tubing runs as some will be passing through the chassis panels, so these holes need to be cut. While we are running these tubes through the chassis it seems like a good time to also plan the tubing runs to the top-mounted flat res, which will allow time between this video and the next to modify the flat res into a res/distro plate combo. The plan is to run as many of the tubes as possible in straight vertical lines for aesthetic reasons.
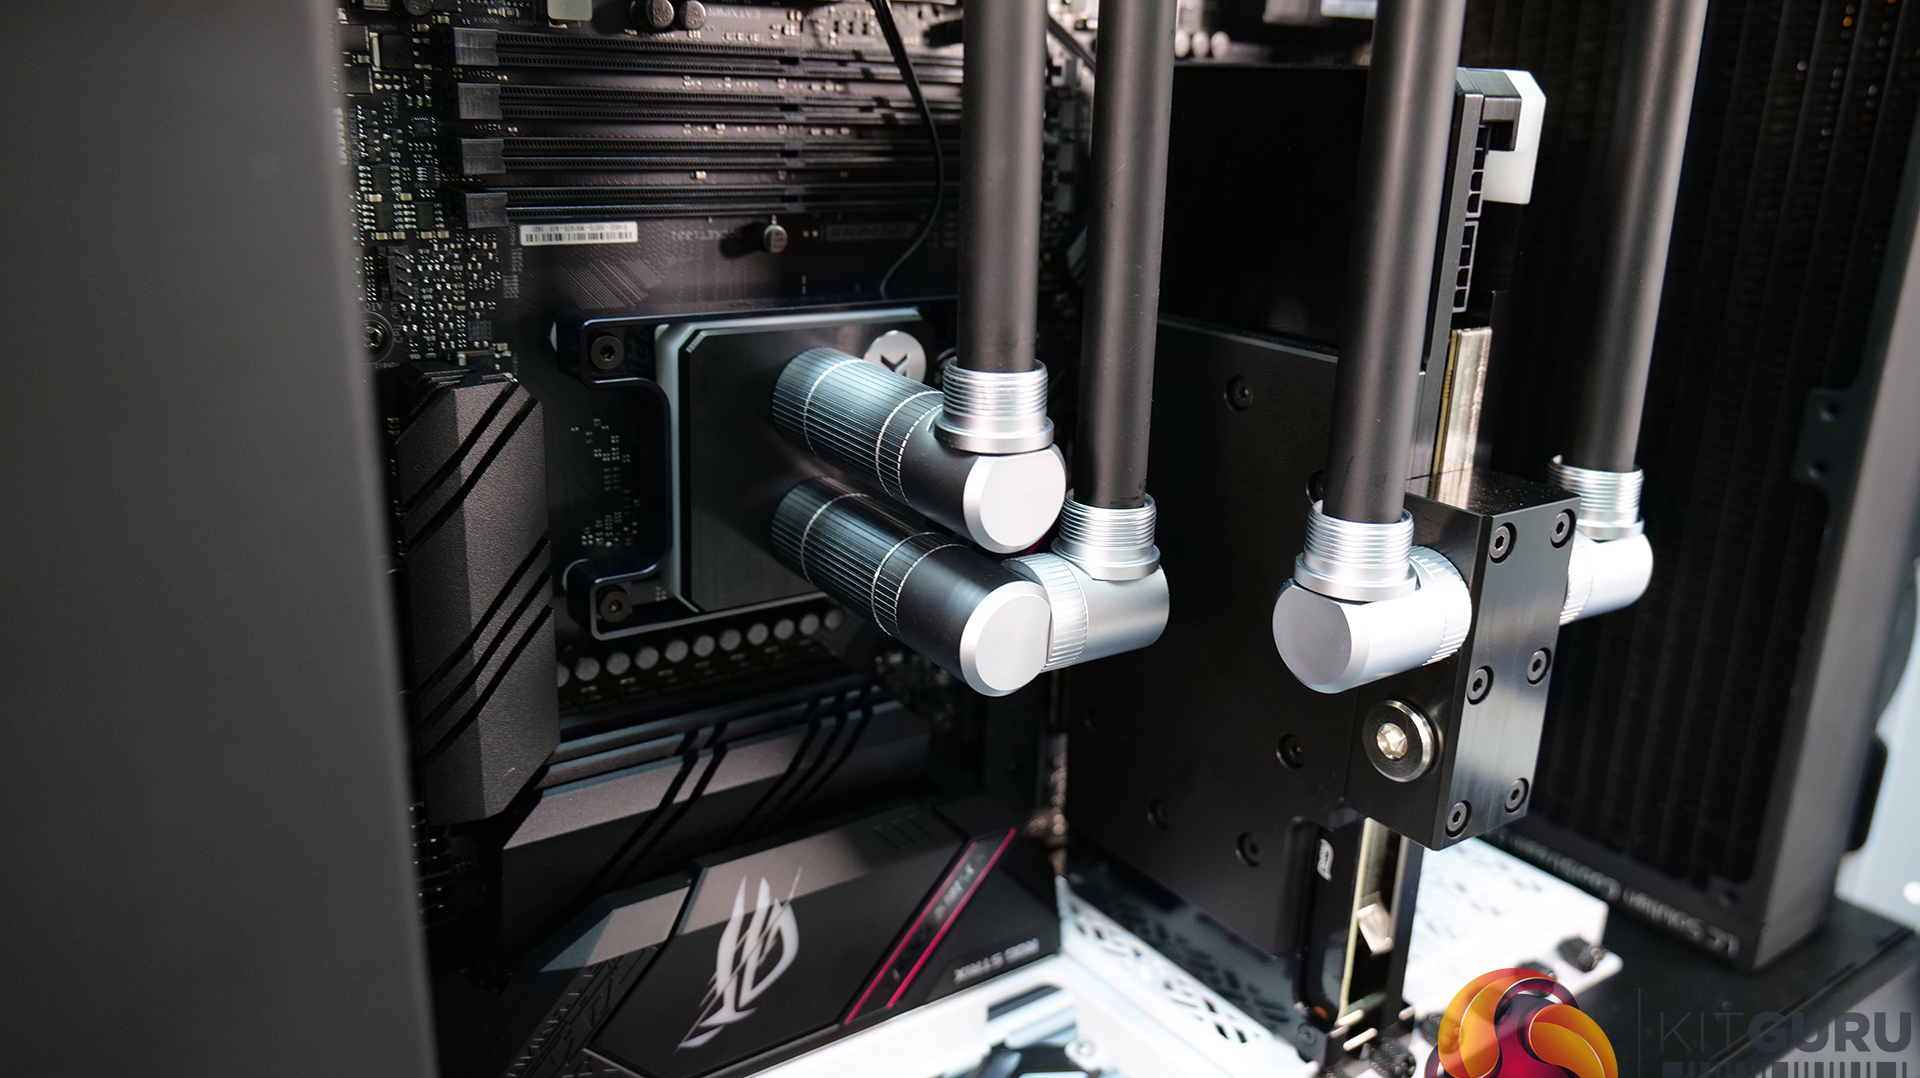
This approach seems to work well, as we see in the video the tubes from the GPU and CPU water blocks running to the top distro plate can be routed in a perfectly straight vertical orientation which looks excellent. Inlet tubing to each radiator is punched through the motherboard tray panels, down the back of the motherboard tray and returned to the pump which is ideal.
The two radiators can then be linked to the distro plate at either end. Water flows from the pump into the distro plate from the first radiator, through the GPU block and back into the distro plate, out of the distro plate to the CPU water block, back out to the distro and then to the second radiator, from there it returns to the pump.


Core System Specification:
- CPU – AMD Ryzen 7 5800X
- Motherboard – Asus Strix B550-E Gaming
- Memory – 32 GB (2 x 16GB Modules) Corsair Dominator Platinum RGB DDR4-3600
- Graphics Card – Palit RTX 3080 Gaming Pro
- Main Storage – 1TB WD_Black SN850 PCIe Gen4 M.2 NVME SSD
- Additional Storage – 2TB WD_Black SN850 PCIe Gen4 M.2 NVME SSD
- Chassis – Fractal Design Meshify 2
- CPU Cooling – EKWB Custom Loop
- Power Supply – Fractal Design Ion+ 2 Platinum 860W 80+ Platinum
- Fans – 4 x Fractal Design Aspect 14 RGB PWM
Cooling Hardware
- CPU Water Block: EK-Quantum Magnitude D-RGB – AM4 Nickel + Acetal
- GPU Water Block: EK-Quantum Vector RE RTX 3080/3090 D-RGB – Nickel + Acetal
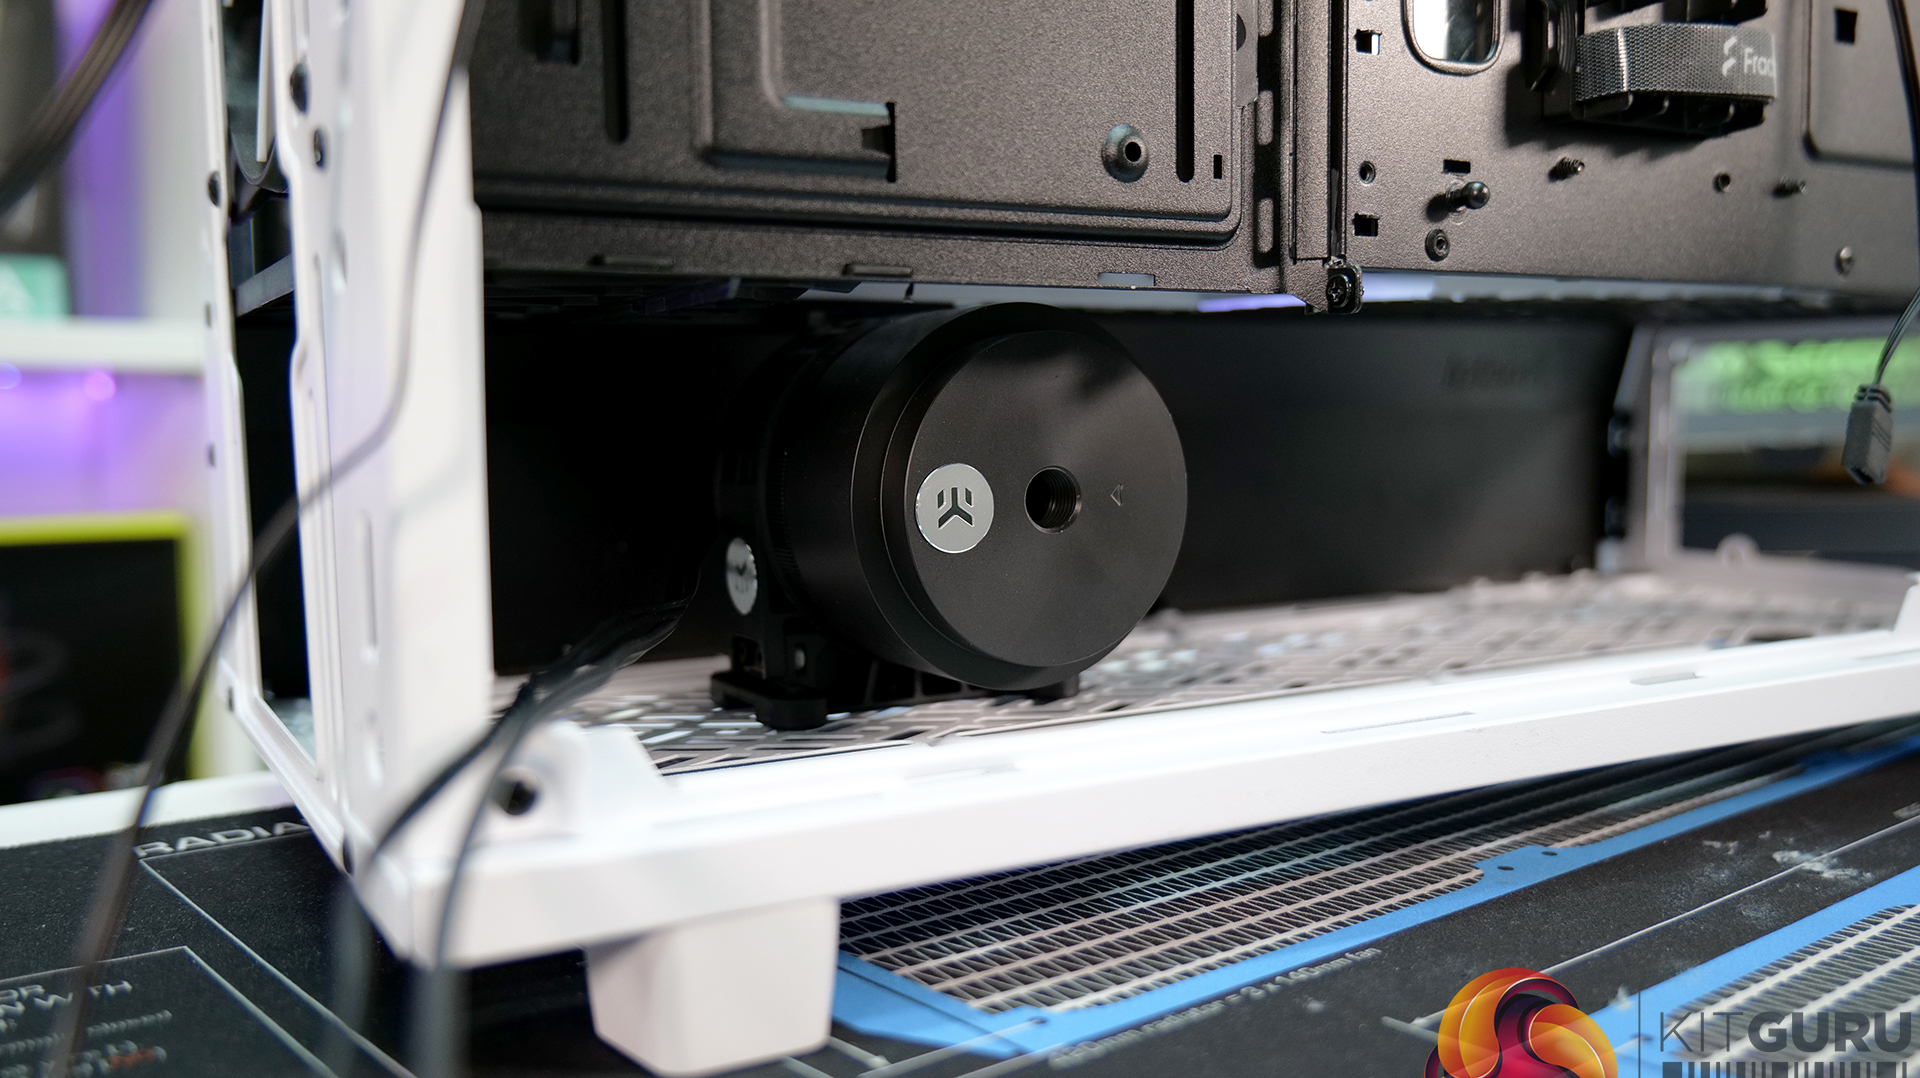
- Pump: EK-Quantum Inertia D5 PWM D-RGB – Acetal
- Reservoir: EK-Quantum Volume FLT 360 D-RGB – Plexi
- Radiators: 2x EK-CoolStream CE 280 Dual Radiator
- Fittings: EK-Quantum Torque HDC 14 – Satin Titanium
- Tubing: Corsair Hydro X Series XT Hardline 14mm Tubing — Satin Transparent
Additional work needs to be done to the flat res/distro plate to improve flow. Baffles will be added to the plate which will help the coolant circulate around the whole plate, without the baffles there will be areas where the coolant will gather still as the coolant will take the path of least resistance which we don’t want. To create new inlets and outlets in the distro plate/reservoir I simply marked out where they needed to be and then drilled with an 11.8mm drill and tapped new threads using a ¼-inch BSP tap.
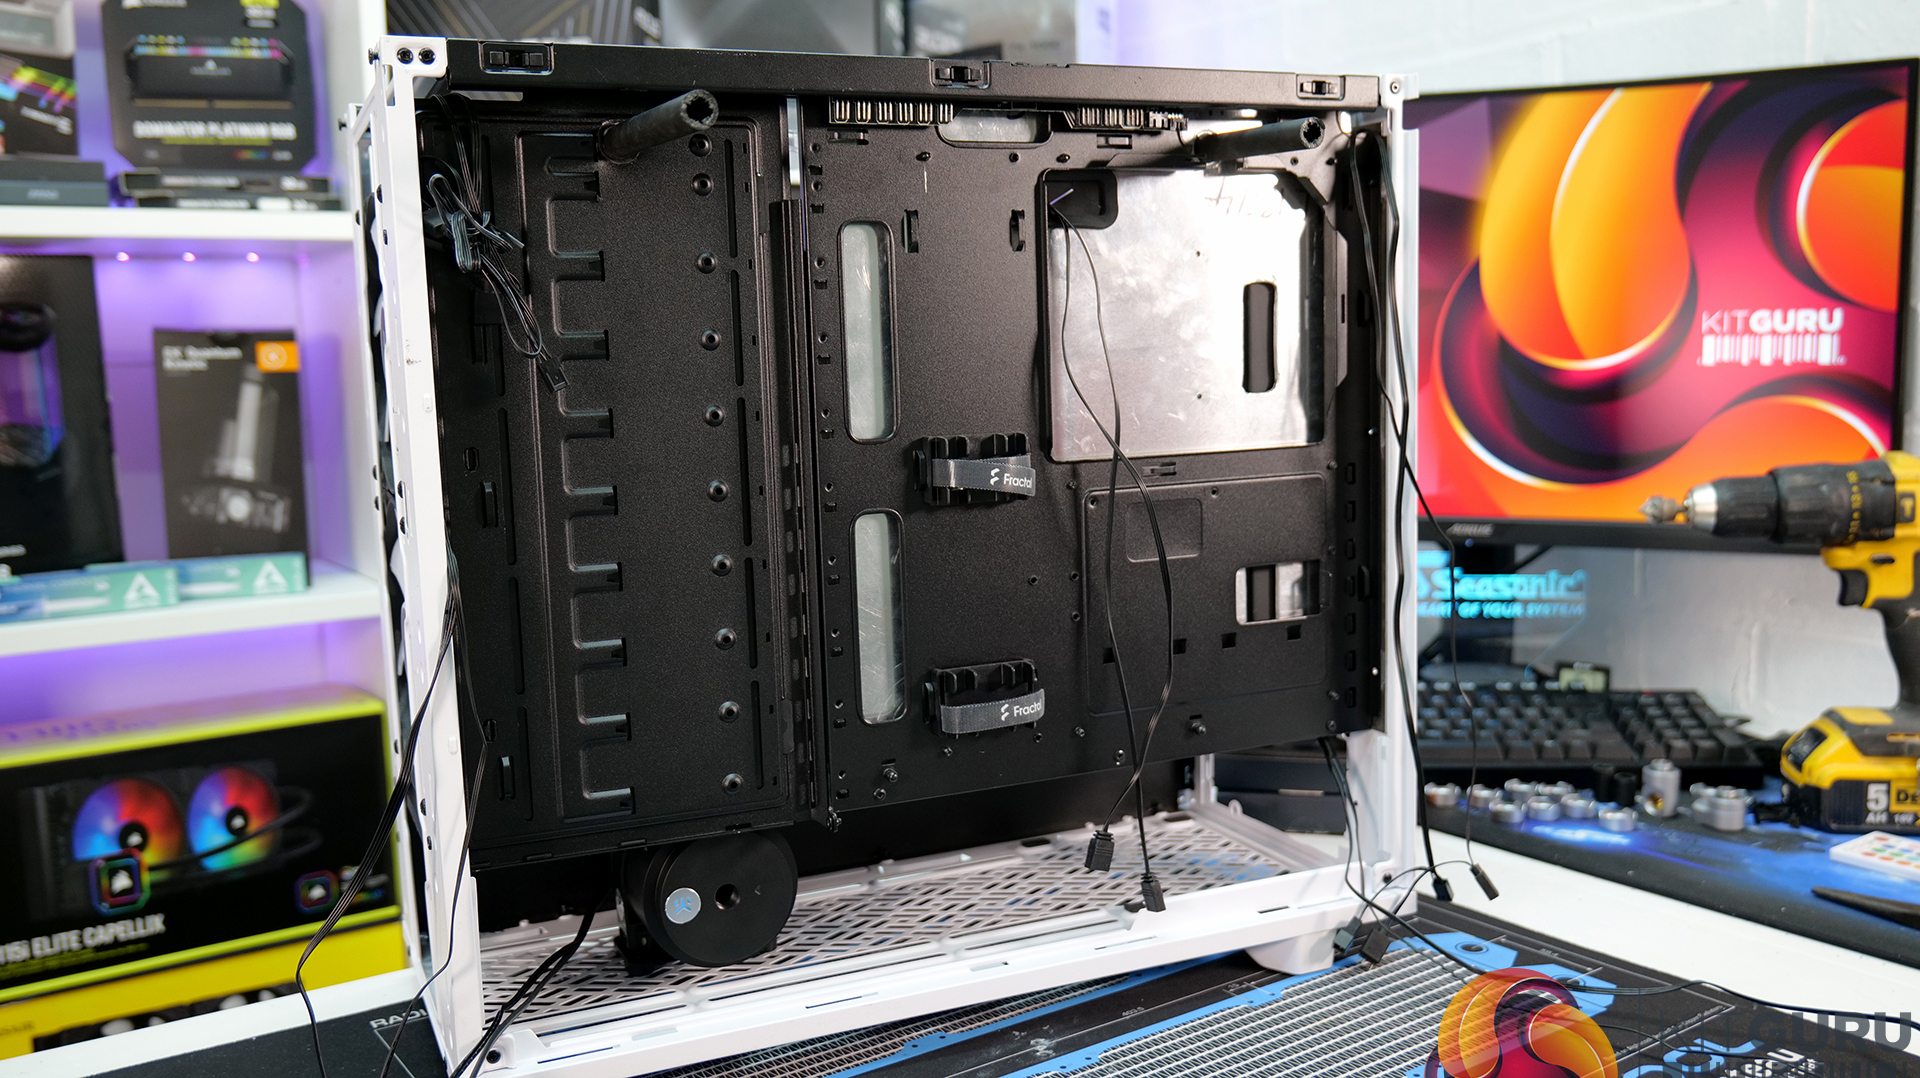
There are more minor jobs to complete before the next video such as cutting a few extra cable pass-through holes in the motherboard tray, adding some high-contrast accents to the hardware as well as making a set of custom PET-sleeved cables for the Fractal ION+ 2 power supply. The next time we see the chassis it will be fully painted and ready for the final build, so make sure you keep an eye on the channel for the final video.
Discuss on our Facebook page HERE.
KitGuru Says: So far the Fractal High Contrast build flipped motherboard tray and modified distro plate idea seem to be going to plan, the system is starting to take shape. Let us know what you think of the progress so far!