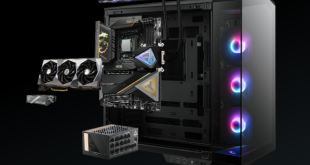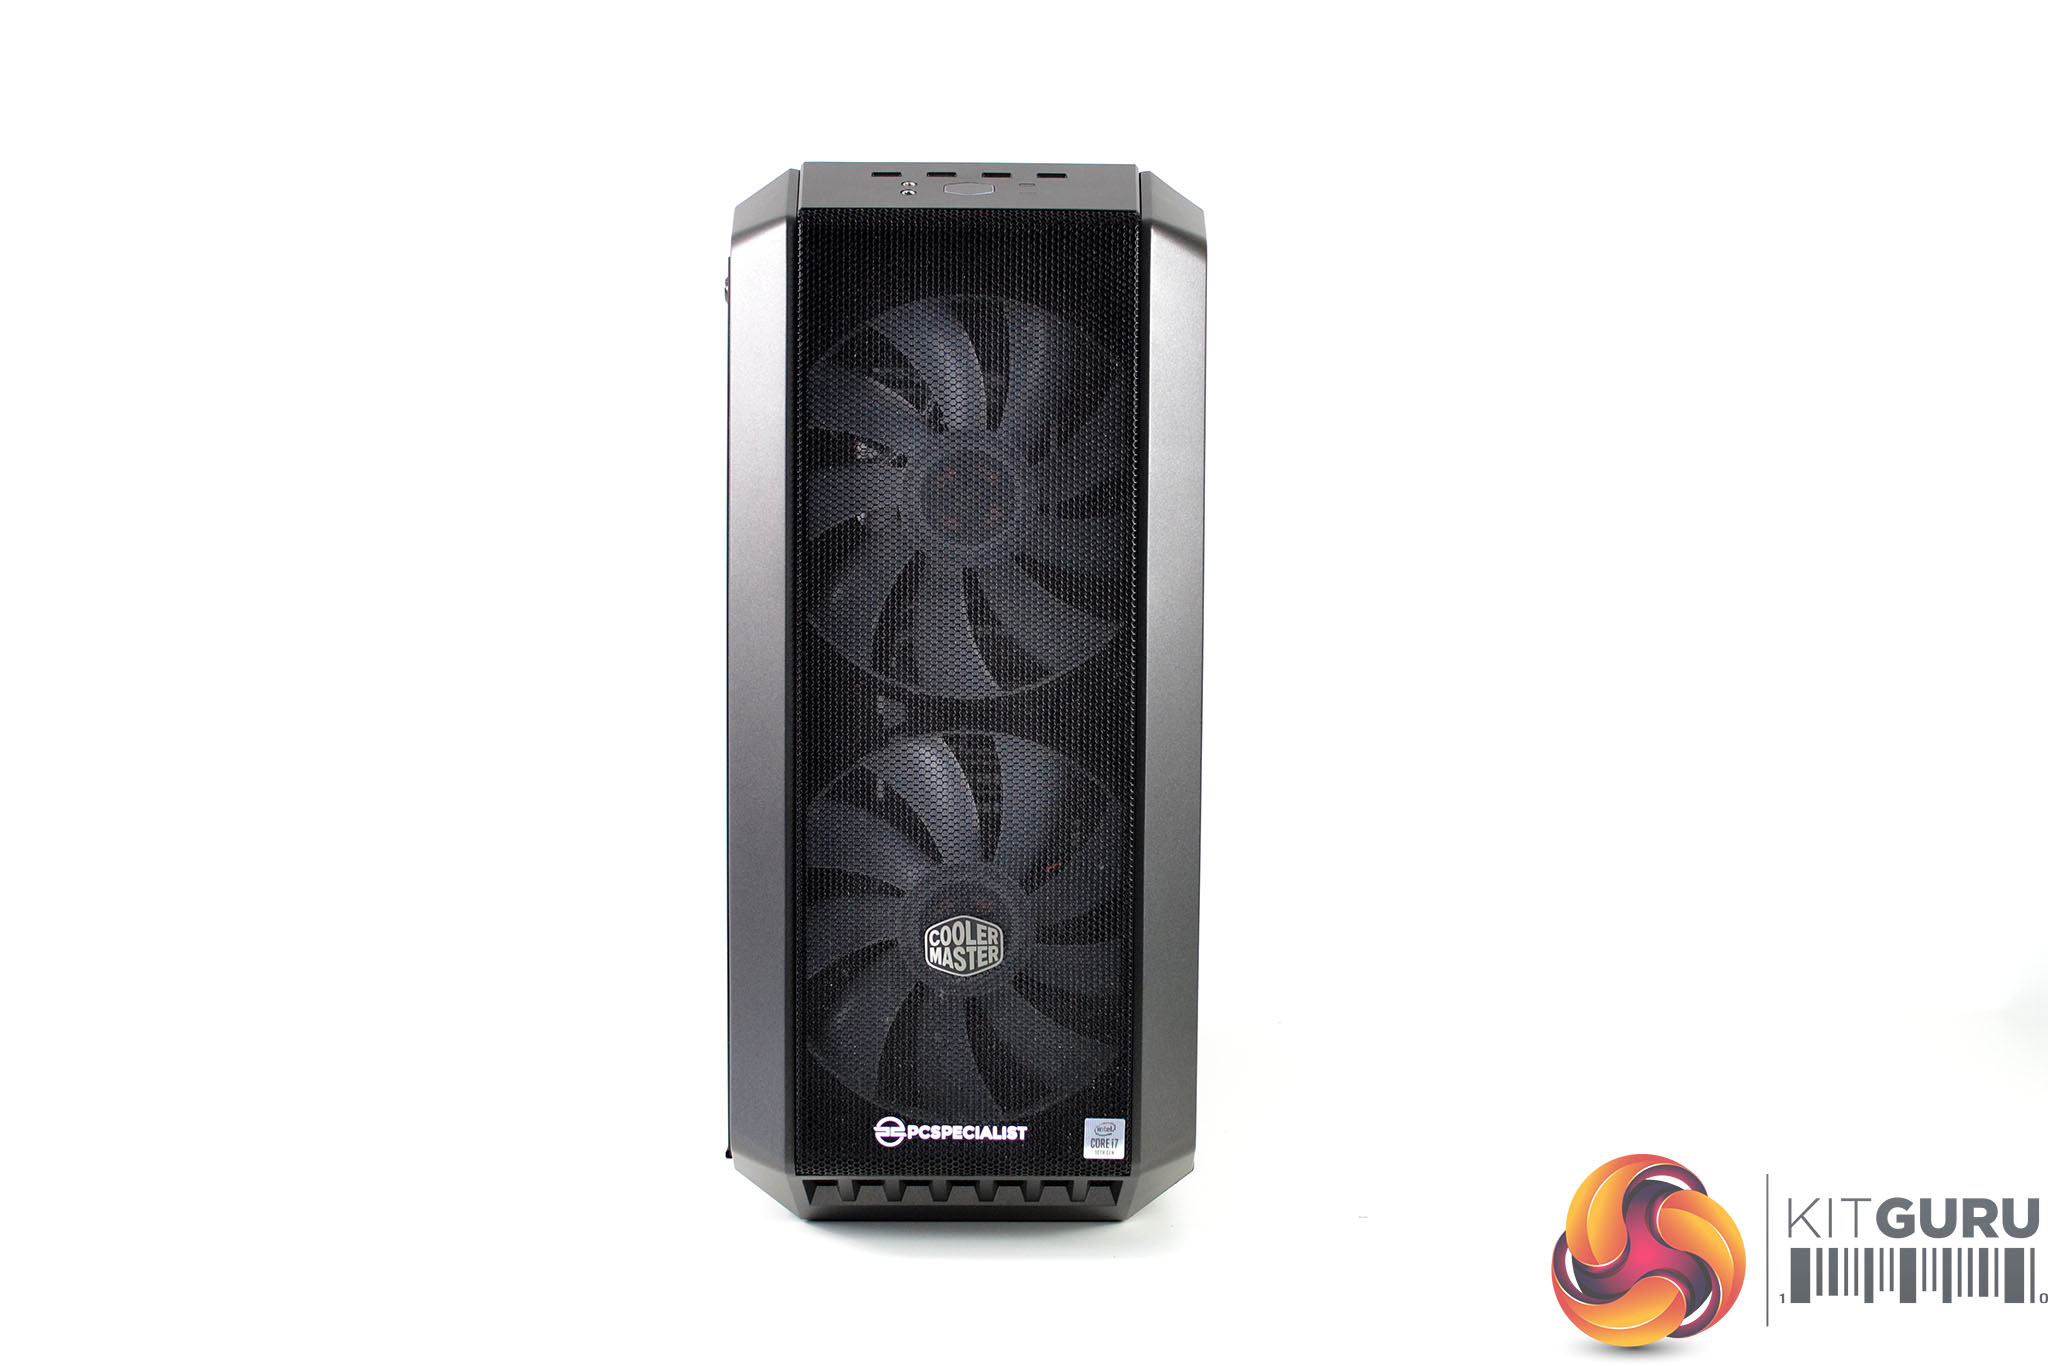

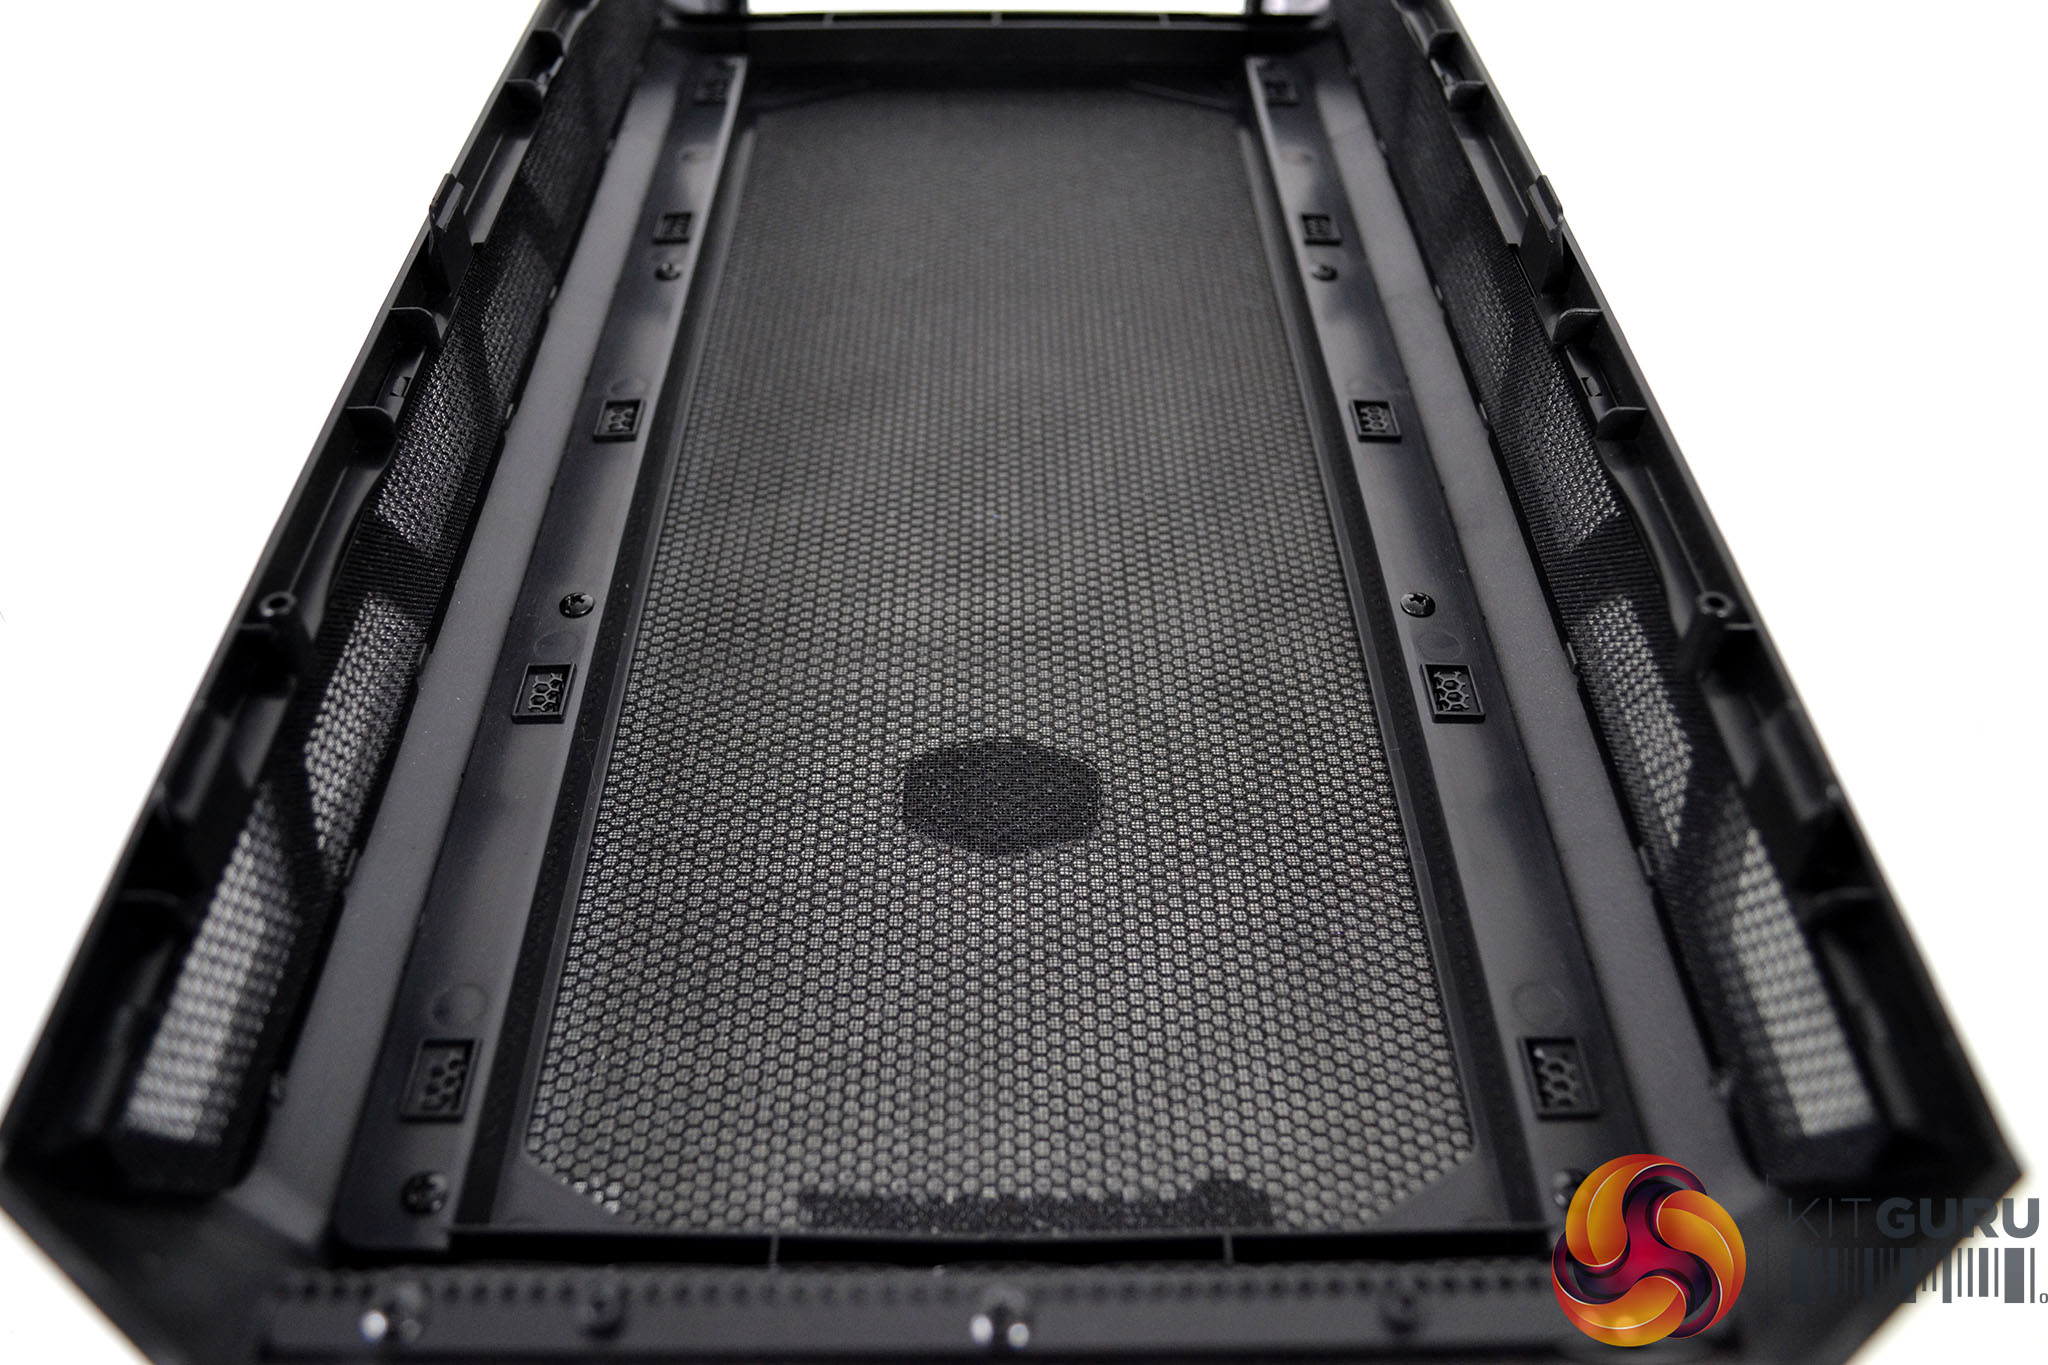
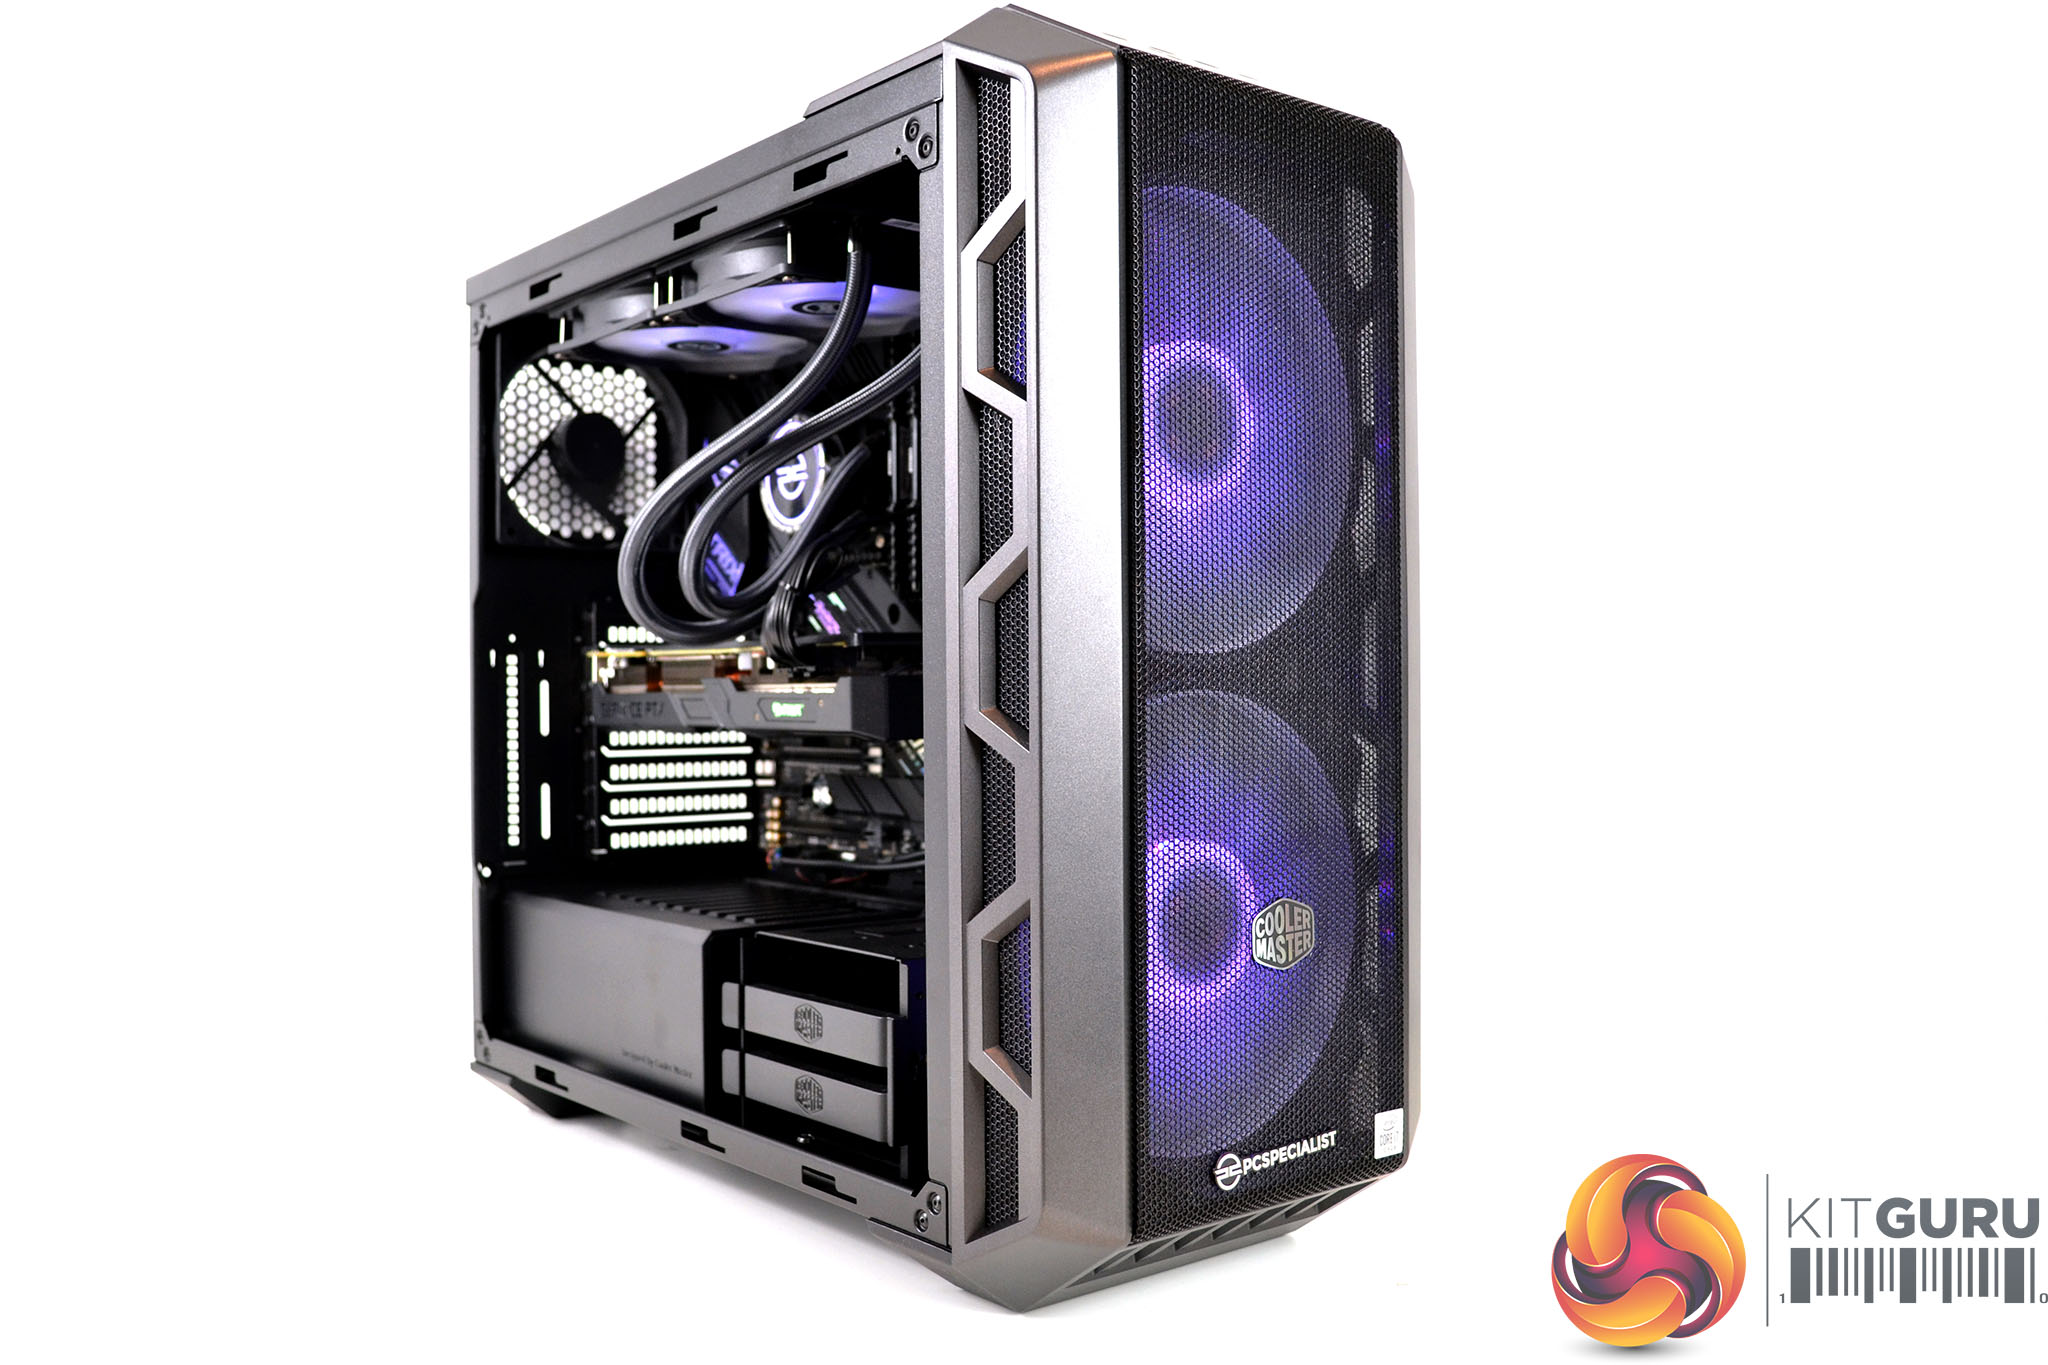
An interchangeable front panel is included with the system, the default configuration is aimed at high airflow with the mesh front panel pre-installed. Cooler Master supplies an acrylic front panel for users who prefer reduced noise with the H500 and this is also bundled with the Vortex S3, as well as an accessory pack including a power cable, user manuals, screws, zip ties and additional cables for the semi-modular power supply.
To install the acrylic front facia, first pull the whole front panel assembly from the chassis frame and remove the eight screws holding the mesh facia in position. Pull upwards to release the mesh facia and then insert the acrylic panel and fix it in position using the same eight screws from the mesh panel.
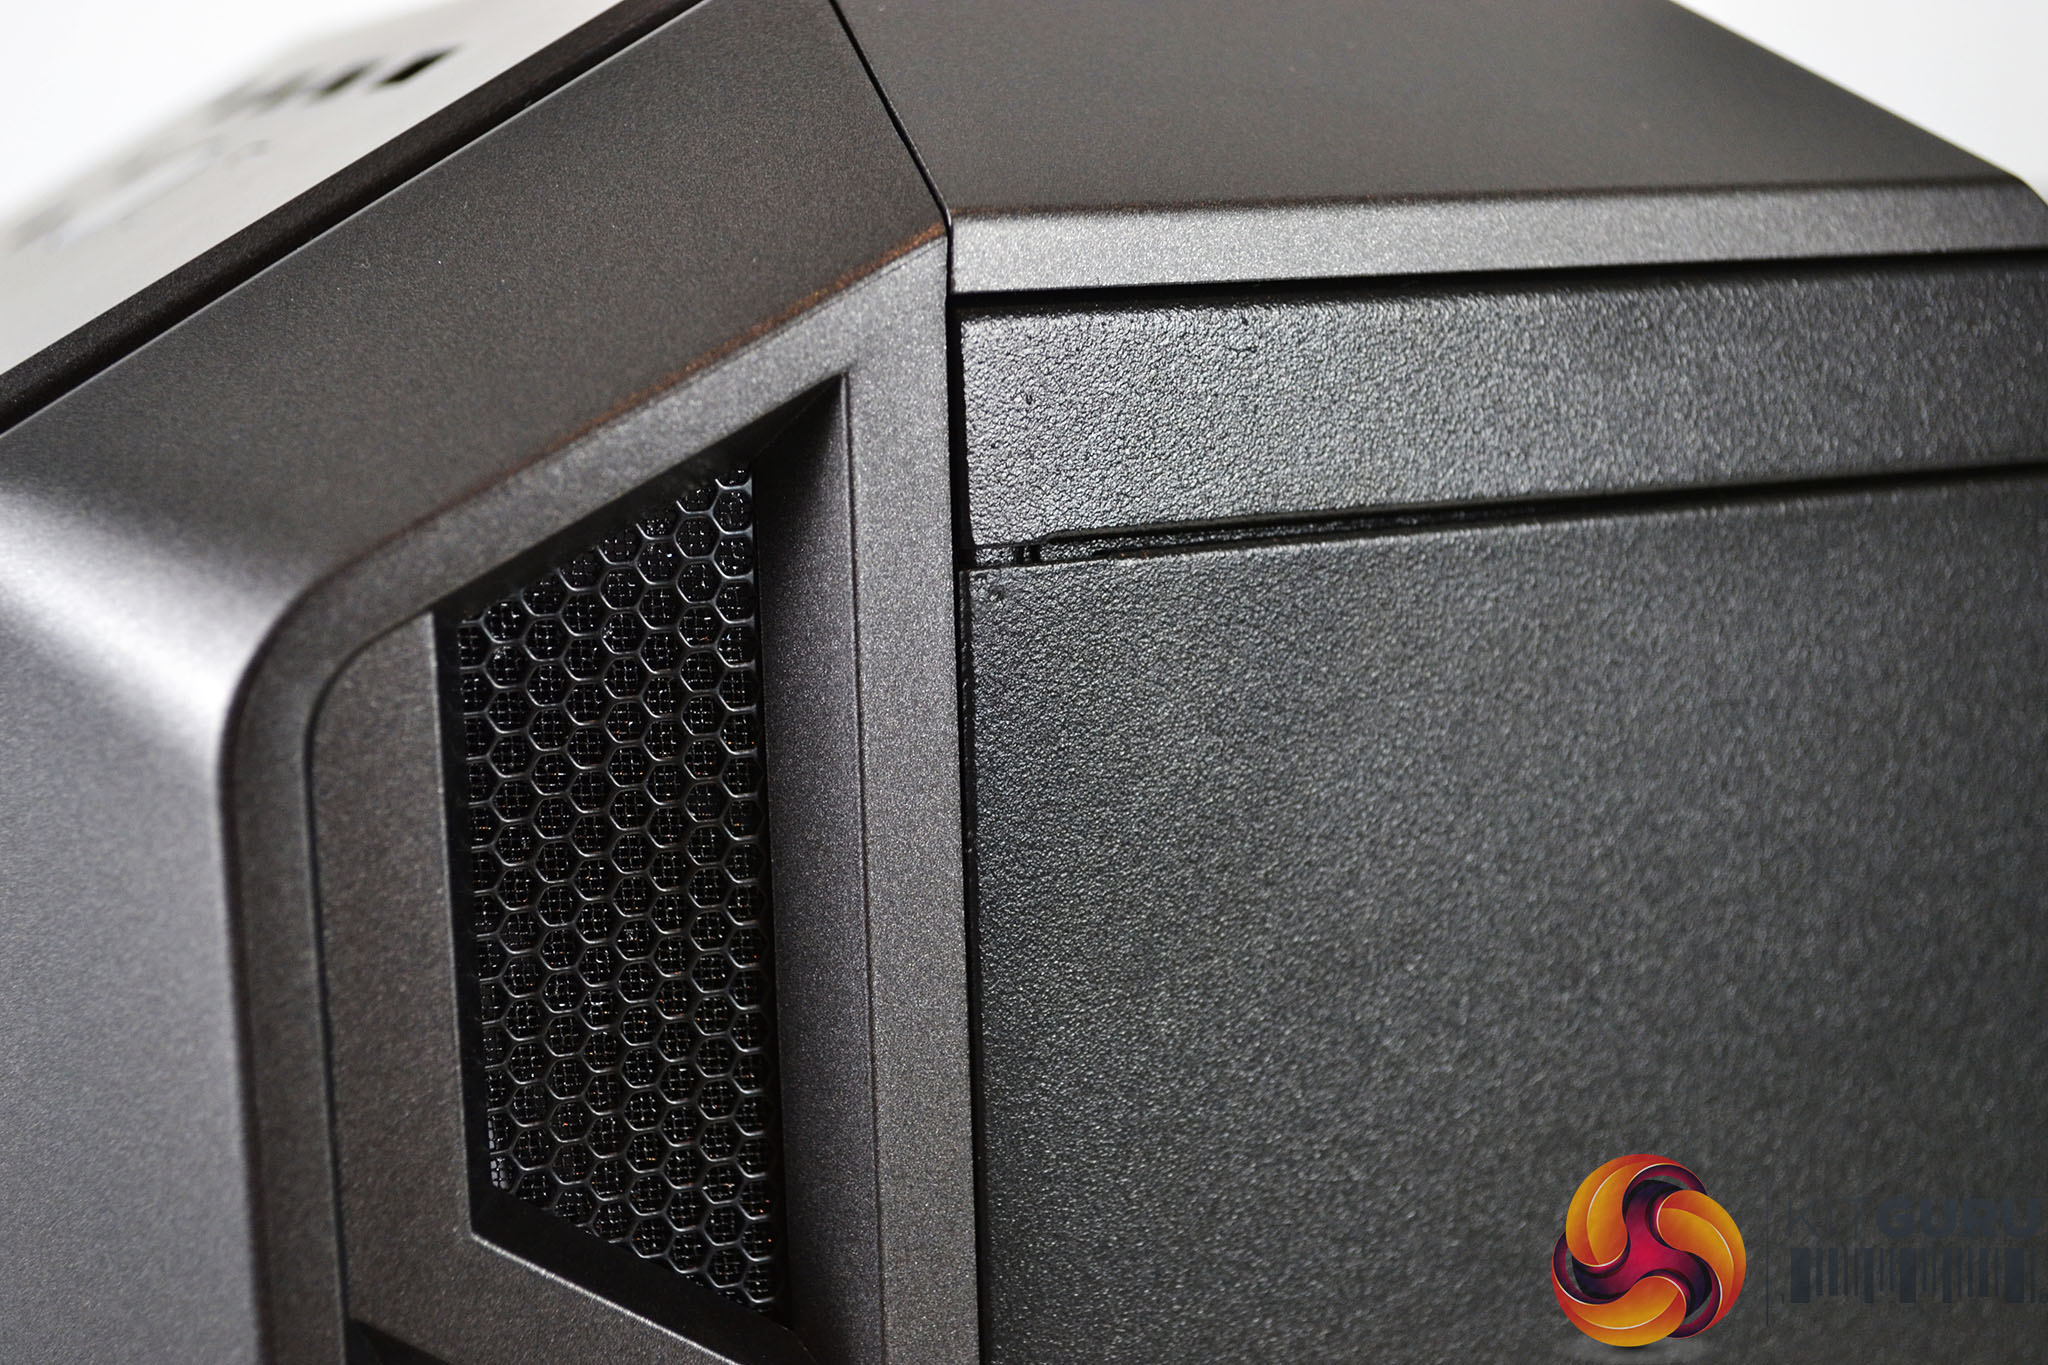
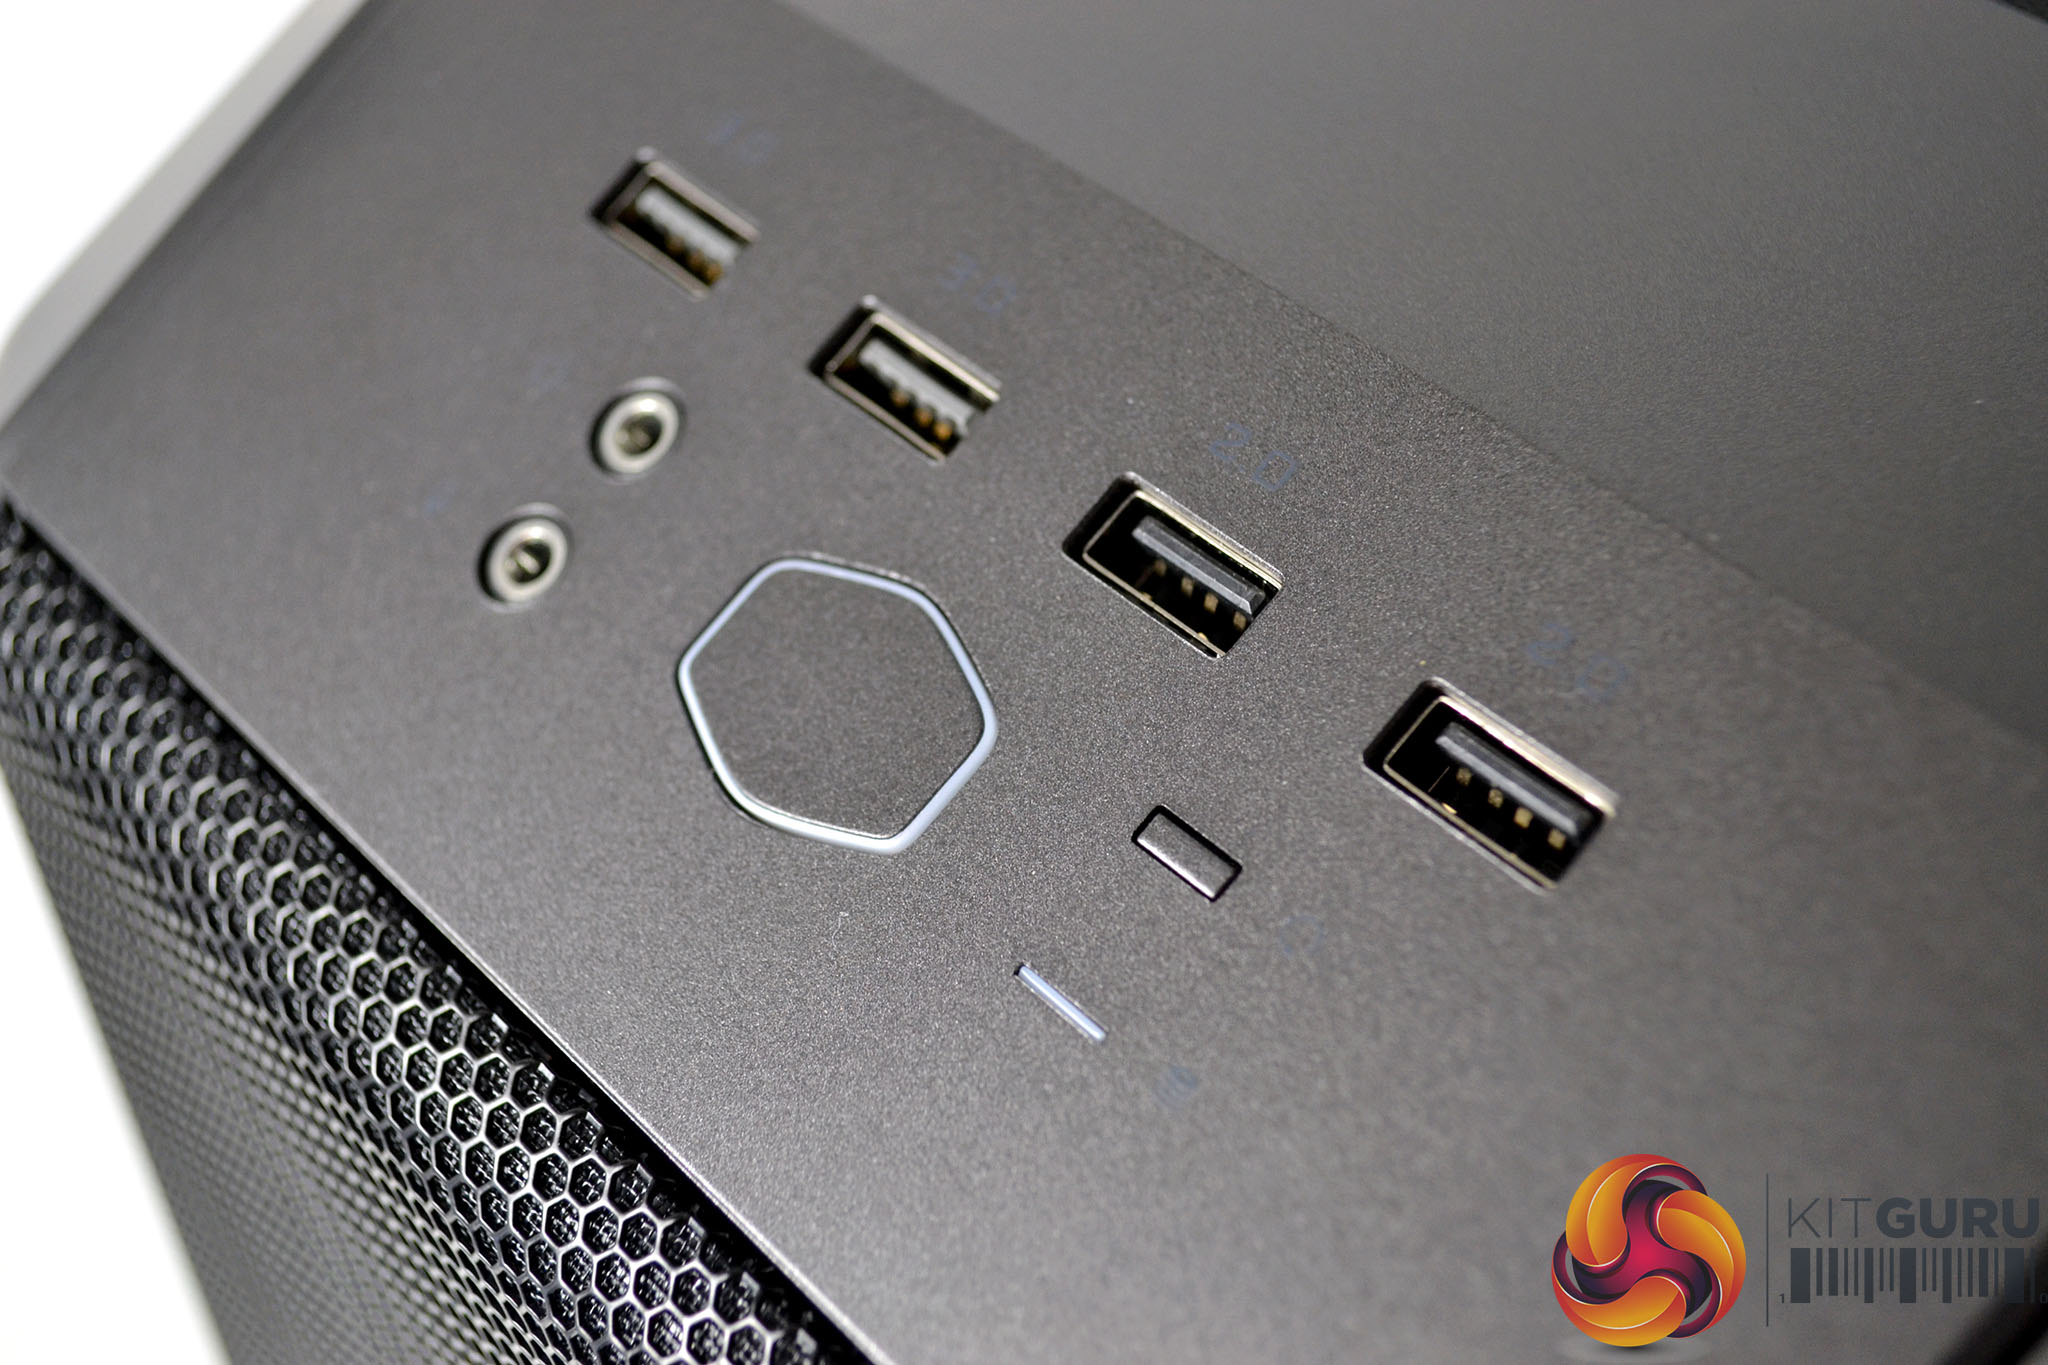
The front panel and the top I/O panel are plastic with a gunmetal finish while the steel side panel and the chassis frame are black. The front panel I/O is located at the top of the front panel for convenience and consists of two USB 2.0 Type-A ports, two USB 3.0 Type-A ports, 3.5mm audio jacks for headphones and a microphone as well as power, reset buttons and power/storage activity LEDs.
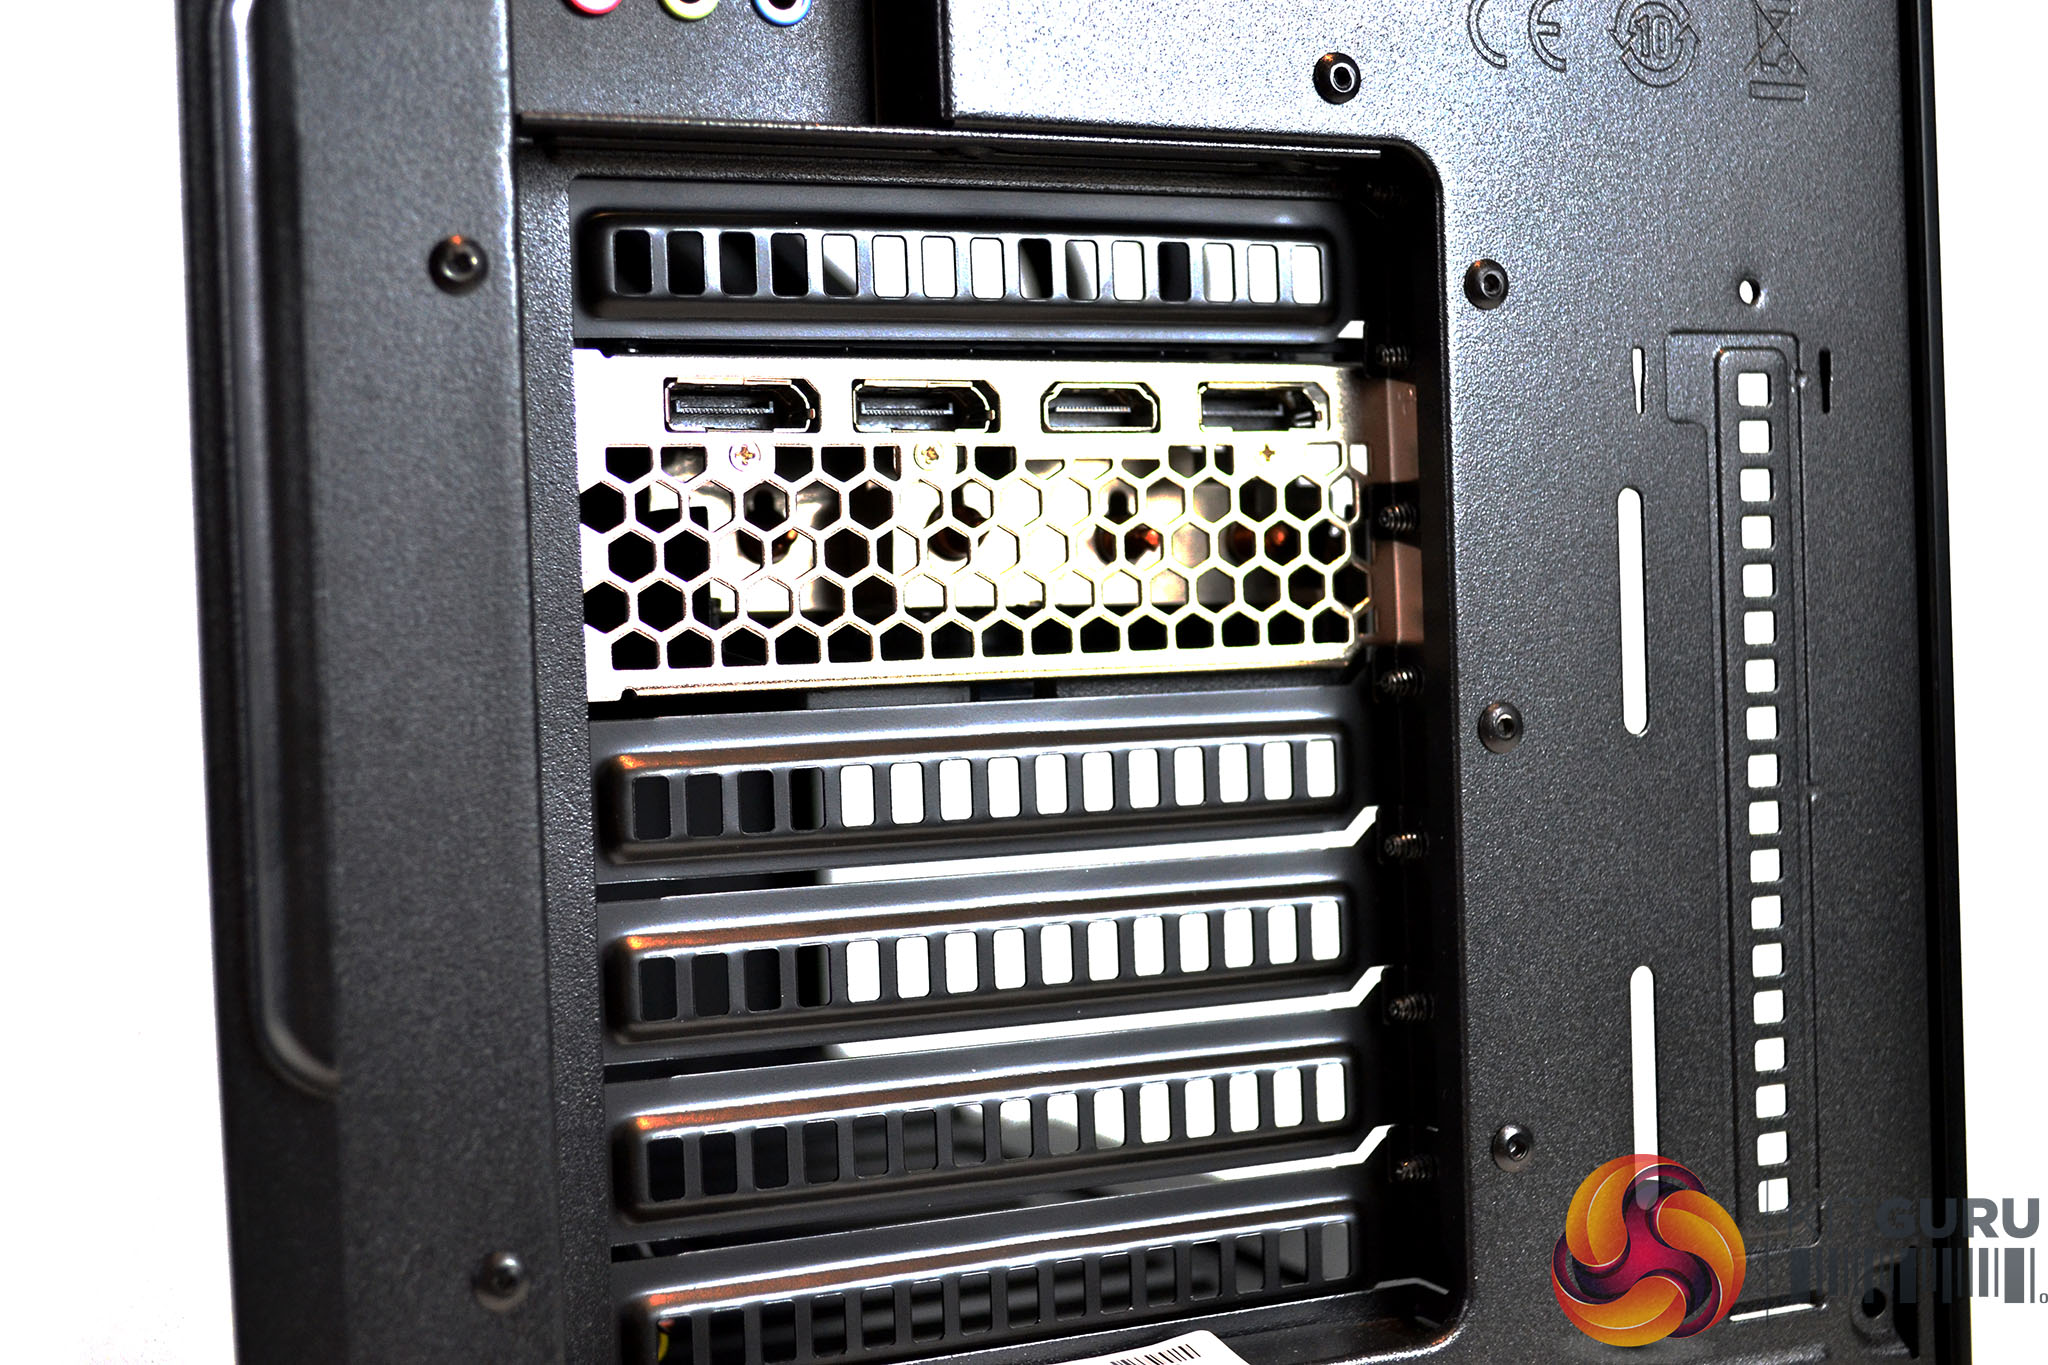
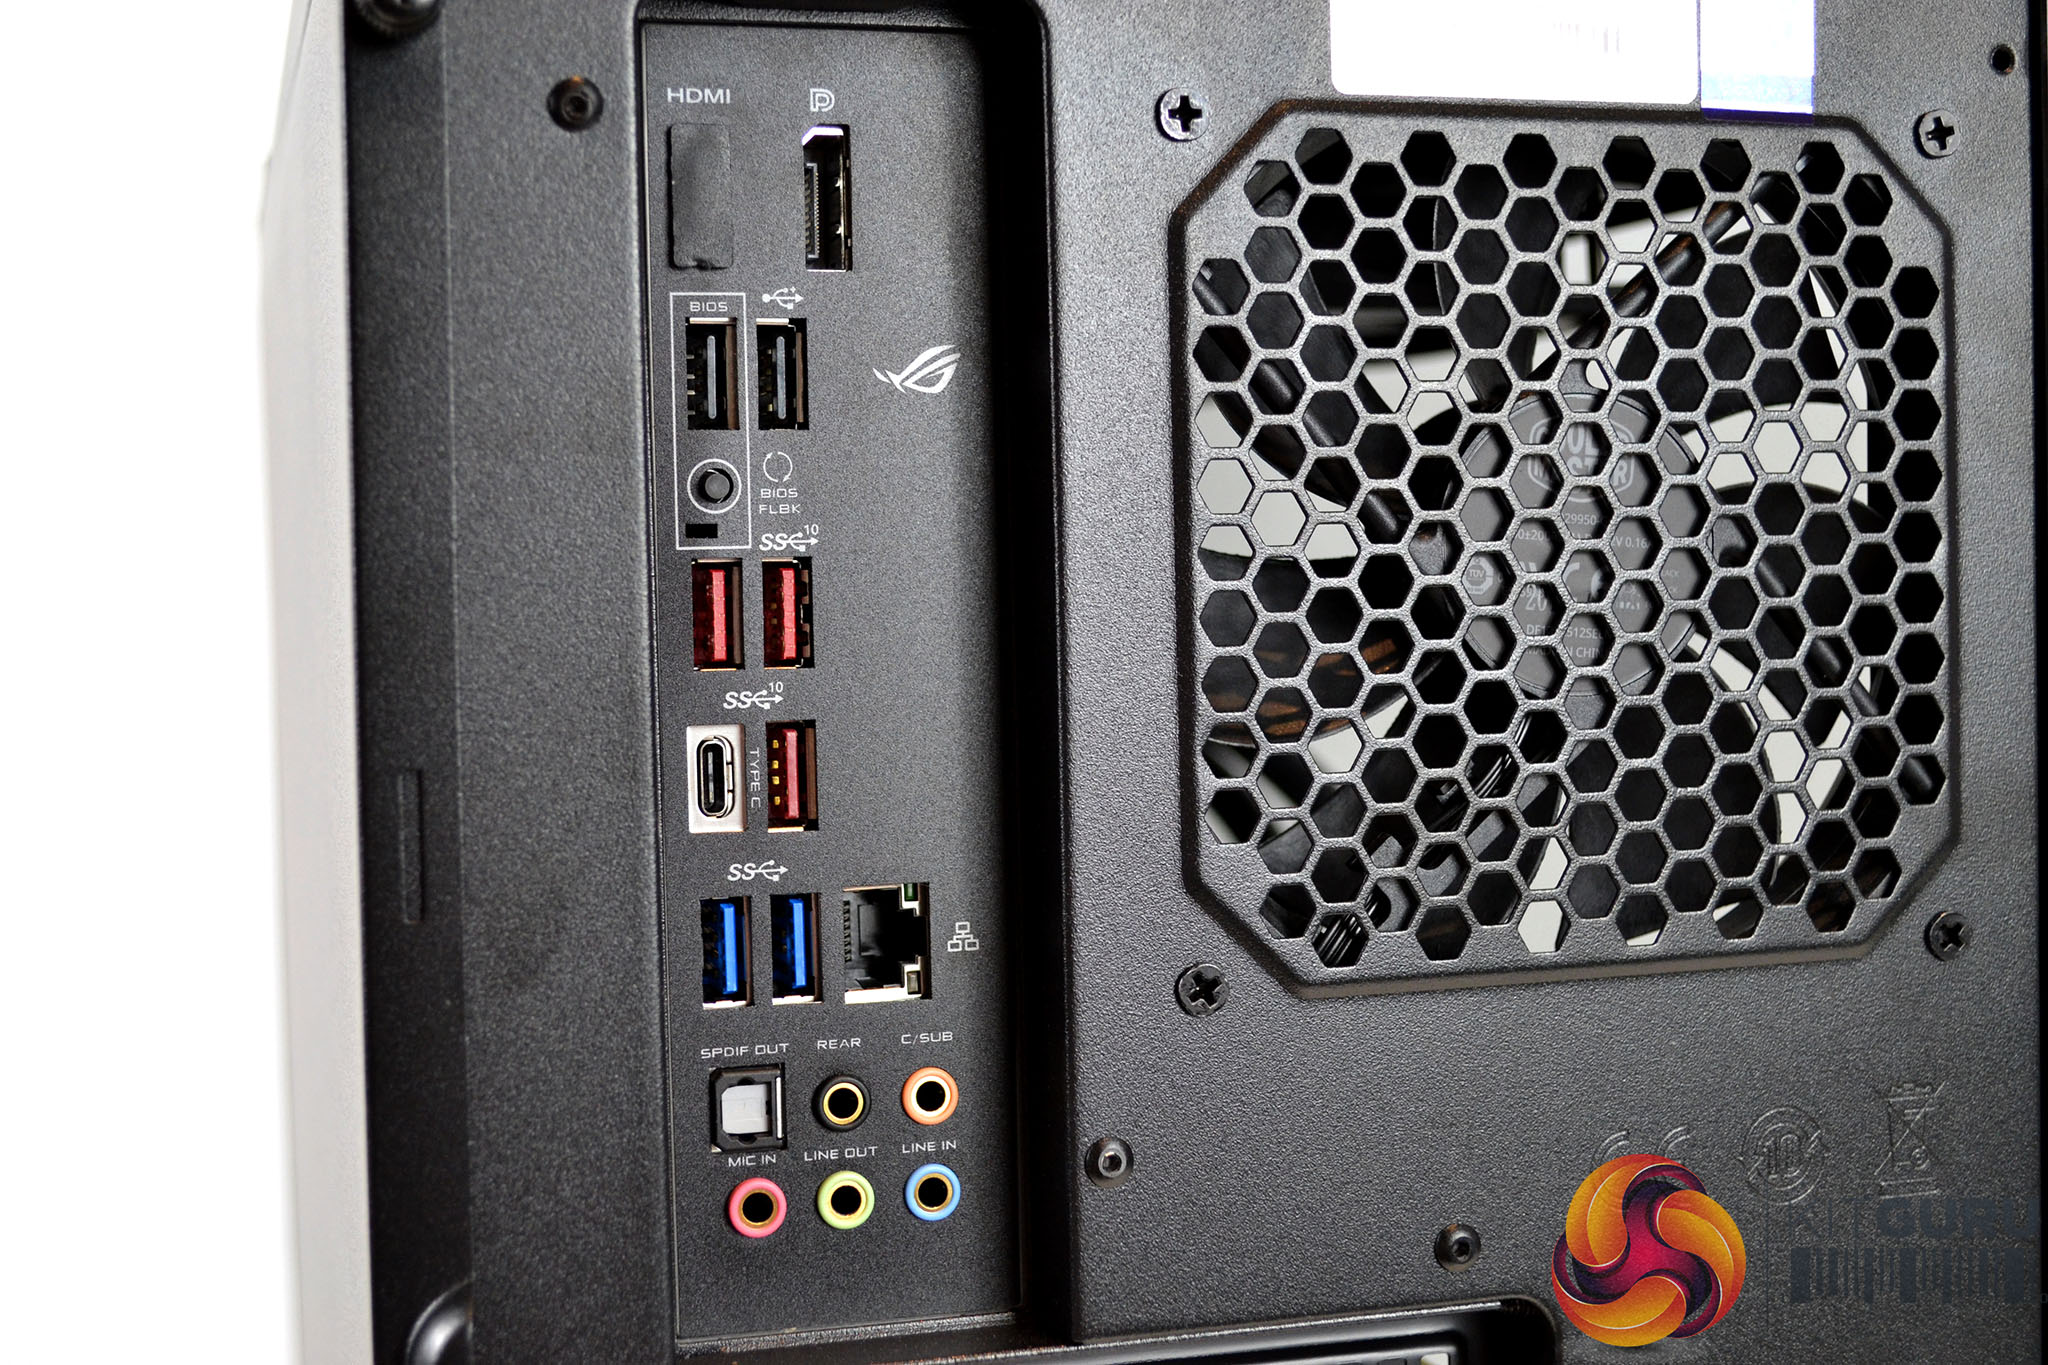
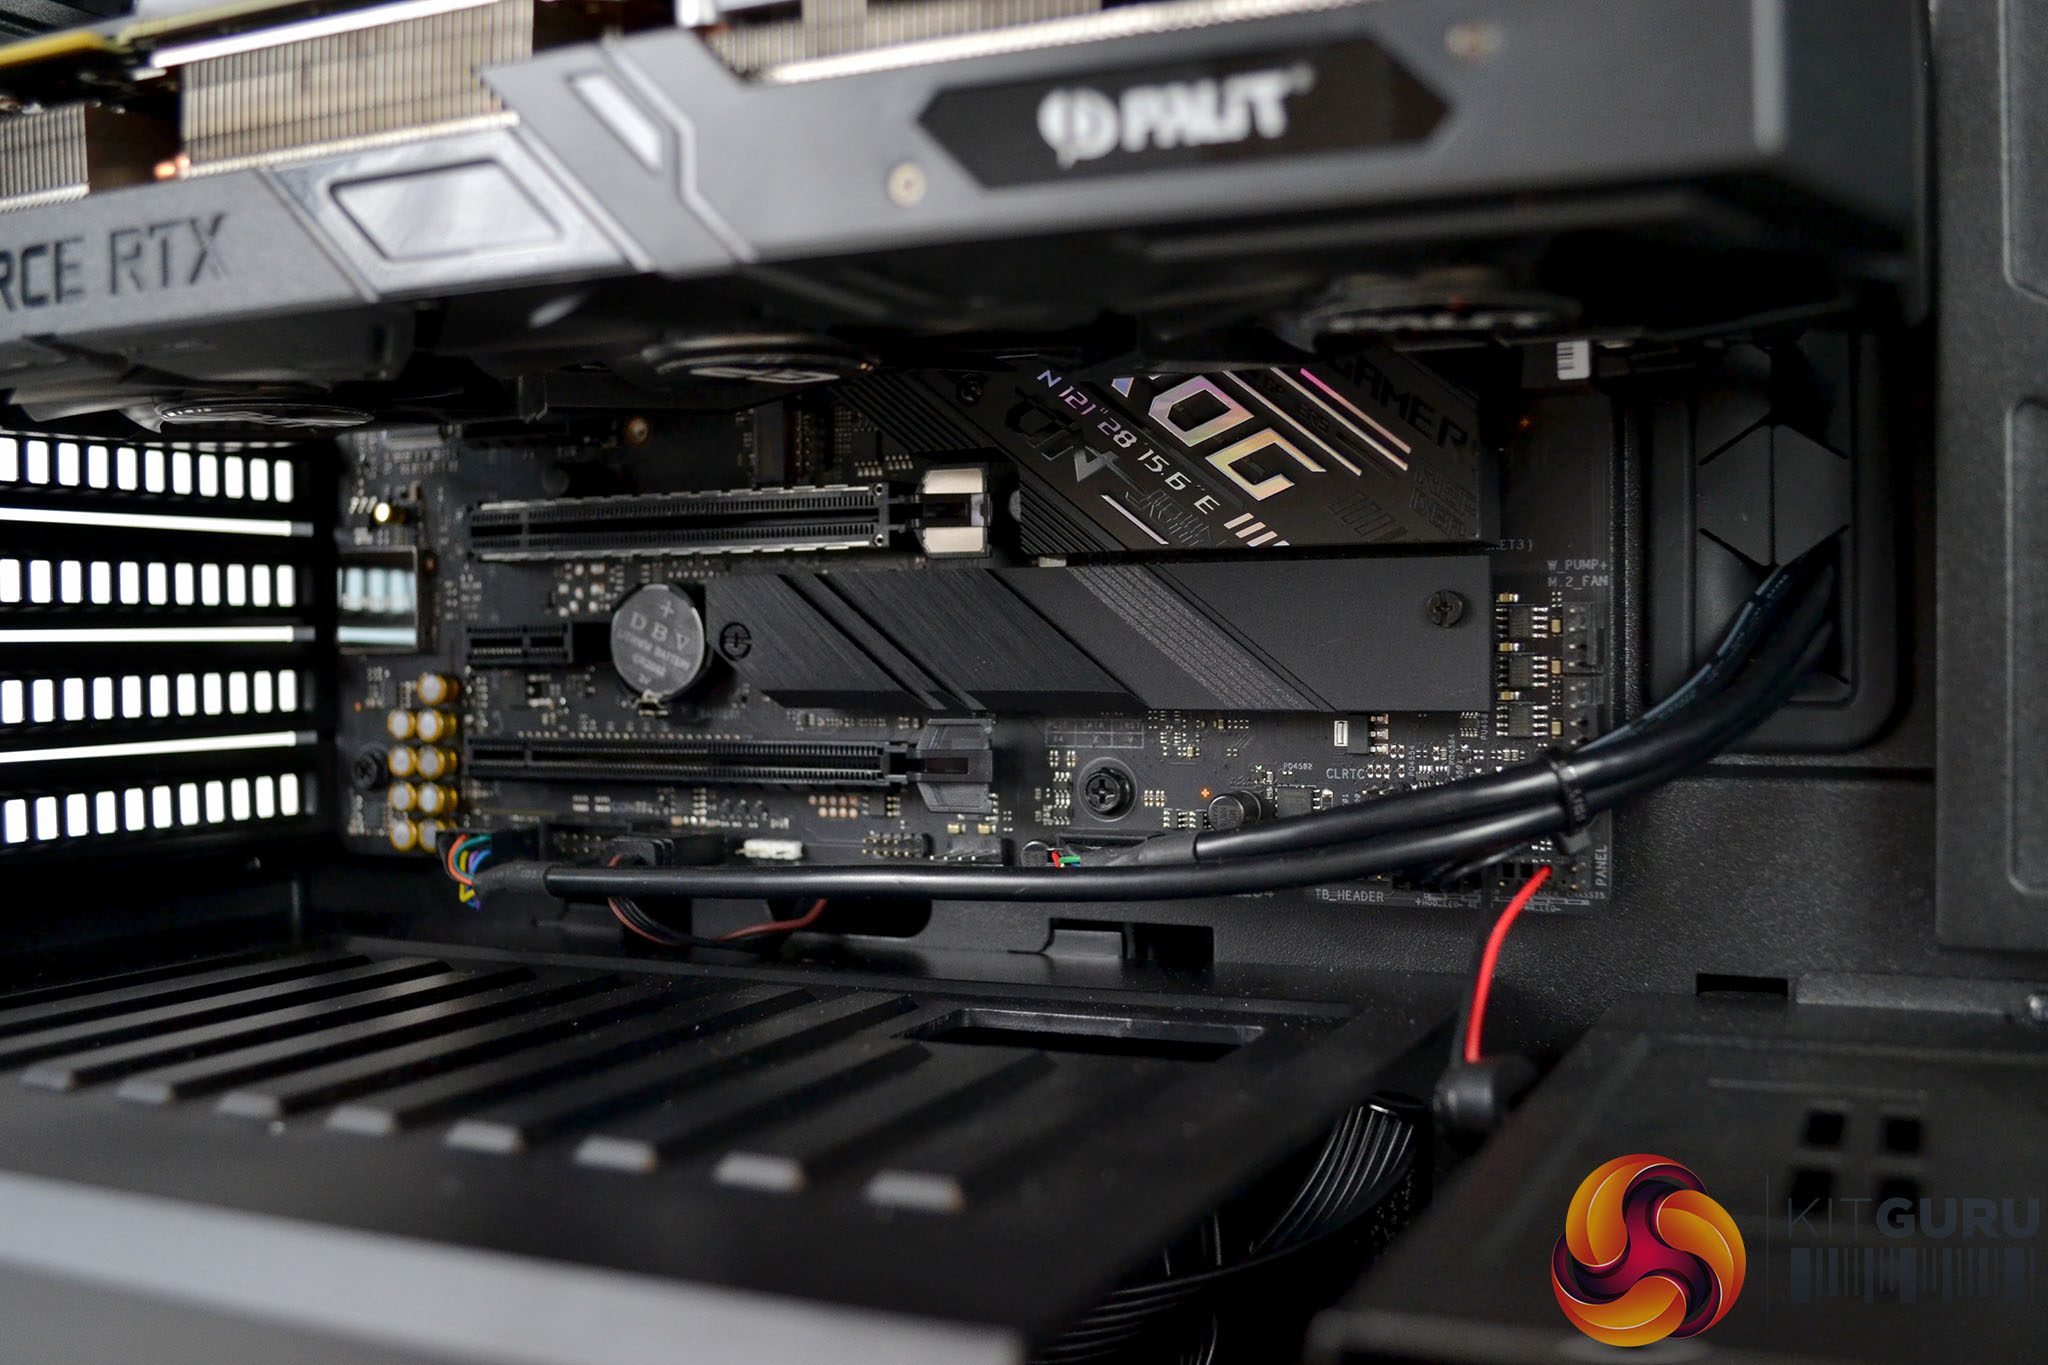
Around the back of the system, the connectivity options continue. The Palit RTX 2070 Super graphics card offers three DisplayPort outputs and a single HDMI port. The rear motherboard I/O panel provides additional USB connections with three USB 3.2 Gen 2 Type-A ports, two USB 3.2 Gen 1 Type-A ports, two USB 2.0 Type-A ports, a single USB 3.2 Gen 2 Type-C port as well as Ethernet, five gold plated 3.5 mm audio jacks, an optical S/PDIF audio out, DisplayPort and HDMI out for the Intel on-chip iGPU.
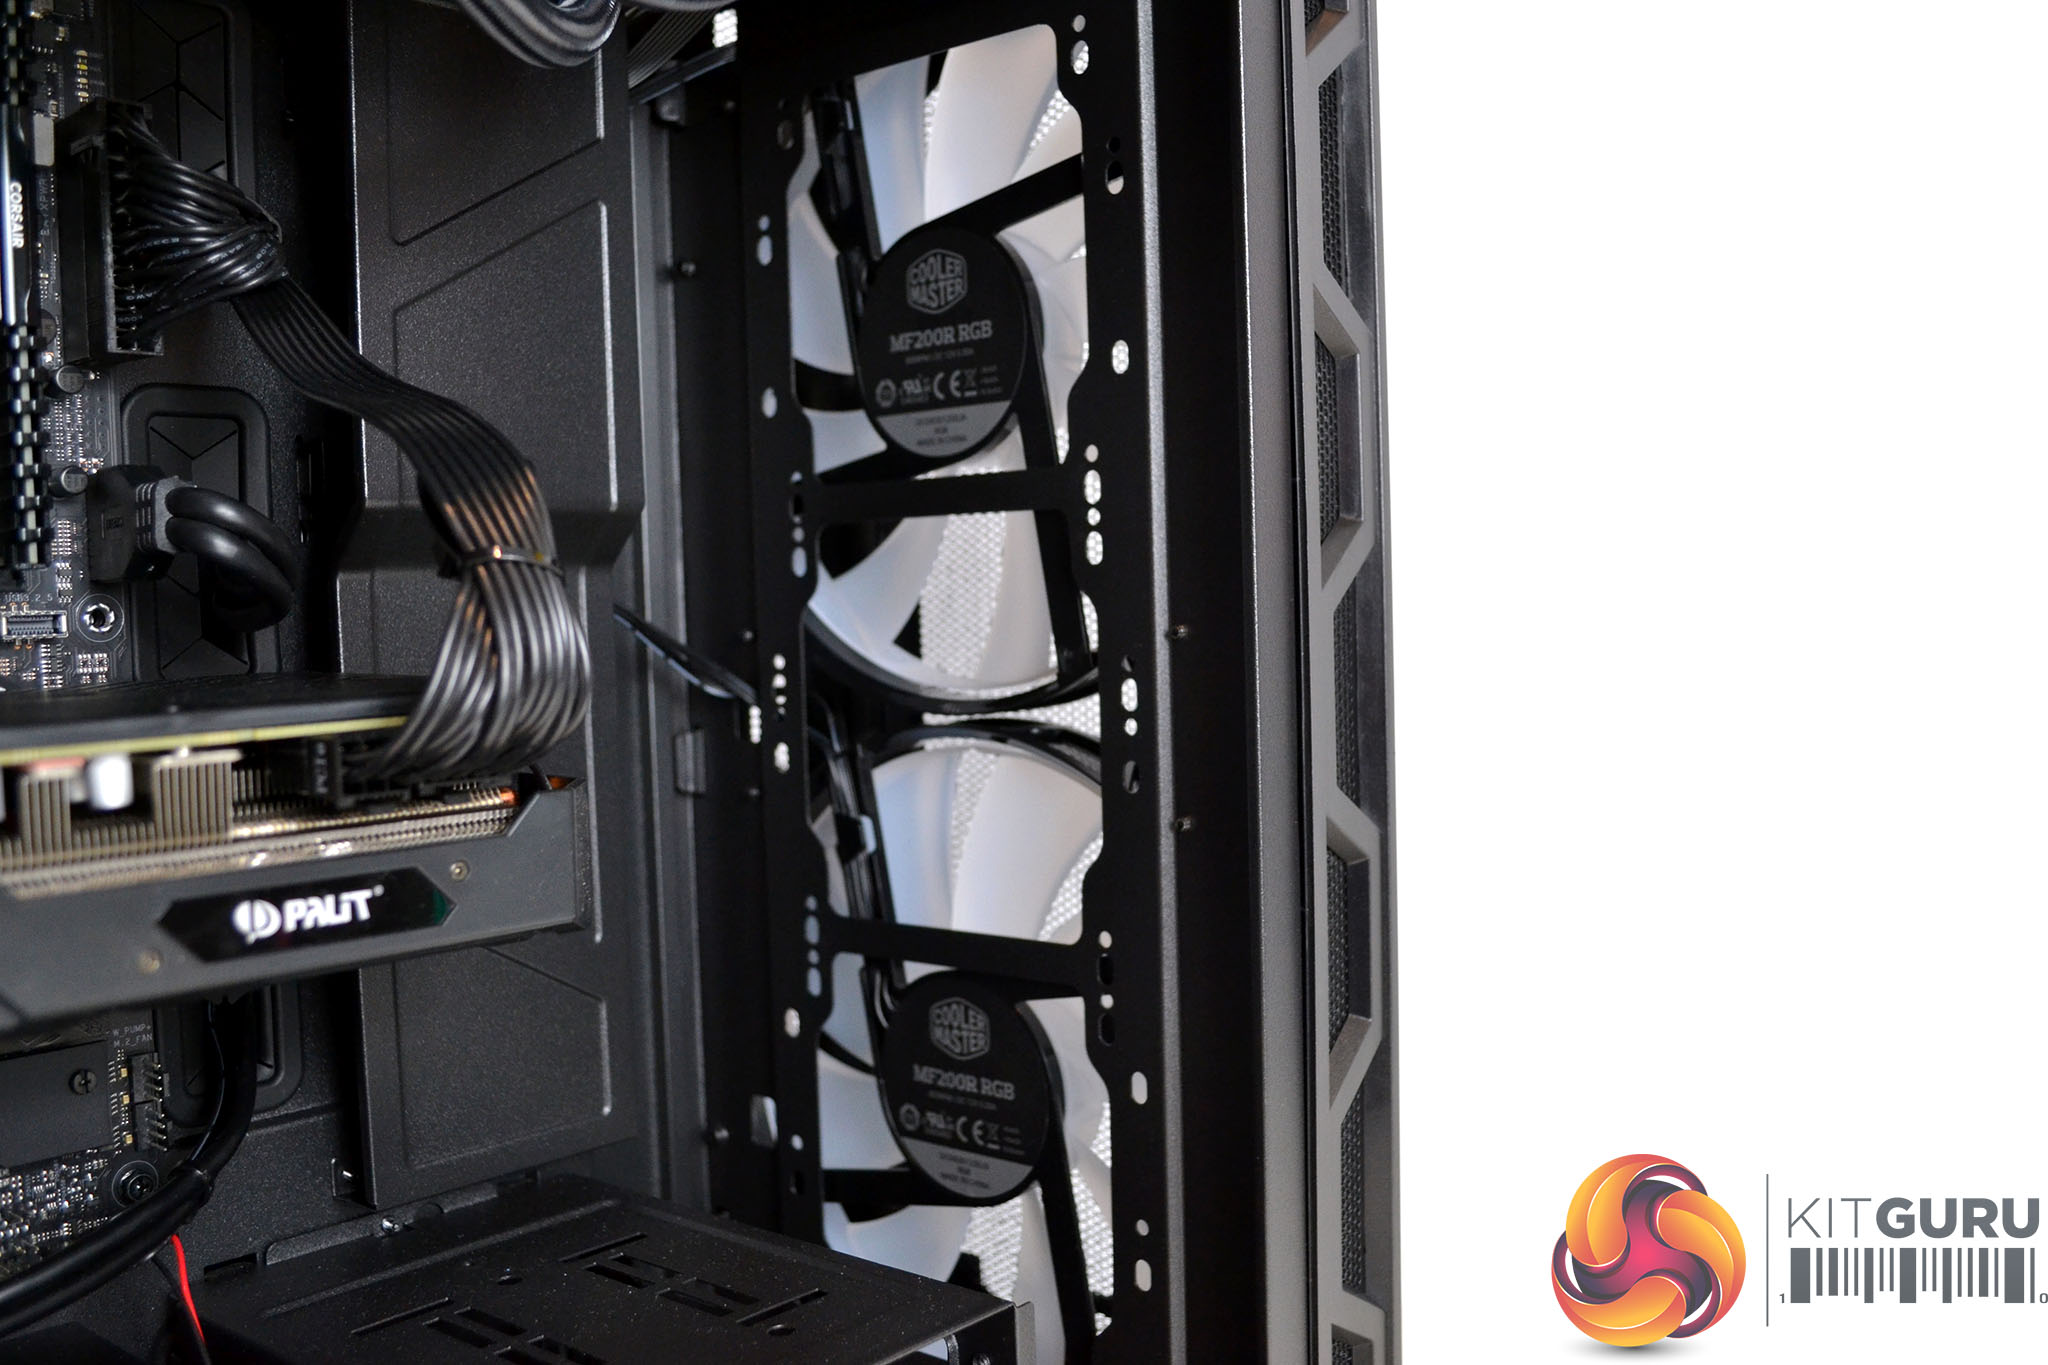
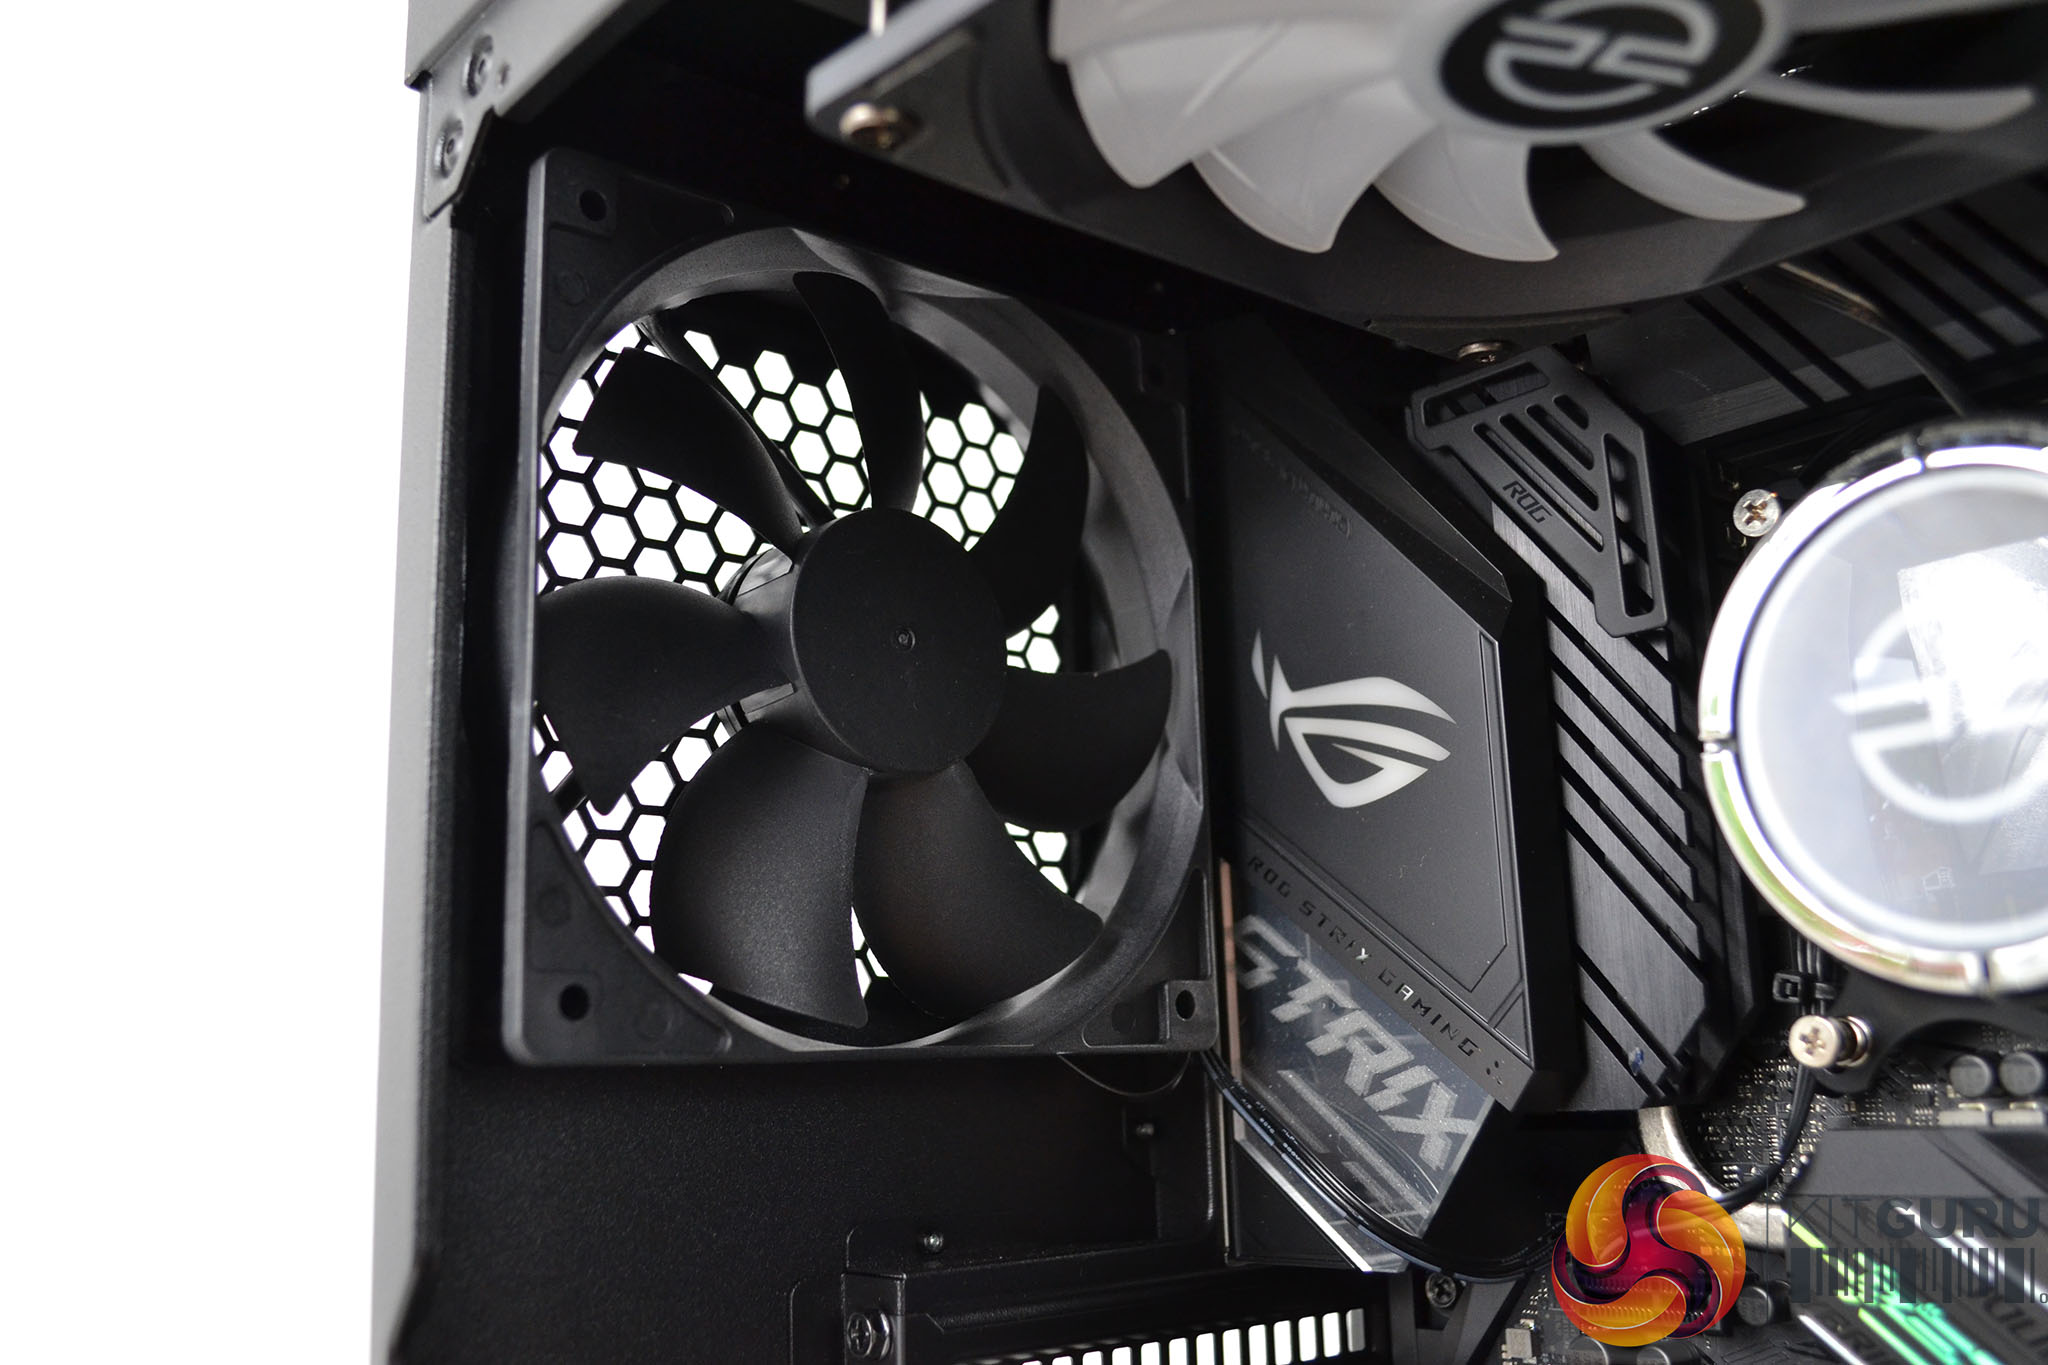
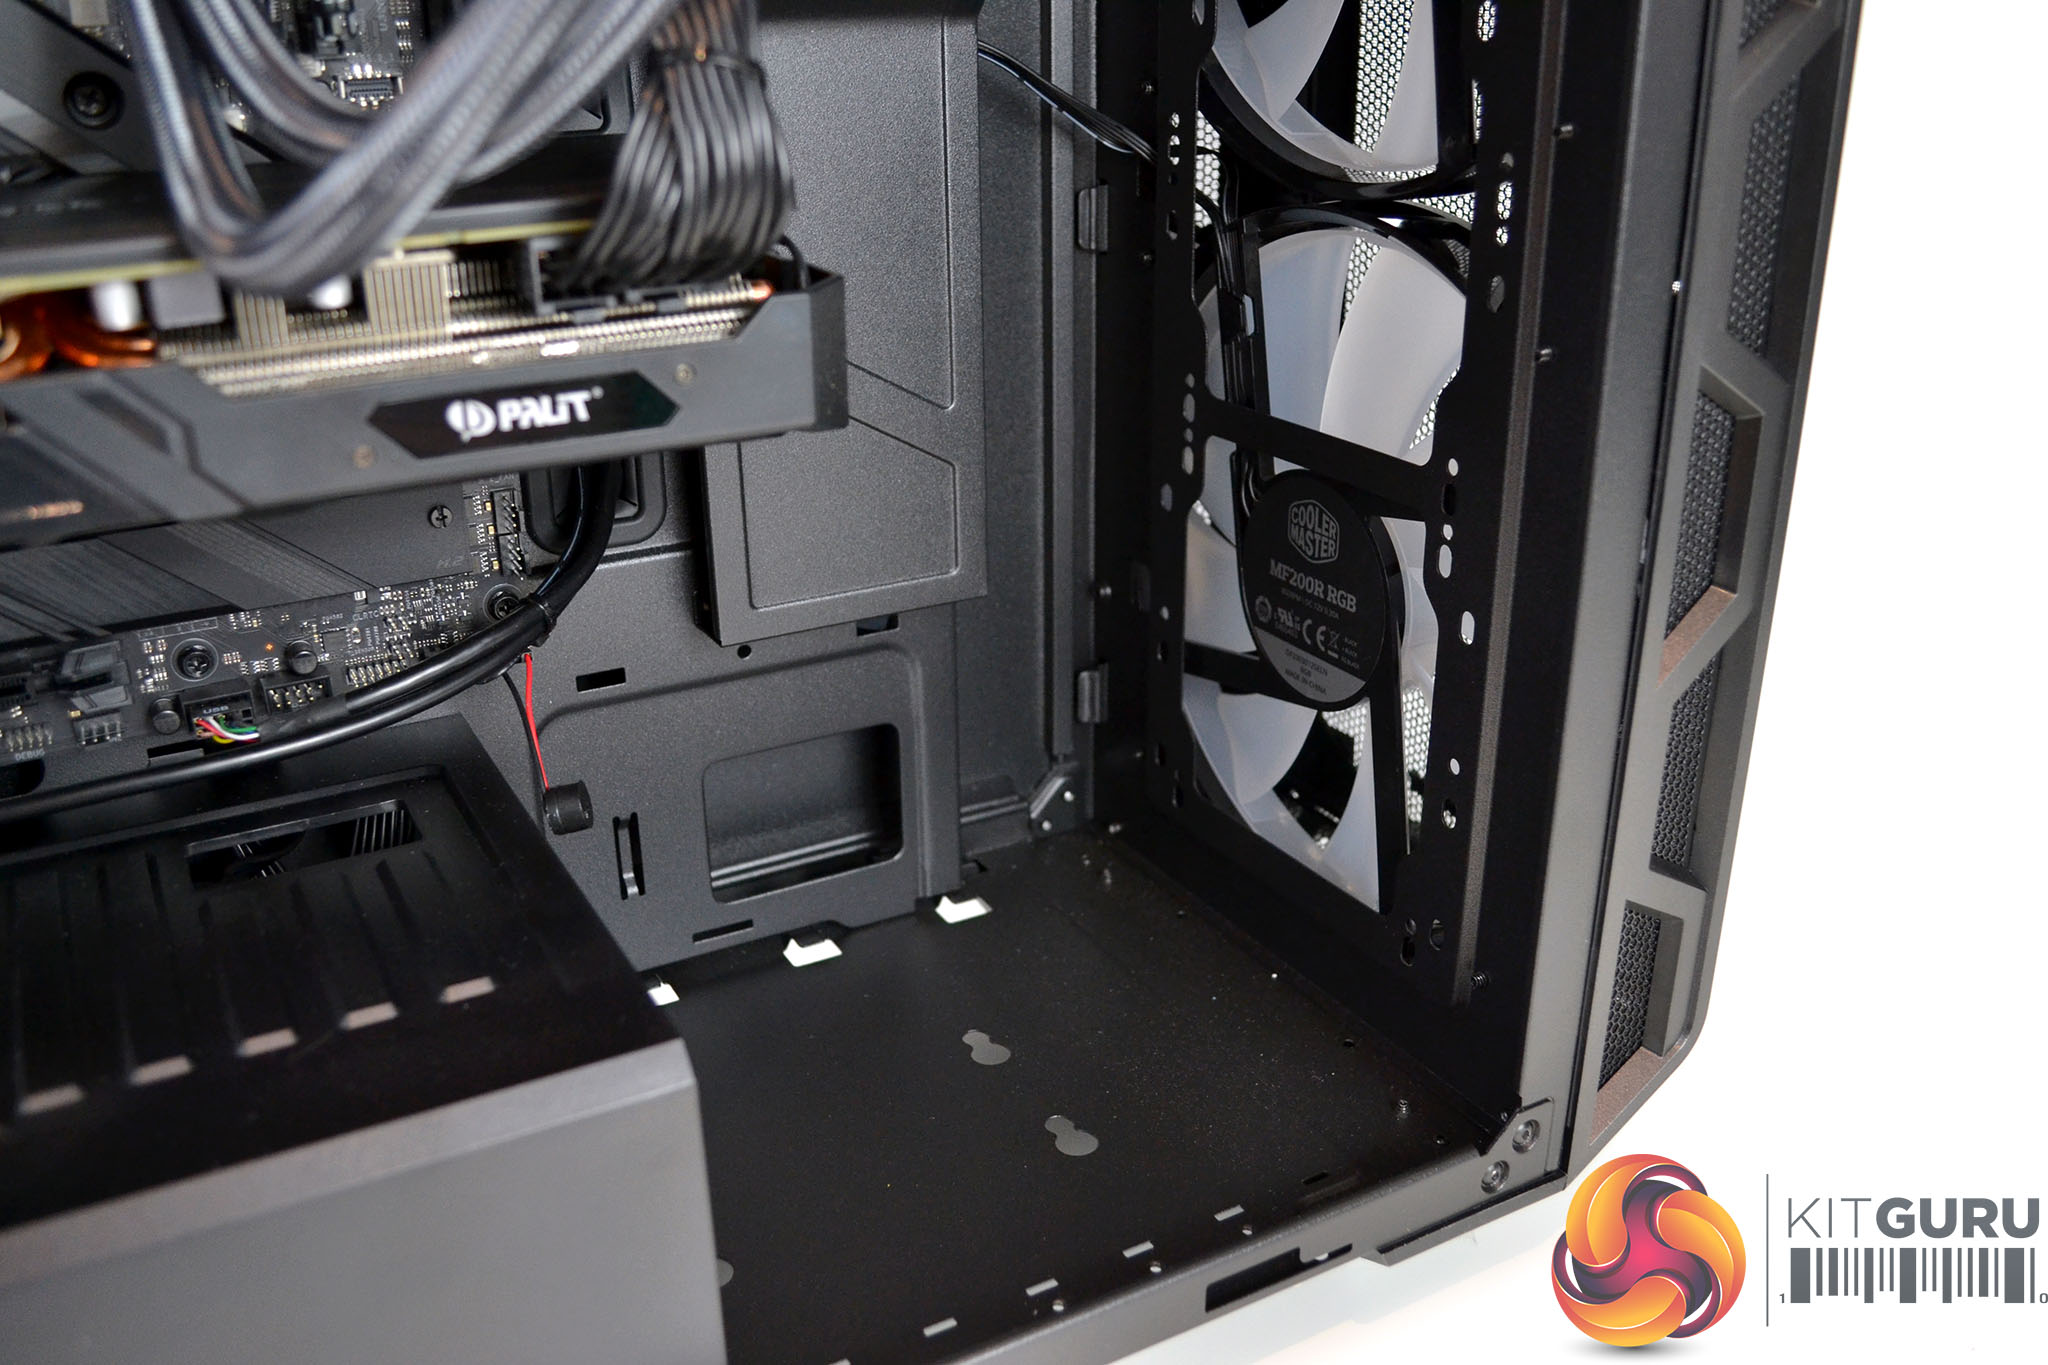
Inside the system is where things get a little more interesting, At the front of the case are two huge 200mm Cooler Master RGB fans configured as intakes, pulling cool air into the system. The RGB lighting for these fans is connected to the motherboard header so will synchronise with the motherboard RGB via the Asus Aura Sync software. At the rear of the case is a black system fan configured to exhaust warm air out of the system.
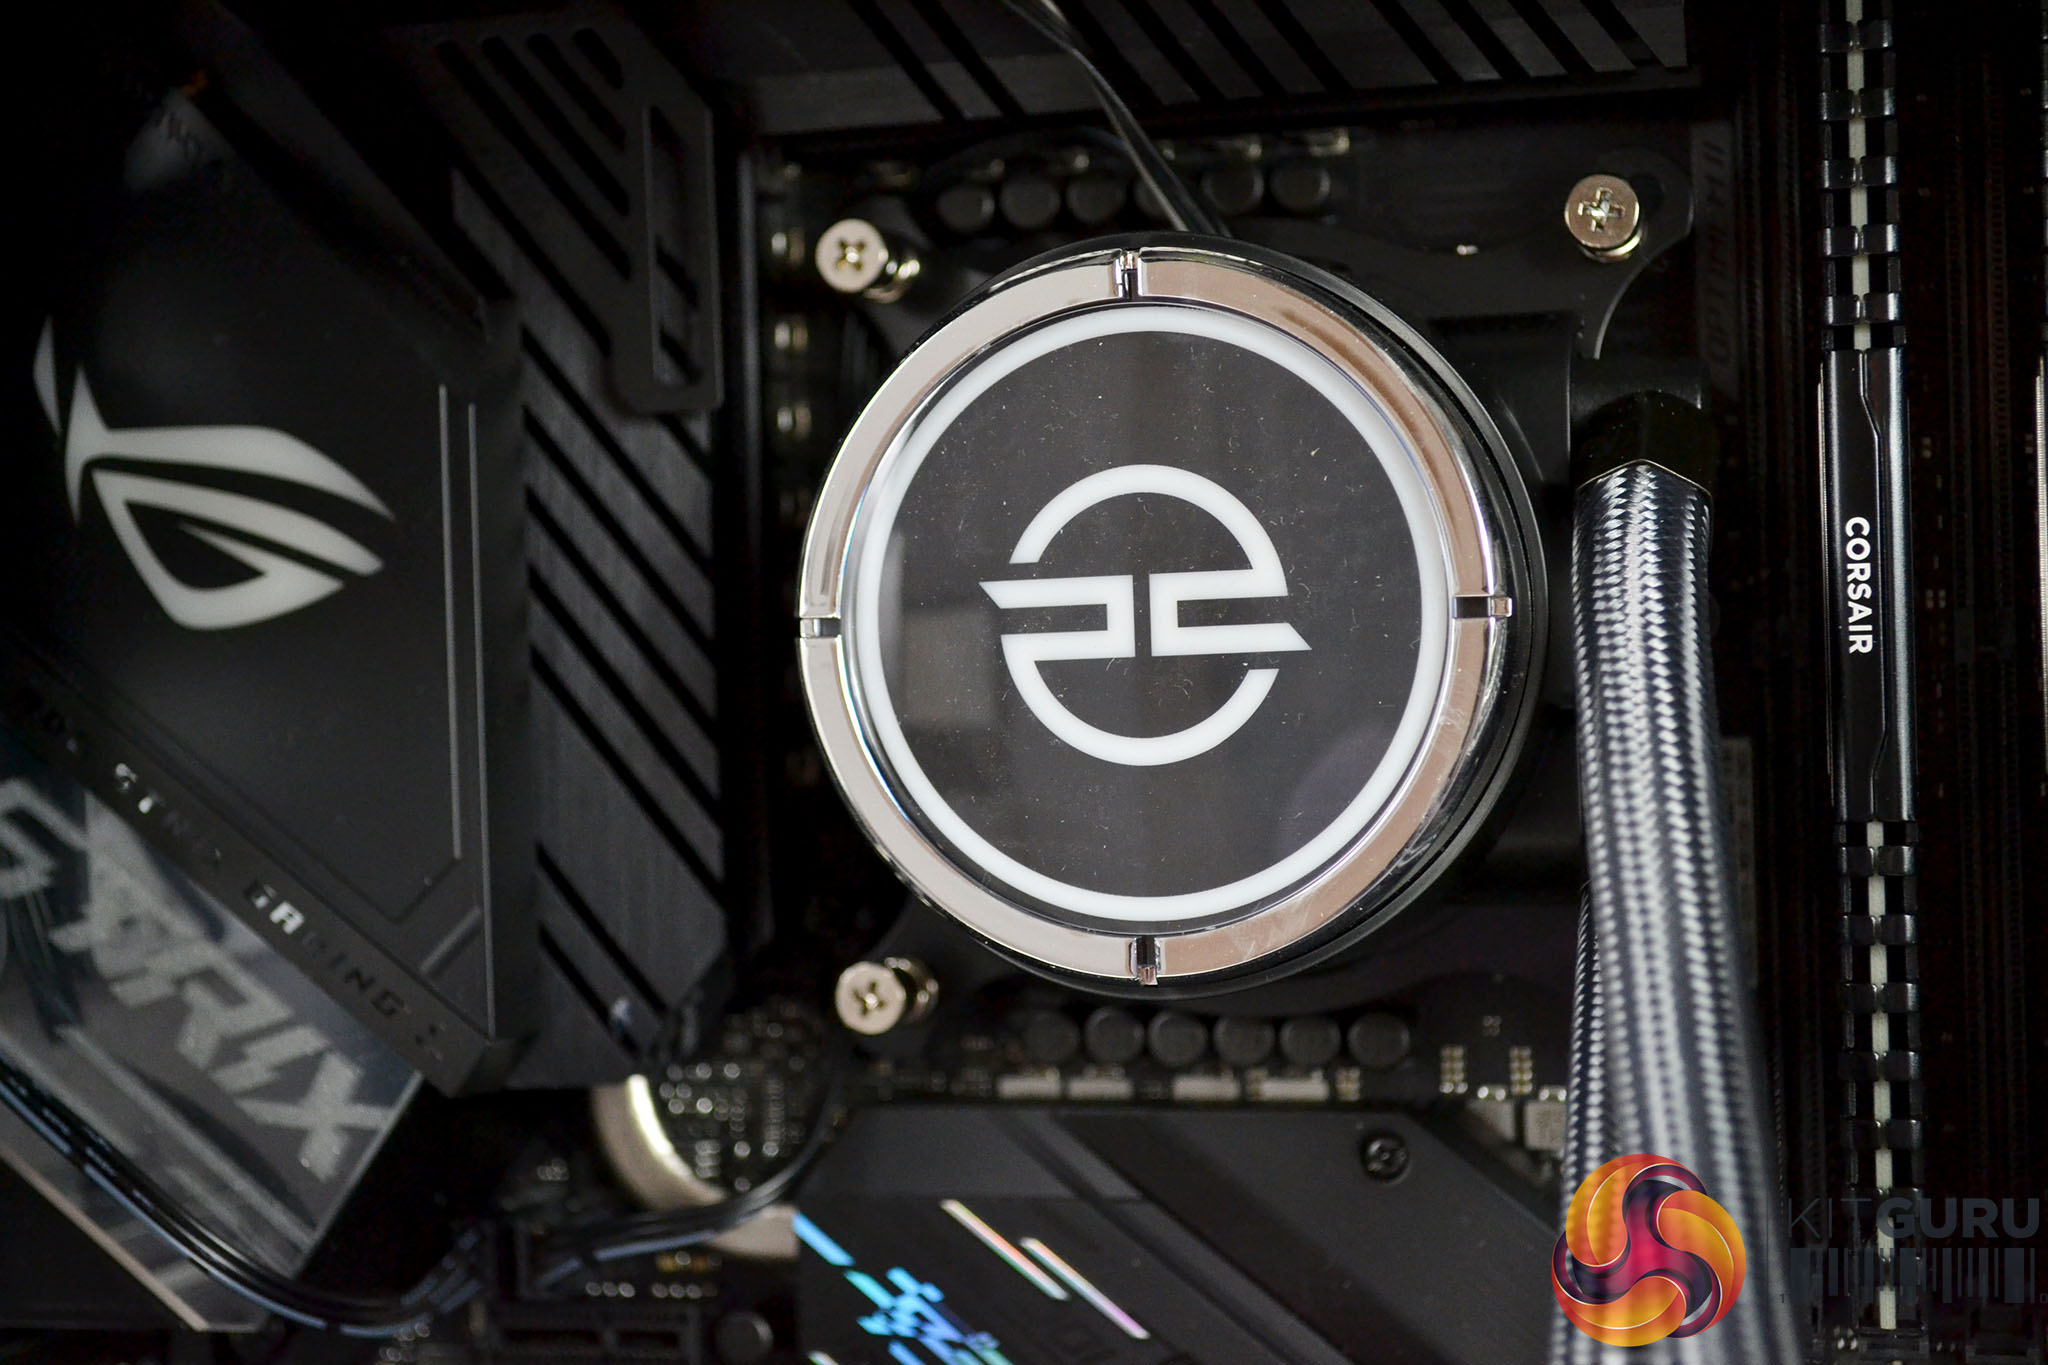
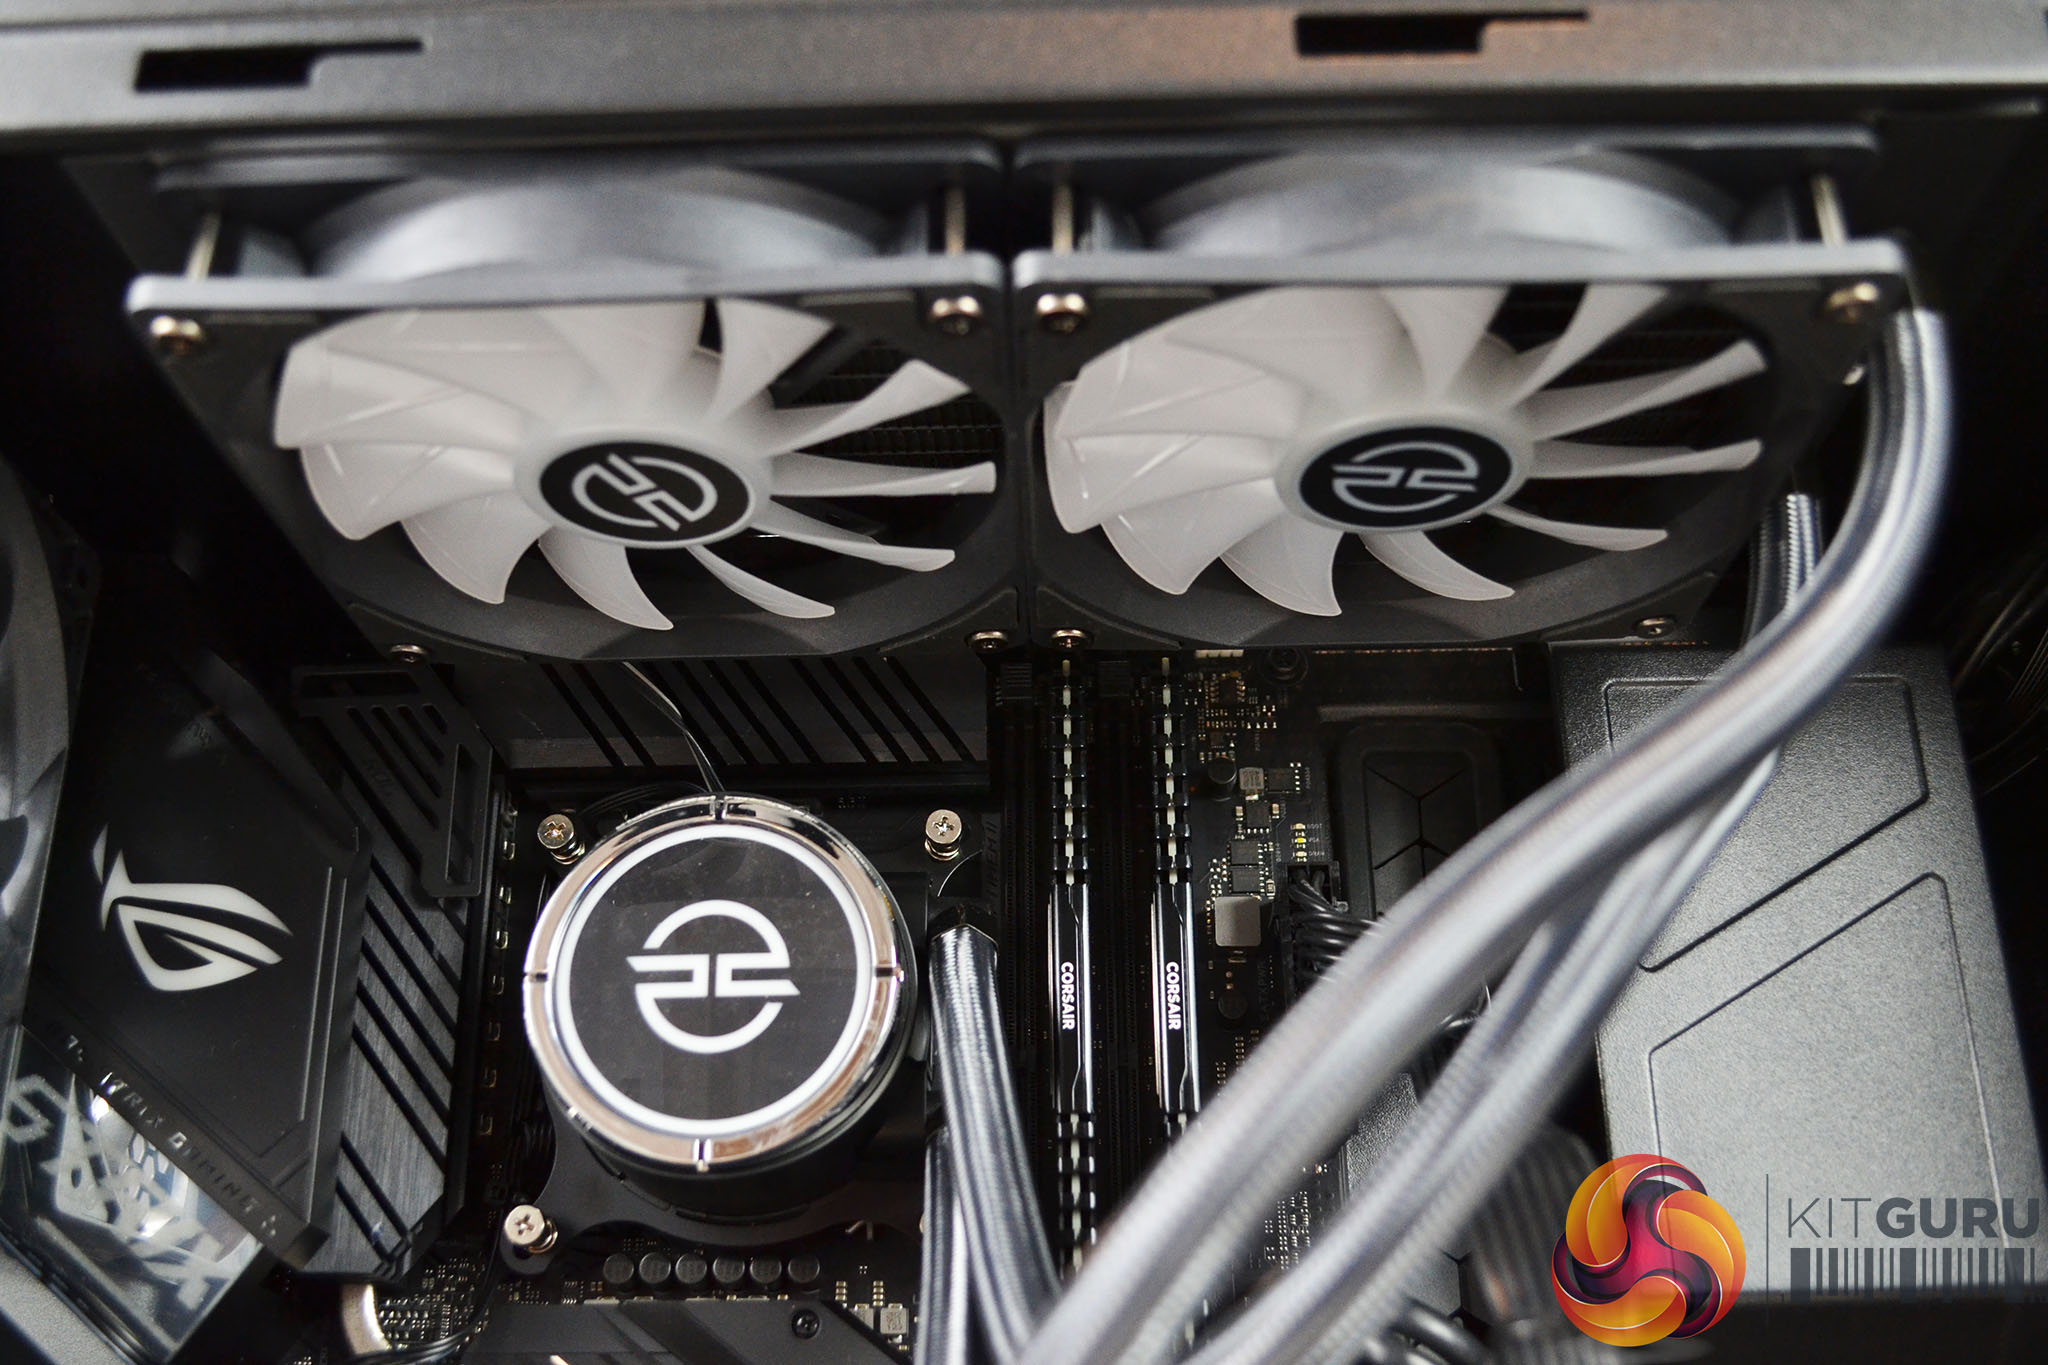
CPU cooling is taken care of by a 240mm all-in-one closed-loop liquid cooler. PCSpecialist label this as a PCS FrostFlow 240 RGB, in actual fact it is a rebranded ID-Cooling ZoomFlow 240X ARGB AIO. A 240mm AIO of this type should be more than enough cooling for the Intel Core i7 10700K CPU running at its stock frequency, as it is in the Vortex S3 system.
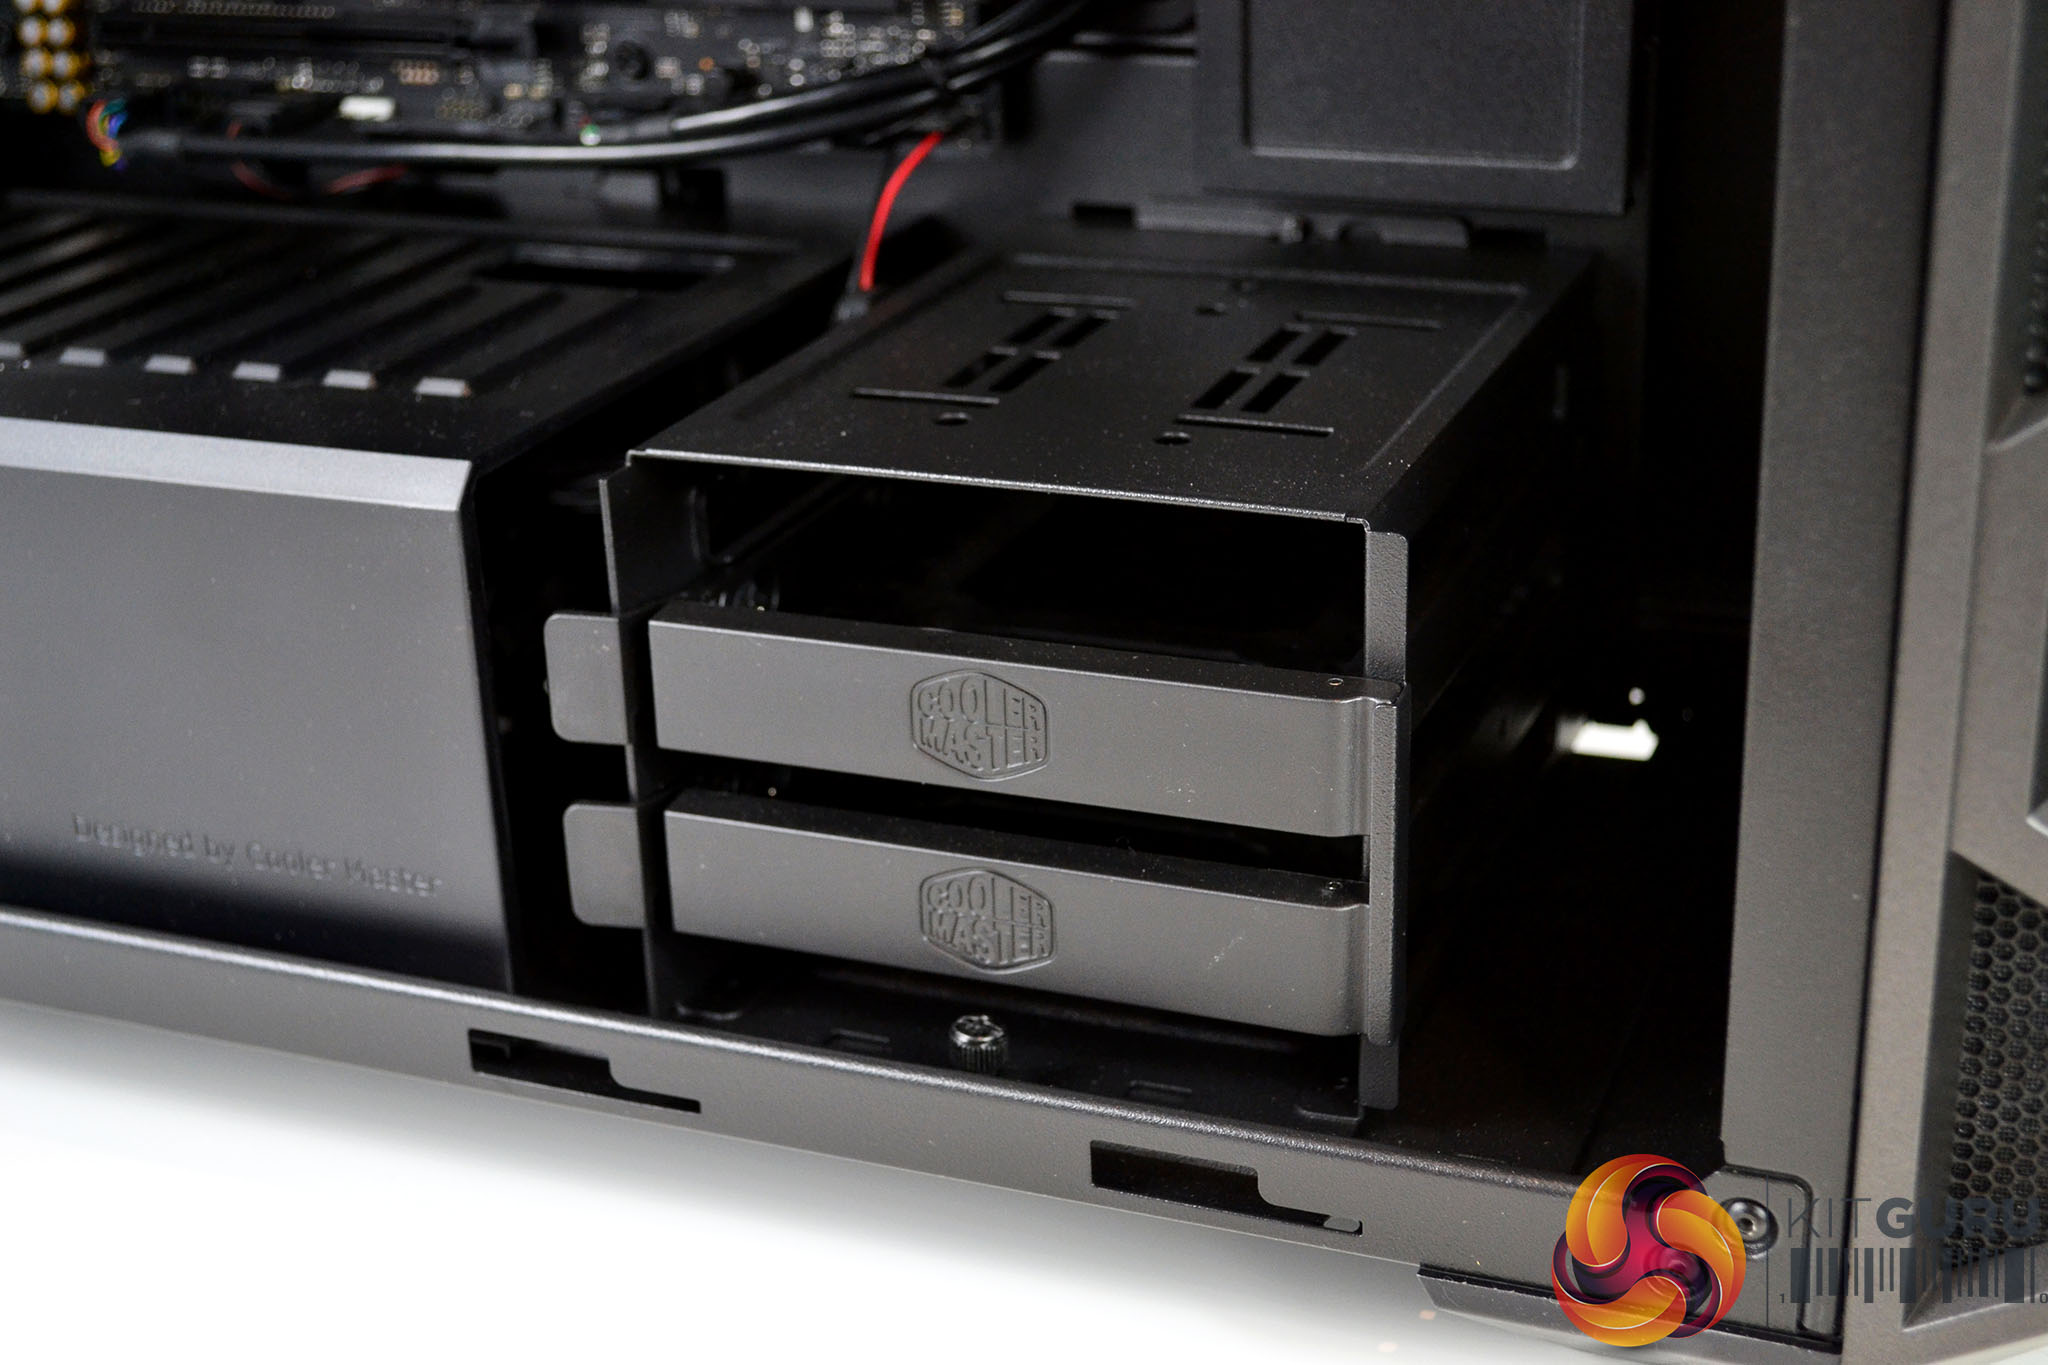
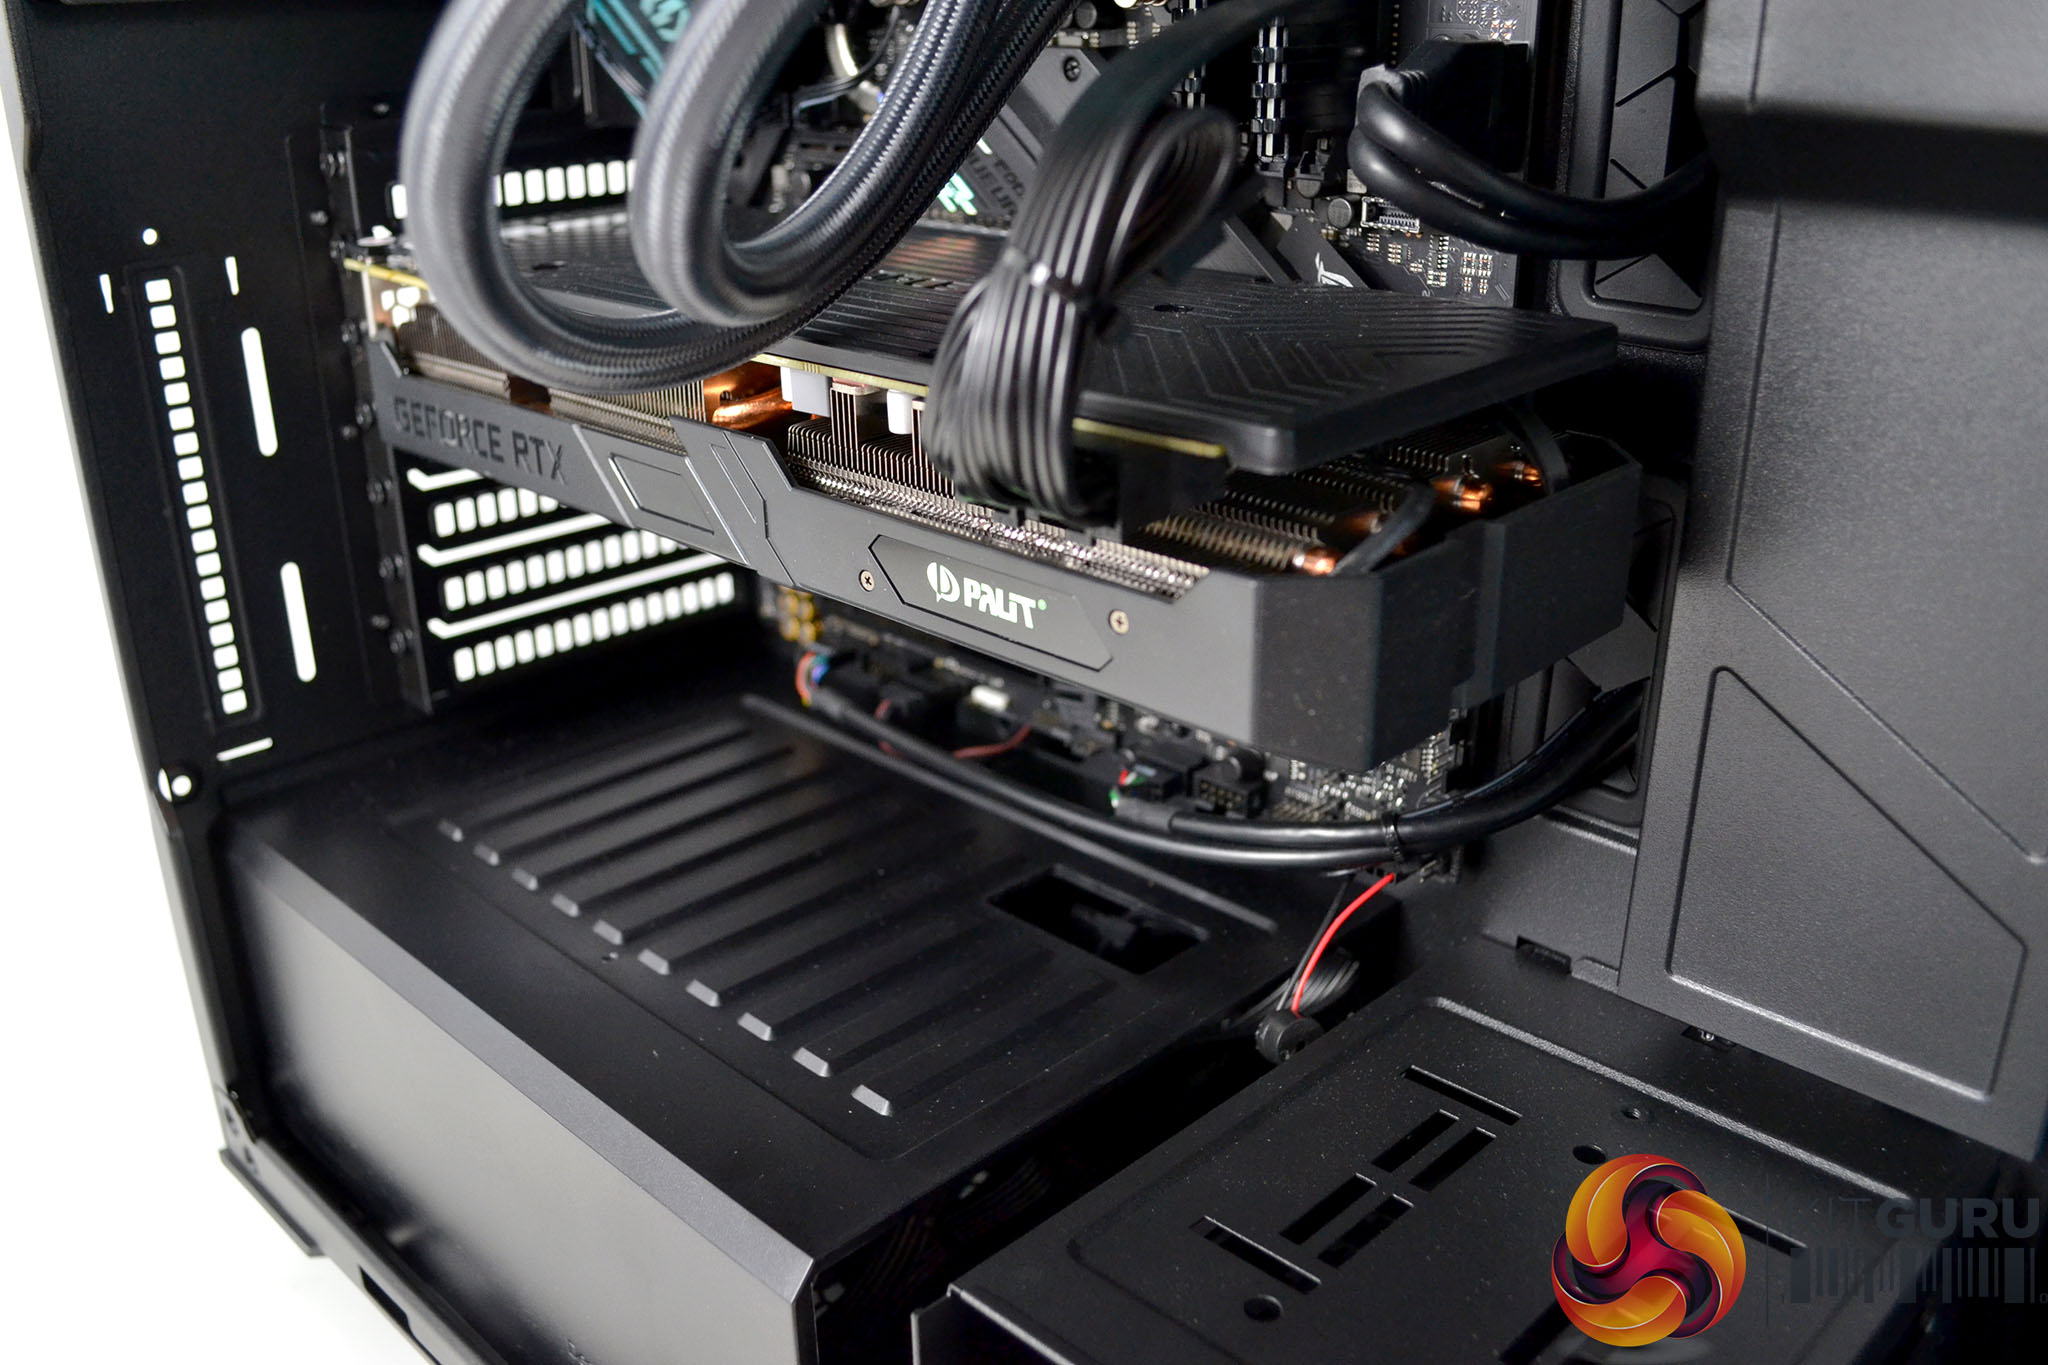
Although there are no traditional 3.5-inch mechanical hard drives included with the Vortex S3 system, at the bottom of the case are two 3.5-inch HDD bays. So, if additional high capacity storage was needed, the option to add 3.5-inch HDDs in the future is possible. Alternatively, this 3.5-inch HDD cage can be removed from the system to create more space for a front-mounted radiator or custom liquid cooling components.
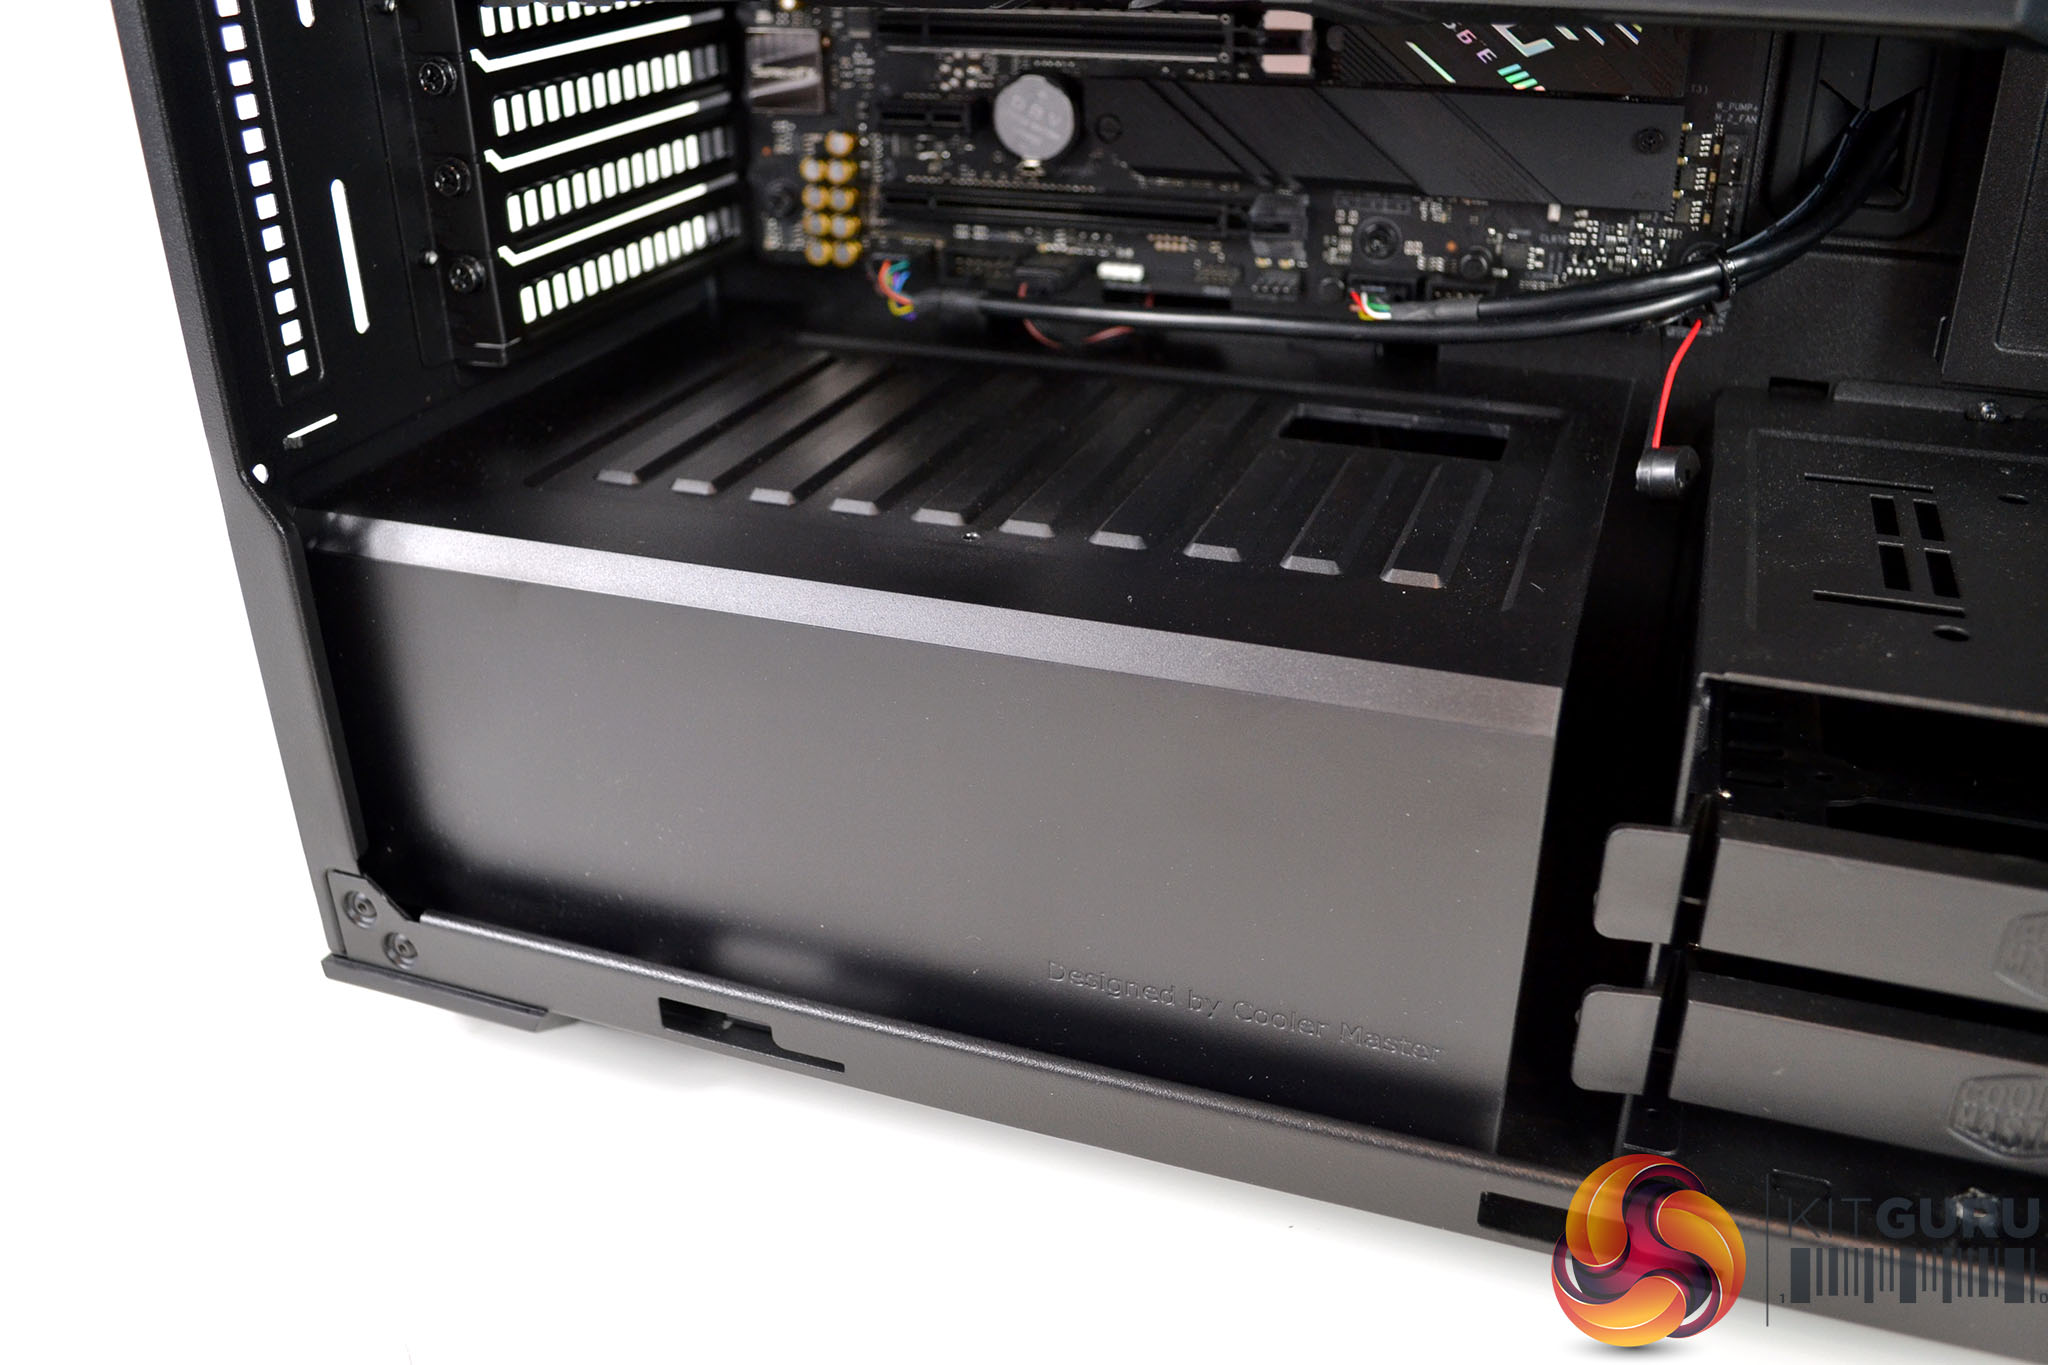

Next to the 3.5-inch HDD cage is a power supply shroud that covers the PSU and cables to keep the system looking neat and tidy. Again, this power supply shroud can be removed simply, a single thumbscrew at the rear holds it in place. Removing the shroud provides unrestricted access to the power supply and makes connecting extra cables to the power supply for future upgrades easy.
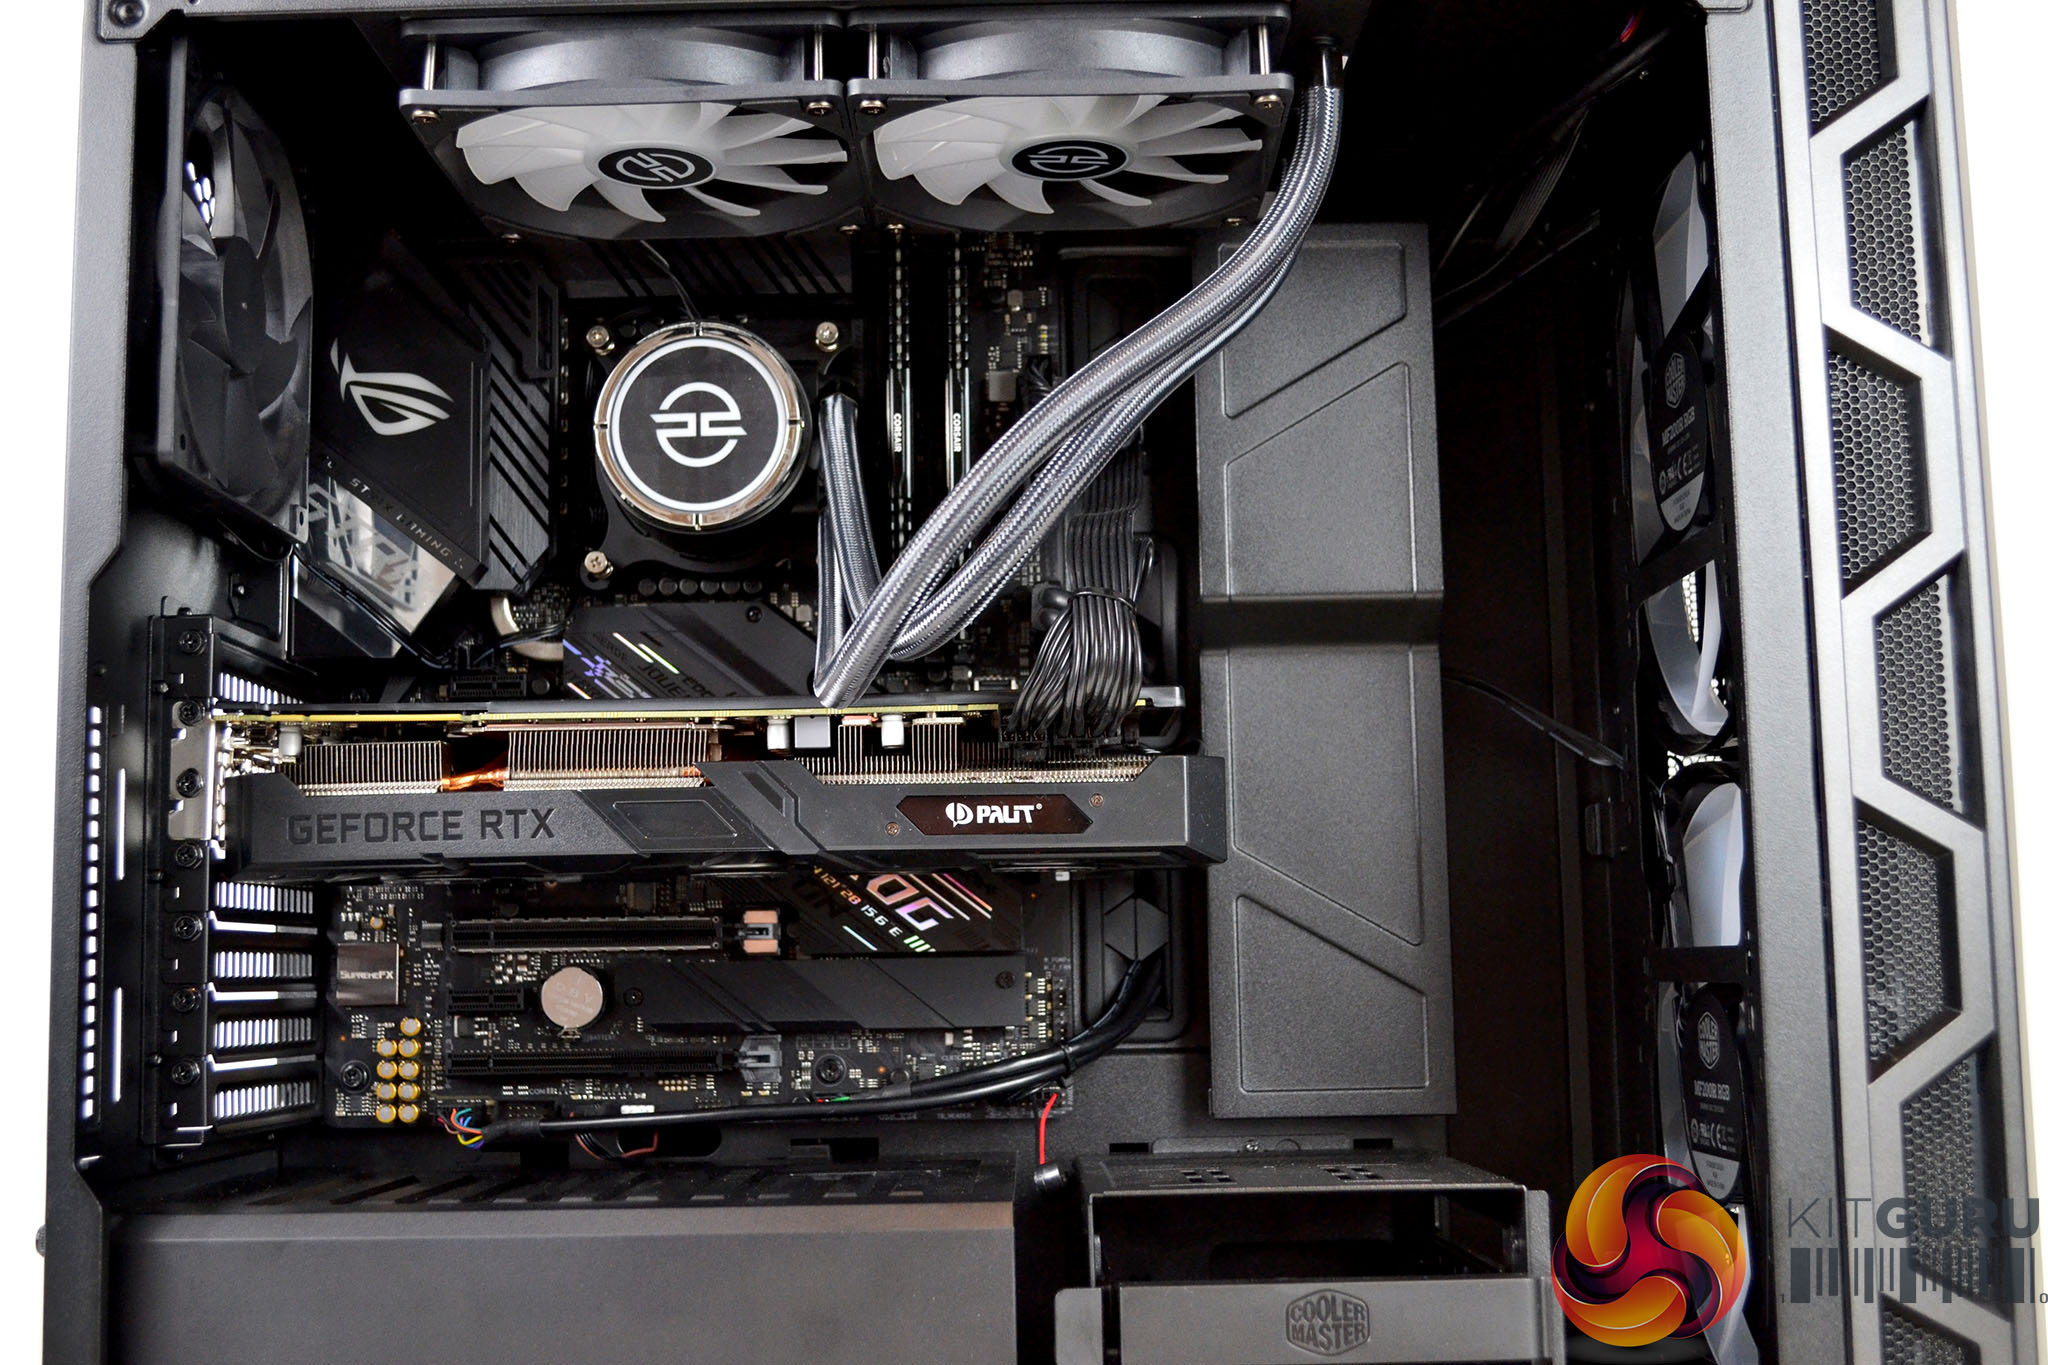
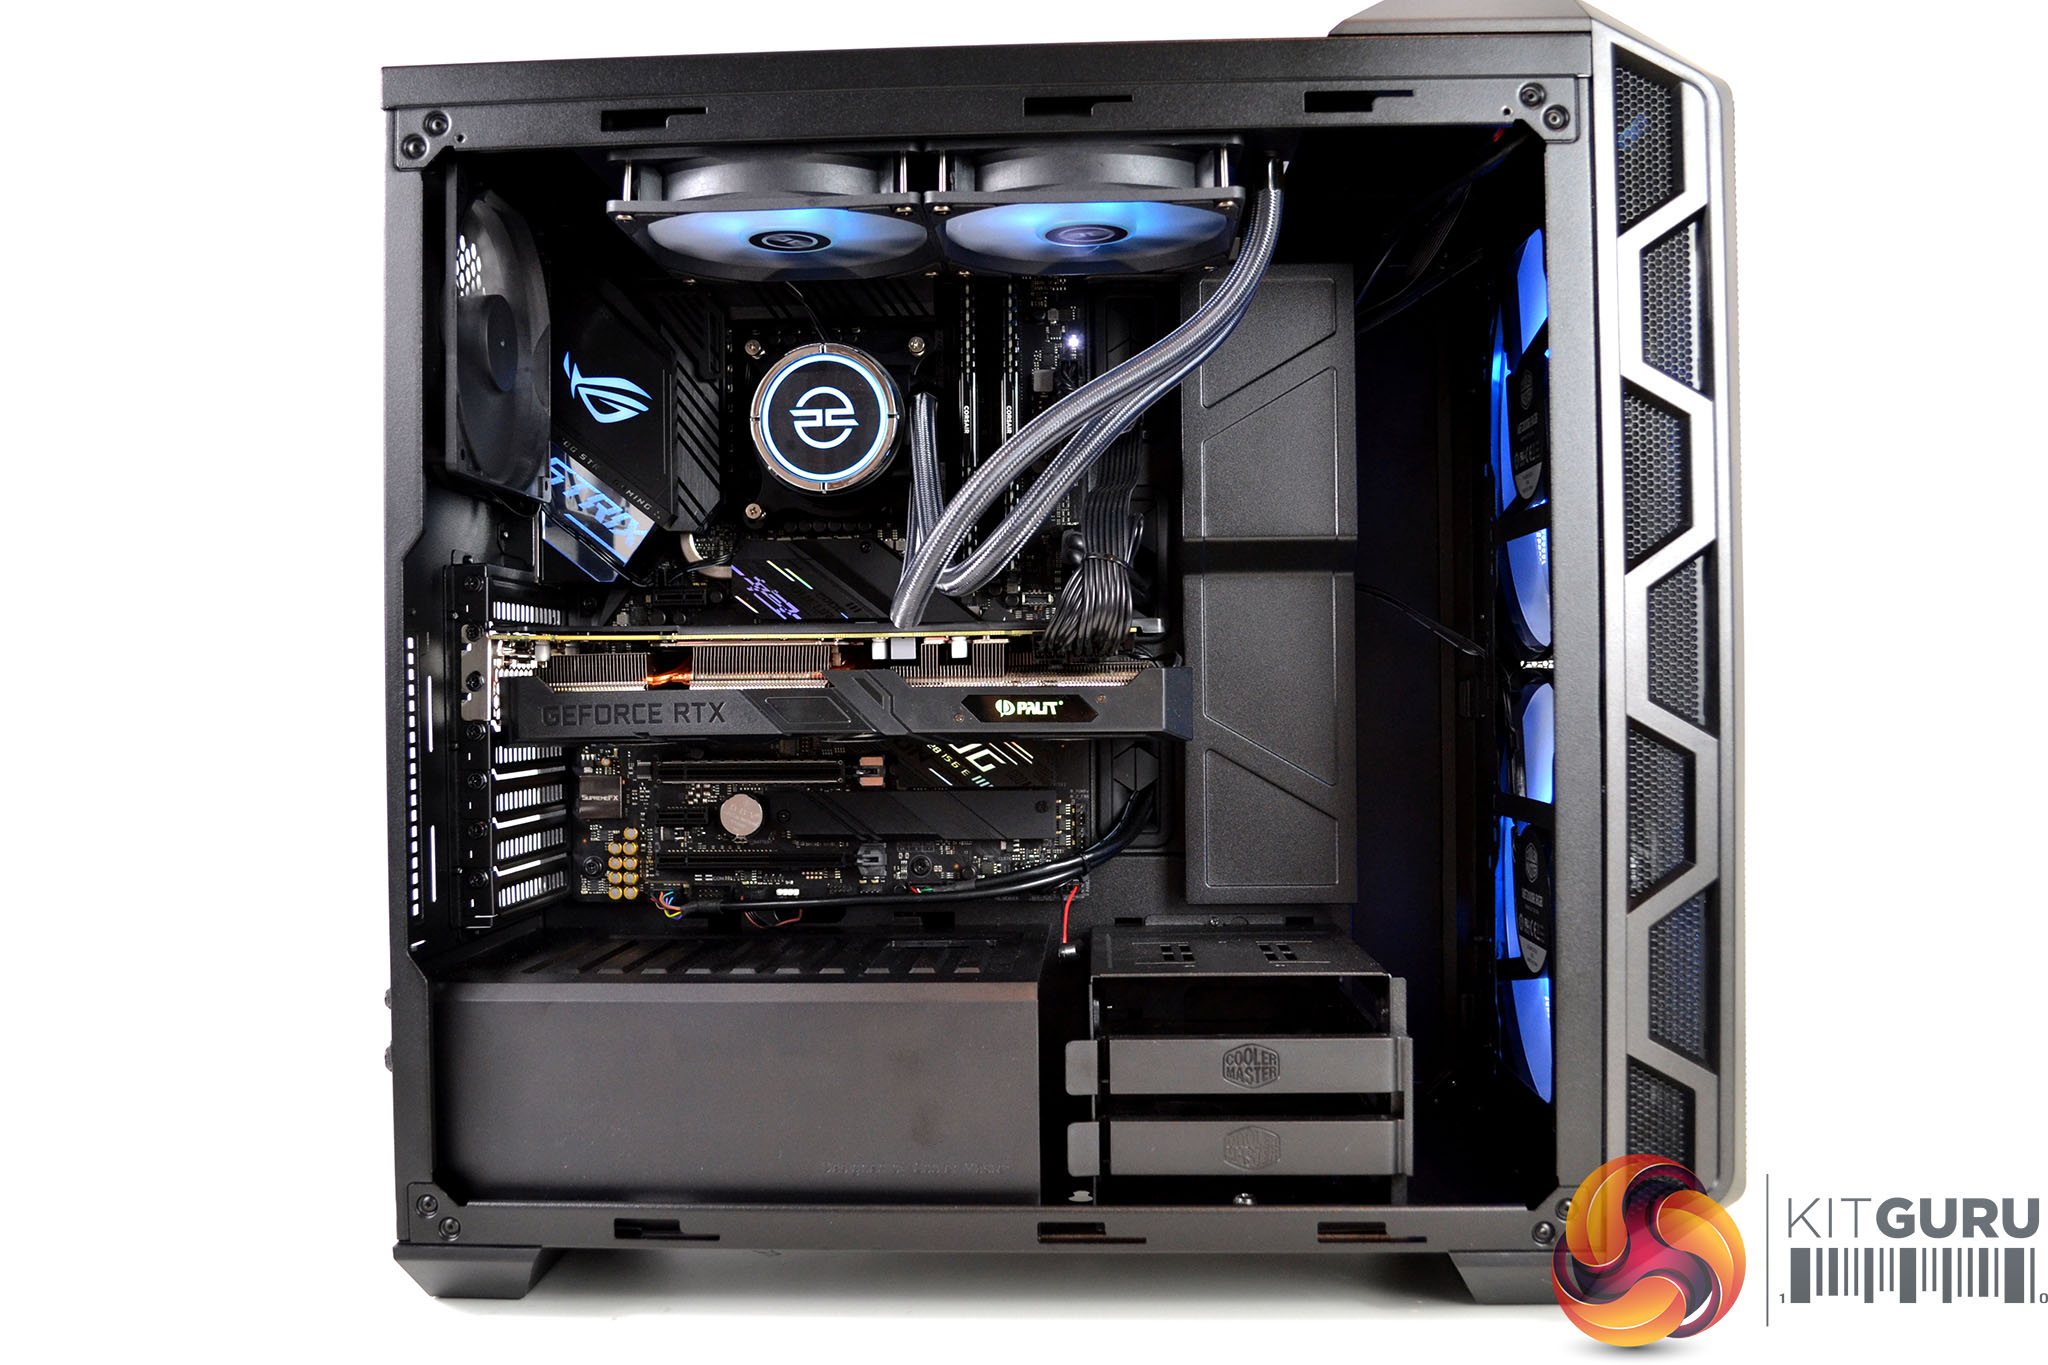
There has certainly been some thought put into the component choice in terms of colour scheme with a black and silver theme running through the interior that gives the systems a stealthy appearance which I like. However, once the system is powered on, RGB lighting illuminates the interior, this can be adjusted to user preference or turned off if you prefer the stealth look.
Also, both the front fans and the AIO cooler fans are equipped with similar-looking opaque blades that illuminate with very comparable RGB lighting effects that maintain the continuity of the appearance throughout the system, even though the fans are made by two different manufacturers.
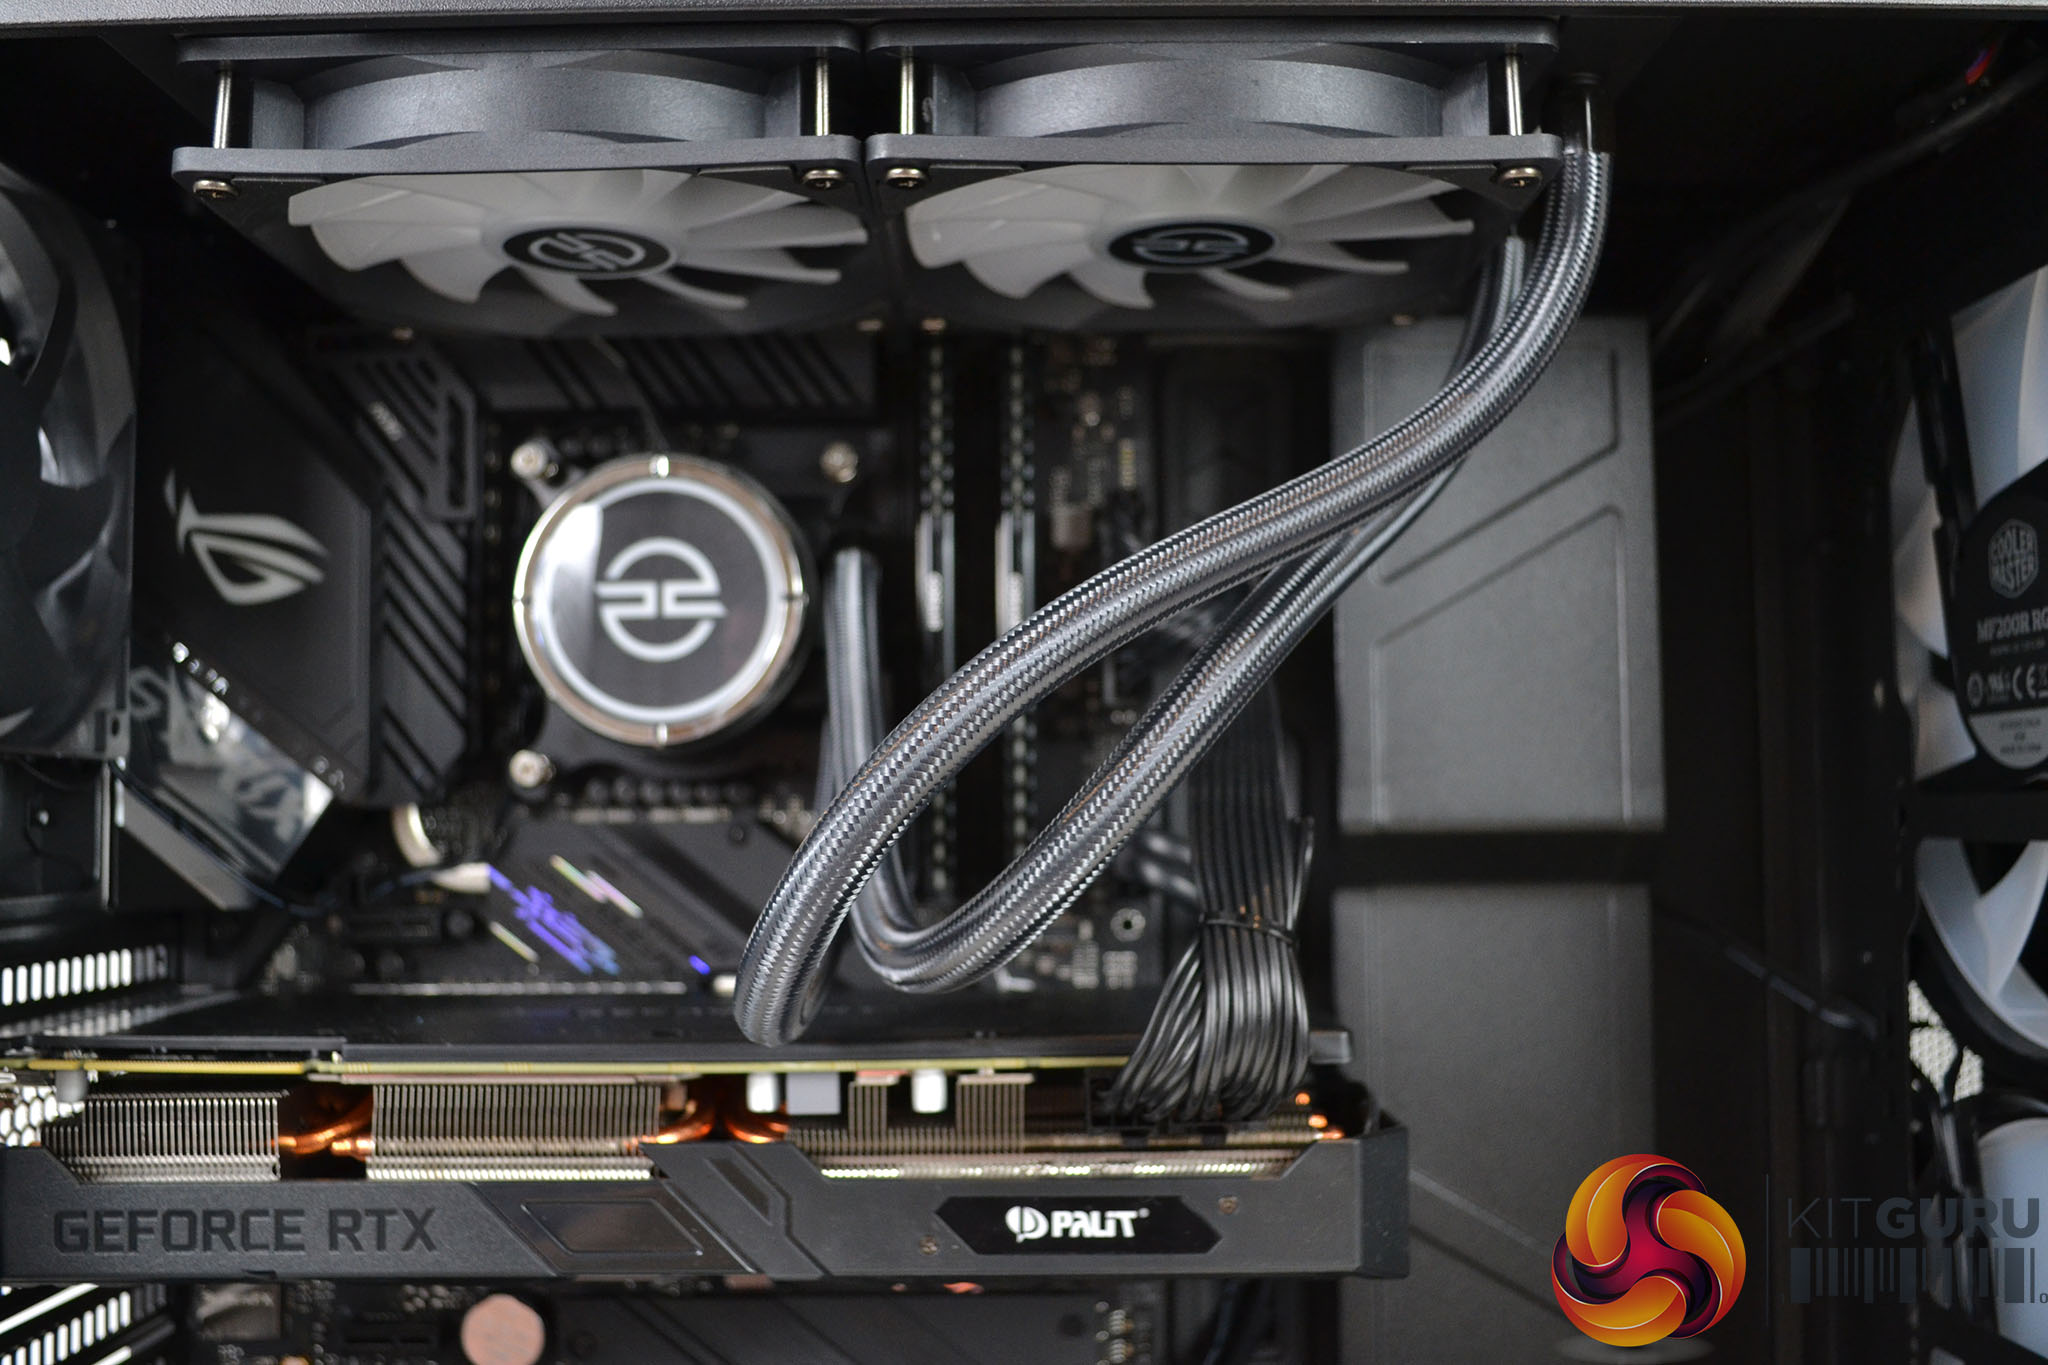
General build quality and cable management seem to be of a high standard. The left-hand side of the case looks quite neat, however, there are one or two cables that could have been routed differently to make the area look a little tidier and the tubing from the AIO cooler looks a little messy but overall, the build has a professional finish to it.
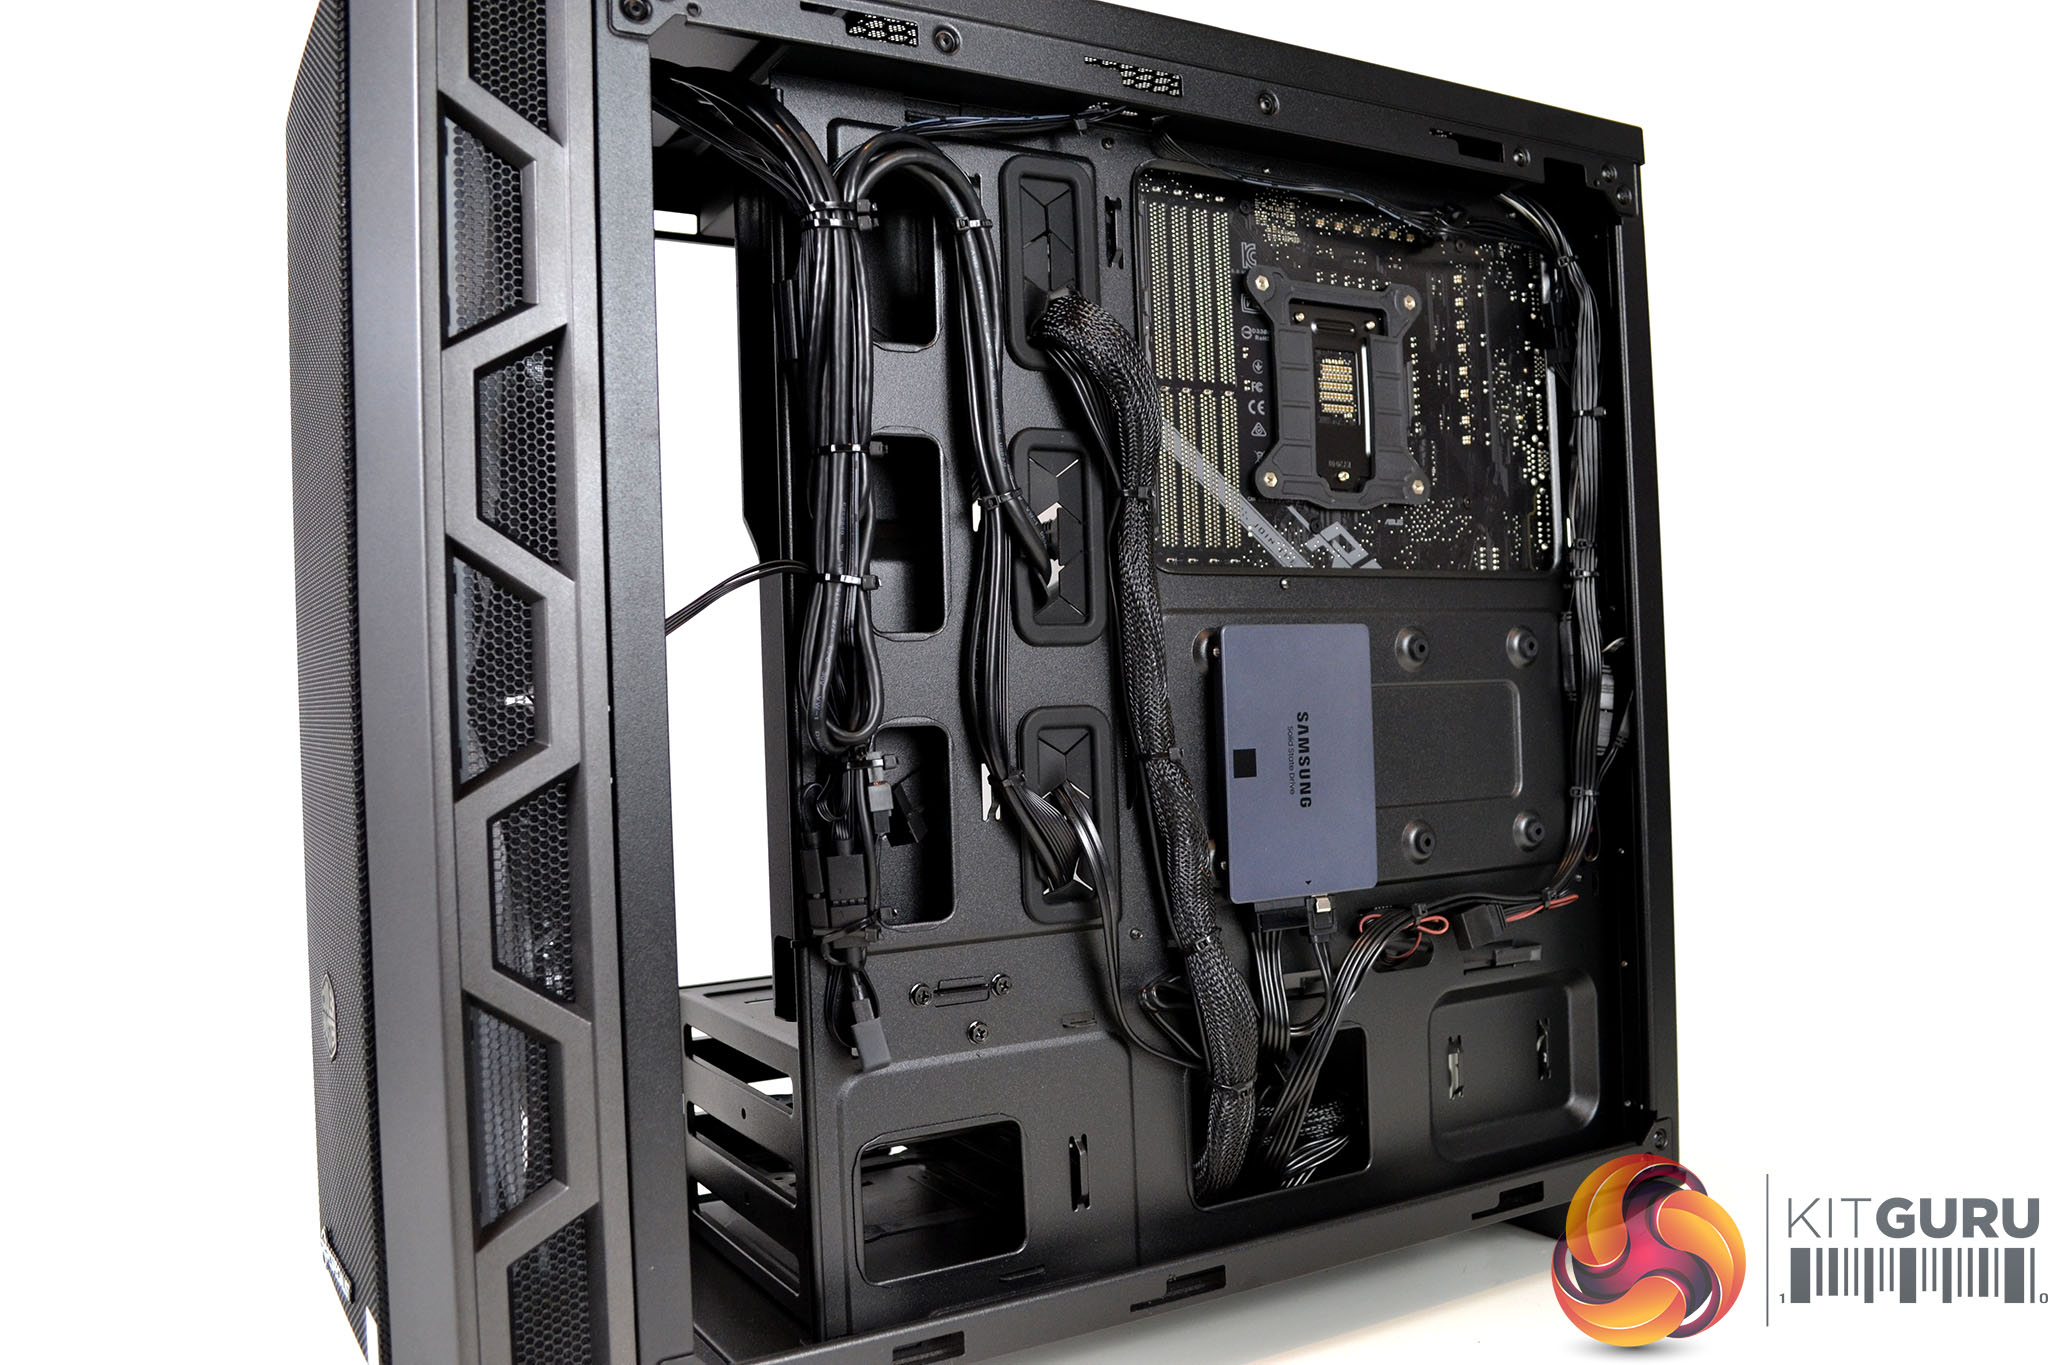
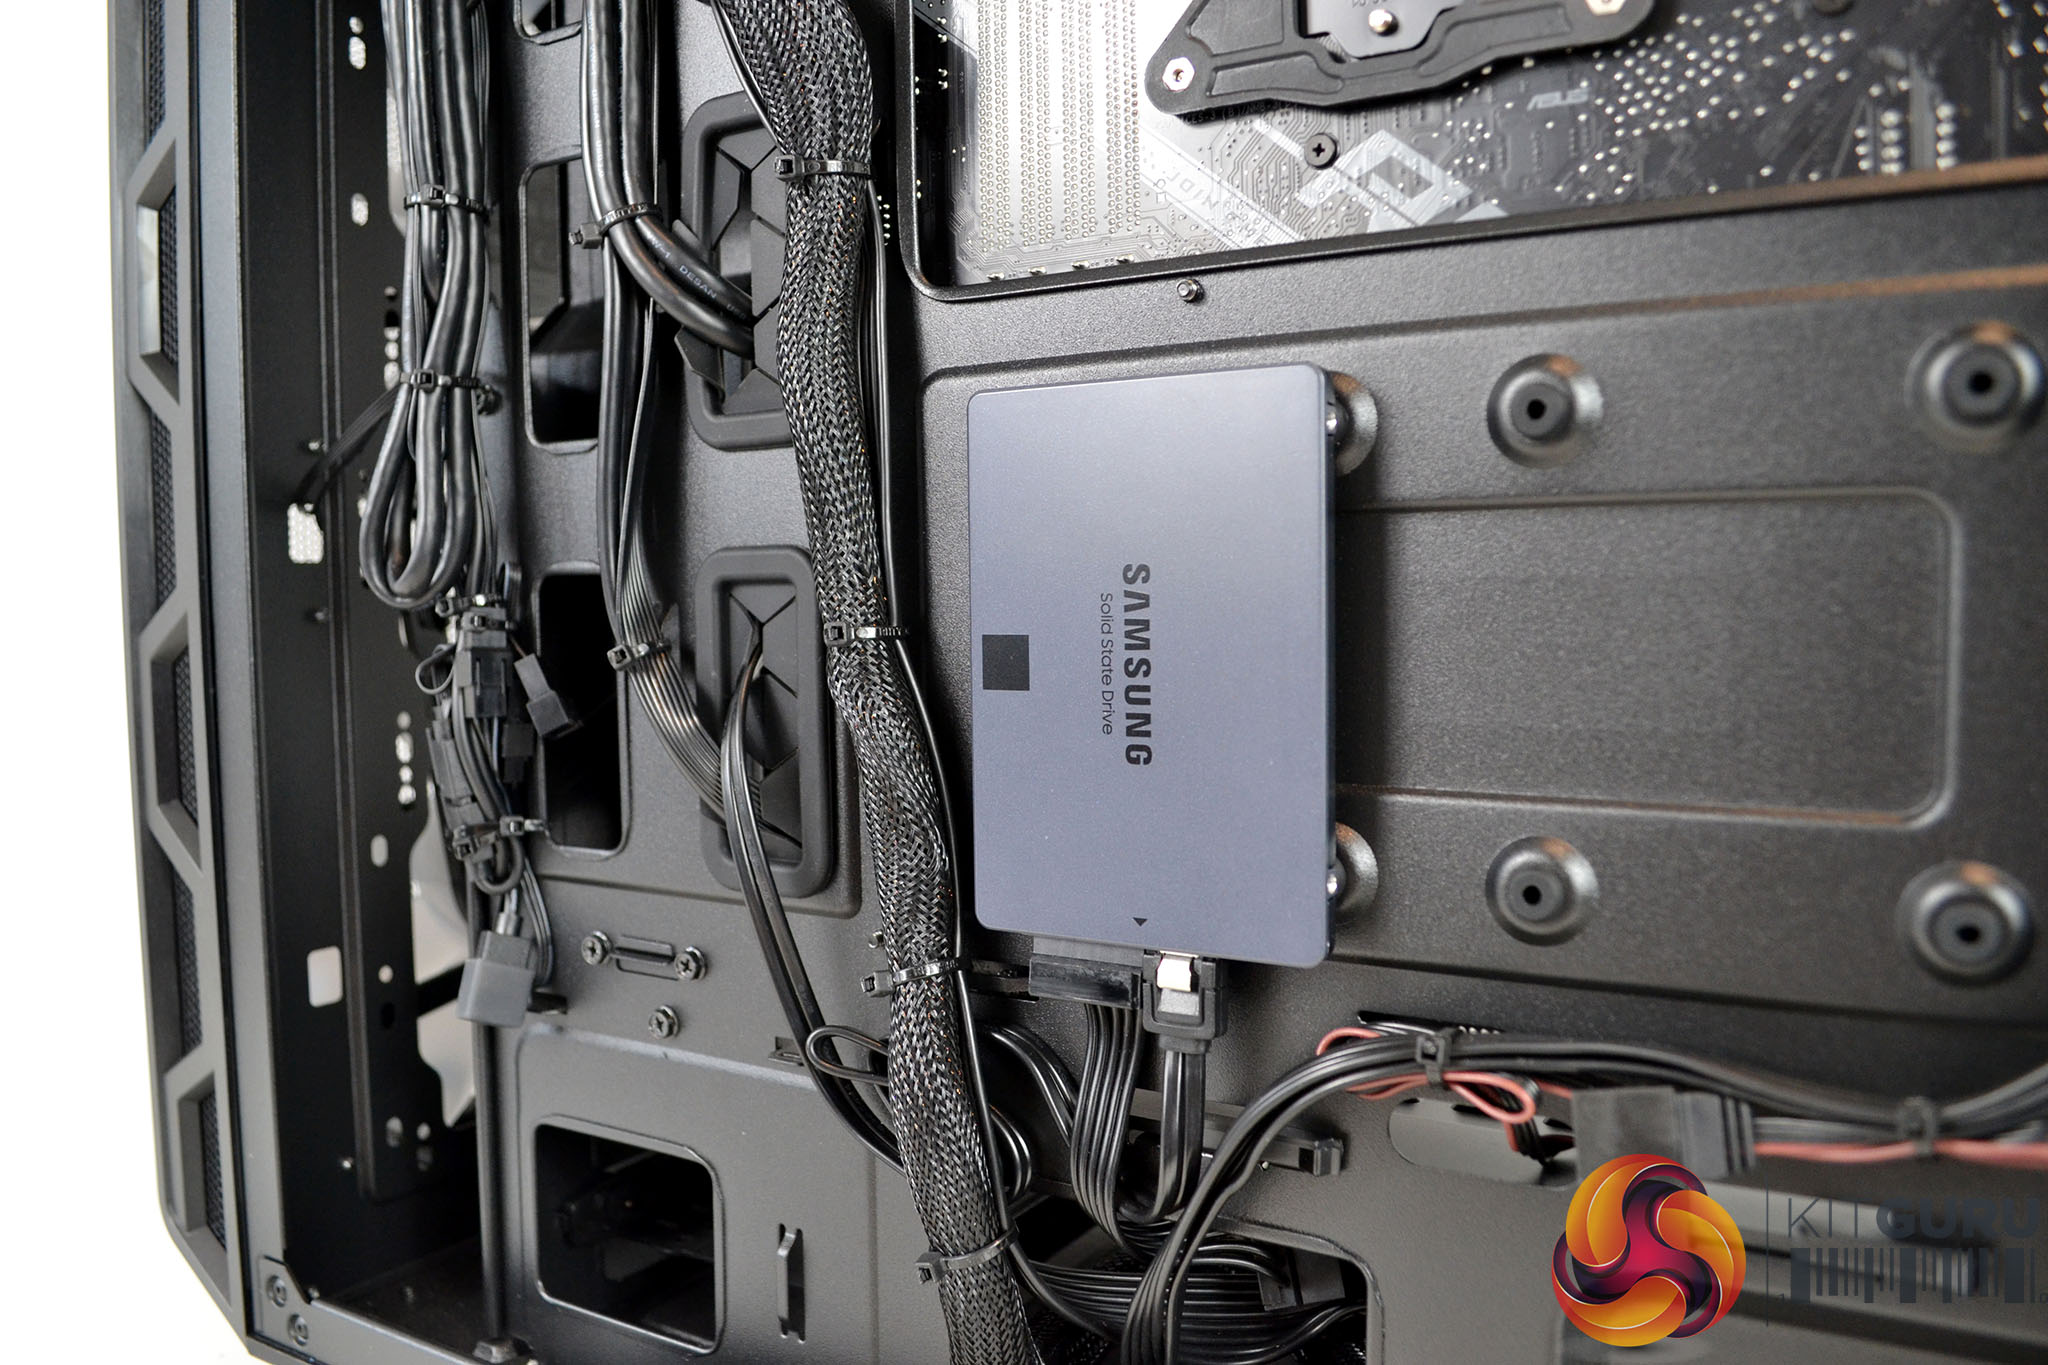
Likewise, with the right-hand side of the case, time has been spent on making it look neat. An area which is often overlooked in pre-built systems is the cable management in the right-hand side of the case. PCSpecialist has gone to the effort of utilising cable cut-outs and tie-down points as they should be and again, this gives the system a professional-looking appearance.
Overall, I am generally impressed with the build quality and the level of cable management in the Vortex S3. Thought has gone into the selection of components, not only to balance the performance but also in terms of how the system looks. The choice of a Cooler Master MasterCase H500 chassis should offer good airflow, so system temperature will remain well within limits and the choice of two SSD storage devices means that the system should feel very snappy during all types of tasks.