

Connecting the NETGEAR Nighthawk X6S Tri-Band WiFi Range Extender is completely seamless if your router supports WPS. Simply press the WPS buttons on both devices and they should connect together automatically. But if WPS isn't available, the procedure below will need to be followed. This also includes more options, which you might want to use even if original setup was via WPS. We were testing the X6S with a NETGEAR Nighthawk XR500 as the primary router, so that the One WiFi Name feature could be used.
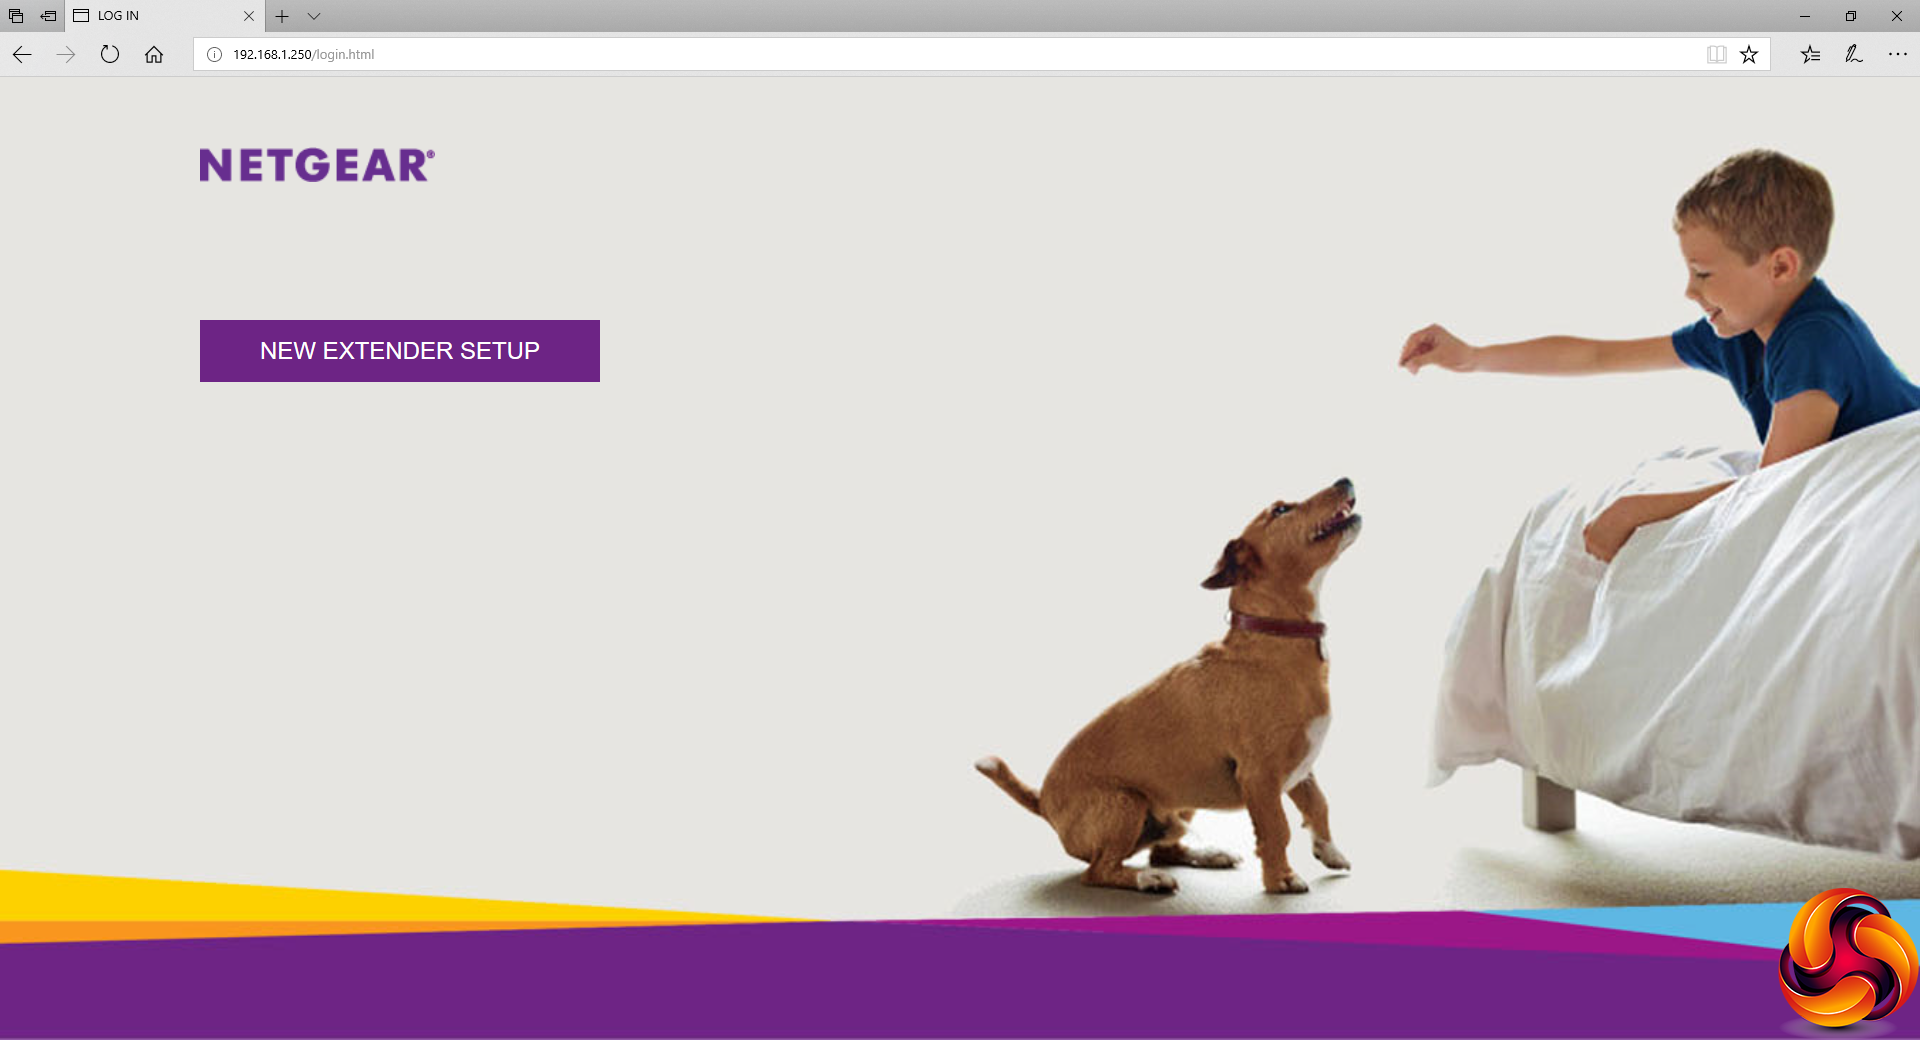
Once the router and X6S are up and running, the first step is to point a wireless device at the X6S's WiFi network, or plug into the X6S via wired Ethernet. Firing up a browser will call then up the wizard shown above.
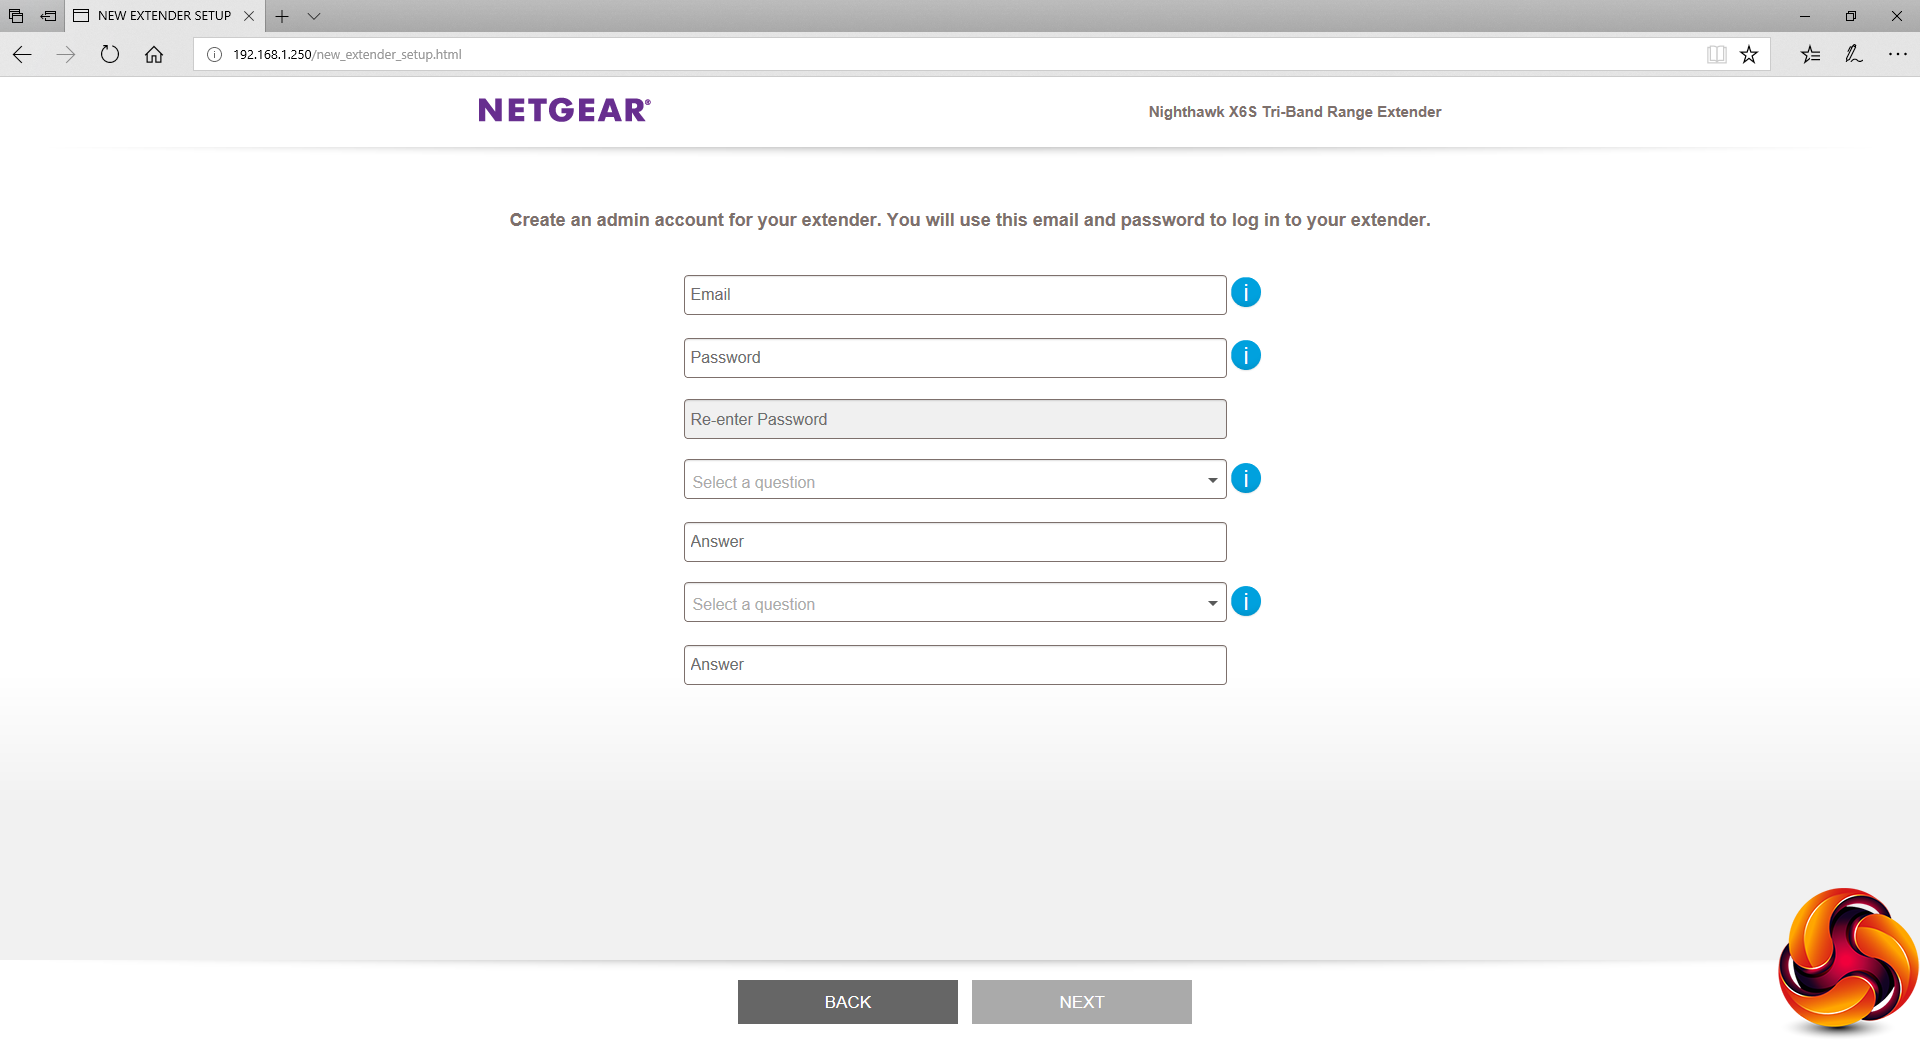
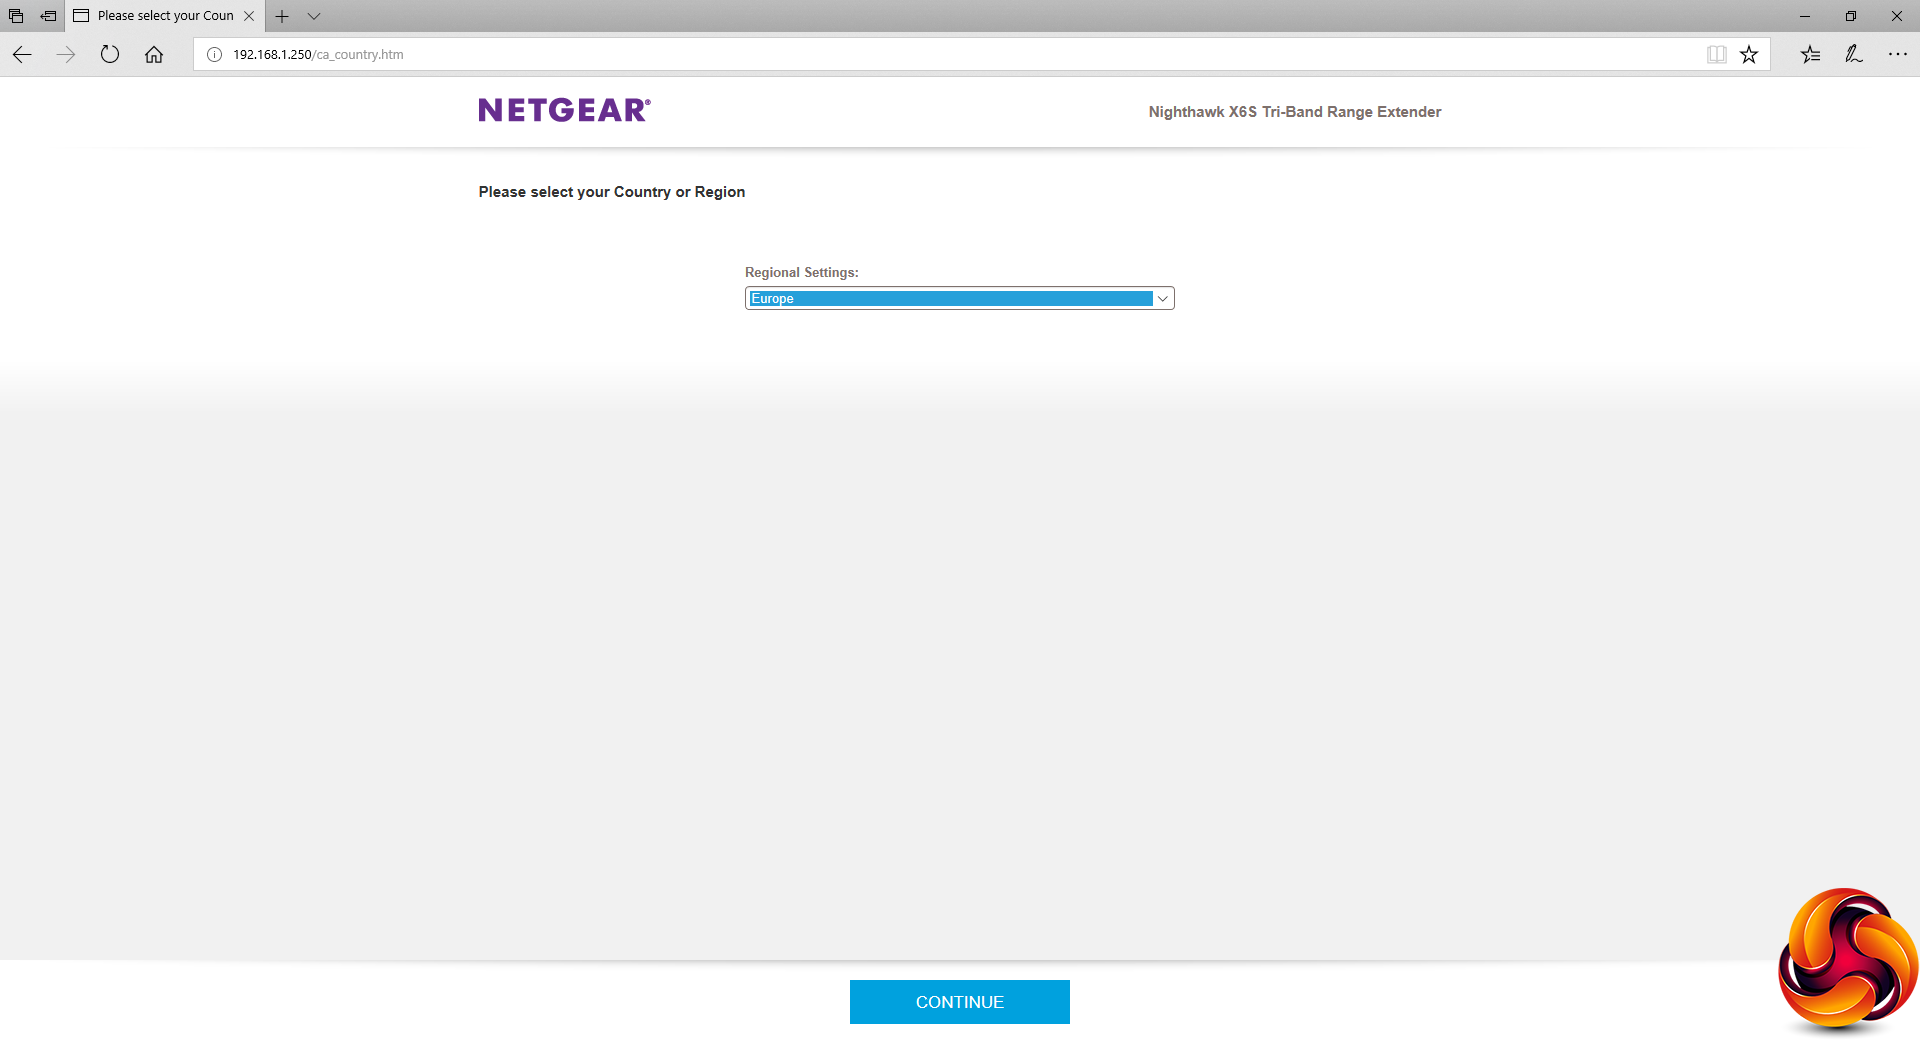
You will then be asked to set up an account and choose the regional location of your network.
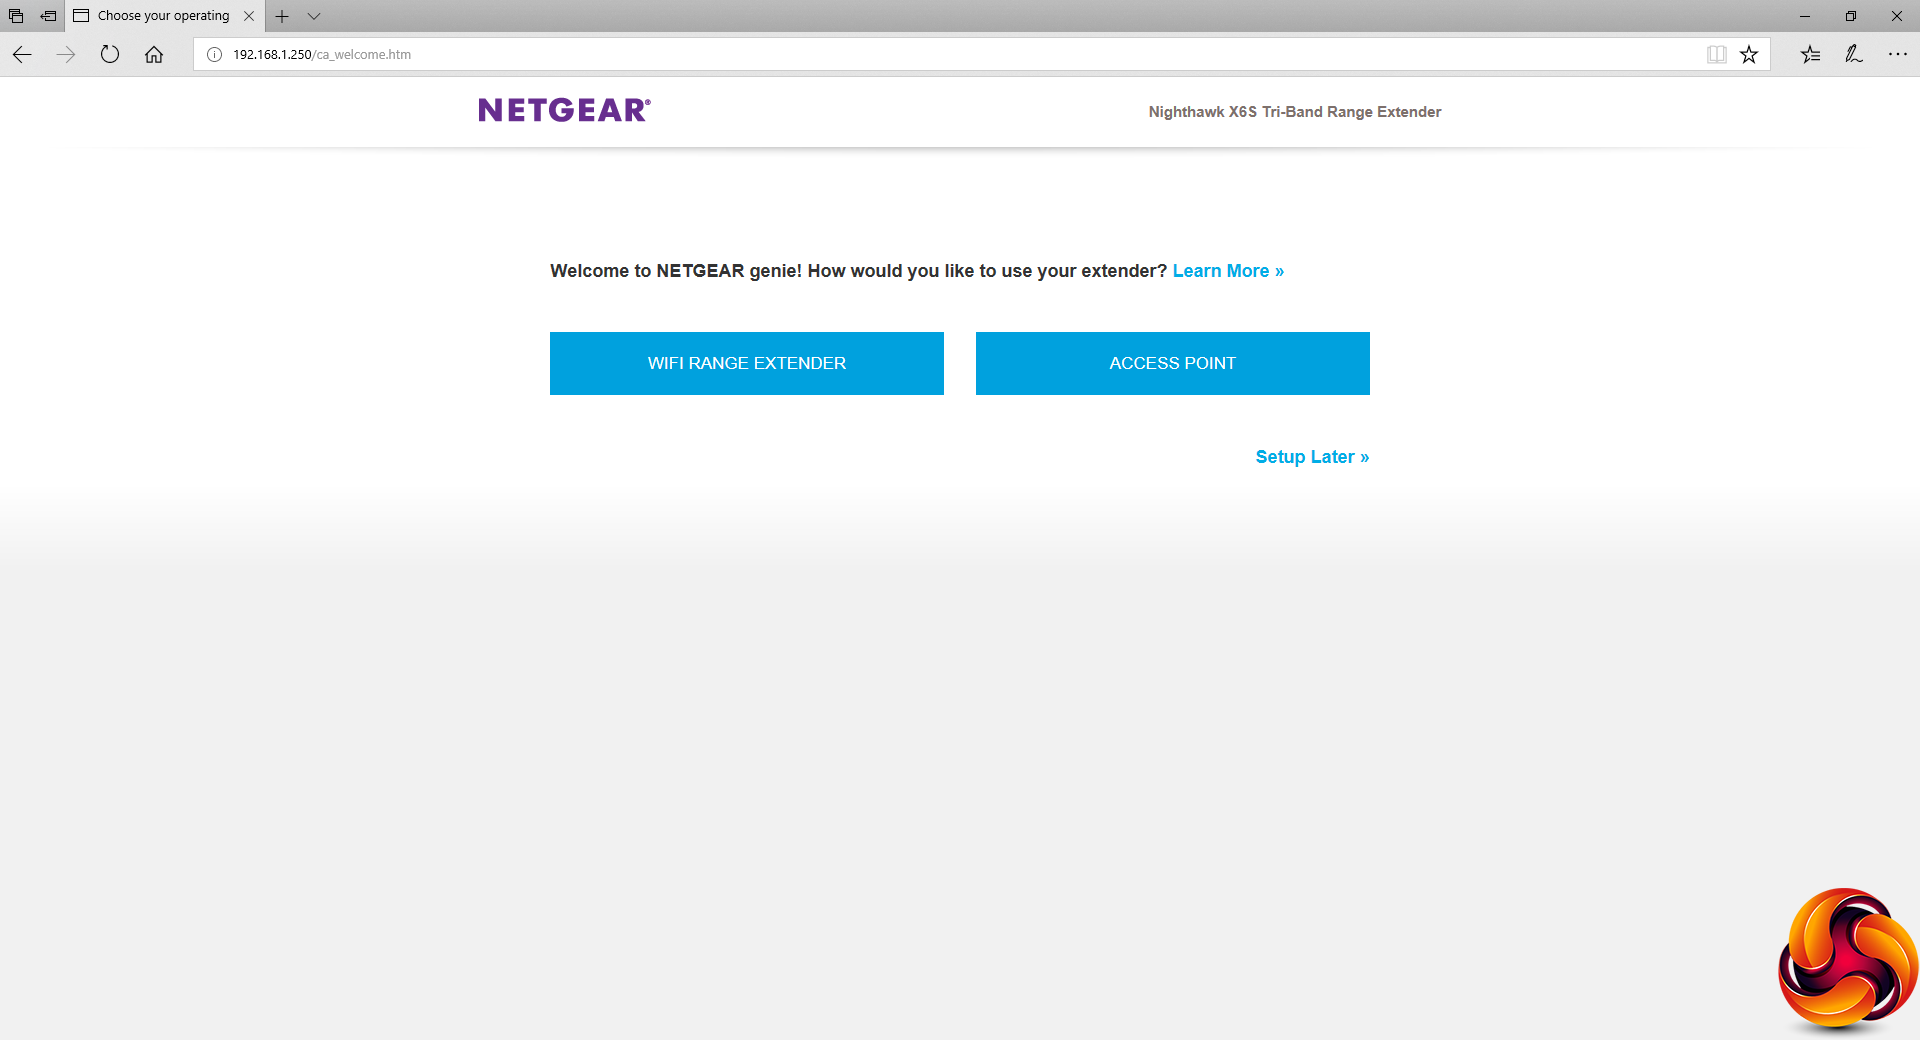
You can use the X6S as a standard access point, but wireless extender is what you bought it for, presumably, so this is the option to choose. However, the Access Point option means you can use the X6S with wired Ethernet infrastructure as an additional node.
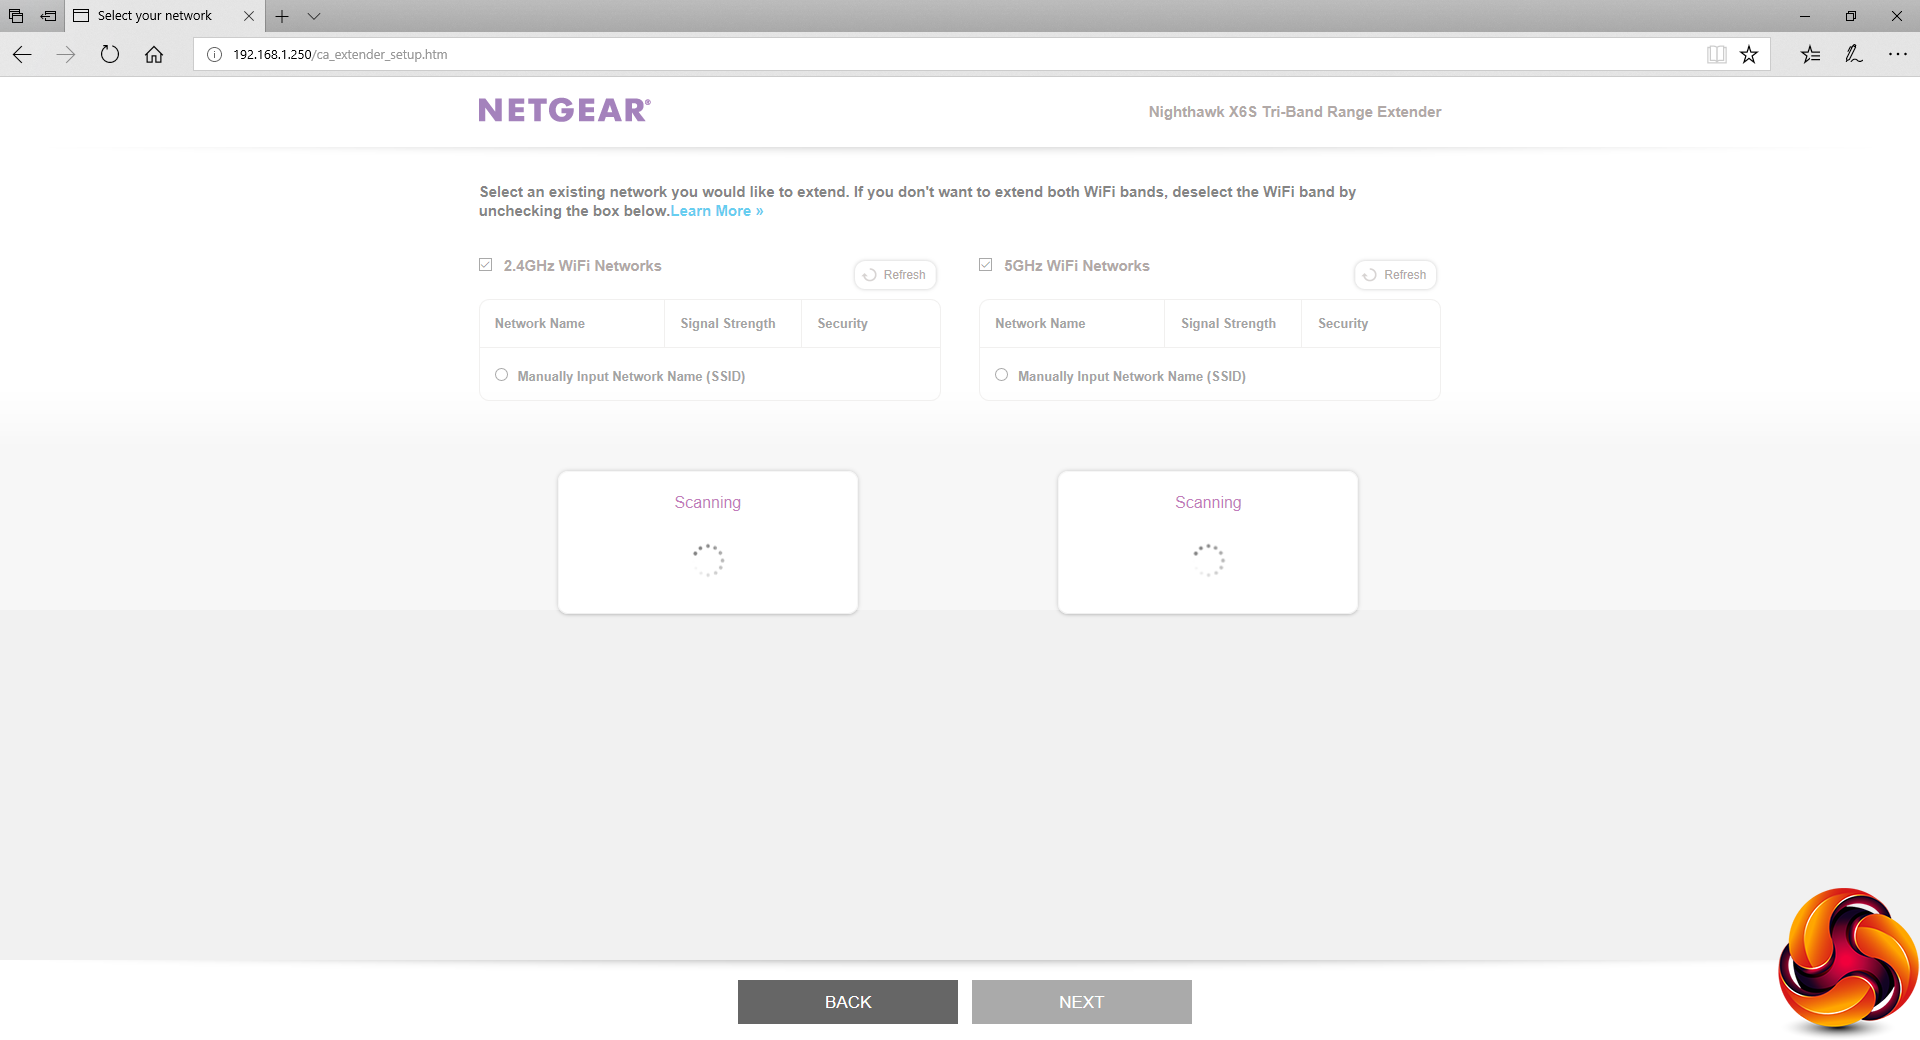
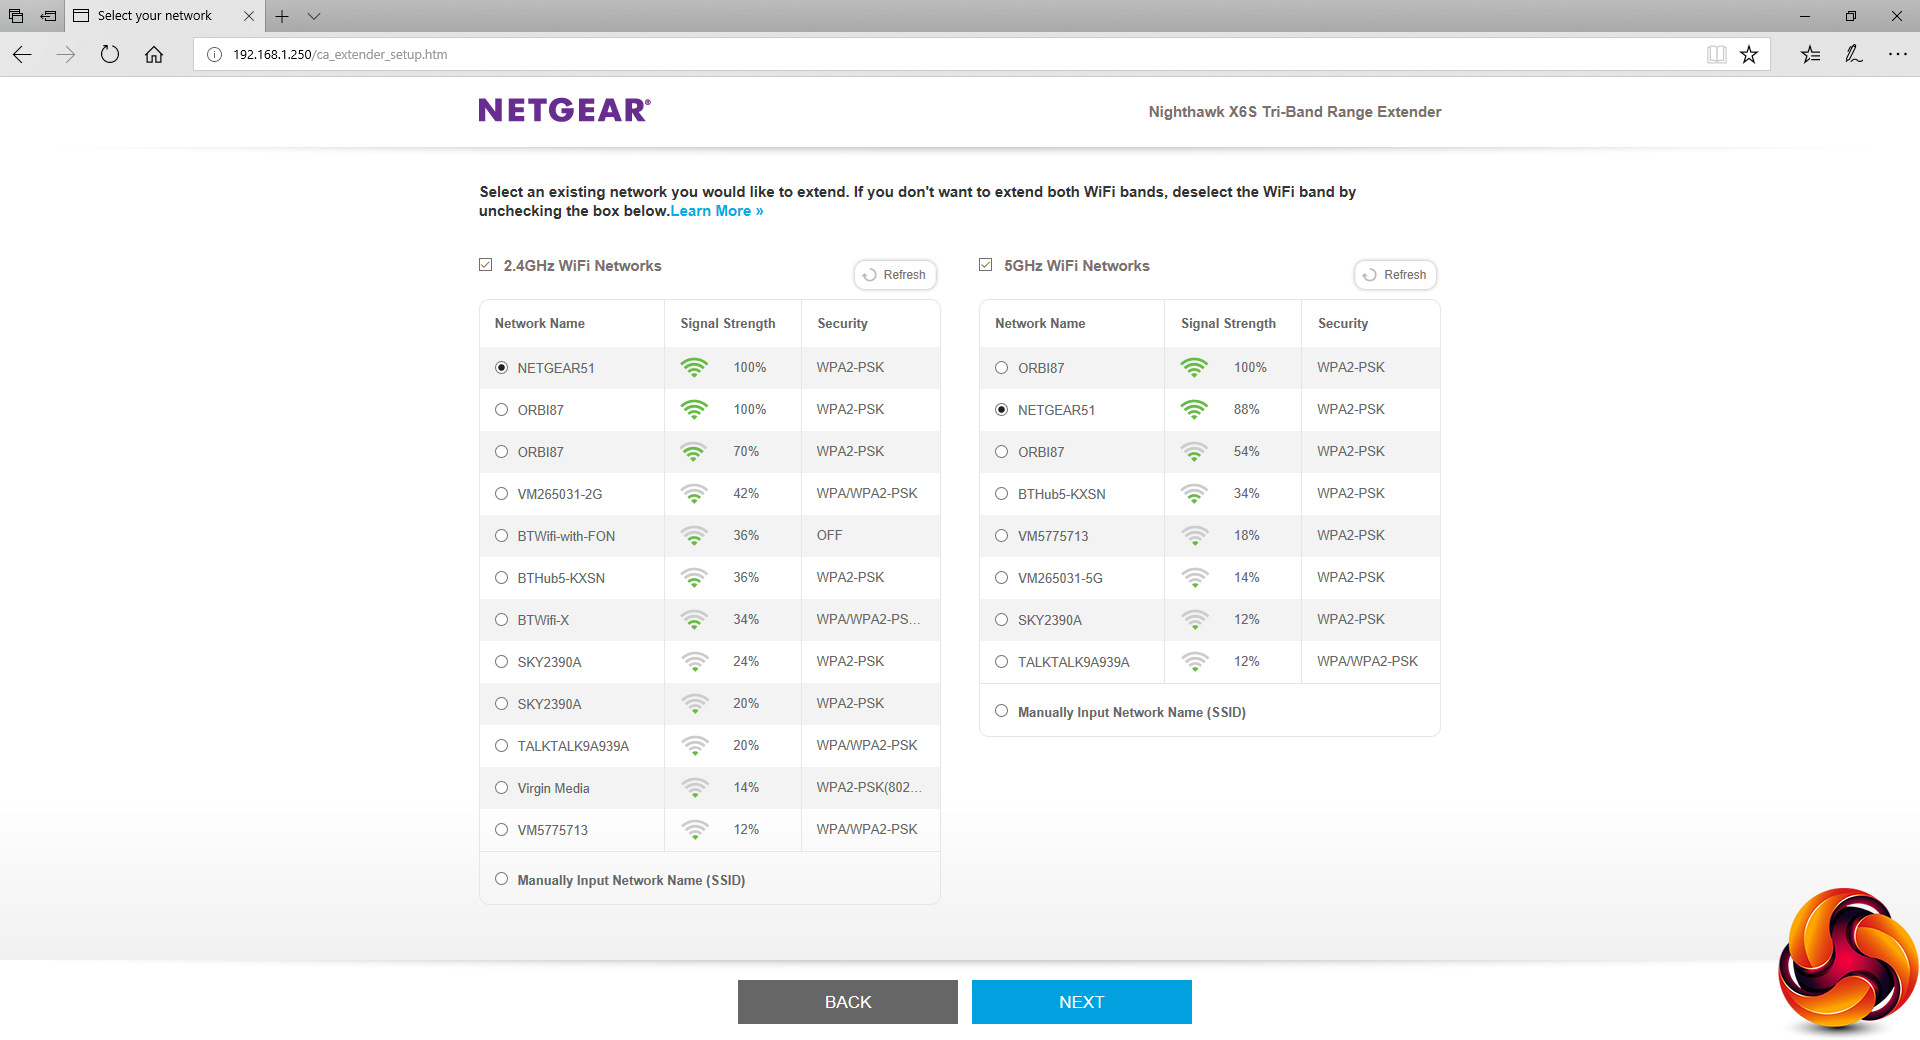
The X6S will then scan for current WiFi networks, and present you with a list from which to choose the one you want to attach it to. You can choose different 2.4GHz and 5GHz WiFi networks to extend, although in practice these will both be on the same router. But you might use different SSIDs for the two wavebands to keep them separate.
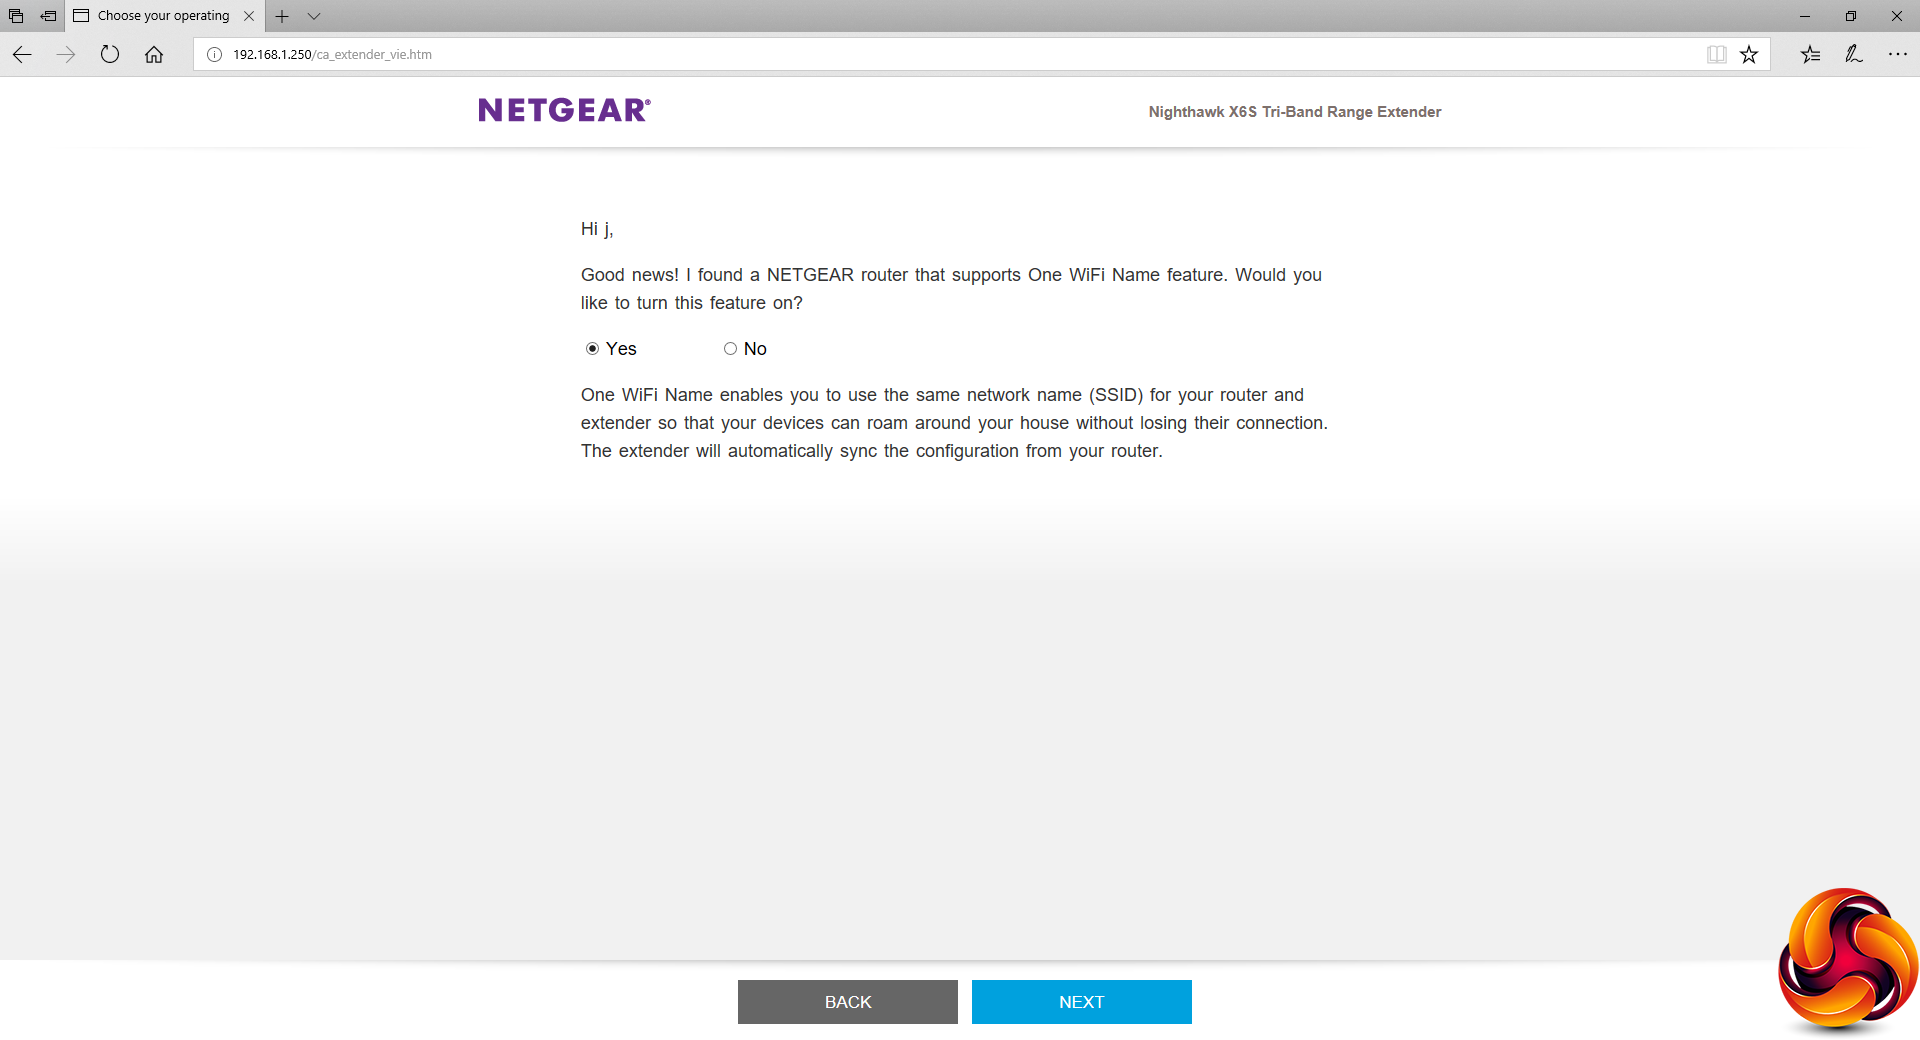
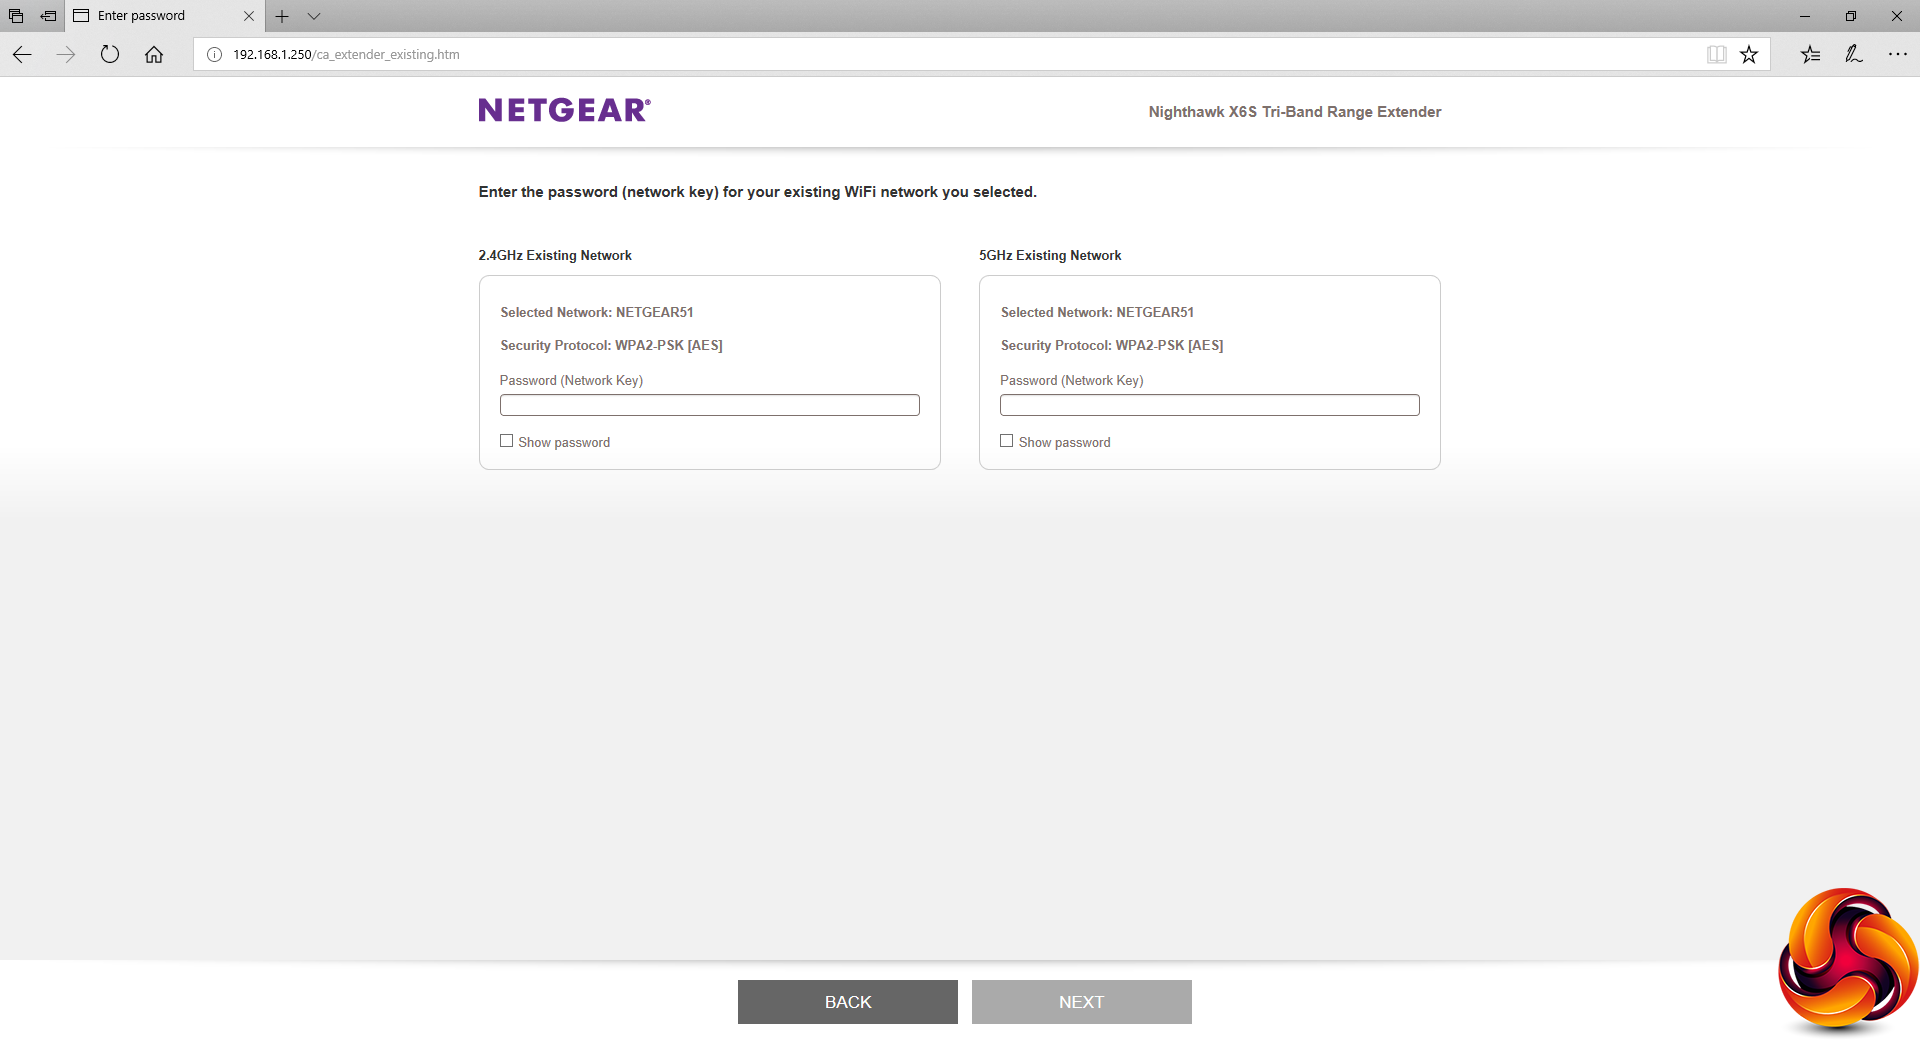
You can then indicate whether the router has One WiFi Name support. Although you can use the X6S with any router, in theory, if you want to use the mesh system with a single SSID, you will need to use a NETGEAR router with One WiFi Name support, which our XR500 test host was. Next, you supply the passwords for your 2.4GHz and 5GHz WiFi.
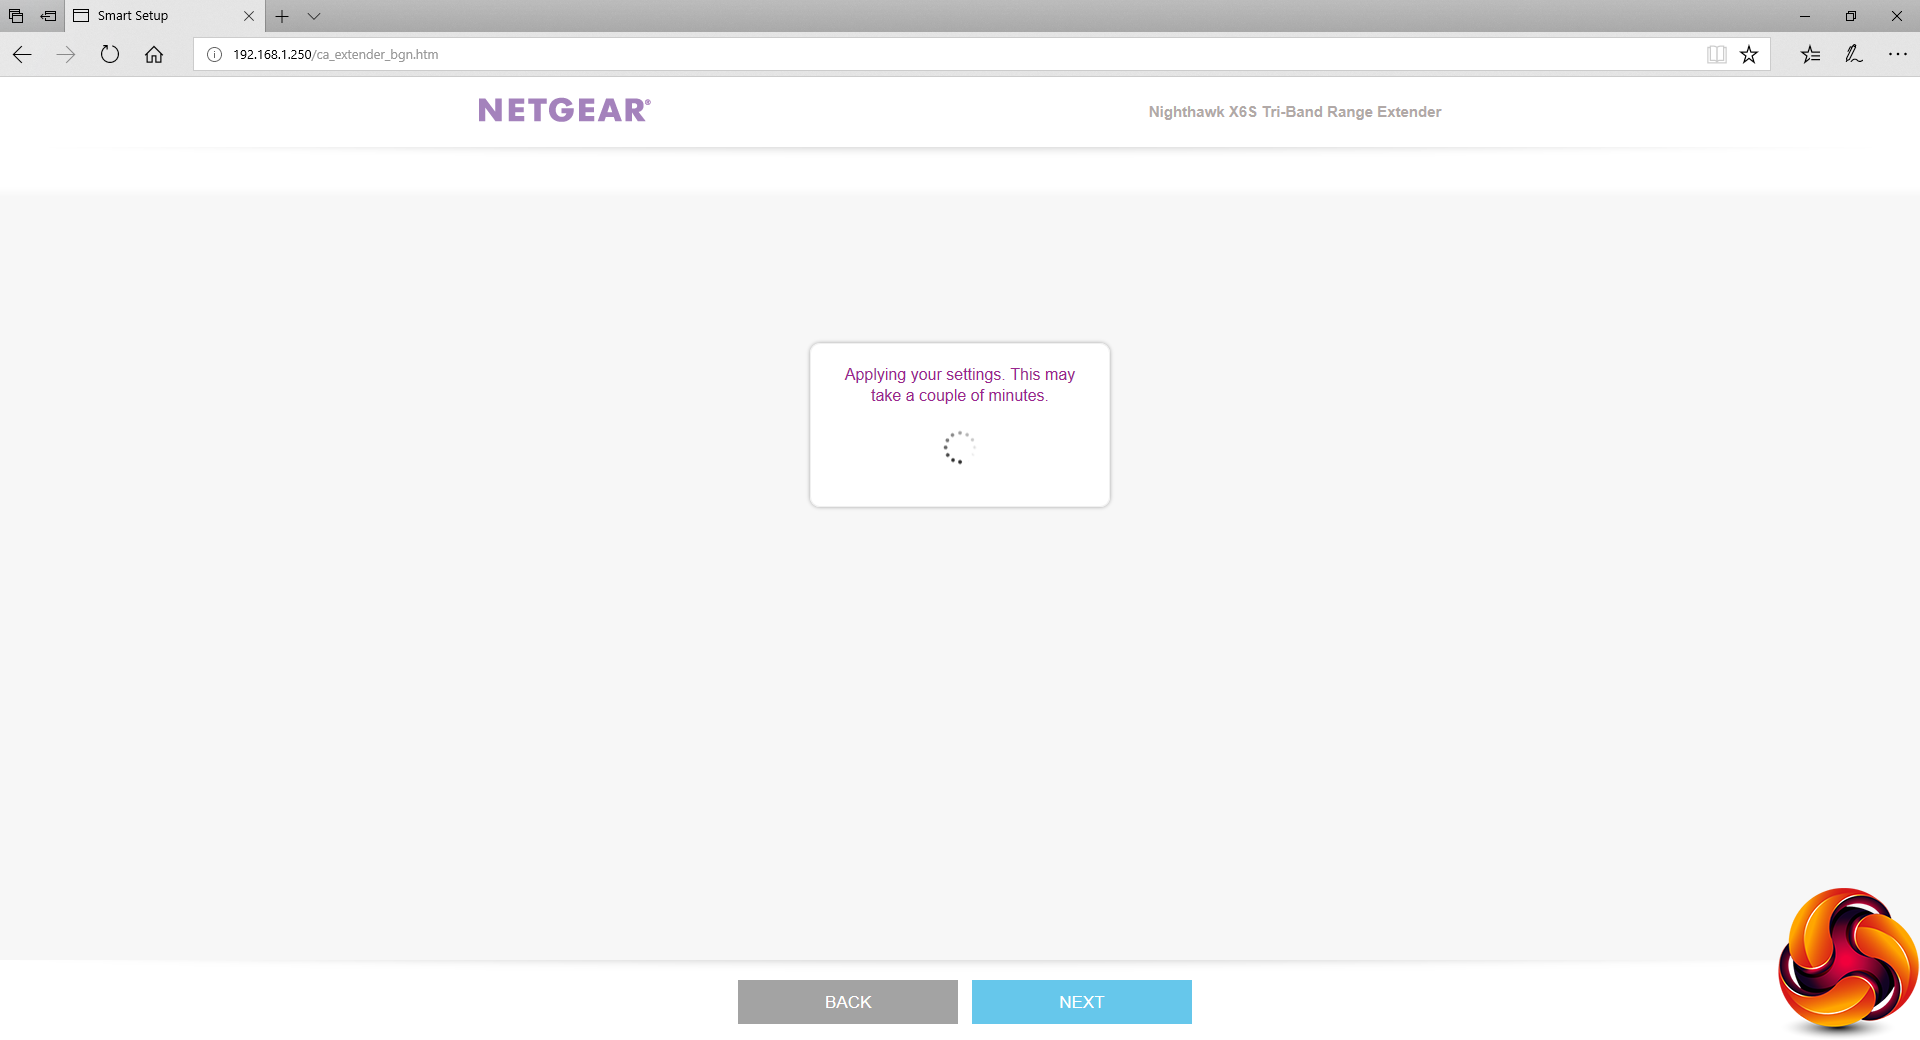
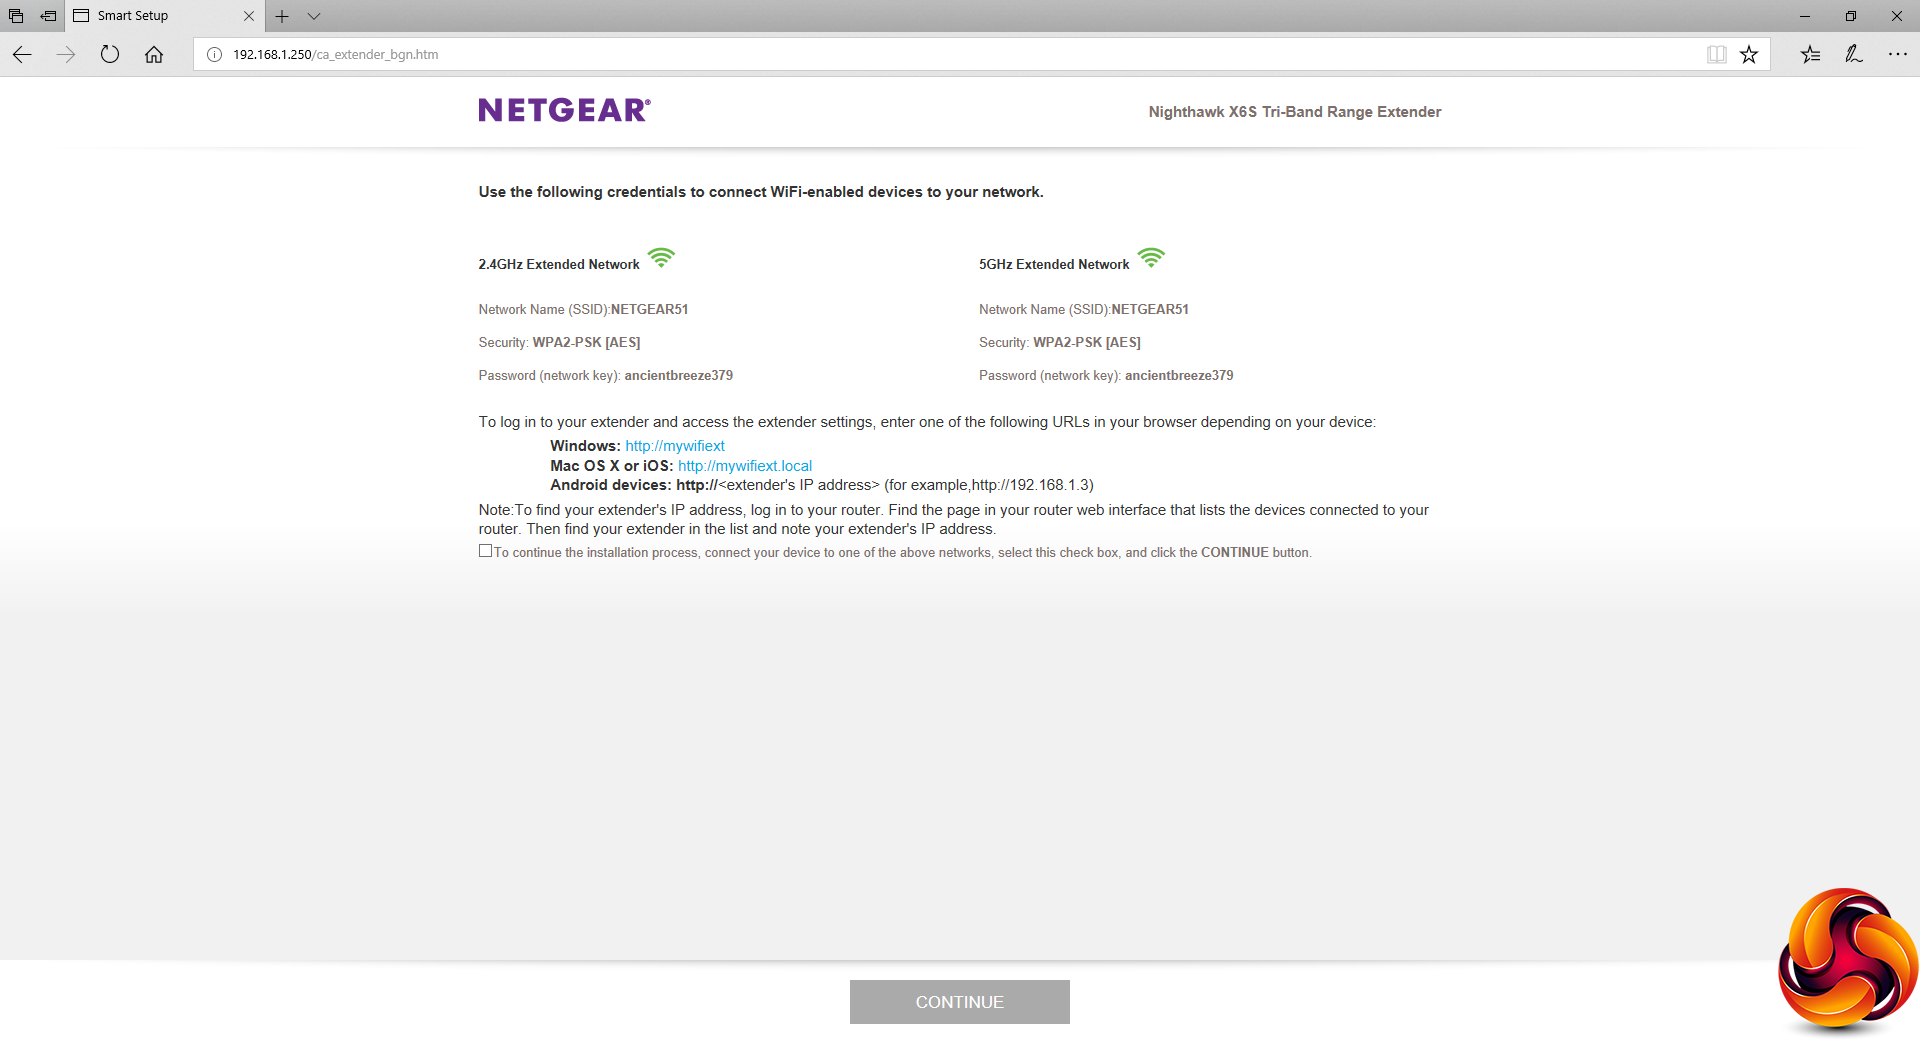
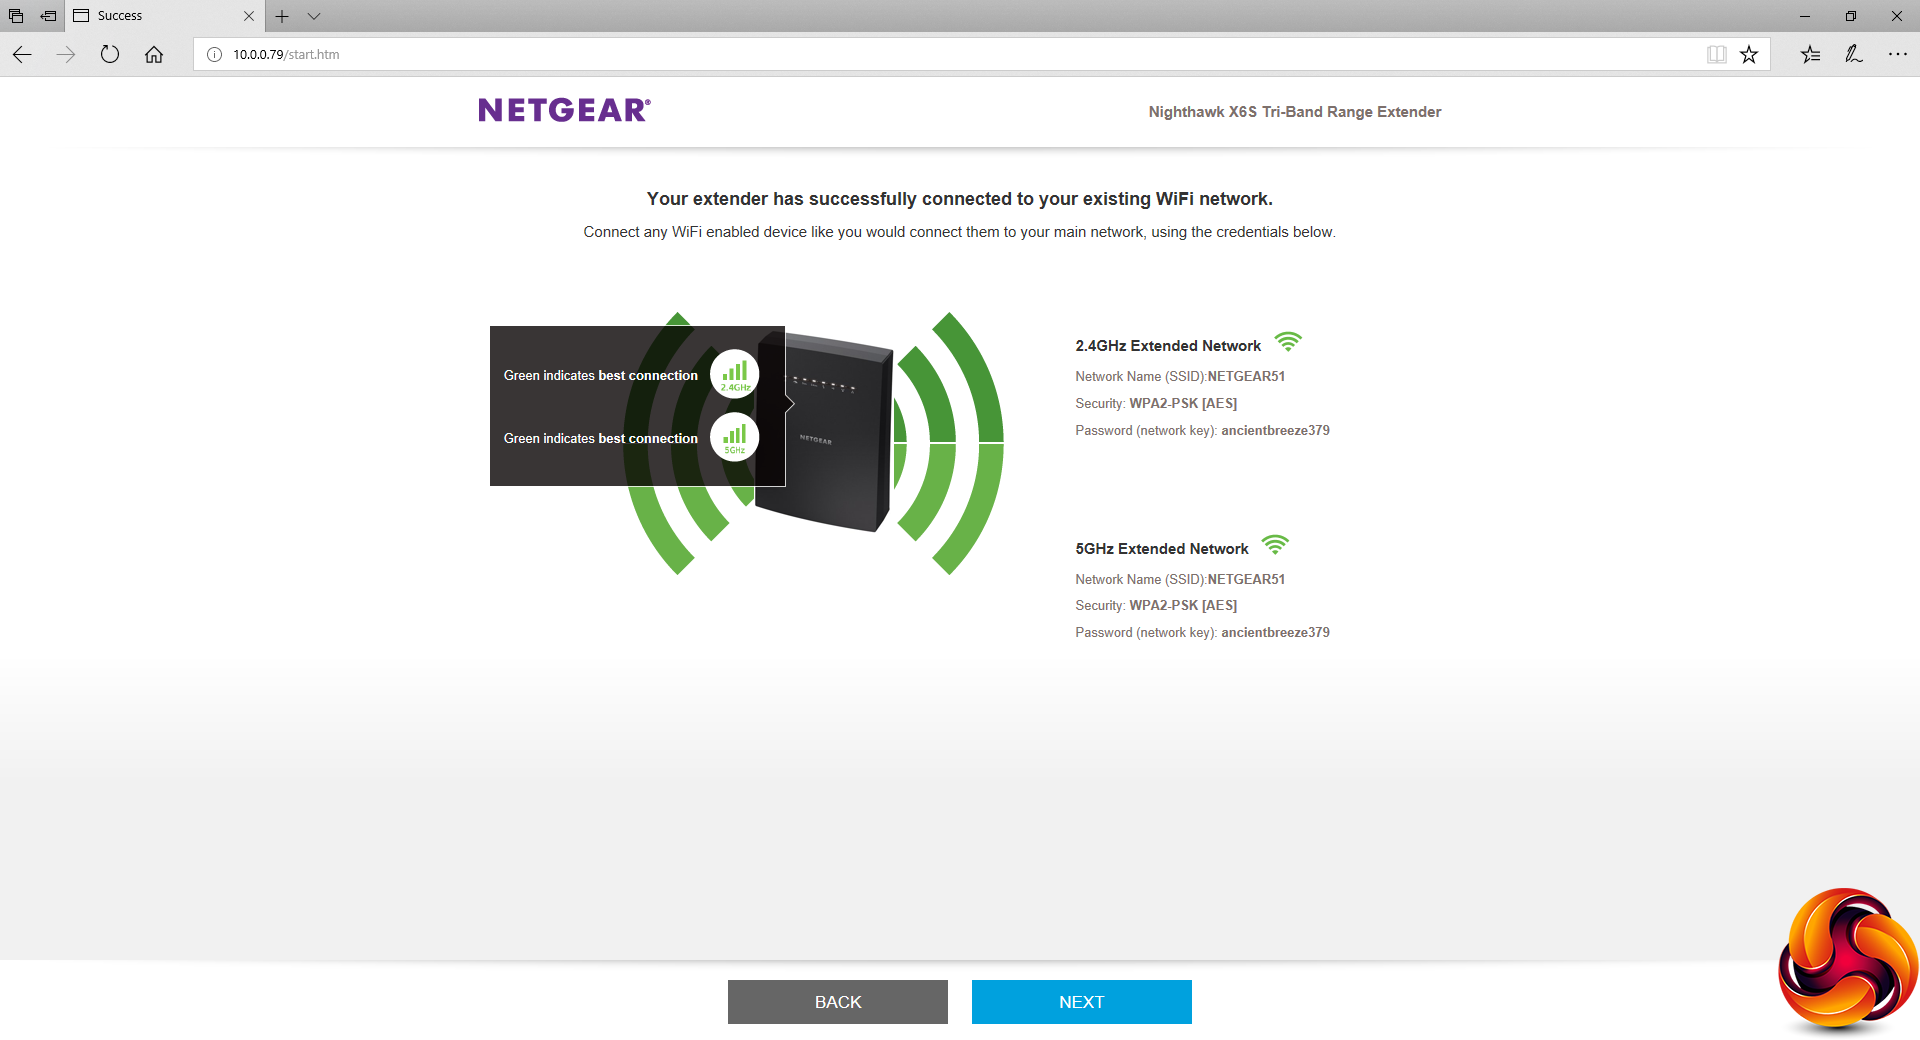
The X6S will then connect to the two WiFi bands, which takes a little while. But once you get to the next screen your WiFi has been successfully extended.
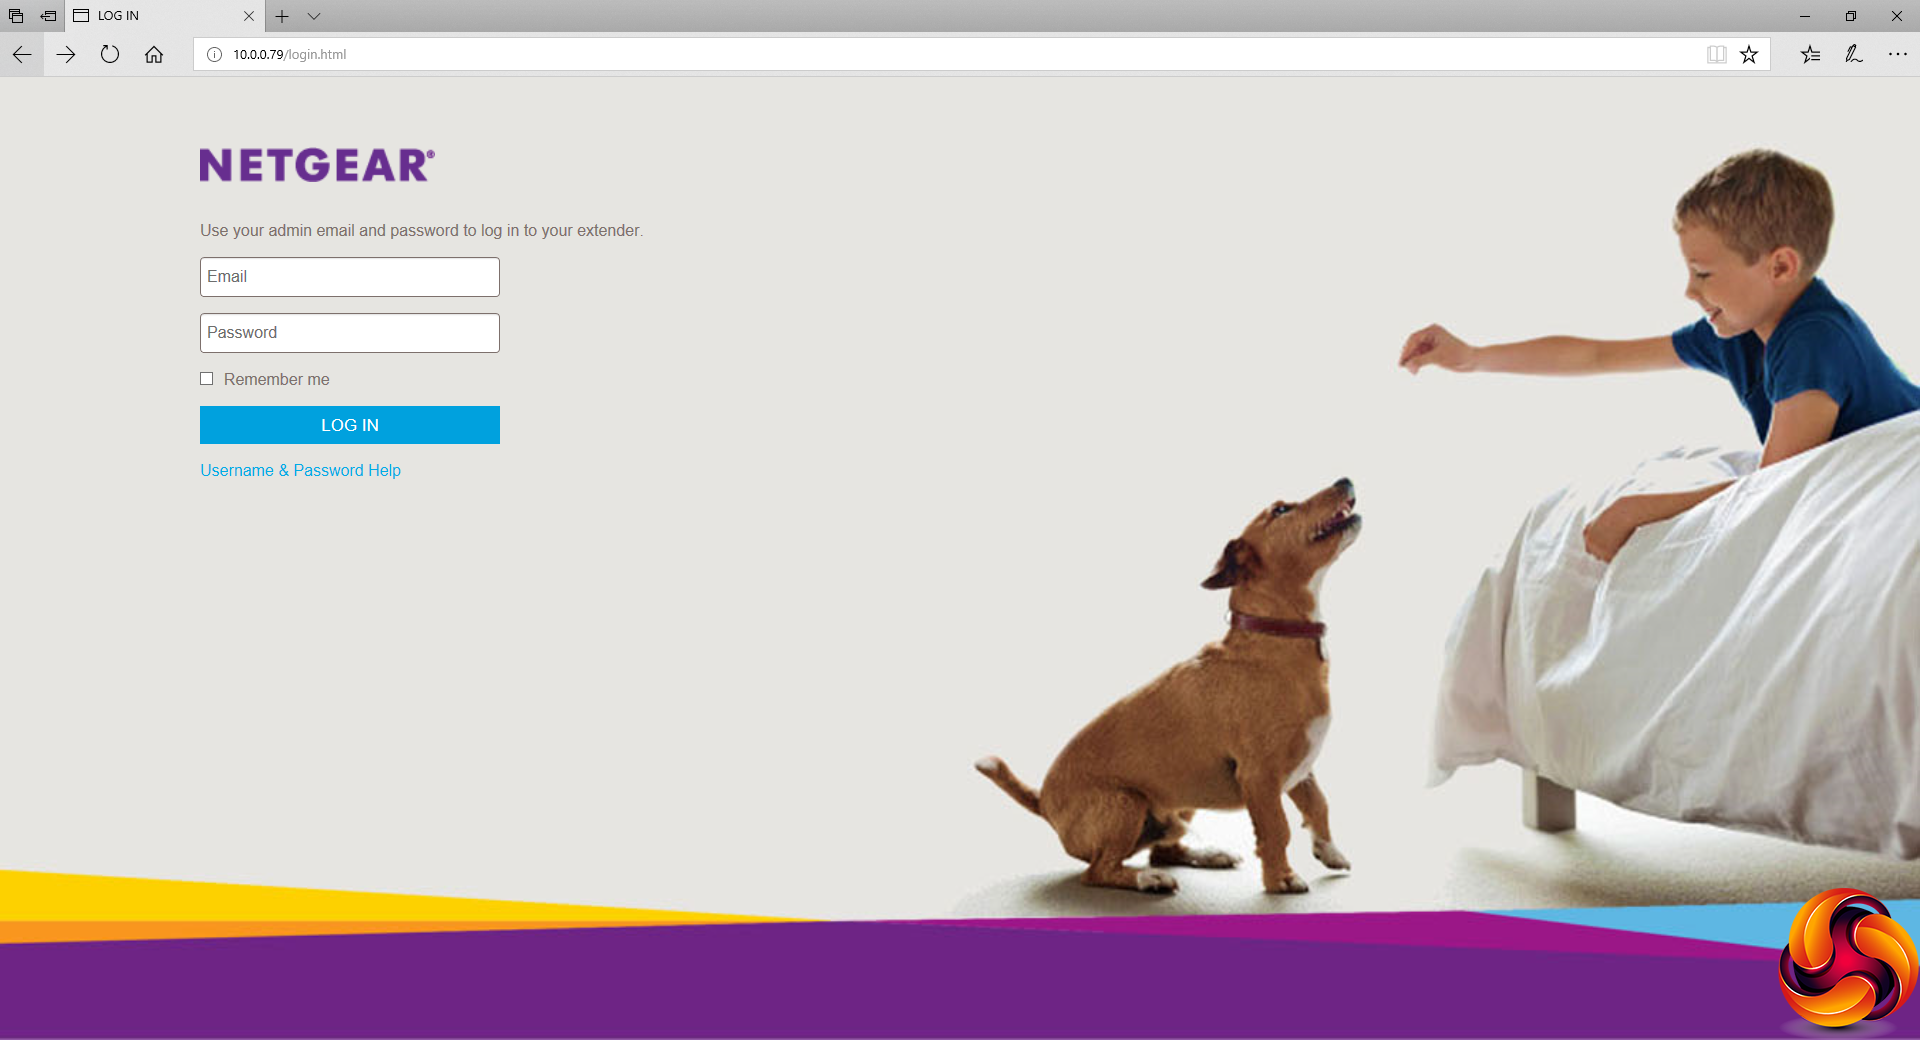
You will now be redirected to login to the X6S management interface, using the credentials you set up during the installation wizard. And, no, we don't know the significance of the dog picture either. Maybe the X6S is supposed to be good at faithfully fetching your data, although terriers like the one shown can be a bit pesky in our experience.

During your first login, you will be told that the setup process has been successful and prompted to register your product purchase.
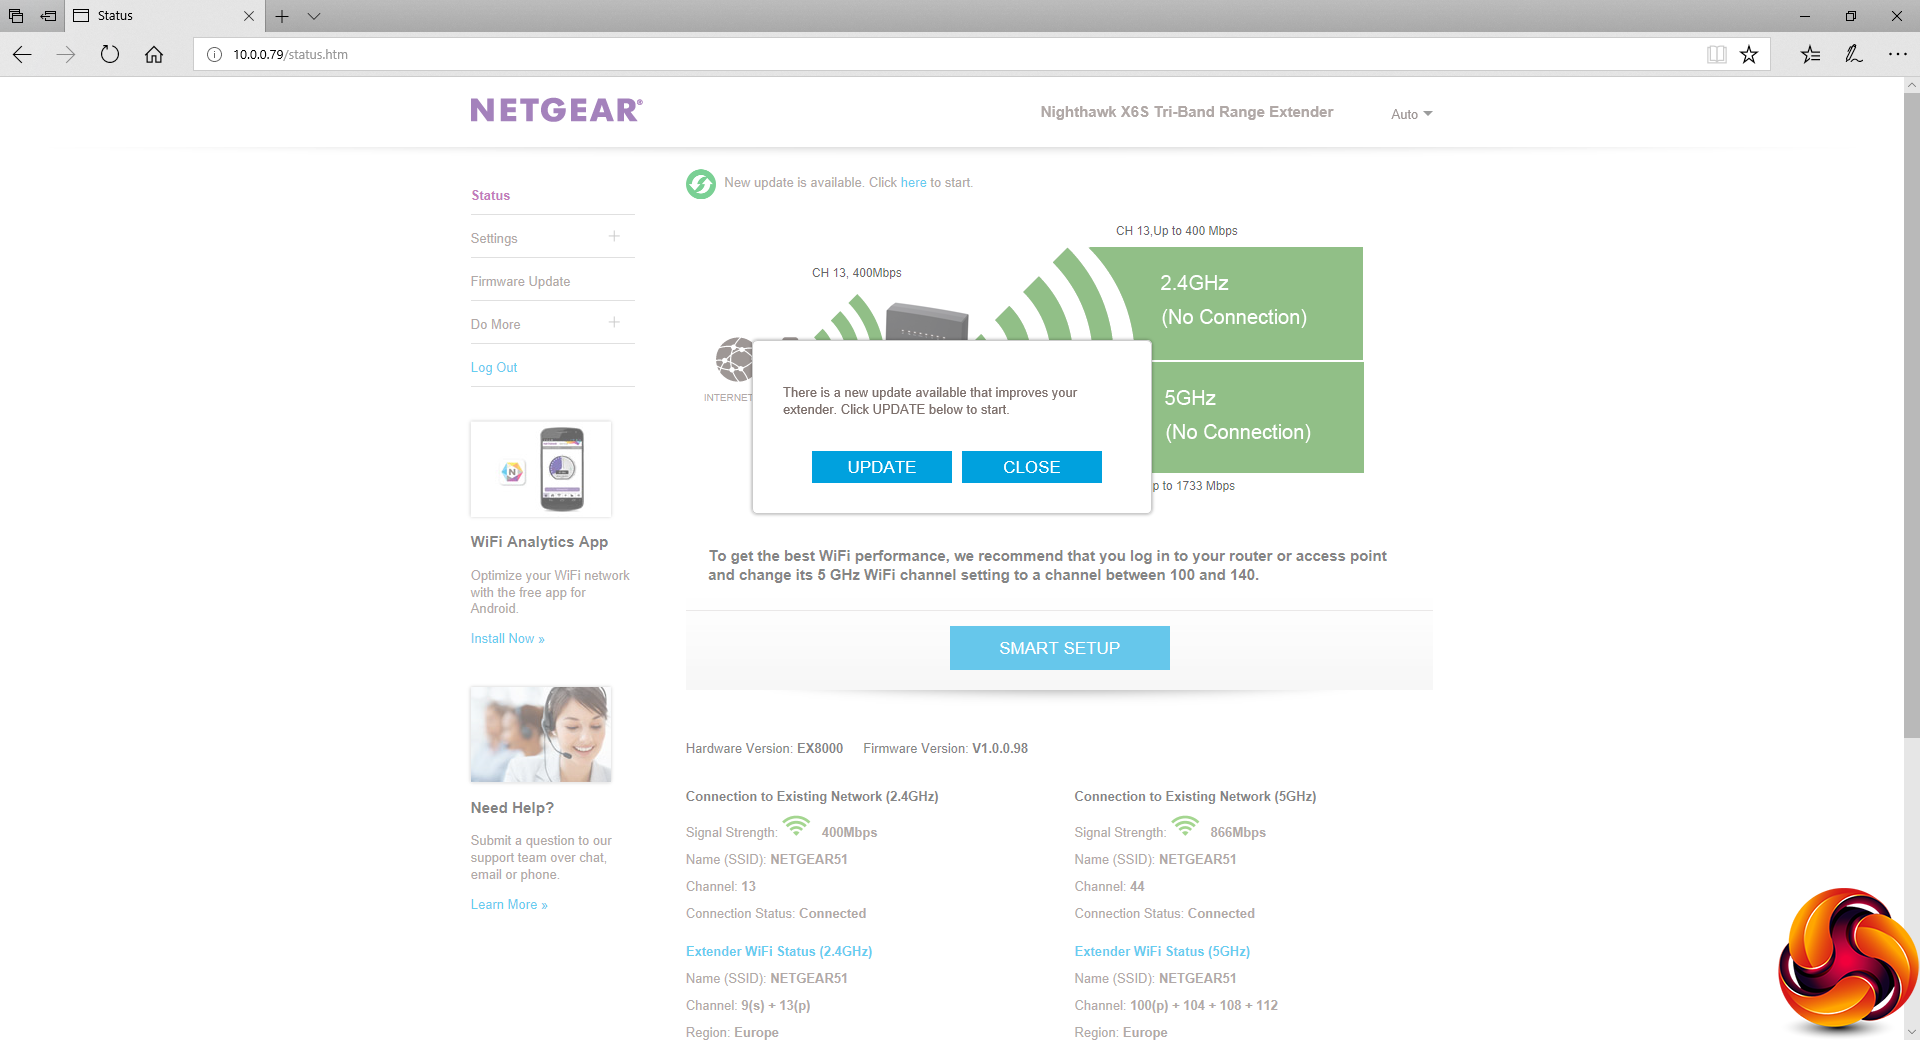
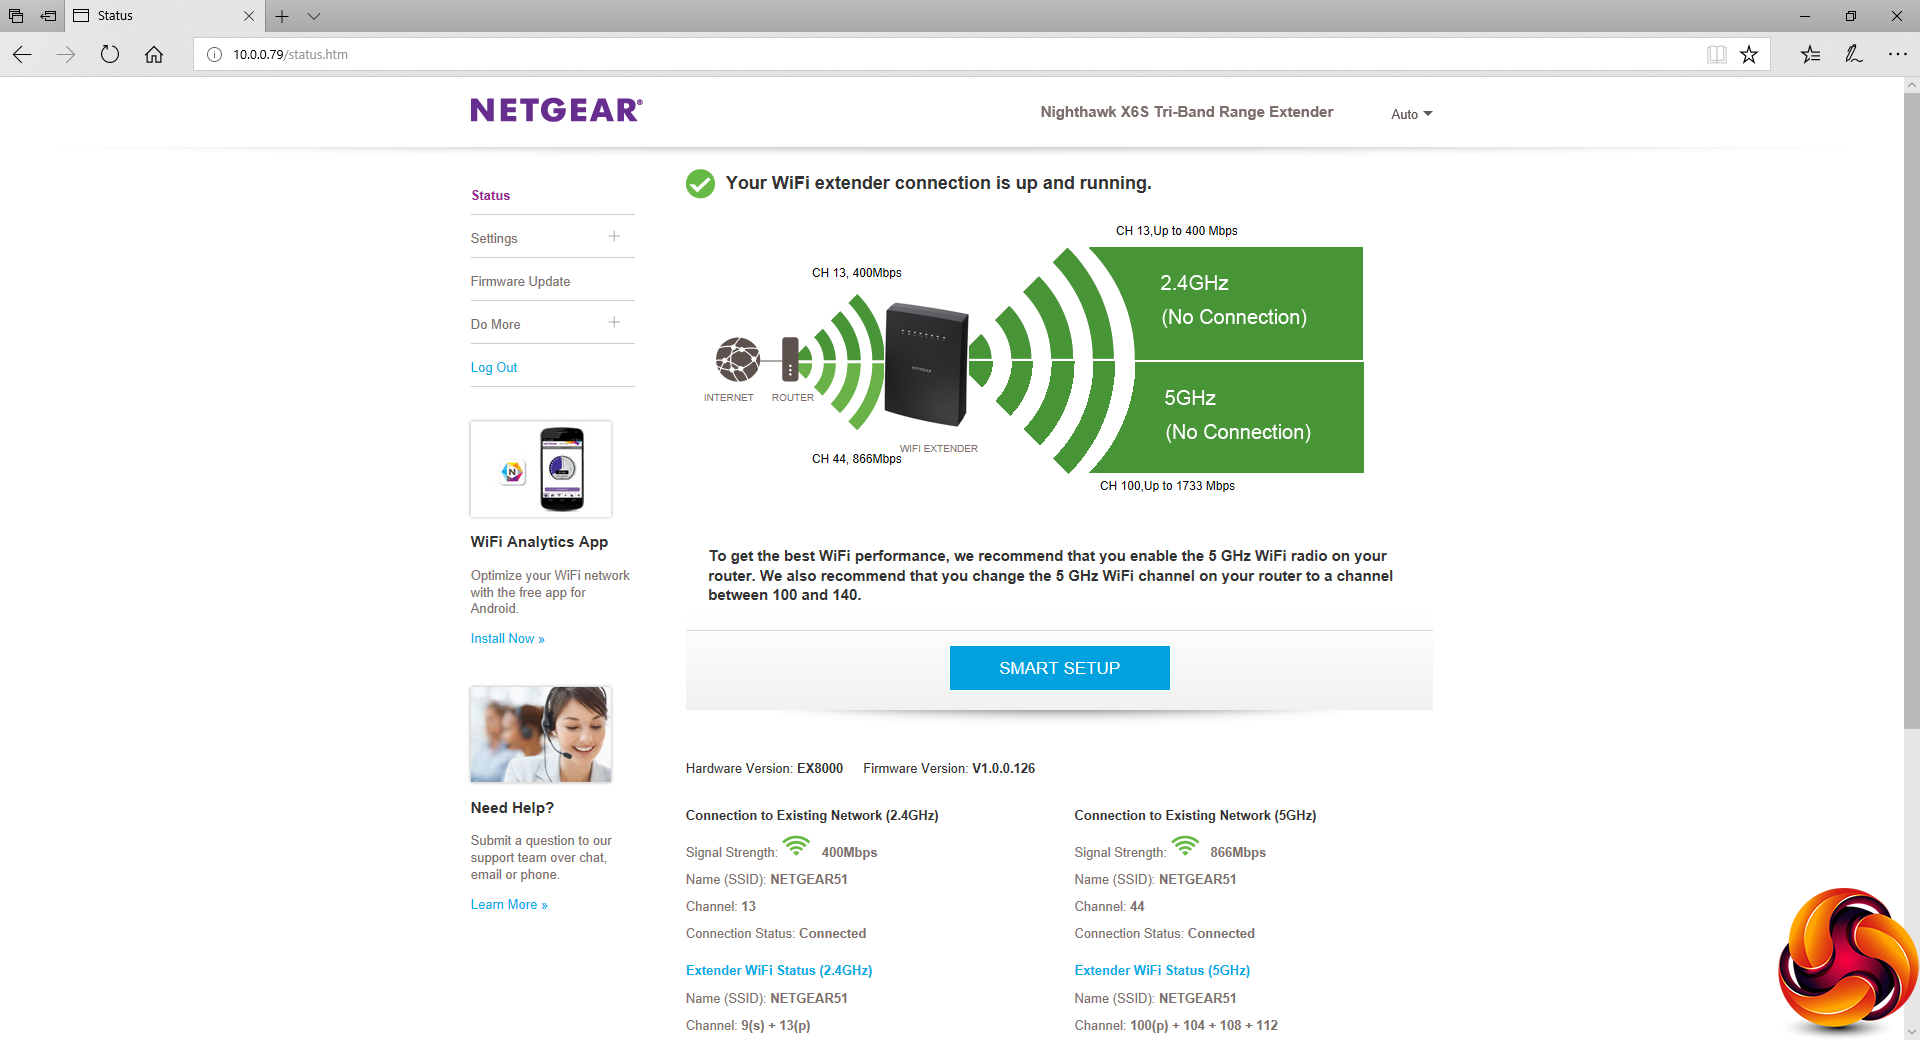
Finally, we have reached the main X6S interface, although you may be prompted to update the firmware at this stage. The main Status screen shows how the X6S backhaul is connected to your router, and which channels it is then broadcasting outwards.
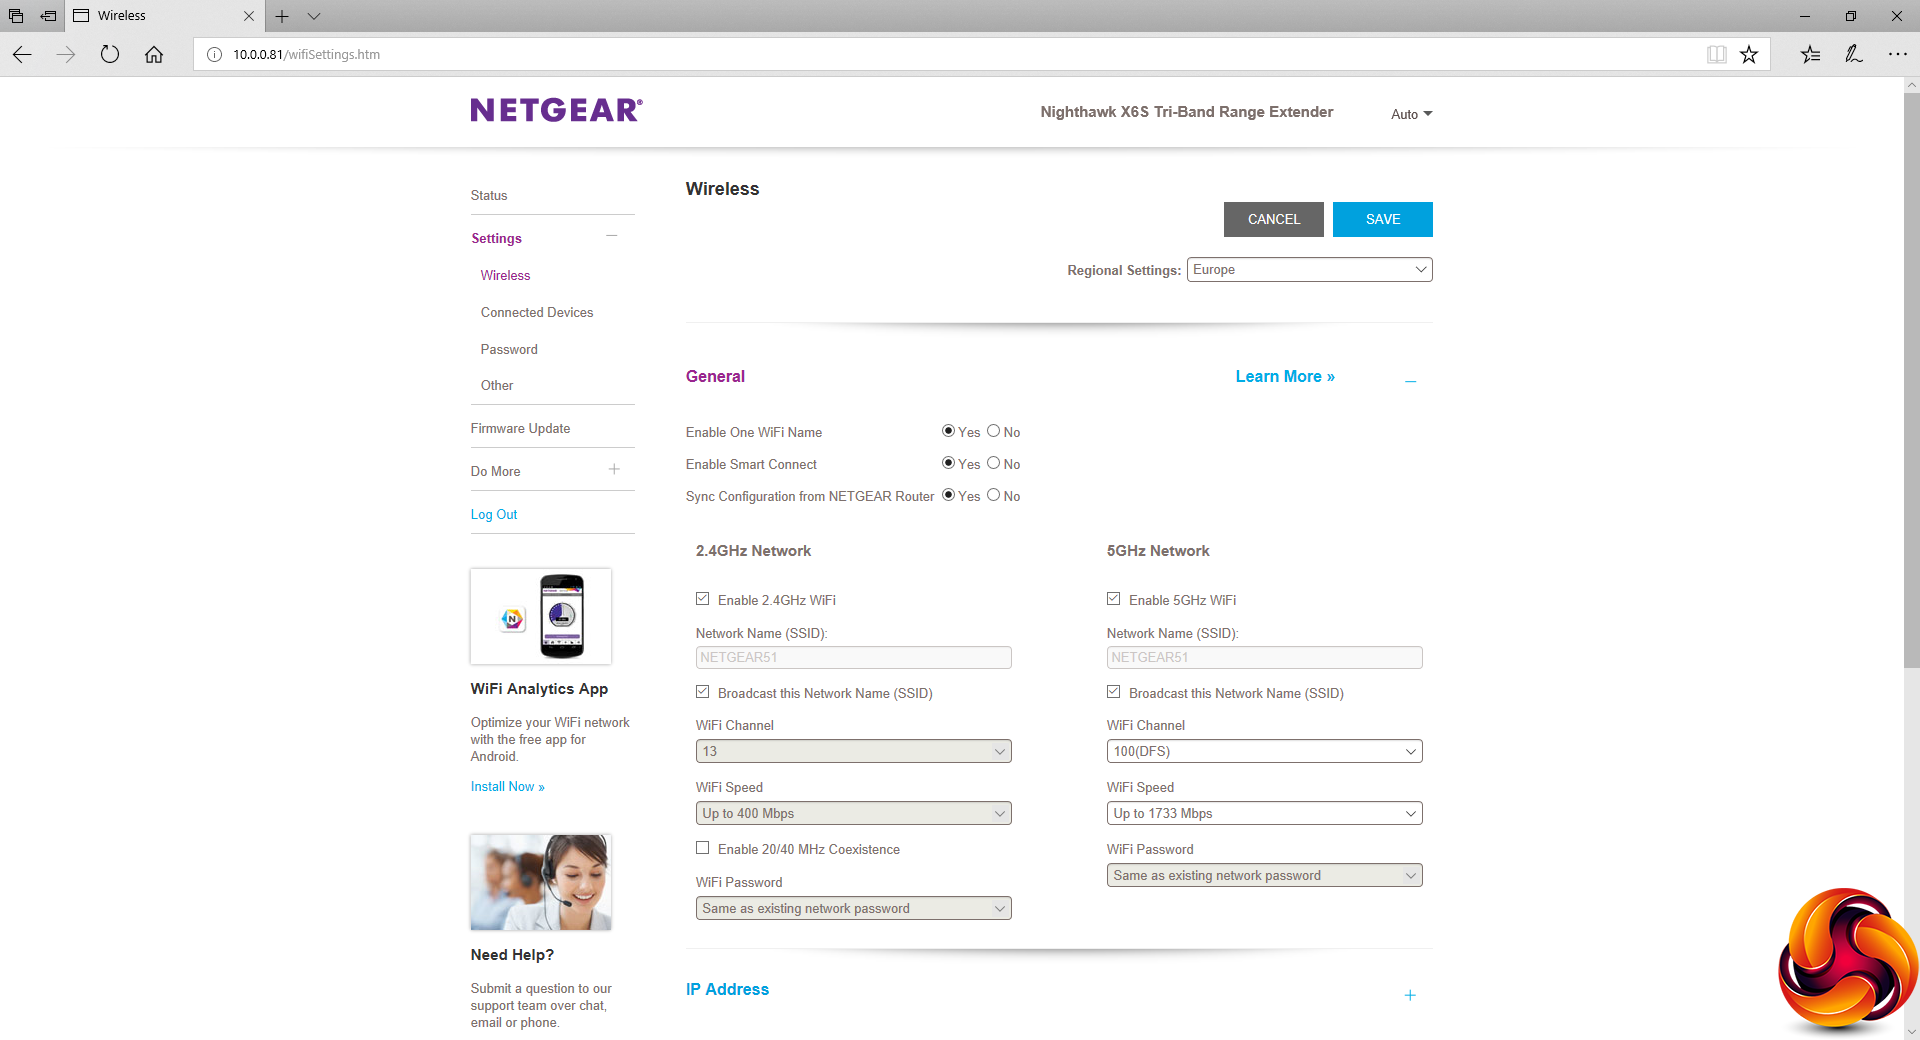
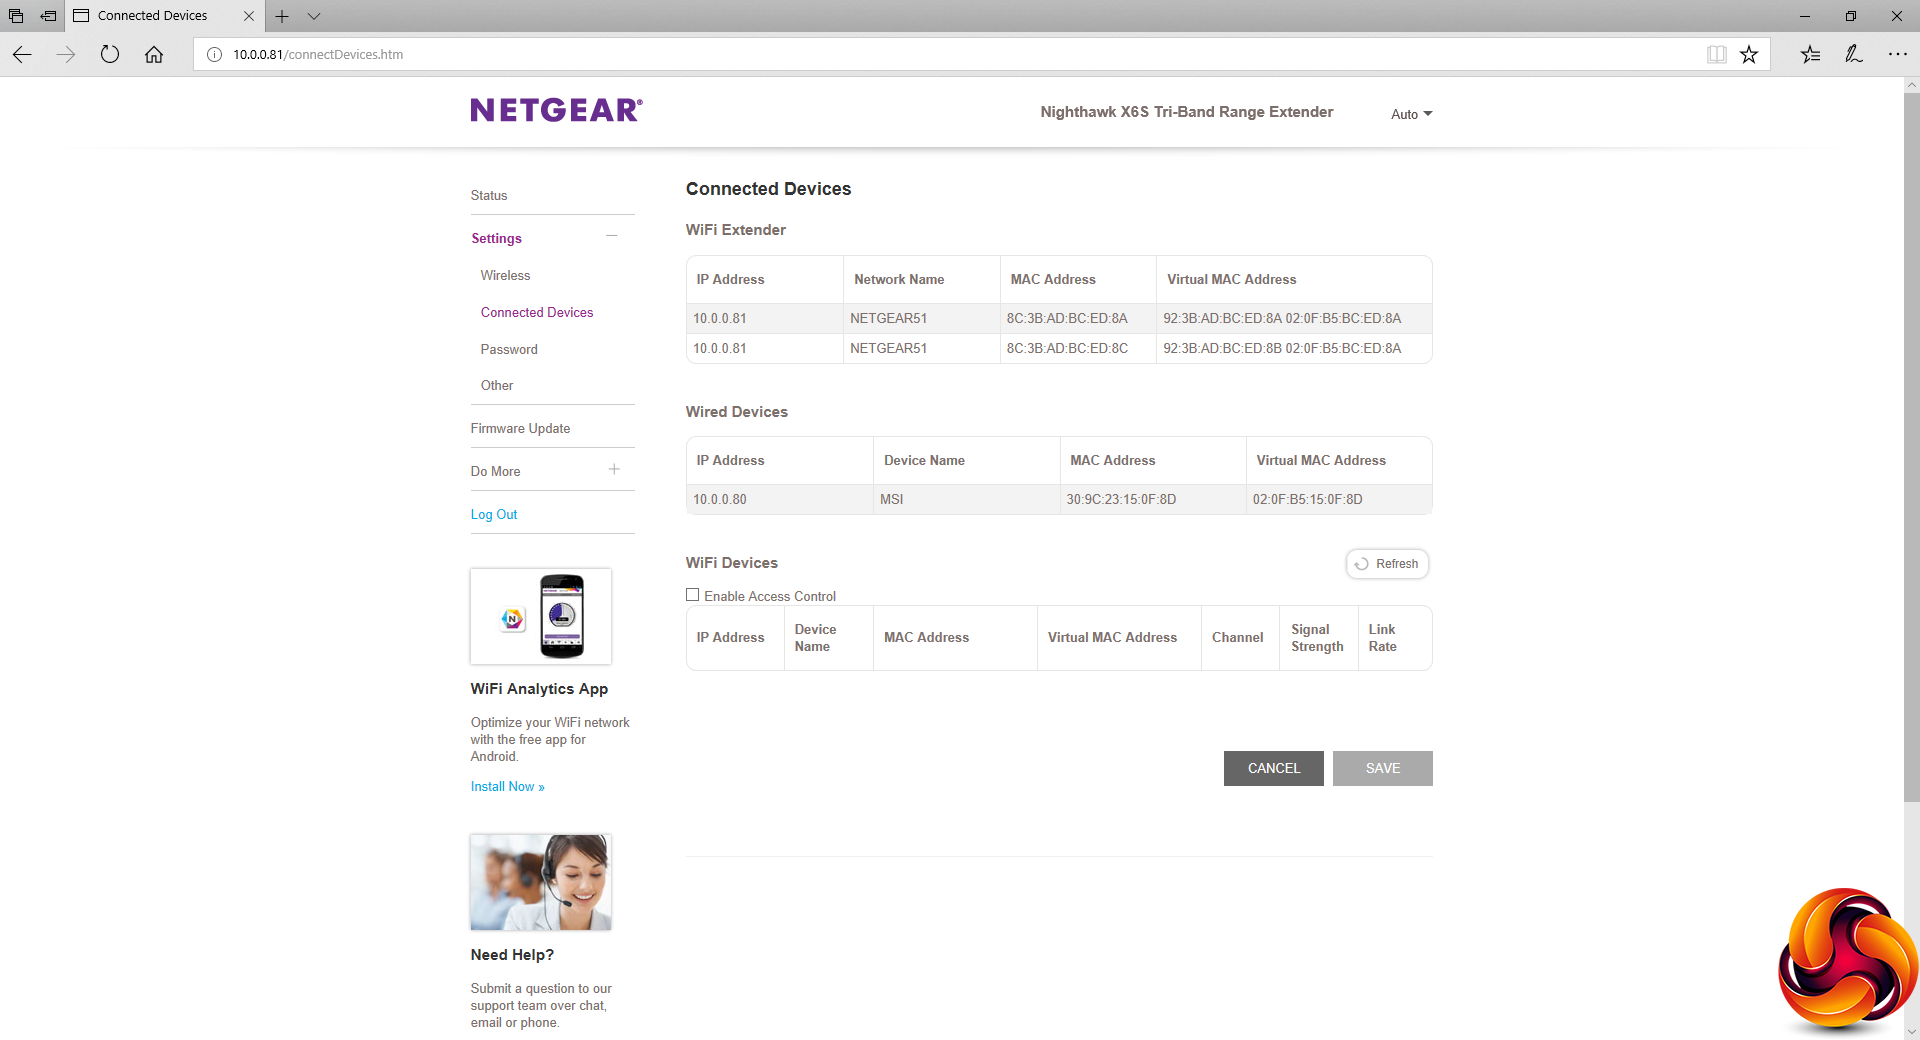
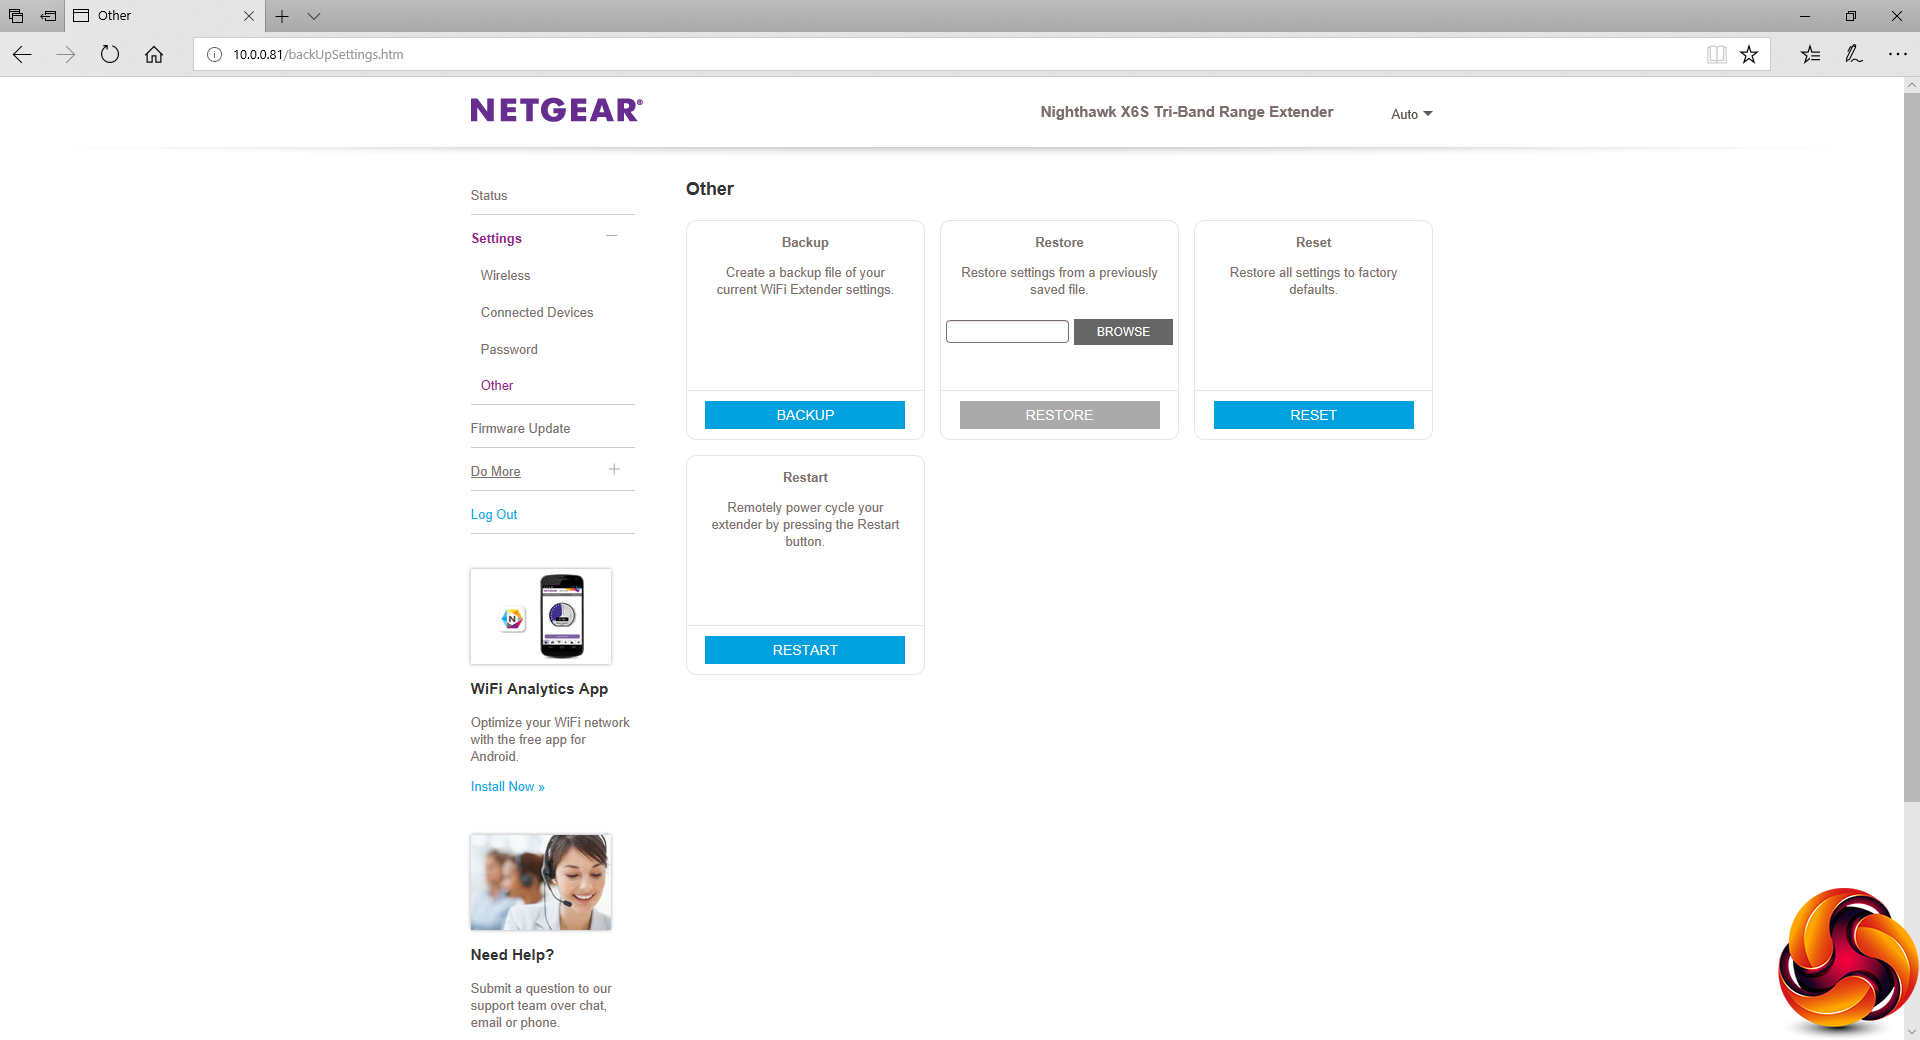
The Settings section lets you configure the outbound WiFi connections, including channel and bandwidth settings. You can view client devices connected via the X6S, change the management interface password, and backup, restore, or reset the configuration.
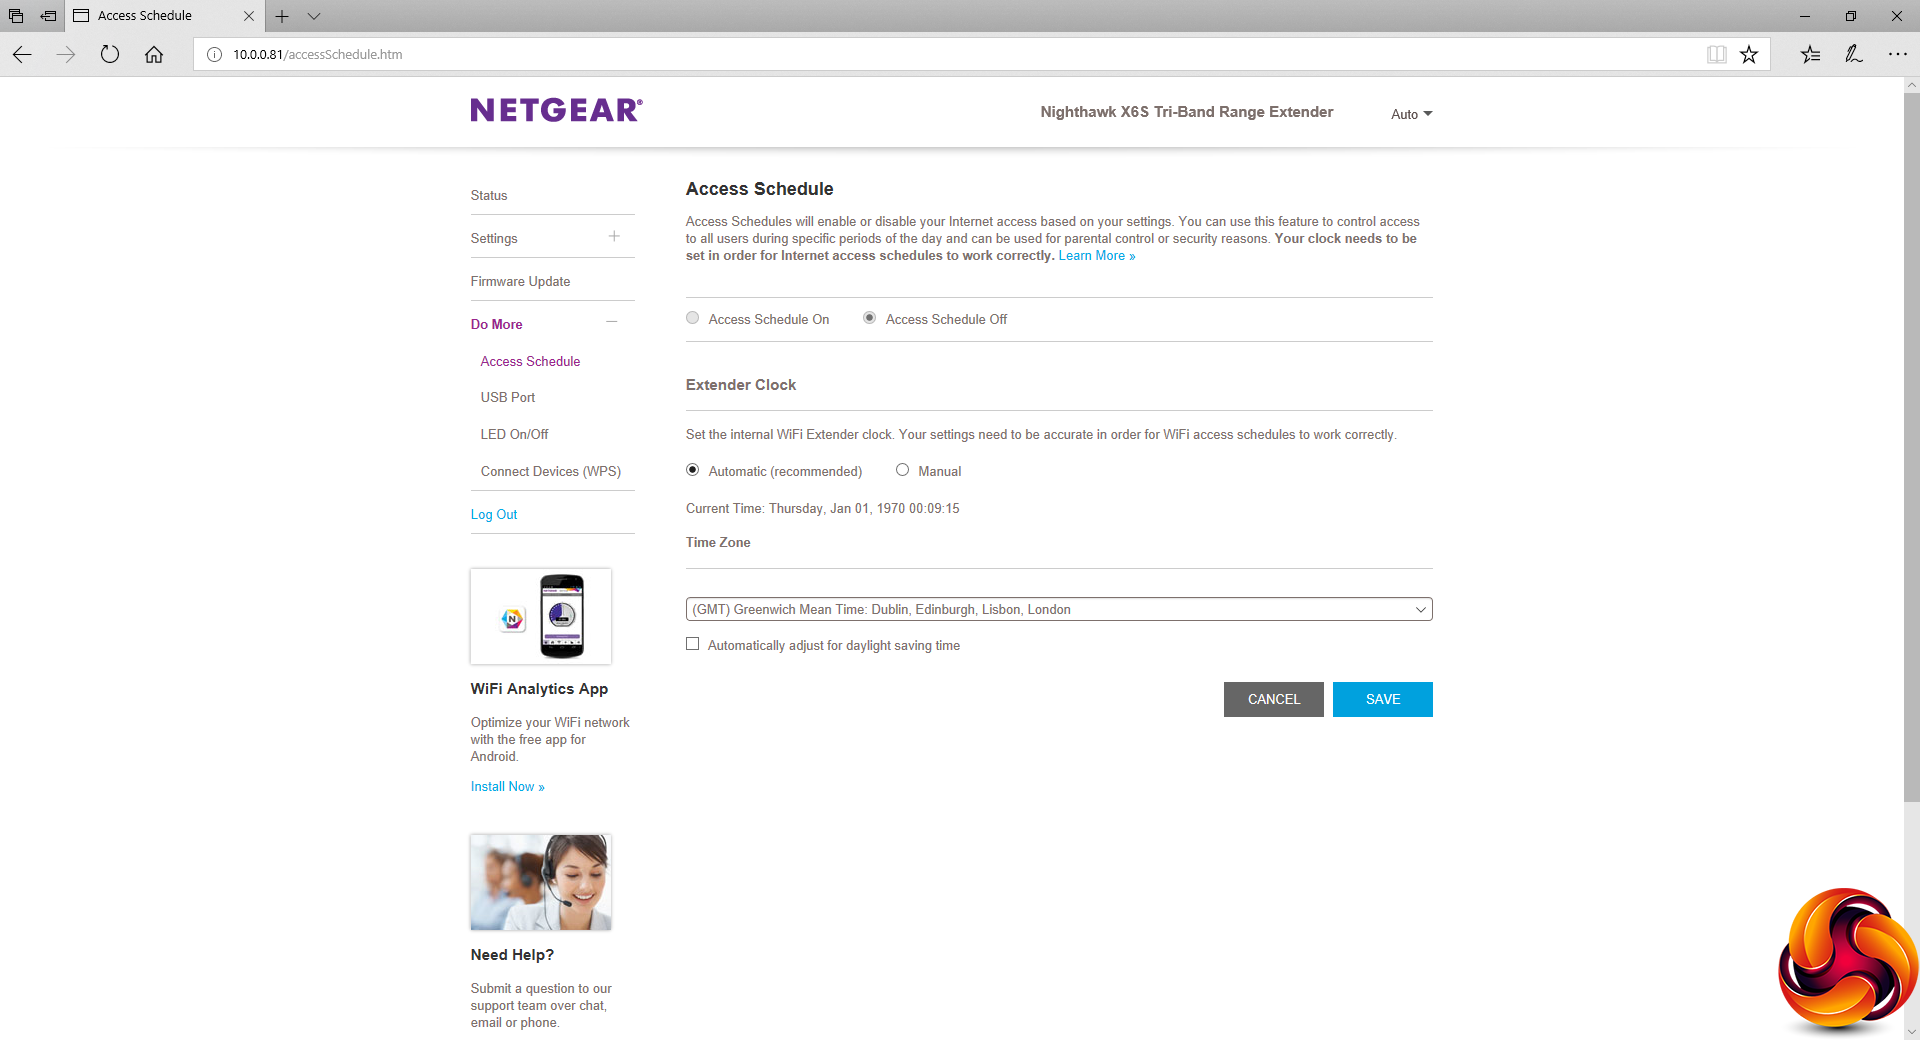
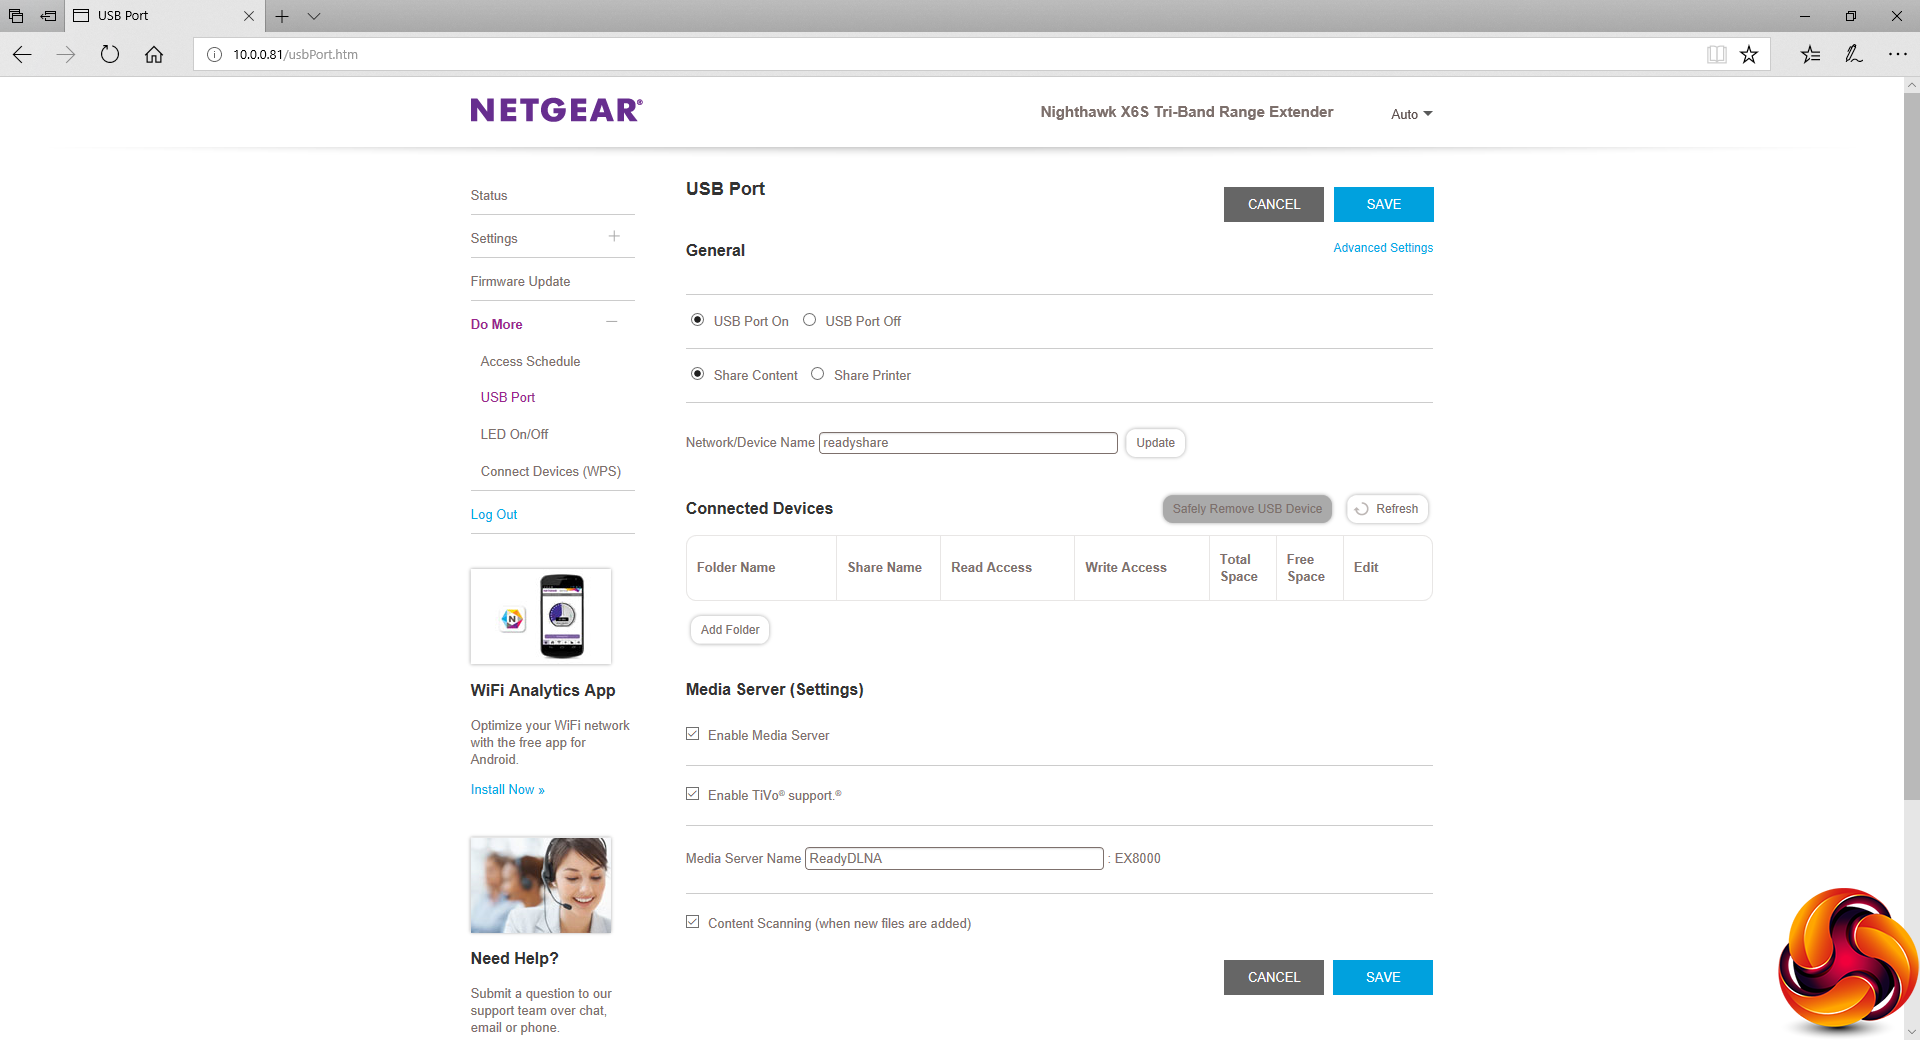
The Do More section is where you can access the few extra routing features of the X6S. You can configure the system so that it is only on during certain times of day, which can be individually set for different days of the week. You can also configure whether the USB port is sharing storage or a printer. With the former, you can configure storage as a DLNA server and for Windows network accessibility.
Overall, setup is relatively painless. Although the management interface doesn't have a lot of features, all your existing router's capabilities will still be available. So there's plenty here for a device that will essentially function as a remote gateway to your router.
Next, let's find out whether the X6S really can extend WiFi range, by how much and with what increased performance potential.
