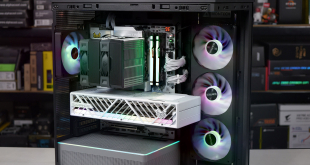
The bottom button merely toggles power, so we'll move immediately to the other buttons.
Pressing any of the other buttons calls up this mini menu on the side of the screen.

Once you press any of the OSD buttons with the mini-menu visible, you're met with this navigation menu, so you know which button performs which function to get you through the levels.
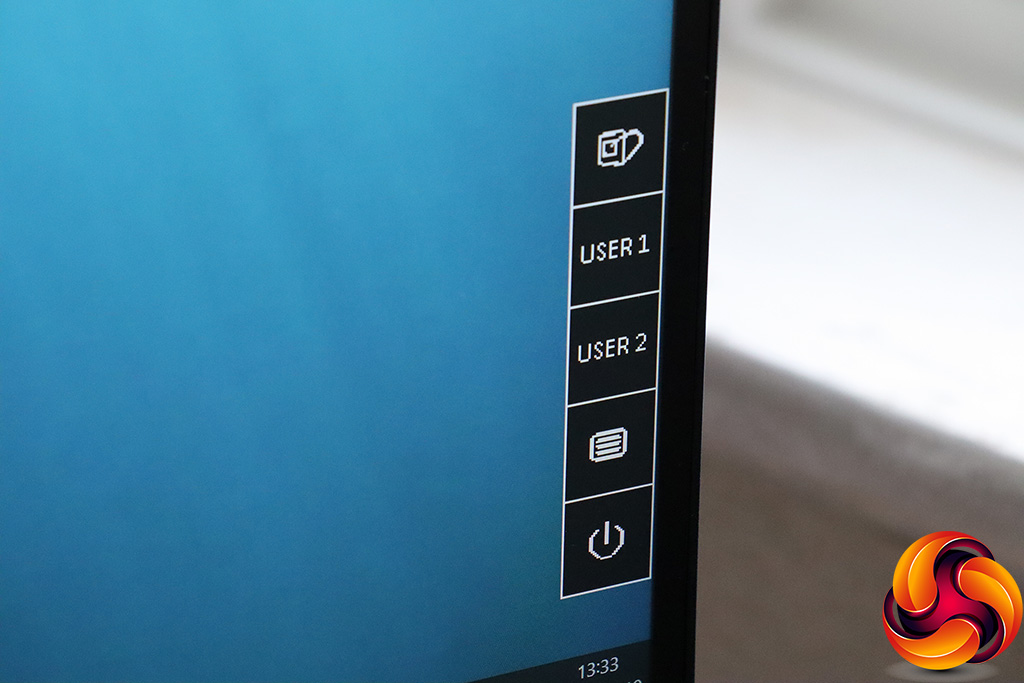
The actual menus then appear in the middle of the screen. The top-most button calls up the SmartImage presets, which include EasyRead, Office, Photo, Movie, Game, Economy, LowBlue Mode and SmartUniformity, although the default is Off. This is a reasonable range for everyday productivity tasks.
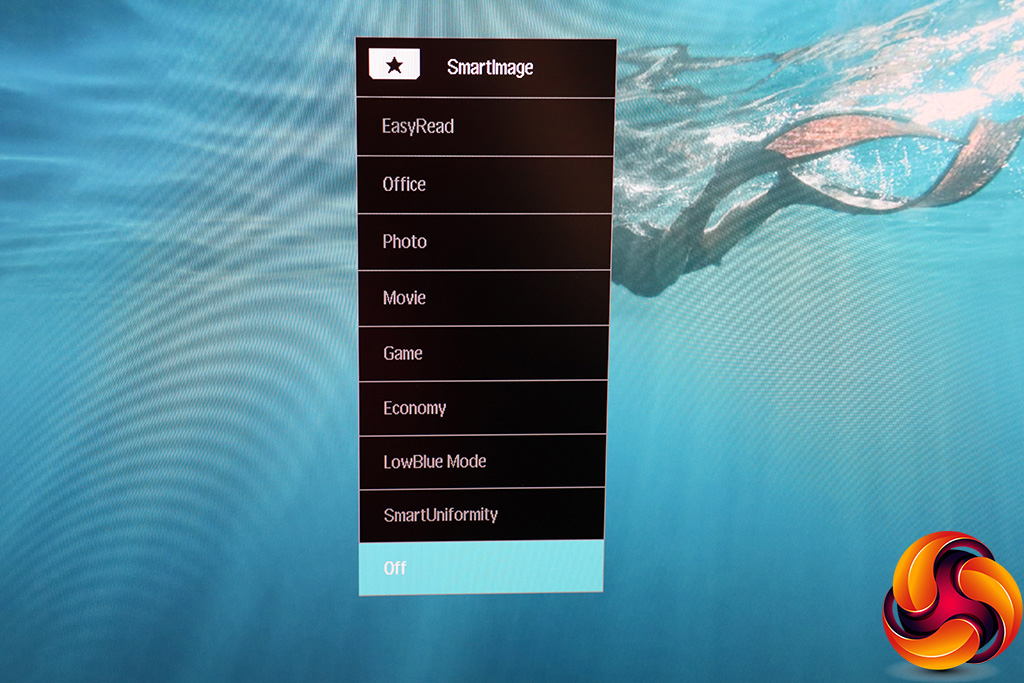
The next two buttons down have customisable functions, but by default the second from top lets you choose the audio source from the various digital video inputs – although only sources that are actually connected will be listed.
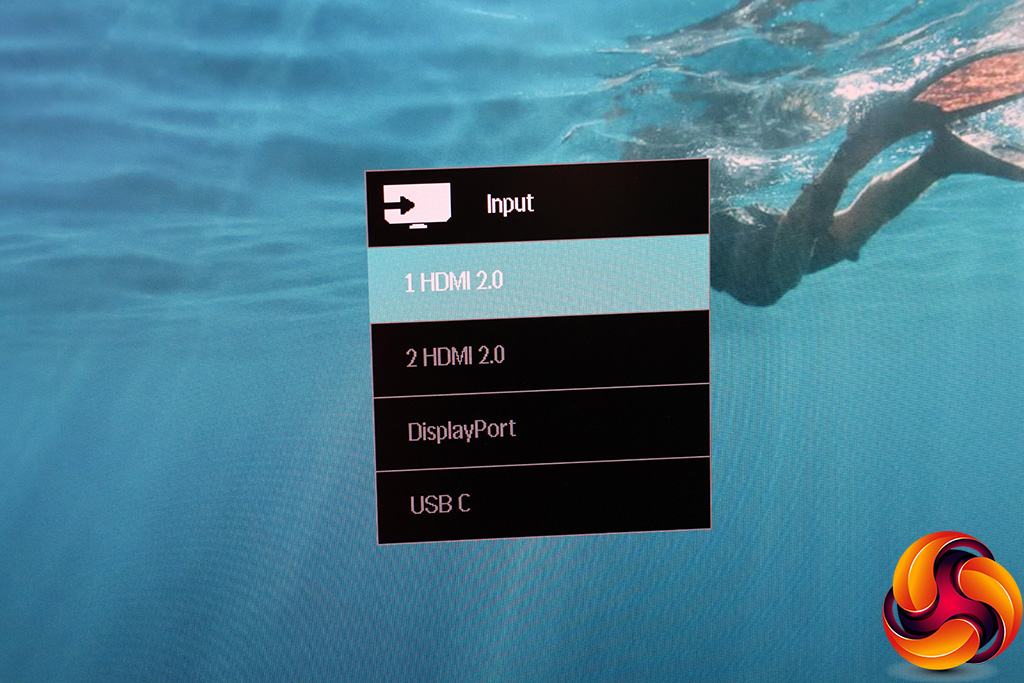
By default, the second User button calls up a list of inputs, so you can choose between them manually. In this case, the options will still be there even if there is no connection.
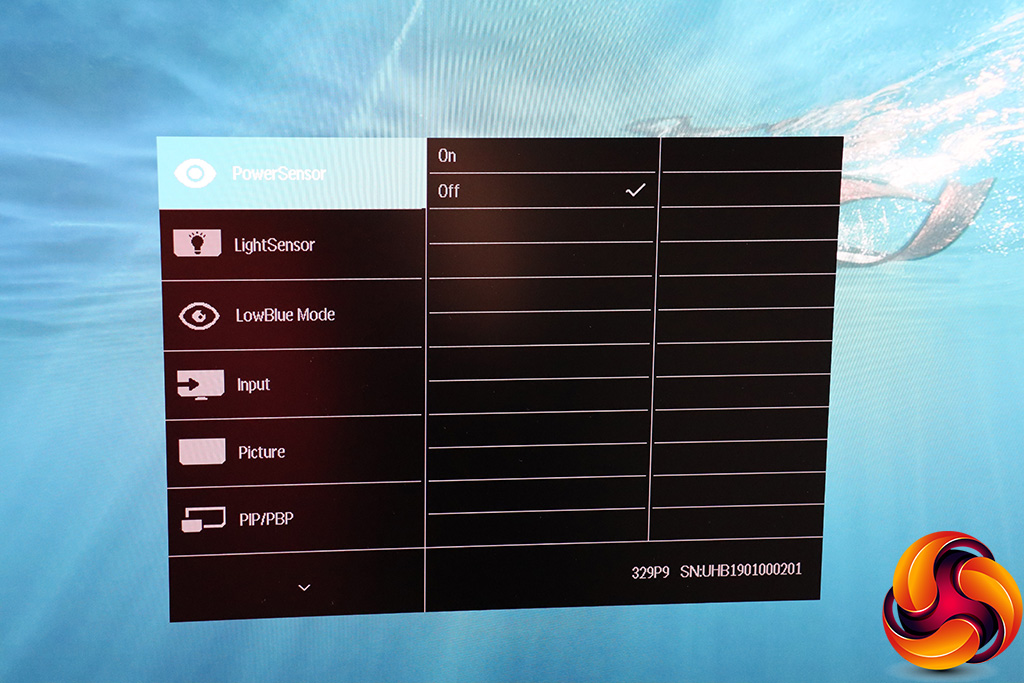
Finally, we get to the button just above the power button. This reveals the main menu, with the first submenu being the PowerSensor. This feature (off by default) uses sensors on the front of the monitor to detect if you're sitting at your desk. If it thinks you aren't, the monitor will be turned off to save power.
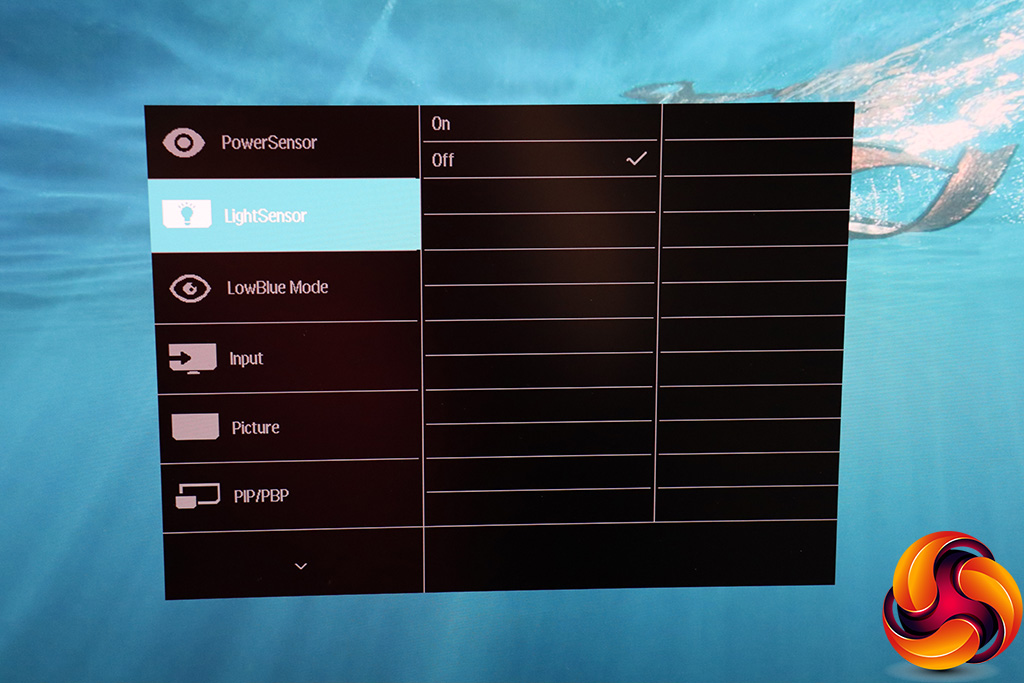
LightSensor is also intended to reduce power consumption. It detects ambient light levels and adjusts brightness accordingly.
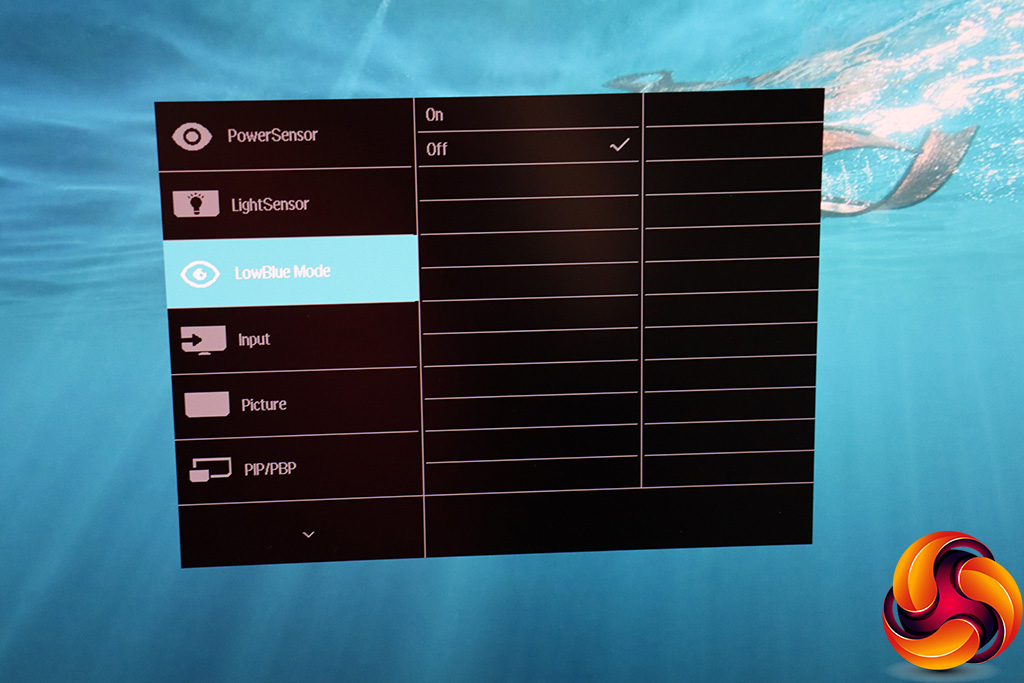
The next submenu lets you toggle LowBlue Mode to reduce eye strain.
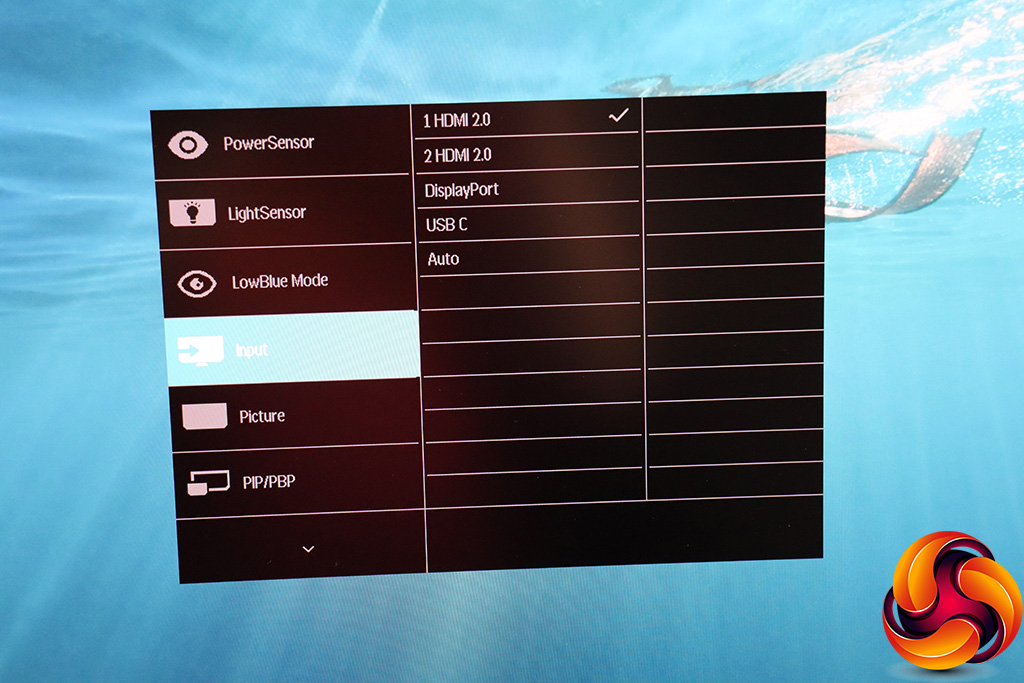
There's another route to change the input manually via the menu – useful if you've changed the function of the button dedicated to this function.
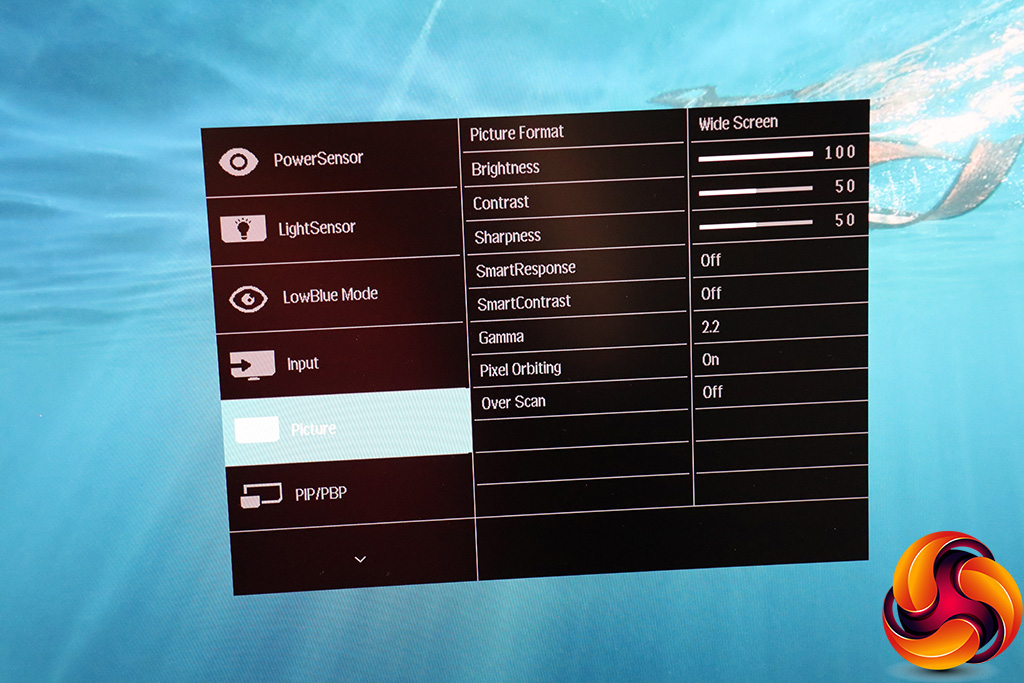
The Picture submenu is the first to contain a lot of different options. You can choose the format the screen uses to display its picture. You can adjust brightness, contrast, and sharpness. SmartResponse is a pixel overdrive system to improve response, and SmartContrast dims or increases the backlight to create an artificially higher contrast than the panel can natively display.
The Gamma options include 1.8, 2.0, 2.2, 2.4 and 2.6, with a default of 2.2. Pixel Orbiting imperceptibly moves pixels to prevent burn in. Over Scan is a vestige from the days of analog inputs, where blank edges of the video signal needed to be obscured by magnifying the picture. We doubt you'll ever use it.
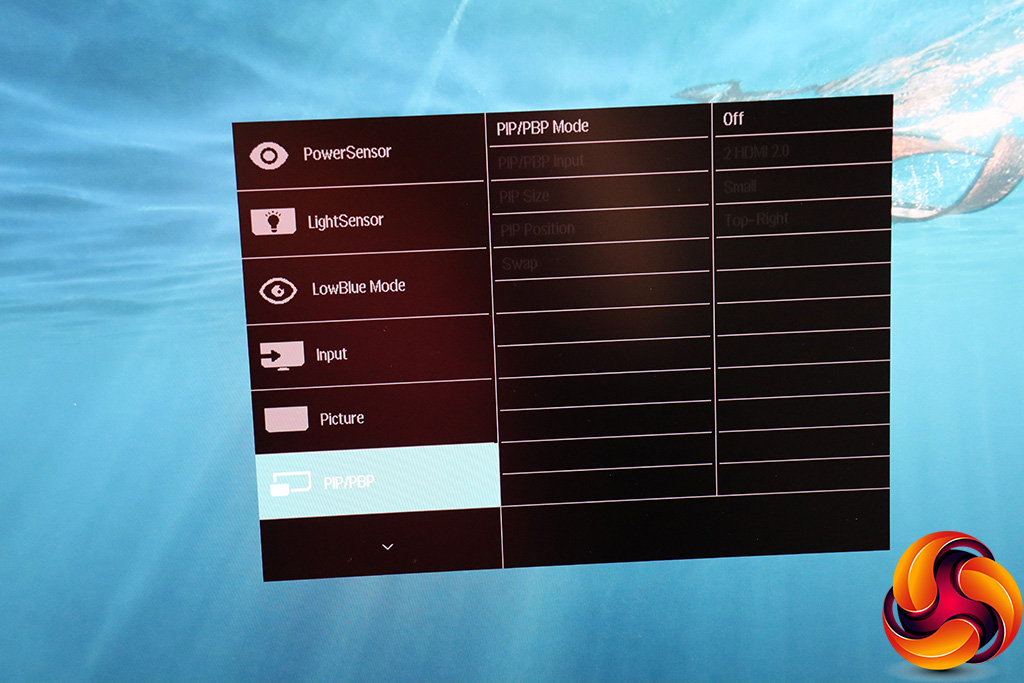
Various picture-in-picture and picture-by-picture options are available for displaying two videos signals onscreen at once.
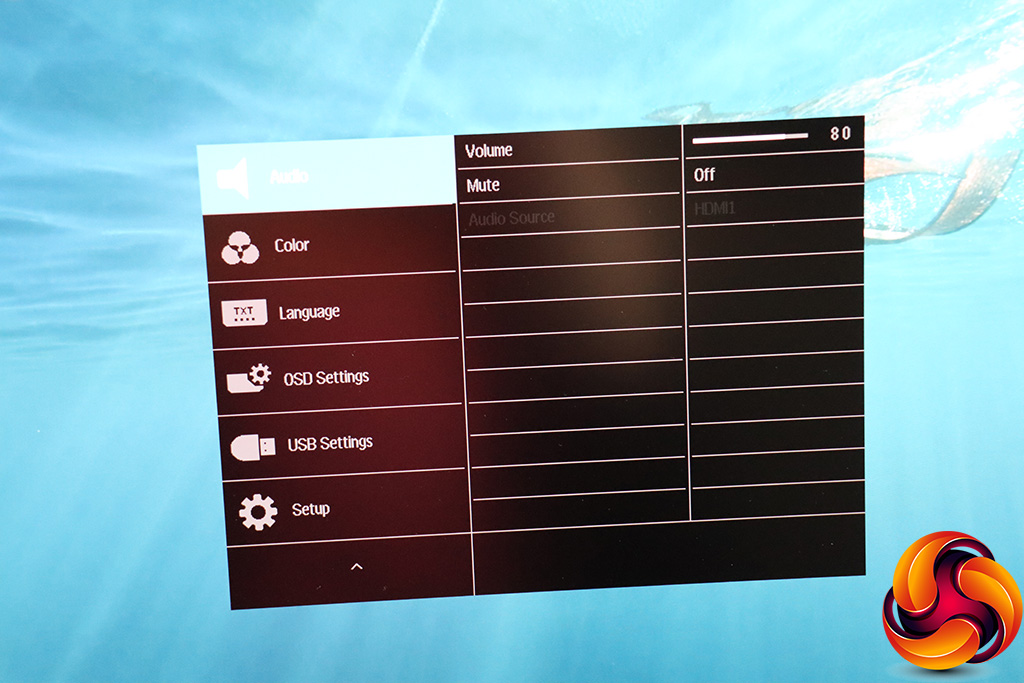
If you scroll down further in the main menu, more options appear. The first is Audio, where you can adjust volume, mute sound, or choose between the source options if more than one is available.
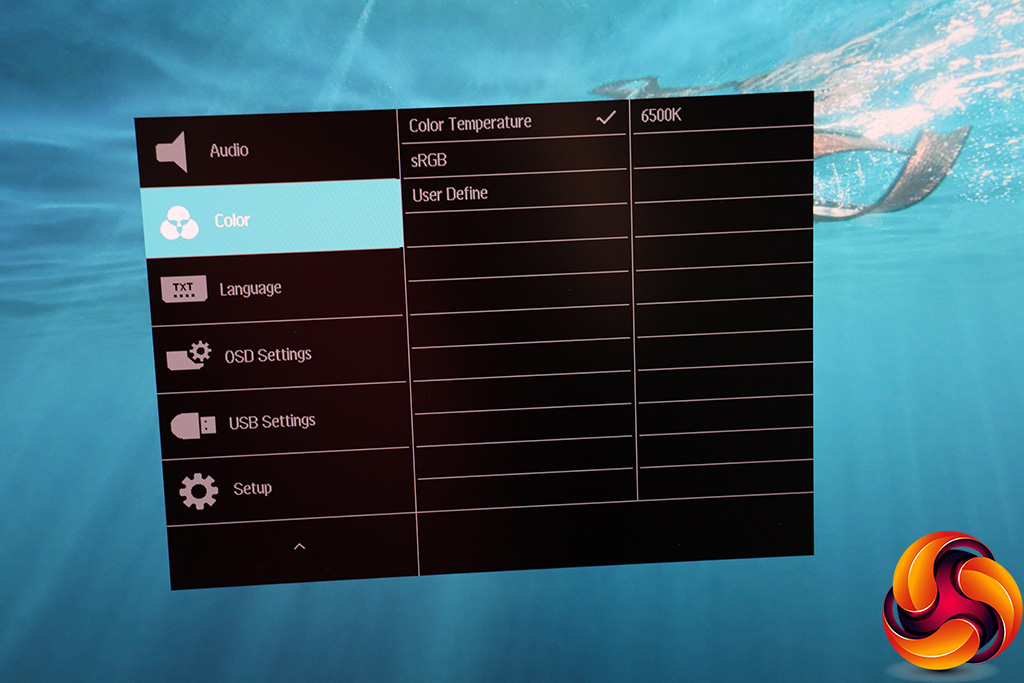
The Color submenu gives you options to choose a colour temperature preset, with 5000K, 6500K, 7500K, 8200K, 9300K and 11500K values. Alternatively, you can select sRGB mode or adjust red, green and blue separately via User Define.
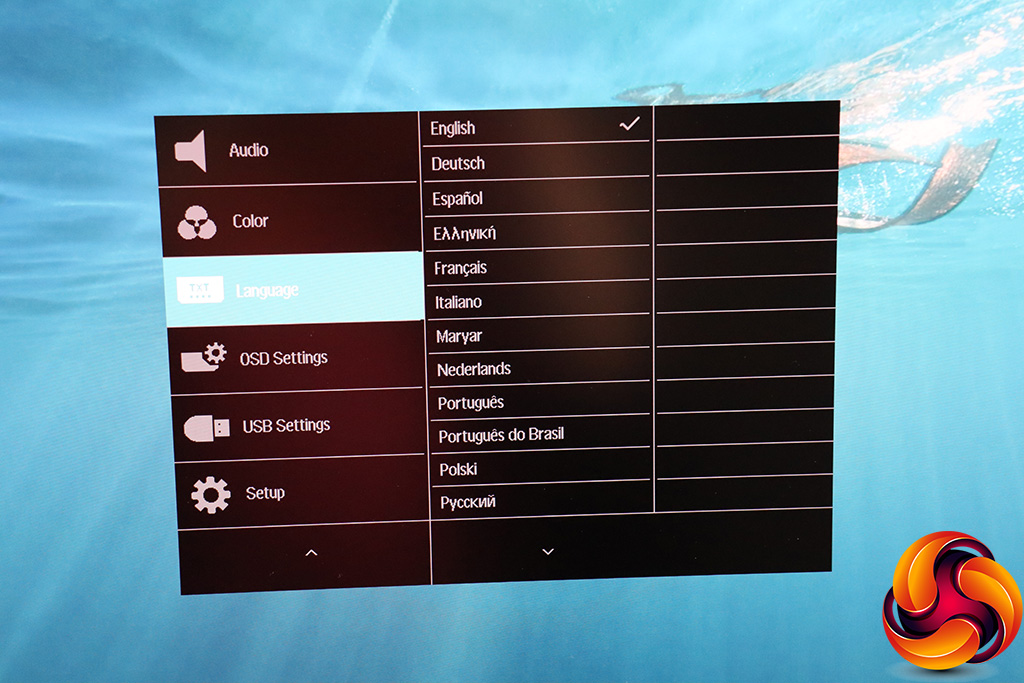
There are 20 different language options for the OSD.
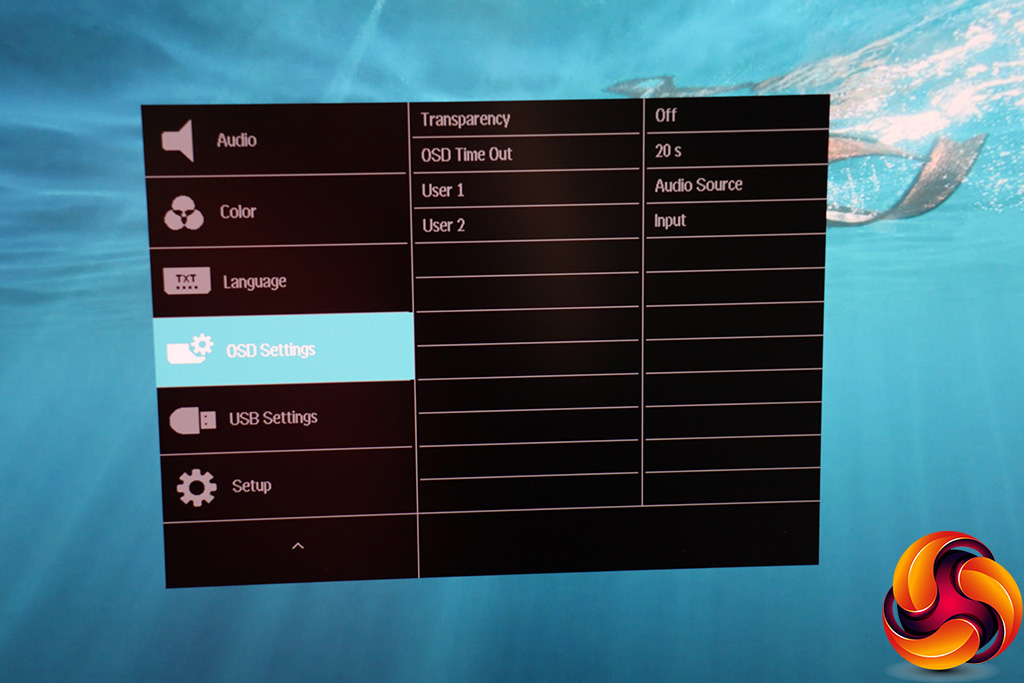
You can choose the OSD's transparency and how long it remains onscreen, but not its position. The OSD Settings section is also where you can reconfigure the two User buttons from their default functions, although only a few alternatives are available for each, not the whole set of menu parameters.
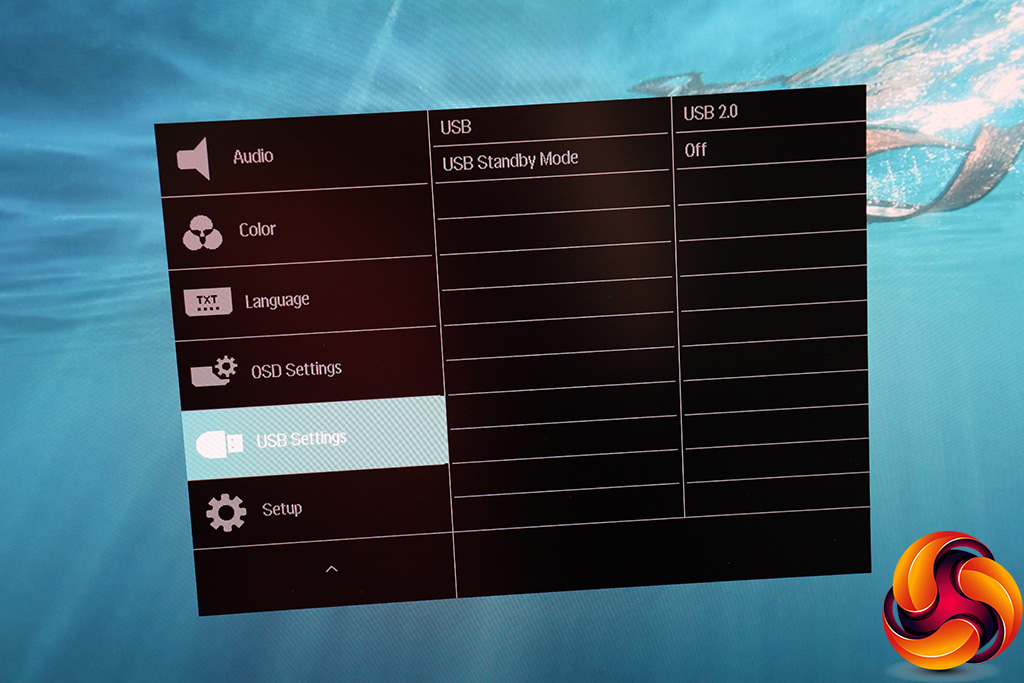
By default, the USB hub operates in 2.0 mode so that you can have a 4K 60Hz video signal over USB-C. If you bump this up to 3.1, the 4K refresh drops to 30Hz. By default, the USB Standby Mode is off, but if you turn it on you will still be able to charge USB devices even when the monitor is otherwise powered down.
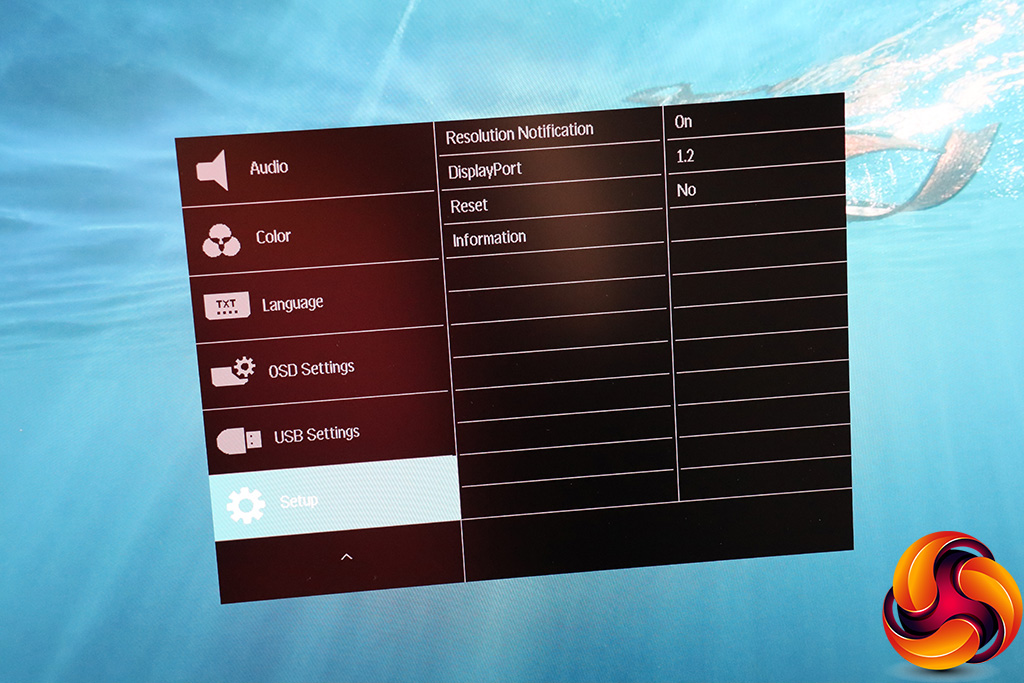
Finally, the Setup section lets you configure sundry options like whether the monitor will tell you what resolution it is displaying, the DisplayPort level to use, and you can also see the current signal input parameters. This is where you can reset the screen back to default as well.
Overall, whilst there is a decent level of image and picture adjustment available, the fact you have to wade past quite a few other options to get to these sections shows that this screen isn't necessarily aimed at regular picture customisation. Putting the SmartImage presets permanently a couple of key presses away shows these are meant to be the focal point instead. But at least you can adjust things as you like if you want to.