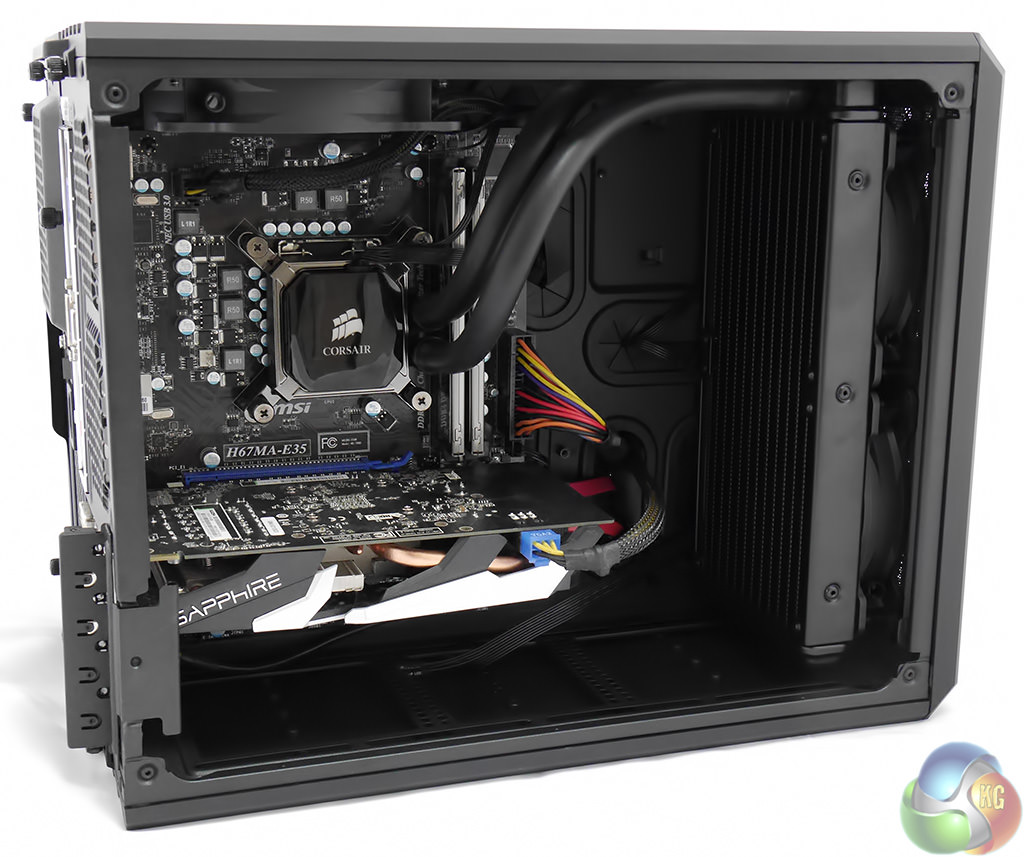

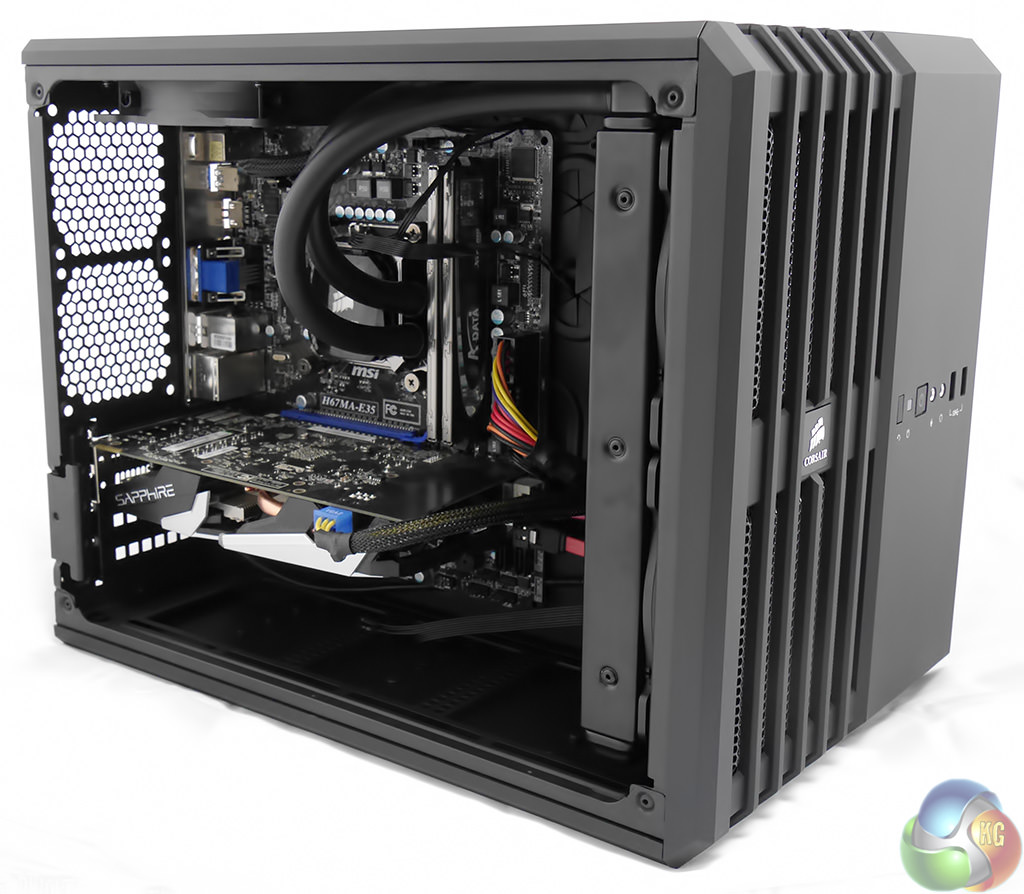
Building a PC into the Corsair Air 240 isn't especially difficult however you do need to do things in a certain order to avoid running into problems. First I installed my Micro-ATX motherboard, then I removed the front fans, installed the Corsair H100i water cooling system and then the graphics card. This was the point when I realised the Sapphire Radeon R9 290 I wanted to use simply would not fit so I plugged in a Sapphire Radeon HD7790 instead.
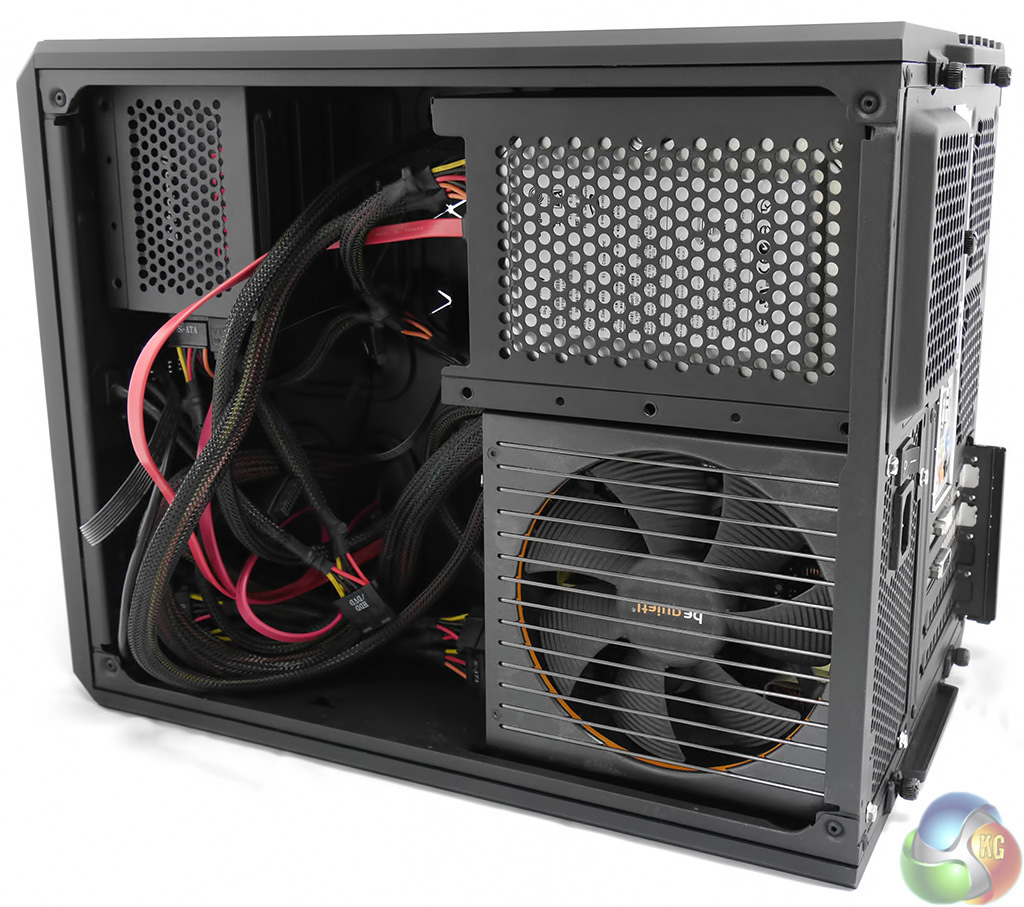
On the other side of the case I installed a 500W BeQuiet power supply, SanDisk Extreme SSD and Seagate Barracuda HDD.
If you remove the 3.5-inch drive caddy to gain access to the back of the motherboard to install the CPU cooler you need to be sure to replace the caddy before you install your power supply. You cannot do these jobs the other way round.
You don't have much scope for tidying up the cables in this side of the case so the best thing is to use a modular power supply that minimises the amount of wires you have to deal with. One thing I liked a great deal is the way that the power and data connections for the 2.5-inch and 3.5-inch drives are very close together. This makes it easy to plug in the power, unlike some cases where the 2.5-inch drives are a long distance away from the data drives.
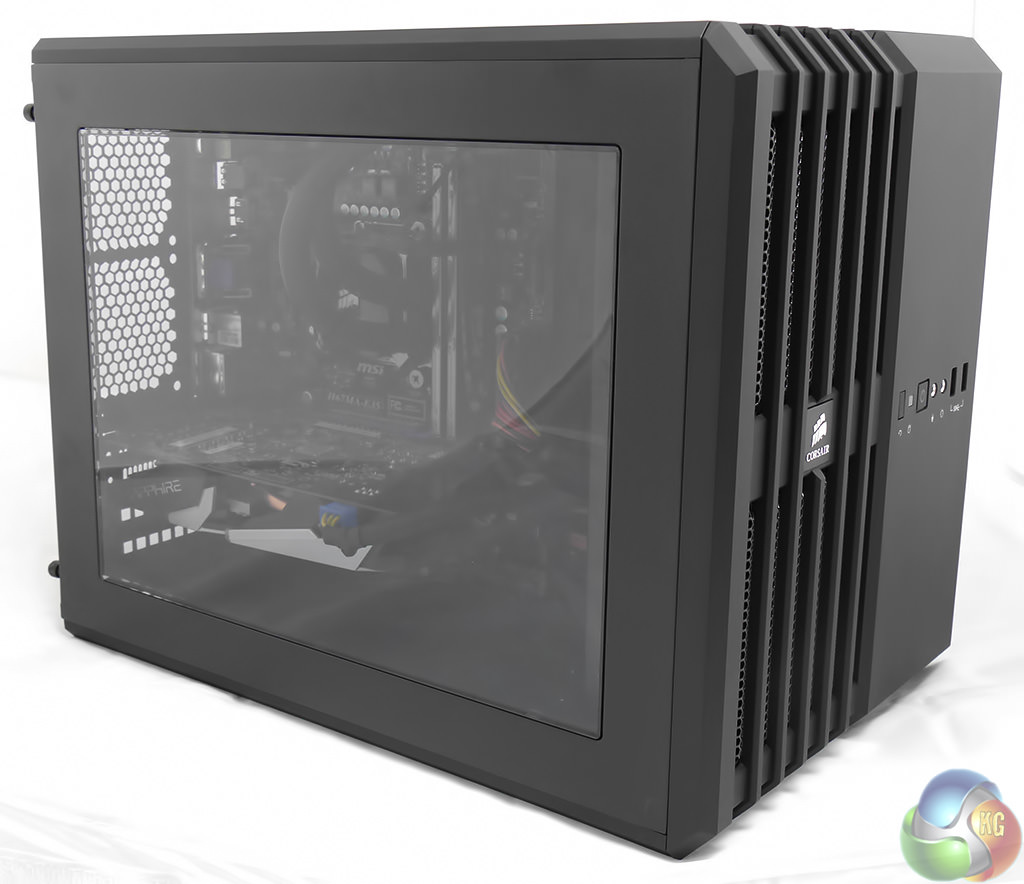
While the back side of the PC looks a bit of a mess the front side is lovely and tidy. You will note that I have positioned the Corsair logo on the water block the ‘right' way up to avoid causing pain and grief to our more obsessive readers.
During the PC build I had no problems with the lengths of any of the cables or the positions of any components, thanks to the compact nature of the Air 240.