

On this page we present images of the system we installed in the SPEC-ALPHA, as well as a discussion of the pros and cons of building in the chassis.
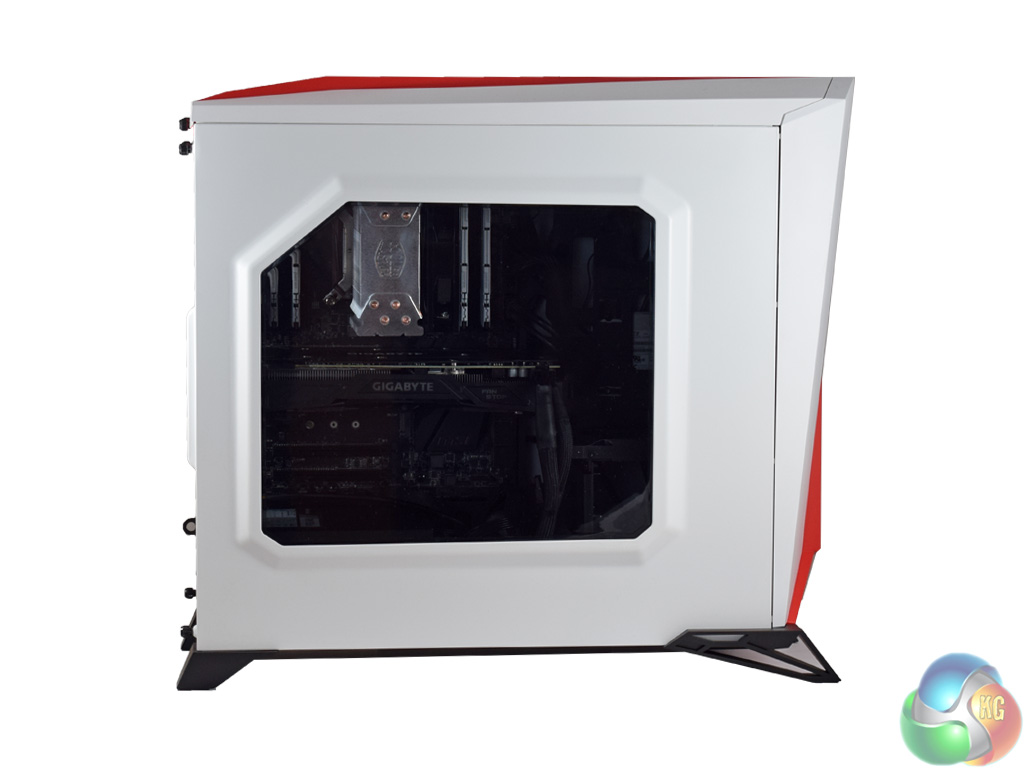
First, you can see the windowed side panel is tinted. An LED would strip would go a long way to illuminate the innards of the system – but the front LED fans do an admirable job by themselves.
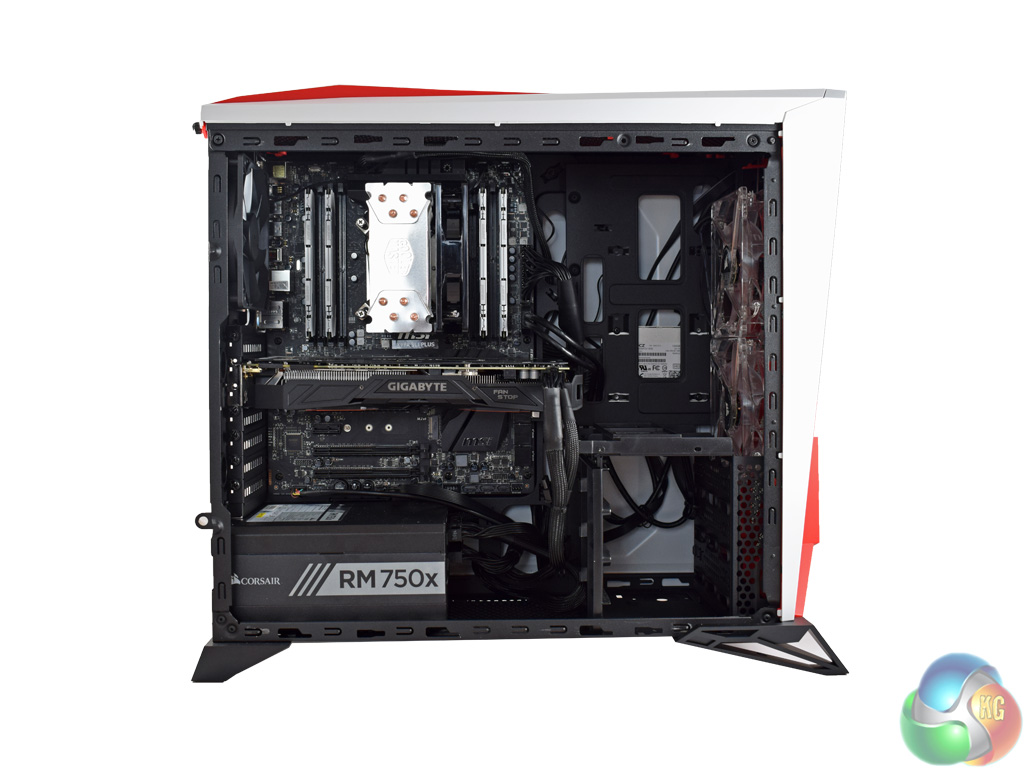
Above, we get our first look at the fully-built system with the side panel removed.
I must admit, I was not overly happy with how it turned out – and I will explore why this is below. For now, it is clear that the build is quite messy. I found cable management quite tough, resulting in visible cables and cable bulges.
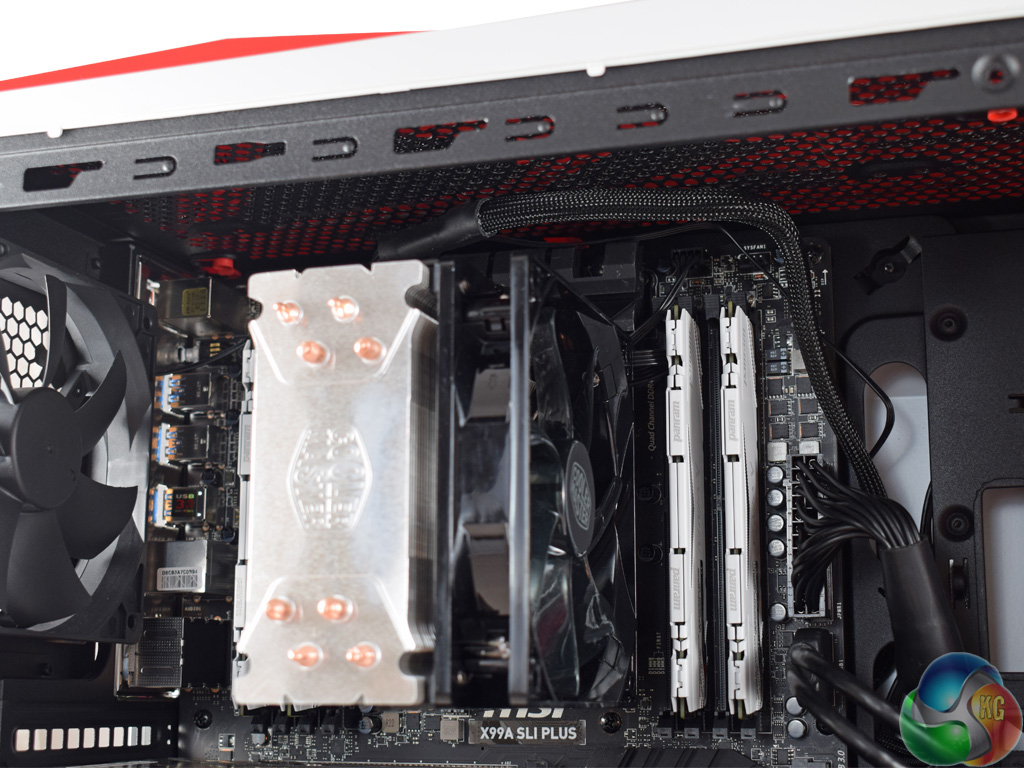
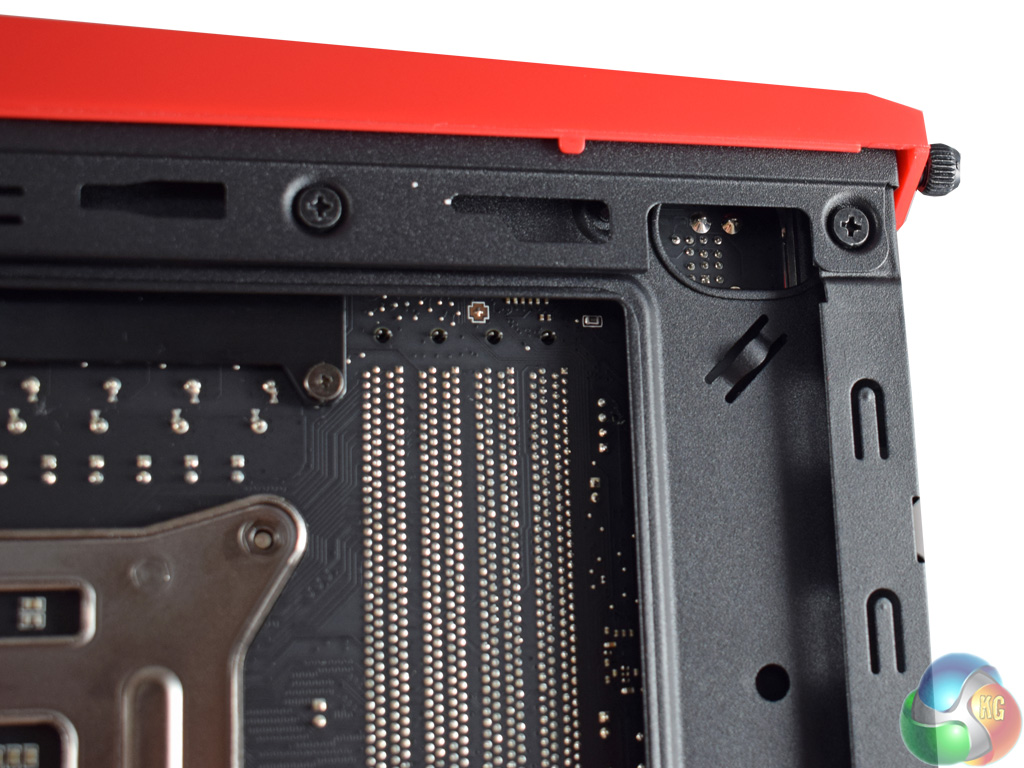
The first reason for this is the complete lack of cut-outs at the top of the case. This meant I had to route the 8-pin EPS connector across the top of the motherboard, which never looks good. The rear fan cable, too, had to come across the motherboard.
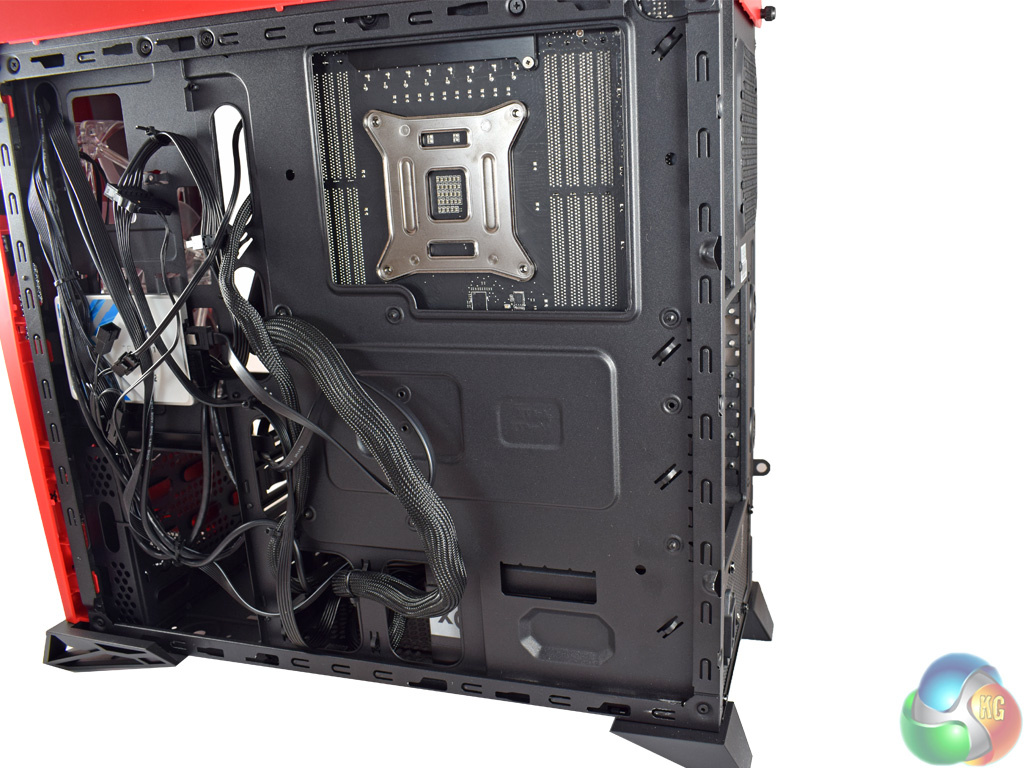
To be fair to Corsair, there is one cut-out at the top of the motherboard tray, in the far corner (as pictured). However, as you can see in the image above, it is completely covered by an ATX motherboard. I tried pre-routing the power cable, but the motherboard would not fit with it passed through the cut-out. This is quite disappointing as we would expect better from a £80 case.
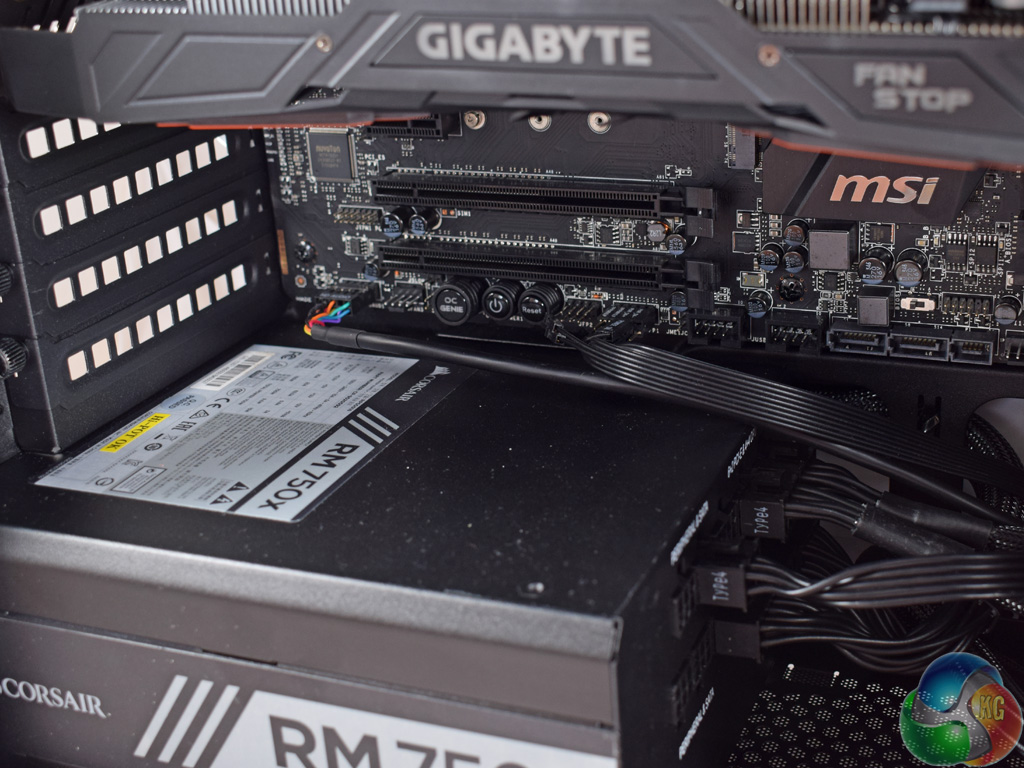
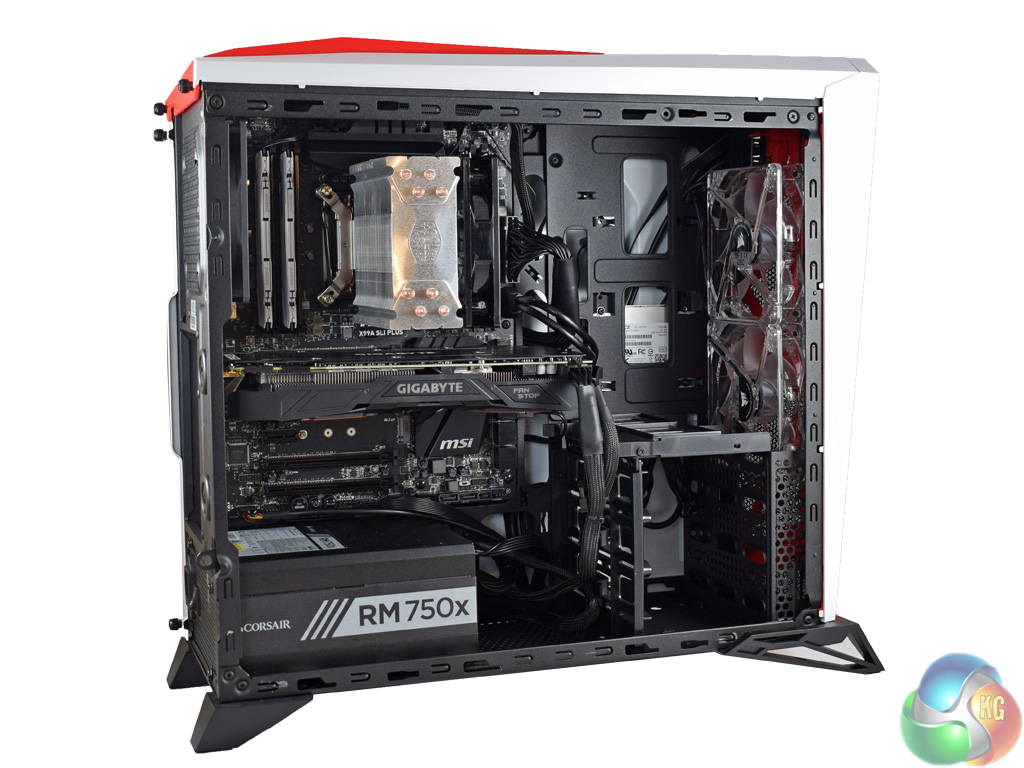
The same can be said at the bottom of the chassis. With the power supply installed, the cut-out for the front-panel connectors is completely obscured – so I had to route these across the motherboard as well.
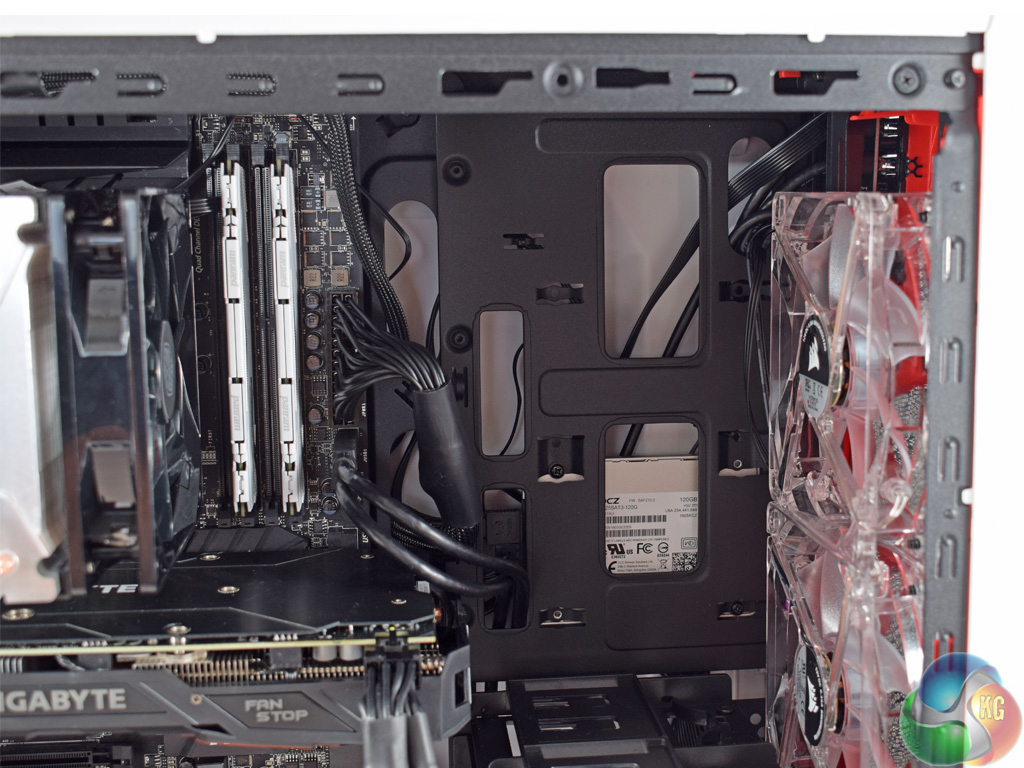
That being said, one of the case's problems elsewhere is actually too many cut-outs. As you can see above, the section of the case next to the front fans sports a number of cut-outs. However, this means you get a direct view of the backside of any 2.5in drive you choose to install there, as well as any cabling routed behind the motherboard.
I would have preferred to see a solid panel, keeping only the two cut-outs directly next to the motherboard to use for the 24-pin and USB 3.0 cables.
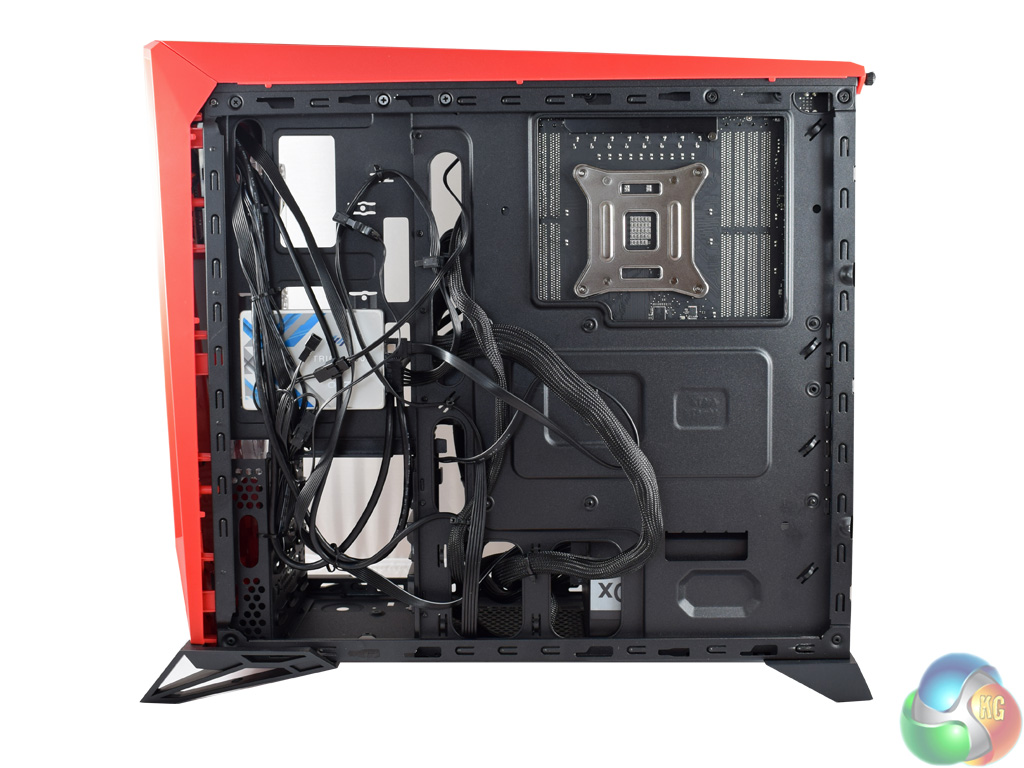
Turning to the other side of the case, things are not much better.
Along the left-hand side (as we are looking at it in the images above) I was able to tie down the fan controller and front panel cables fairly easily. However, the bulky 24-pin cable would look terrible when viewed from the front if I routed it there.
I would have liked to tie it down across the motherboard tray, but there are no tie down points in the middle – only around the edges. This means the 24-pin cable sticks out somewhat. Fortunately, both side panels feature protruded sections as I mentioned previously – this allows the panels to still slide on with relative ease as there is space for excess cabling.

Fugly
nice housing
£80 for this?
Poor cable management, weak cooling options, angular with red accents (ie the standard “gamer” aesthetic, a marmite design to say the least) .
For ~£15 less you can have the NZXT Source 340, which offers a simpler, cleaner look with far better cable routing. If you want a Corsair equivalent, the carbide 270R comes in at the same price as the nzxt option, with similar cable management, a similar look, and even better cooling options, for multiple rad water loops.
Or for £75 is the king of this price range – the Fractal Define S. Excellent cable management, solid build quality, and room for up to a 420mm rad on top (or a 360 if going x120), up to 360mm on the front, a 120mm on the bottom and a 120 or 140mm on the rear.
Not sure what corsair are thinking with this tower, they lose to one of their cheaper cases for functionality (the carbide 270r) and gets demolished at the price point by the define S.
Google is paying 97$ per hour! Work for few hours and have longer with friends & family! !mj199d:
On tuesday I got a great new Land Rover Range Rover from having earned $8752 this last four weeks.. Its the most-financialy rewarding I’ve had.. It sounds unbelievable but you wont forgive yourself if you don’t check it
!mj199d:
➽➽
➽➽;➽➽ http://GoogleFinancialJobsCash199HomeVideoGetPay$97Hour… ★★✫★★✫★★✫★★✫★★✫★★✫★★✫★★✫★★✫★★✫★★✫★★✫★★✫★★✫★★✫★★✫★★✫★★::::::!mj199d:….,….
what would you recommend around those prices for someone who ‘d like to have the possibility to mount at least three 3.5″ mechanical drives without sacrificing quality-usability-neatness
http://www.fractal-design.com/home/product/cases/define-series/define-s
The define S, fits 3x 3.5″ and 2x 2.5, can fit multiple radiators too (should you aio cool your cpu and have a hybrid cooler for your card, along with solid cable management. For me it’s the best case in its price point.
where i stay its price at the moment is more than £85 ( >100 euros ) and that’s a bit over the price range i have in mind.
besides this i am skeptical about the way the drives are mounted. is that convenient ? isn’t a problem that ssd’s are behind the mobo ?
what about CD/DVD drives? Where is the slot for them outside?
there isn’t one