The Corsair 110R case will probably be best suited to everyday PC usage scenarios and possibly budget gaming builds. However, we like to push the boundaries of hardware here at KitGuru so we will be attempting to install a mid-range gaming system in the 110R, to find its maximum capabilities.
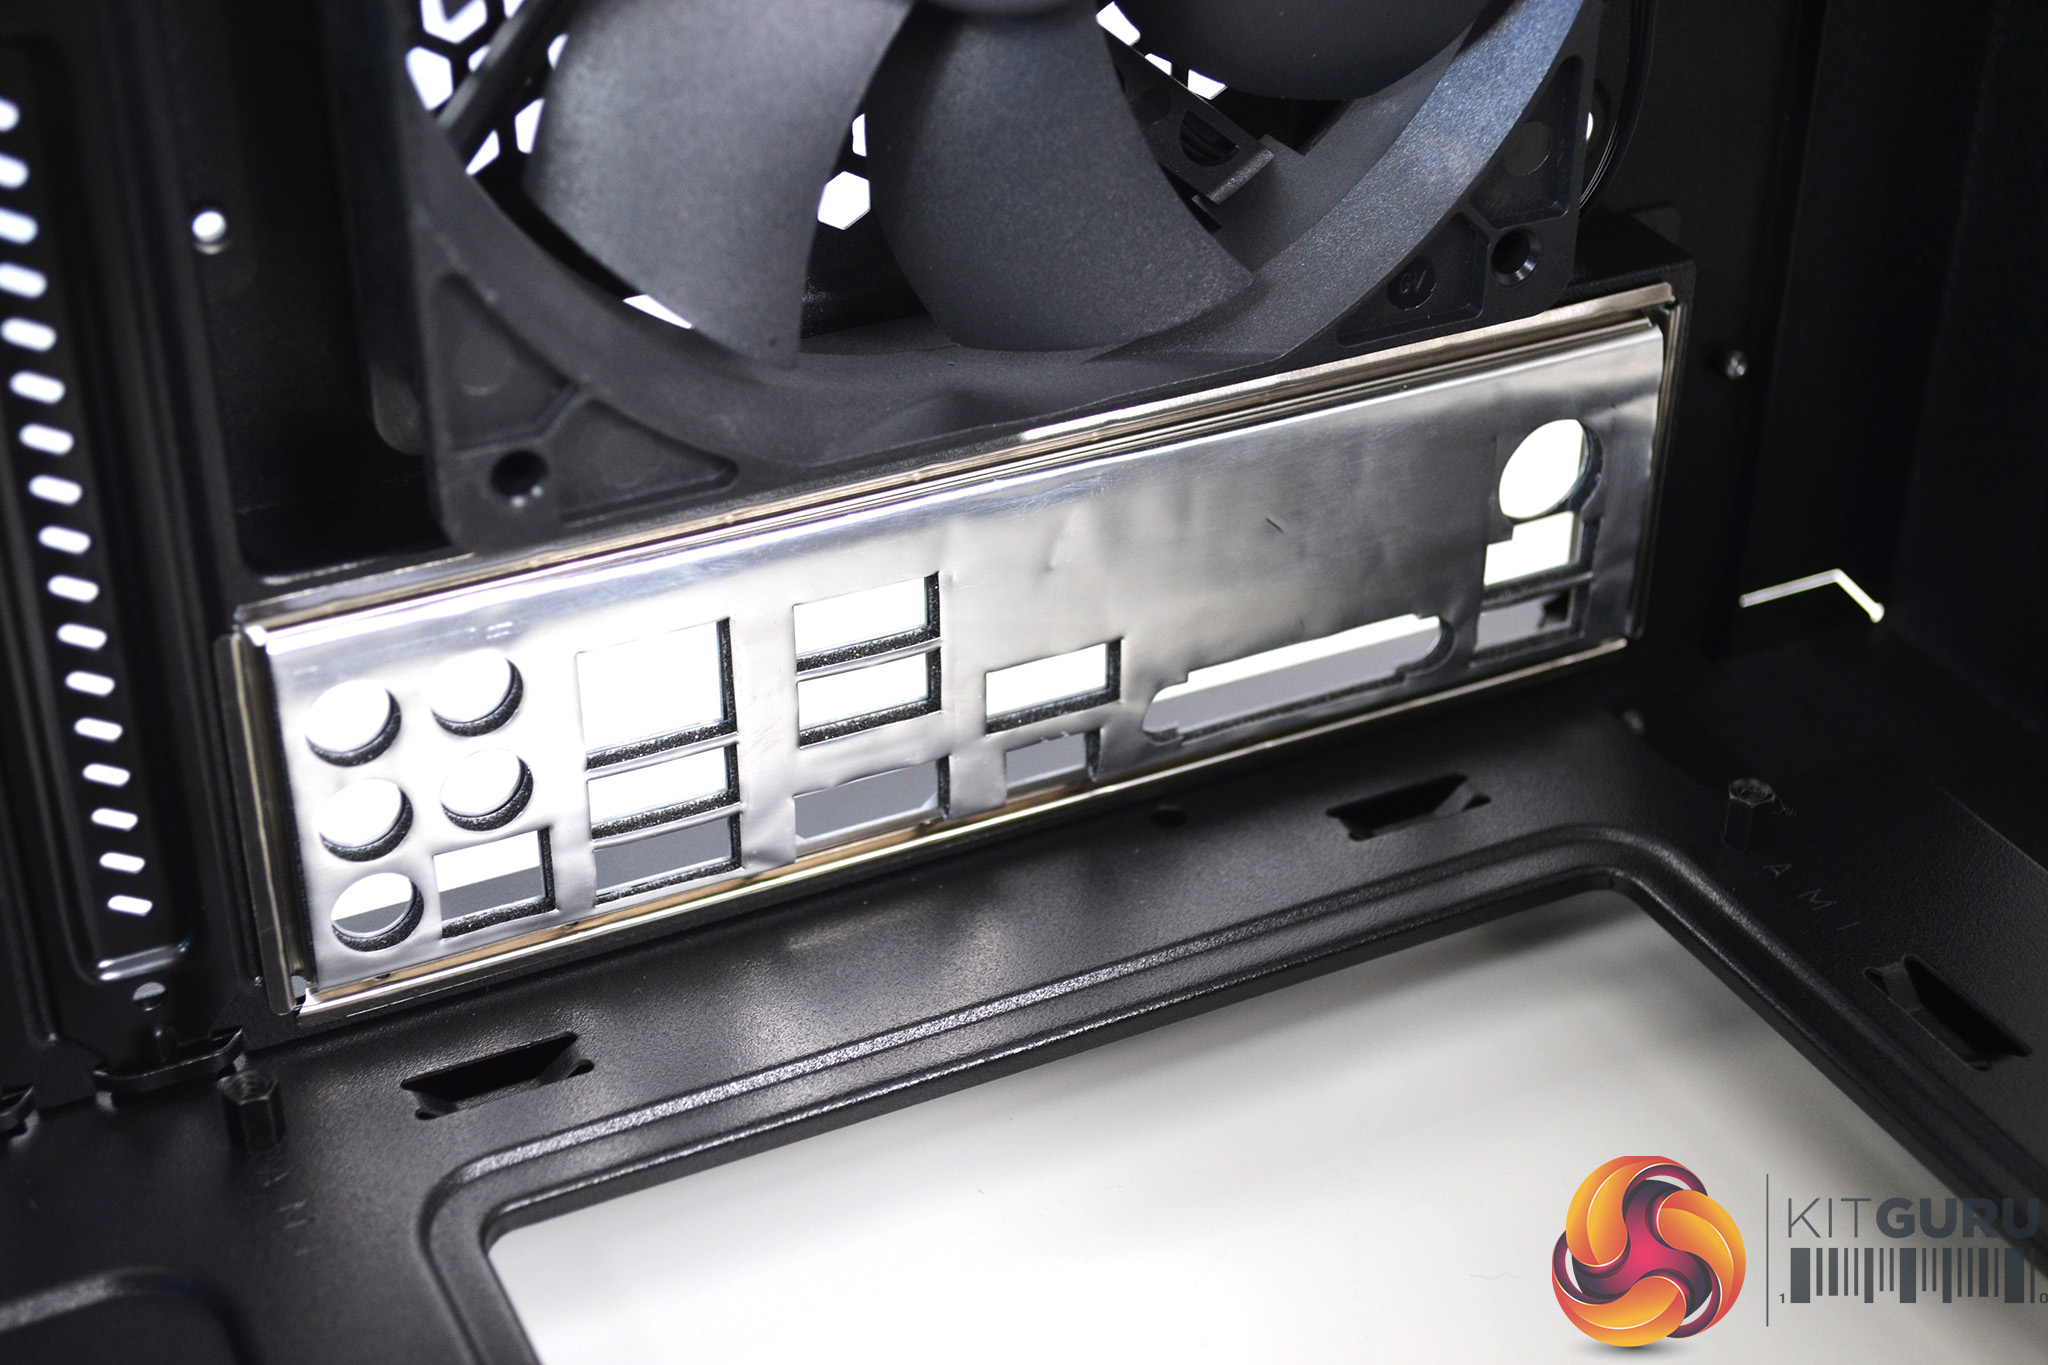
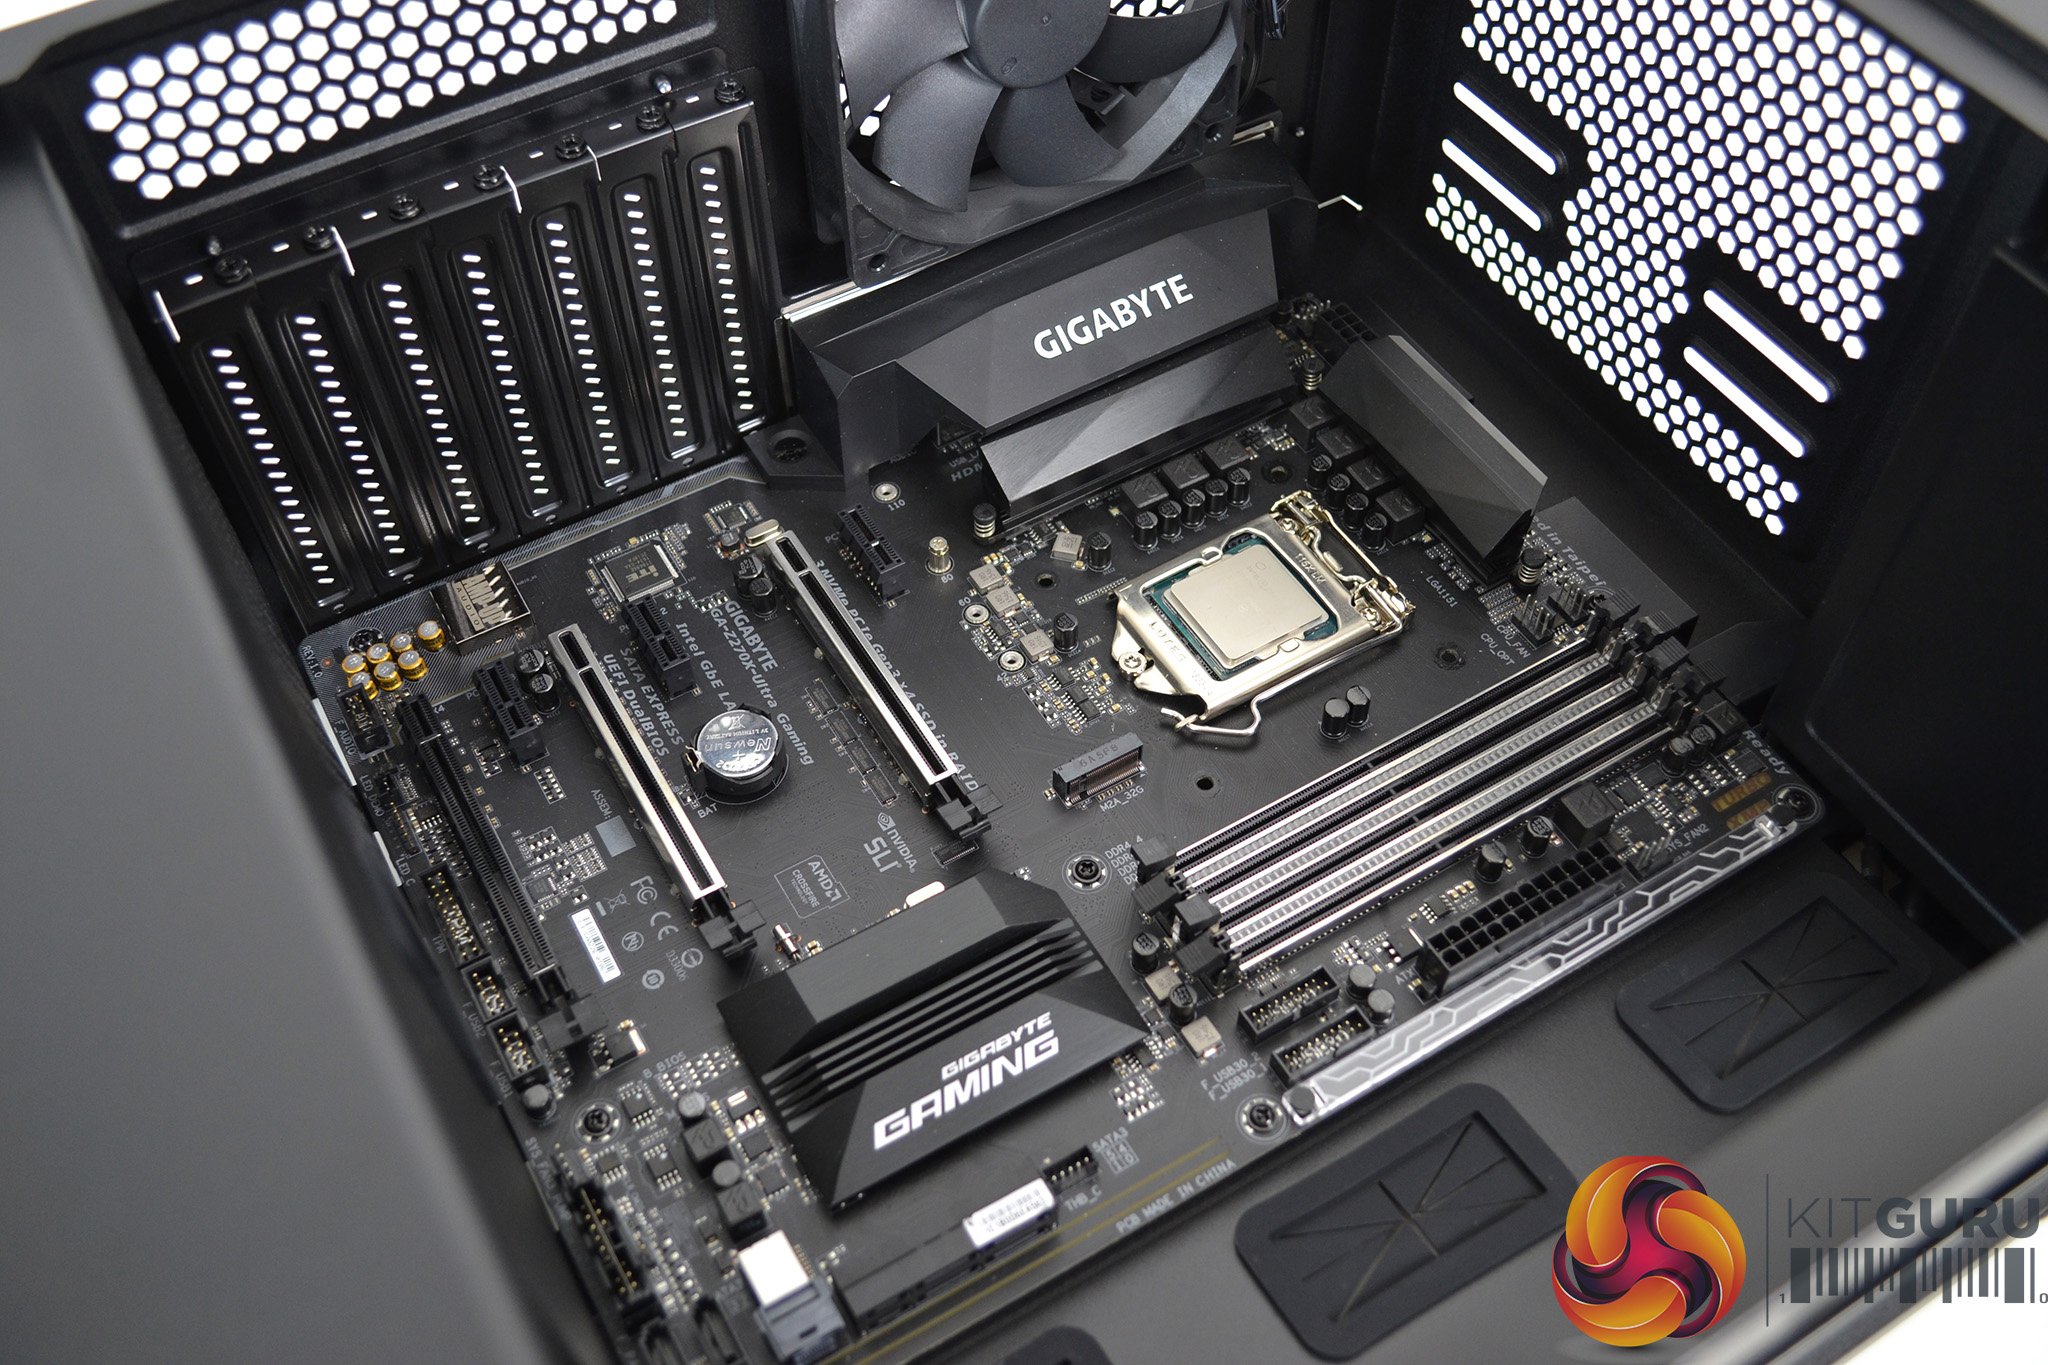
The first port of call will be to install the motherboard. As is common with many motherboards, we must first install the I/O shield, which surprisingly clipped in with minimal effort. Placing the motherboard into position was easy – no other parts required removal to create space and all the pre-installed stand-offs lined up perfectly.
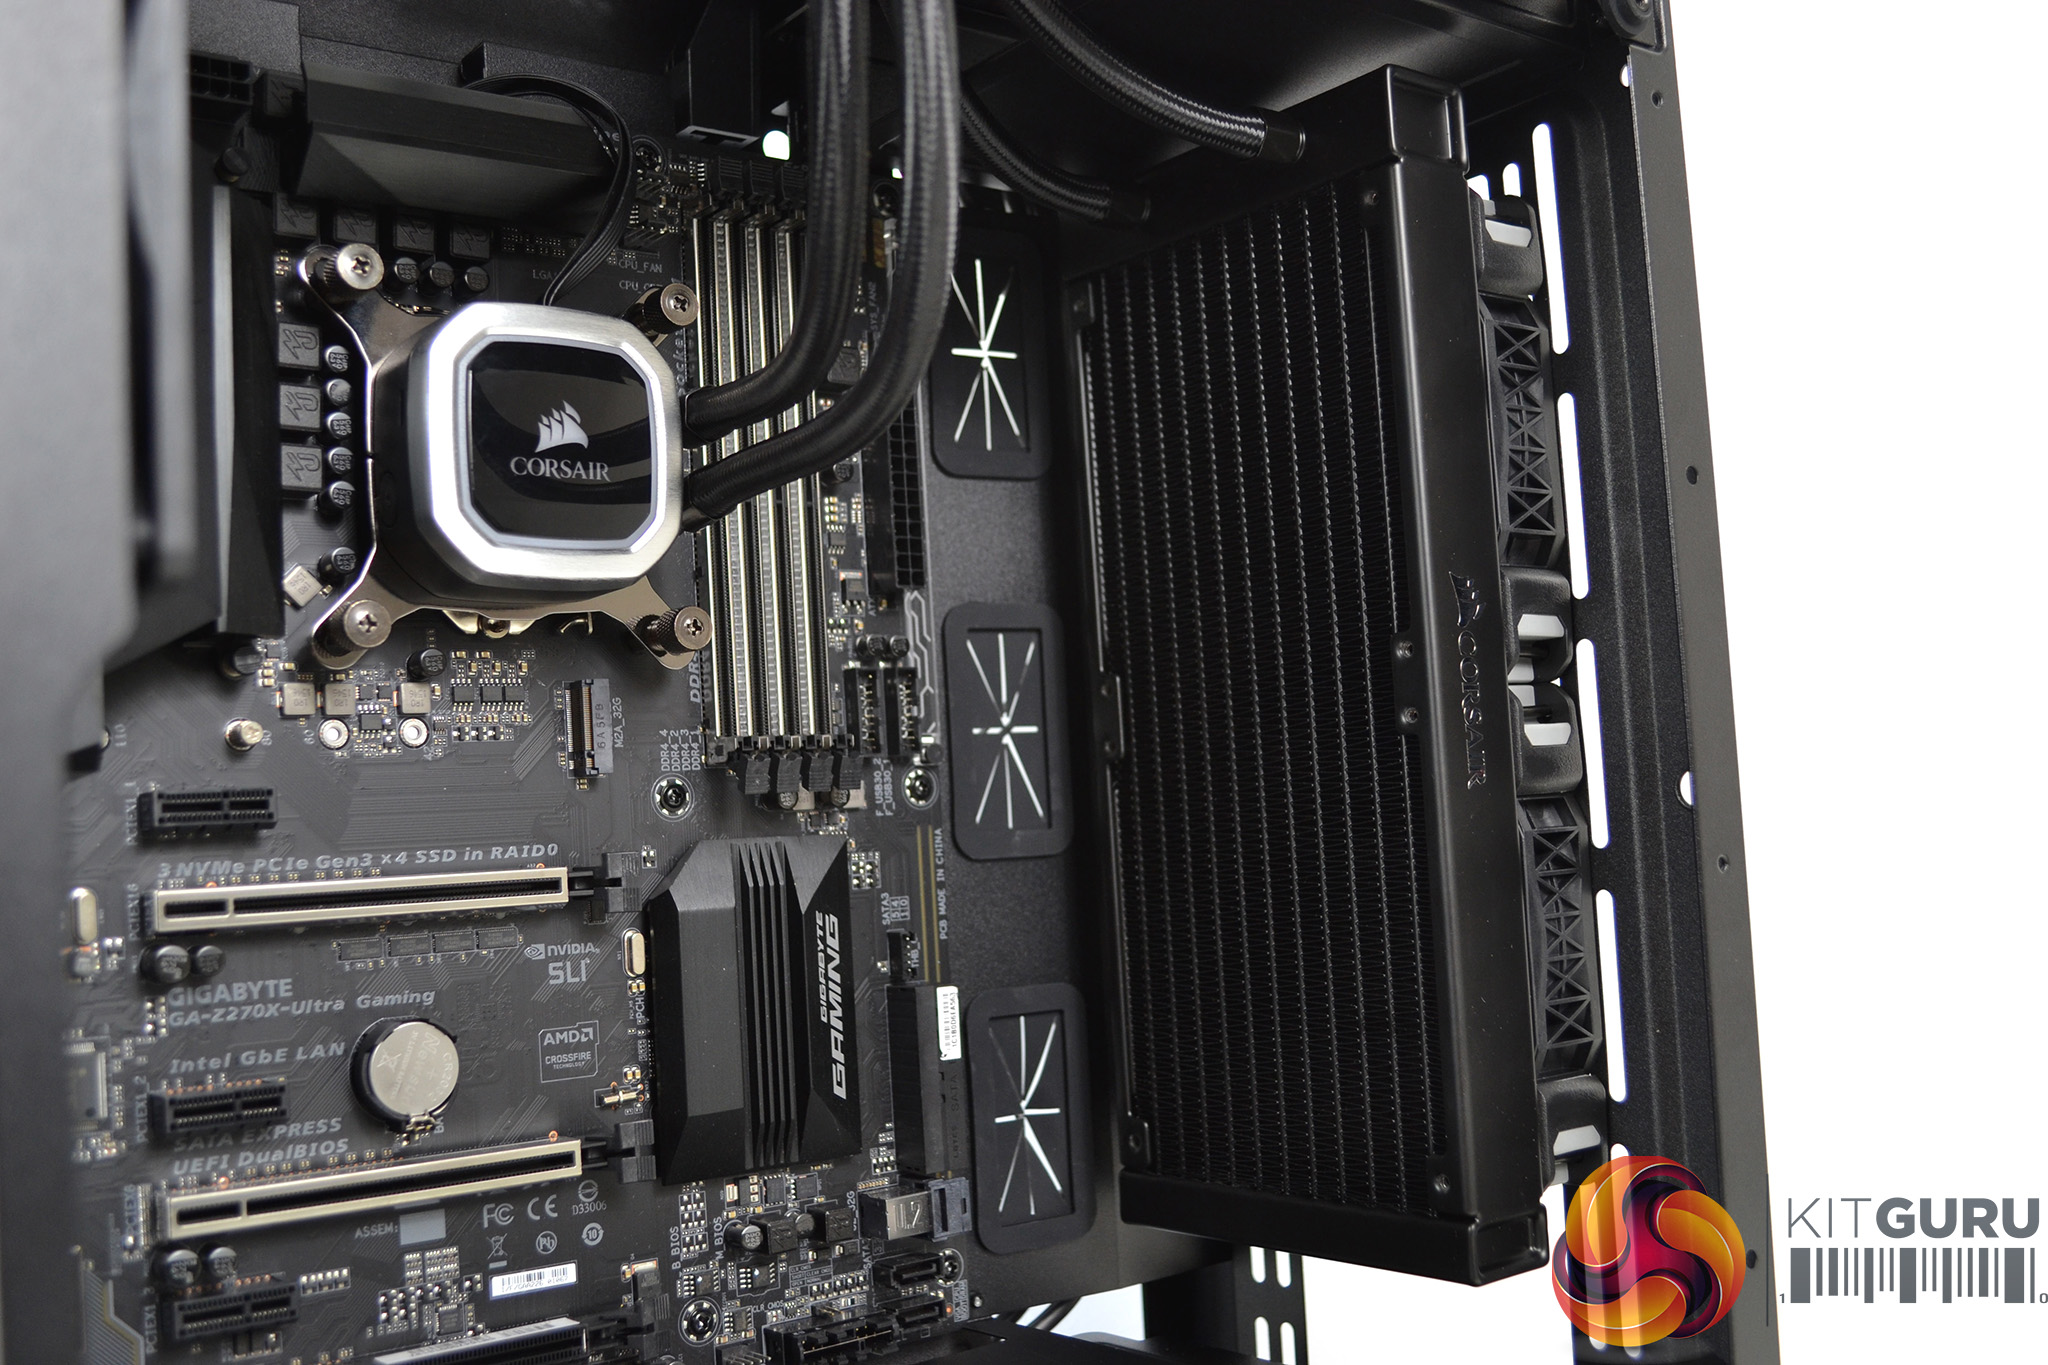

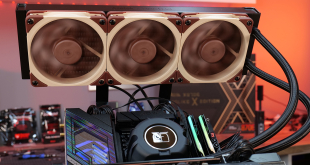
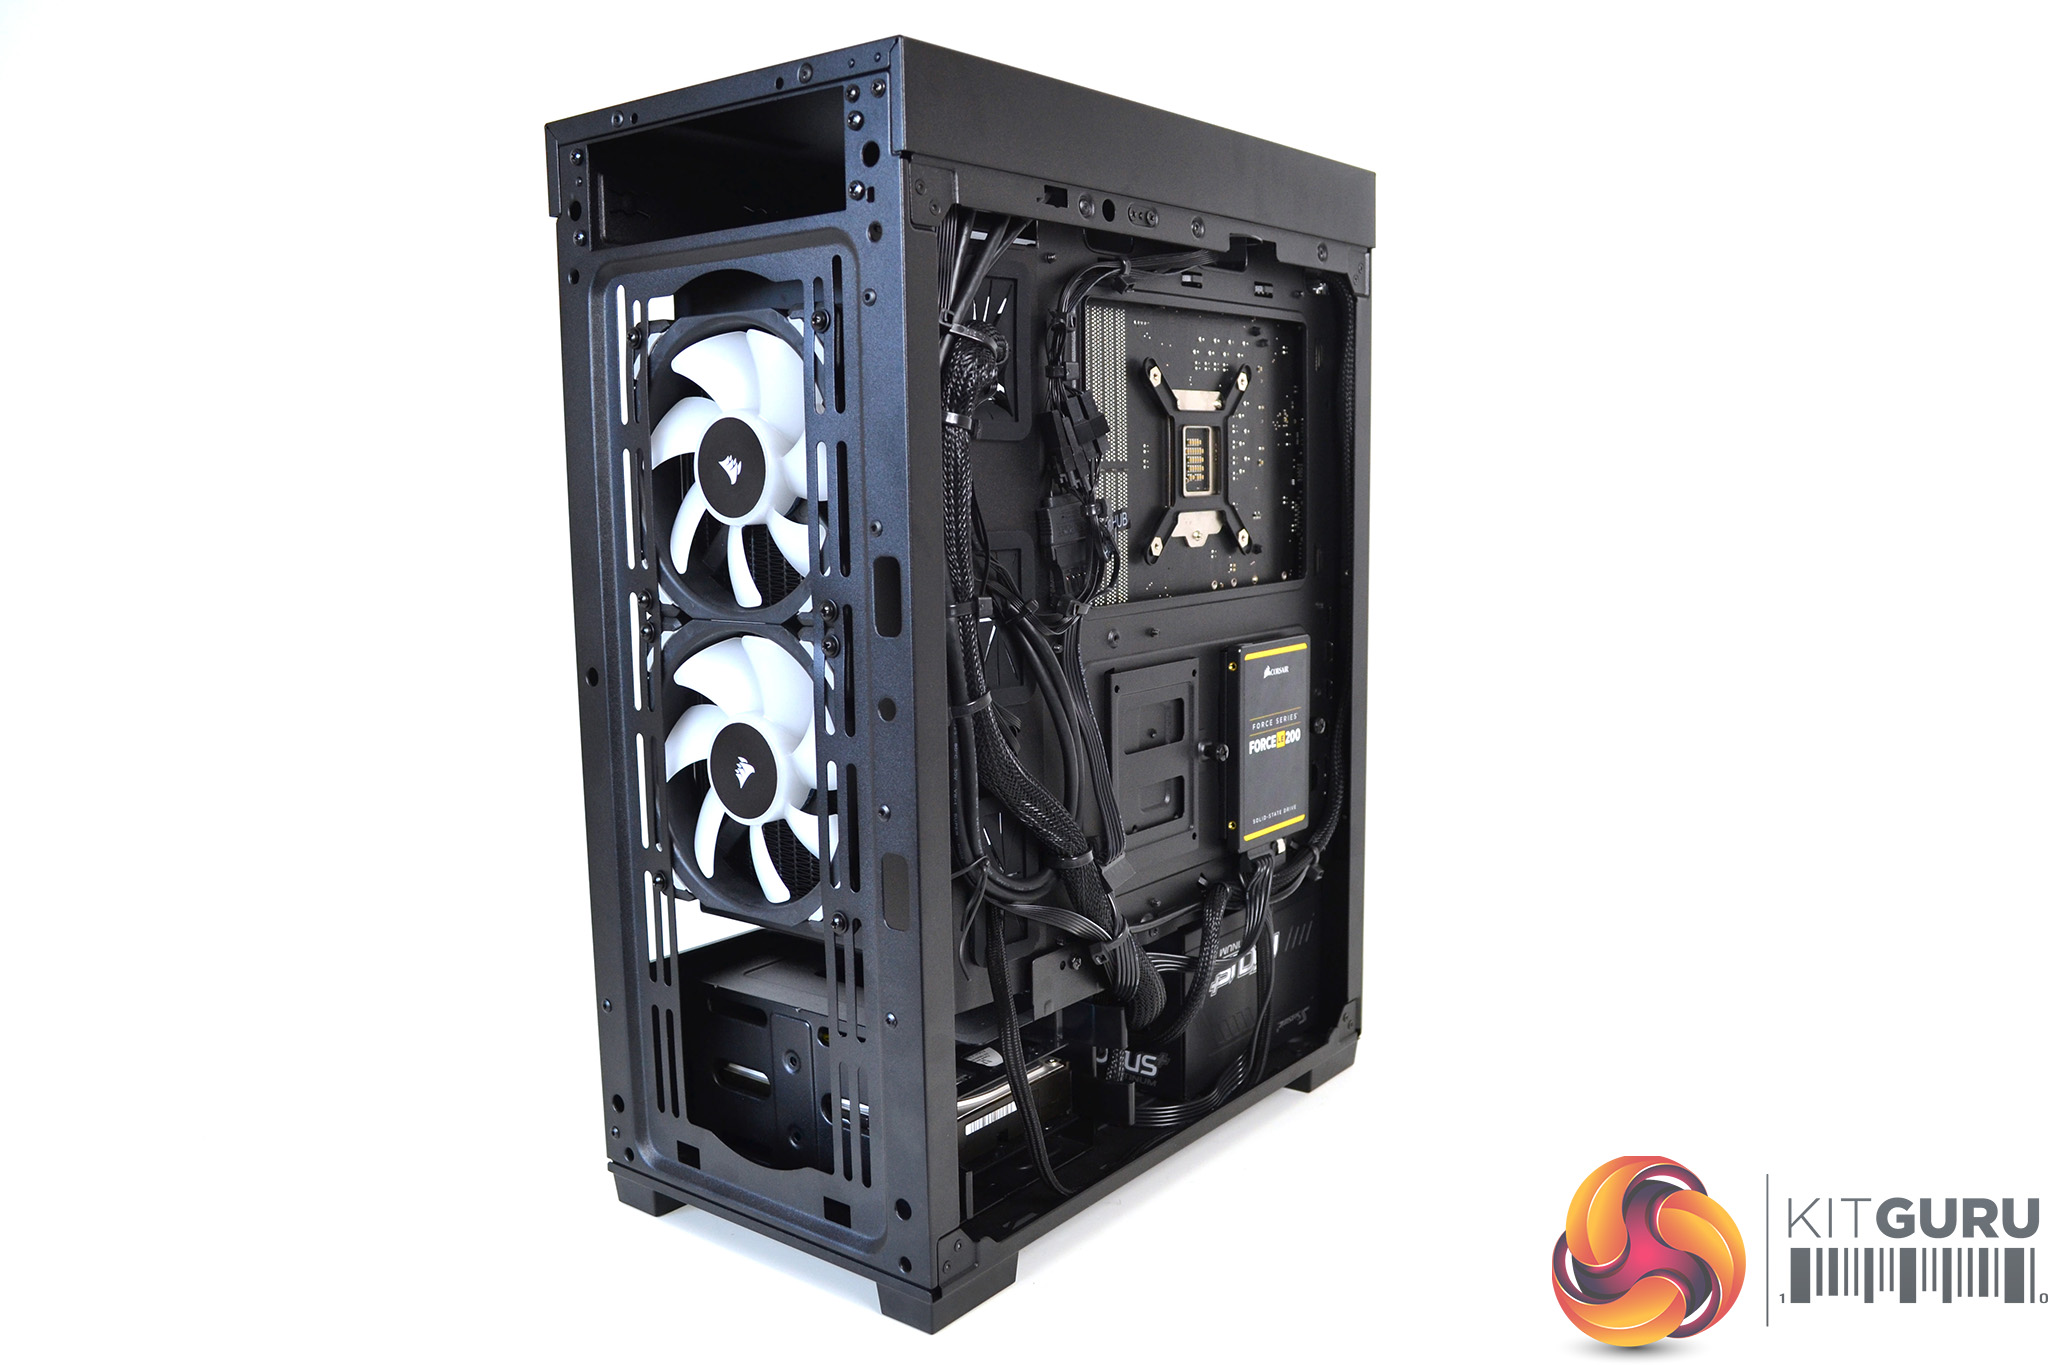
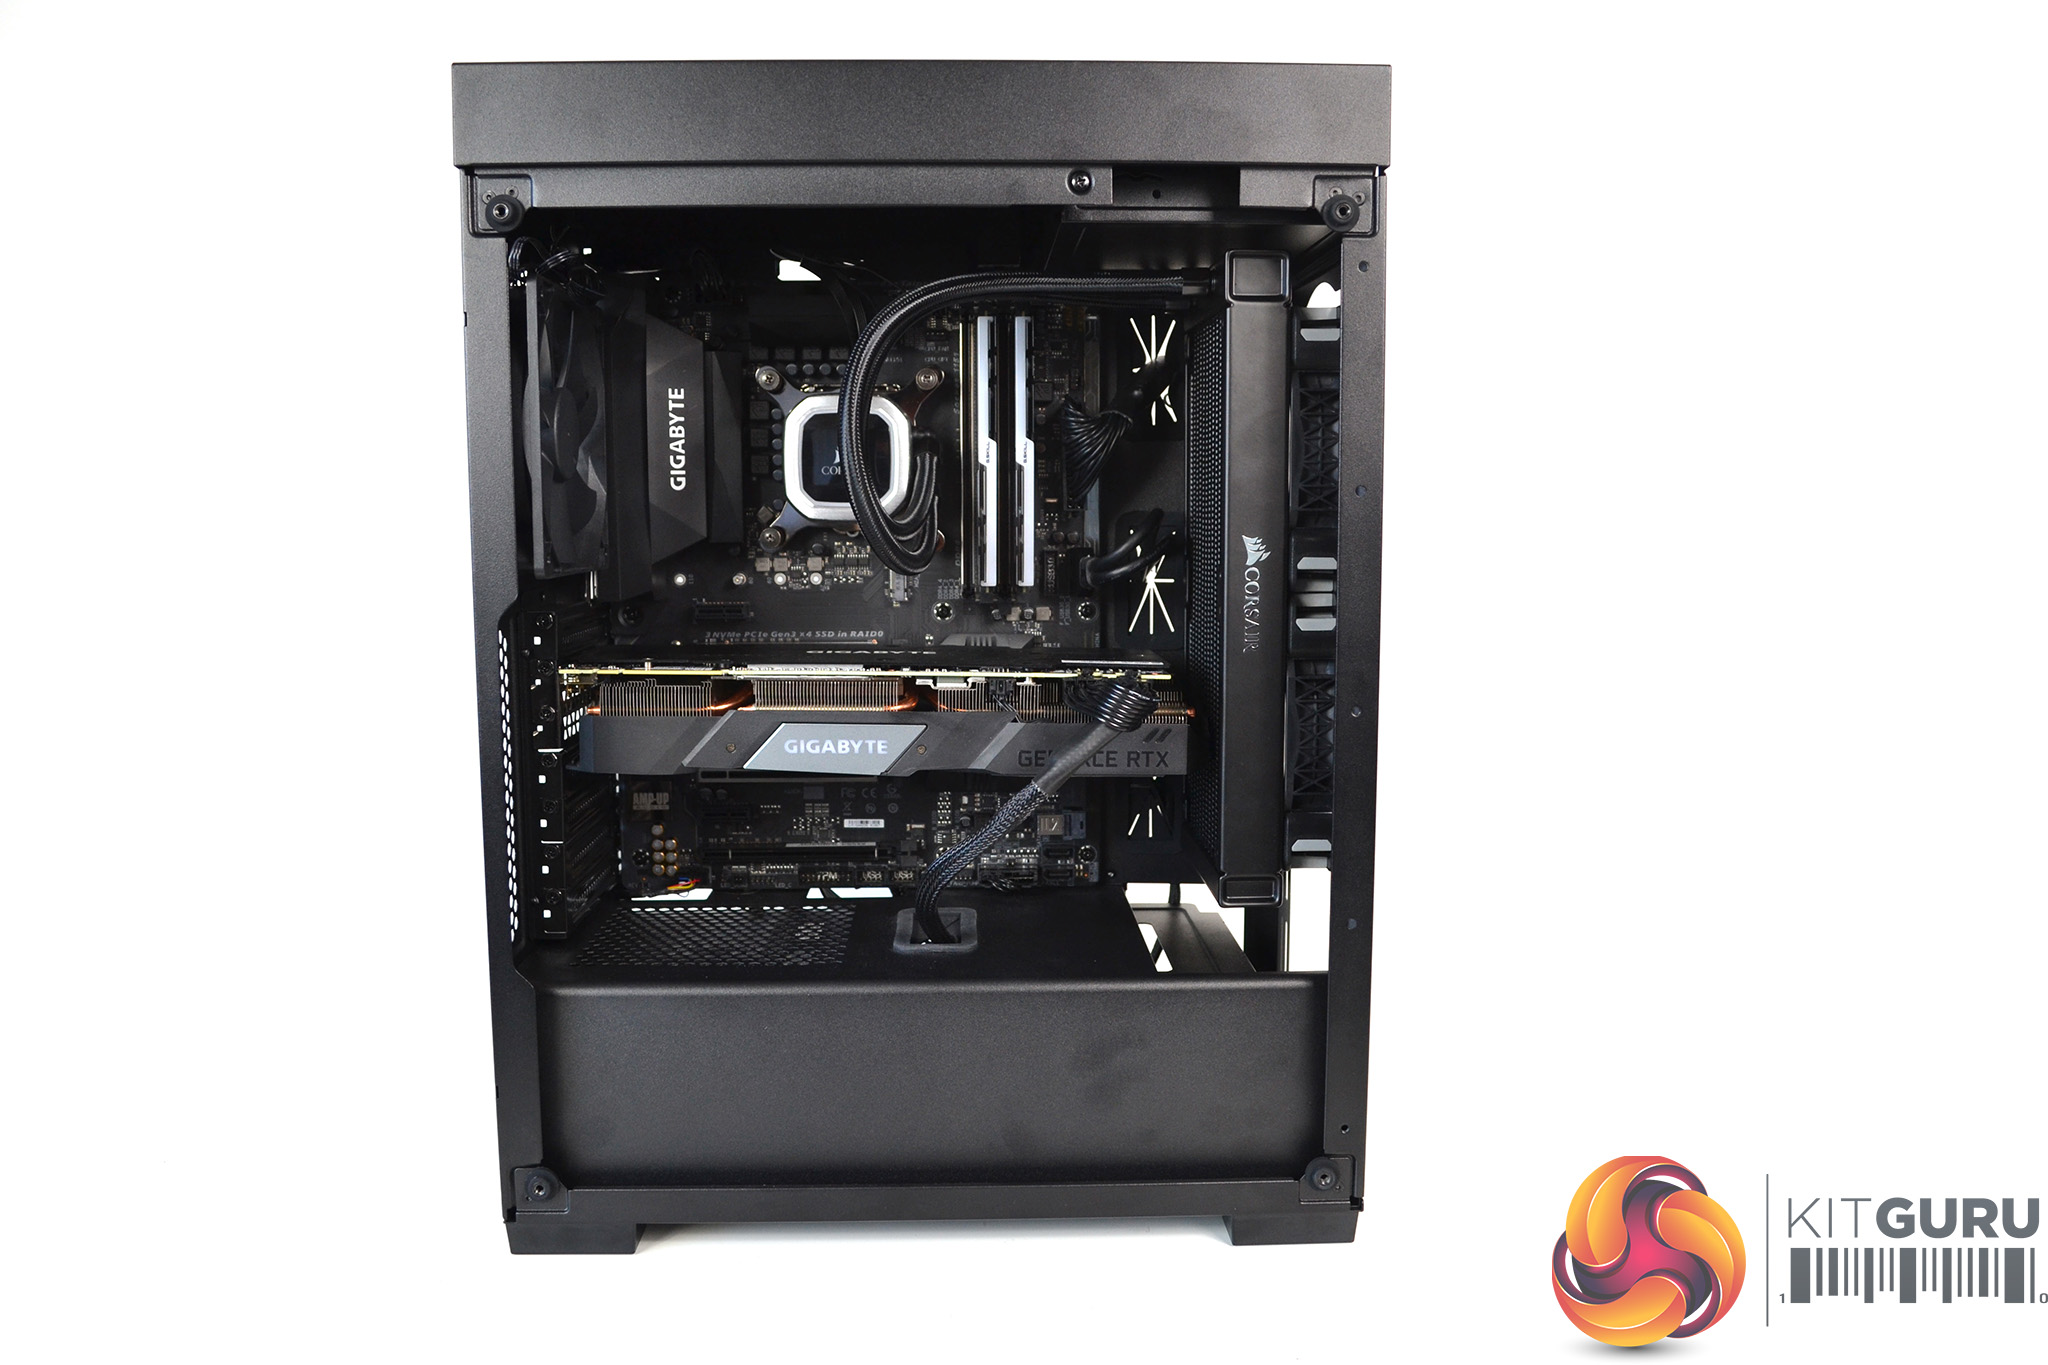
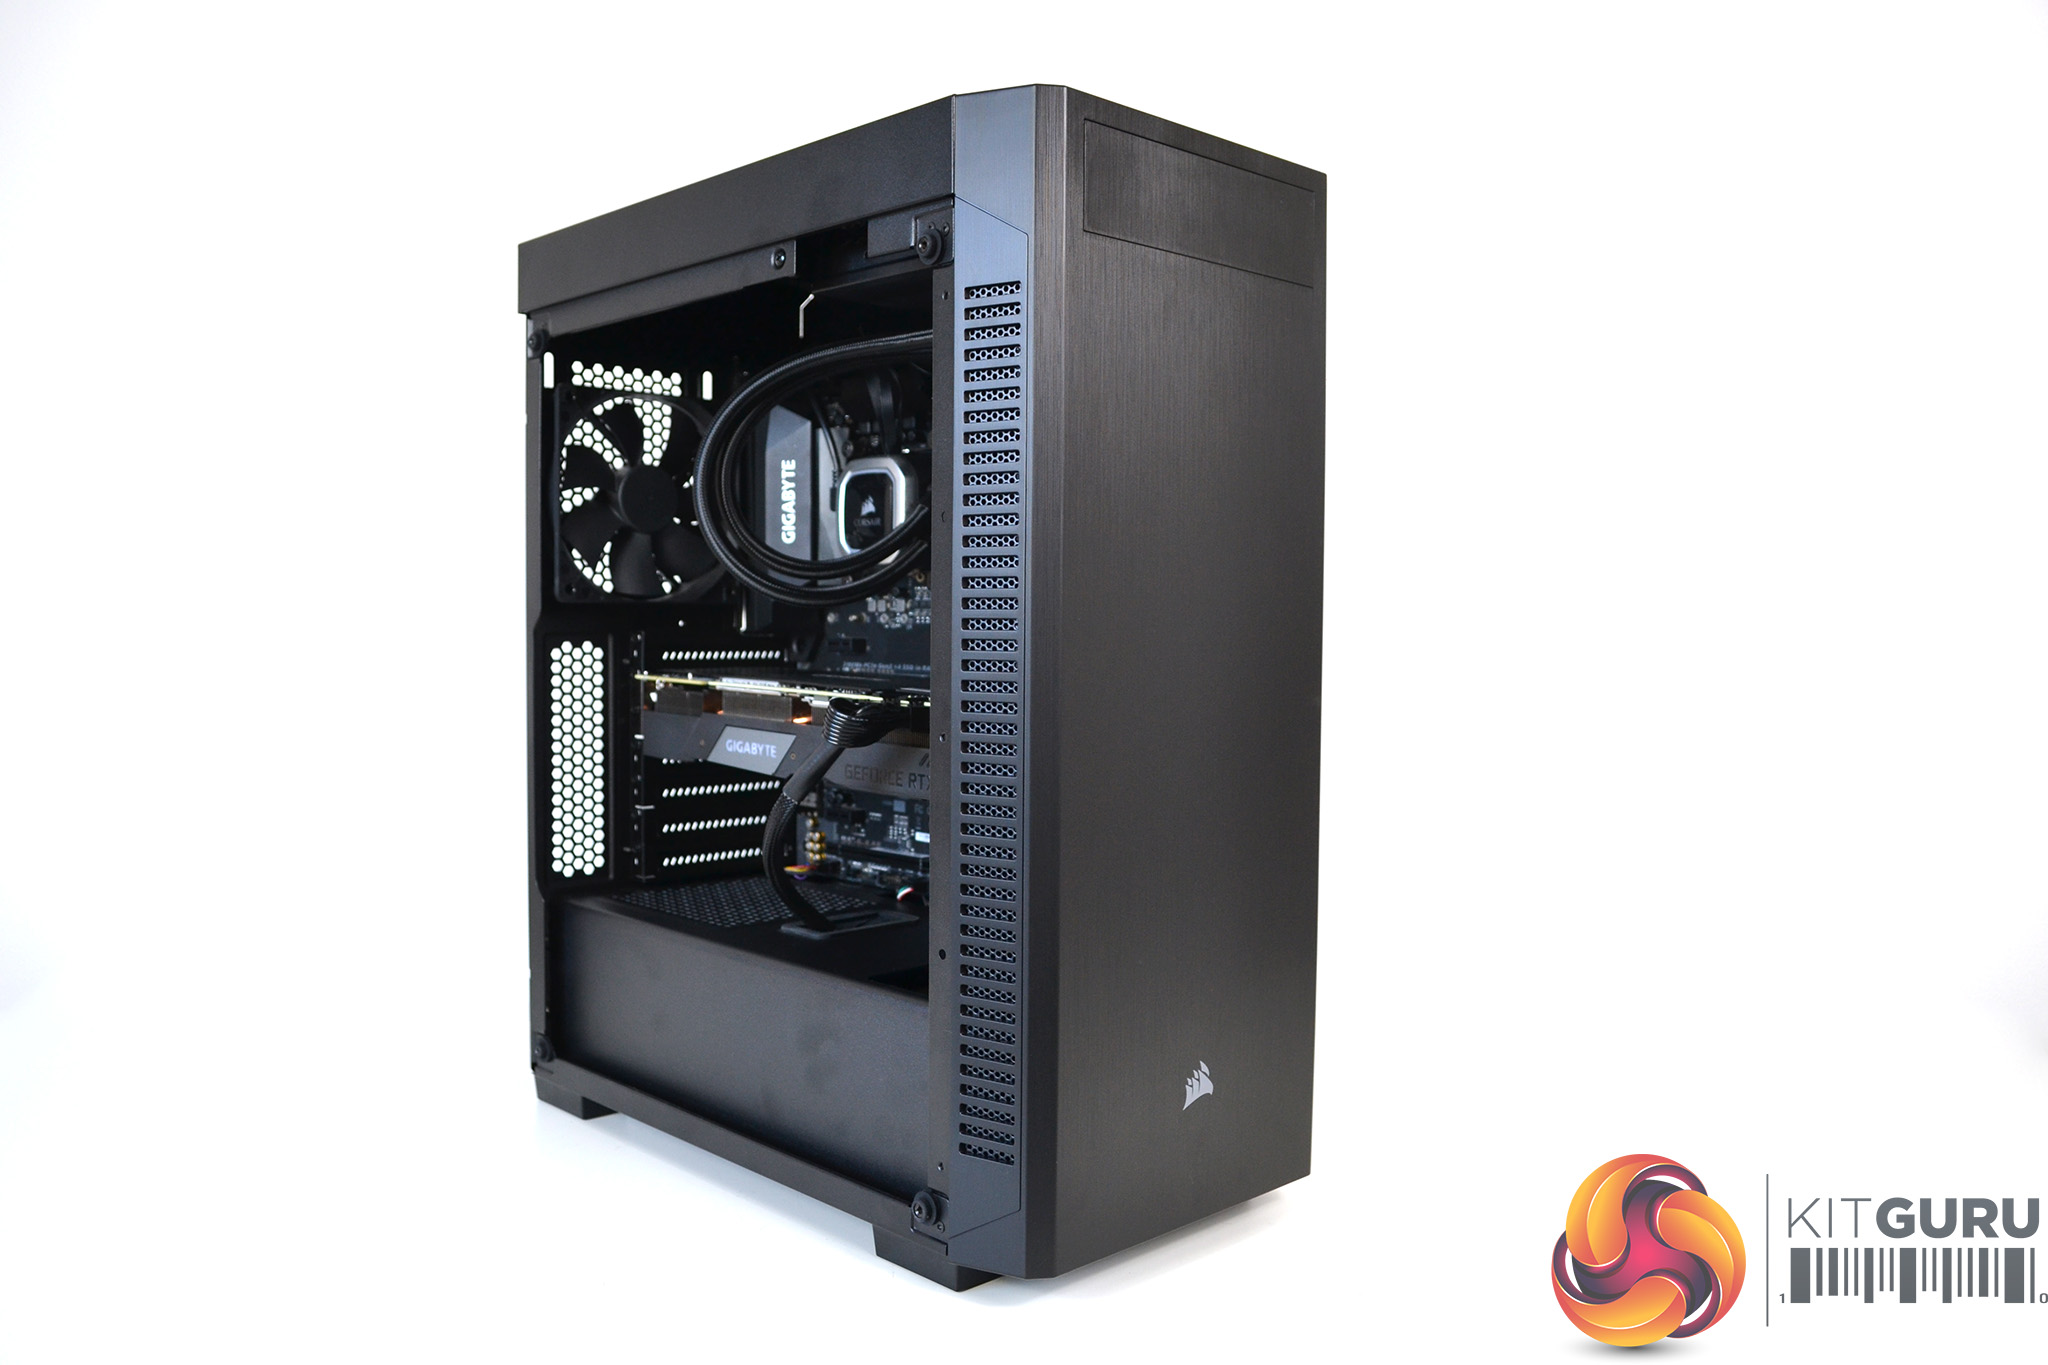
It was tempting to try and install a 360mm all-in-one liquid CPU cooler in the 110R, however, it would have meant that removal of the HDD caddy was necessary, so a Corsair H100 RGB Platinum 240mm AIO was installed instead, which proved to be a simple process with plenty of space allowed for by Corsair.
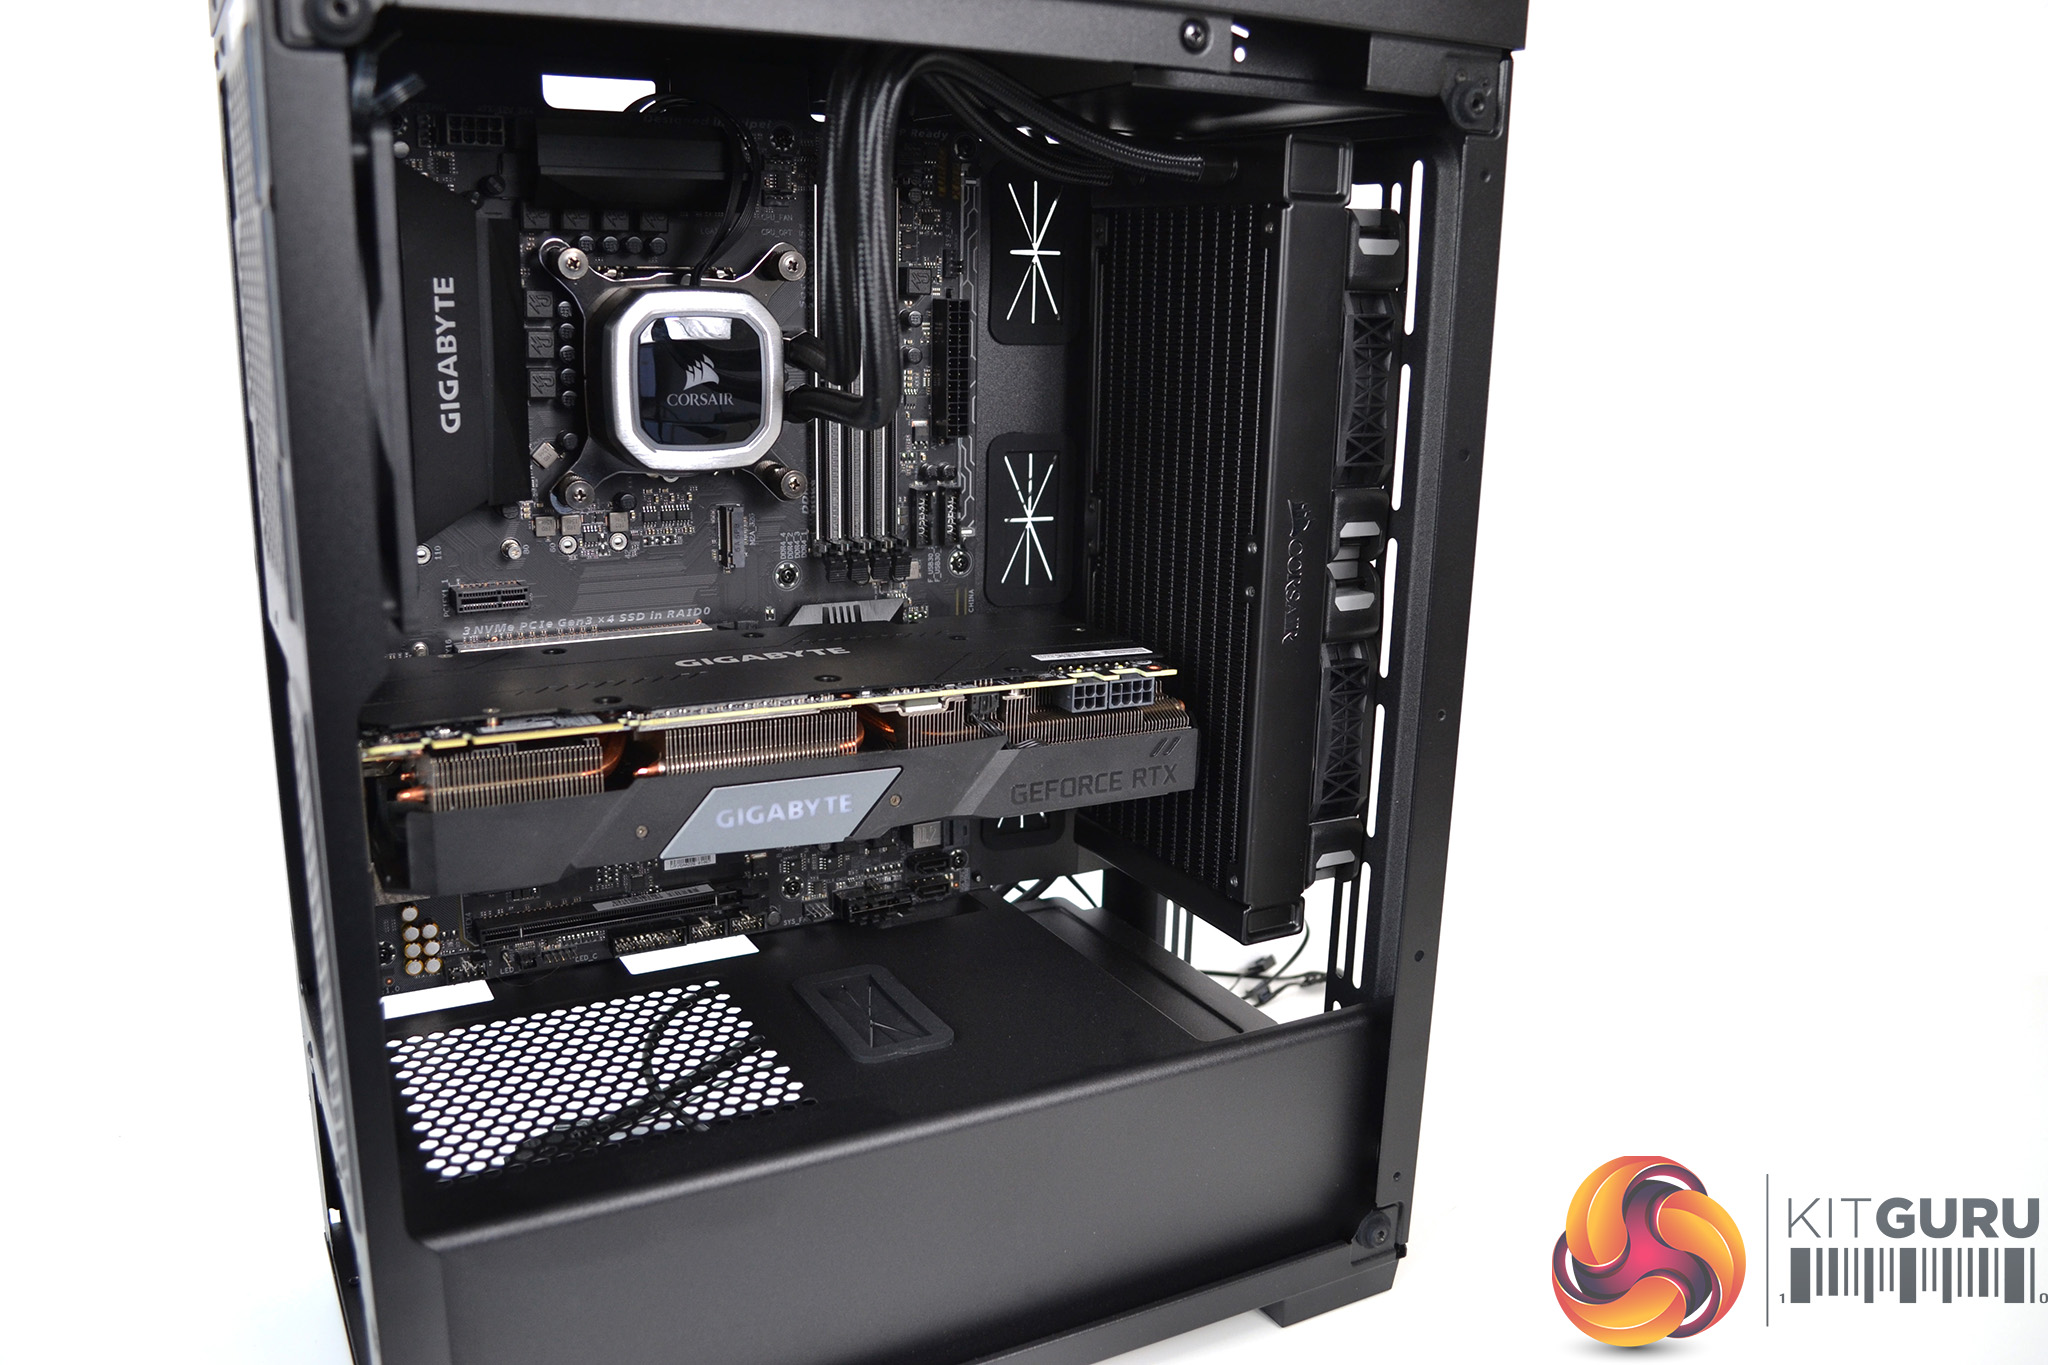

Although Corsair probably didn’t intend on designing the 110R for large high-end GPUs, we thought it best to see what was possible. Our Gigabyte RTX 2070 Super fitted in the case with millimetres of clearance to the front-mounted radiator.
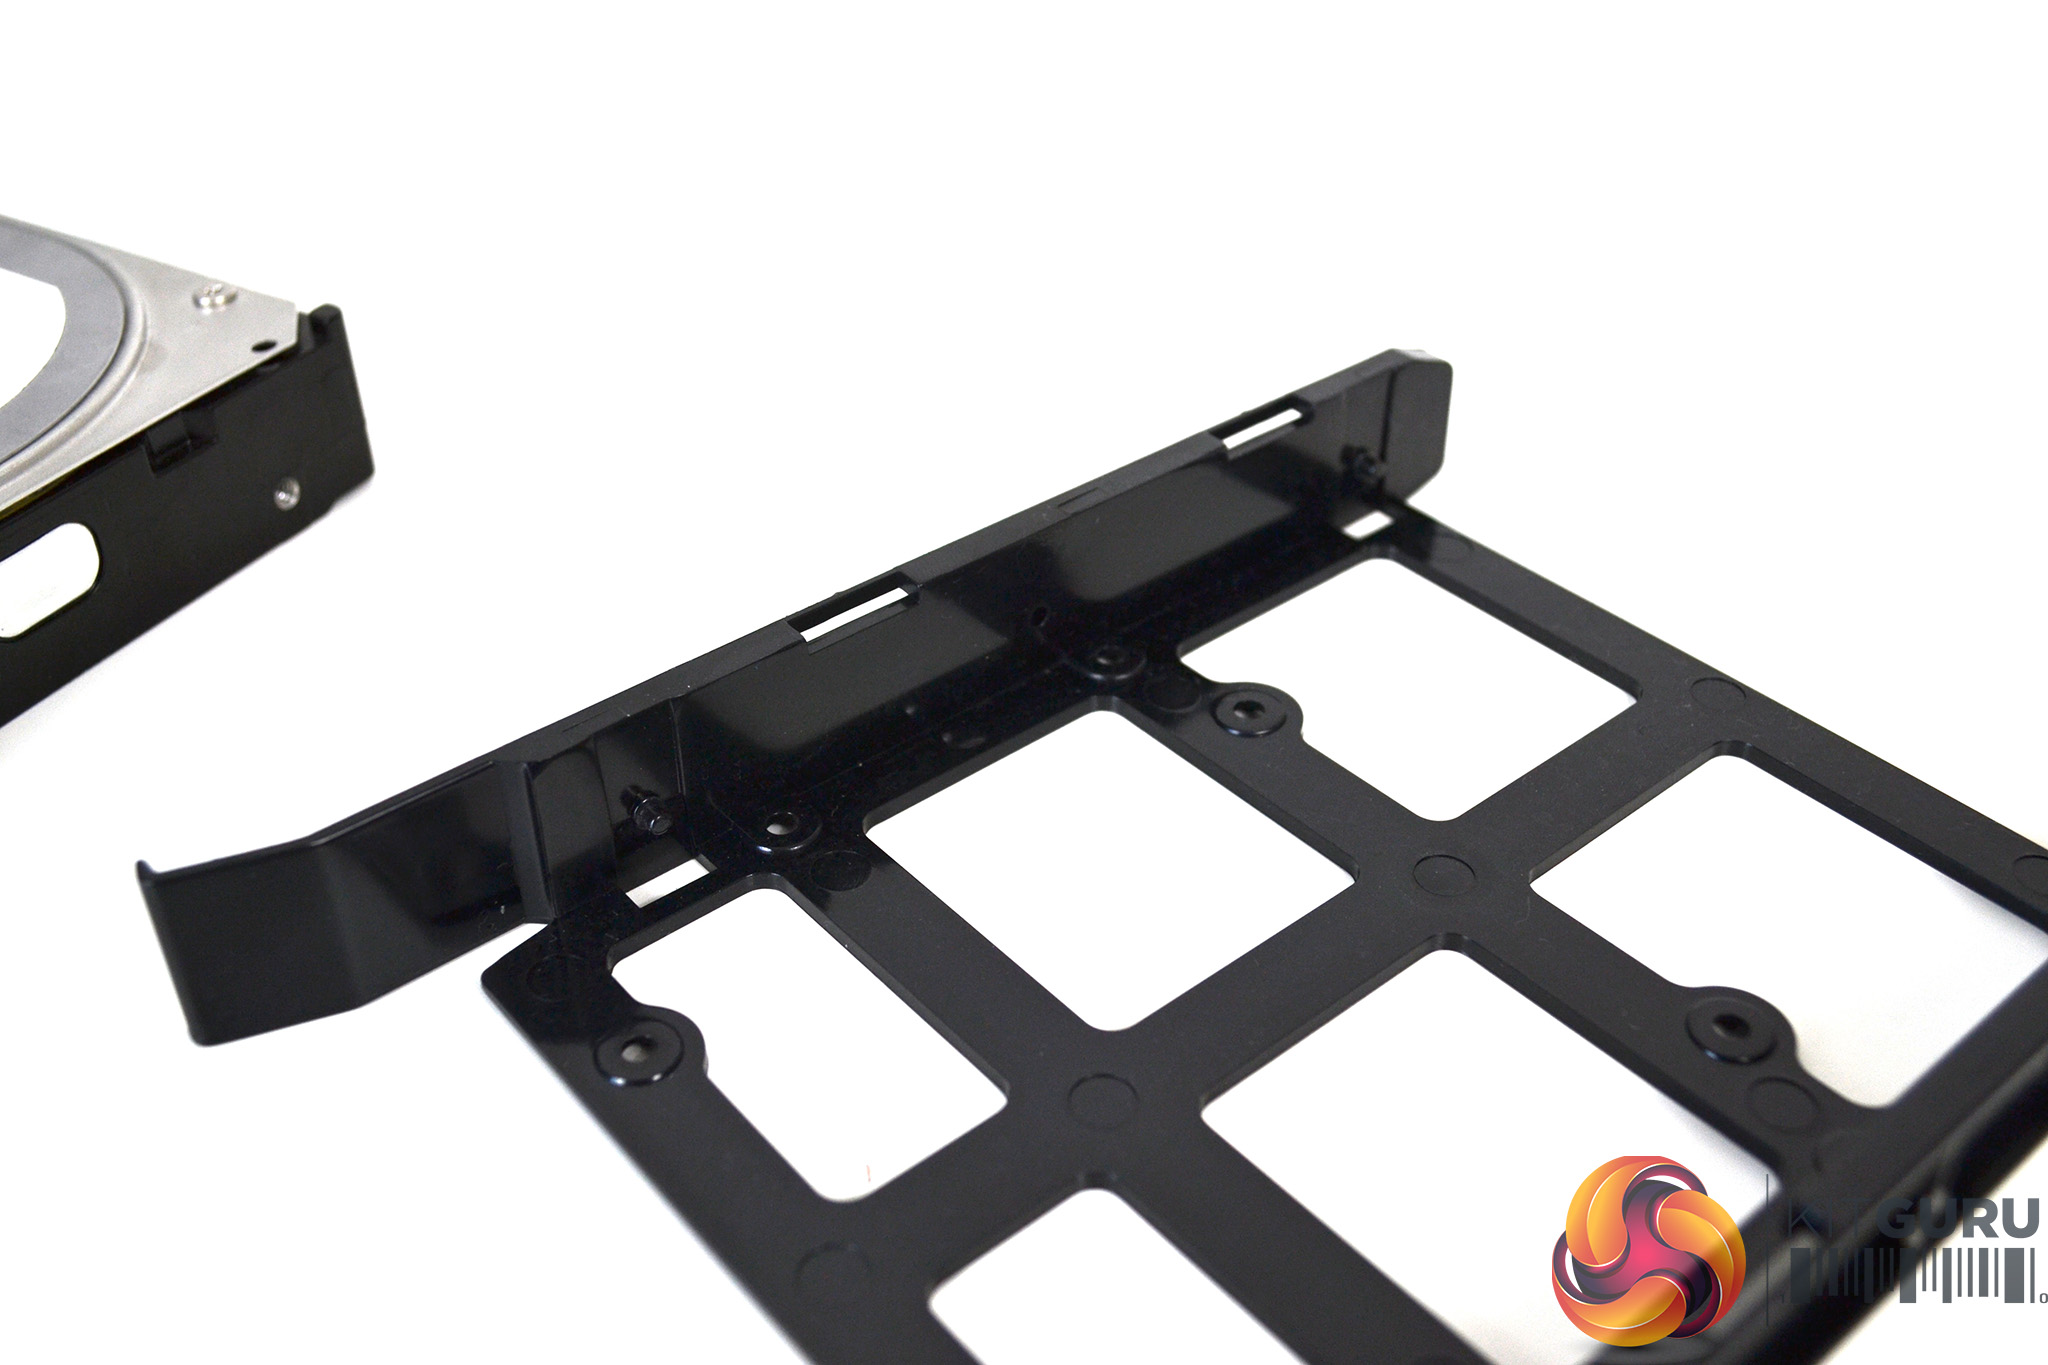

The next step was to install the storage devices. The HDD cages simply pulled out from the HDD caddy and with a little manipulation of the plastic, the HDD screw holes were located on the cage pegs and then simply slotted back into the caddy.

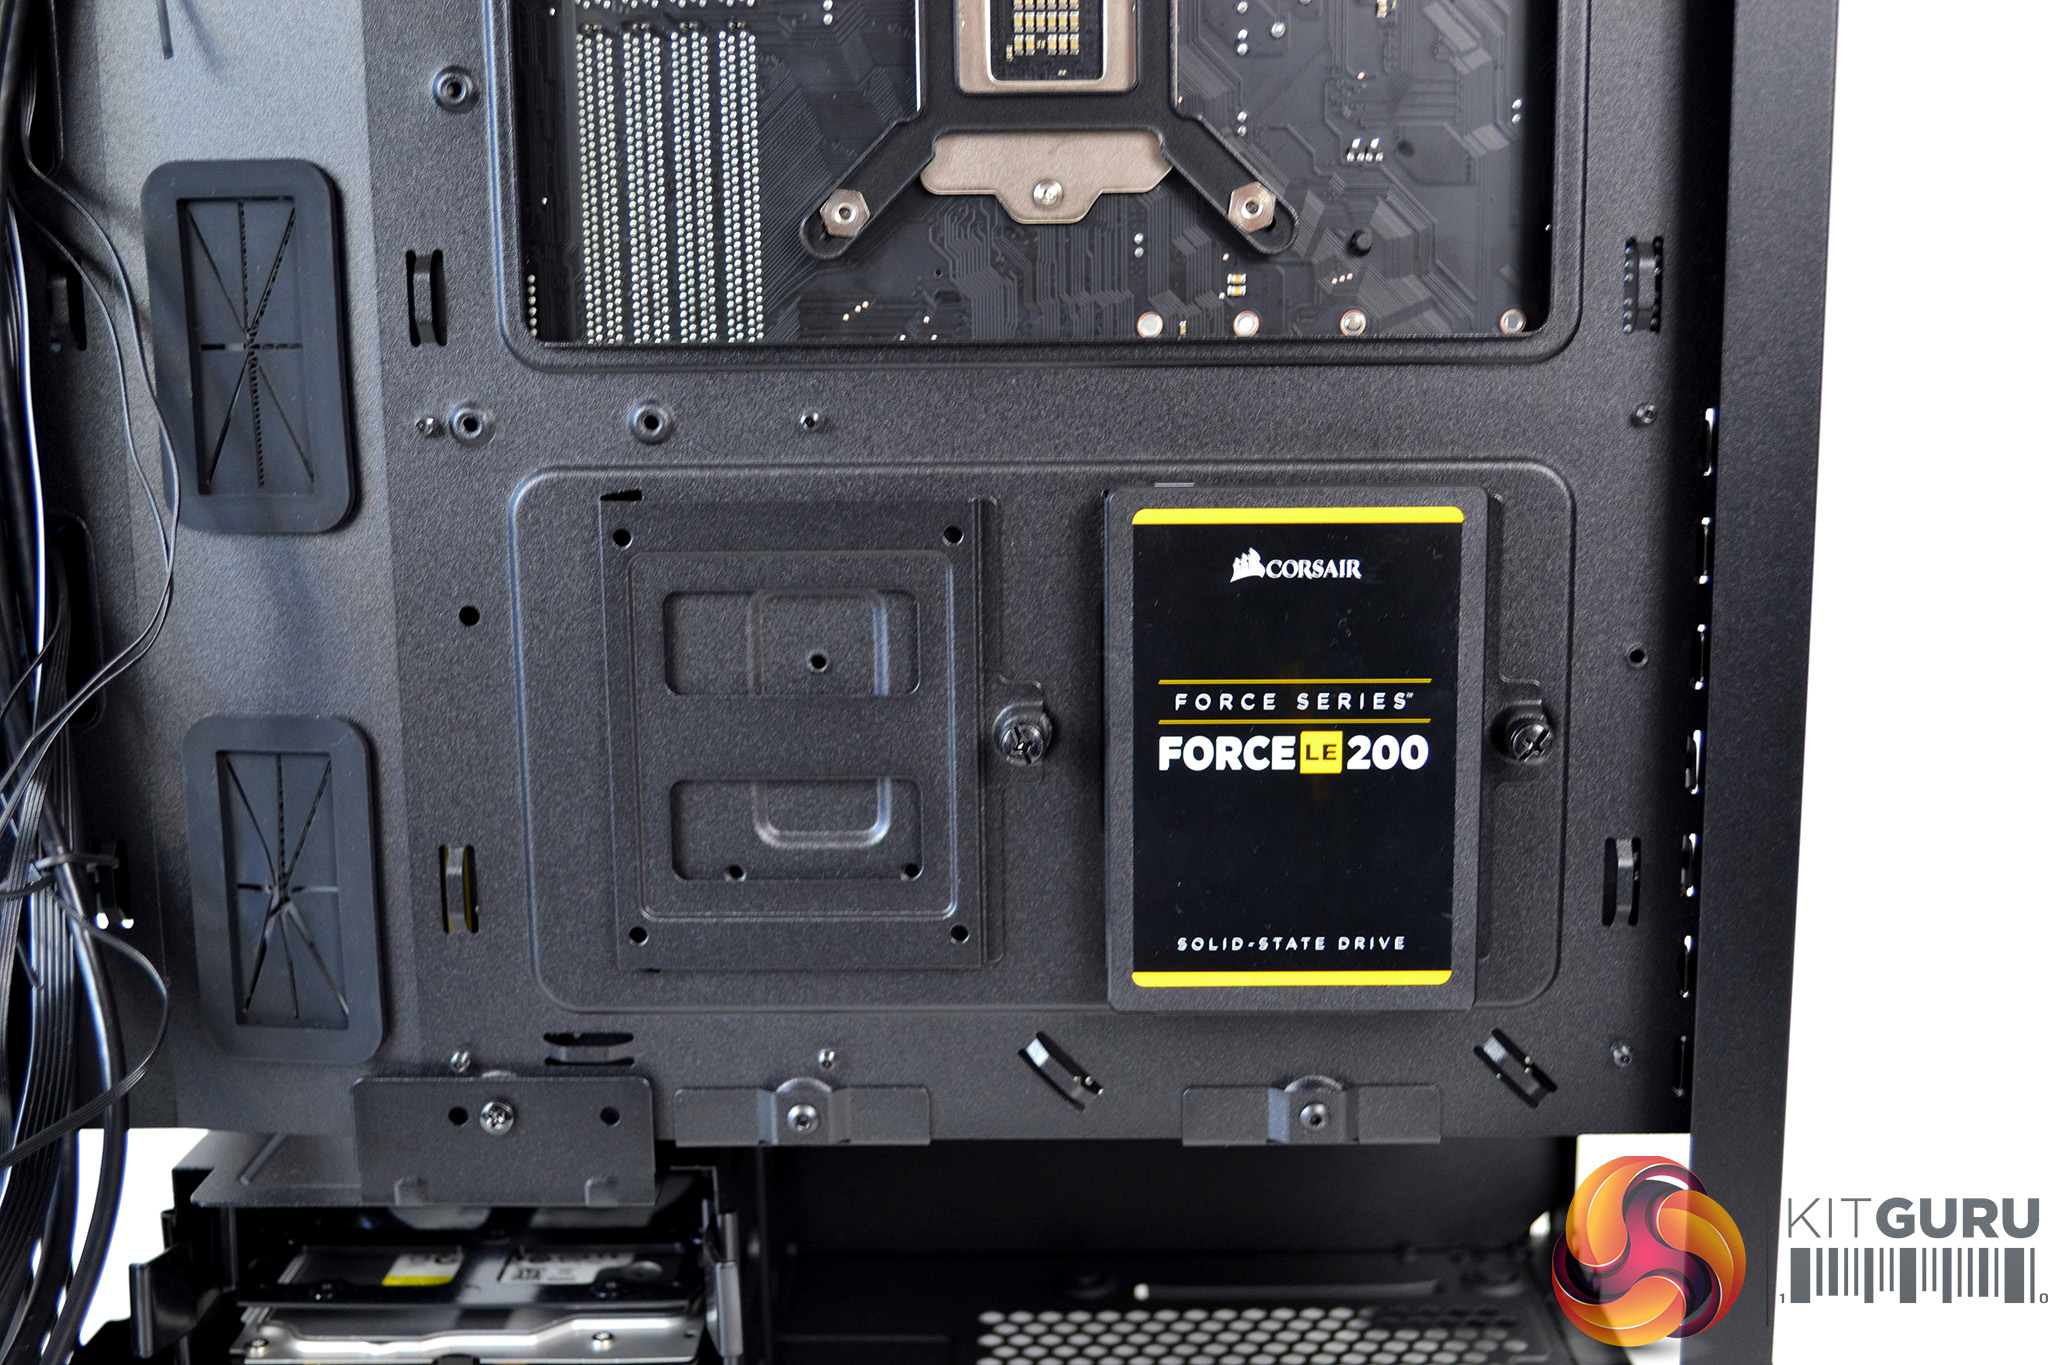
For SSD installation, the drives can either be mounted on the removable 2.5-inch brackets on the rear of the motherboard tray or fitted into the HDD cages. We chose to mount the SSD on the rear of the motherboard.

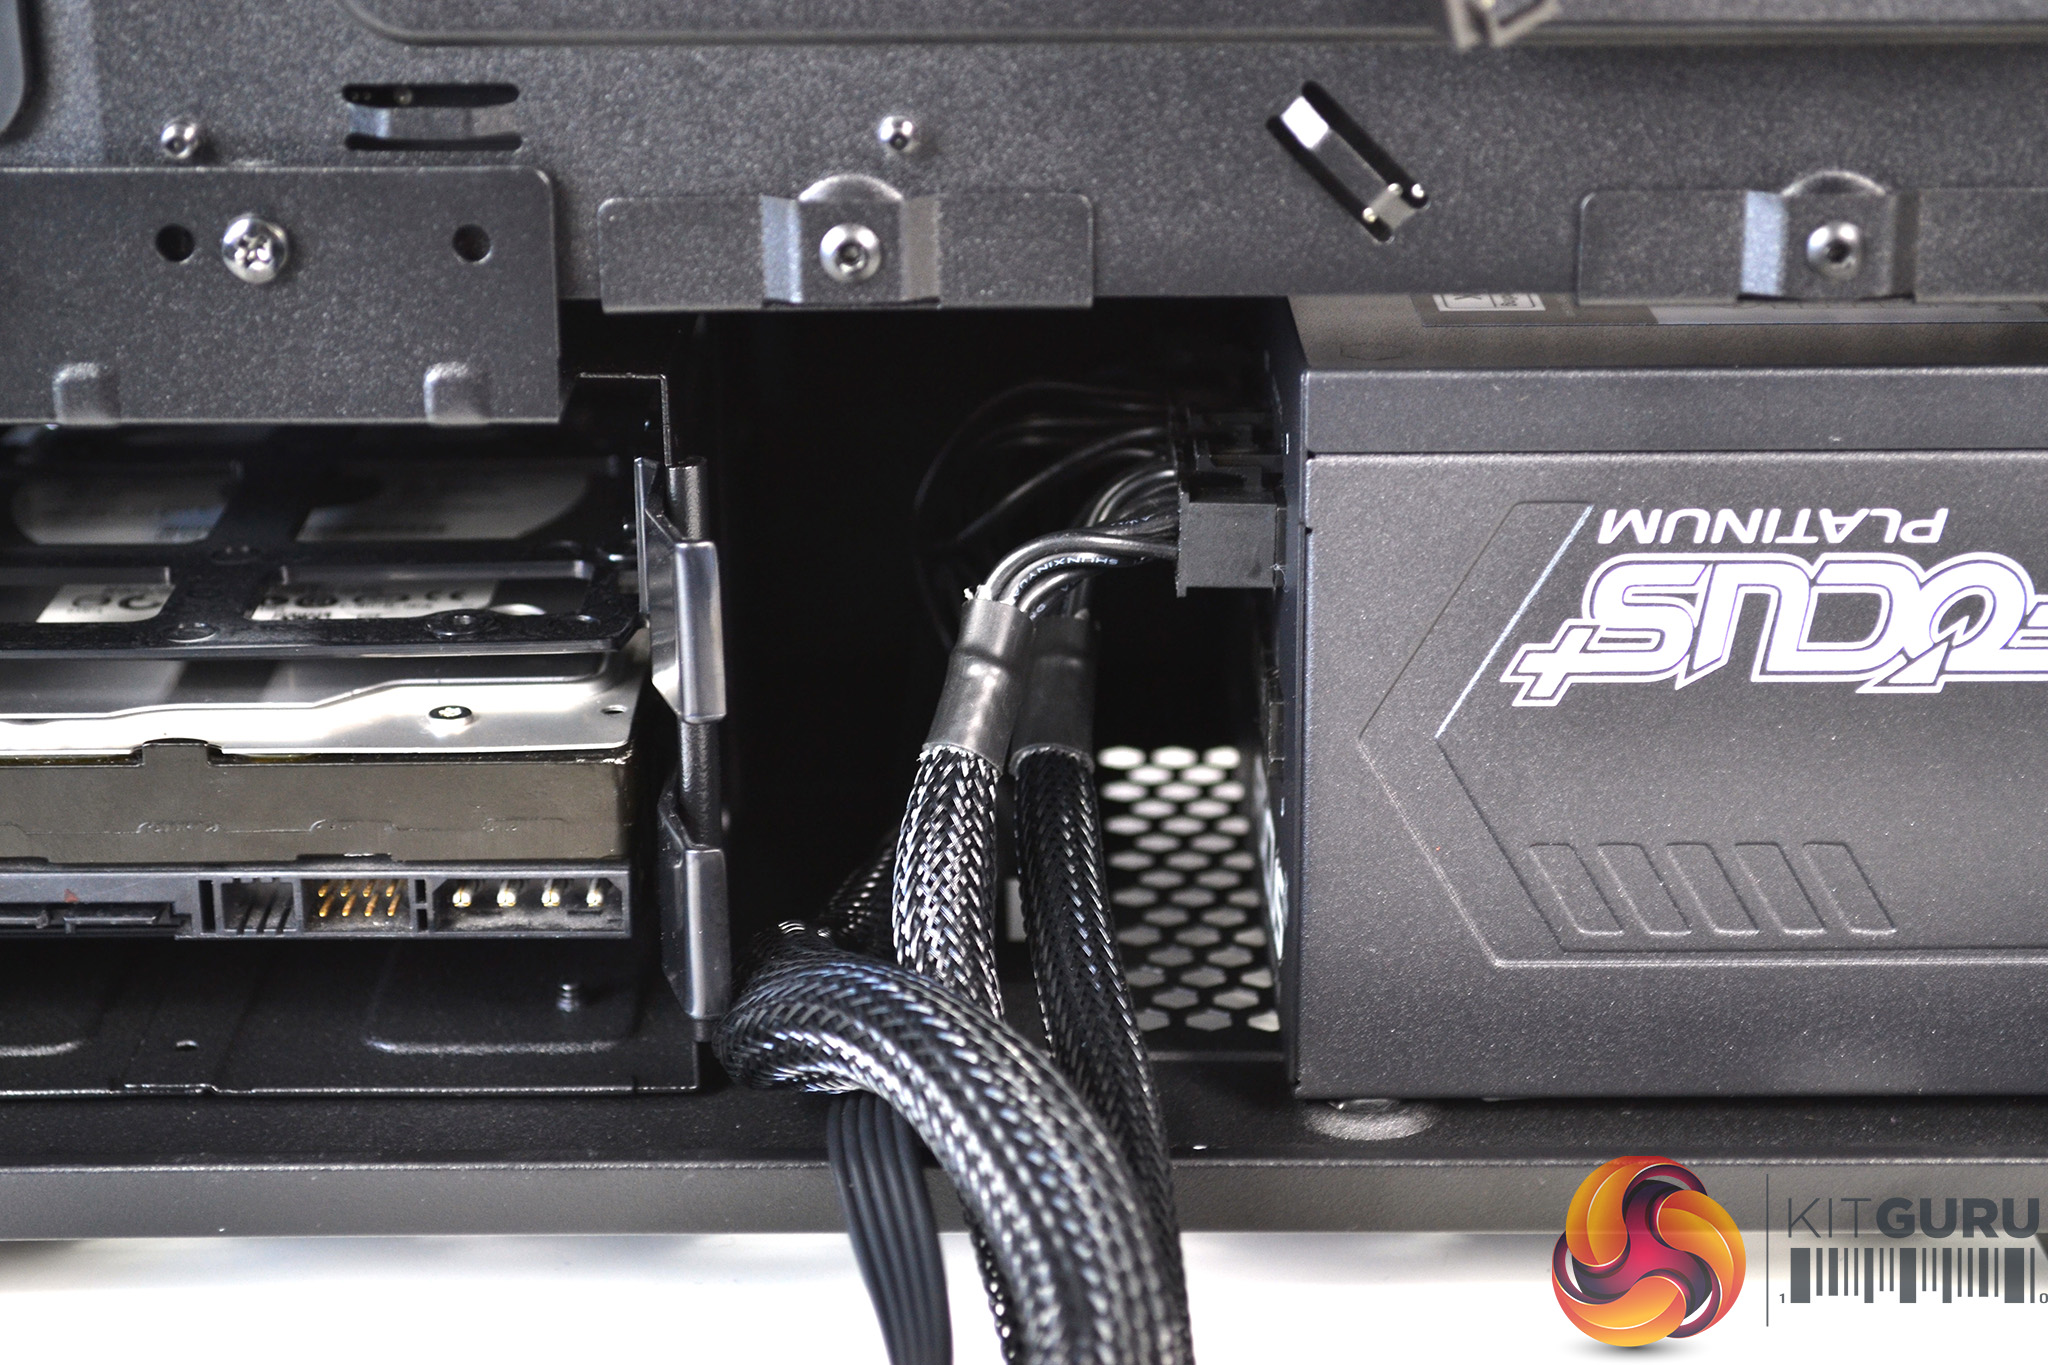
To power the system, we went for a Seasonic Focus Platinum PSU as it offers a more compact design, which should suit the Corsair 110R case. It was pretty tight to the HDD caddy when inserting the power supply with the cables pre-installed.
However, once it was in, there was space to install or remove additional cables. The case features anti-vibration rubbers beneath the PSU which should help with vibration related noise.

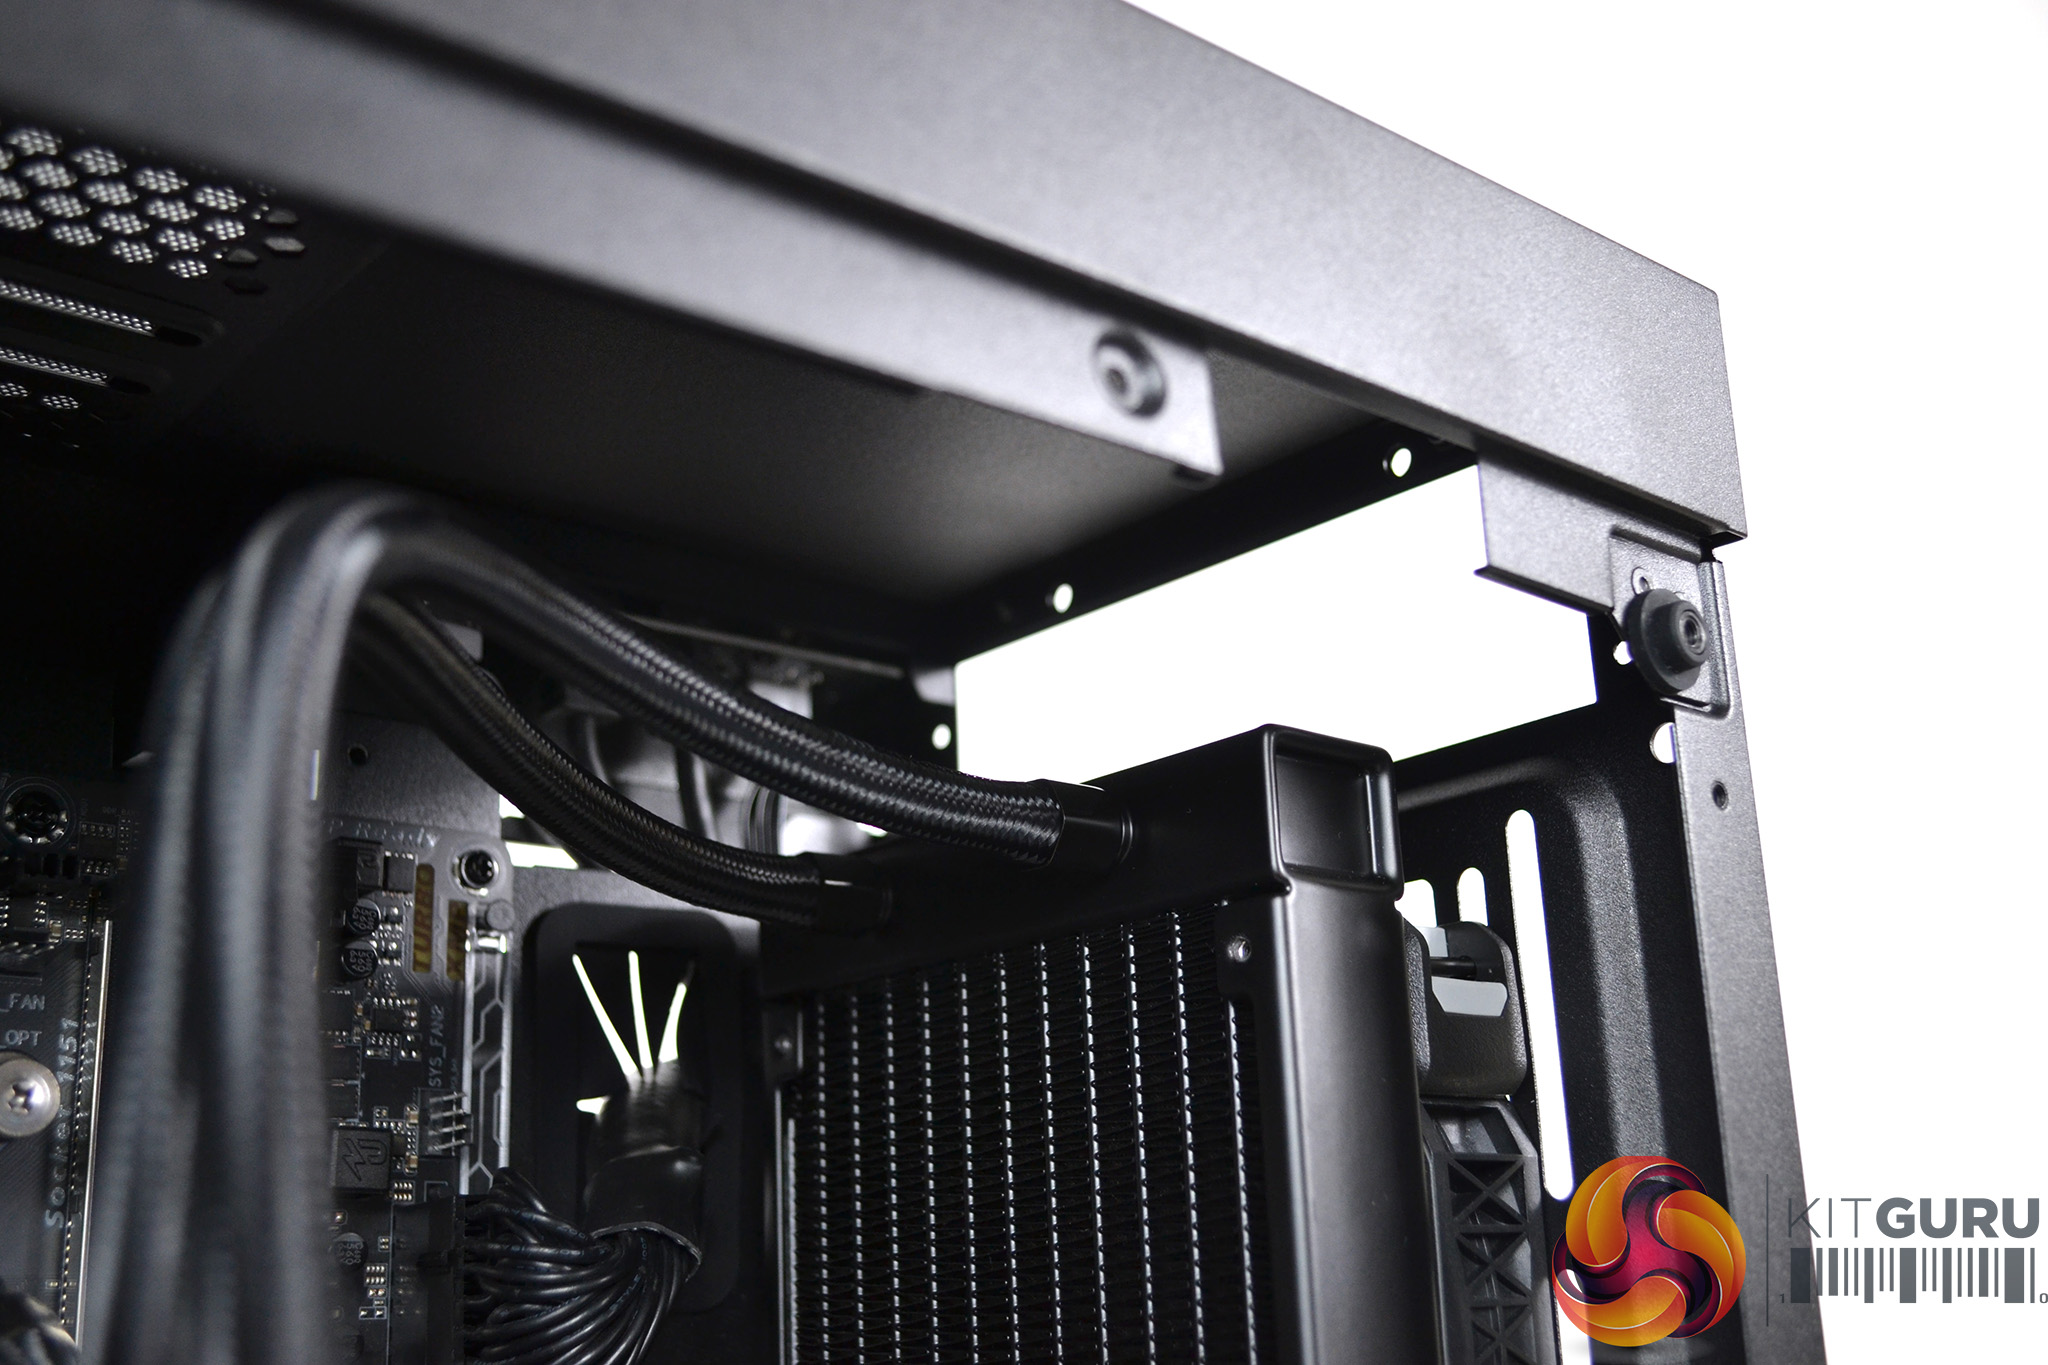
For those of you that still use optical drives, you’ll be happy to hear there is an ODD bay in the Corsair 110R. Installation of the optical drive was simple. Slide the drive in from the front and fix in place with a single screw on either side.
Alternatively, the ODD bay can be taken out completely by removing six screws, although there is no real benefit of doing this as it doesn’t create space for other hardware.
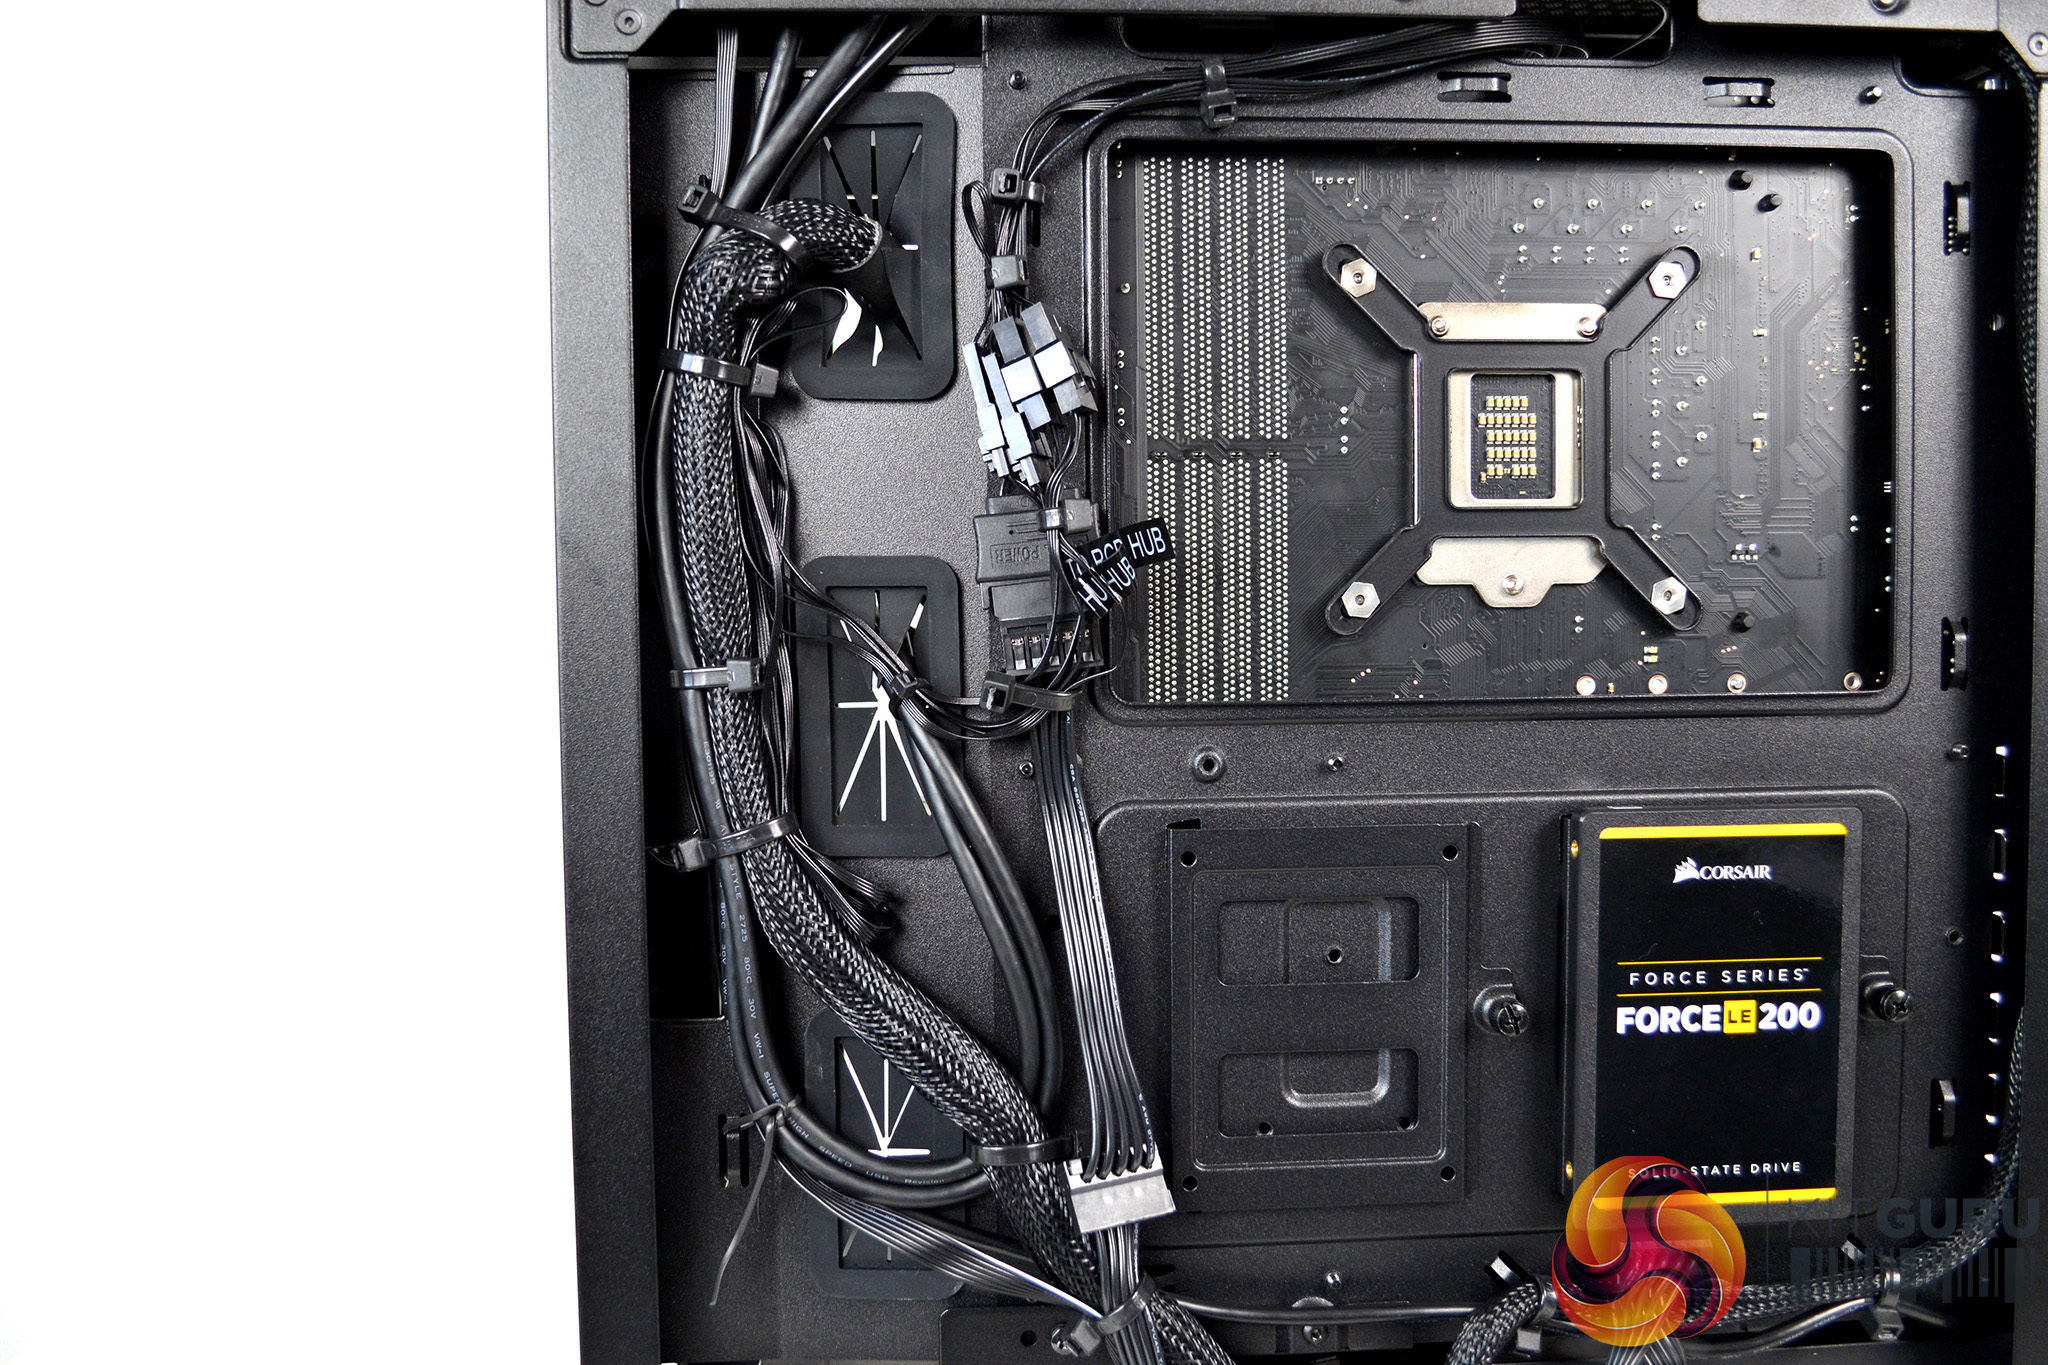

For a budget case, cable management has been implemented well. There are three large cut-outs along the right-hand side of the motherboard with rubber grommets for cable protection, three cut-outs along the bottom of the motherboard and a further three at the top.
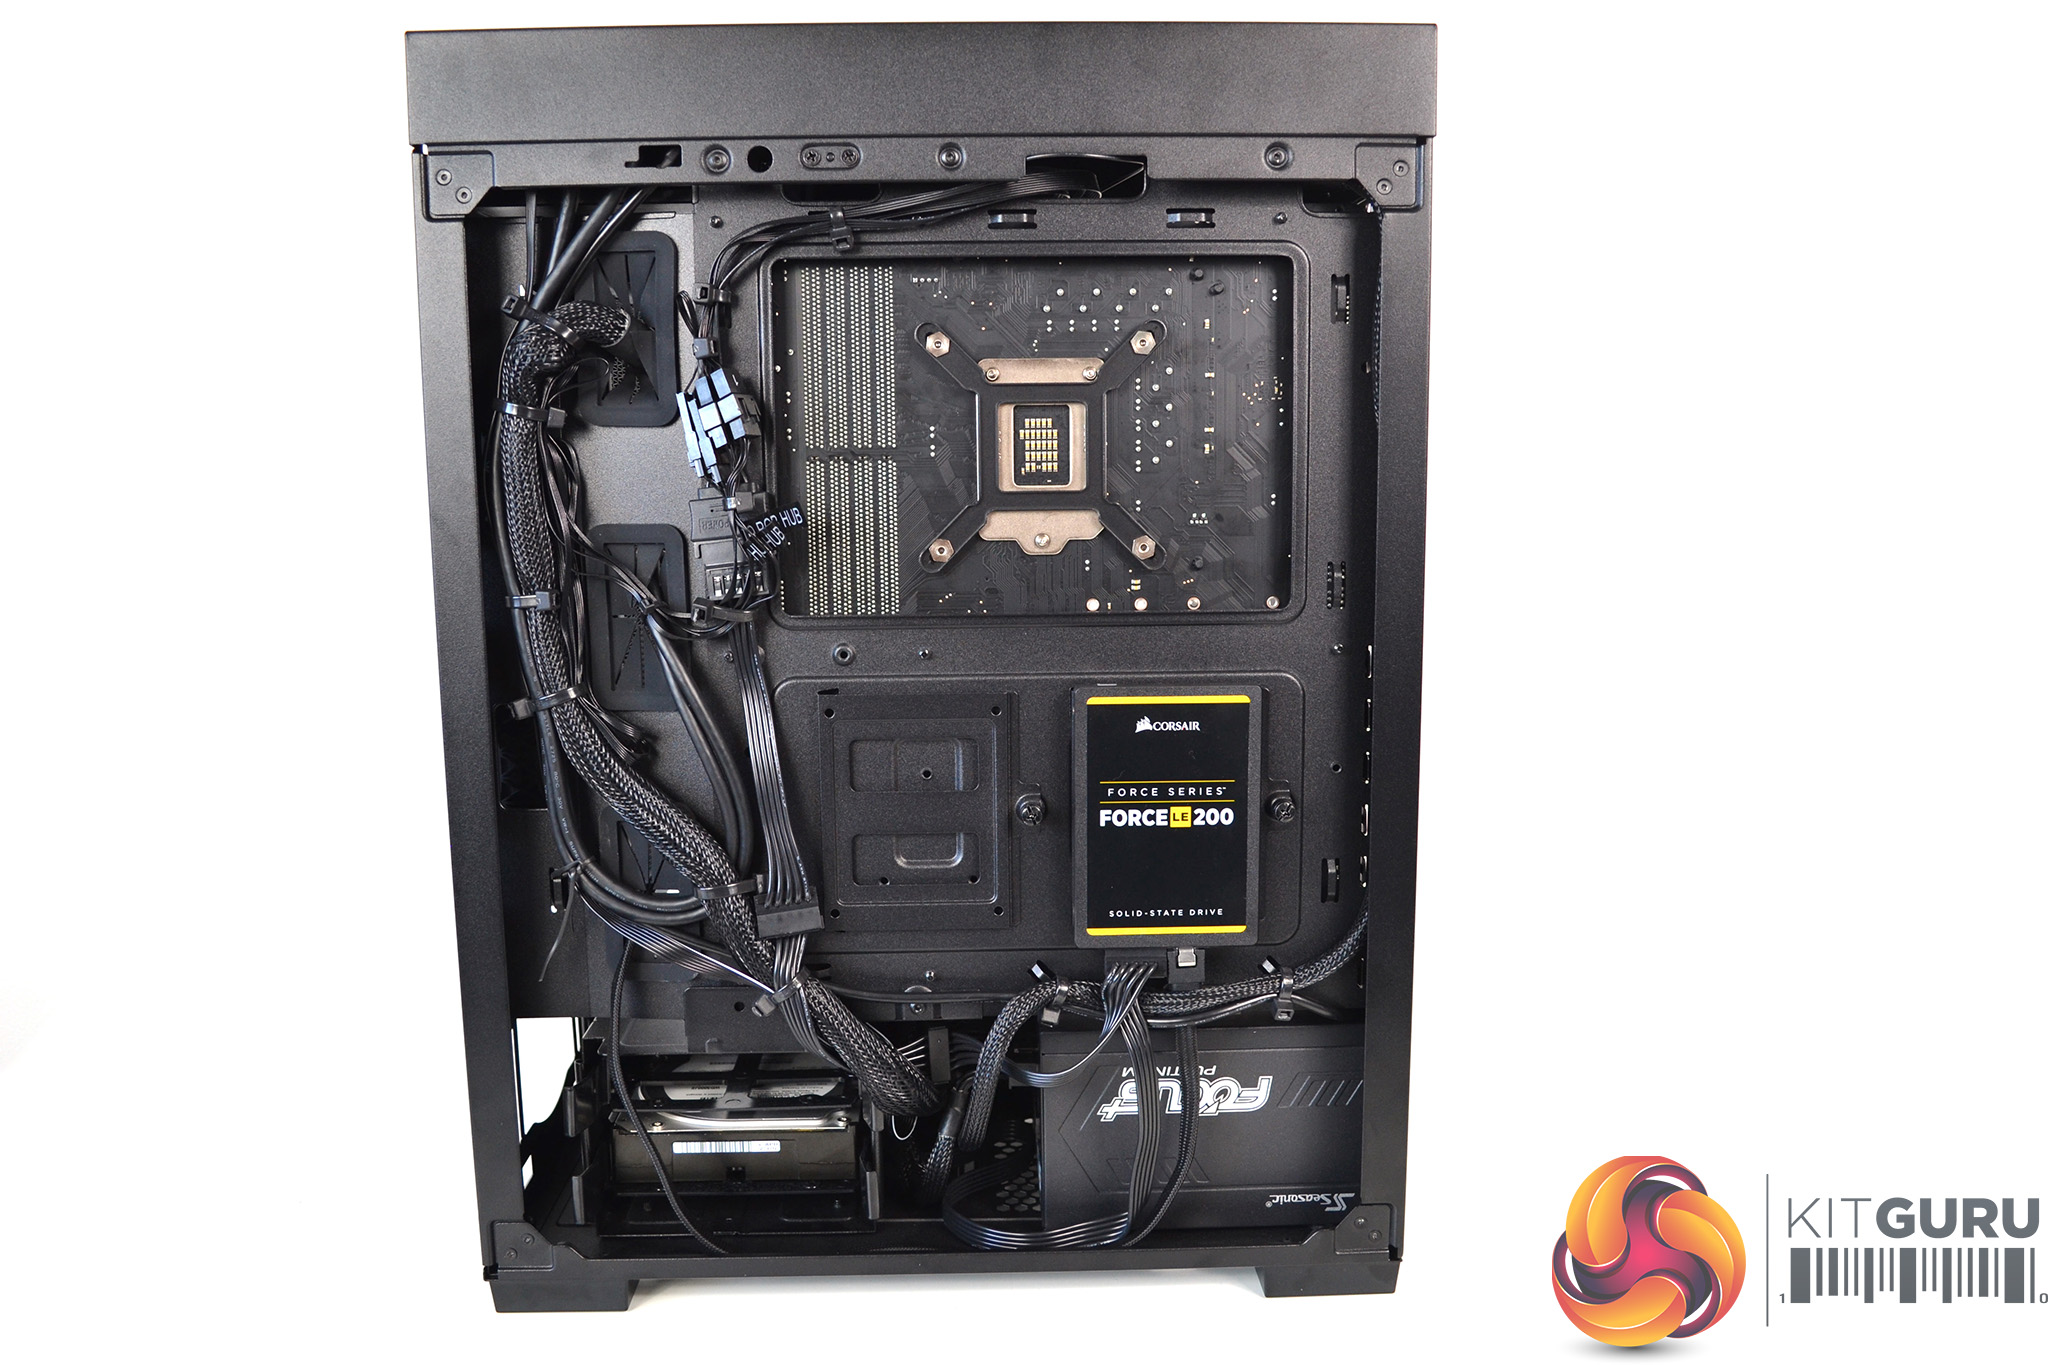
The only slight let down is the cable management space at the rear of the case. However, when we take into consideration the size of the case and its cost, it’s not something which we should complain about too much, as it is adequate for our needs and provides a pretty neat end product.
Overall, we were happy with the installation process in the corsair 110R. Throughout the installation, we didn’t come up against any major drawbacks to hinder the process. GPU installation was tight; however, this was more down to our selection of graphics card rather than a fault with the case.