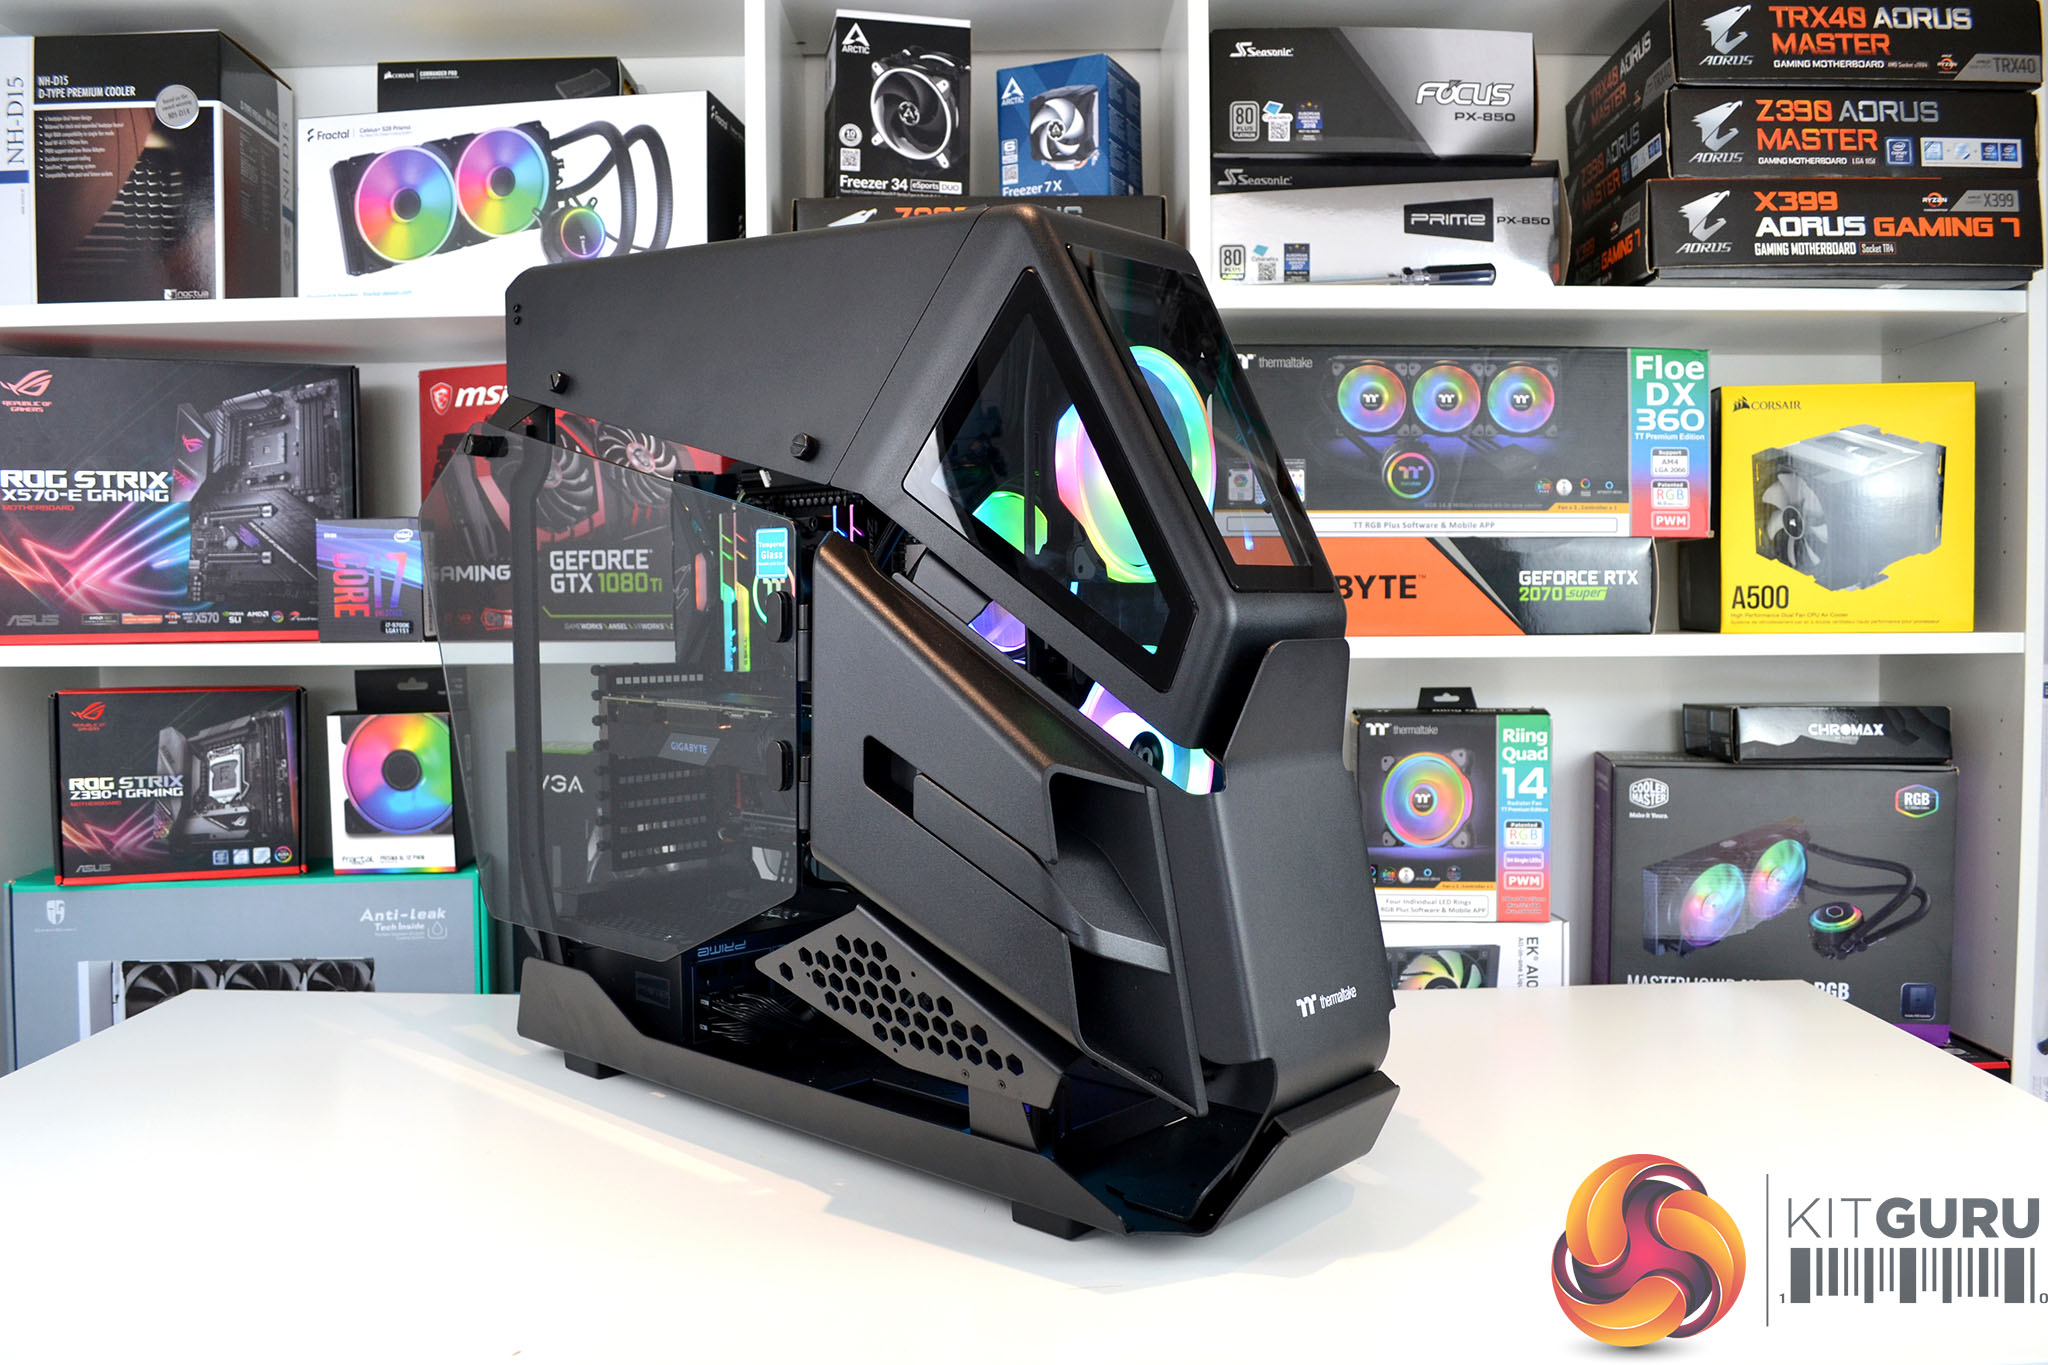
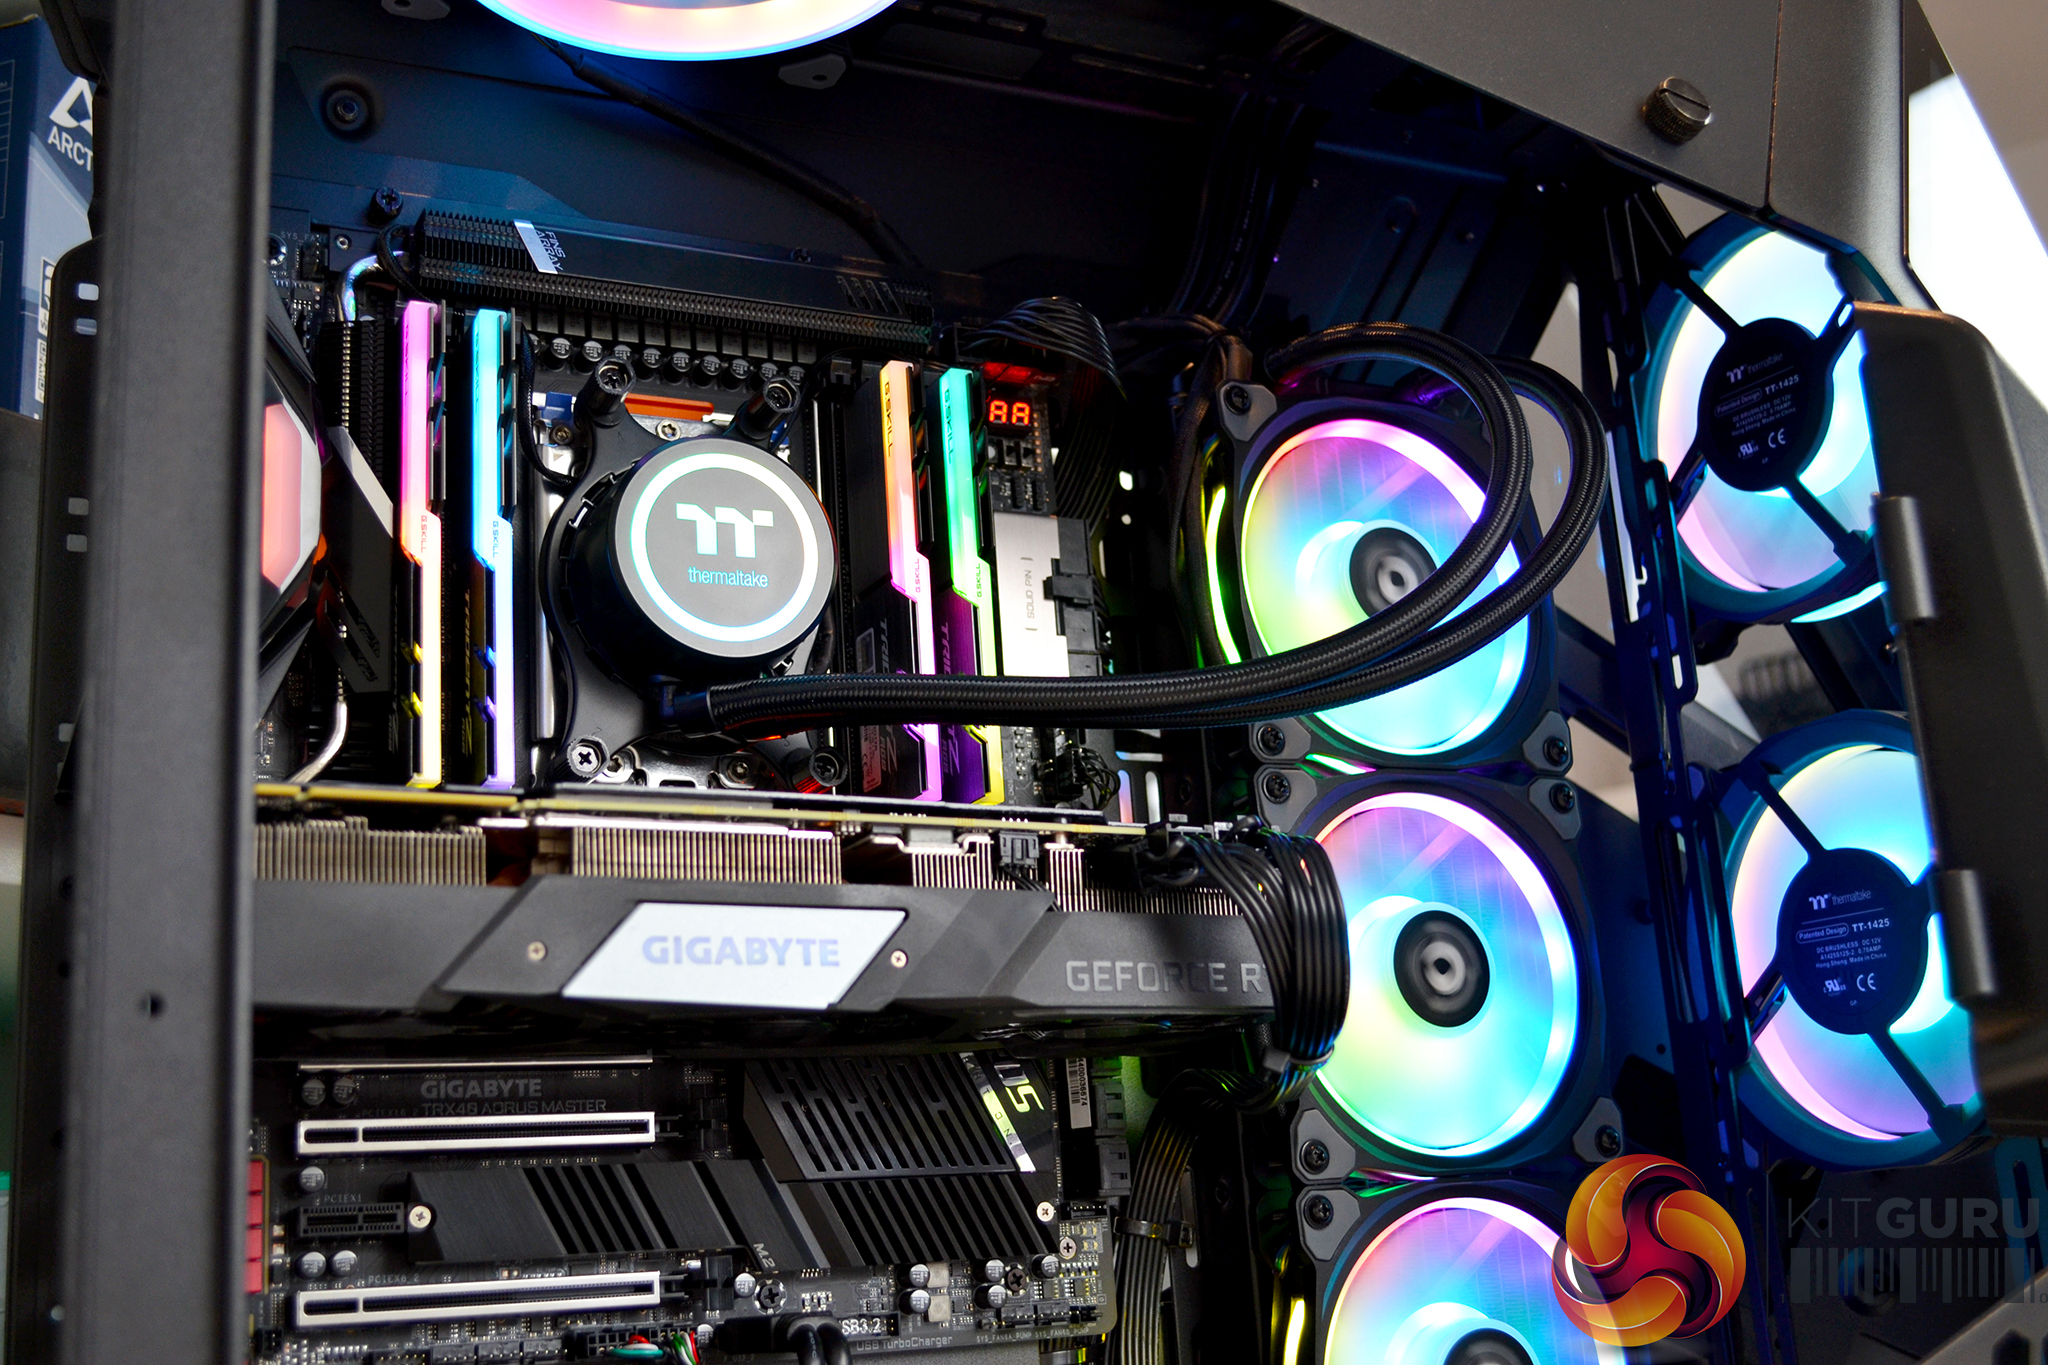
Ideally, the Thermaltake AH T600 is best suited to builds containing extreme and unique custom water cooling. However, there is no reason why a more traditional and simple system cannot be built inside, and this is what we will be doing today with a high-end desktop platform from AMD based around the Ryzen Threadripper 3970X CPU.
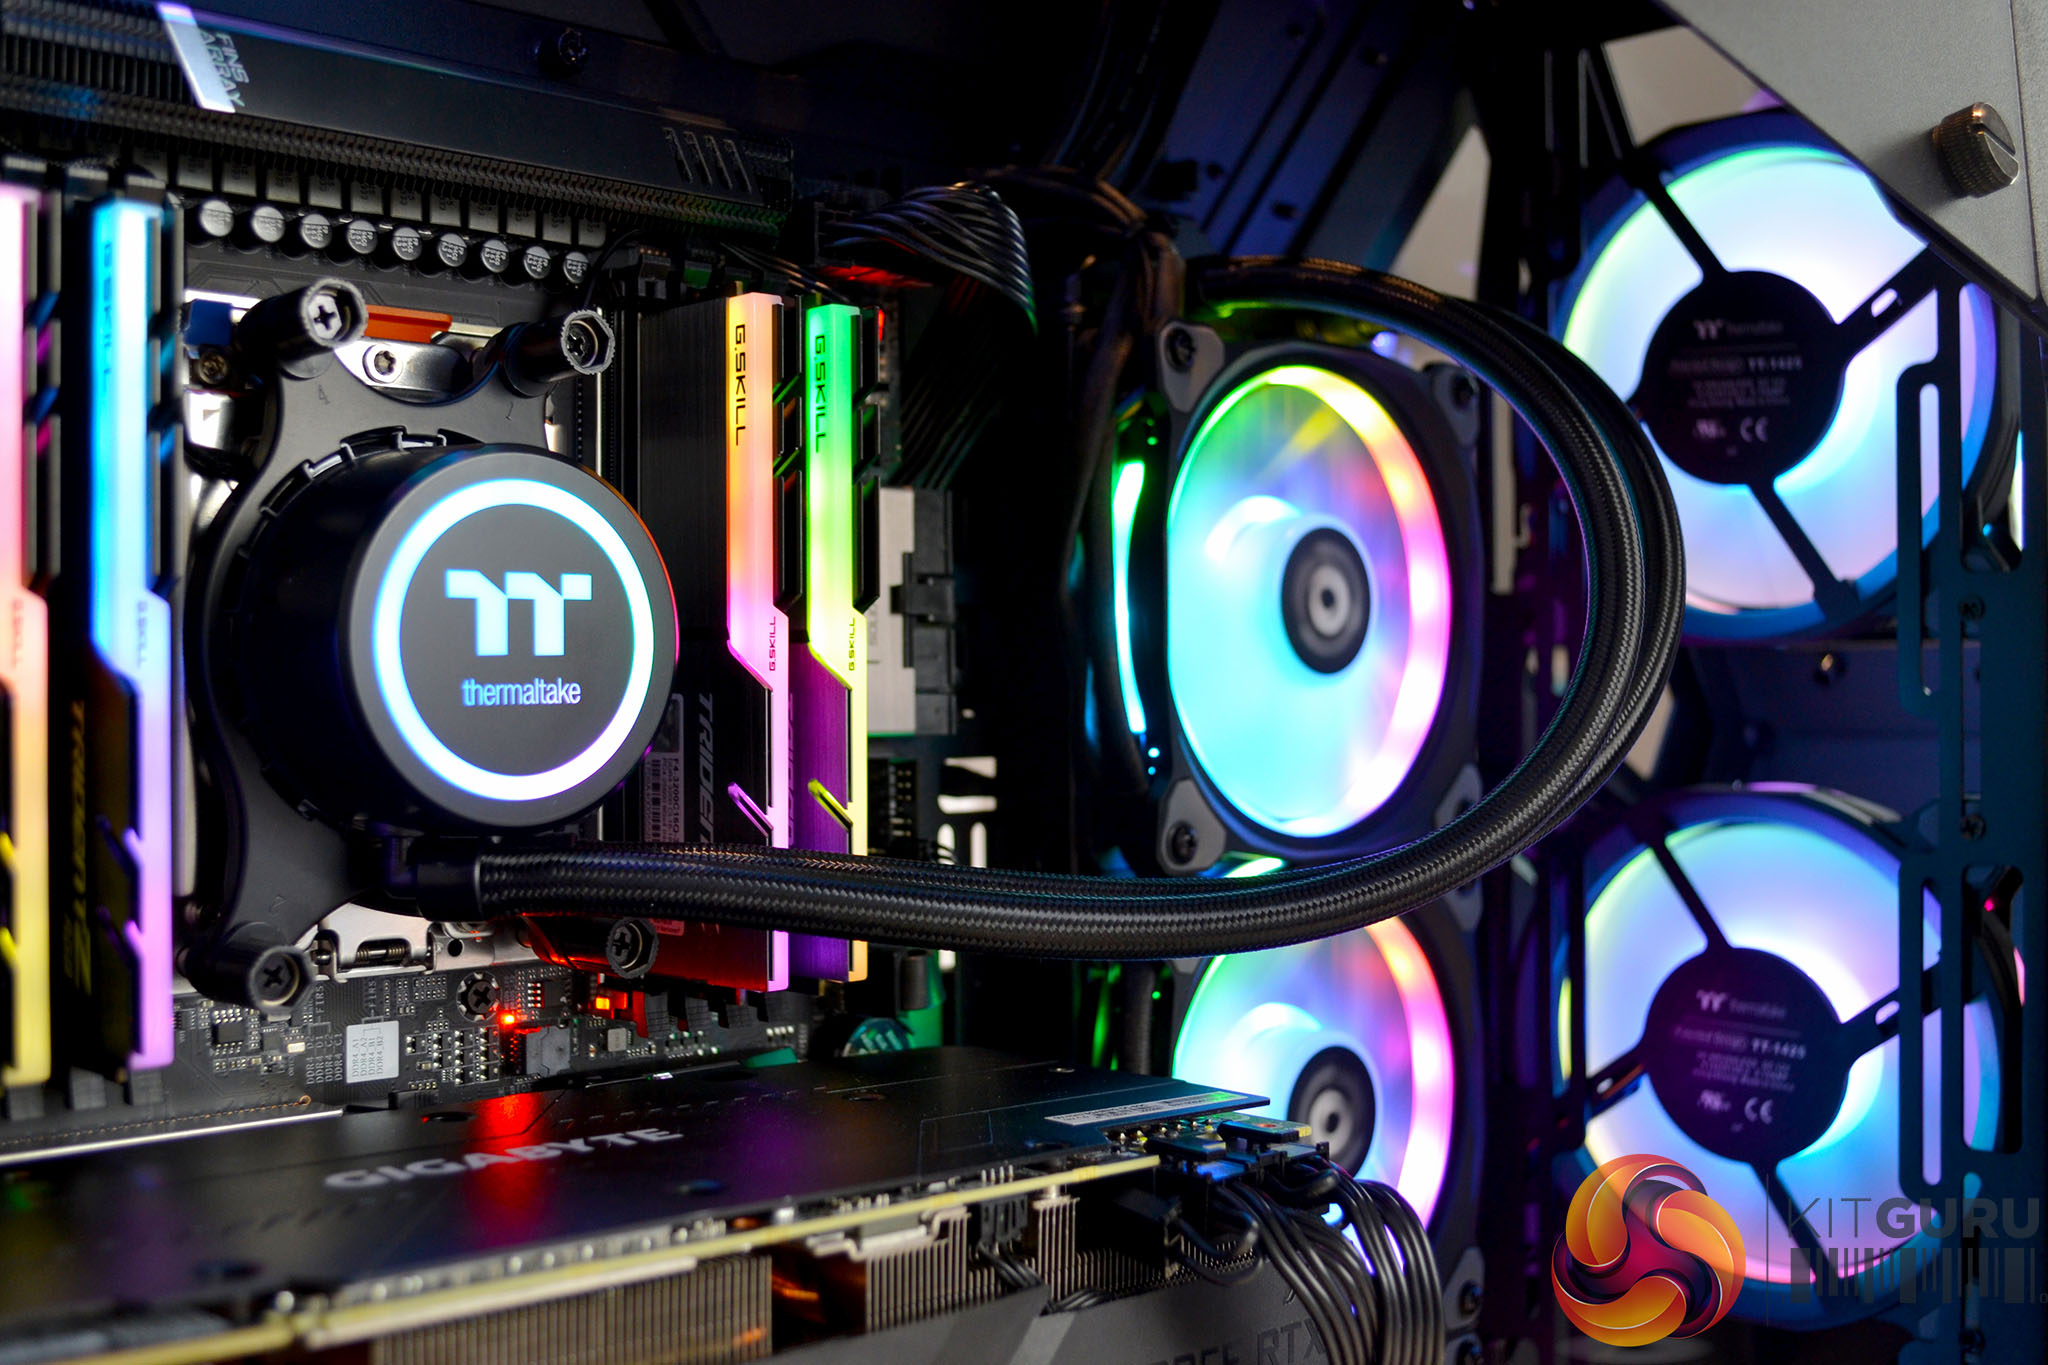
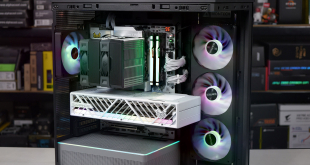
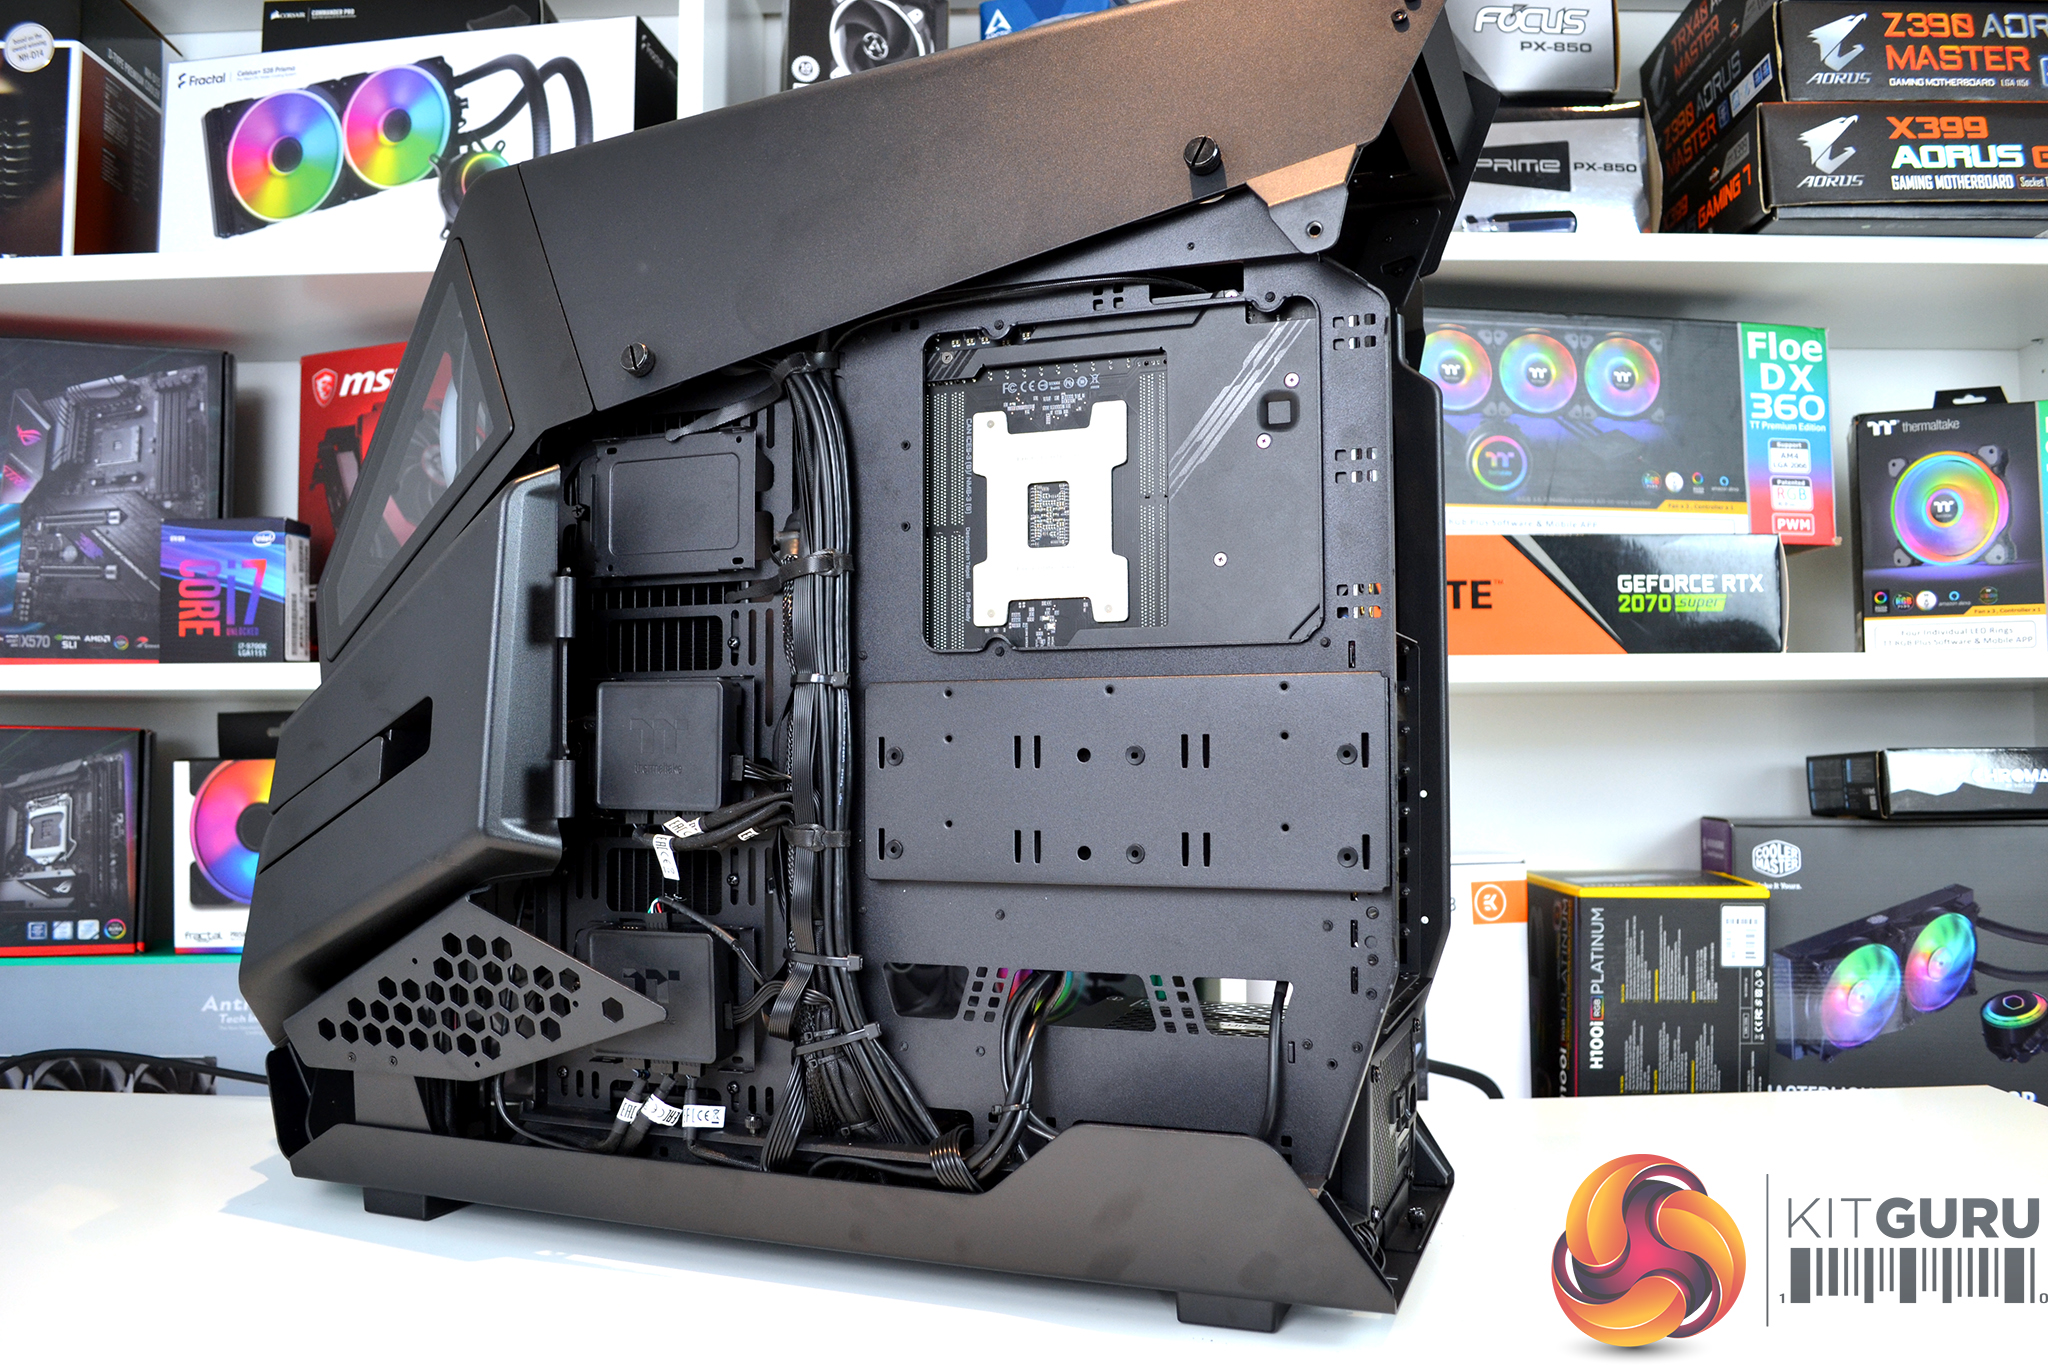
A handy feature of the AH T600 is its removable motherboard tray, which makes installing components onto the tray less awkward. With the tray on our bench, we managed to install the motherboard, CPU, RAM, M.2 SSD and even the 360mm AIO CPU cooler.
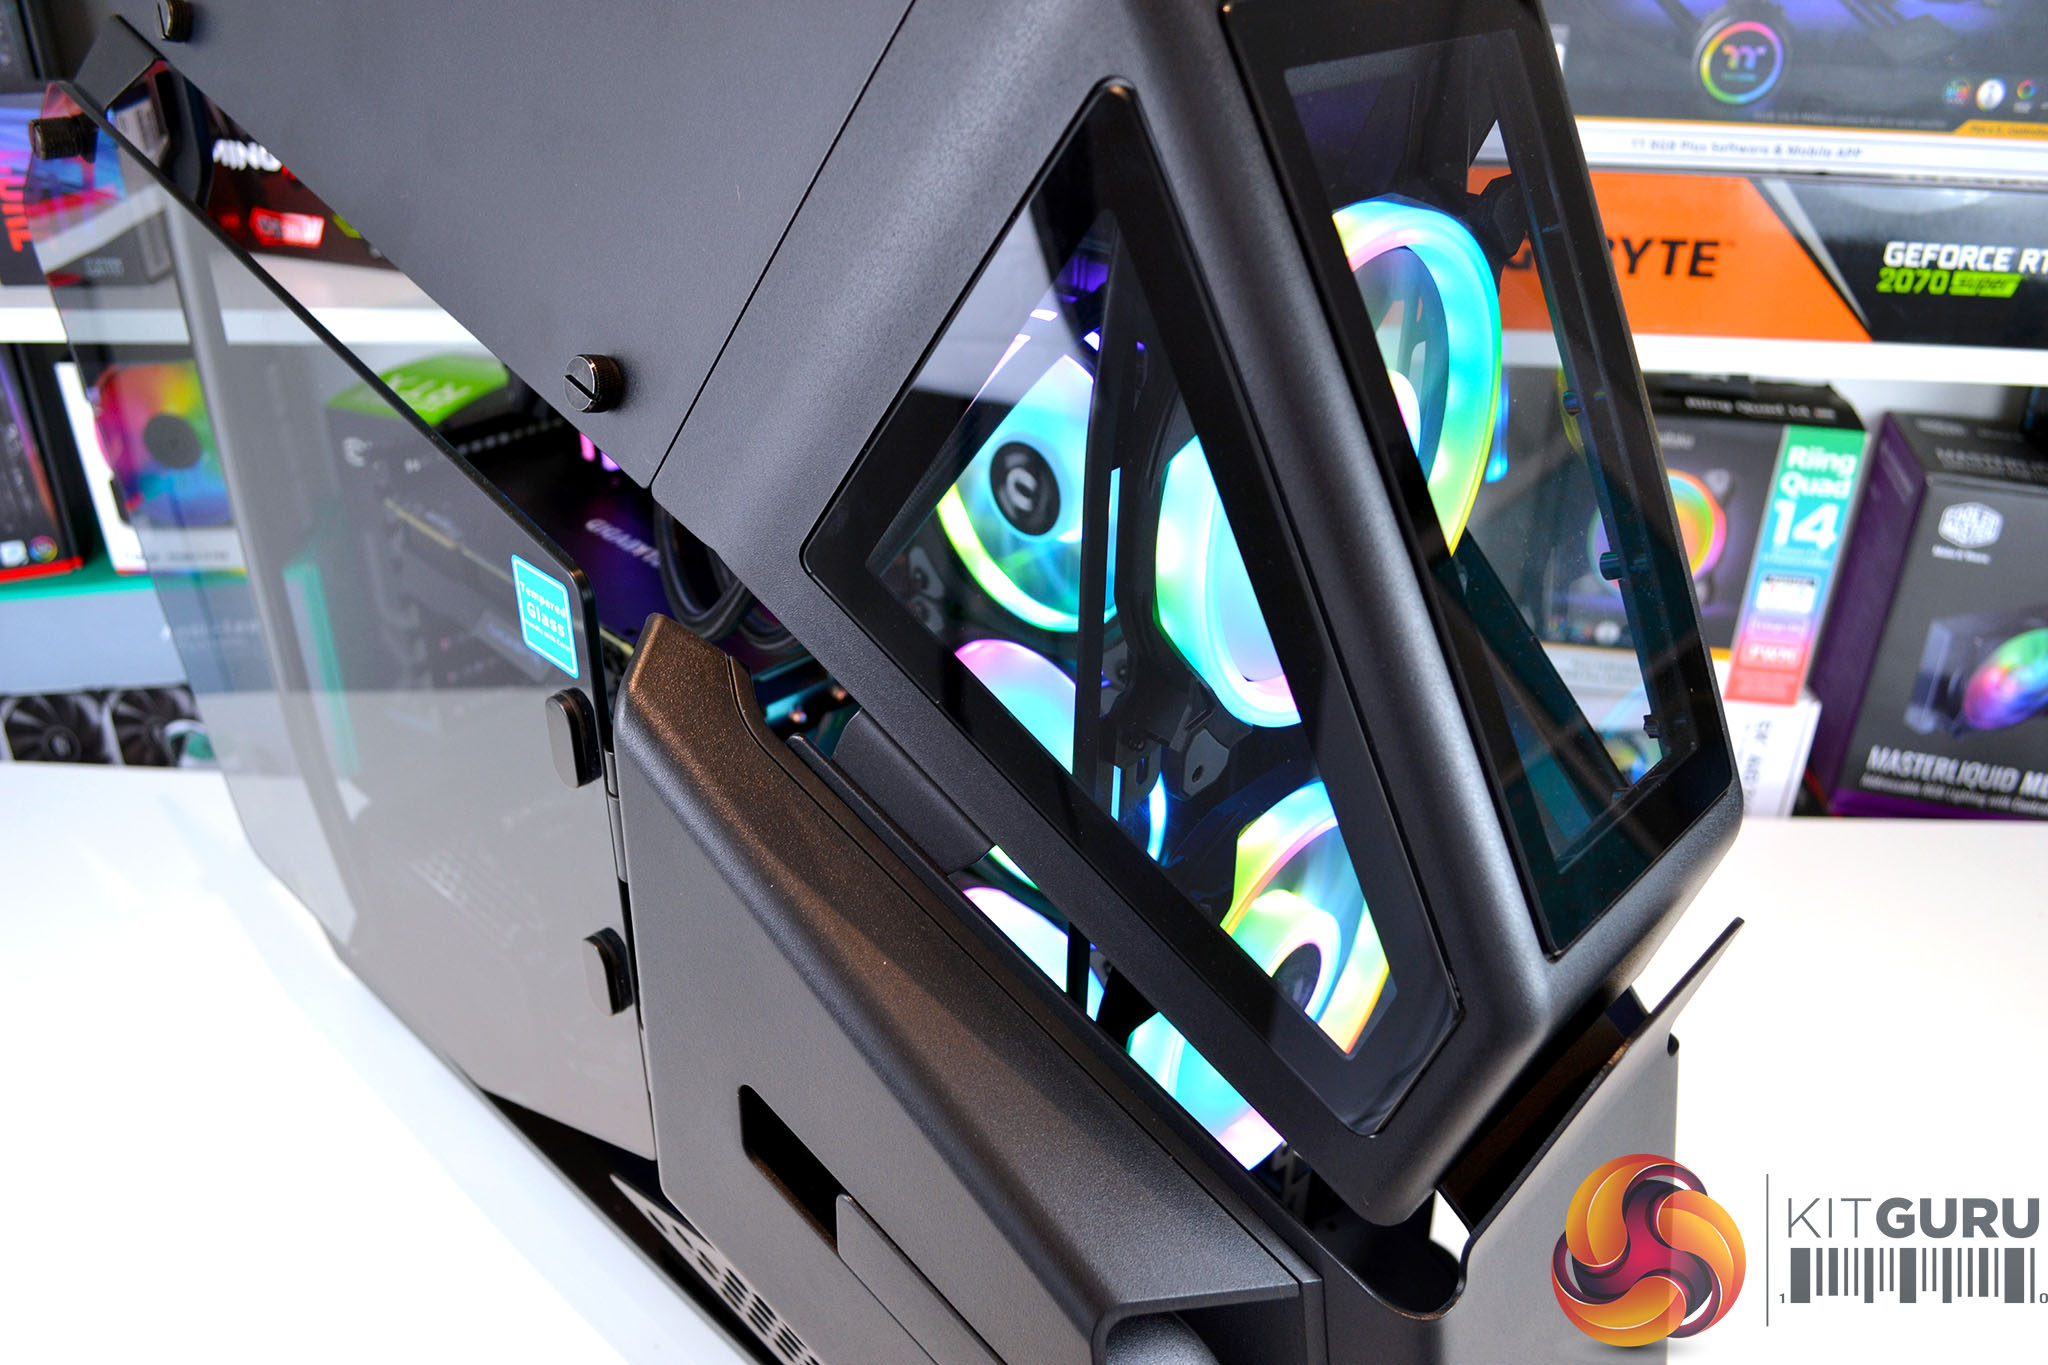
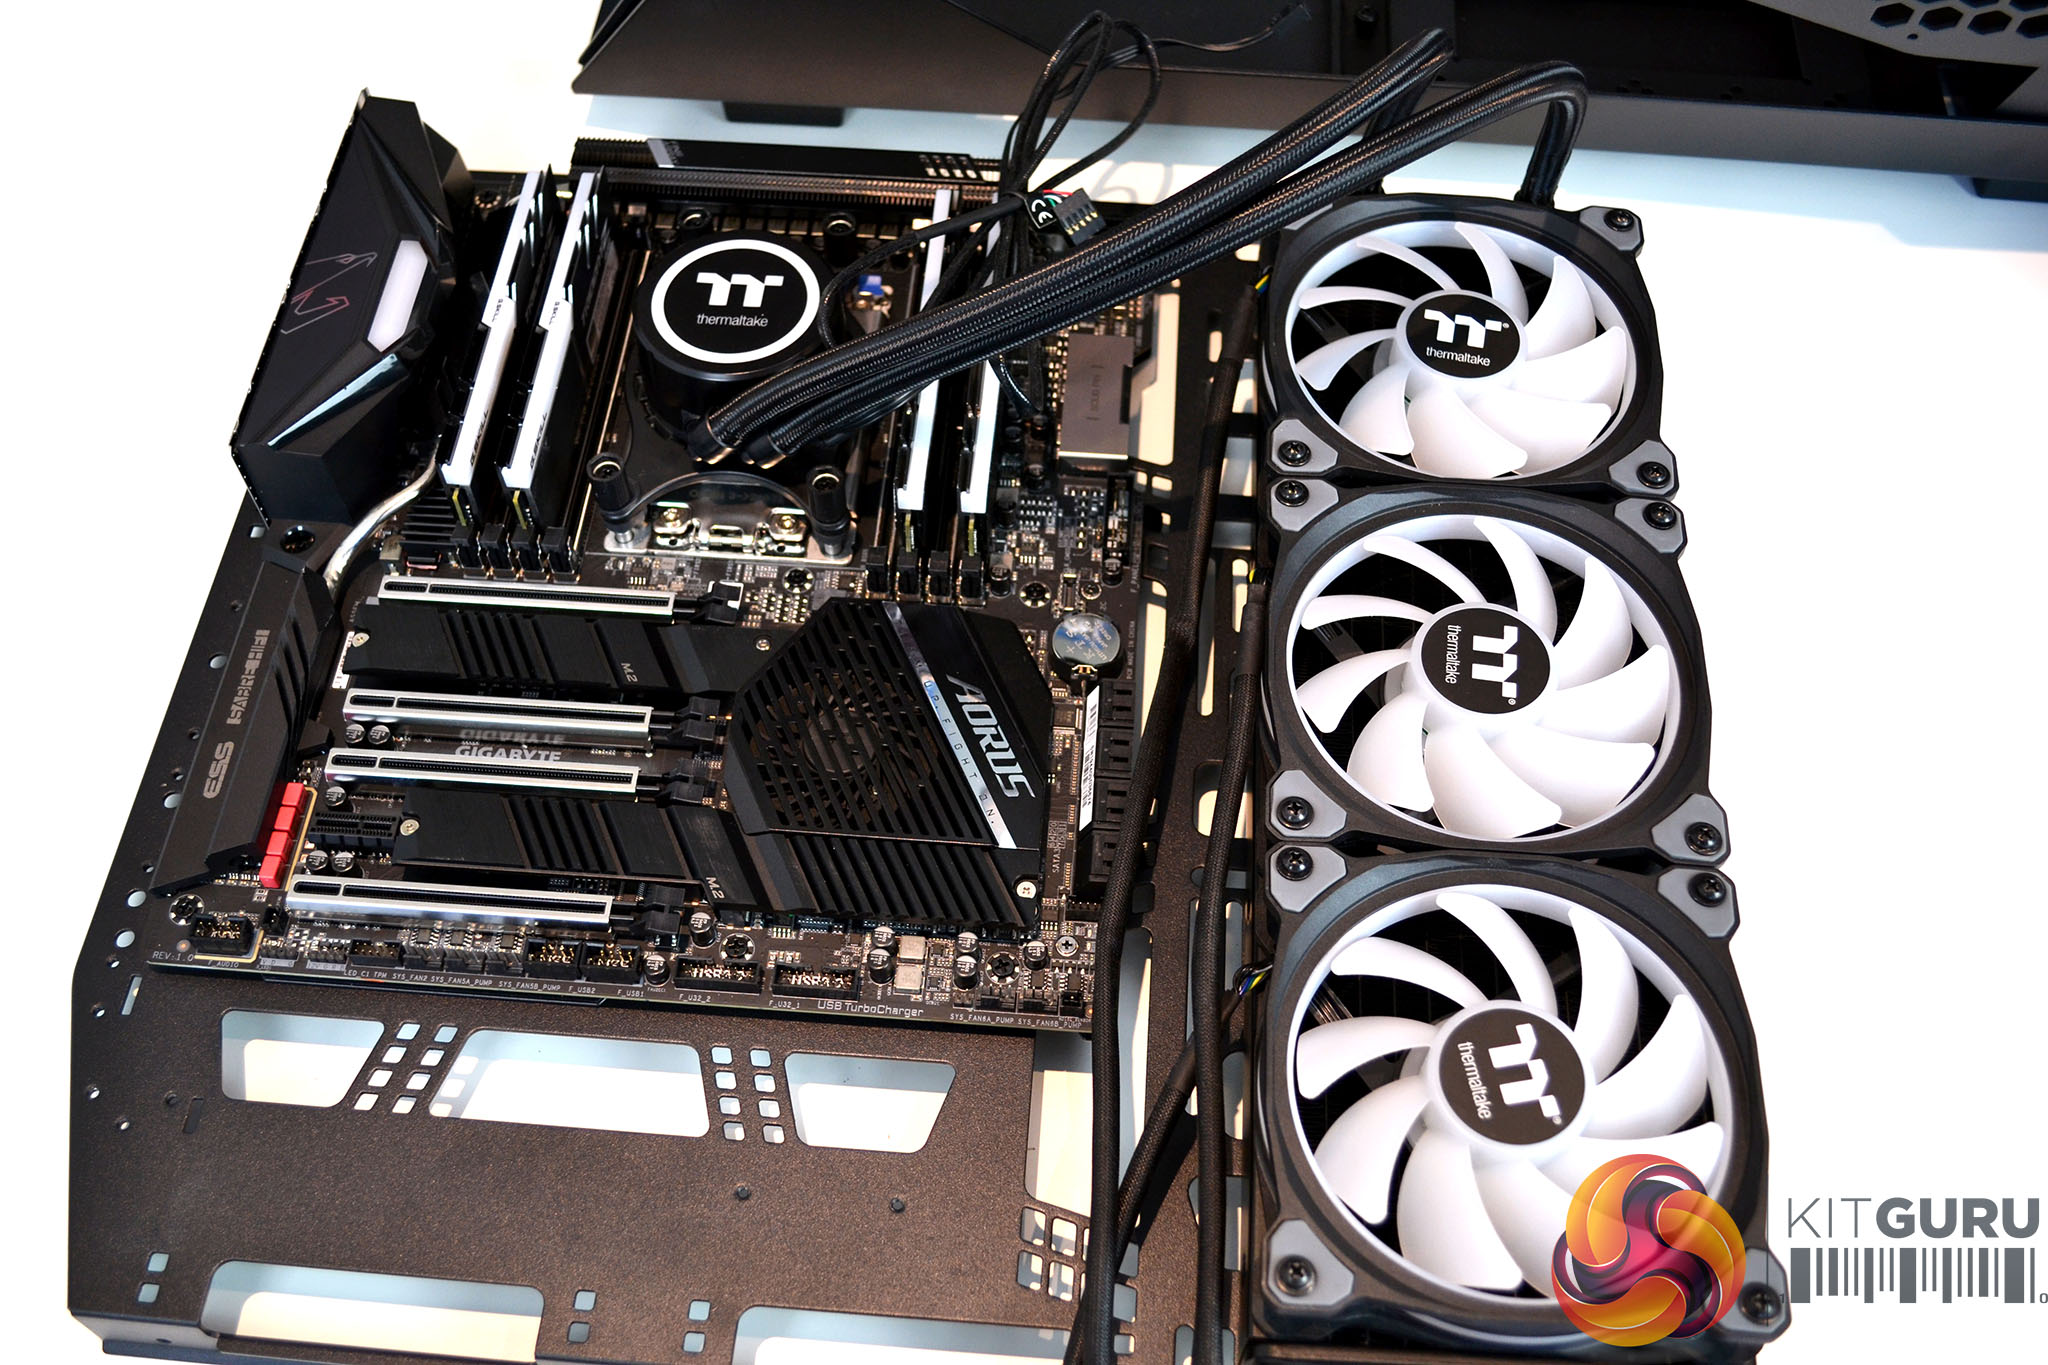
Once everything is installed to the motherboard tray, we simply slotted it back into position inside the chassis and secured it in position using the six thumbscrews. Even with all this hardware installed to the tray, it was very easy to get it back in position, lined up and secured.
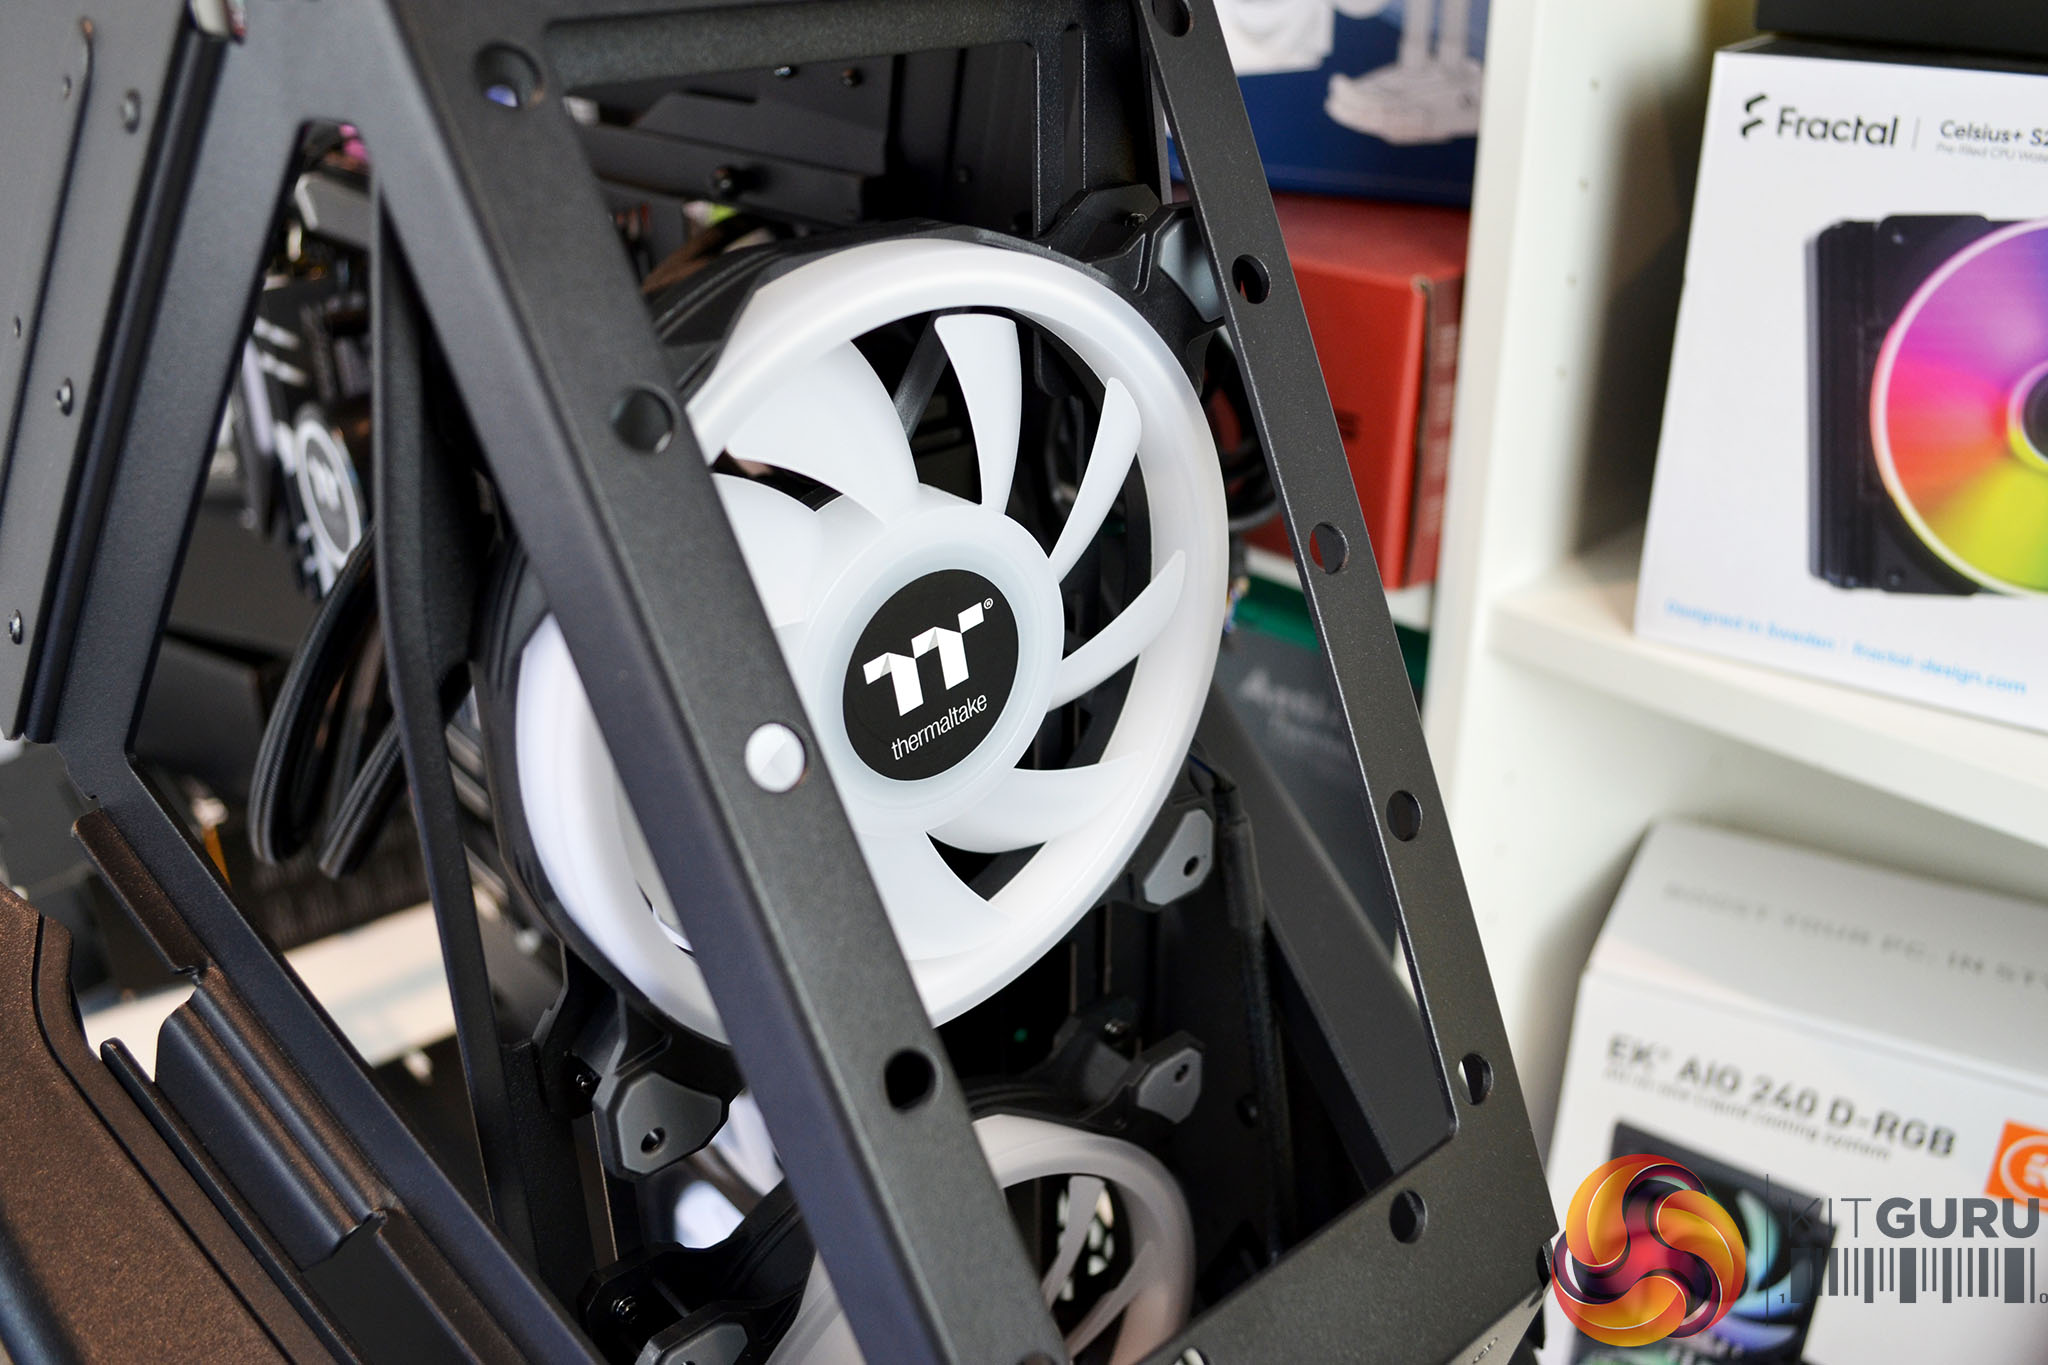
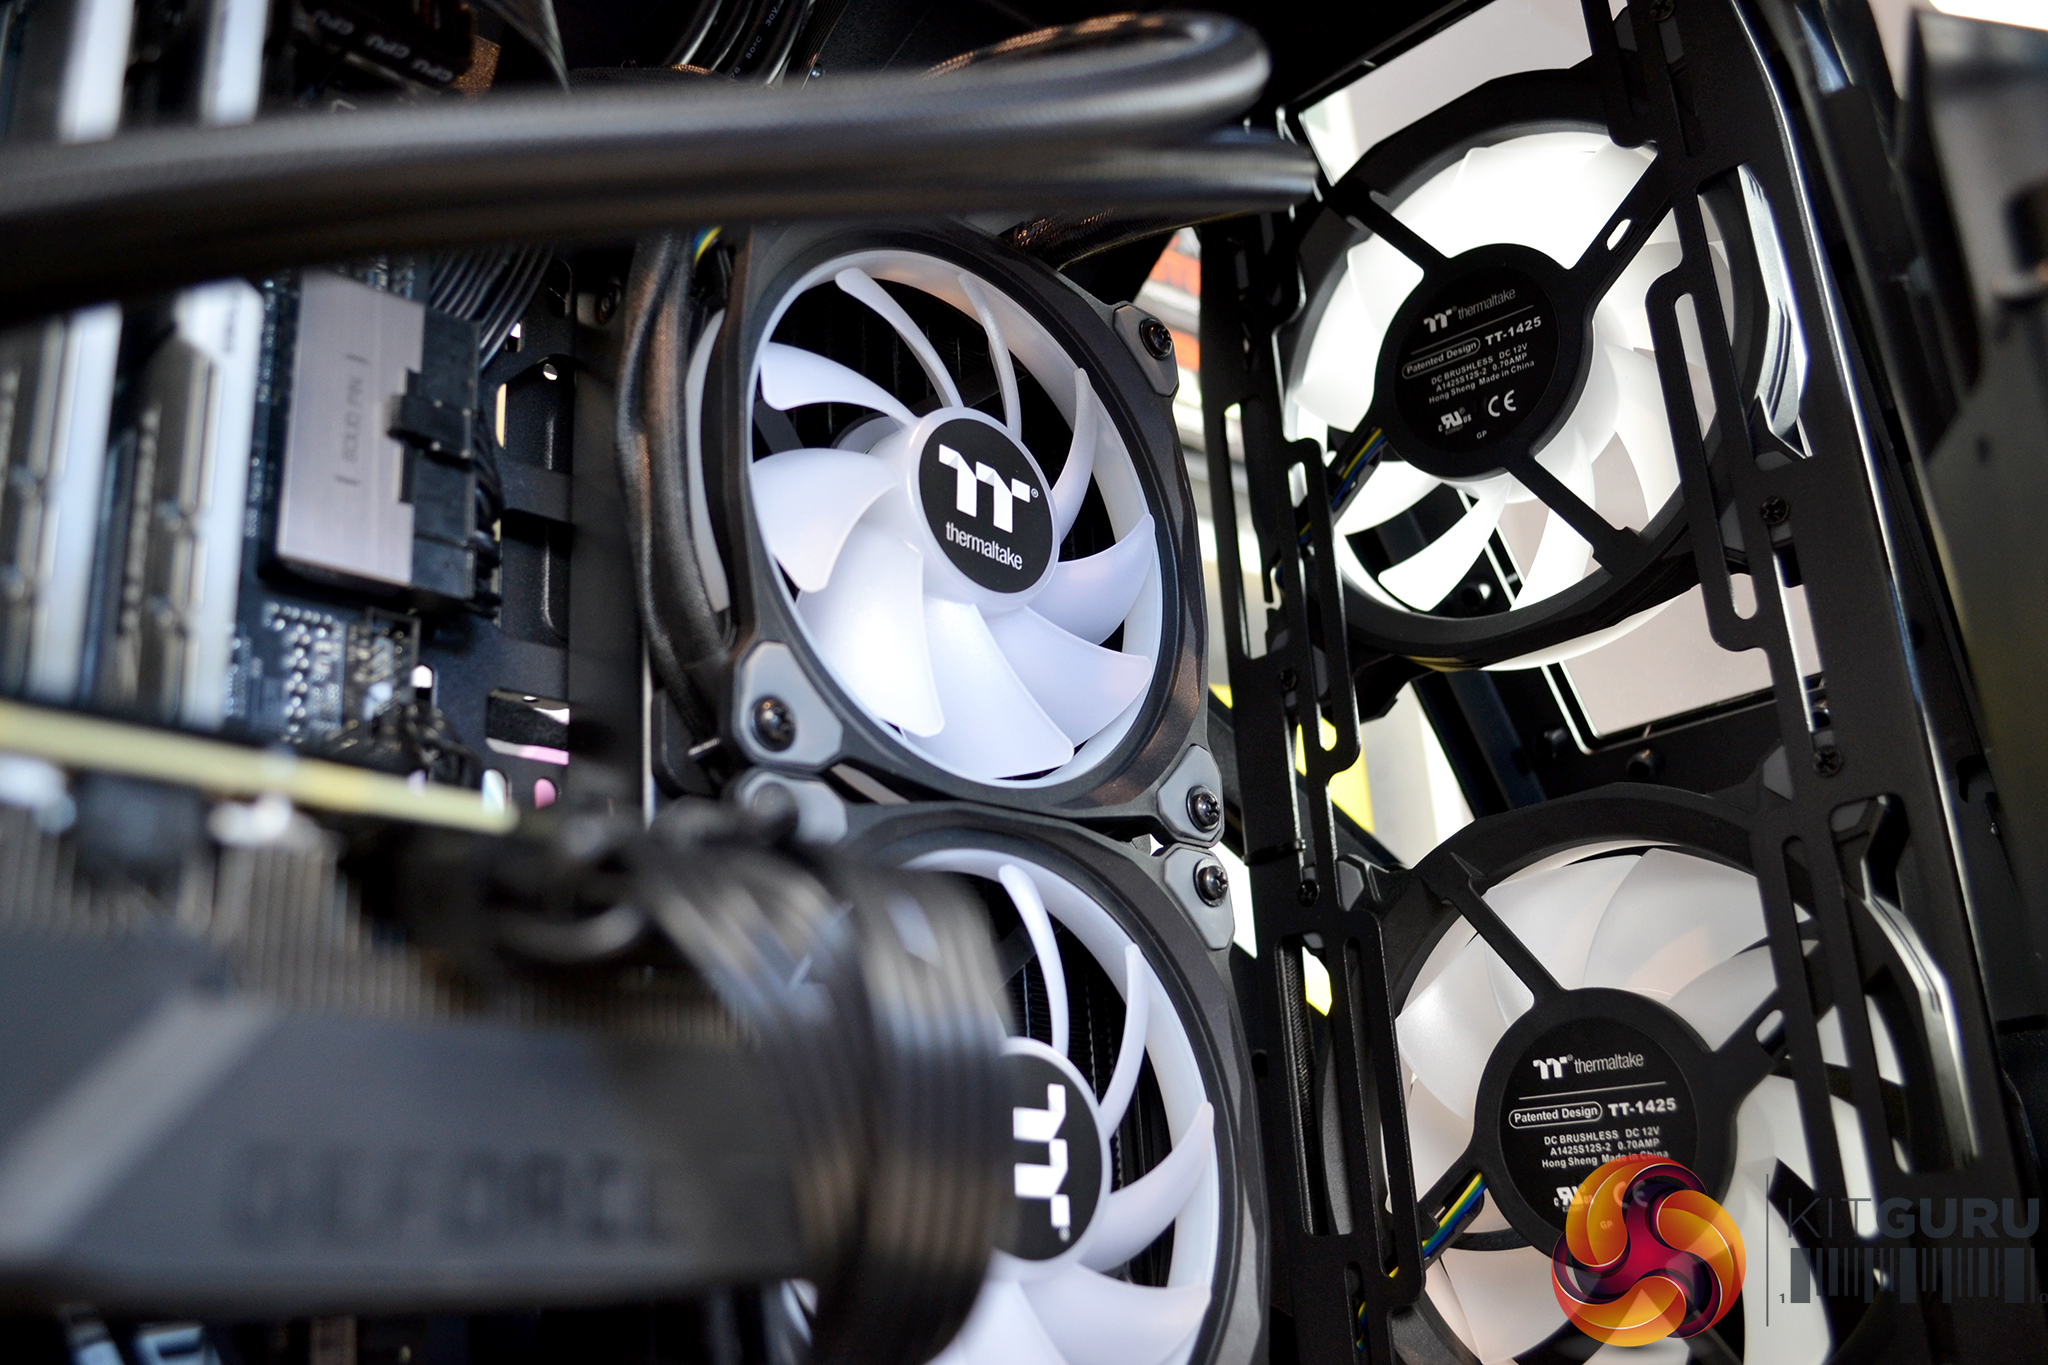
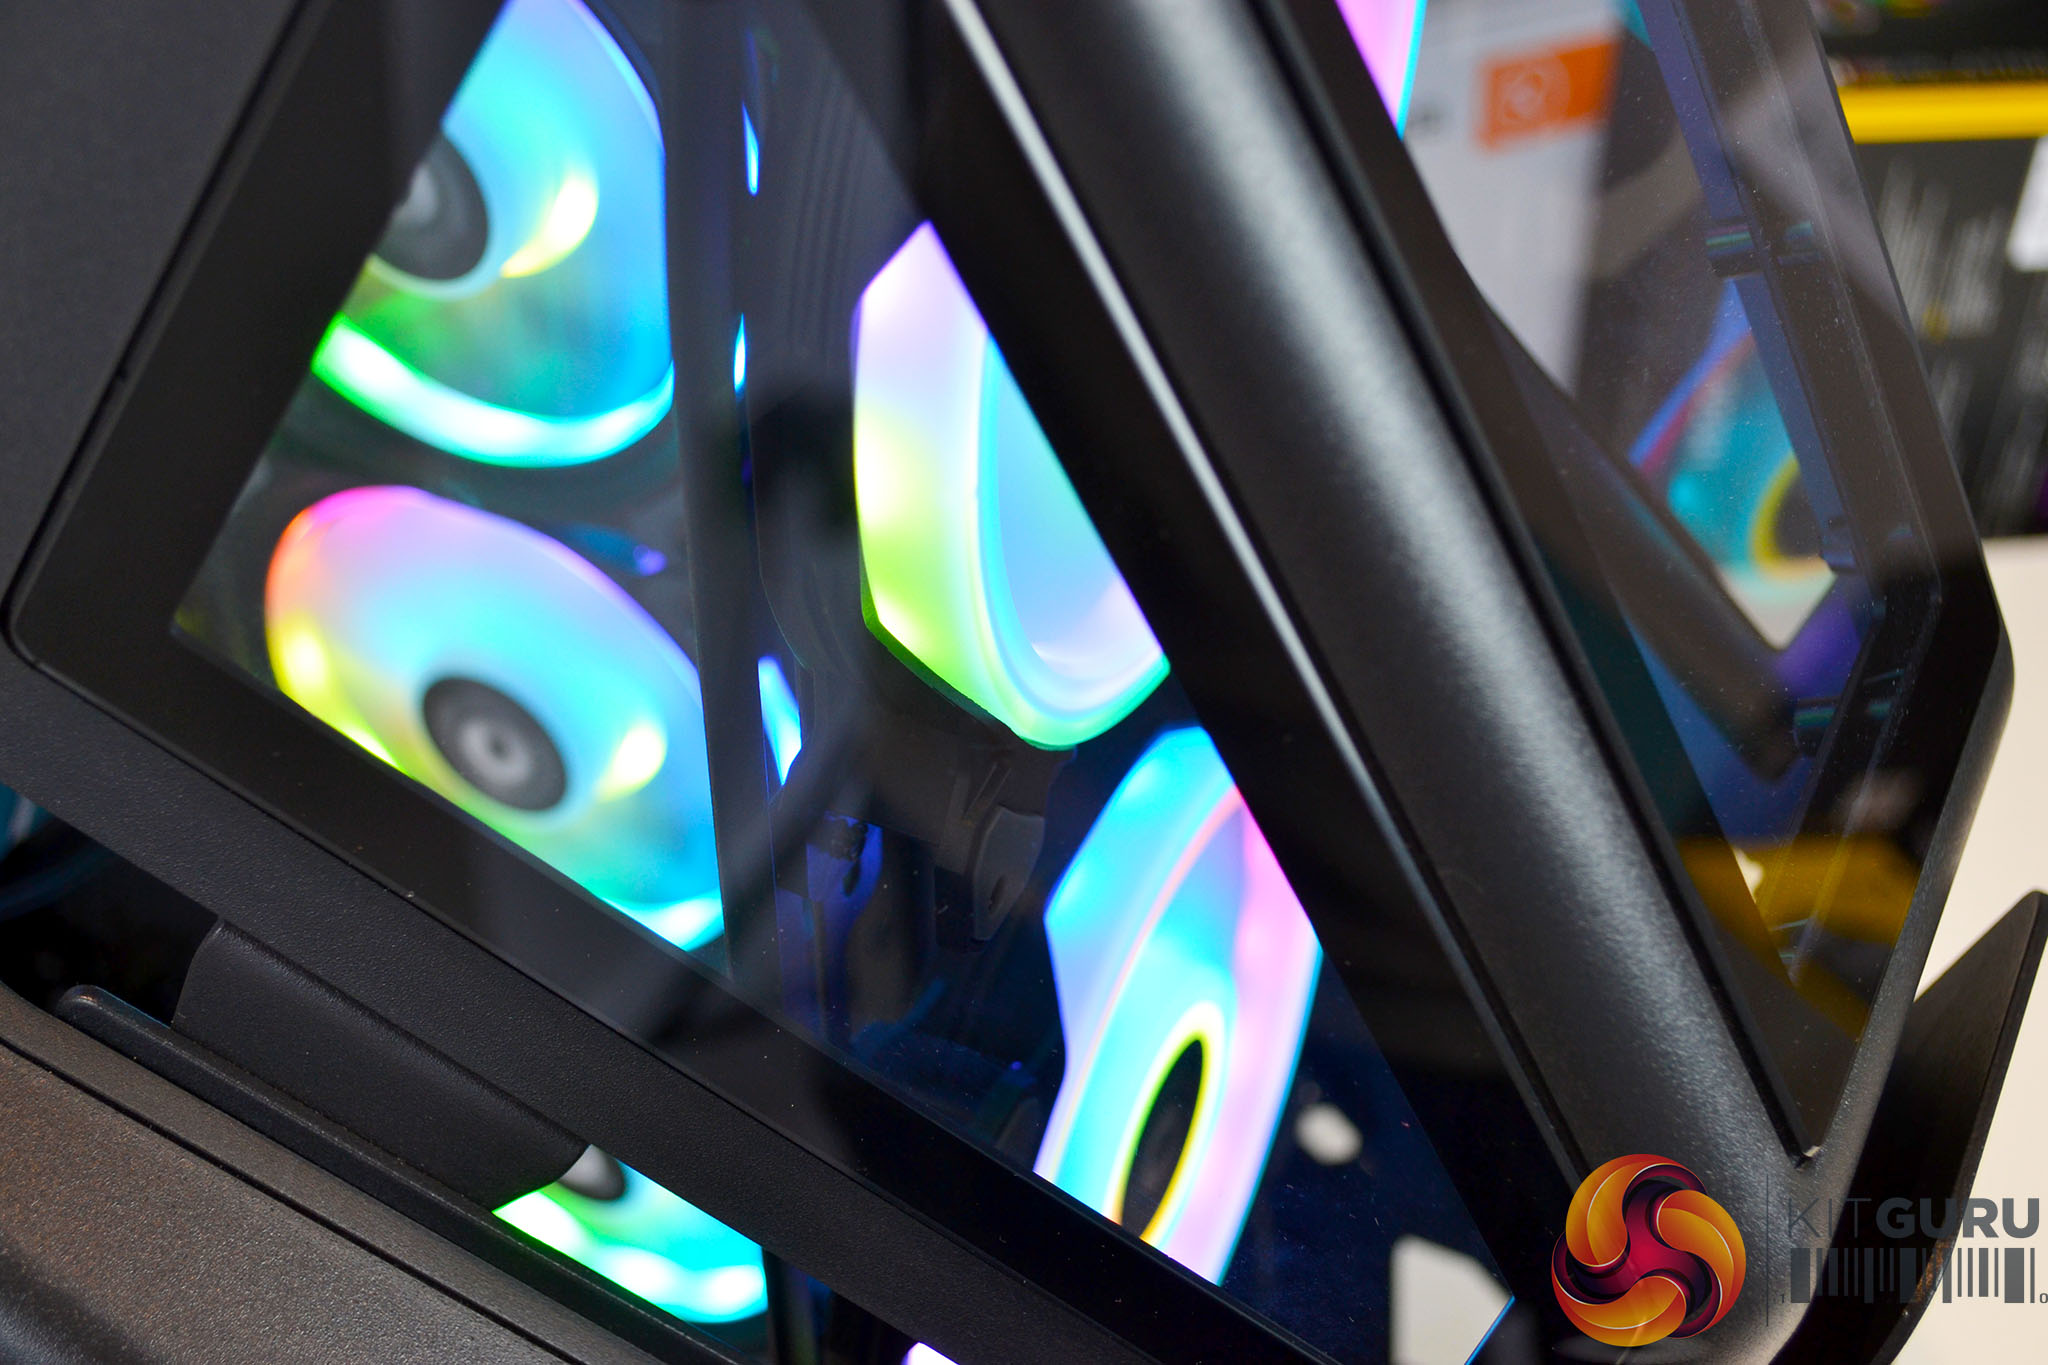
Another feature of the case that we found useful during installation was the removable front fan mounting bracket. Again, this improved access for installing front fans, we installed two 140mm Thermaltake Riing Quad 14 fans to the front bracket and then fixed it back in position inside the chassis.
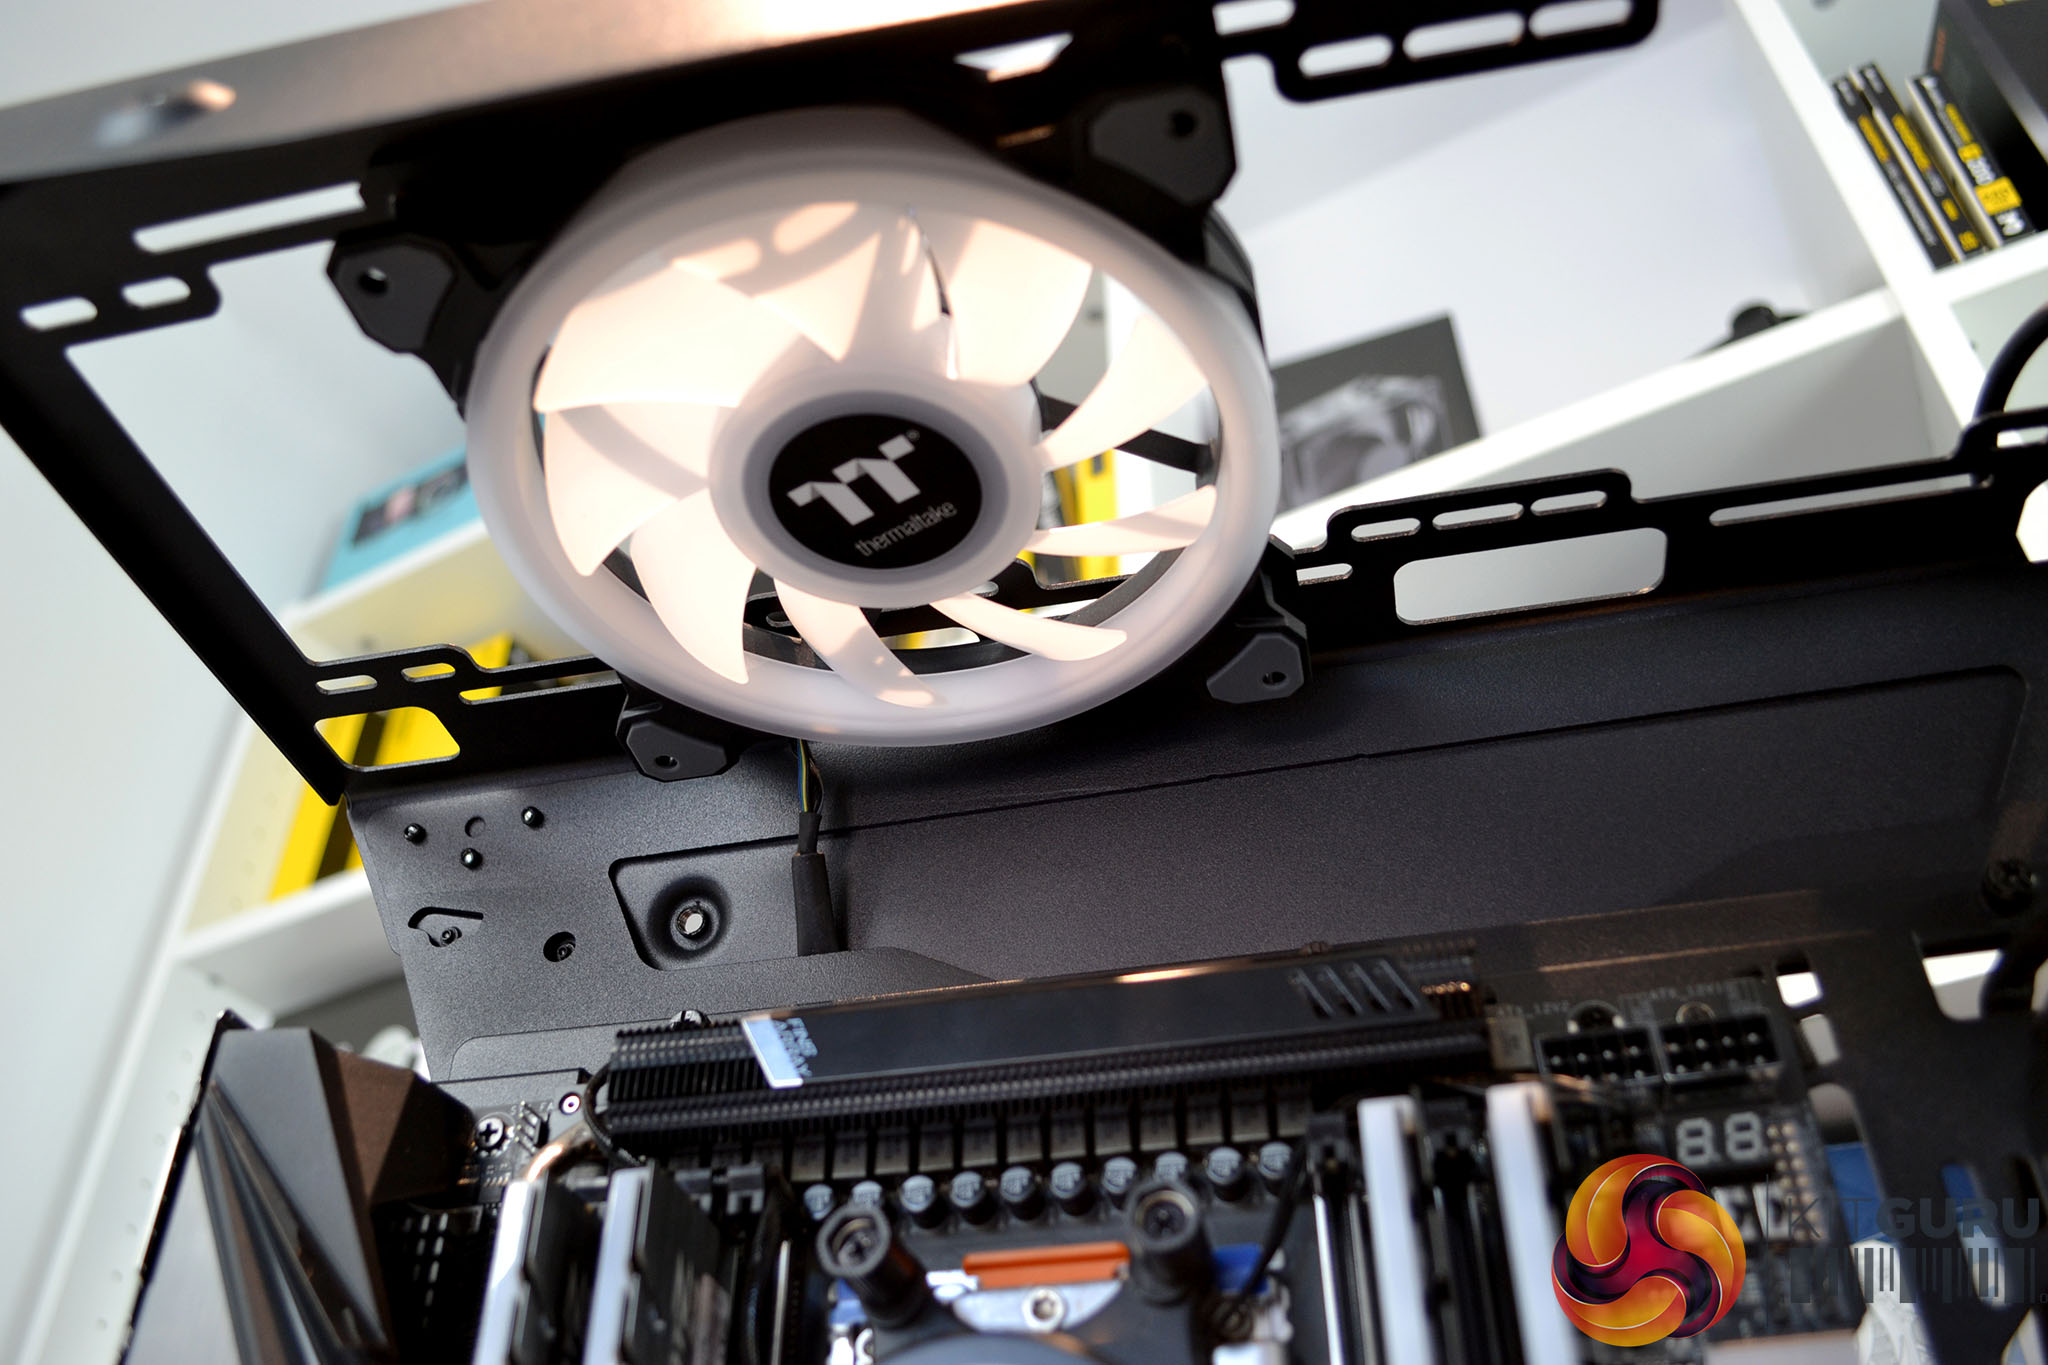
It is a good idea to do this before installing the motherboard tray as space is a little restricted with and AIO installed to the right-hand side of the tray. Access to the roof of the chassis is generous from above or below the top panel and there is ample space up there for installing fans or even think radiators.
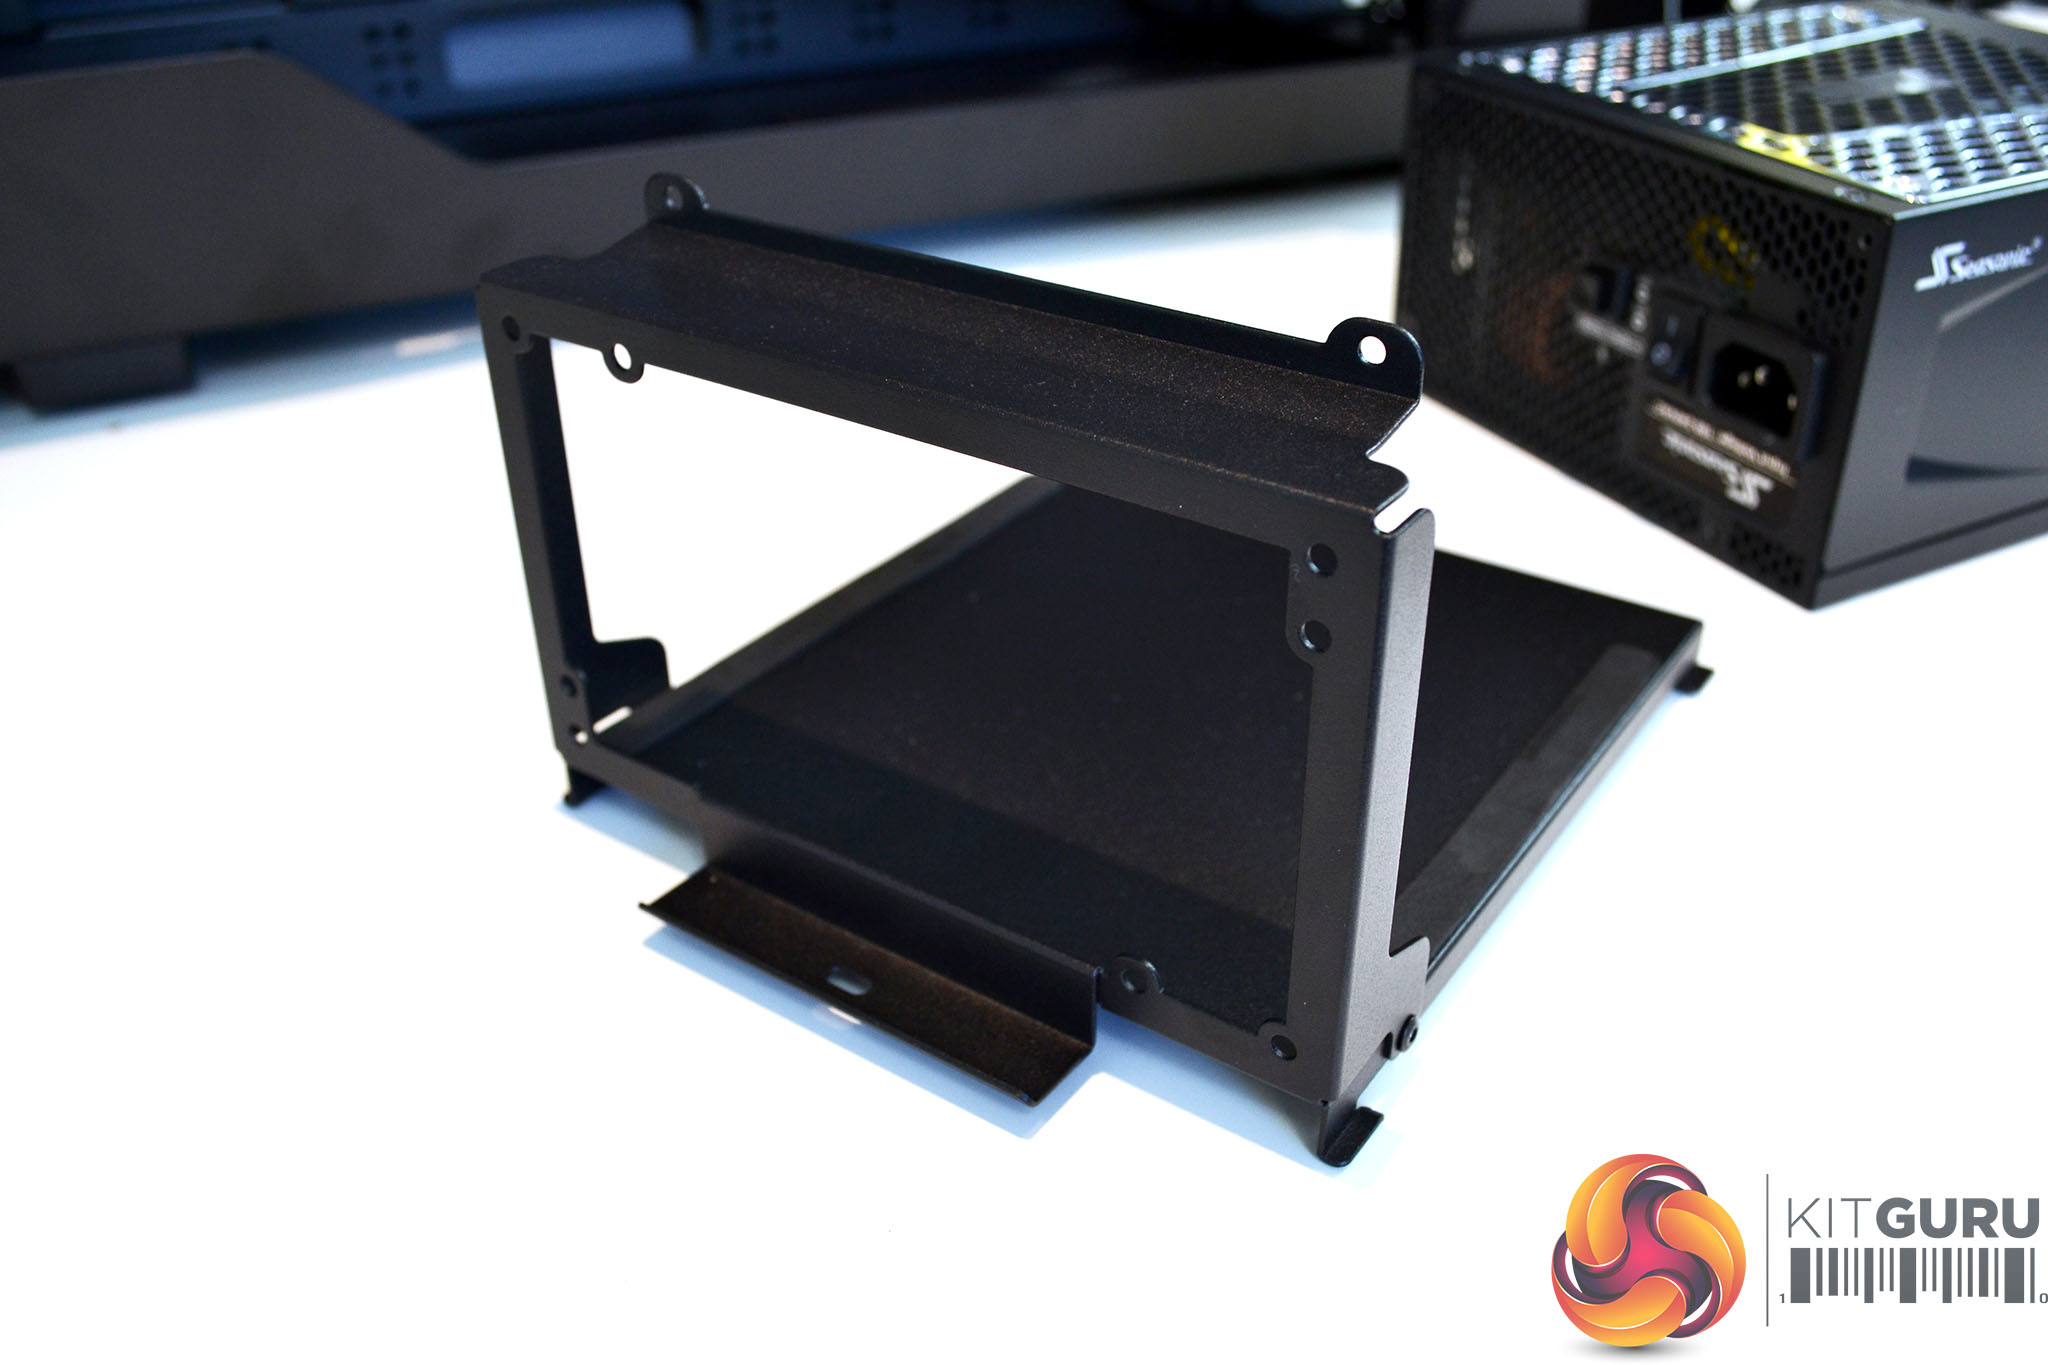
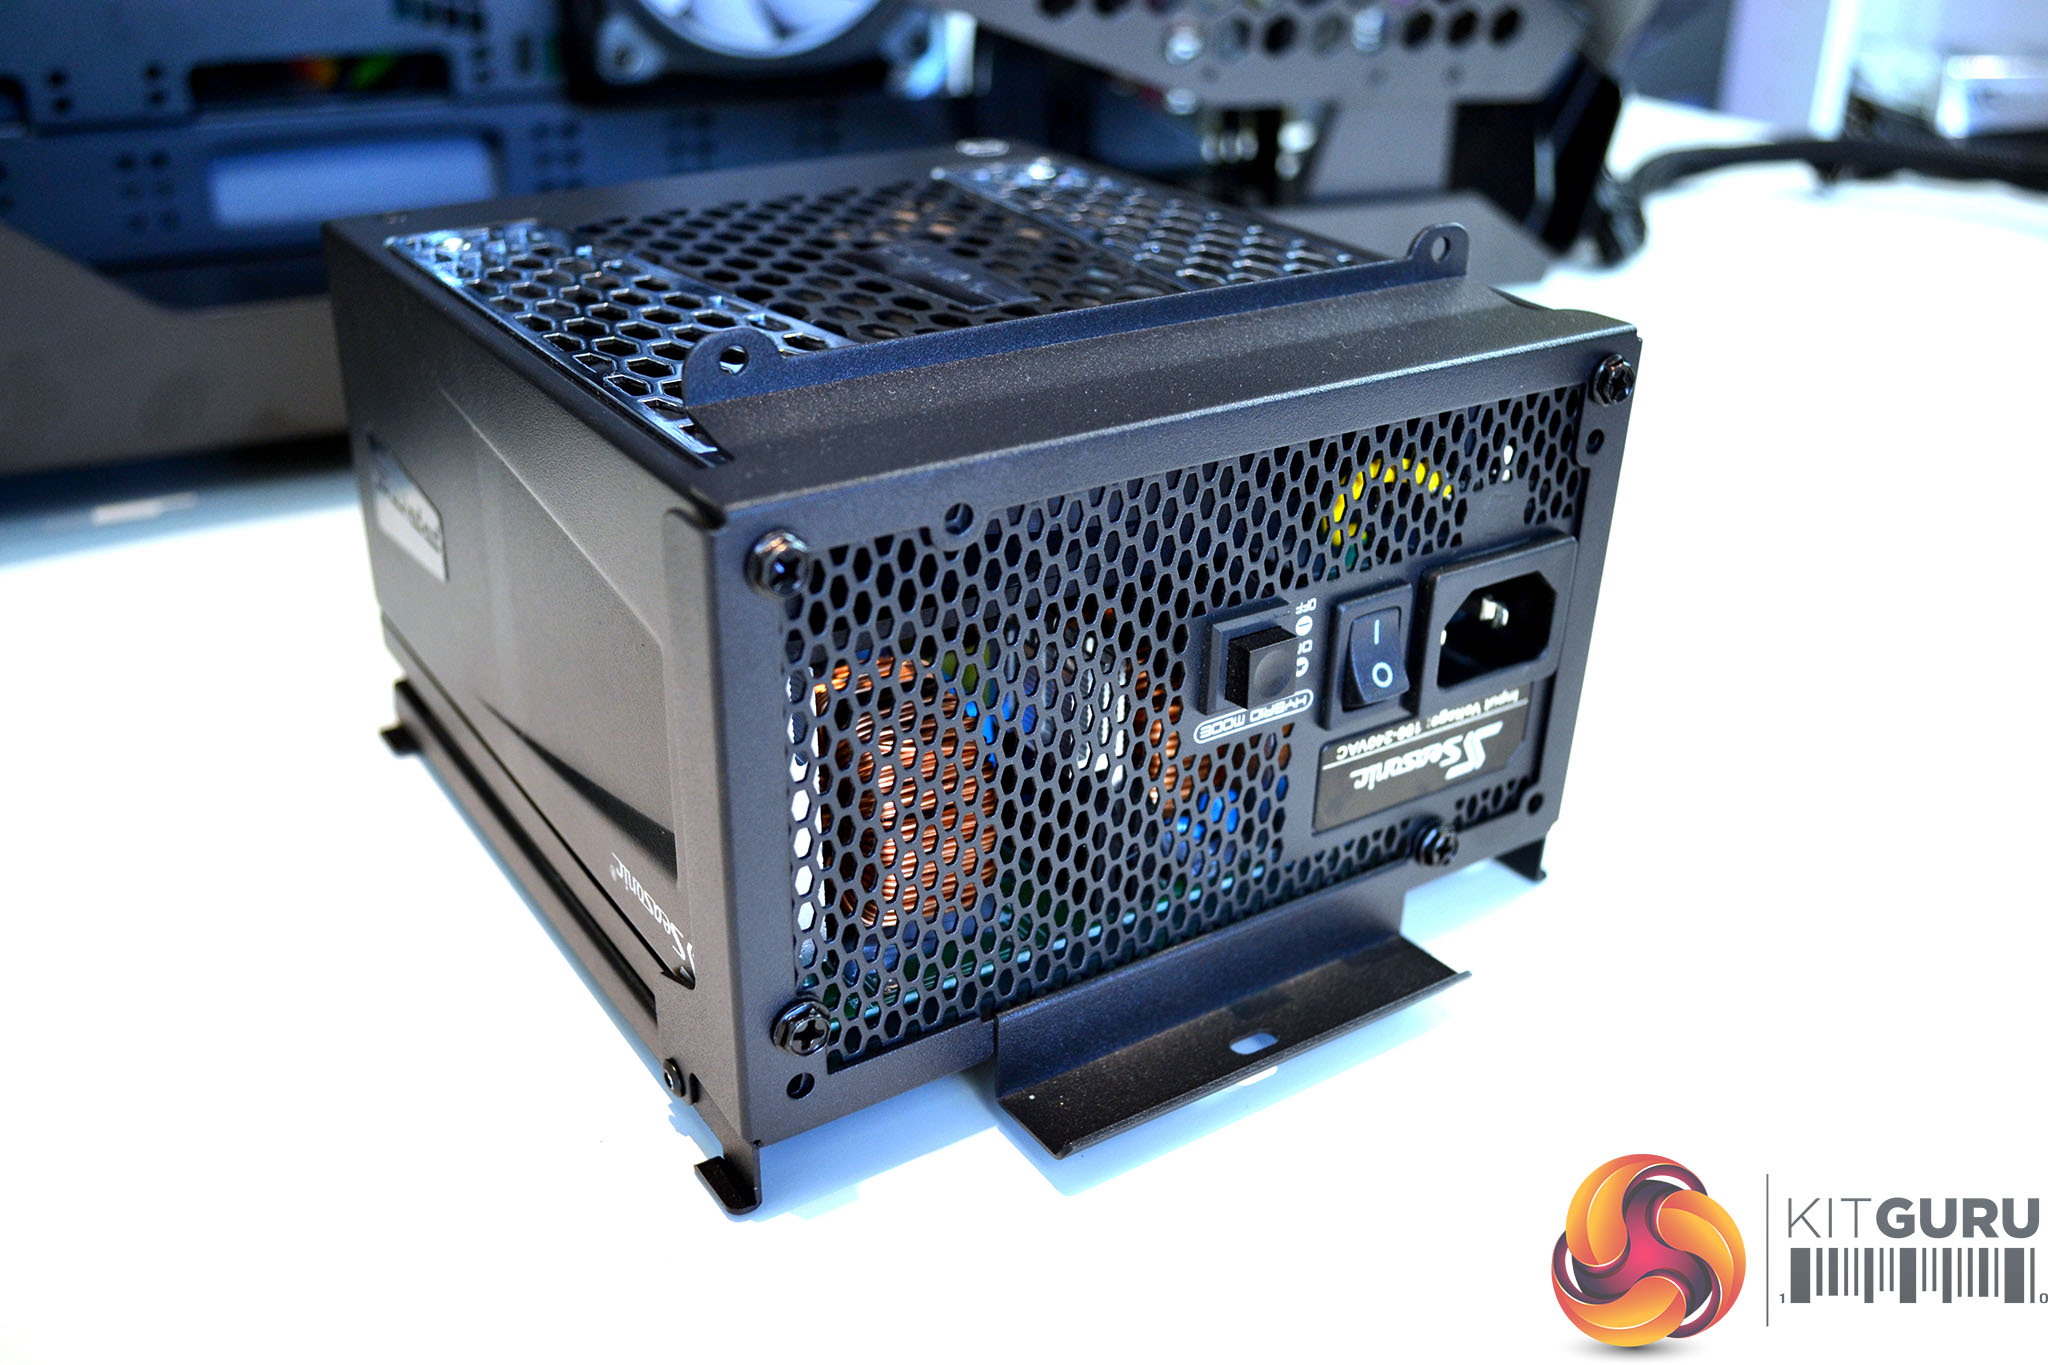
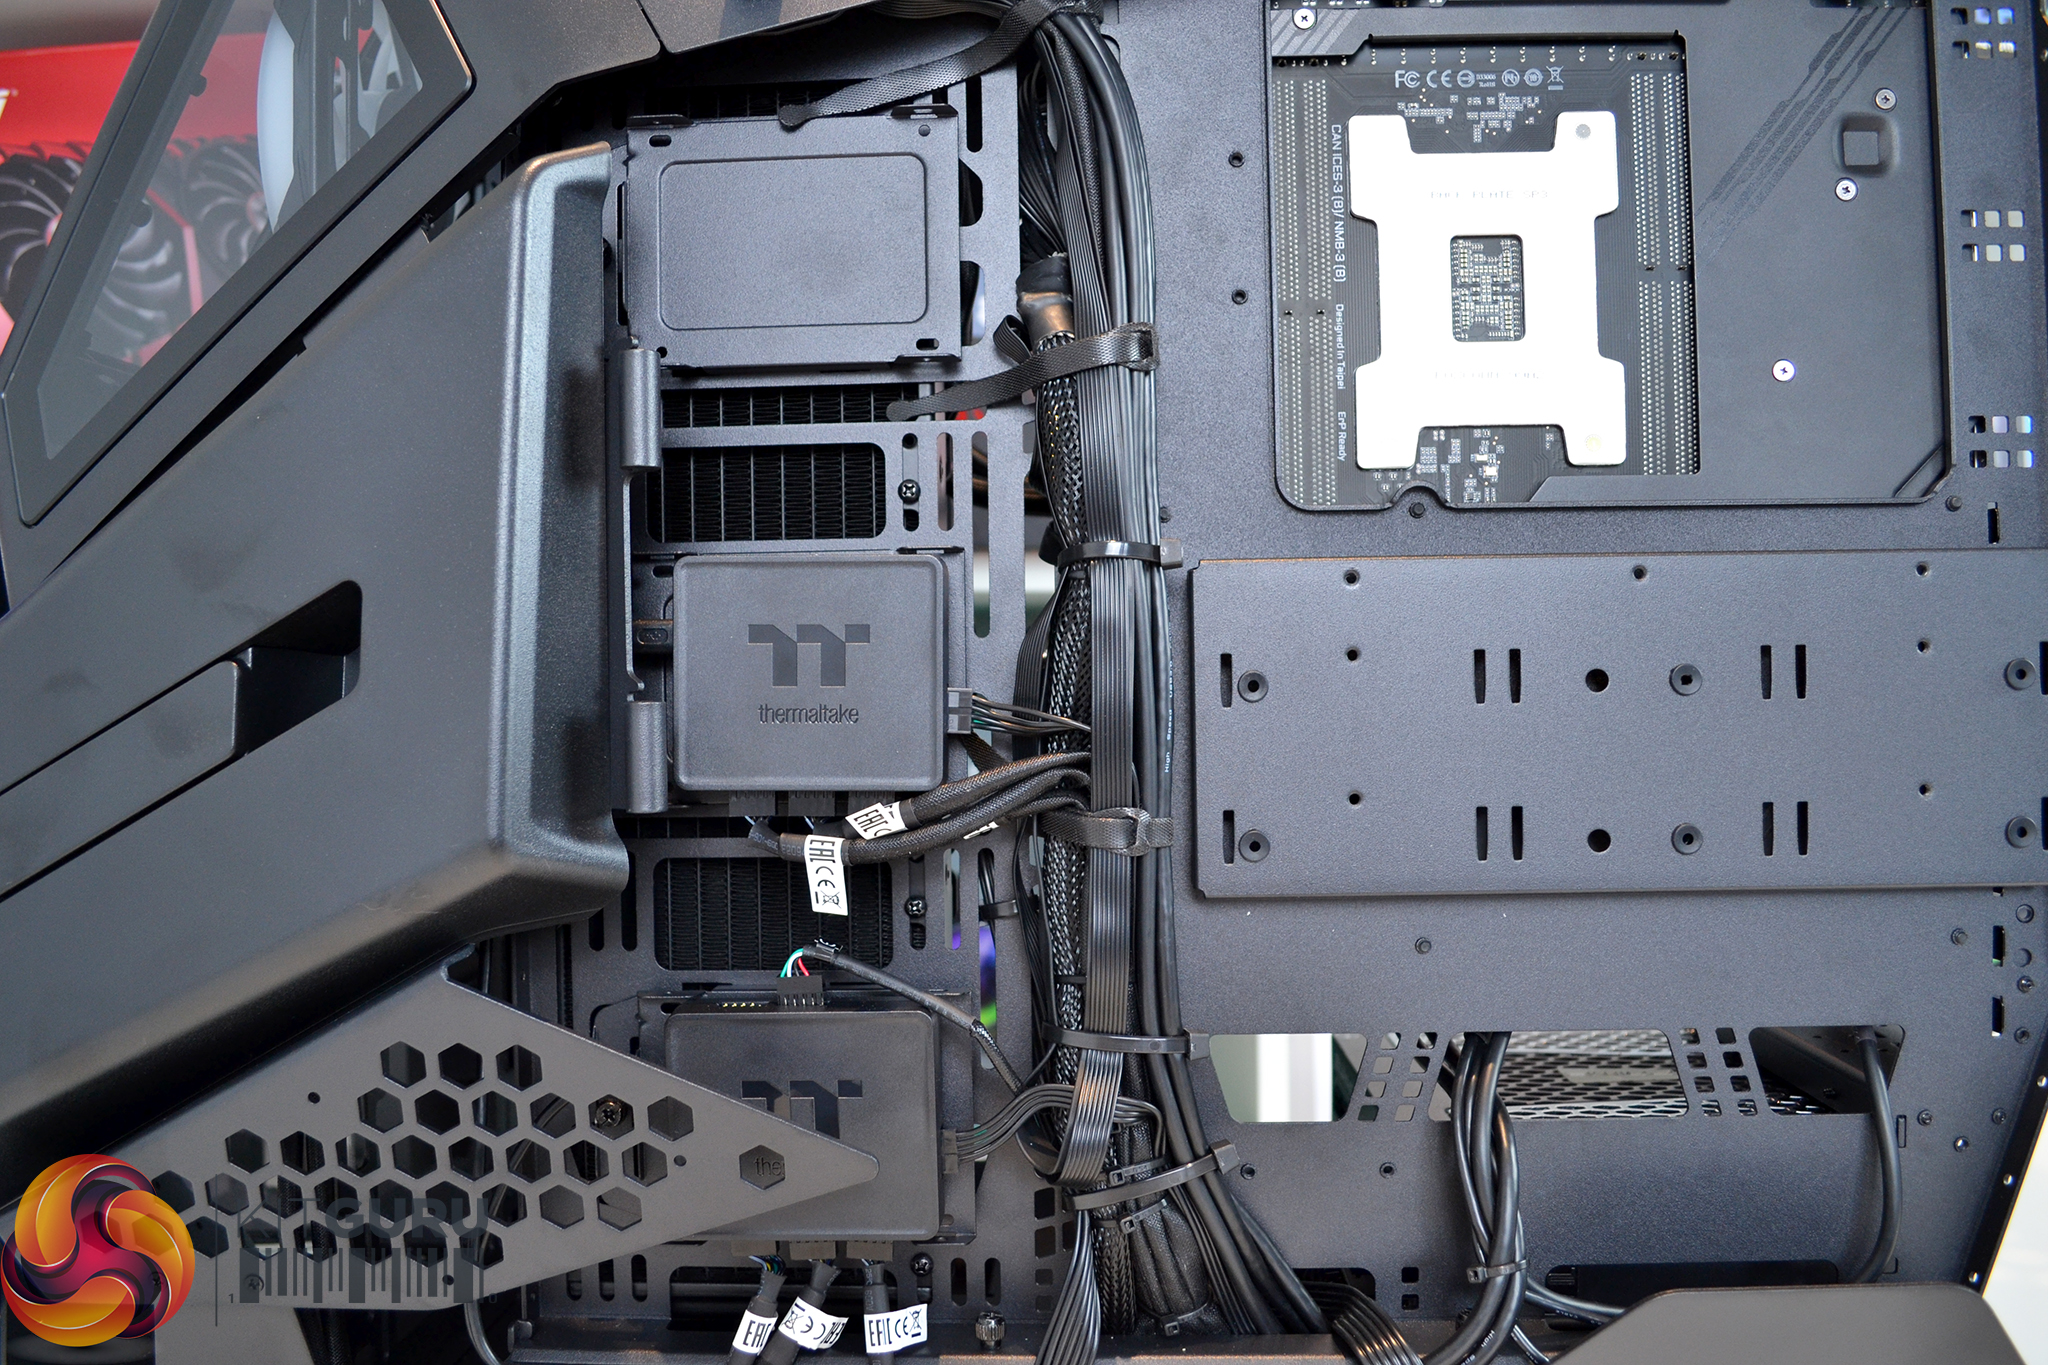
Power supply installation is also very straightforward as there is so much space to manoeuvre it into position. Simply screw the PSU to the bracket, slide it into the slots on the chassis floor and then fix it in position using a single thumbscrew.
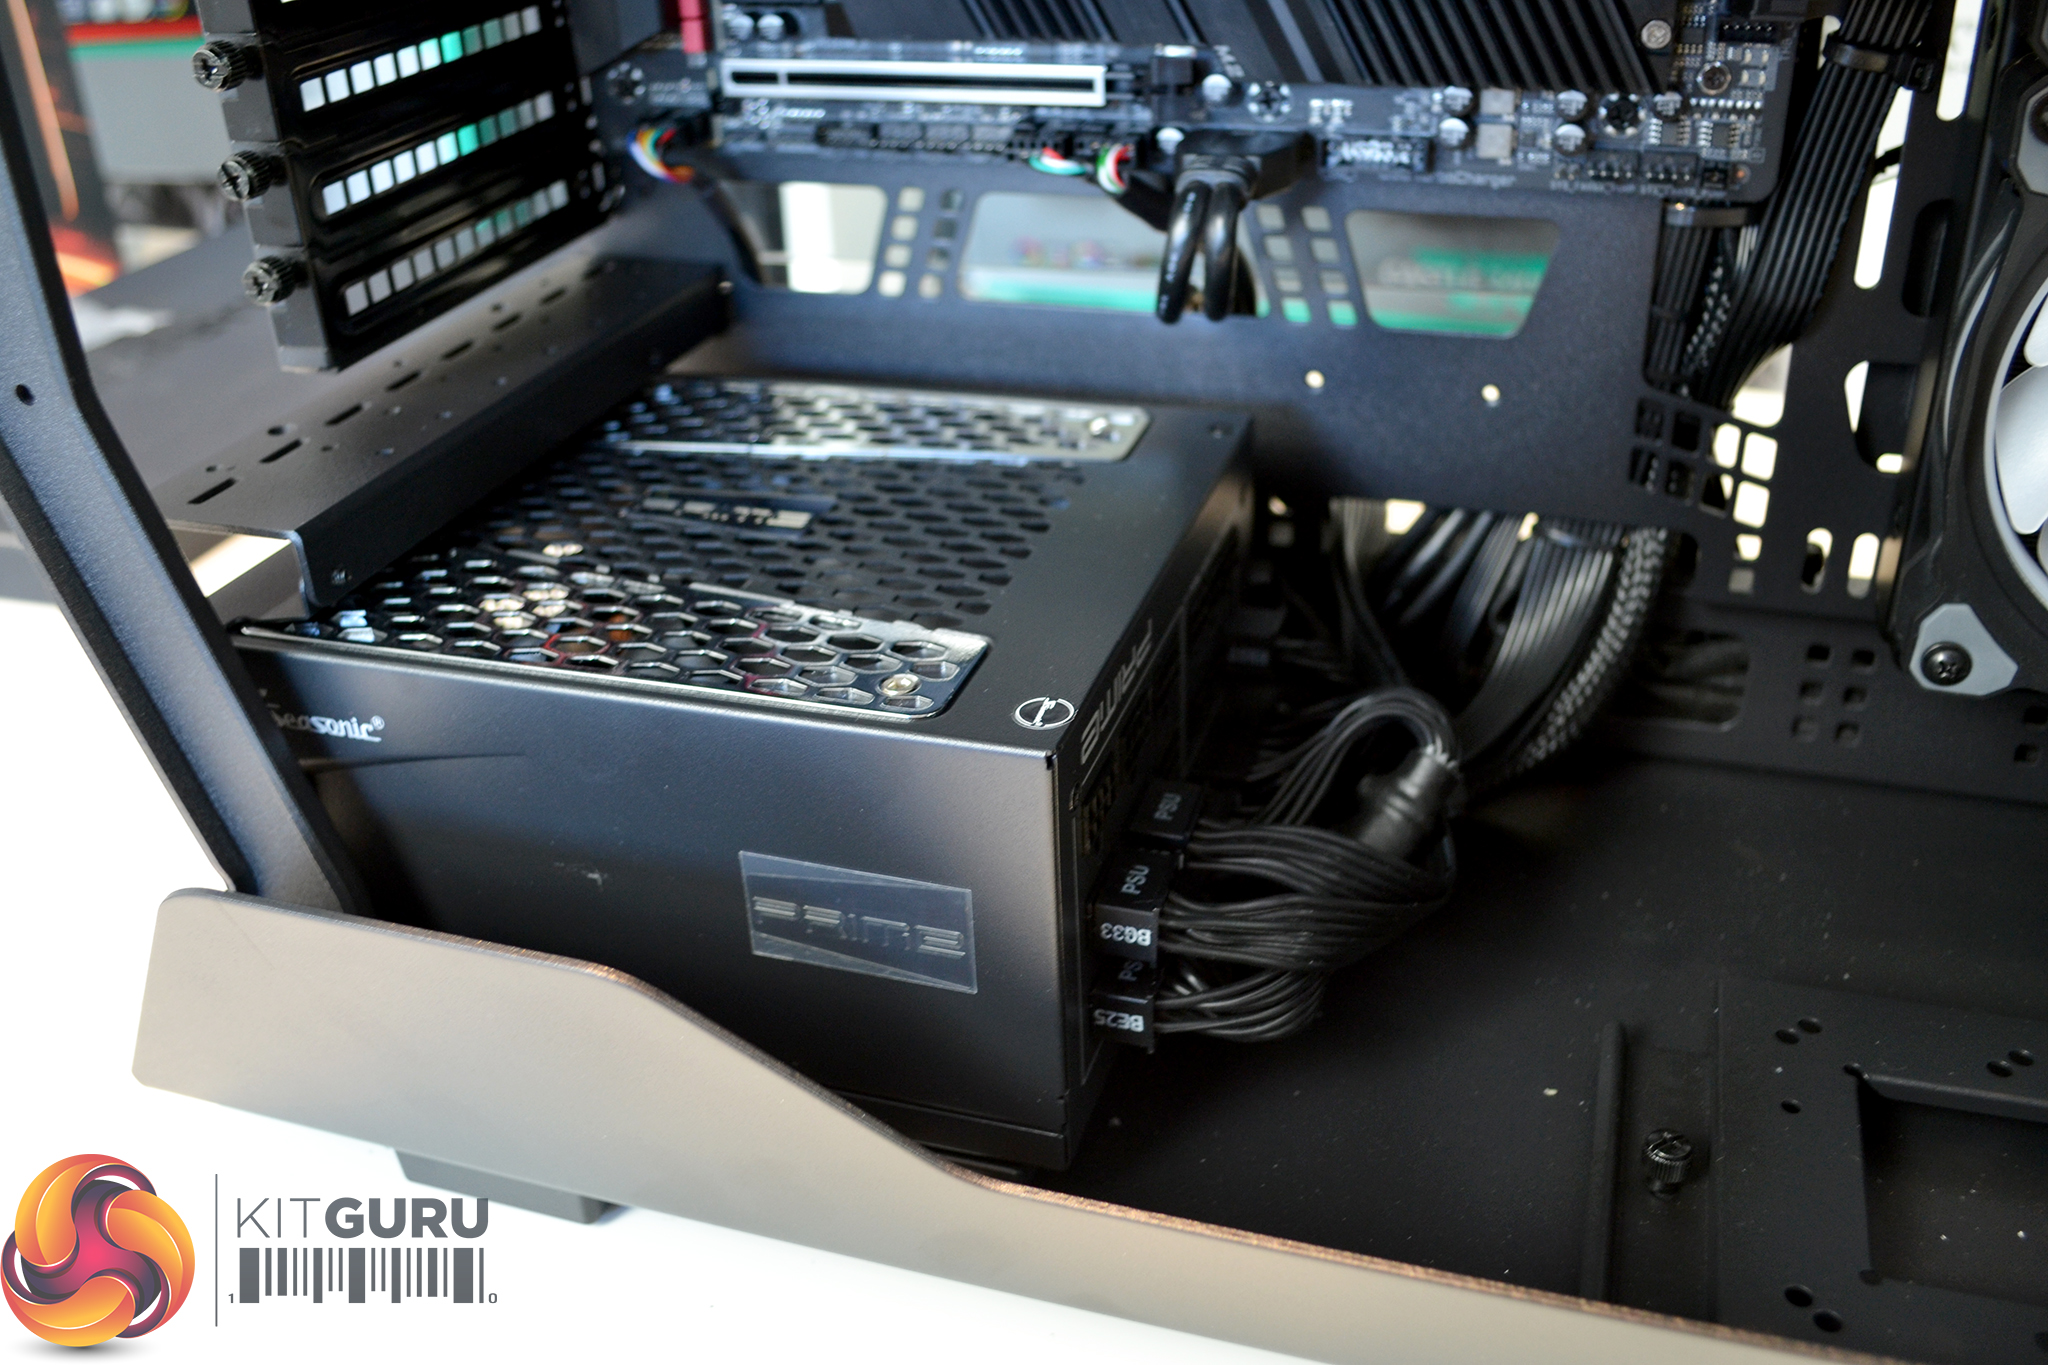
There is no shroud covering the power supply, so while this could be a little unsightly with messy cables, it does allow for good access to a modular power supply if the user wants to add extra cables in future. However, we would have liked some kind of removable shroud with a case at this price point.
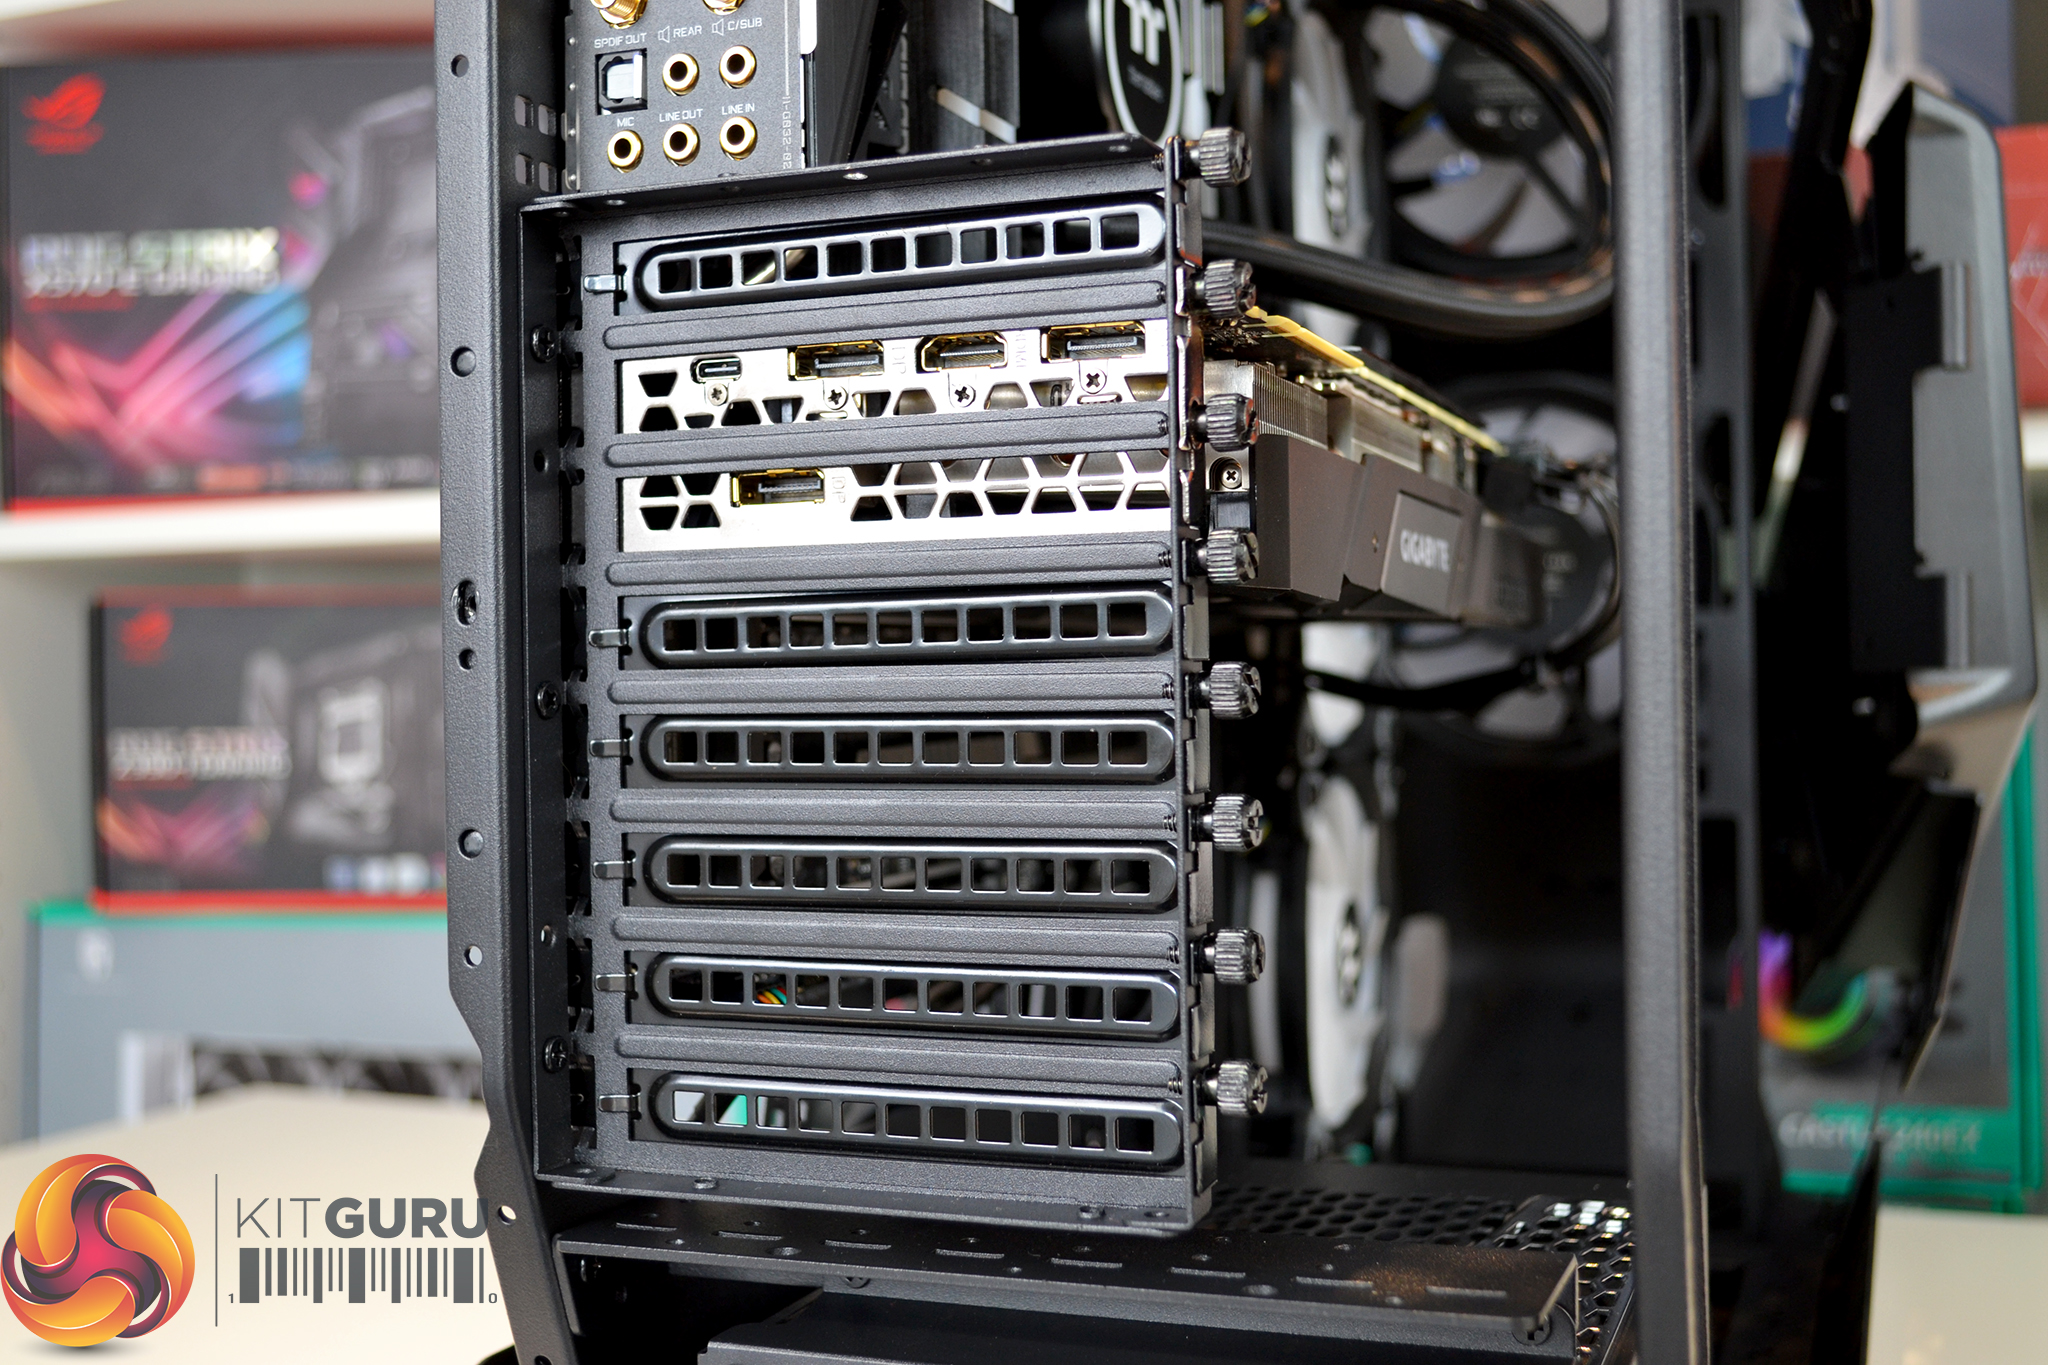
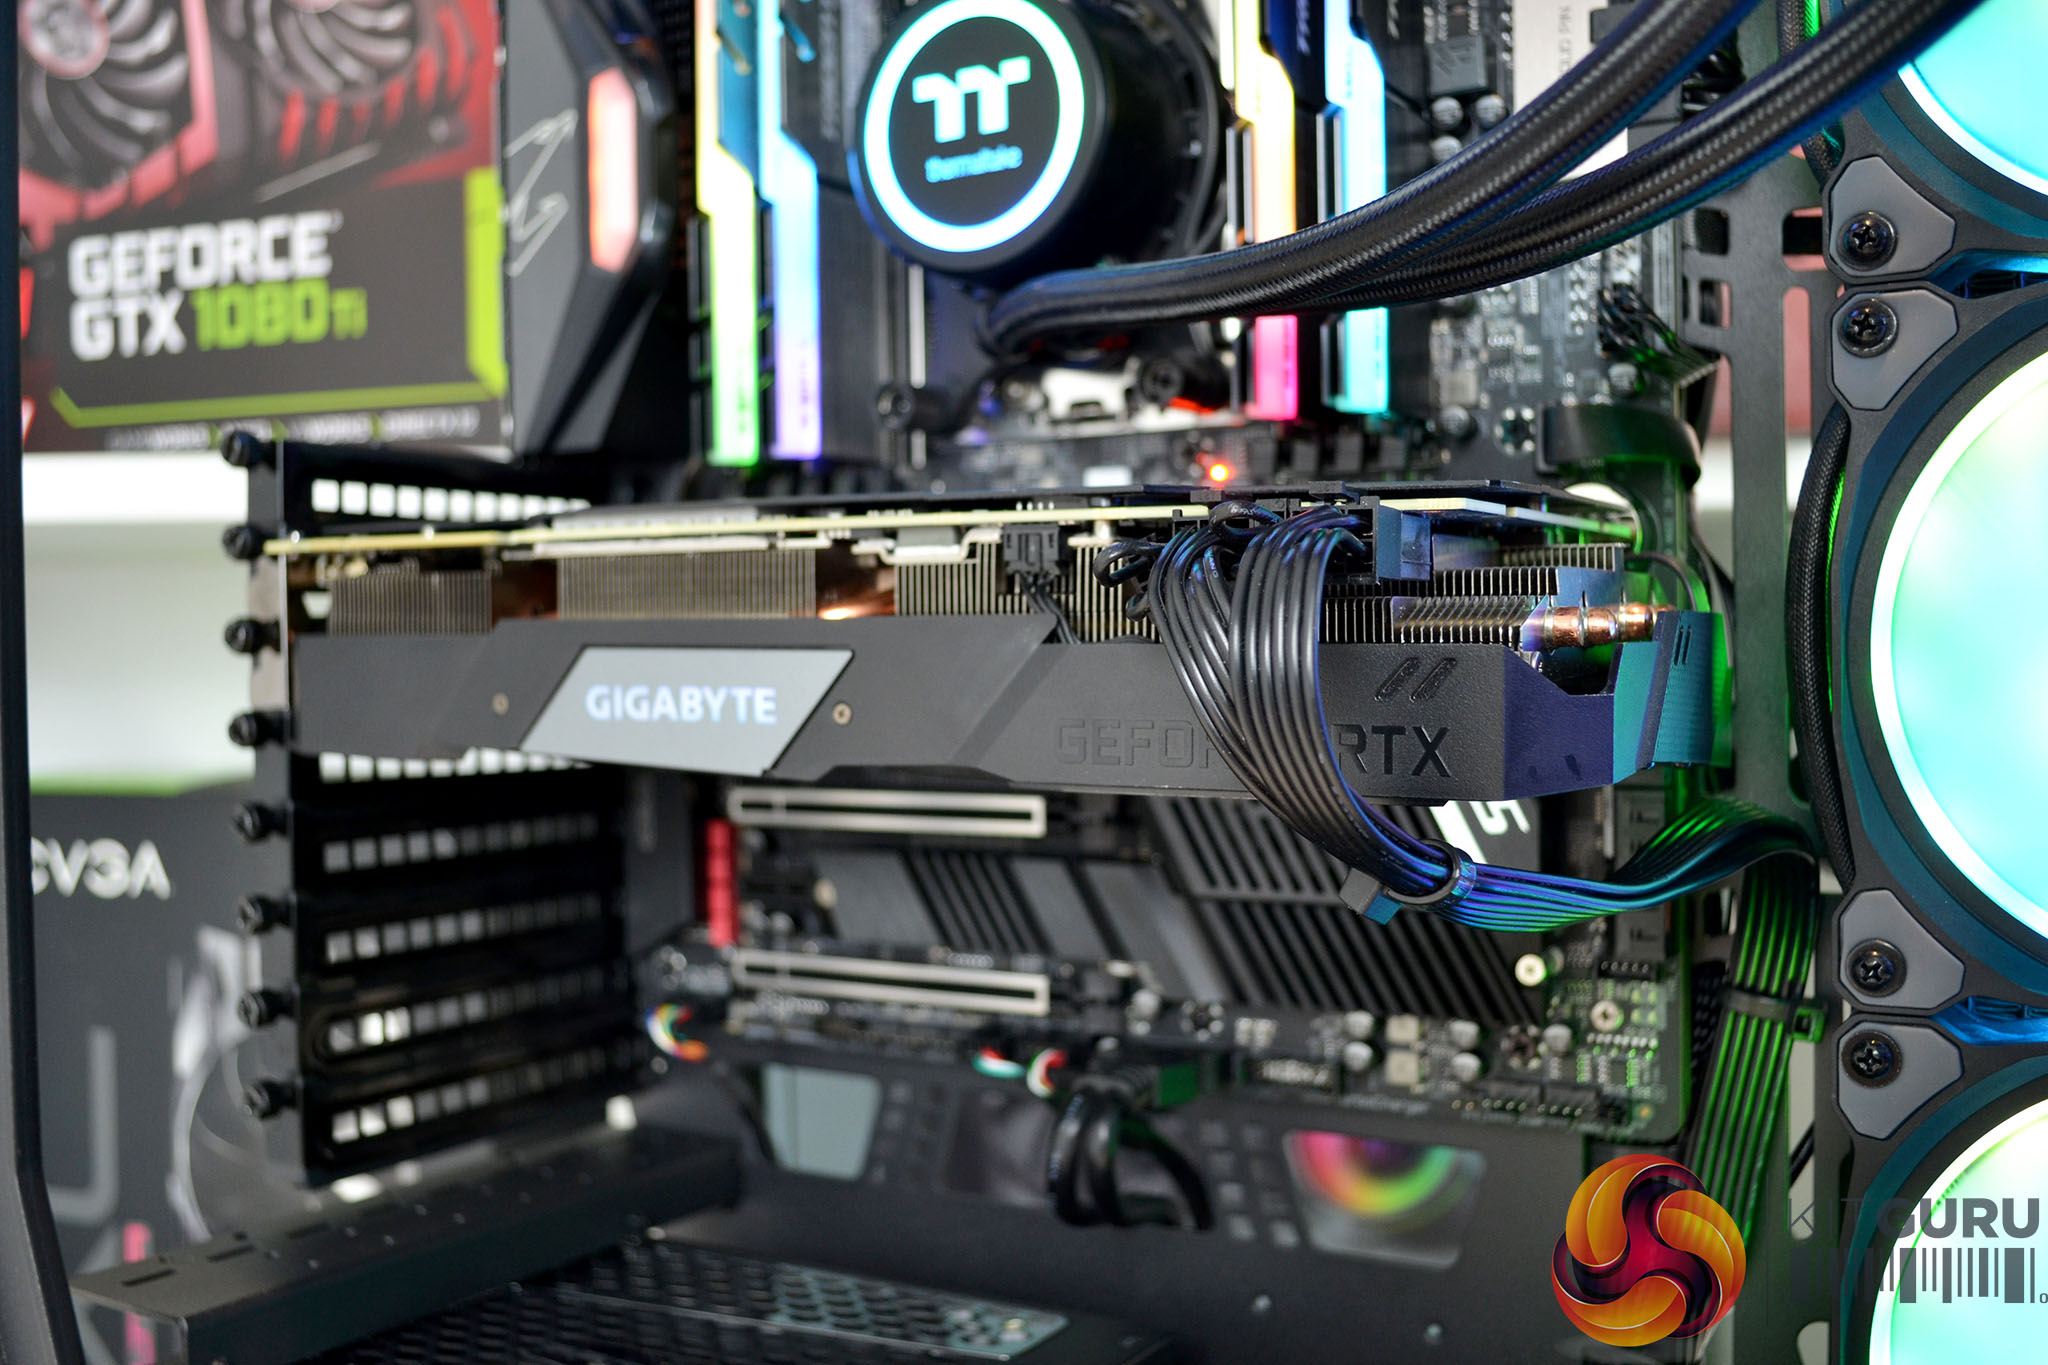
With so much space inside the chassis, installing graphics cards is a breeze. Simply fit the PCIe bracket to the chassis in the orientation to suit your graphics card position and then install the graphics card as normal.
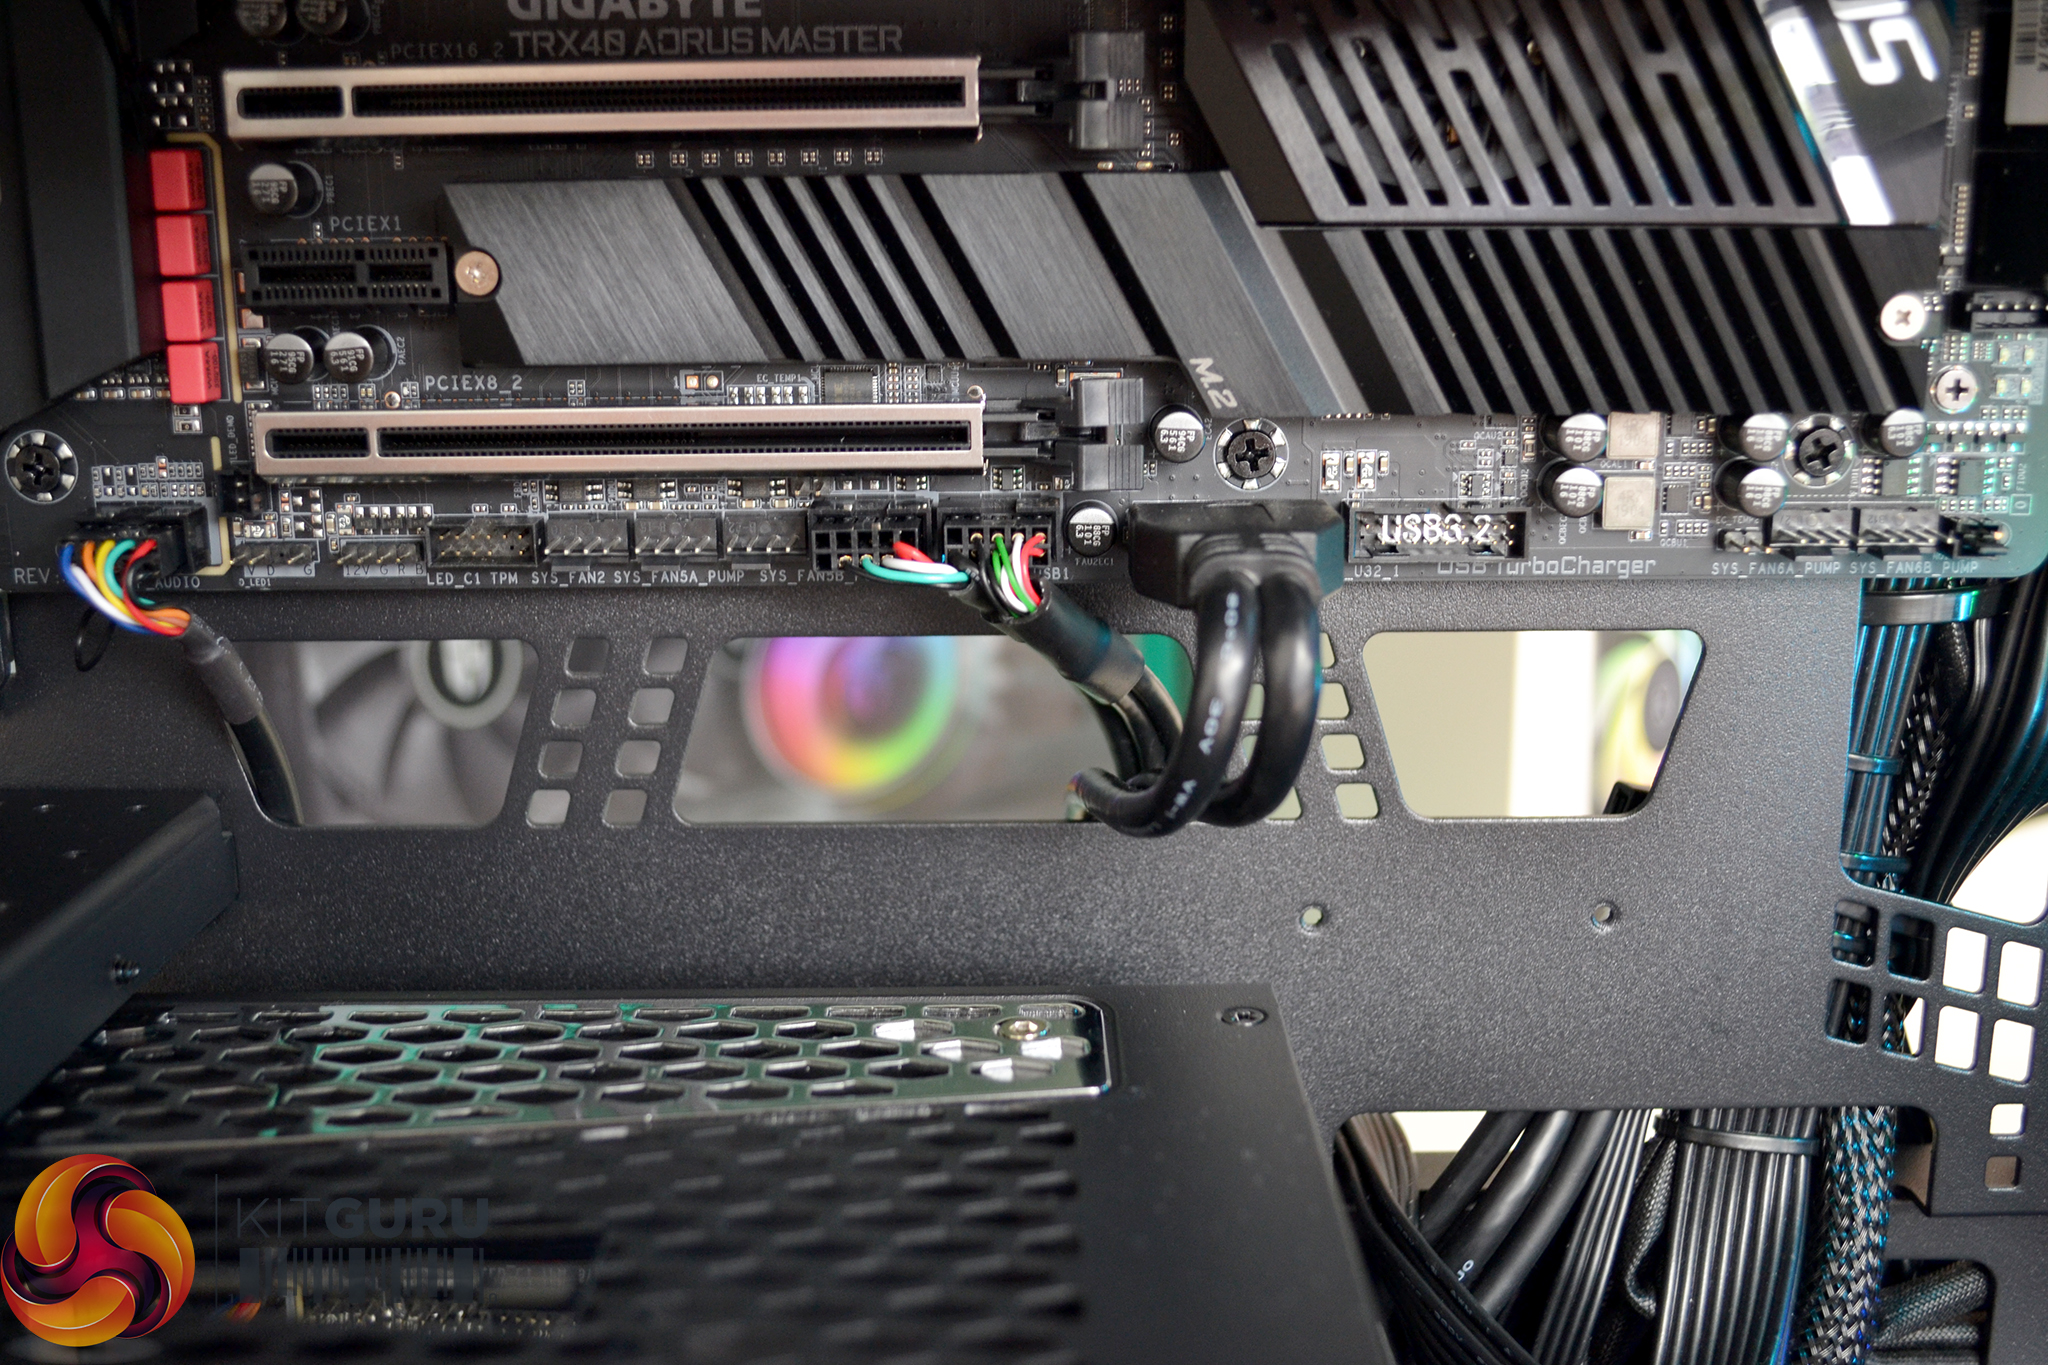
During the system installation, we spent hours hiding the cables since there is nothing built into the case to assist with this. There are a healthy amount of cable cut-outs, however, none of them have rubber grommets fitted.
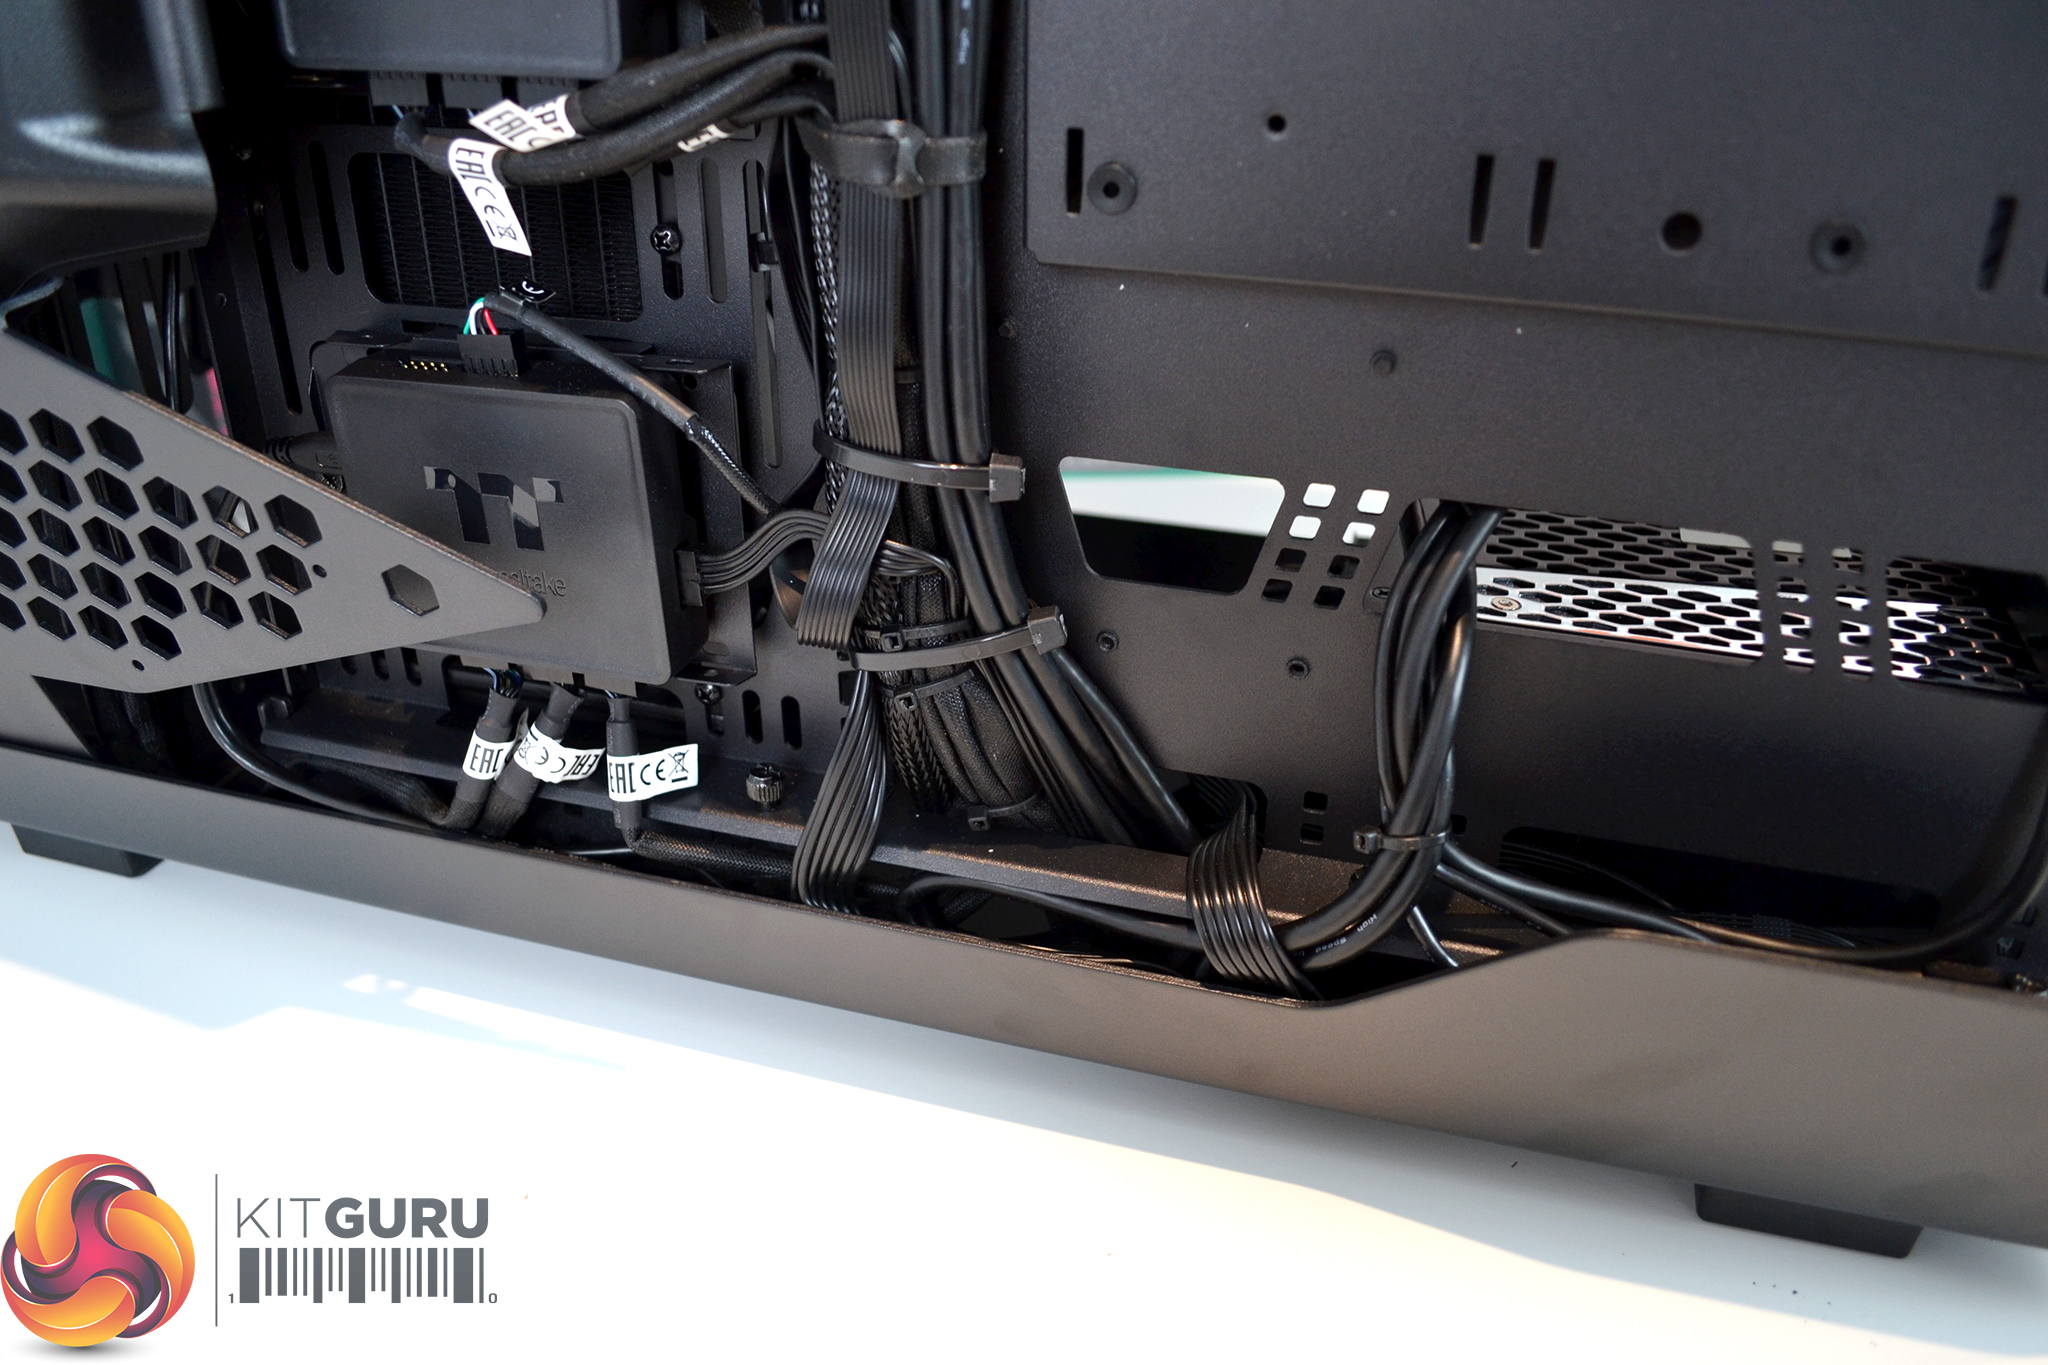
The main cable channel down the rear of the motherboard tray does have a few Velcro cable ties pre-installed which we did utilise. As well as a lack of cable cutout grommets, we were also quite disappointed that there is no cover to hide away cables. The addition of this would have made the build look much tidier and is something we expect of a case in this price range.
Build Gallery