

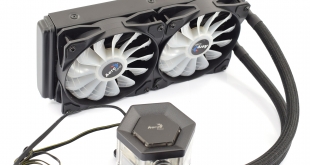
While we have seen a few different Project 7 cases from Aerocool, the P7-L240 is actually the first CPU cooler from Aerocool's exciting new range. With a strong emphasis on RGB lighting, the P7-L240 comes with two RGB fans, as well as an RGB-illuminated pump/waterblock to really give your rig some bling. Priced at £99.99, it is also well priced for a high-end 240mm liquid cooler – is everything as good as it seems?
KitGuru Deputy Editor-in-Chief Leo Waldock first got a look at the new Aerocool P7-L240 at Computex 2017 and about six months on the cooler has hit the shelves and is ready for review. With the Arctic Liquid Freezer 240 still top dog in our testing, can the P7-L240 dethrone the king?
Specification
| CPU Types | |
| Socket | Intel: 775 / 1366 / 115x / 2011 / 2011-3 / 2066 AMD: FM1 / FM2 / AM2 / AM2+ / AM3 / AM3+ / AM4 |
| Fan | |
| Fan Bearing Type | Hydraulic |
| Fan Speed | 600 ~ 1800 RPM |
| Fan Noise Level | 10.5 ~ 31.8 dBA |
| Lifetime | 60,000 hours |
| Fan Air Pressure | 0.59 ~ 1.34 mmH2O |
| Airflow | 29.84 ~ 71.65 CFM |
| Fan Speed Controller | |
| Voltage | 12 V |
| Current | 0.16 A (per fan) |
| Physical | |
| Form Factor | All-in-One Water Cooler |
| Case Colour | Black |
| Base Material | Aluminium |
| Heatsink Material | Copper |
| Width | 280 mm |
| Depth | 120 mm |
| Height | 53 mm |
| Fan Width | 120 mm |
| Fan Depth | 120 mm |
| Fan Height | 25 mm |
| Cooler Installation | |
| Cooling Capacity | 380 W |
The Aerocool P7-L240 ships in a dark, almost mysterious box. A photo of the liquid cooler itself is visible on the front, but its bottom half fades to black, giving it an air of intrigue.
Inside, the included manual is clear and concise, so no complaints there.
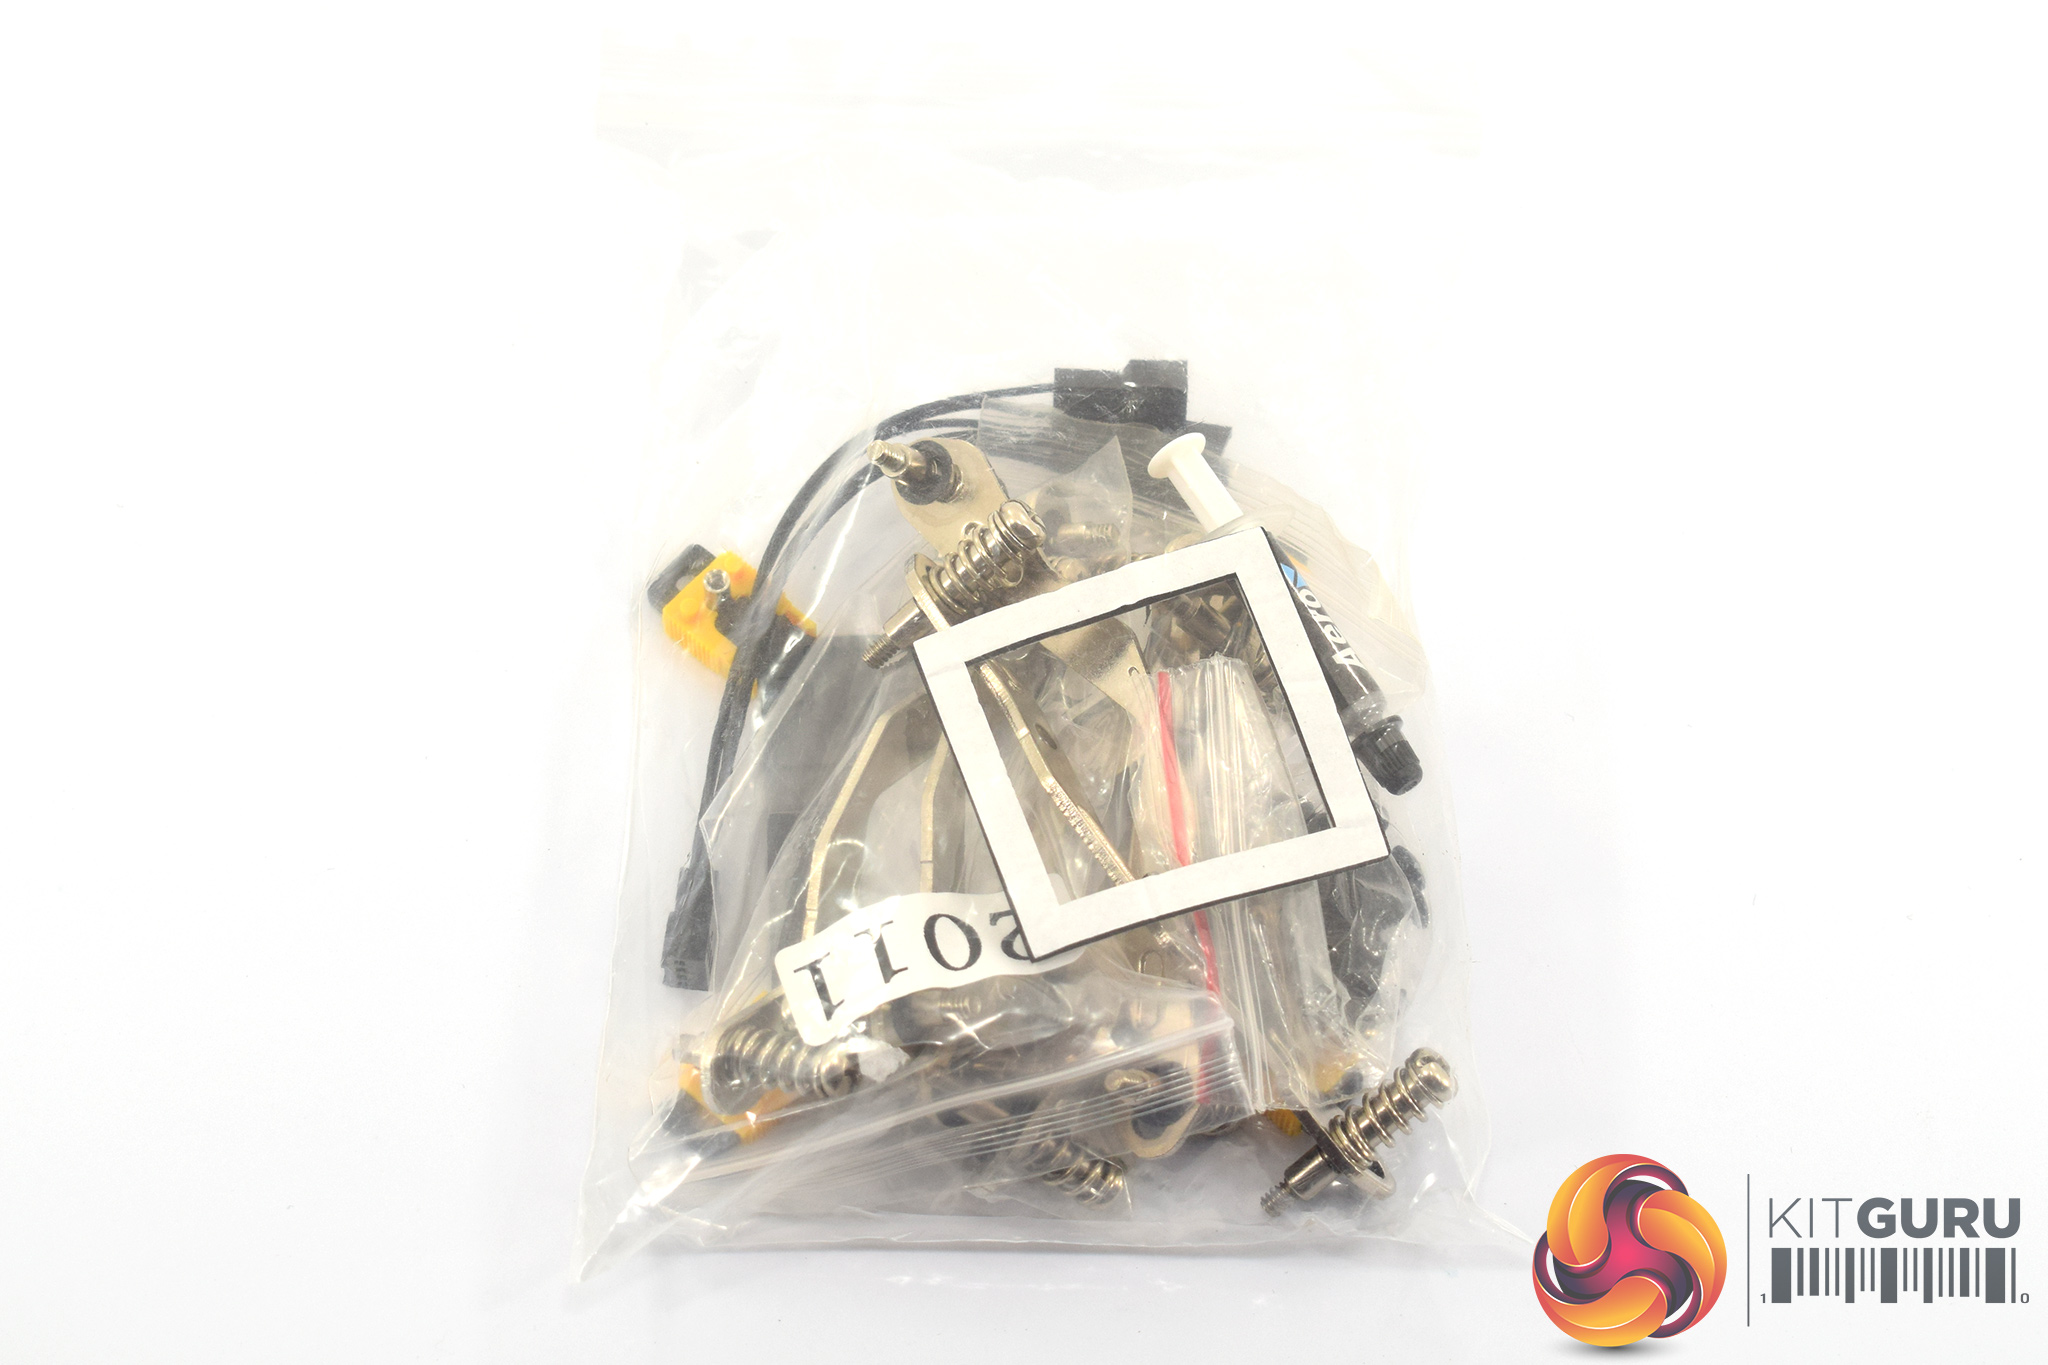
The necessary installation hardware comes in one big bag, but there are labelled bags inside it – making it easy to pick which bits you need.
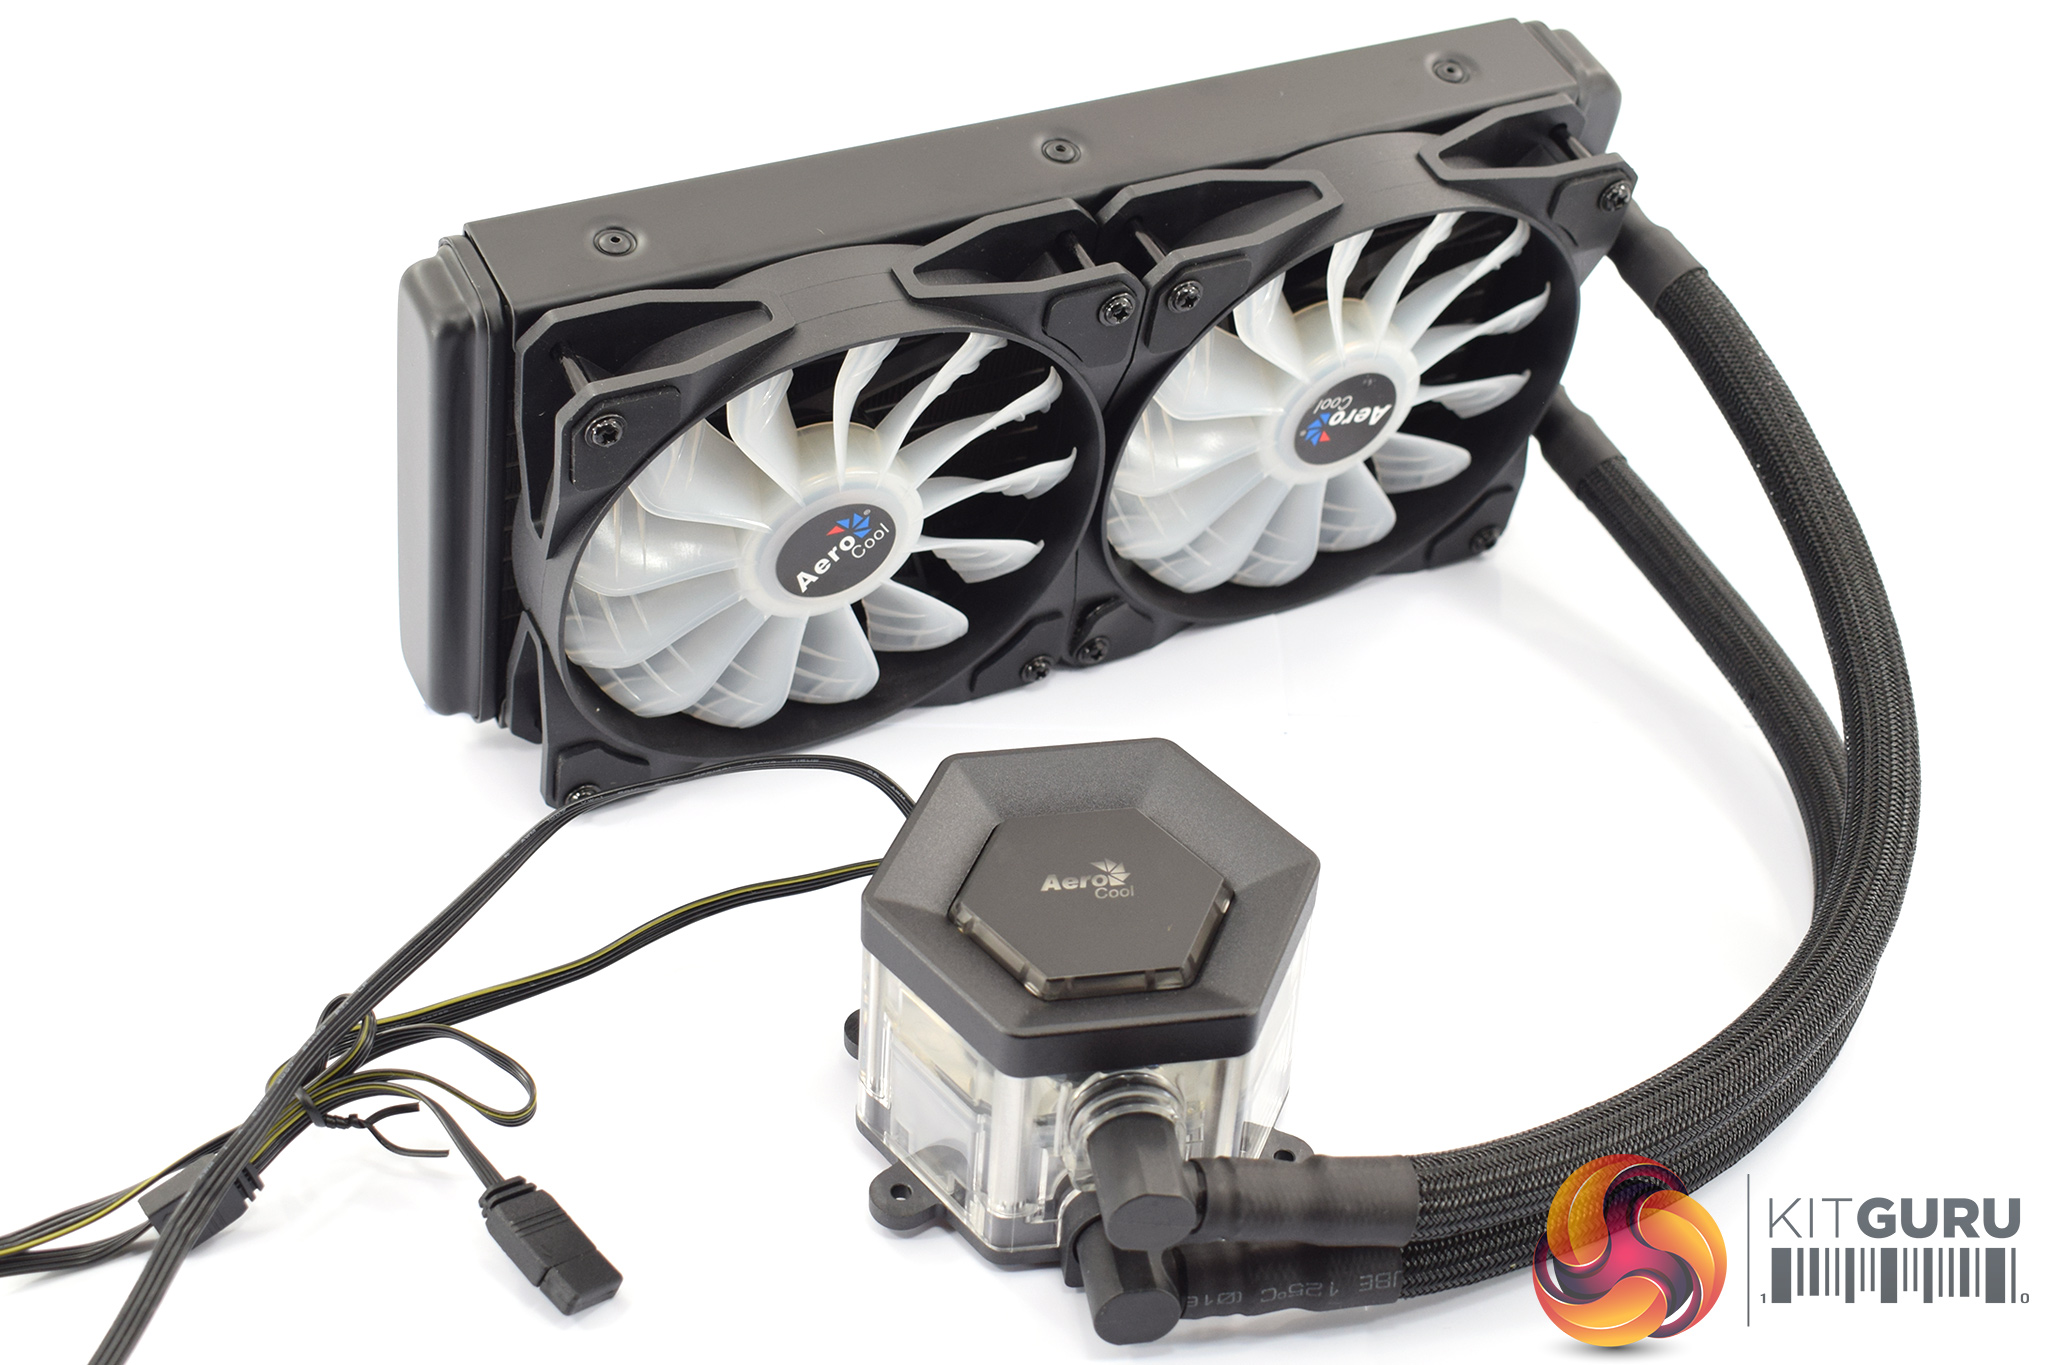
The liquid cooler itself is relatively standard – it measures 280 x 120 x 53, though that thickness measurement does take the 25mm fans into account, so a 28mm depth is more accurate.
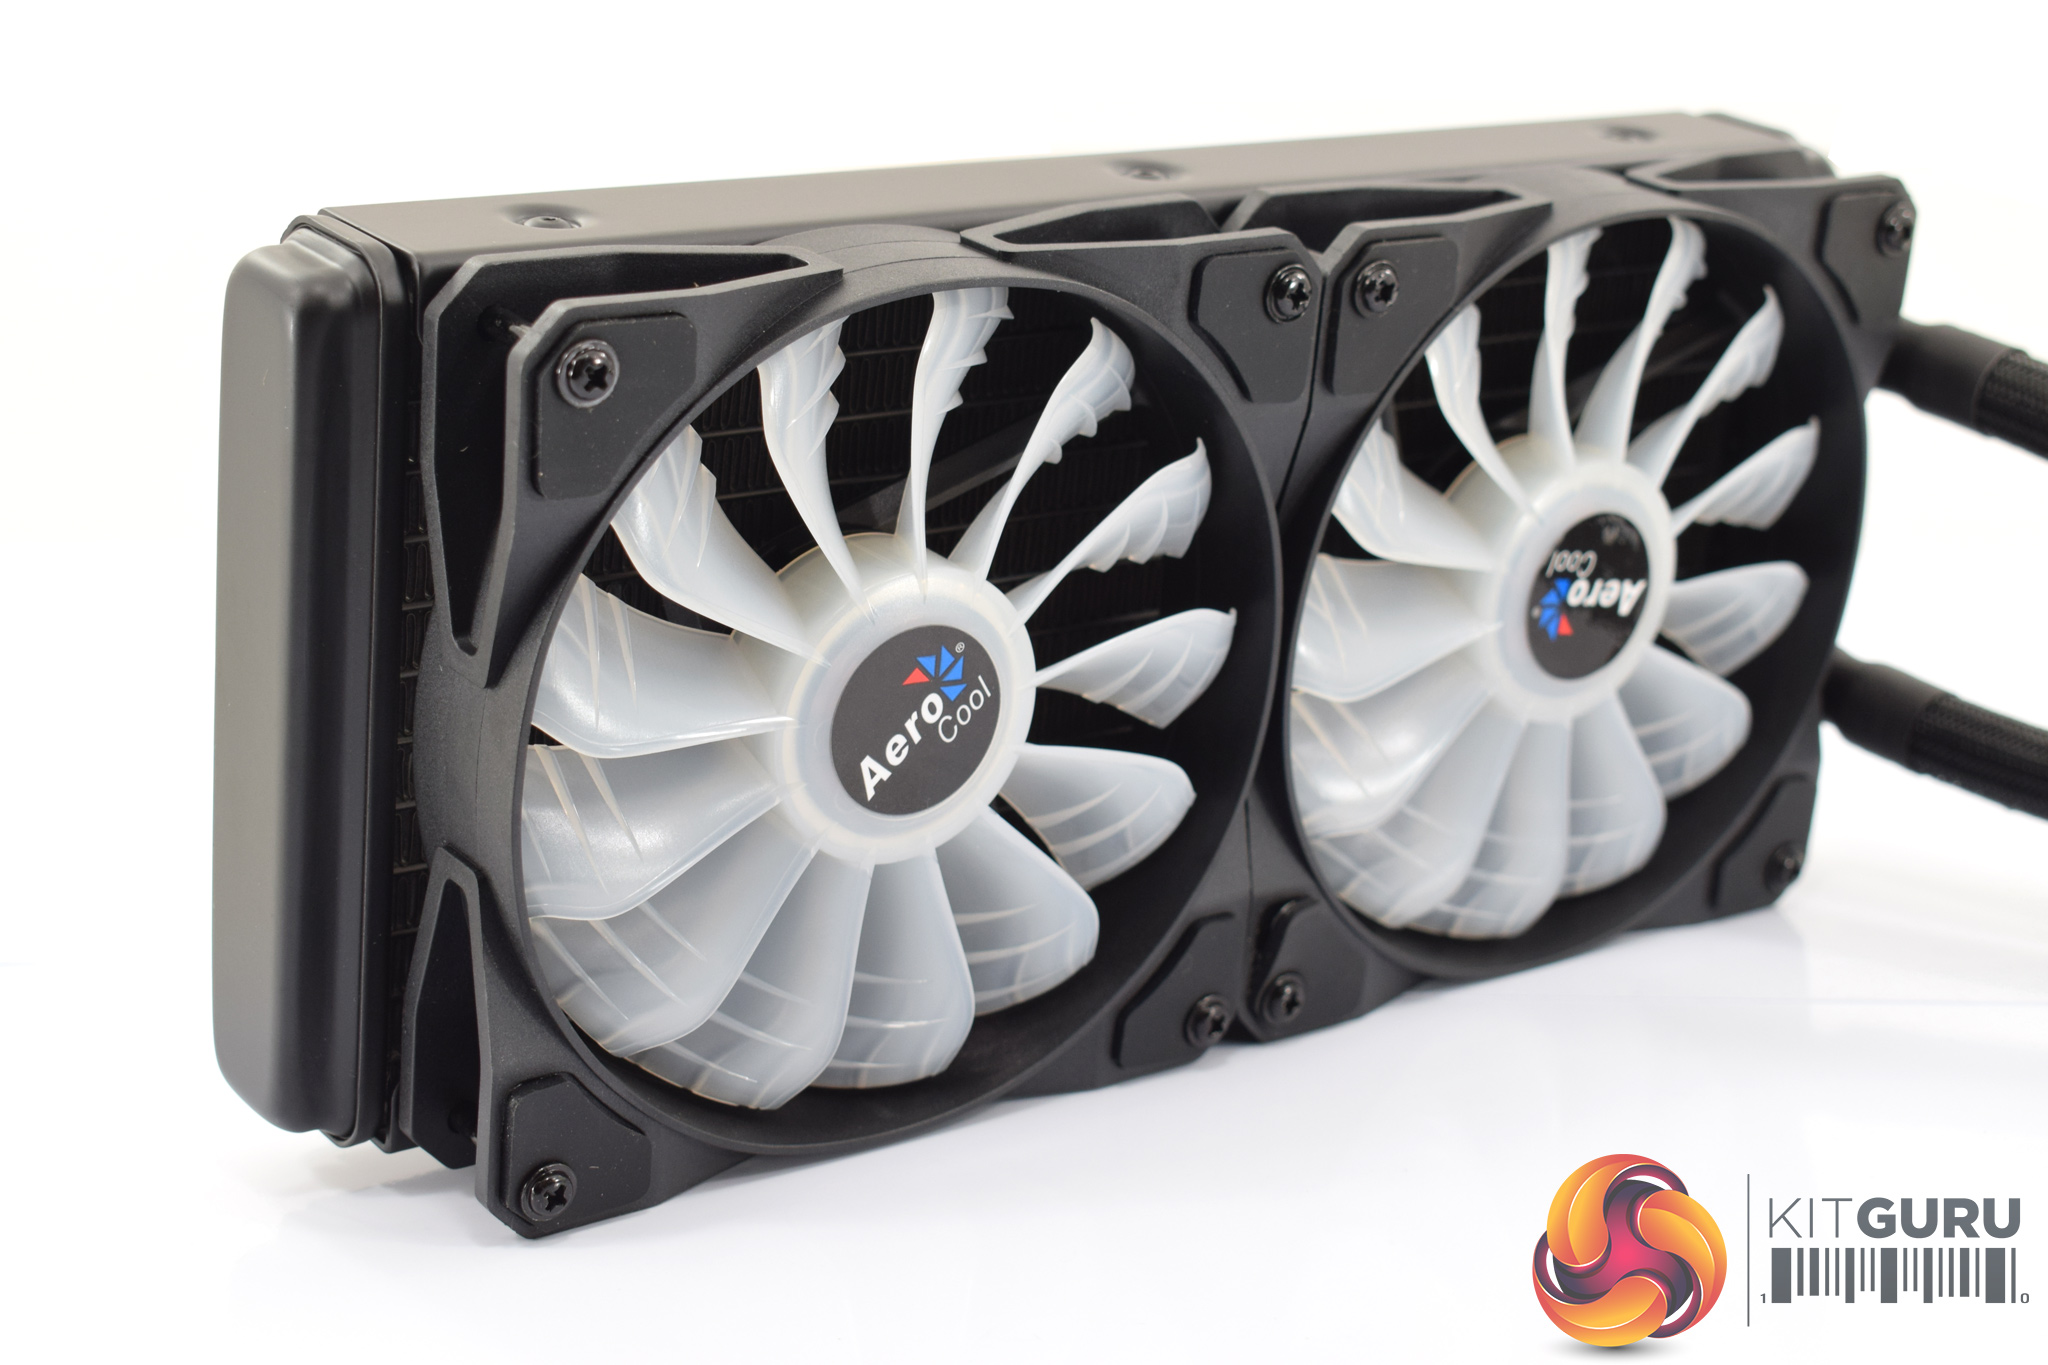
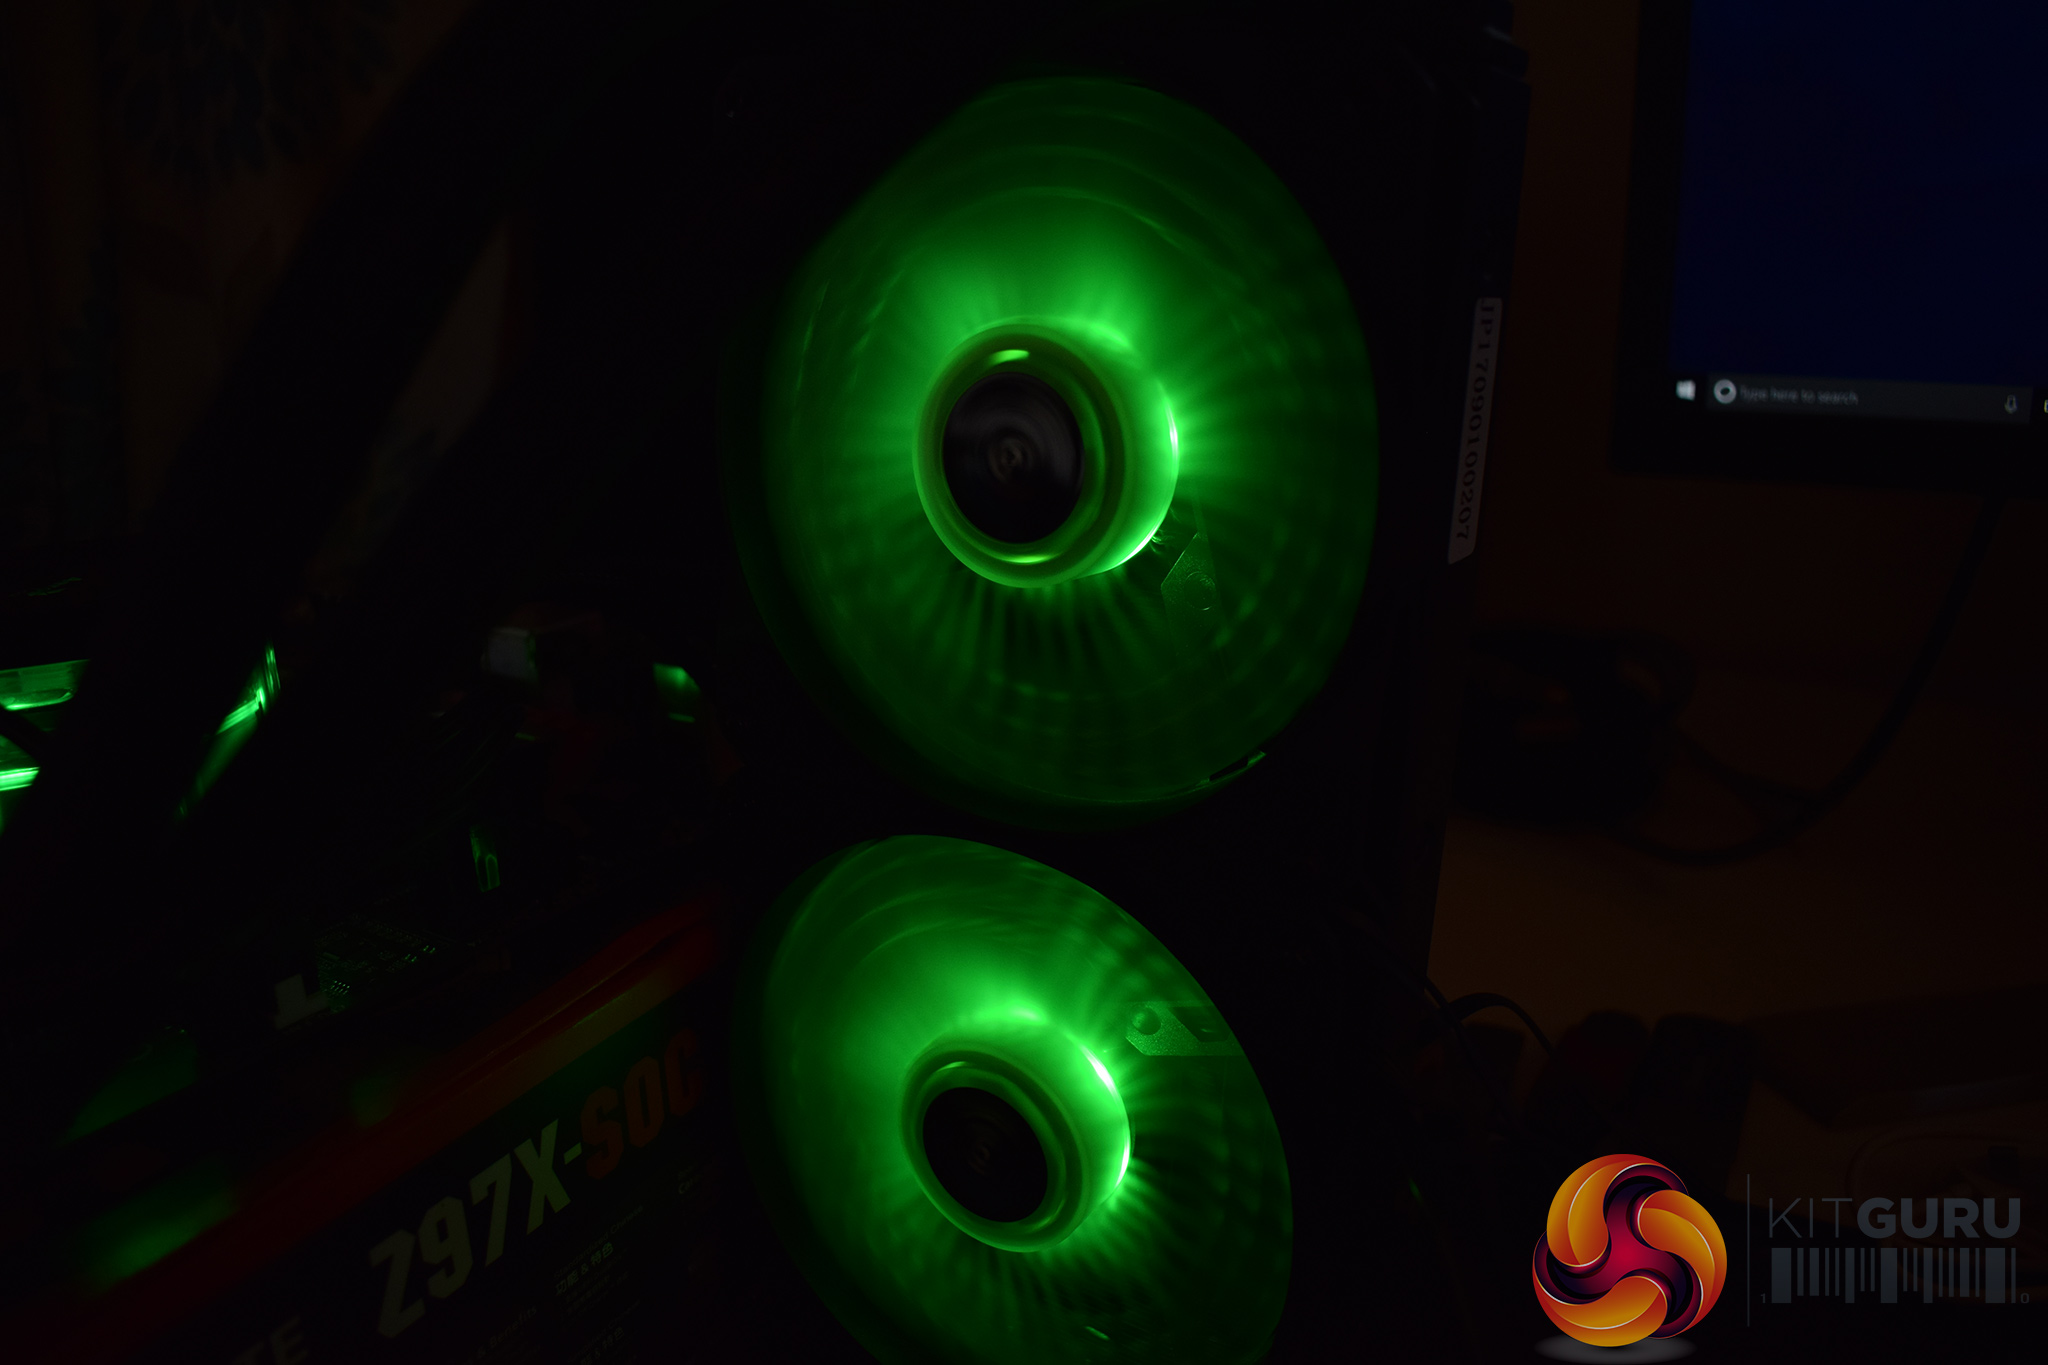
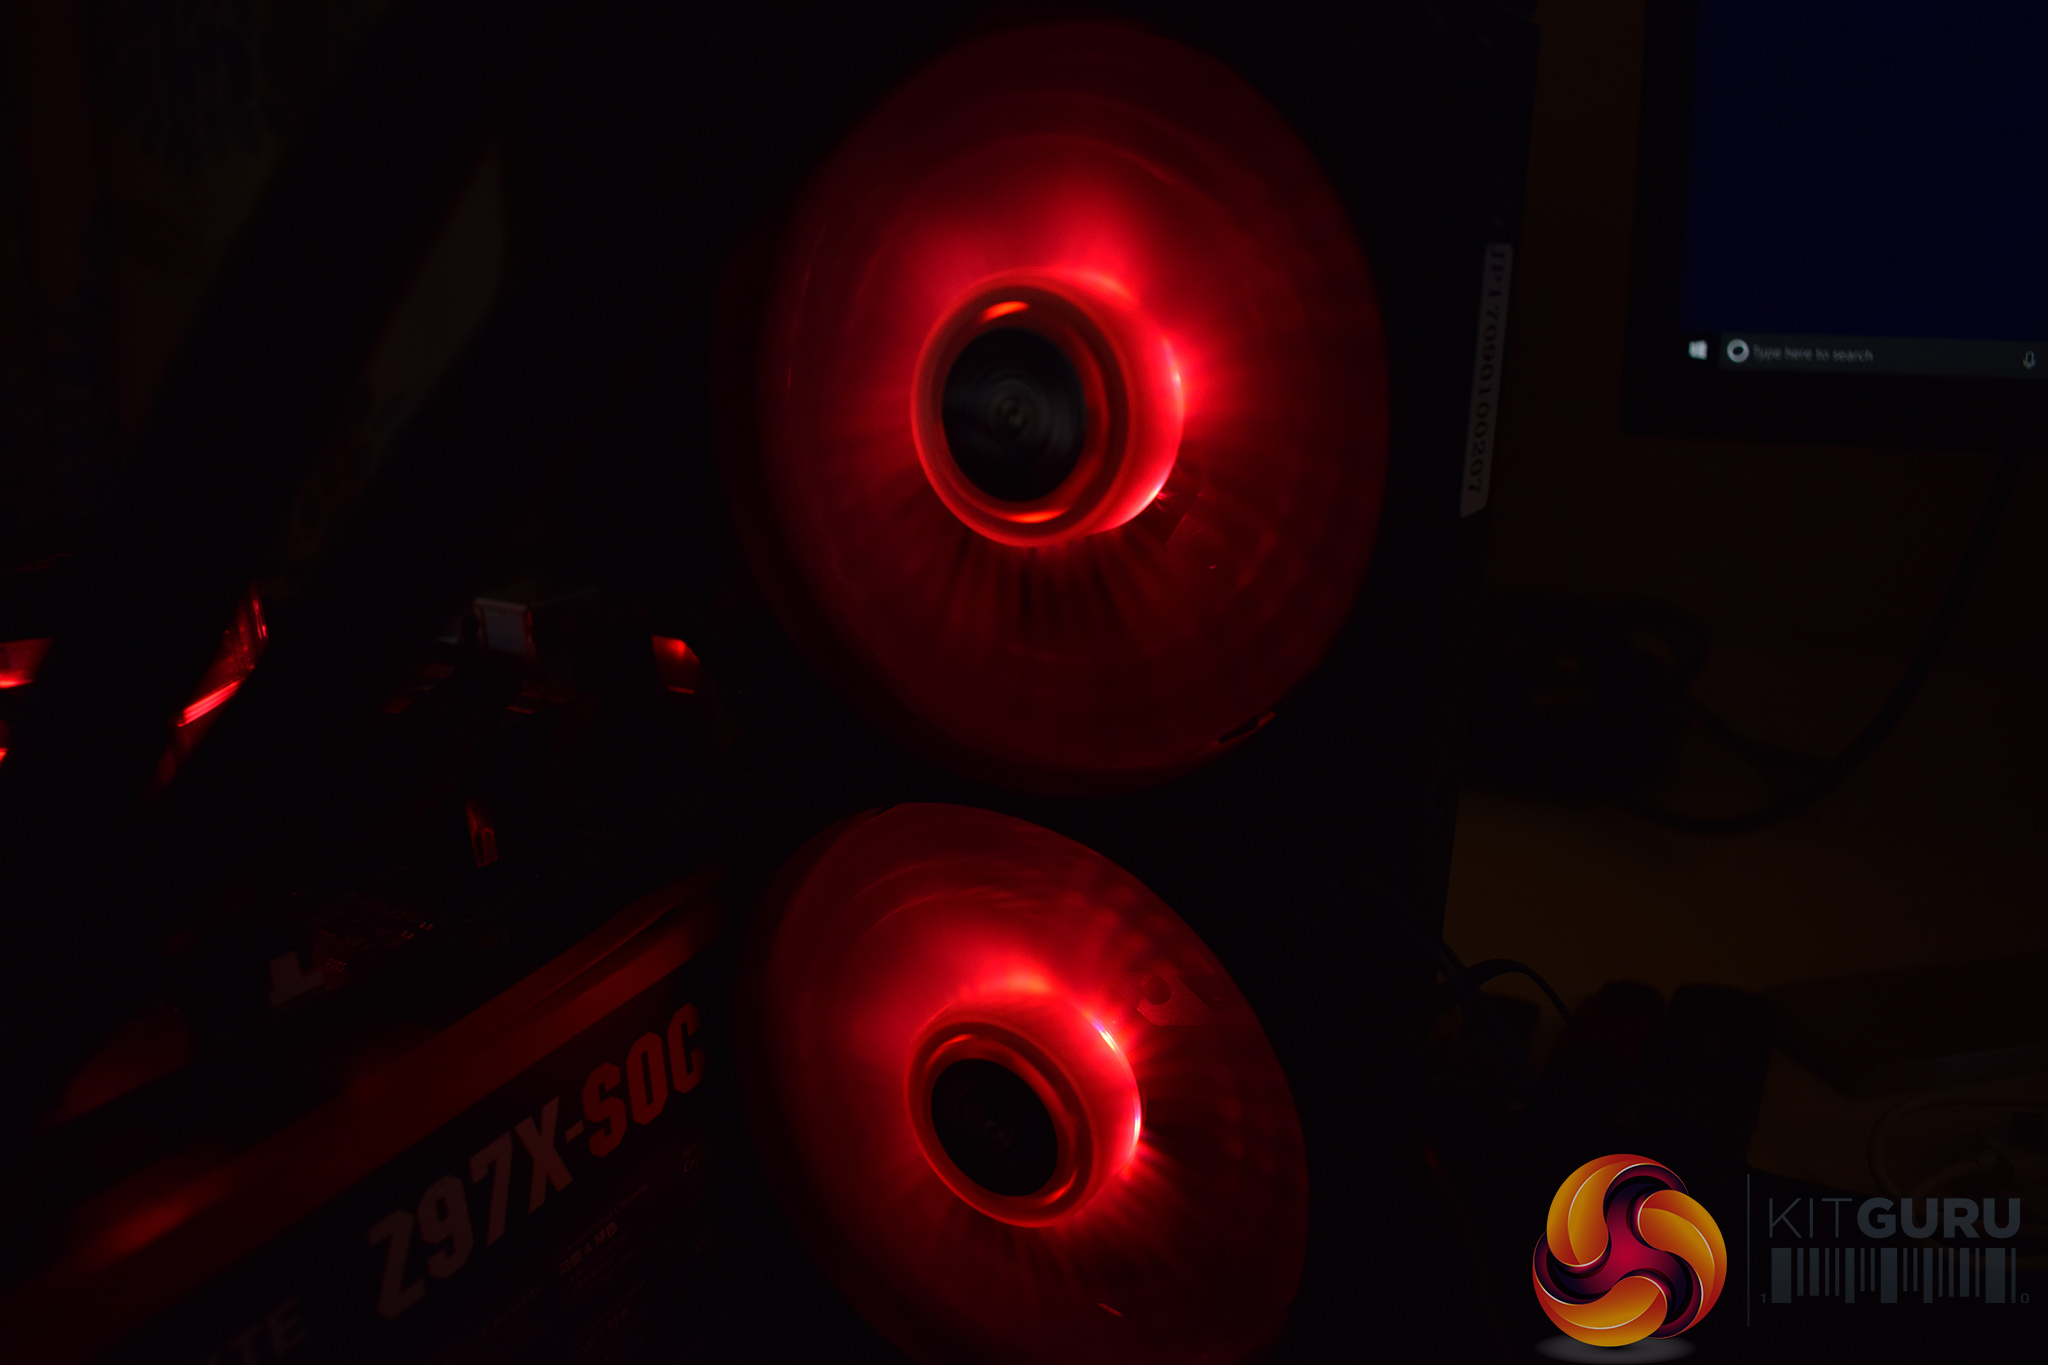
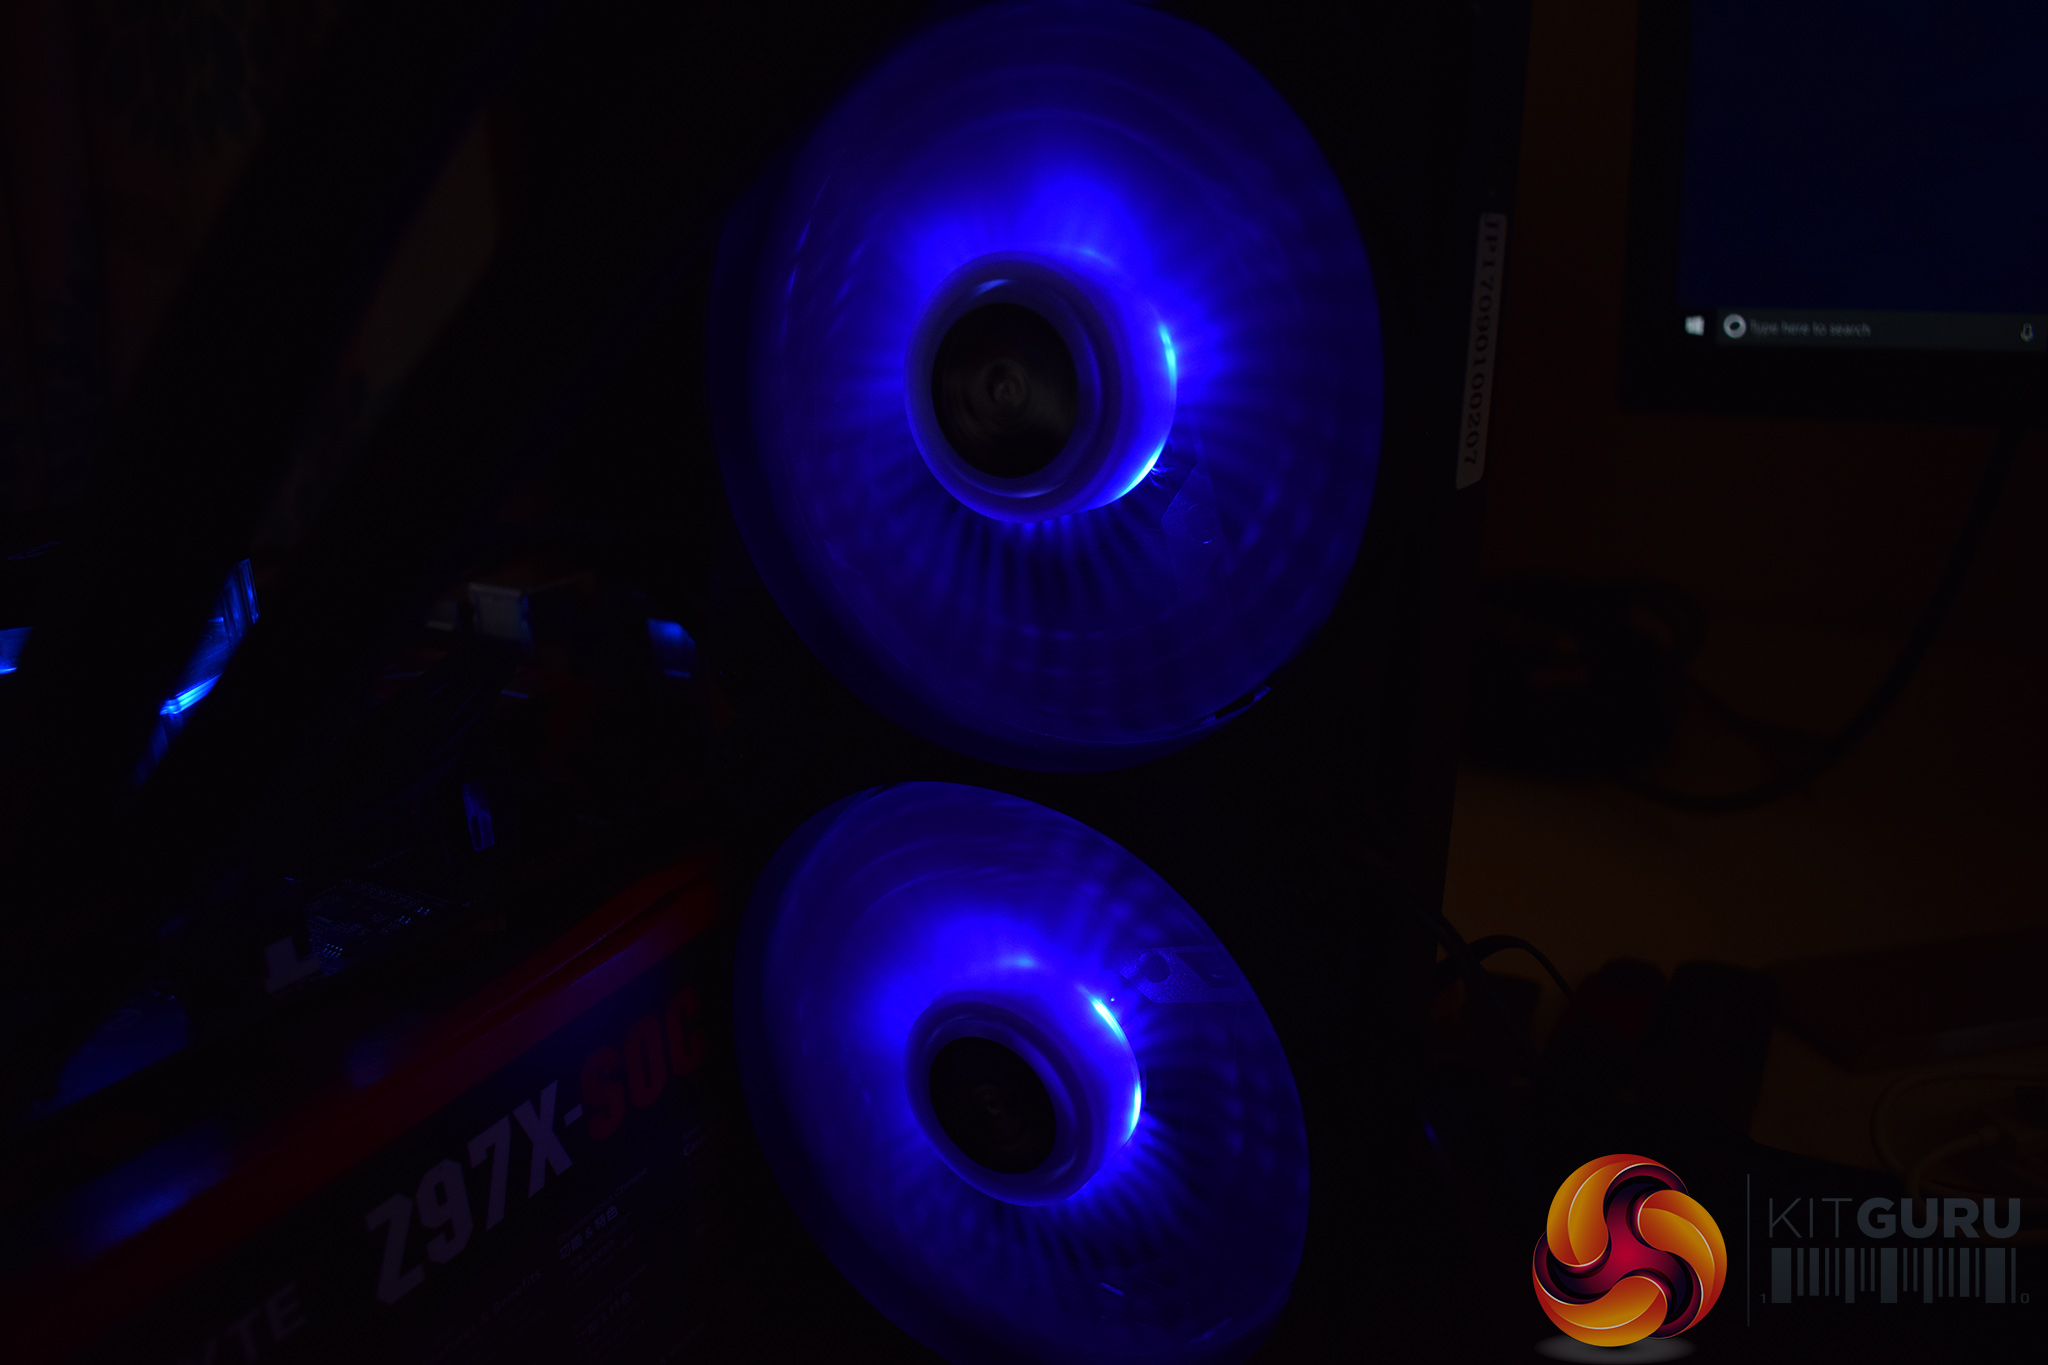
Speaking of those fans, the two 120mm spinners actually come pre-installed which is a lovely touch – typically I spend the bulk of a cooler installation screwing the fans on, so having that done for you just makes life a bit easier.
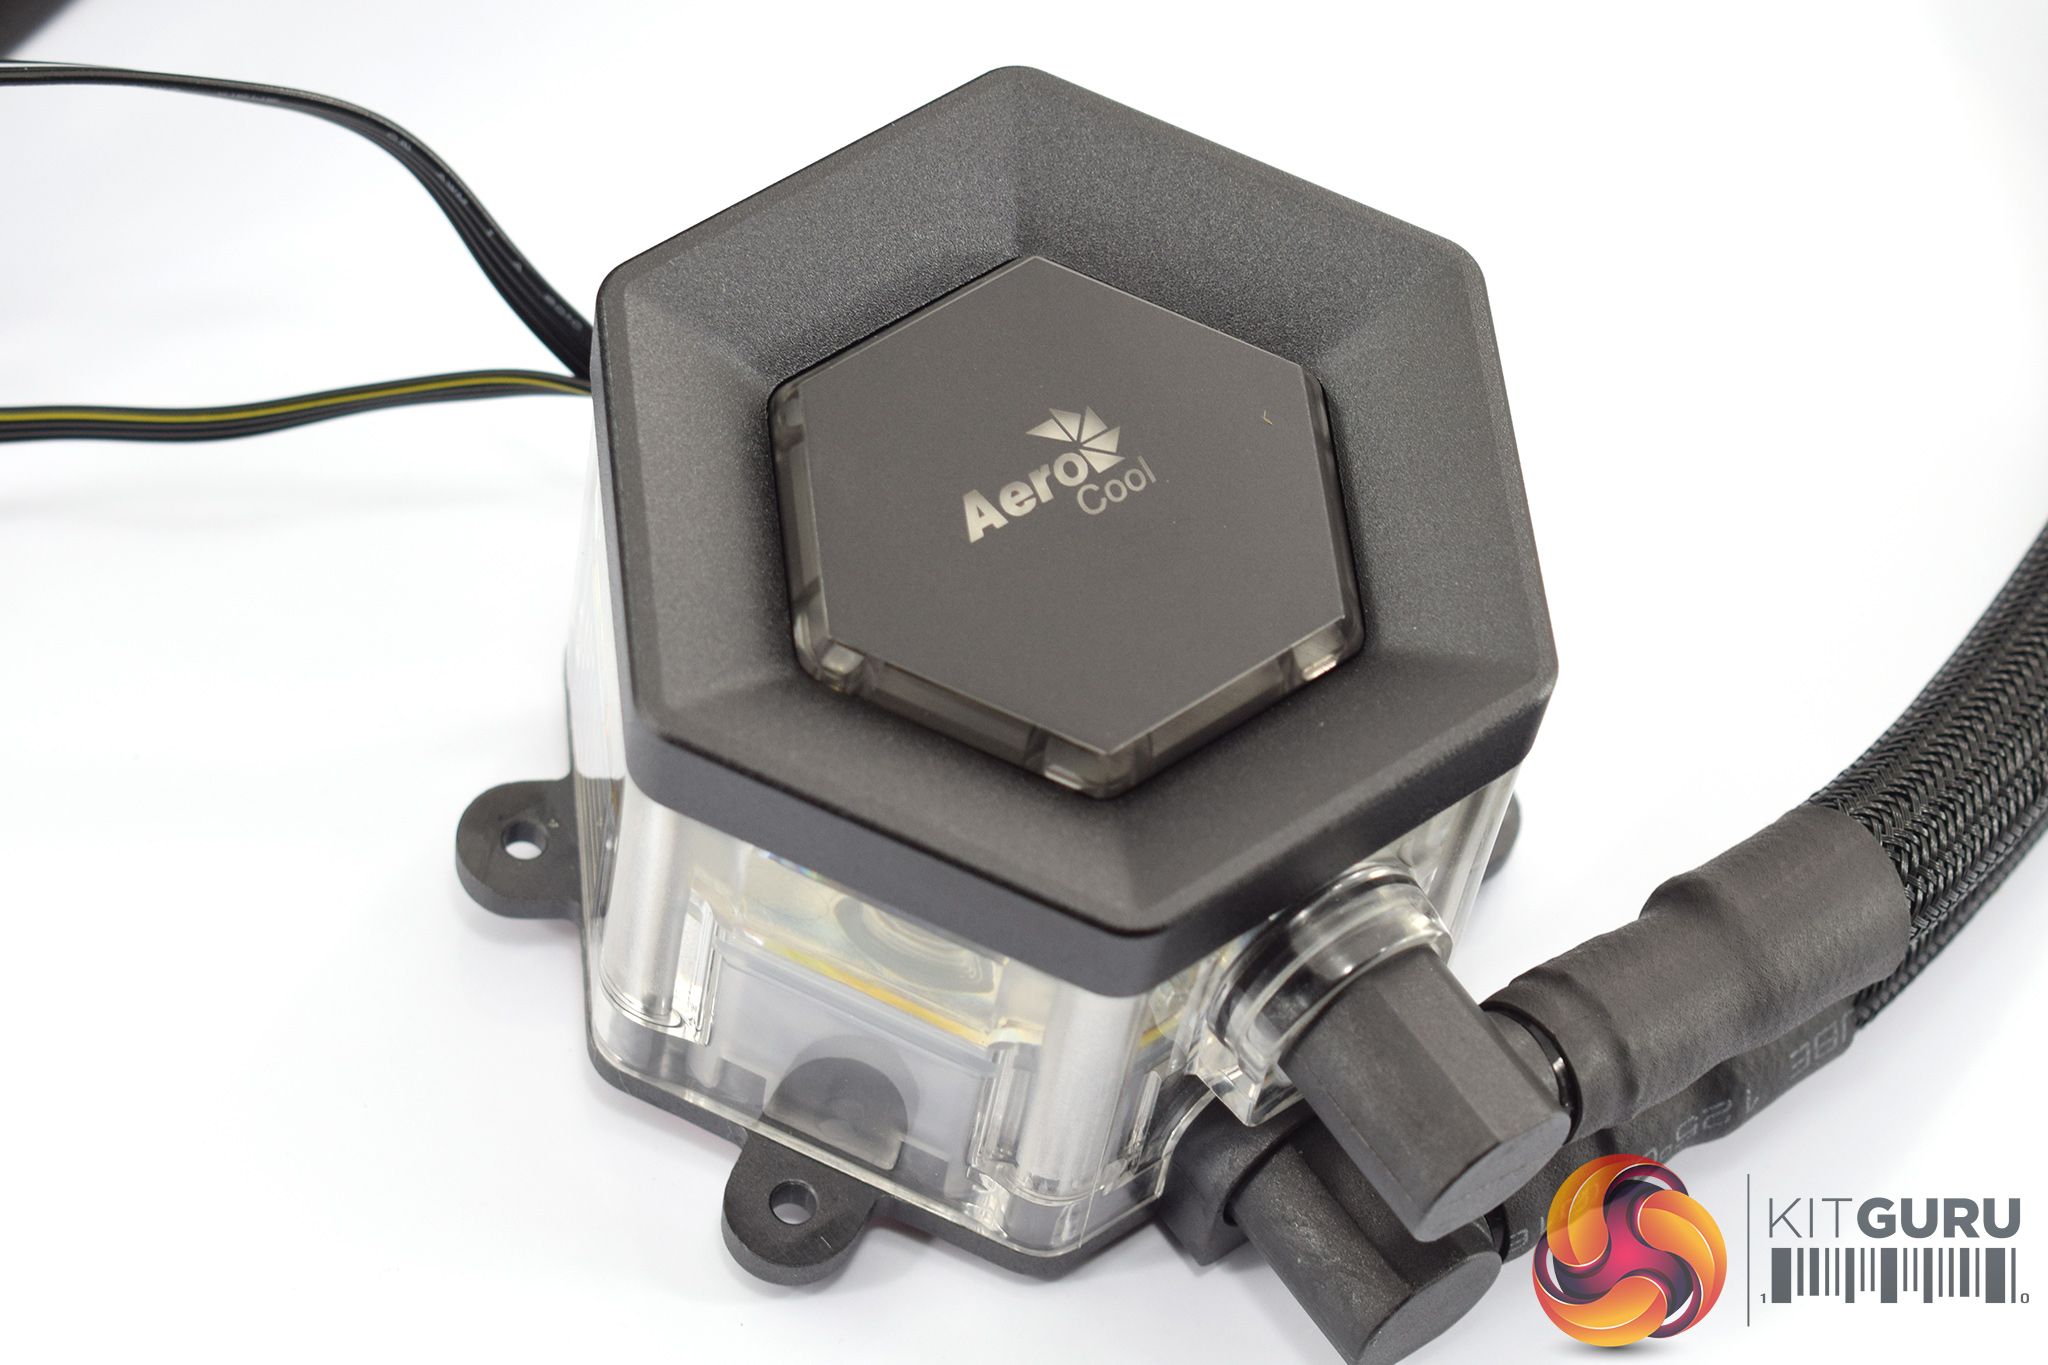
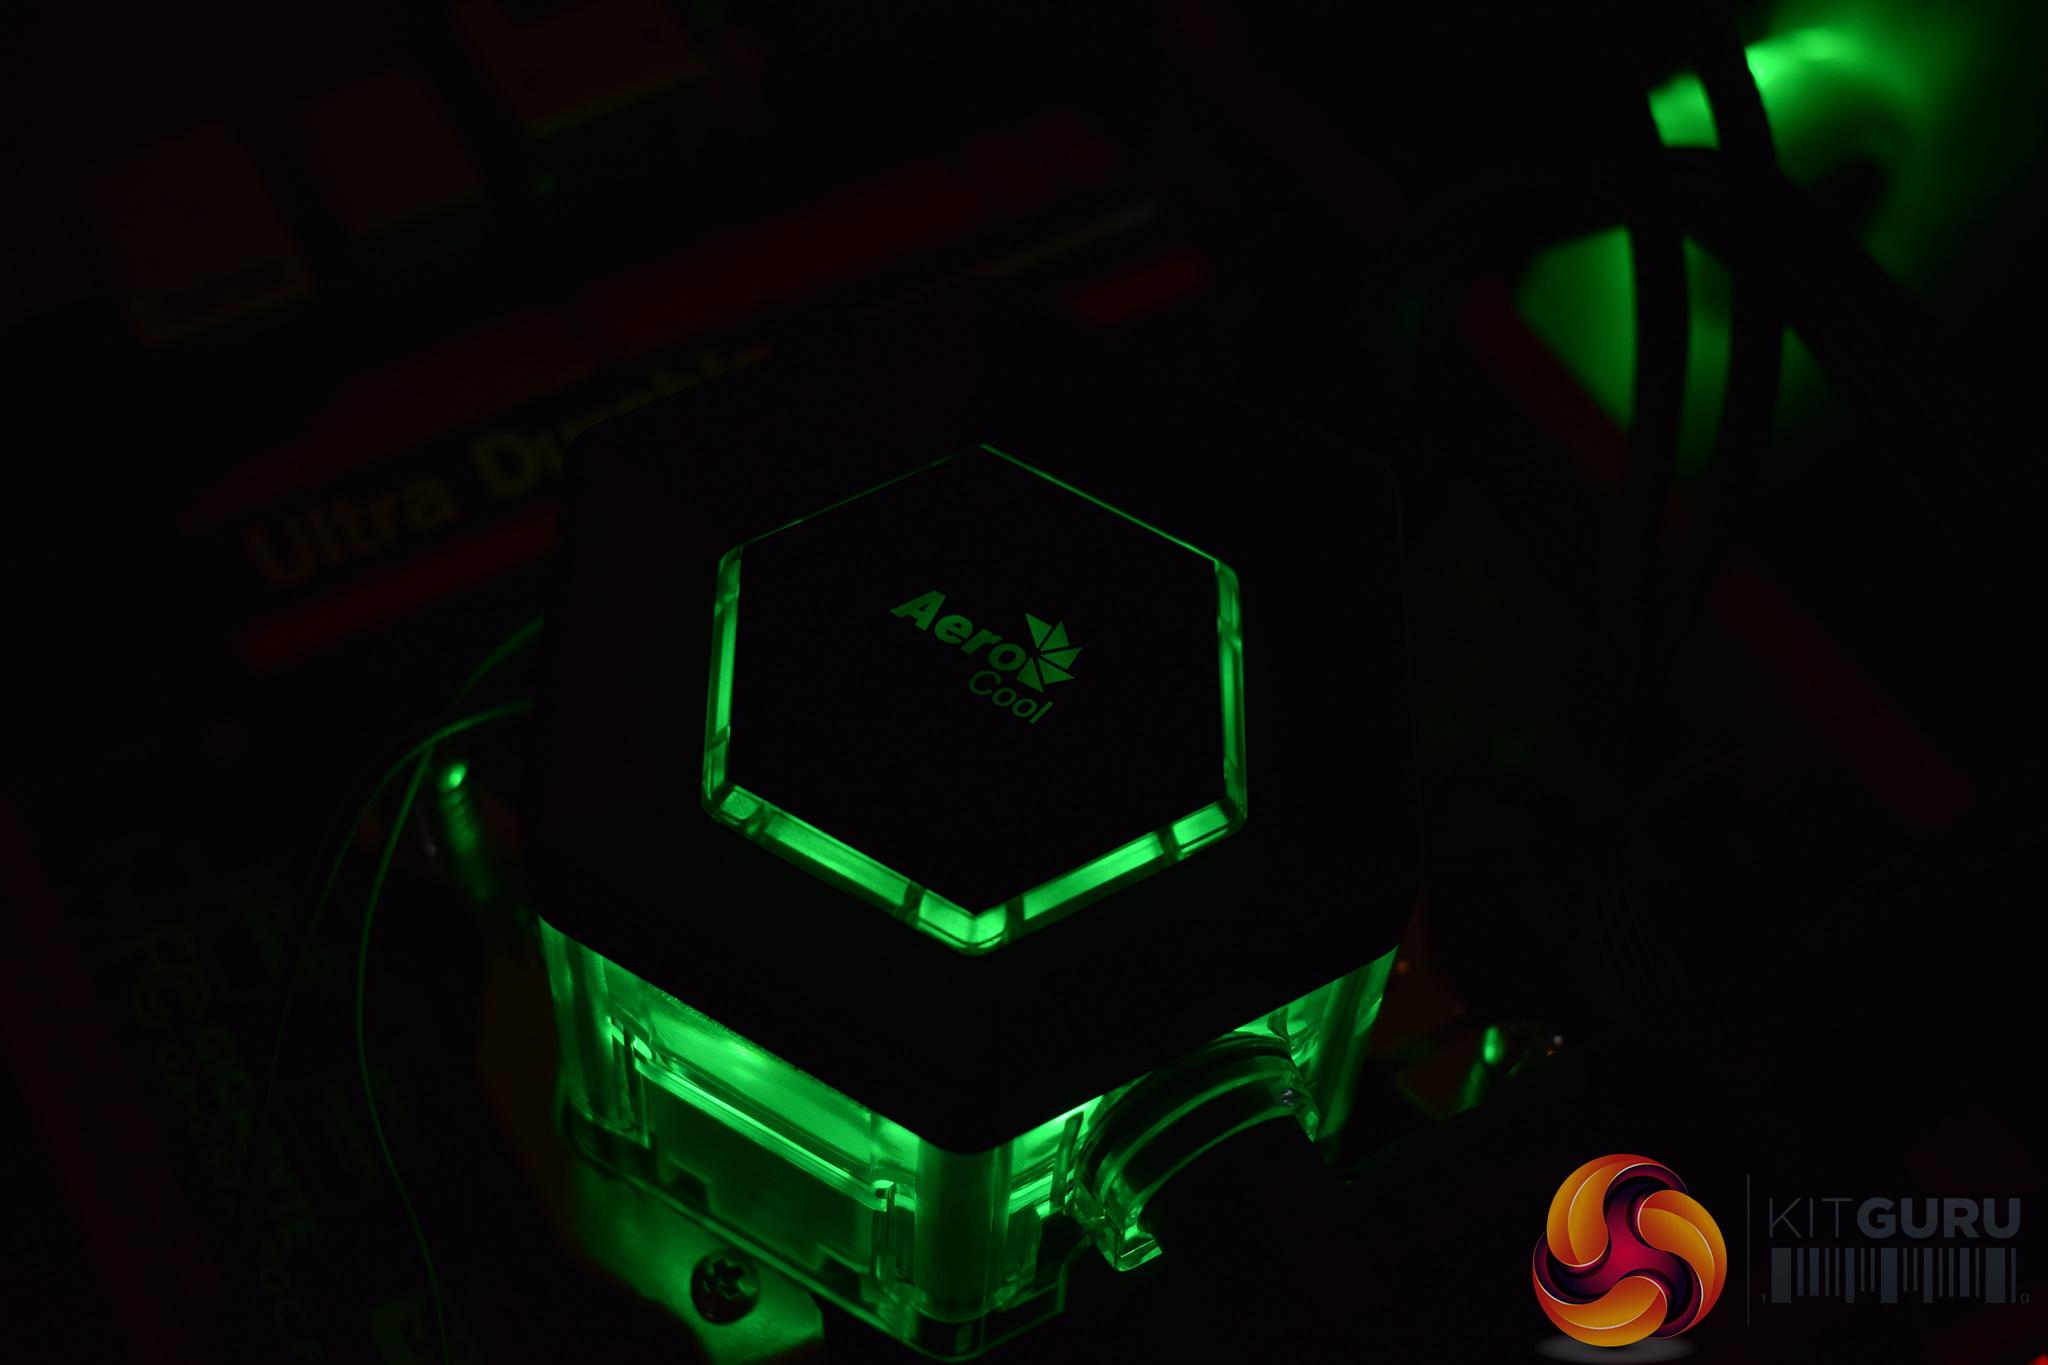
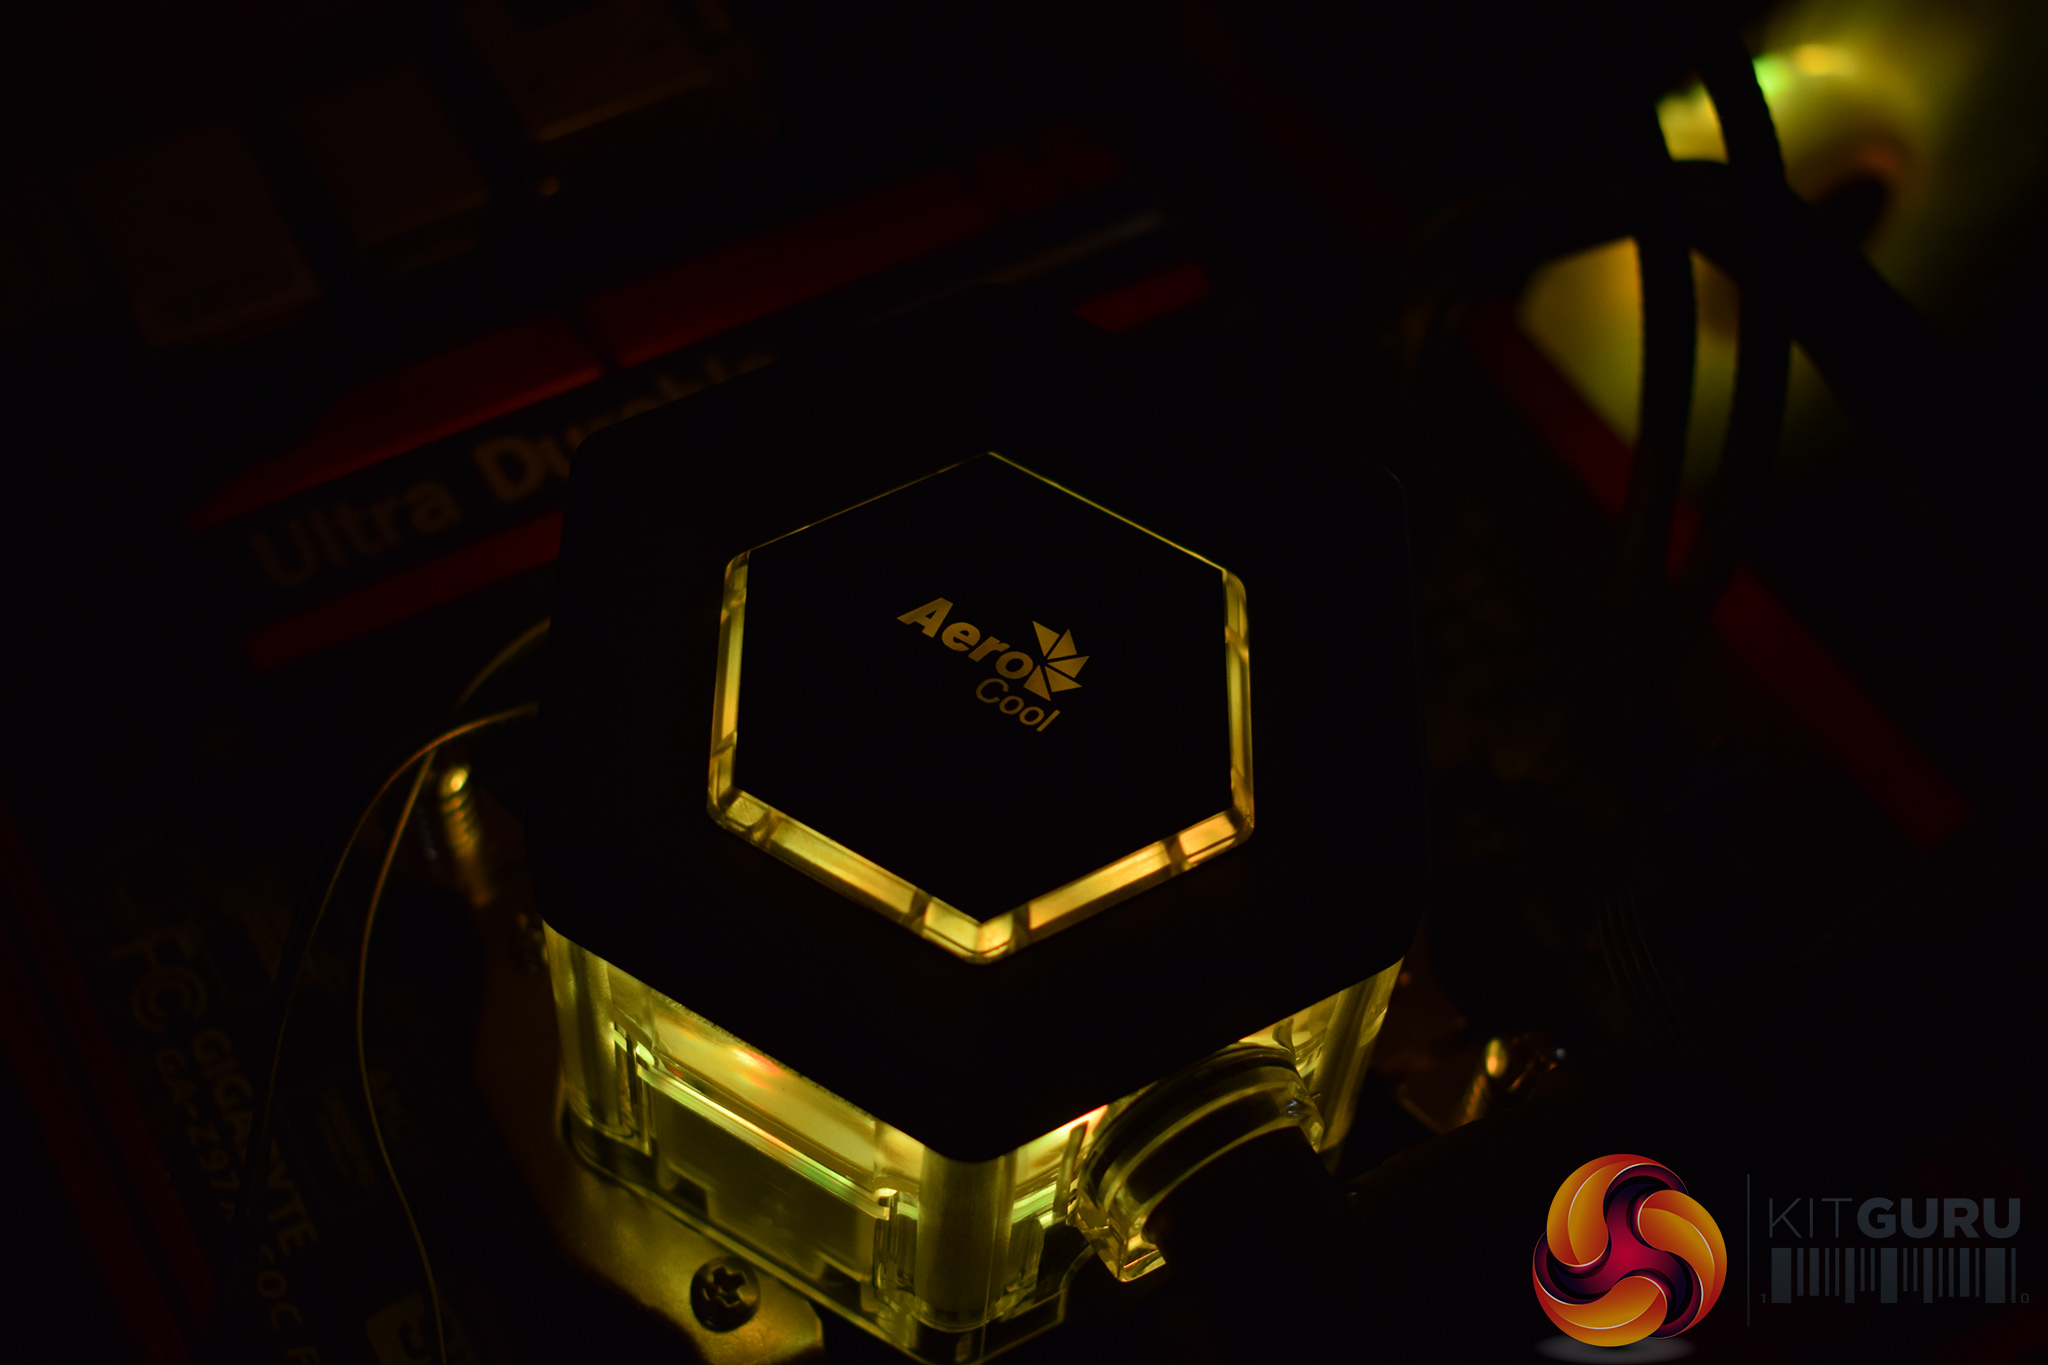
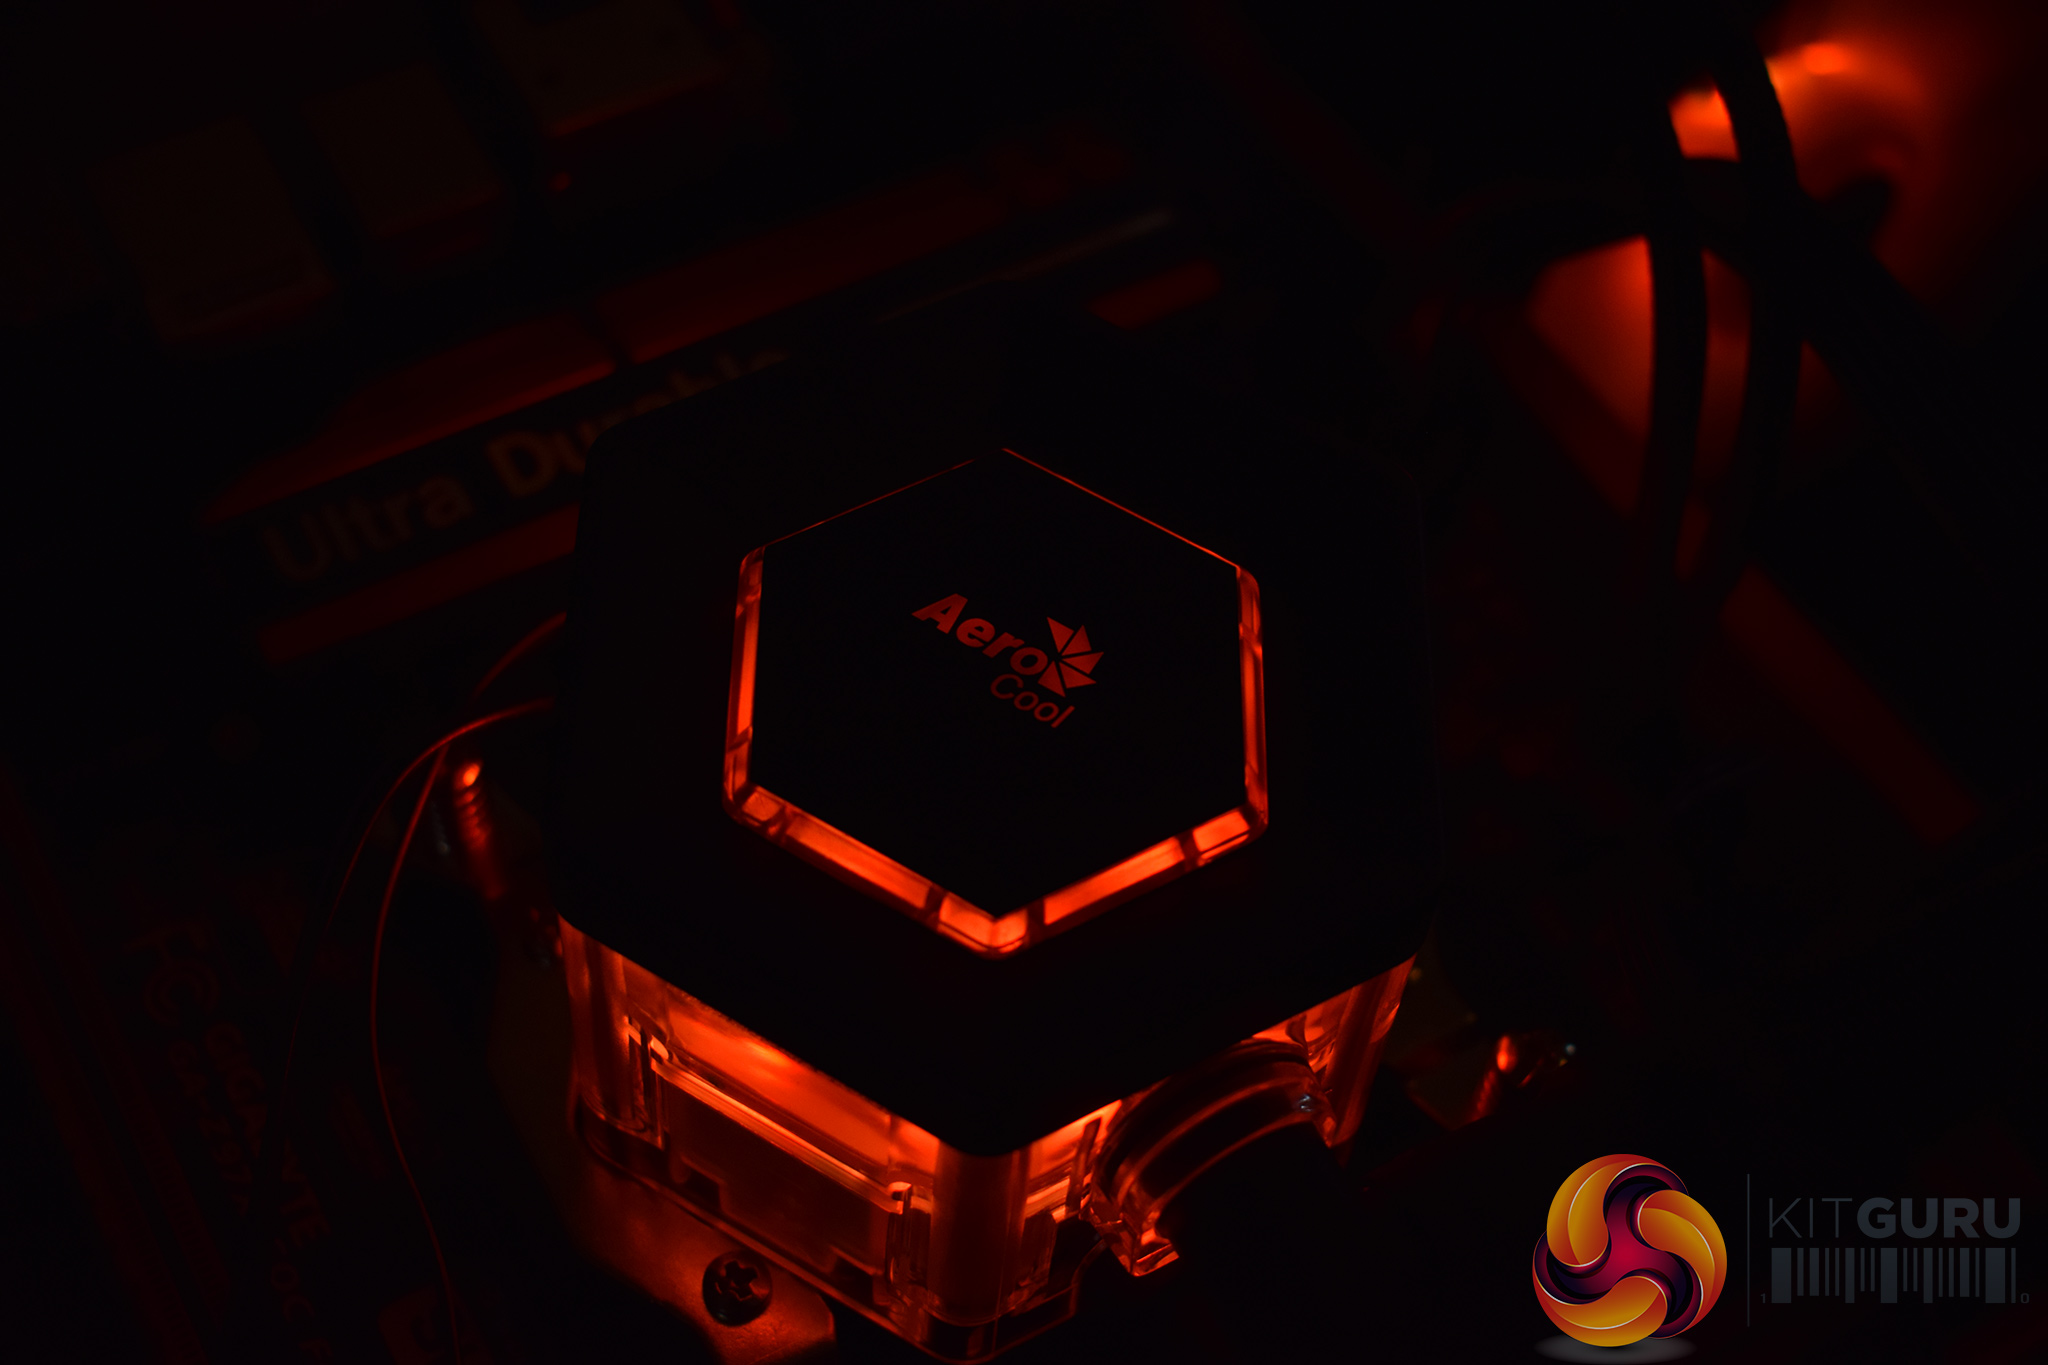
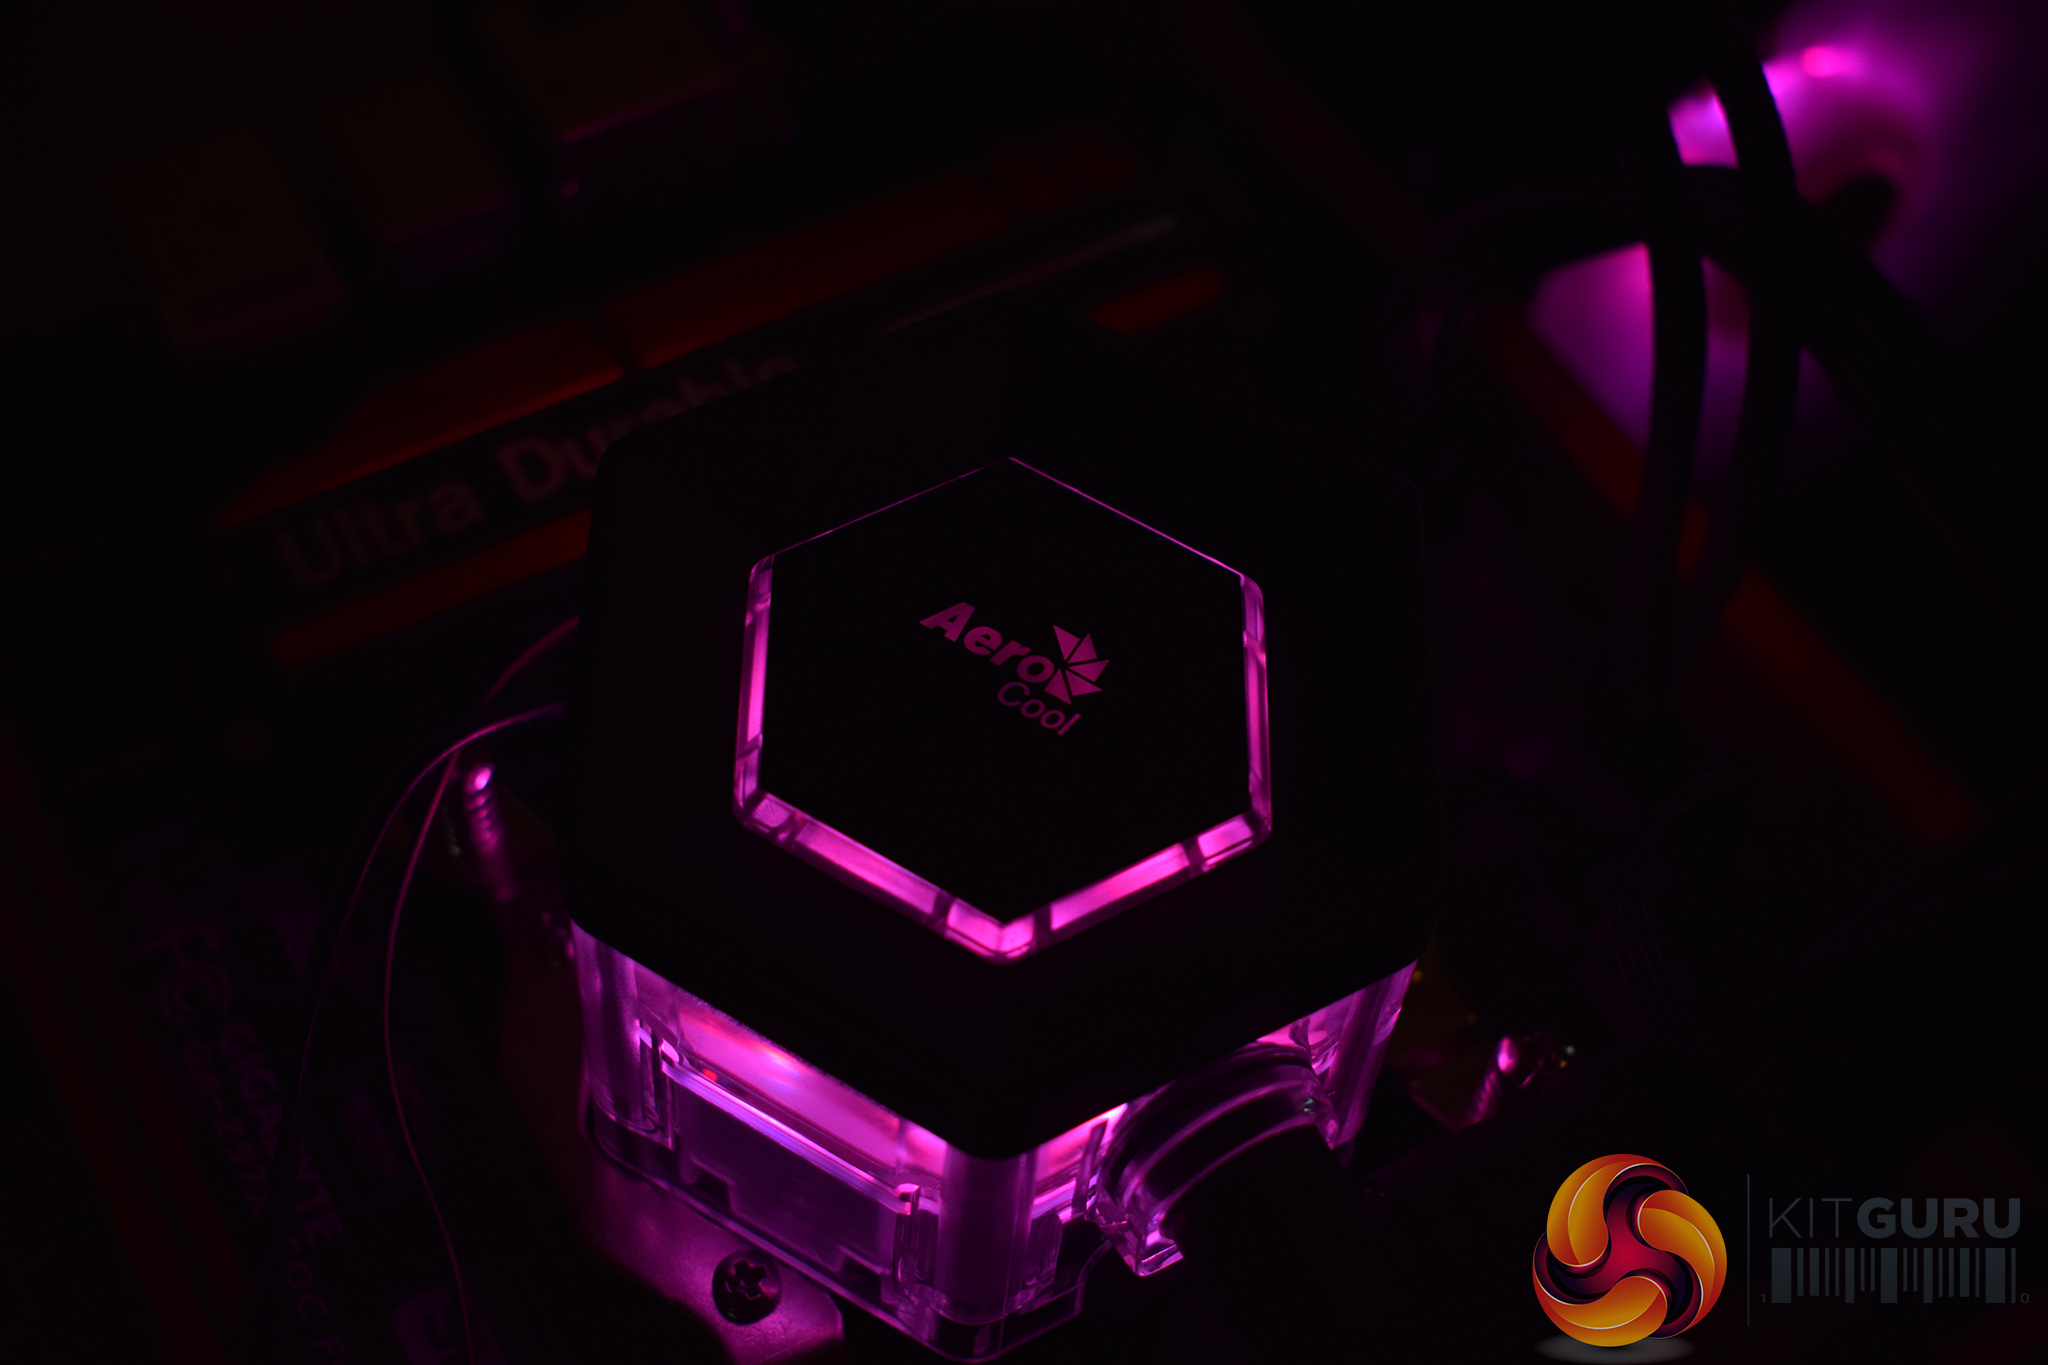
The pump/waterblock is quite a chunky unit, though that has been done deliberately to allow you to see the liquid moving, while the block also houses some RGB LEDs. Another reason for the block's thickness is that Aerocool has actually designed the cooler in a way which lets users top the liquid up as necessary.Here I will walk you through the installation process. It is worth noting we test using a Z97 motherboard – socket LGA 1150. The process below reflects that.
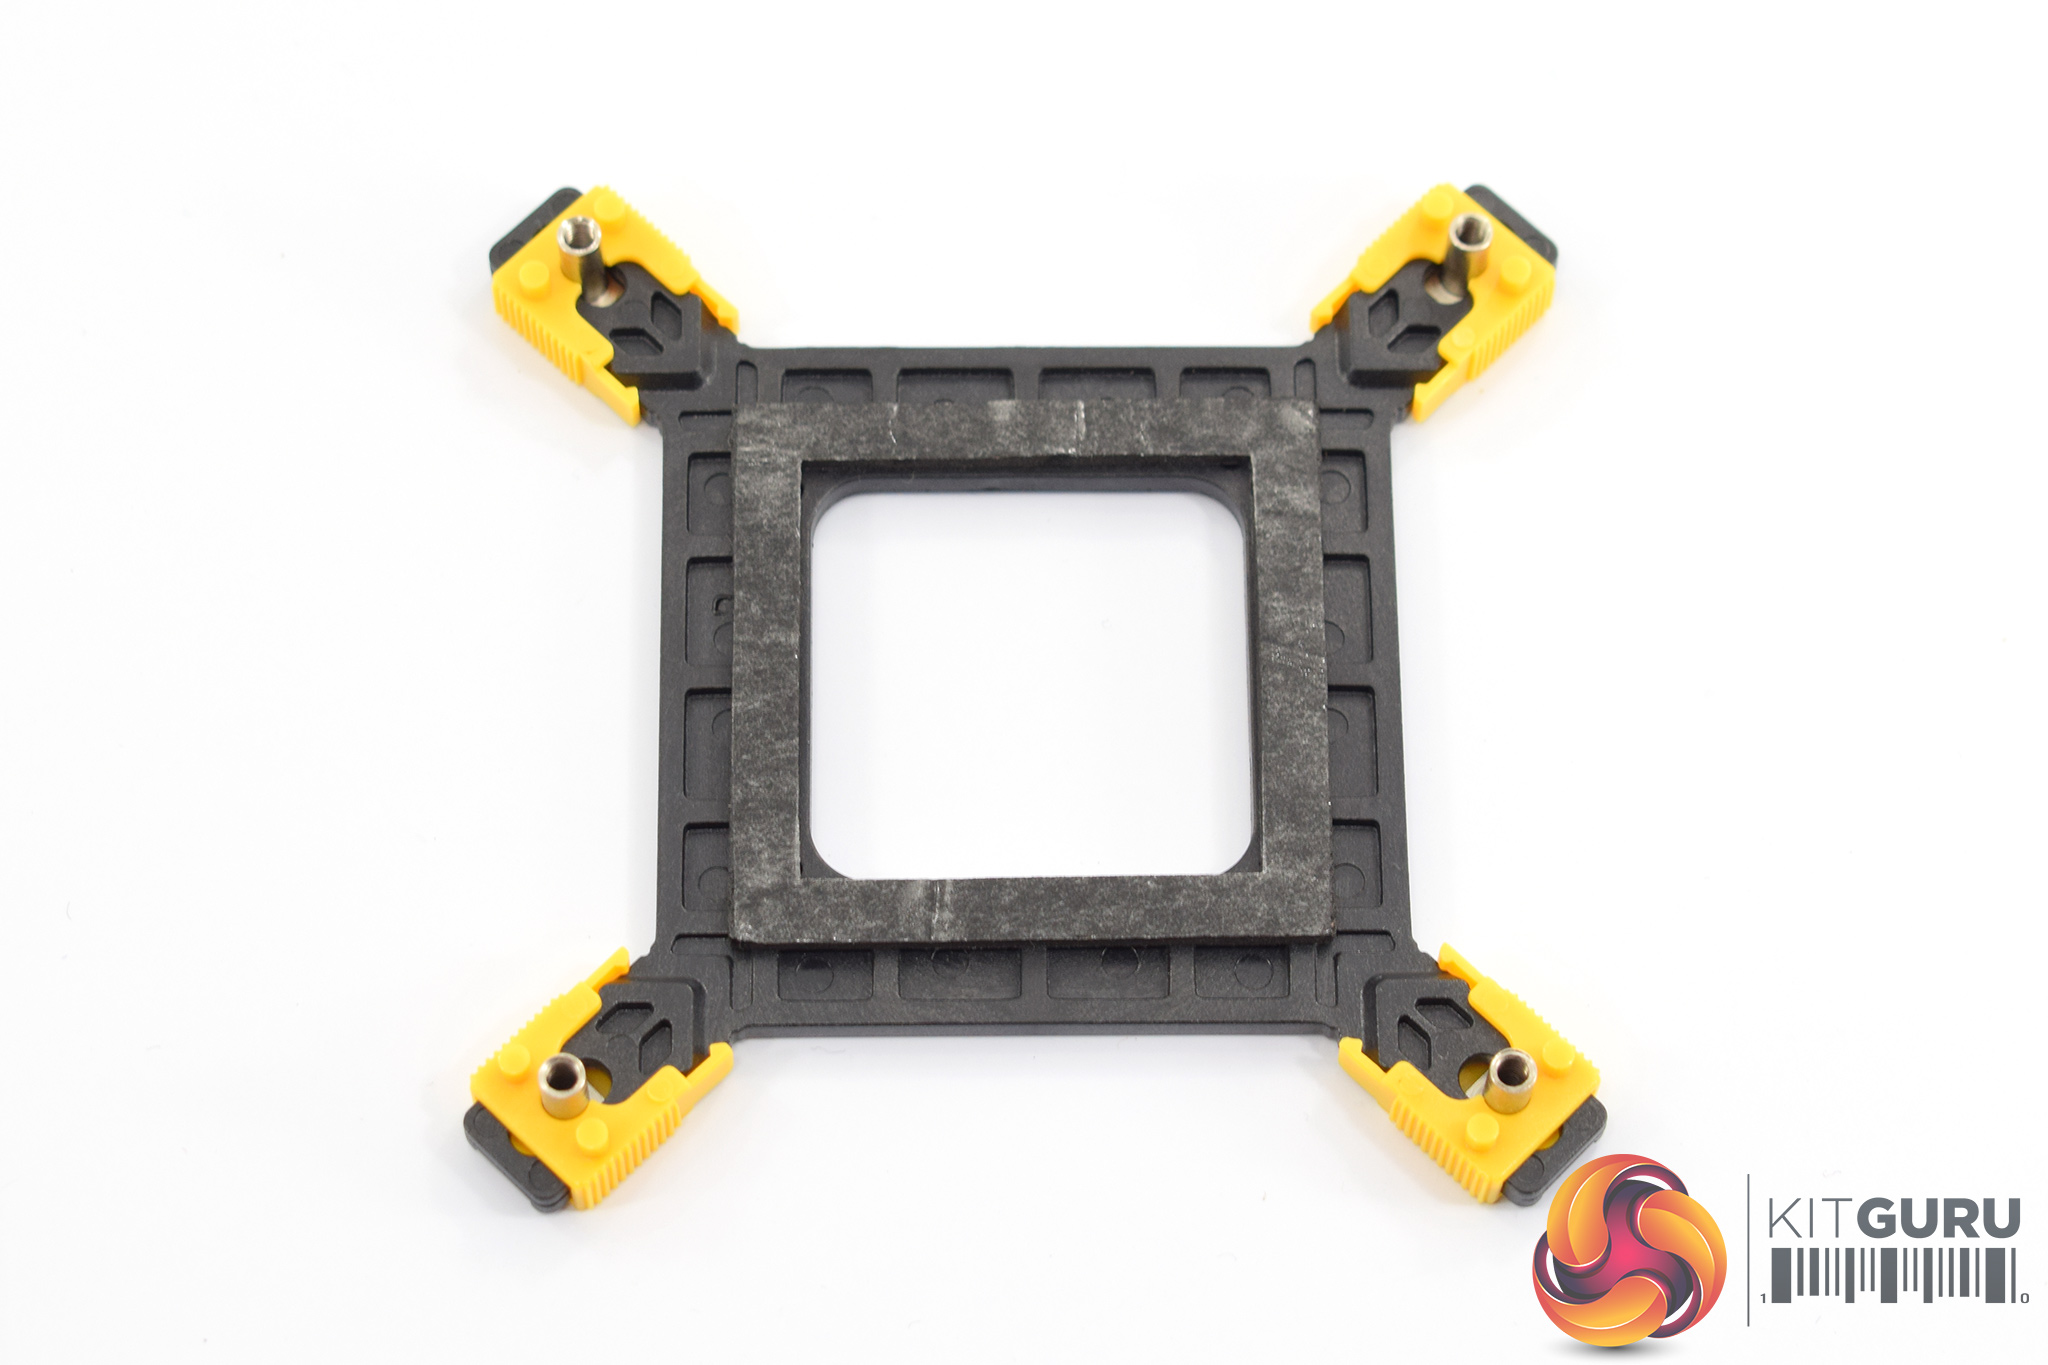
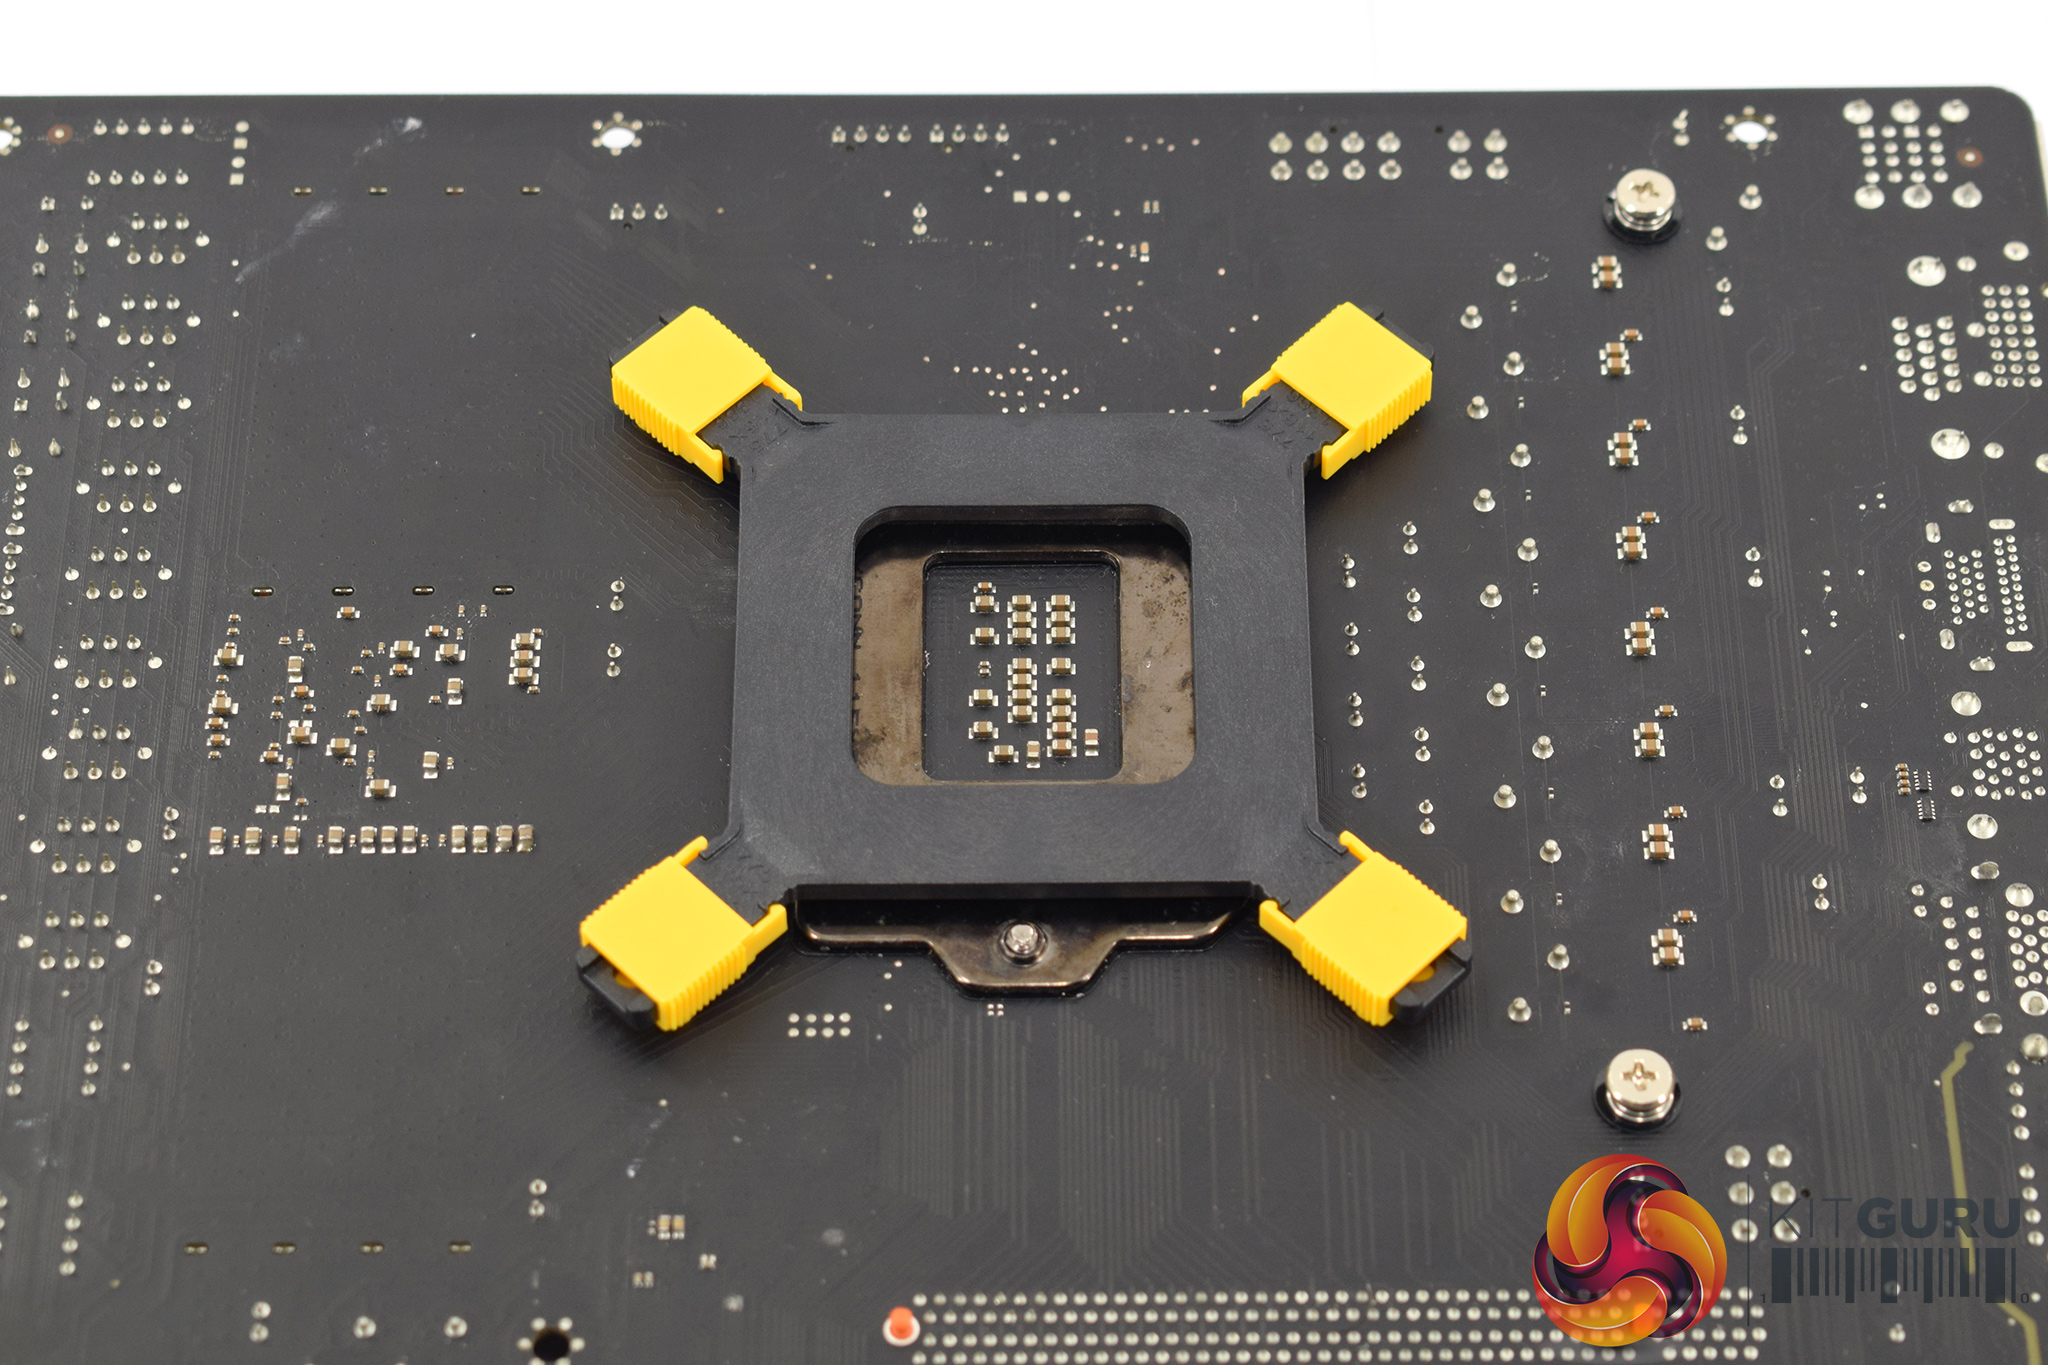
The first thing to do is prepare the backplate – a small adhesive gasket needs to be stuck onto the inside of the backplate, while the screws should be put in the central position marked ‘115x'.
With that done, you can go ahead and place the backplate on the back of the motherboard.
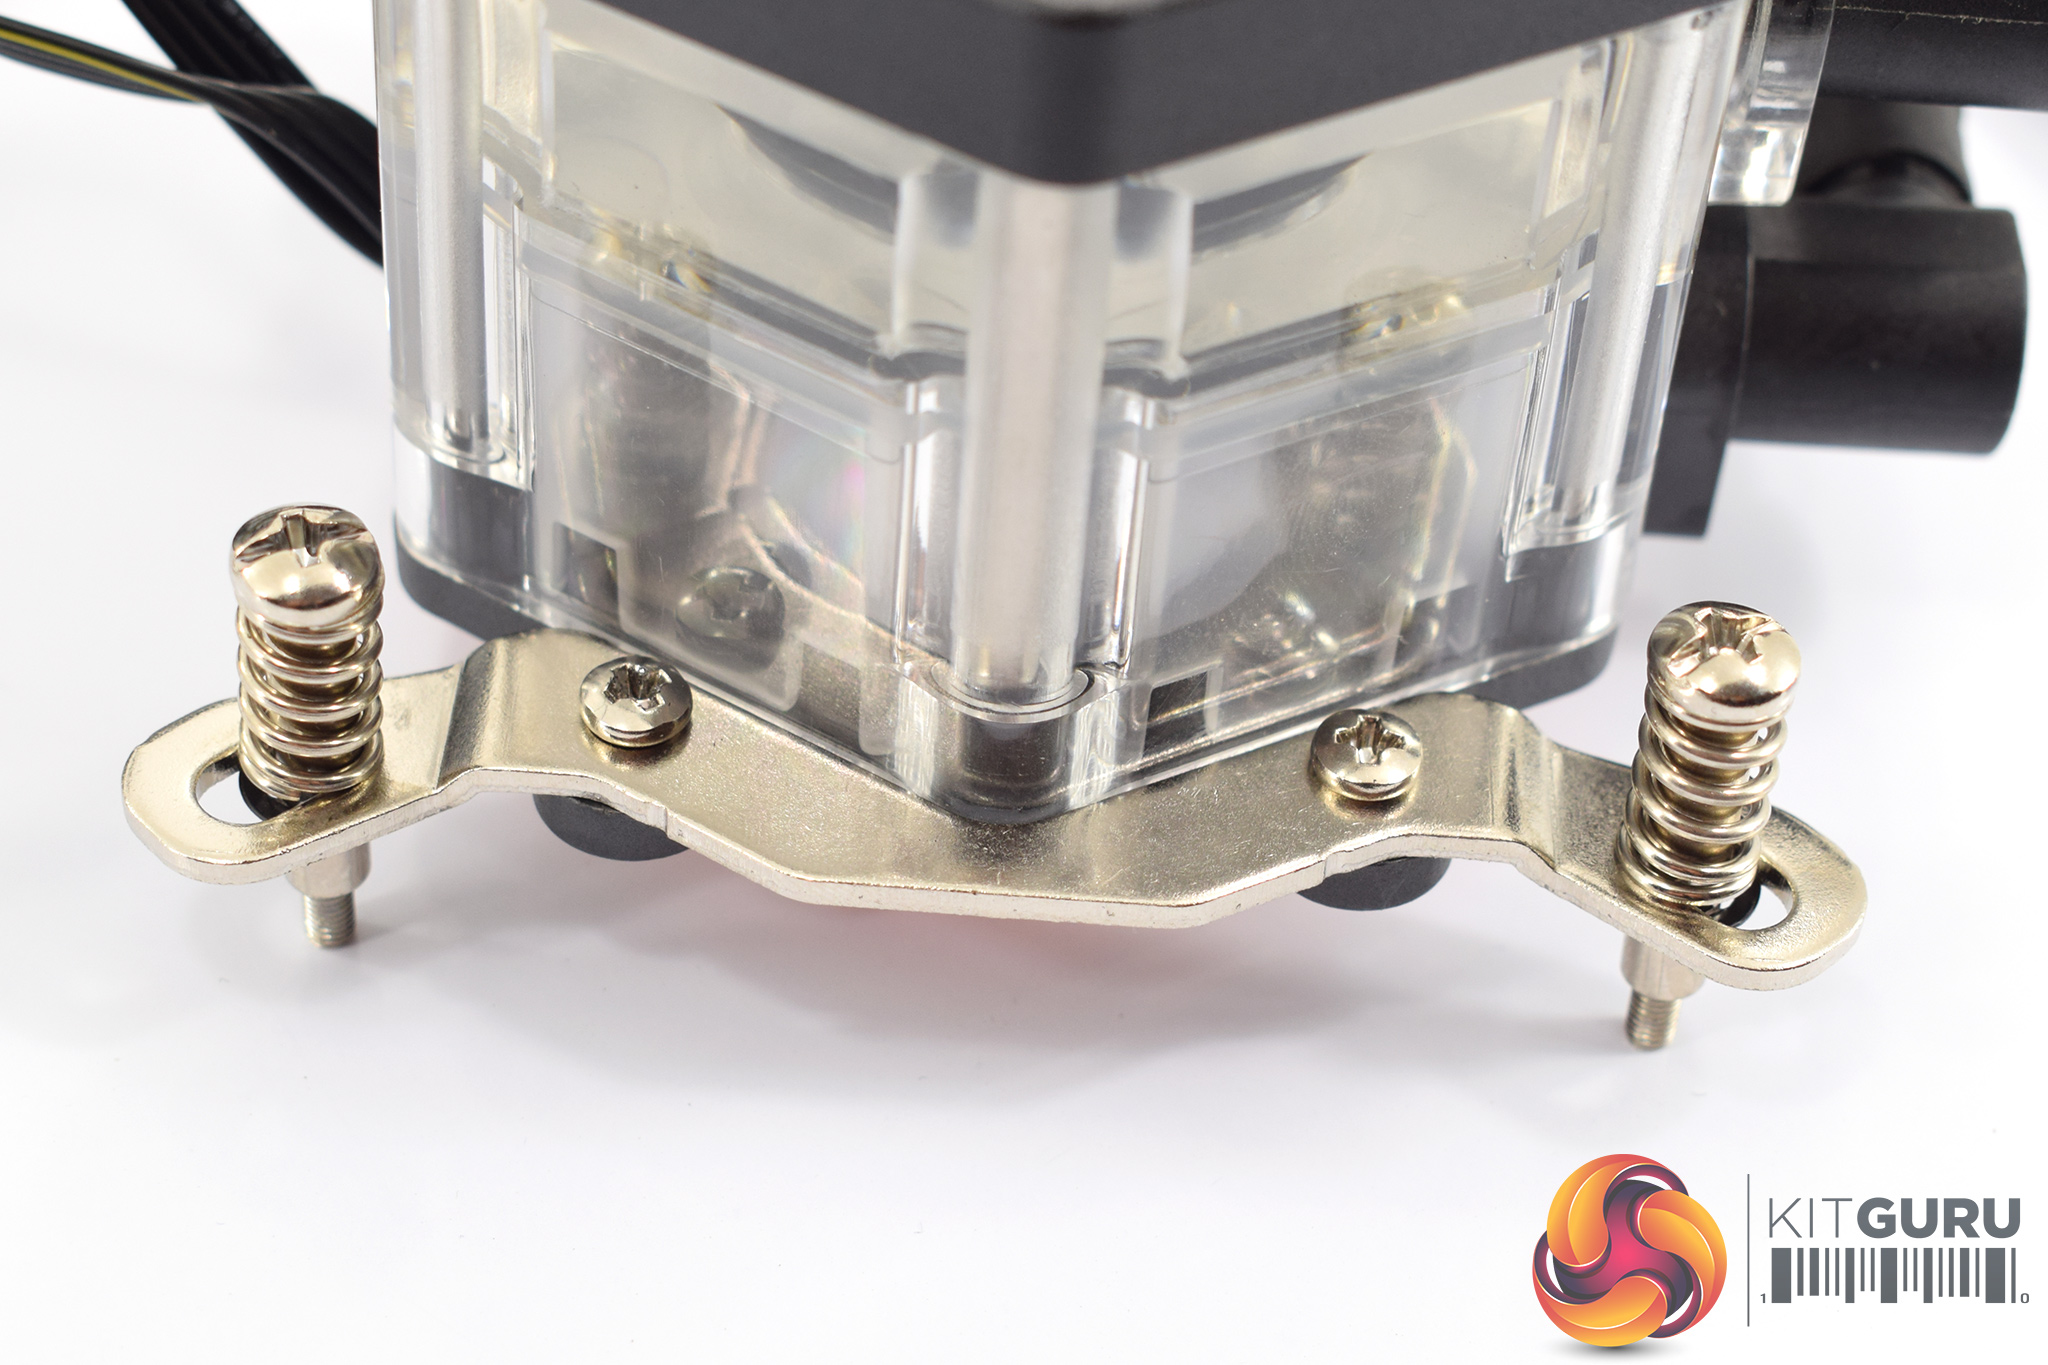
After that, two mounting brackets need to be screwed onto the pump/waterblock. Here, the manual actually says to screw them on from the underside but that obviously wouldn't work as the screw head wouldn't hold the bracket in place – something I tested myself. As pictured, I screwed the brackets on from the topside.
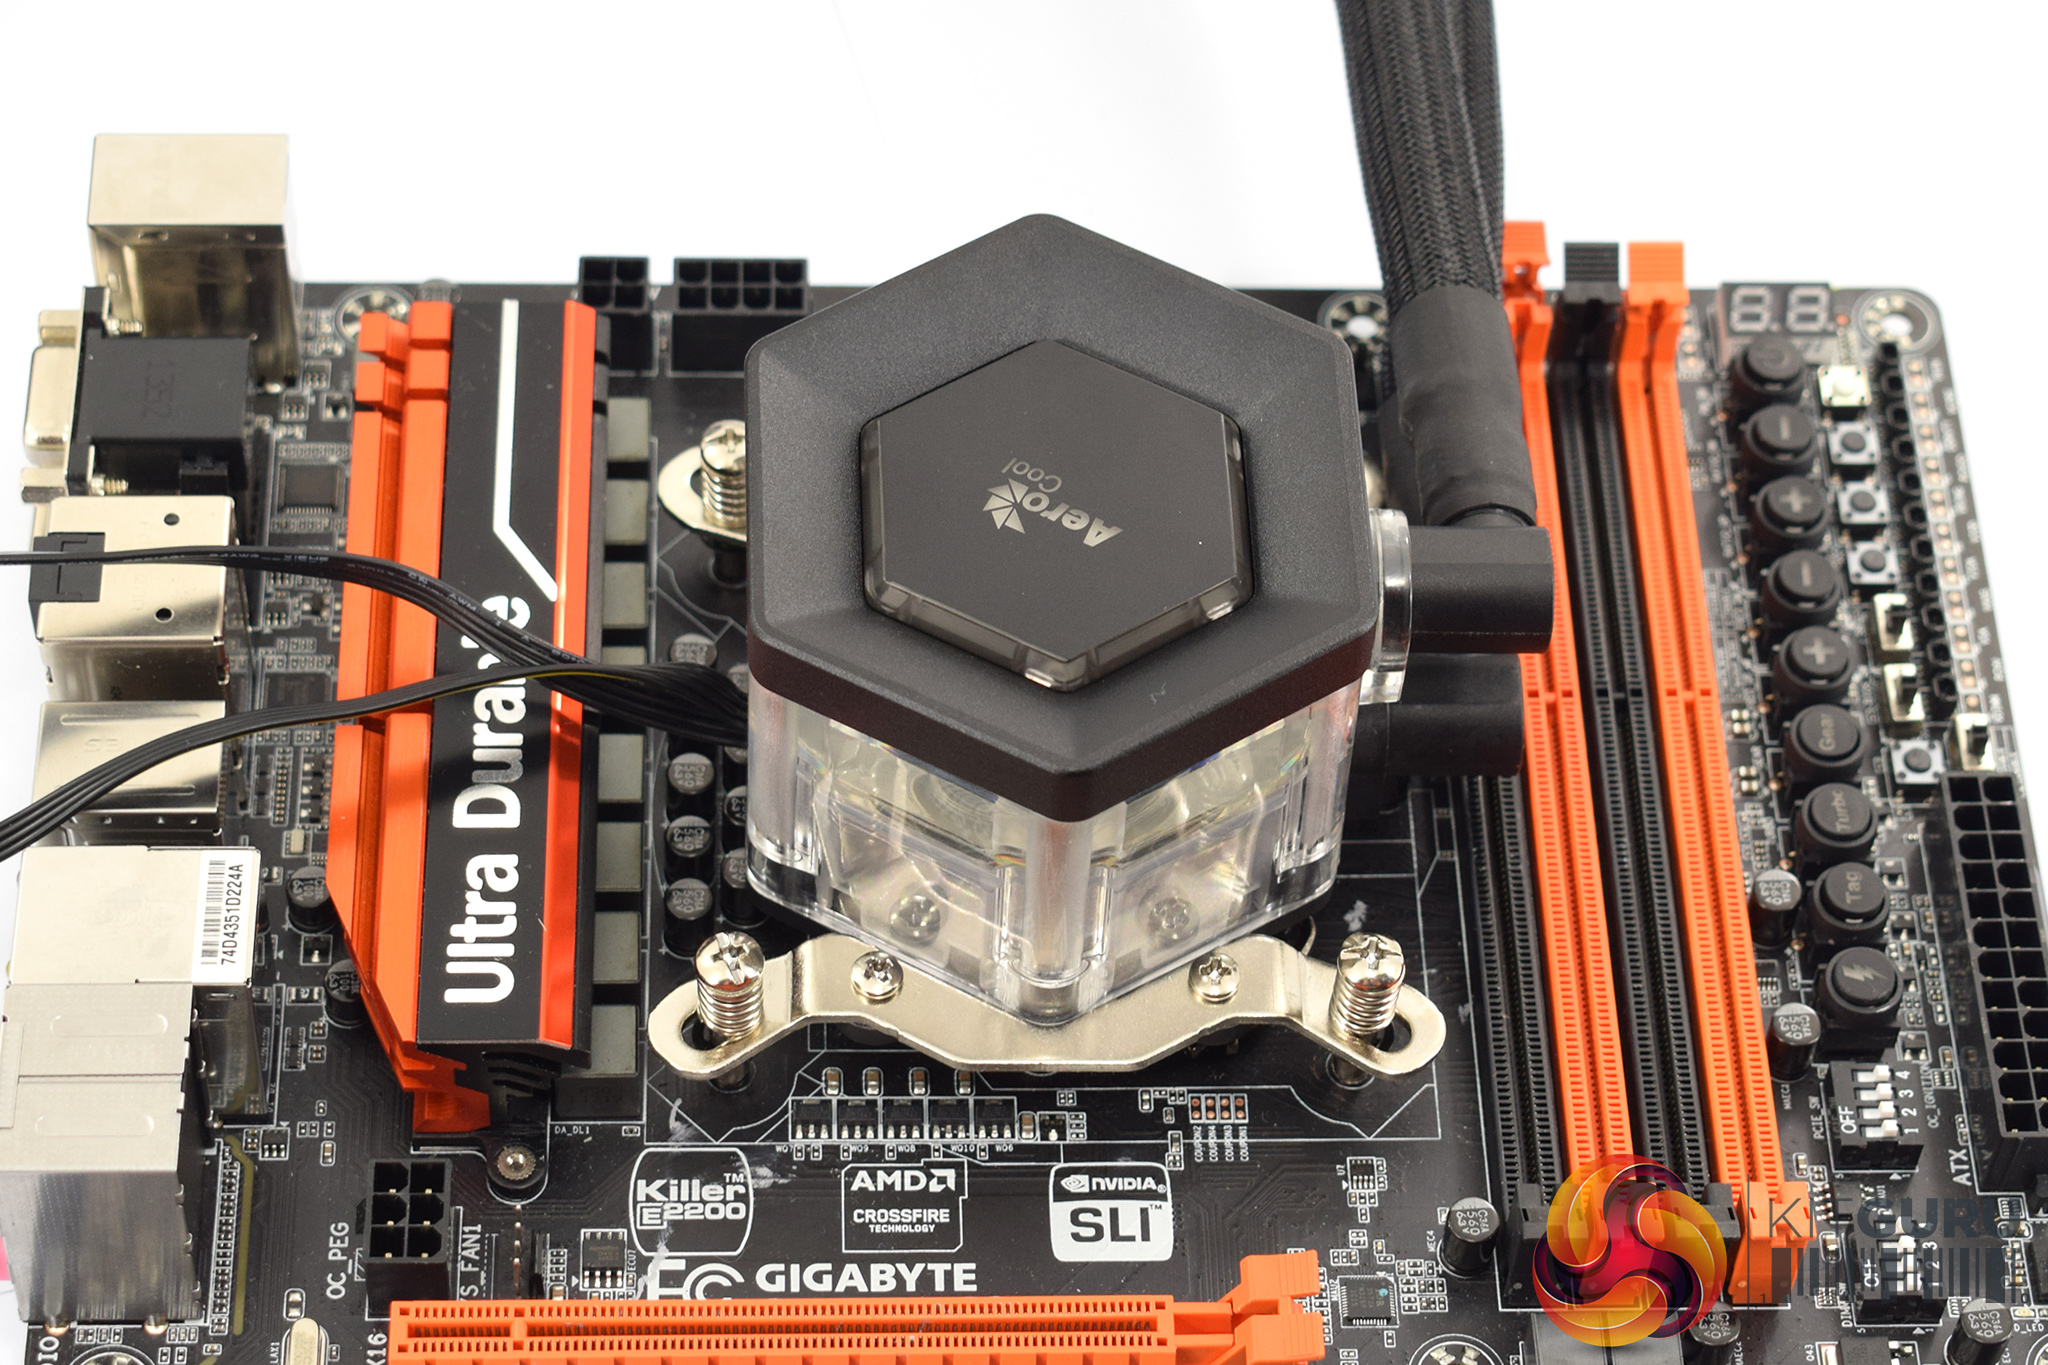
All that leaves is to attach the block to the CPU by securing each of the four screws.
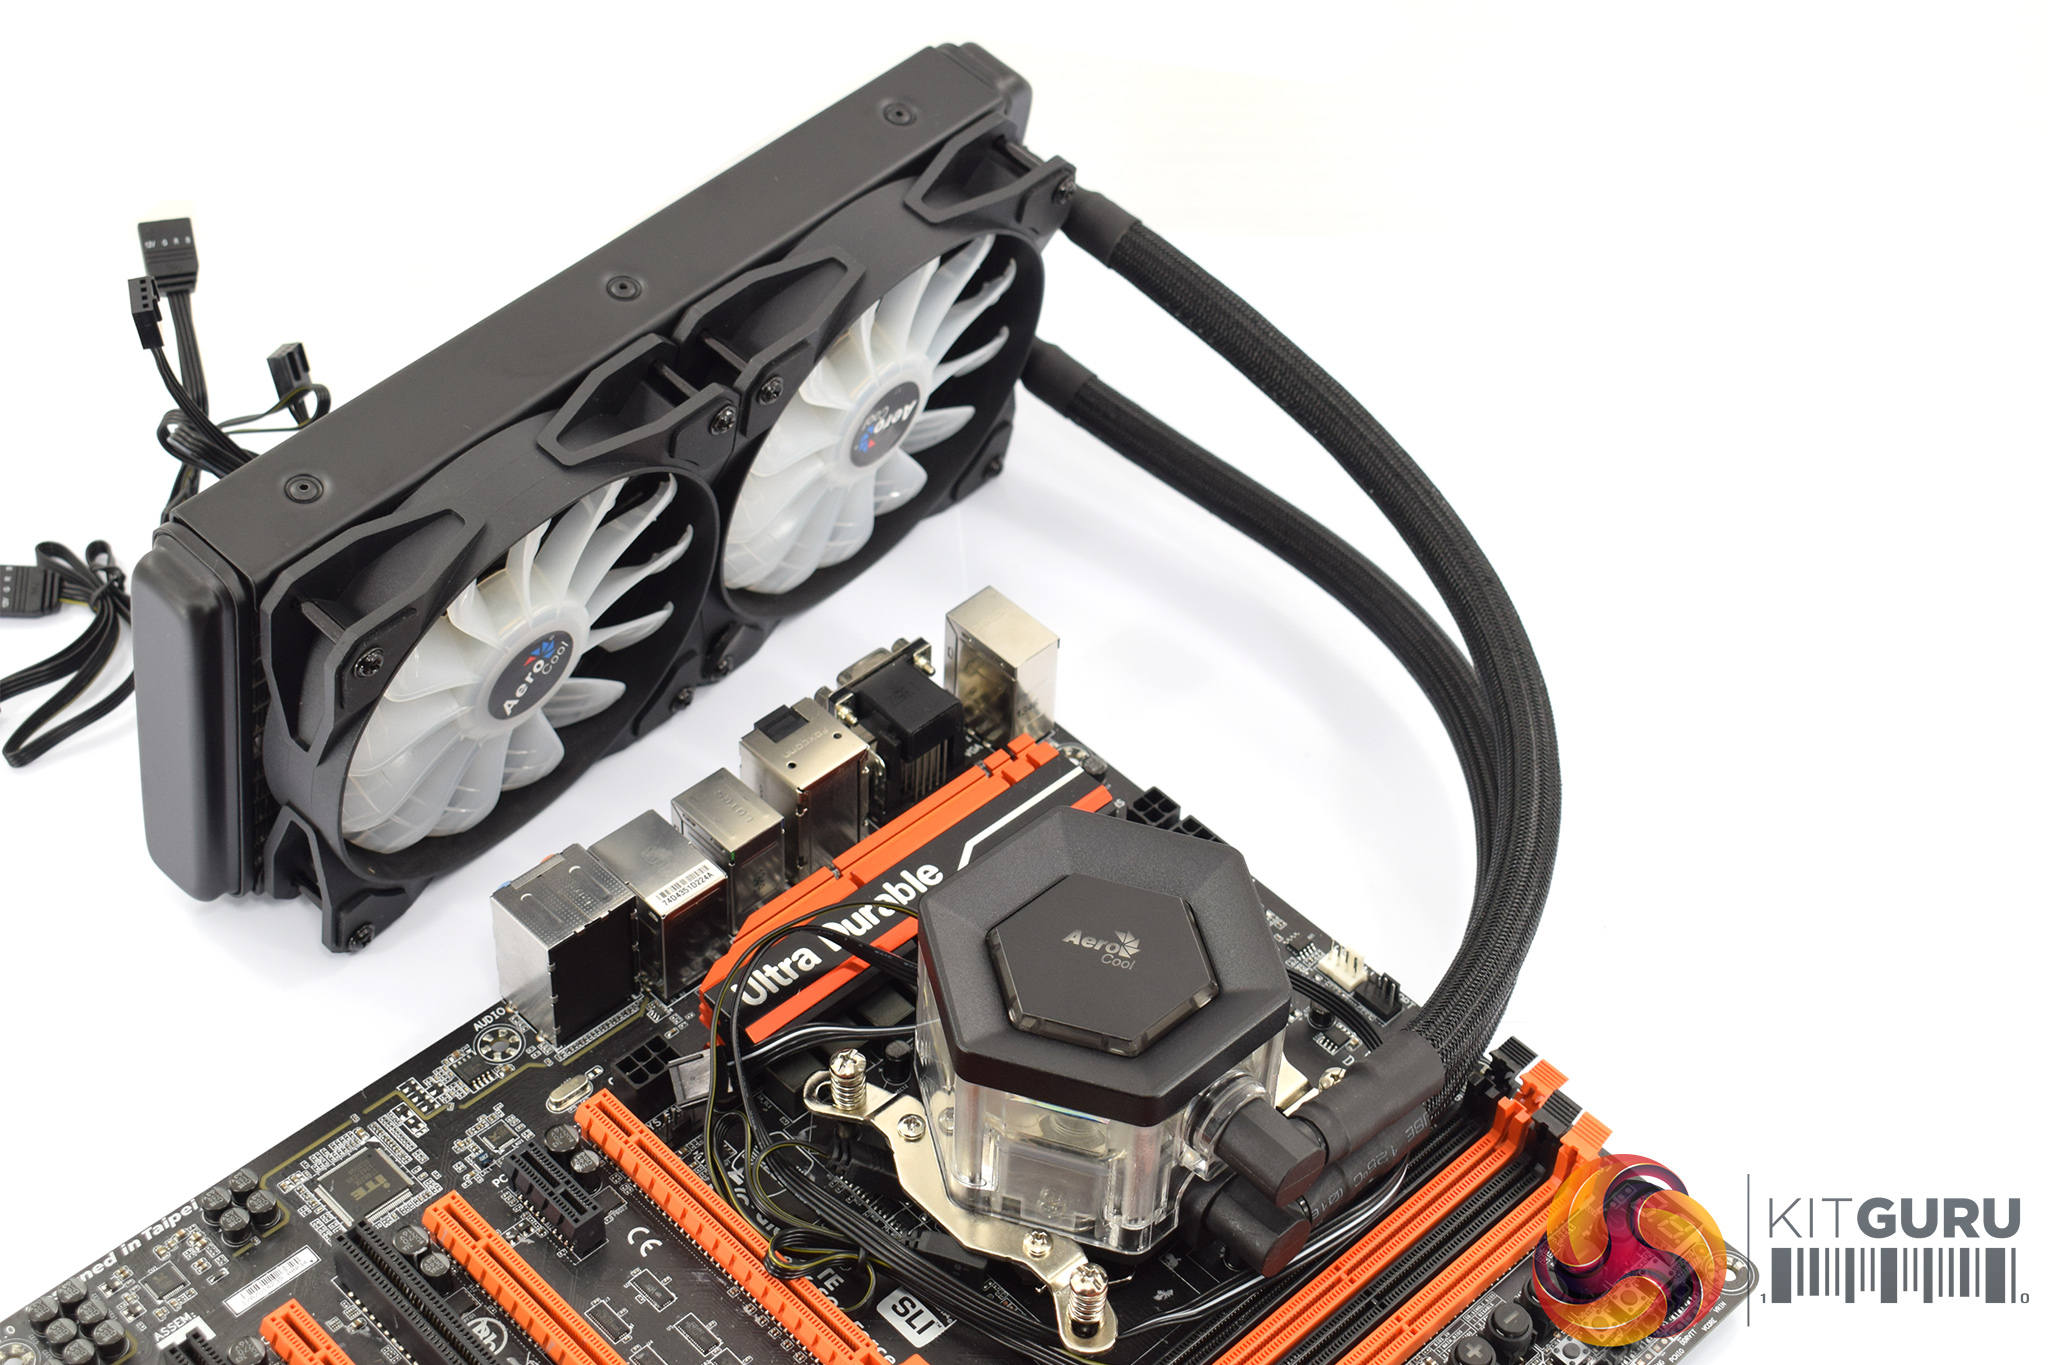
The finished result should look something like this – job done.
Overall, it is a very easy installation which took me about five minutes from start to finish – perfect for beginners as well as experienced builders.
One thing I do have to say about the finished result, though, is that there are quite a few cables which can make cable management tricky. The pump has one long 4-pin fan header for its power, as well as one RGB cable, while each fan has its own 4-pin PWM cable and another RGB header. For those who like a very clean setup, this might take some work with the P7-L240.

Note: if the above gallery is not displaying correctly, please consider disabling your ad blocker as they are known to interfere with our display code.
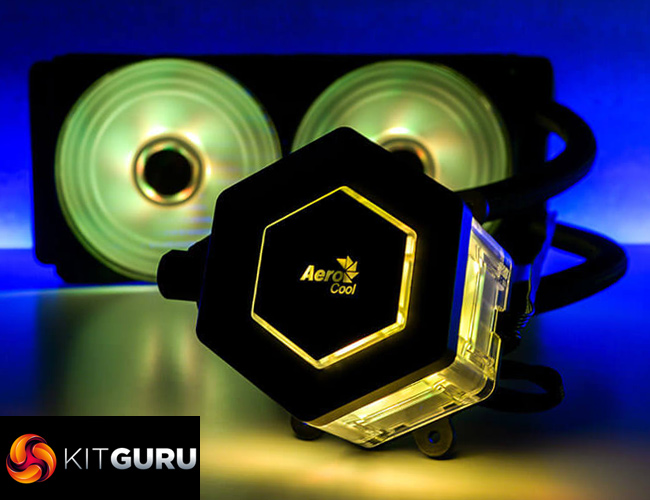
Moving onto the RGB lighting, as you can see above, with the pump and both fans lit up, the overall look is very appealing.
However, and this is quite a significant oversight, there is no RGB controller bundled with the P7-L240, so if you don't have a RGB-capable motherboard then you are be out of luck. Our test Z97 motherboard does not have any RGB headers, but as it happens I managed to dig out a RGB controller from Cooler Master no less to get the lights to work.
I think that is a big shame, as anyone without RGB headers on their motherboard – which has only started becoming standard over the last year and a half – won't be able to utilise the lighting without spending more money on a controller. Aerocool does sell its own controller, but I really think that's something which should come included here.To test all CPU coolers, we devised an easily repeatable test with no variables other than the coolers themselves. This ensures that figures from every cooler we test are comparable with each other.
Test rig
Using an open-air test bench, we deploy an Intel Core i7-4790K plugged into a Gigabyte Z97X-SOC Force motherboard. Alongside this is 16GB of 2400MHz Corsair Vengeance DDR3, as well as a 120GB OCZ Trion 150 SSD. Powering everything is a Corsair RM750x PSU.
The test process
Testing coolers involves taking a total of 4 temperature readings per cooler. First, we measure the idle temperature of the i7-4790K at stock speeds (turbo boost disabled), before measuring its temperature under load at stock speeds. Next, we overclock the CPU to 4.5GHz using a 1.3 Vcore, ensuring greater heat output. In its overclocked state we then measure the idle and load temperatures of the CPU again. The figures we present are temperature deltas – meaning we take each temperature reading and minus the ambient temperature from it. This allows us to test in an environment that is not temperature-controlled.
To ward off potential comments or questions, we know 4.5GHz using a 1.3 Vcore is not the ‘best’ overclock – this particular CPU could reach that frequency at closer to 1.25 on the Vcore, which is more efficient. That is not the point, however. We are trying to stress the coolers to see how they deal with excess heat … hence the higher than necessary Vcore.
Where possible, each cooler’s fans are plugged directly into the motherboard using the CPU_Fan or CPU_Opt headers. Some AIOs, however, ship with their own fan controllers or PWM hubs. If we are unable to plug the fans directly into the motherboard, it is specified in the performance section of the review.
An idle reading comes from leaving Windows on the desktop for 15 minutes. A load reading comes from running Prime95’s (version 26.6) Small FFTs test for 15 minutes – enough time for temperatures to plateau.
Noise output
Unfortunately I am unable to accurately measure the sound output of CPU coolers using a digital sound meter. This is because I am based alongside a busy road (with high ambient noise levels). Using a sound meter is, as such, not possible as there are variables out of my control. However, I will try my best to subjectively describe the noise output in a helpful manner.Temperatures
All temperature charts are sorted with lowest load temperatures at the top.

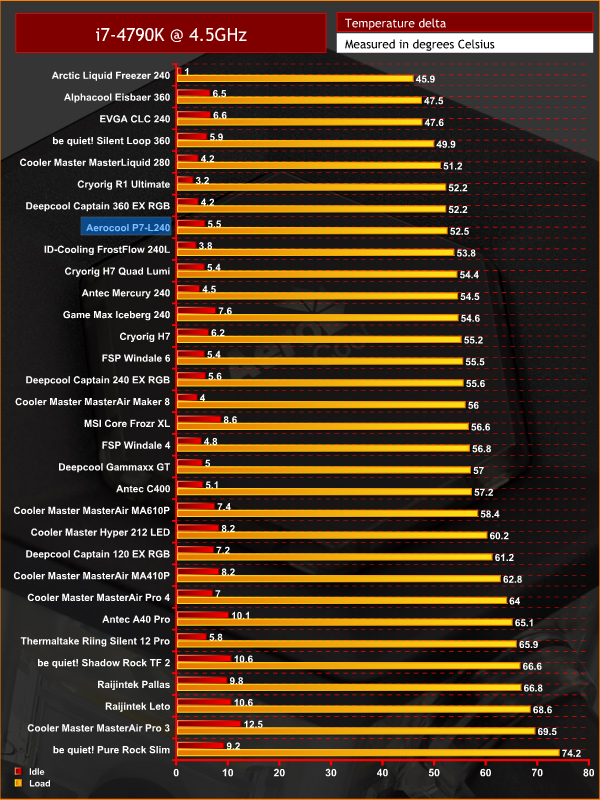
When reviewing a liquid cooler that isn't Asetek-based – which is a definite minority these days – one never really knows what to expect. With the P7-L240, however, the results are very pleasing.
Across both tests, it ranks as the third-best 240mm liquid cooler, with its overall results well within the top ten. For a cooler of this size and price, this is excellent.
Acoustics
The P7-L240 also performs well in terms of its noise levels. It is not silent at idle, but it does not get much louder once the CPU load is cranked up to 100% which is quite impressive. You can hear the gentle whirr of the fans at all times, but the noise is not intrusive at all, so taken as a whole the P7-L240 is definitely one of the quieter liquid coolers we've tested in recent months.For its first liquid cooler in the Project 7 series, Aerocool has done a very good job with the P7-L240.
Things start well as the P7-L240 is very easy to install. I particularly like that Aerocool has installed the radiator fans for you, lessening the amount of work the end-user has to go through.
RGB lighting is a big focus for the P7-L240, too, and with both fans and the pump/waterblock illuminated the overall effect is quite appealing. However, it is a great shame that there is no RGB controller bundled with the cooler – this means anyone without RGB headers on their motherboard will have to fork out more cash for a separate controller, or forgo the lighting entirely.

Personally, I think this is a big mistake – I was only able to test the RGB lighting by digging out a Cooler Master RGB hub as our test Z97 motherboard does not support RGB lighting. At £99, some sort of RGB controller should definitely be included, and I can only see the lack of a controller reducing the overall appeal of the product.
However, cooling performance is very impressive for a product of this price and size, while the P7-L240's acoustic performance also ranks well against the competition.
With that in mind, it does look like the Aerocool P7-L240 has it all – good looks, top performance and an easy installation process. The only major downside is the lack of RGB controller which definitely hurts the product – if Aerocool could offer the P7-L240 as an ‘all-in-one' RGB solution, then it would be approaching perfection.
You can buy one for £99.99 from CCL HERE. If you do need a RGB controller, Aerocool's P7-H1 costs £14.99 from CCL HERE.
Pros
- Easy to install.
- Performs very well.
- RGB pump and fans look excellent.
- Fairly priced.
Cons
- No RGB controller included.
KitGuru says: If Aerocool bundled a controller with the P7-L240, it would undoubtedly be heading for our top award. As it is, users without RGB motherboards will have to spend extra on a separate controller to make use of the RGB lighting.


coool
Don’t understand your scoring. This performs better than the Corsair H115i Pro, has good acoustics and costs less than the rival cooler. Yet they both score 8.5?