

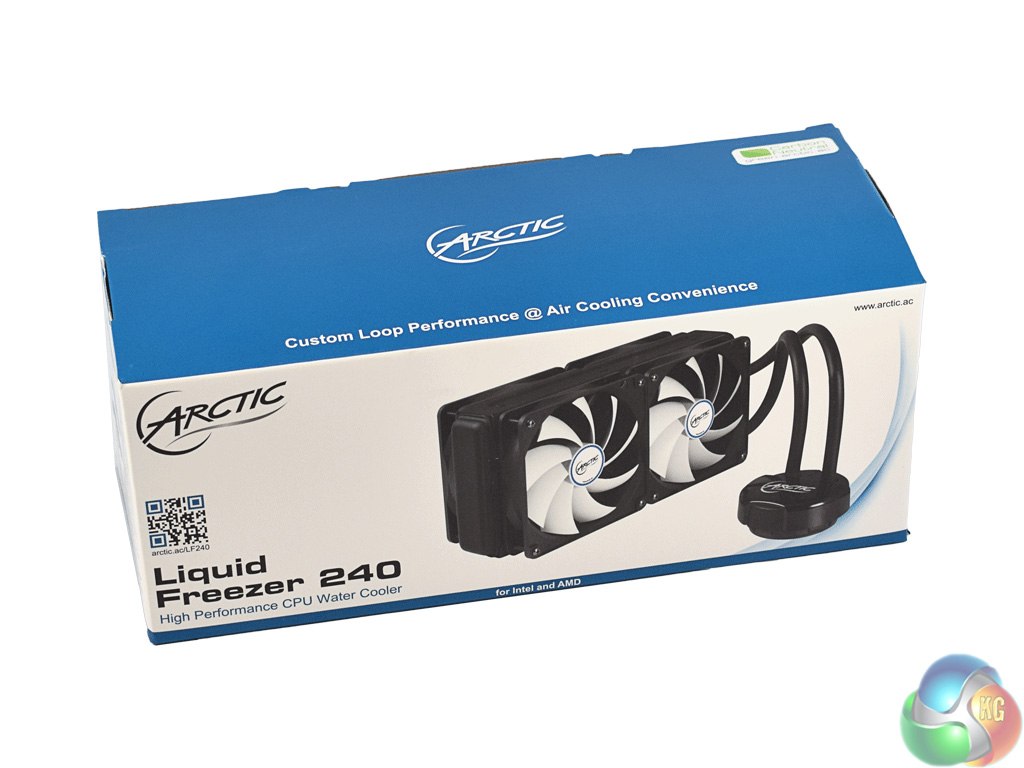
The Arctic Liquid Frezer 240 ships in a simple yet attractive blue-and-white box.
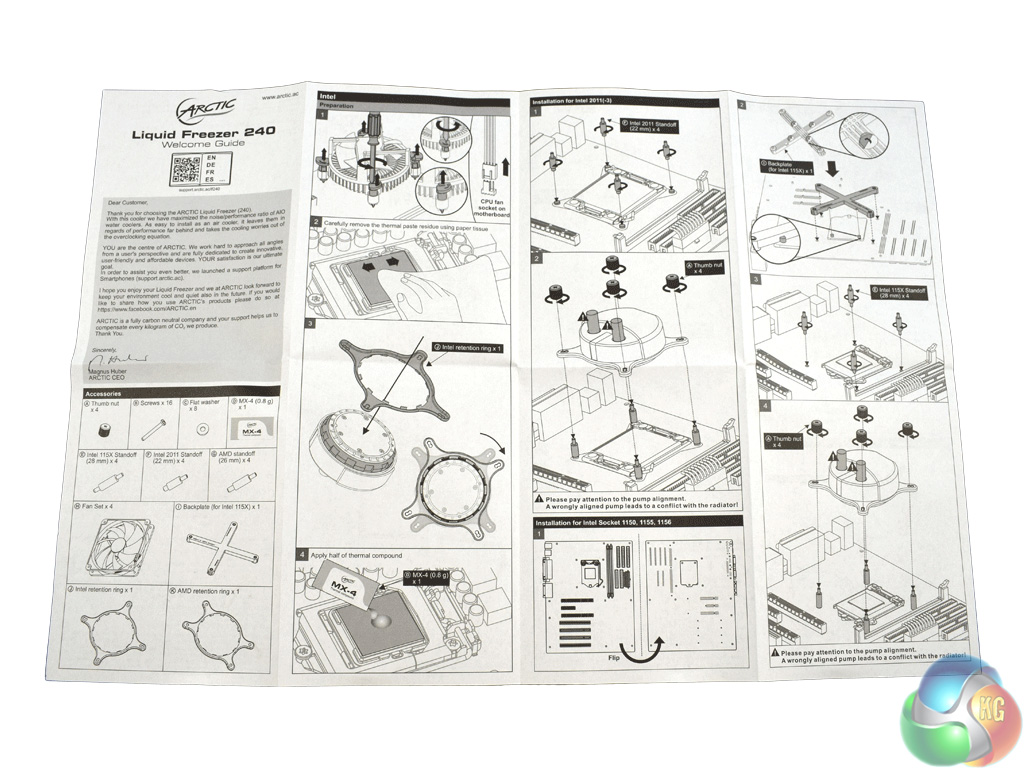

Inside, there is an instructions booklet which I found easy to use, as well as the usual accessories – a backplate, mounting brackets and an assortment of screws.
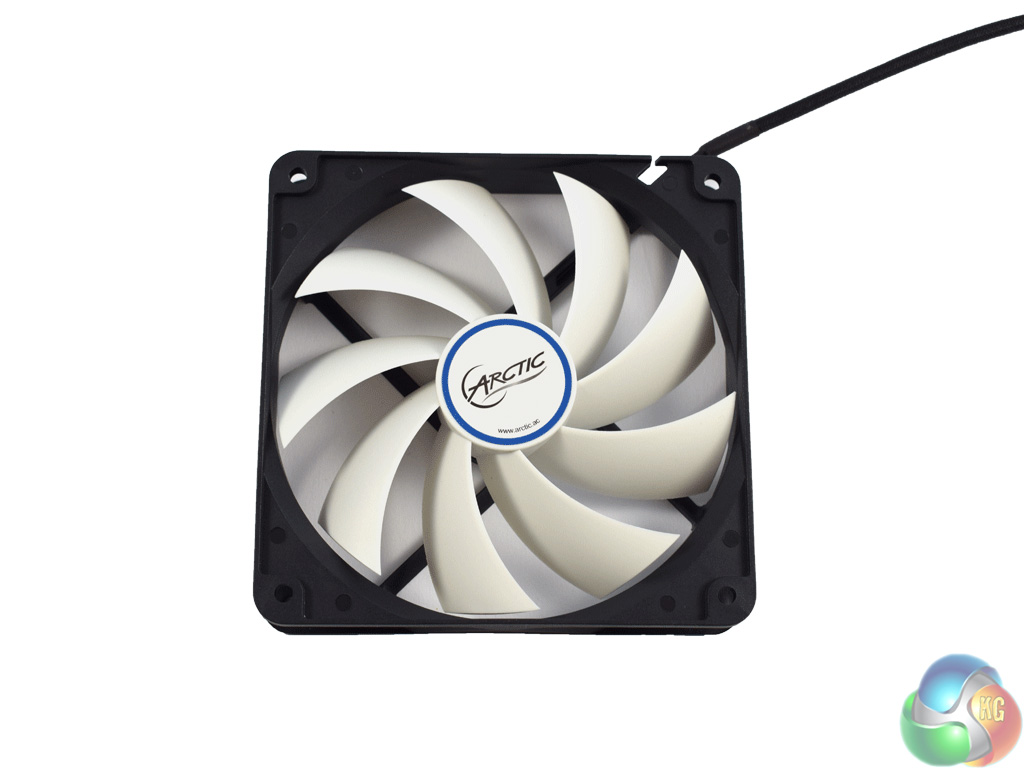
The four fans that come with the Liquid Freezer 240 are Arctic F12 fans. Each come with long, 60cm PWM cables for extra flexibility, and operate at a maximum of 1350RPM.

Getting our first look at the cooler itself, we can see the radiator is comparatively thick for a 240mm AIO – as it measures 38mm in depth. The Corsair H100i V2, for example, is 30mm thick, while the Thermaltake Water 3.0 240 RGB edition is just 27mm thick. This should give the Liquid Freezer a performance boost as there is more surface area, allowing for extra heat dissipation.
Also worth mentioning is the rubber tubing. While it does not look as good as the braided hoses on Corsair's latest coolers, the rubber tubing is very flexible, meaning there is zero resistance when you come to mount and install the pump.
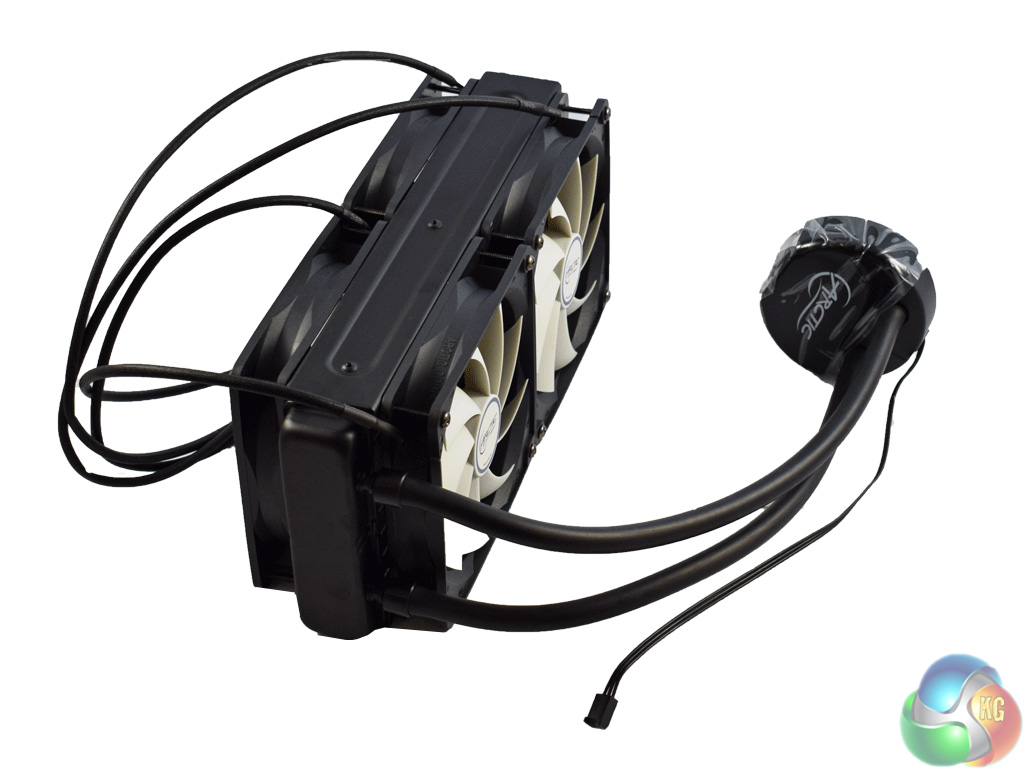
Above you can see the cooler with all four fans screwed into place. The pump has a 3-pin power header, and Arctic have done something funky with the fan cables.
Essentially, Arctic have designed the cables to be daisy-chained, meaning each fan plugs into another until the last fan plugs into a fan header on your motherboard. This means only one fan header is necessary – cutting out the need for a fan controller or PWM hub. However, things could get messy quickly, so just be careful to manage the cables as there is a fair bit of excess cabling.
Also of note is that the total thickness of the radiator, with a fan either side, is 88mm. Definitely worth checking your case's dimensions to make sure you won't obstruct your motherboard if you install this AIO.

How many watts does the test PC and/or CPU consume at 4.5 GHz under load?
Good question Rob. Next time I get a cooler in for review I will find out and get back to you. I don’t use a GPU, so I can’t imagine much more than 200W – maybe 250.
Wow this sounds great. I just hope I can get all 4 fans to fit into my case!
If it doesn’t fit in your case just put two fans outside and then the radiator and 2 fans inside the case
Also, be sure to have then sucking cooler air from outside rather than the other way around and then fit removable mesh filters to the intakes to cut down on dust being sucked in, this also creates positive pressure in the case so you don’t have to worry about dust being sucked in through every gap and vent hole the case has
If you want to take it a step further get some Perspex or plastic and create a wind tunnel to the rear exhaust fan at the back on most cases. This works like a PSU then taking cooler air from outside but not allowing it once its taken heat from the radiator into the main volume of the case itself as its instantly vented straight out of the back. Modern PSU/case combos do this too by the PSU sucking air through a (normally dust filtered) hole on the bottom and venting straight out of the back. You can even forgo the rear exhaust fan if you want as with 4 fans already sucking the air in I doubt a 5th one at the rear would do much and could be forced to spin faster than it wants by the airflow from the cooler anyway
If you do that however make sure to compensate for the main volume of the cases air flow though by using all other available fan locations as intakes
With a bit of imagination and not that much extra work you can get some excellent results and temps. I’ve been doing it this way for well over 2 decades on desktops and servers, and have even done similar with air coolers using a duct from one intake fan to the intake (push) on an air cooler then another duct from the exhaust (pull) fan on the cooler to an exhaust fan on the case. This makes even the relatively cheap evo 212 work amazingly well especially if you swap out the fans for something like corsair or arctic fans (2z92mm on the cooler and 2×120/140mm as the case intake and exhaust)
I really don’t find a 15 minutes stress test enough for an AIO cooler. Water temperatures don’t equalize in such short time. You should leave it at least 45 minutes under stress to get an accurate measurement. I consider these results invalid.